Week 3 - 2D meshing for sheet metal
AIM: To study the given component (HOOD) and to perfrom the midsurfacing and Meshing using ANSA Preprocessing Software.
PROCEDURE :
- First I exmanined the given sheet metal component. And then assigned the material to it from material section.
- After assigning the material I checked the ENT and PID model and perform the geometry check. The errors are then fixed with autofix operation.
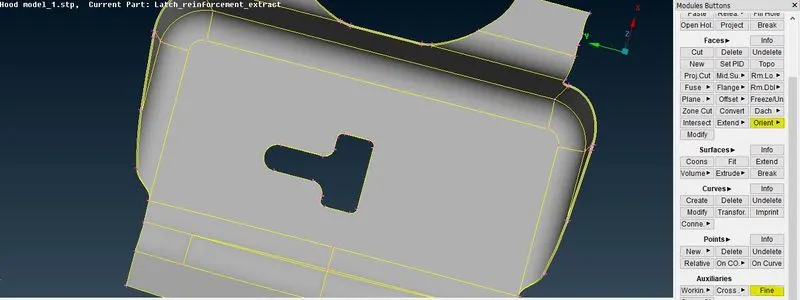
- After the errors got fixed I deleted the uneccessory hot points. And then perfromed Fine operation to see how the actual model looks like.
- After Fine operaton I checked the each property.
- And then measured the length of component using measuerment operation. Randomly I measure.
- Now for midsurfacing part.
- I selected each component separately for midsurfacing there are total 5 component including two same component.
- I selected the Faces> midsurface> skin to perform midsurfacing operation on each component.
- After completing the midsurface I assigned NEW PID to the every midsurface with thickness to it.
- So for Inner and Outer hood I assigned the thickness of 0.75 and for latch and hinge 1.2 mm.
- Now for meshing I done the check opertion first to see by switching single cons off. There were no errors on the component.
- Then selected the quality criteria according to requirement.
- Now I selected the each component seperately to perform meshing.
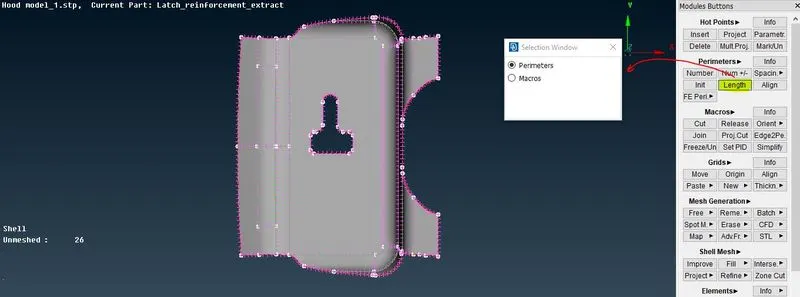
- I gave same length to each component that is 5 from Perimeter> length section.
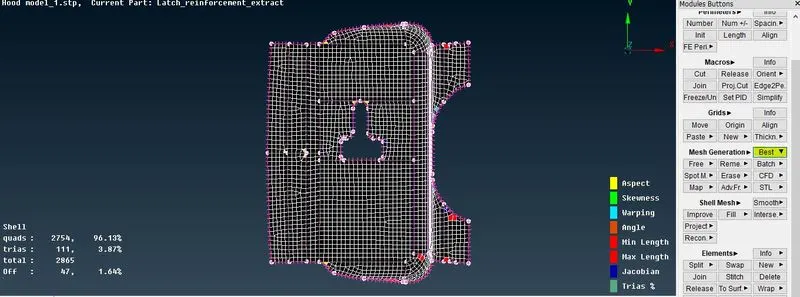
- Then perform the best mesh generation operation for meshing.
- The off elements are eliminated by using different operations like Reconstrcuct, smooth,improve.
- After completing the mesh operation I checked for the OFF element and resolved them using SHELL MESH and ELEMENTS section.
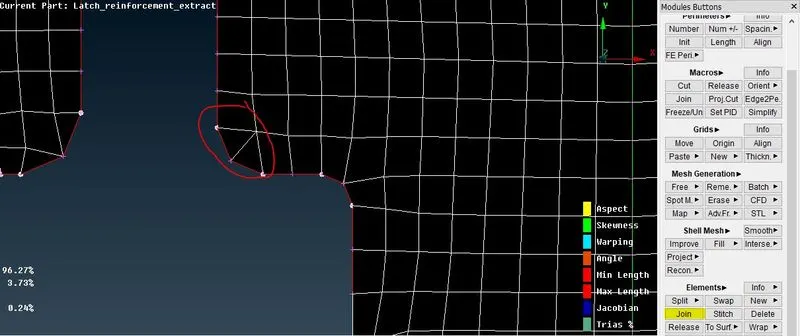
- The triangles near to the holes and edges are eleminated by using Swap,join, spits in ELEMENT section.
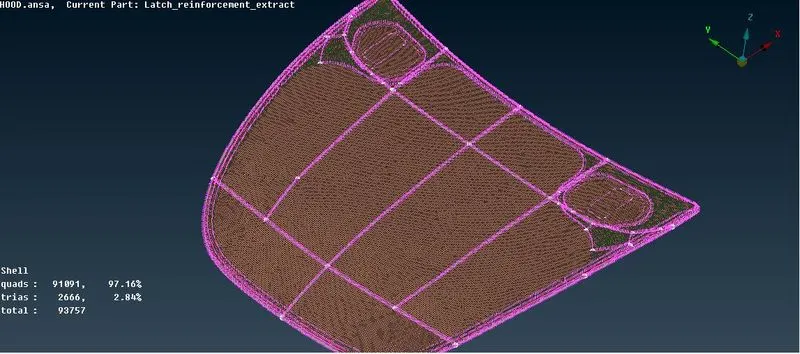
THE SCREENSHOTS ARE SHARED BELOW:
1. Before midsurfacing
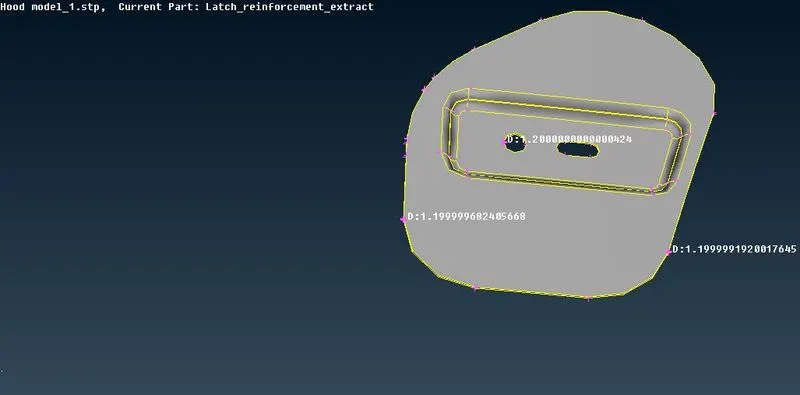
2. After midsurfacing
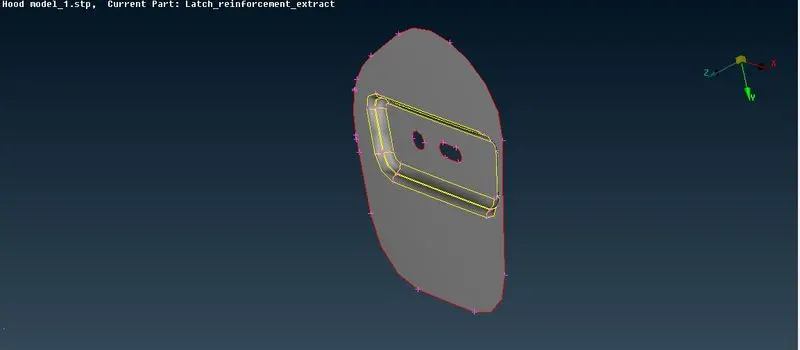
3. Setting PID and THICKNESS
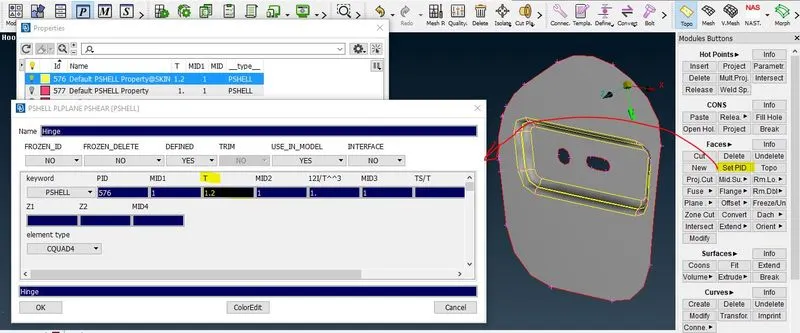
4.Before FINE and orientation
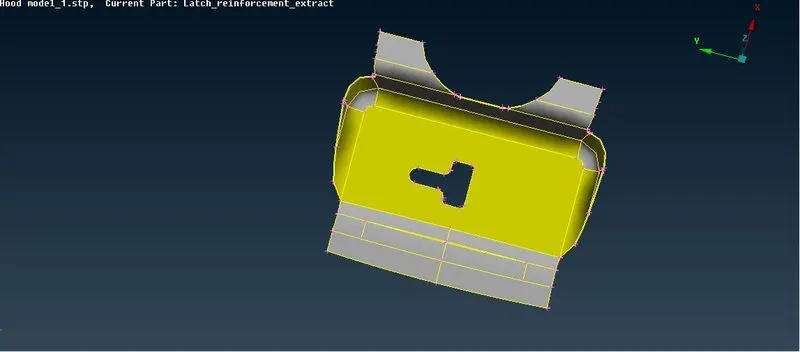
5.After FINE and orientation
6.Setting Perimeters>Length (5mm) for meshing operation.
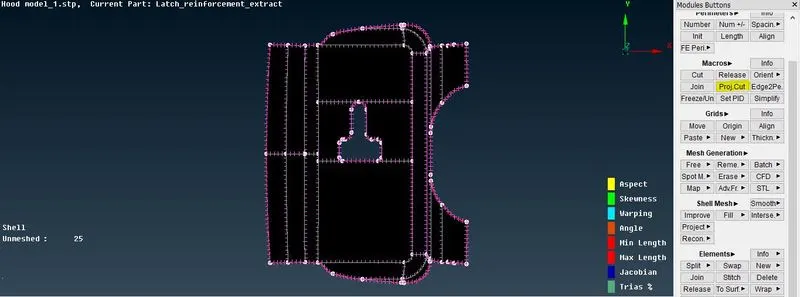
7. Modifying using Project Cut for better meshing.
8. Meshing Using Mesh Gen> Best.
9.Reconstructing the mesh to for better mesh flow. Shell Mesh> Reconstruct/smooth.
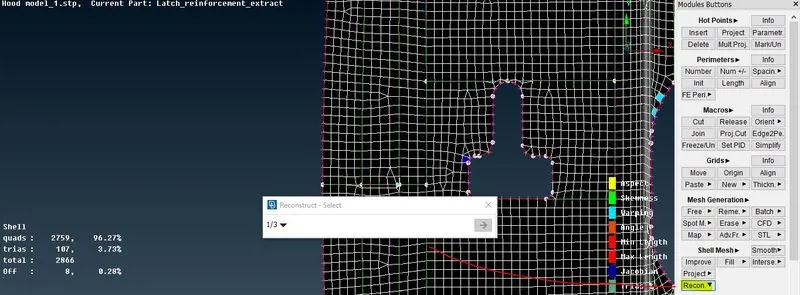
10.After Reconstruction.
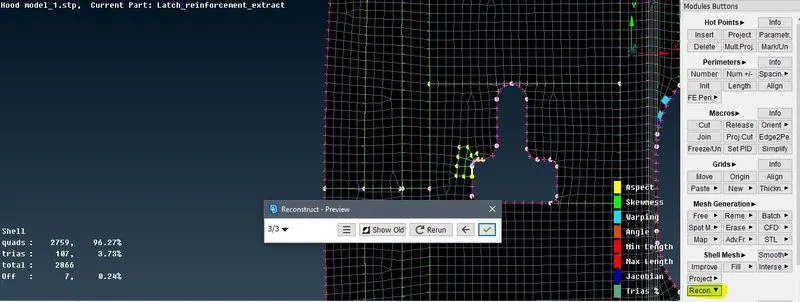
11. Deleting triangles near to the holes or edge. Element>Join.
12. After performing Joining operation.
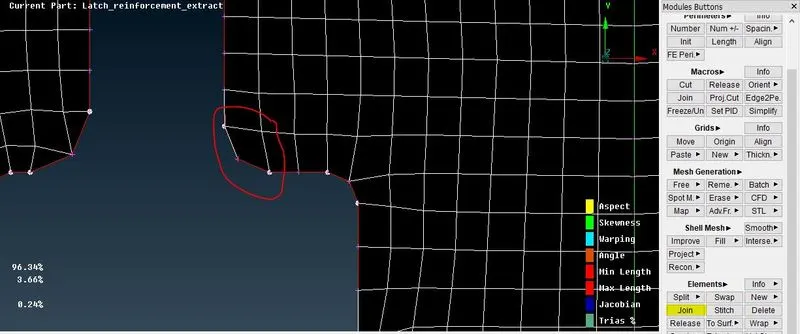
13. Final Result
LEARNING OUTCOMES:
- Fluency in handeling ANSA software.
- Got the knowledge about how to give midsurface to component using midsurface operation.
- Got used to SET PID
- Got used to the Micros> cut and Project cut section in order to solve minimum length error and other error.
- Learnt different type of mesh resoving operation like Reconstruct , smooth, improve opertion and also Split, Swap, join operation. And also deleting and addind new element in meshing.
CONCLUSION: The midsurafacing and 2D meshing operation is performed successfully. All the quality criteria are checked.The meshing has no OFF elements and mininum number of trias. All