Week 9-Creation of 1D Connectors Challenge
AIM: To mesh the given componet and then create a connector to attach the various part.
PROCEDURE:
- The component is shown below:
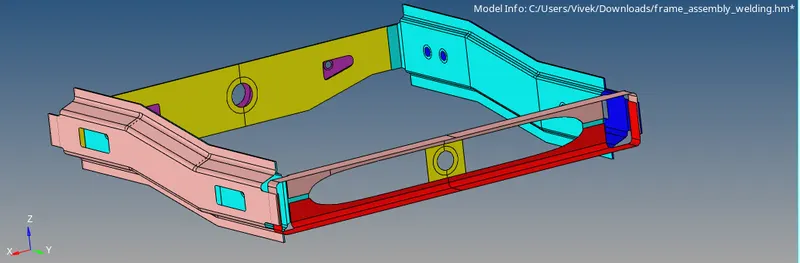
- Now first we have to auto cleanup the geometry and then mesh the component.
- So fist for autocleanup go to he GEOM>AUTOCLEANUP
- Now after this we will mesh the component
- For that go to 2D>AUTOMESH with the given parameter we will mesh the compoent.
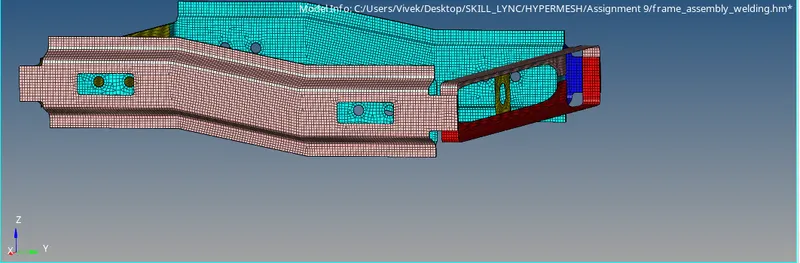
- Now we will connect the component as per given requirement.
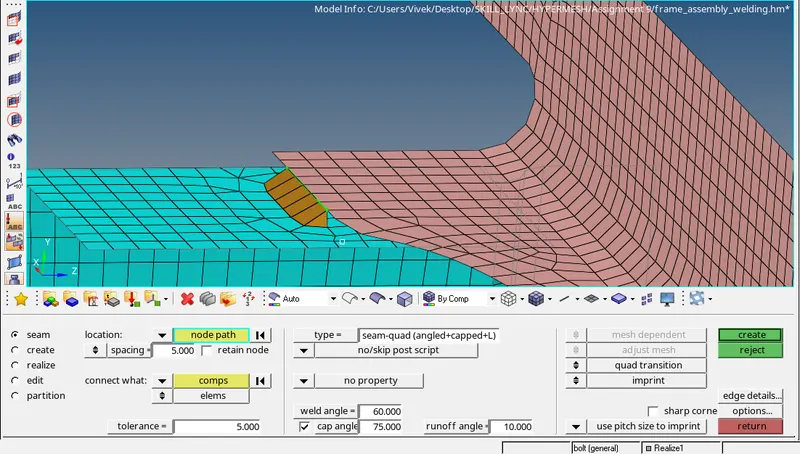
1. Right_Rail_2 & Front_truss_1:- Seam-Quad(angled+capped+L)
- So for this go to 1D/2D>connectors>seam
- Then select the the location as nodelist and then select the nodes to form Seam weld
- After that select the component where we want to form a welding.
- Give proper tolerence and then click on create. As shown:
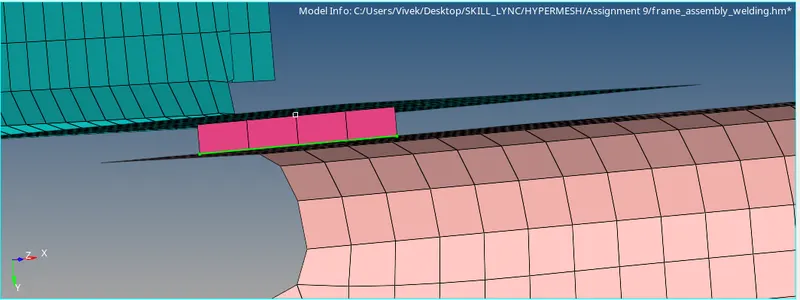
2. Left_Rail_2 & Front_truss_1:- Quad elements
- For this the process is same , 2D>CONNCECTORS
- And then select type as a quad. And rest is same

3. Front_truss_2, Front_truss_1 & Right_Rail_1:- Spot weld with 2 Layers and 5 mm Diameter
- In this go to the 2D>Connectors and select Spot as a weld select the nodes and give the required diameter as shown "

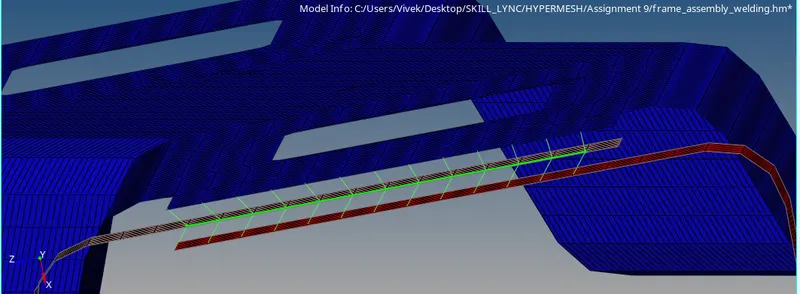
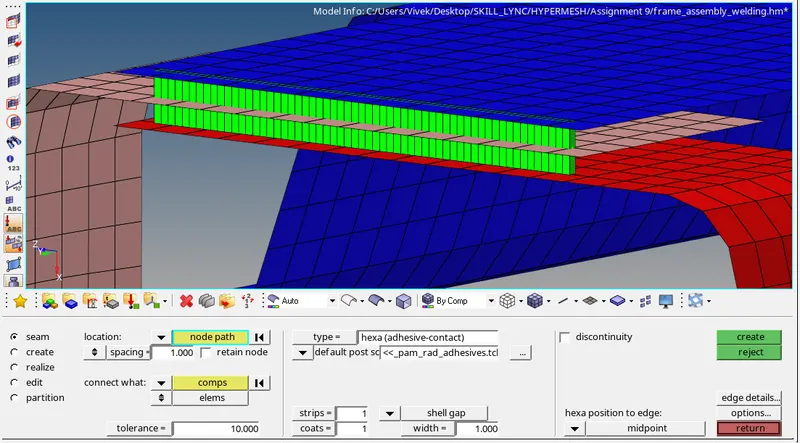
4. Front_truss_2, Front_truss_1 & Left_Rail_1:- Hexa (Adhesive)
- In this select type of seam weld as Hexa (Adhesive)
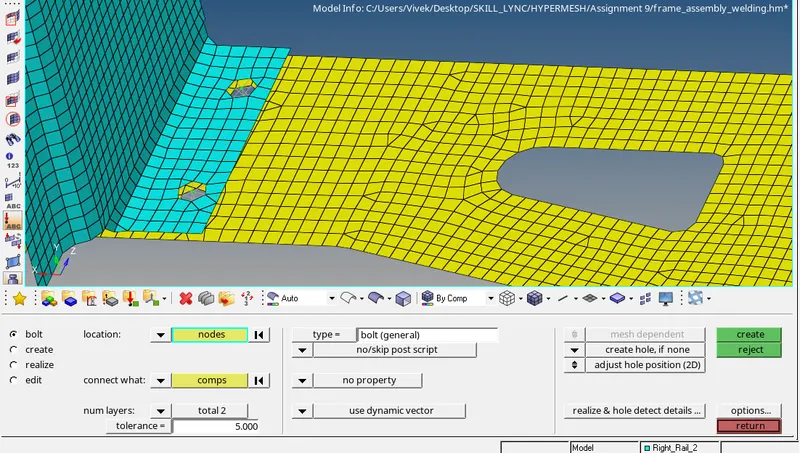
5. Rear_truss_2 & Right_Rail_2:- Bolt Connector
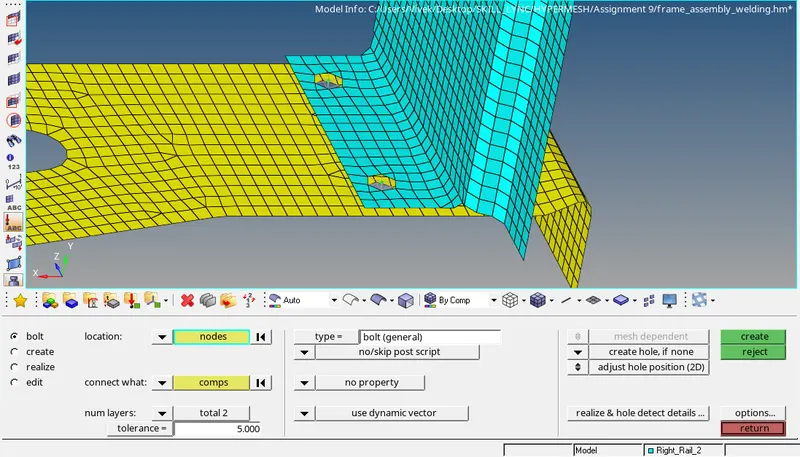
- Now click on the 1D/2D → Connectors → Bolt option.
- Under “location”, select the node, which we created already to establish the bolt connection.
- Then select the “comps” option under “connect what”, in order to create the weld between those two components.
- Select the number of layers to be welded, under “num layers” option.
- Specify the “tolerance” value, based on the distance between the two components.
- Select the type as “bolt (general)”.
- Here we dont have hole so change the option to create a hole if none.
- Click on the “create” button, to create the Bolt Connection as shown:
6. Rear_truss_2 & Left_Rail_2:- Bolt Connector
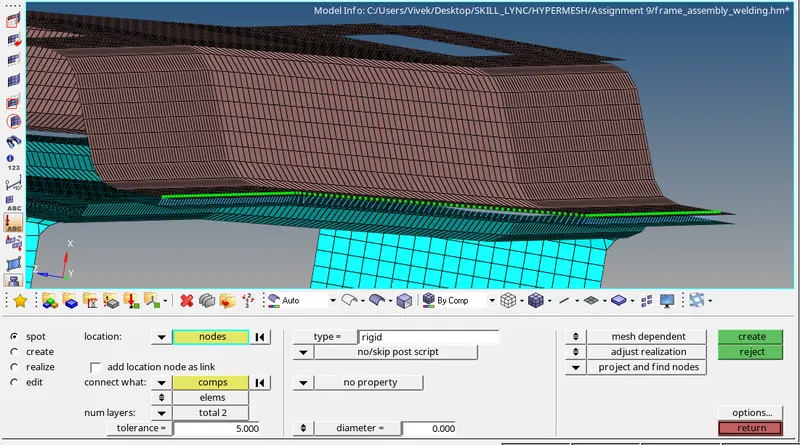
7. Right_Rail_1 & Right_Rail_2:- Spot-weld with Rigid Elements
- In this select connector as a spot and then select spotweld type as a rigid.
- Then select the node path and component to perform the operation.
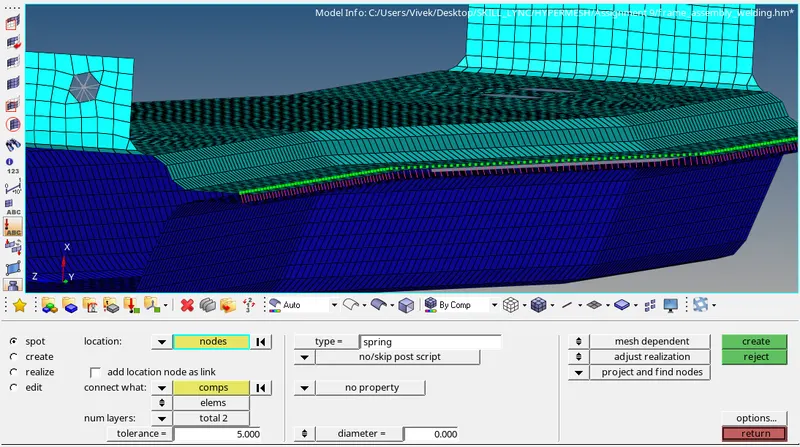
8. Left_Rail_1 & Left_Rail_2:- Spot-weld with Spring Elements
- In this select connector as a spot and then select spotweld type as a spring.
- Then select the node path and component to perform the operation.
9. Rest all the component left Join them with suitable connectors
- For the rest of the component we will use different joints.
- Front truss 1 , Front truss 2 , Right rail 1 - Hexa (adhesive)
- Front truss 1 , Front truss 2 , Right rail 2- Quads
- Front truss 1 , Front truss 2 , Left rail 2 - Quads
- Rear truss 1 , Rear truss 2 - SpotWeld
- Left rail 1 , rear truss 2 - Bolt
- Right rail 1 , rear truss 2 - Bolt
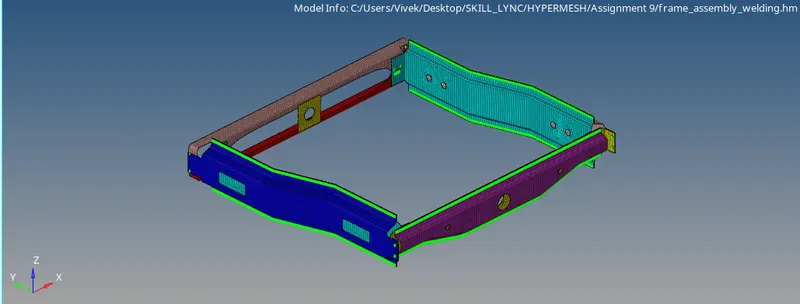
RESULTS:
- Meshing of the given component is done as per given parameters.
- The connection of the part is done using different types of conncetions.