Week 6-Meshing of Hood Challenge
AIM: To perform a midsurfacing and meshing of a HOOD model.
PROCEDURE:
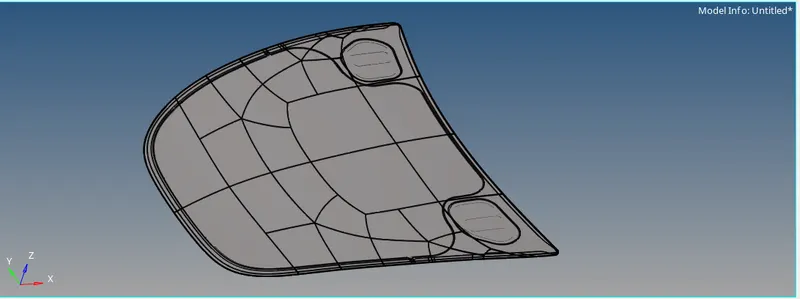
- First we will import the model in HyperMesh. The actual model is look like as shown below:
- Now first we will delete the solid in this model.
- For that go to the DELETE>SOLID
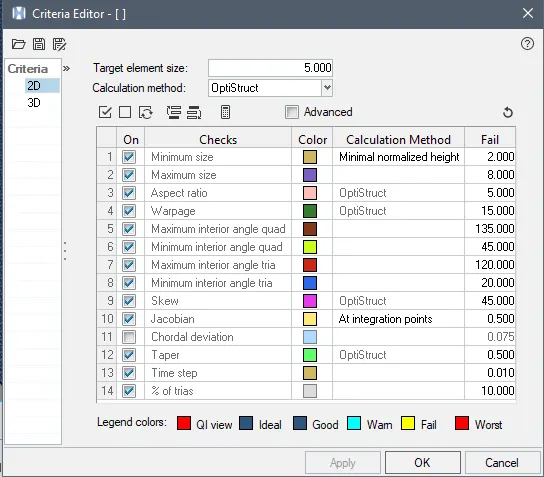
- We have given a quality criteria as below:
Target Element Length = 5 Units
| S.N | Quality Criteria | Value |
| 1 | Aspect Ratio | 5 |
| 2 | Skewness | 45 |
| 3 | Warping | 15 |
| 4 | Taper | 0.5 |
| 5 | Min. Length | 2 Units |
| 6 | Max. Length | 8 Units |
| 7 | Min angle Quad | 45 |
| 8 | Max angle Quad | 135 |
| 9 | Min angle Tria | 20 |
| 10 | Max angle Tria | 120 |
| 10 | Tria % | 10 |
QUALITY CRTERIA
- To set criteria go to PREFRENCE>CRITERIA FILE SETTING
- Now we will create a midsurface of each component in the HOOD.
- We will create midsurface and mesh the all coponent seperately.
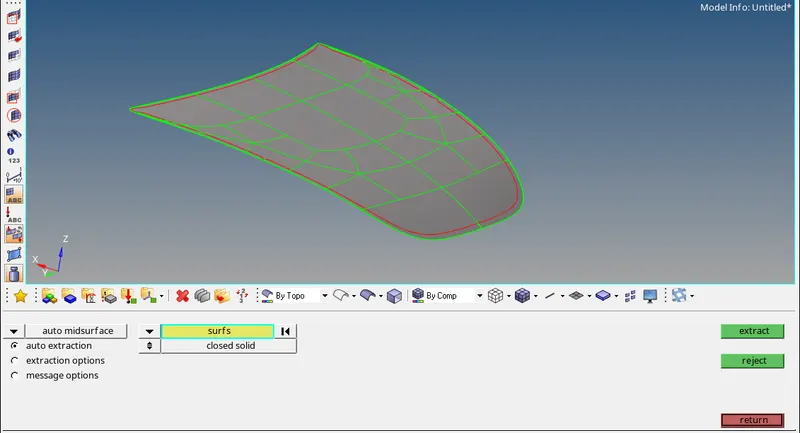
- For that go to GEOM>MIDSURFACE
- So first we will perform geometry cleanup operation.
OUTER SIDE:
- MIDSURFACE
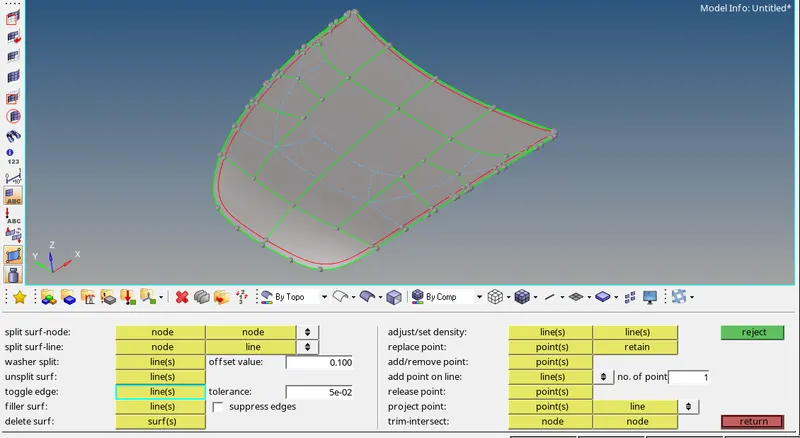
- Now we have to do the cleanup for the MESHING
- For that we will go to GEOM>QUICK EDIT
- And will perform toggle and split nodes operation.
- Now we will go to meshing.
- For that go to 2D>AUTOMESH.
- Keep element size=5 units and Mesh typ : Mixed
- Select the surface which you want to mesh and click on mesh.
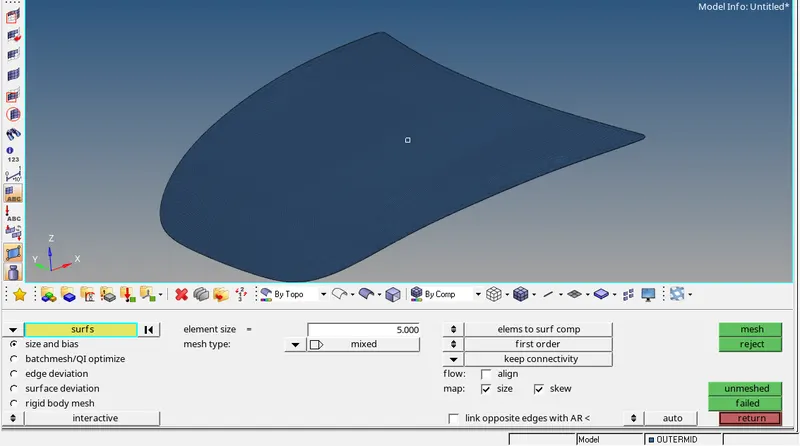
- Now meshing is done the next is to improve the mesh quality.
- In order to improve the mesh quality we need to remove the TRIAS , ROTATING QUADS
- So for that we will edit the mesh as per requirement.
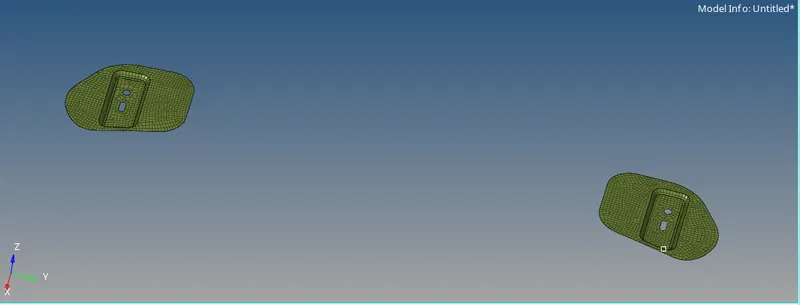
HINGES:
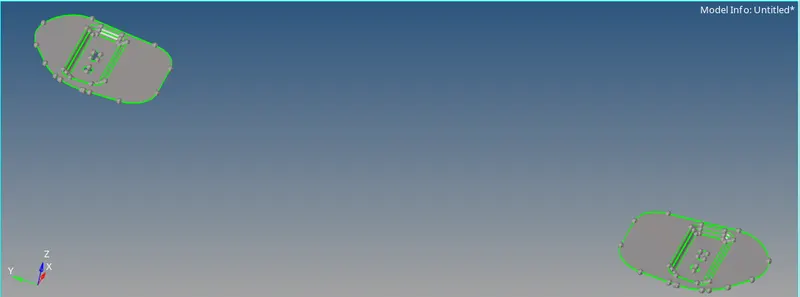
- Now will delete the solid ana create a midsurface.
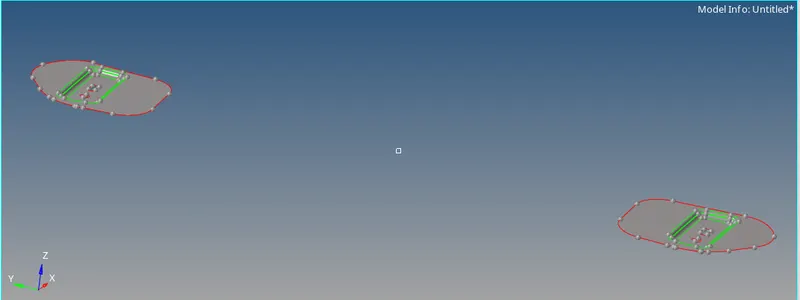
- Now in this we have created a washer surface near the hole part. And also perform some geometry cleanup operation.
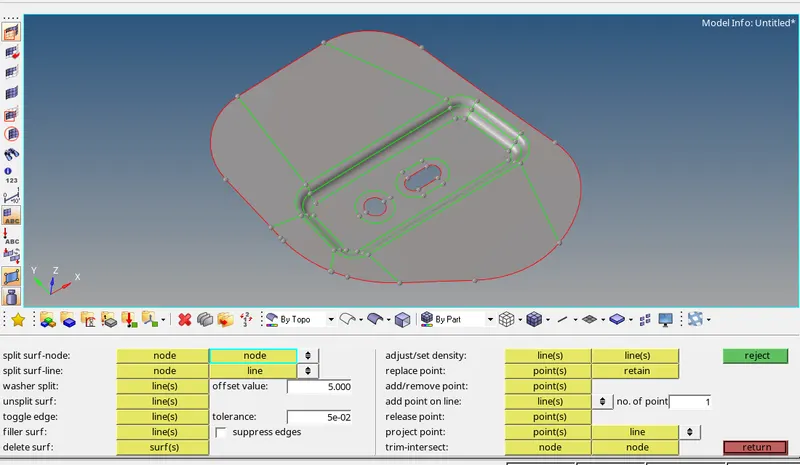
- Now we will mesh the surface.
LATCH
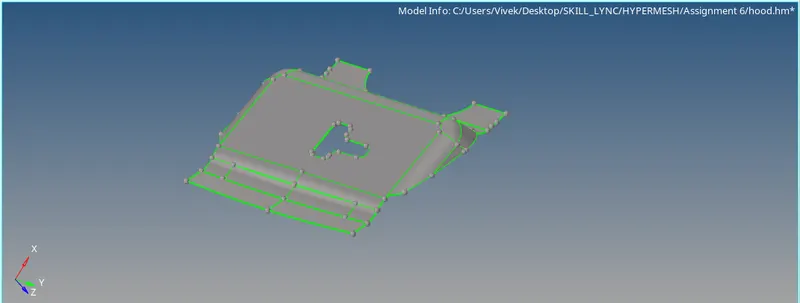
- Now extracting the midsurface.
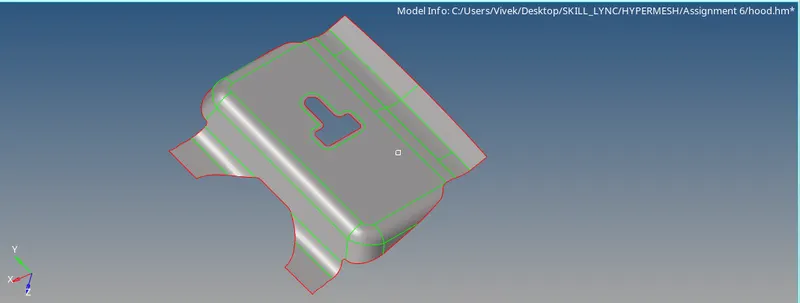
- Now here for the good flow of mesh we will split the surface,
- For that go to GEOM>QUICK EDIT>SPLIT with NODES
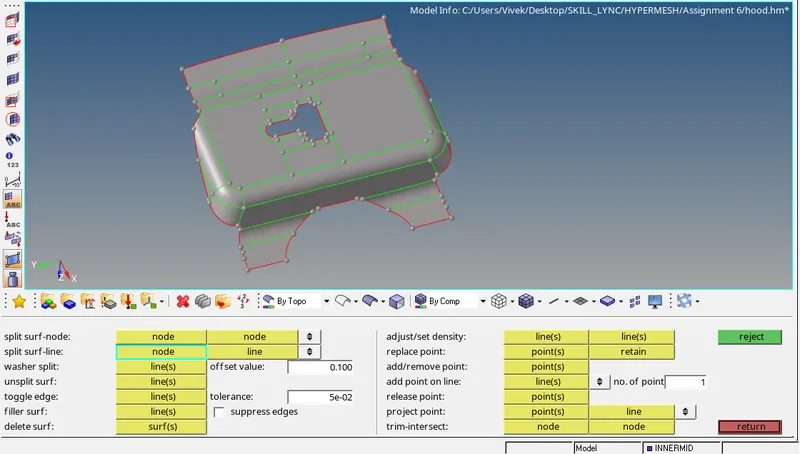
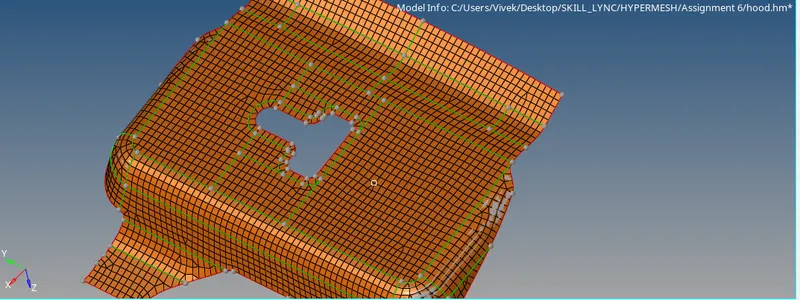
- Now we will mesh the surface.
- Also we will use SMOOTH operation for the
INNER SIDE:
- Here we extracted a midsurface from the INEERHOOD and done a AUTOCLEANUP on it.
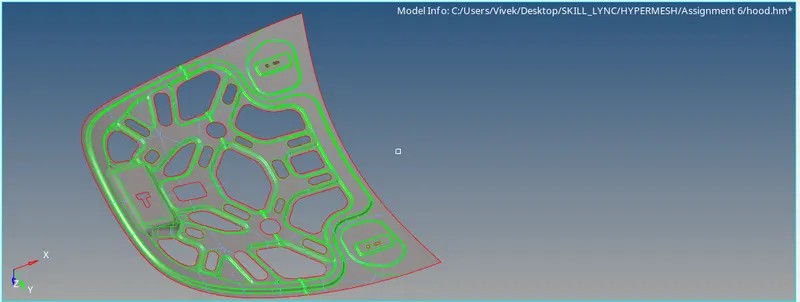
- Here we mesh the half surface and project this on another surface.
- So first we will delete the half surface.
DEFEATURING
- We need to remove unwanted features in order to obtain a final correct analysis. The process of removing these unnecessary, non functional features is called de-featuring.
- Defeature all unwanted lines which is less than the given minimum length
- For defeature Goto quick edit>Toggle all unwanted lines
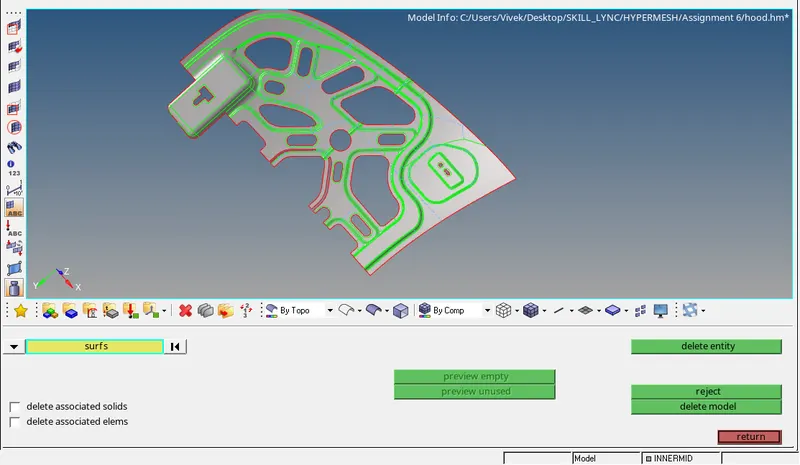
- So we will mesh only half surface.
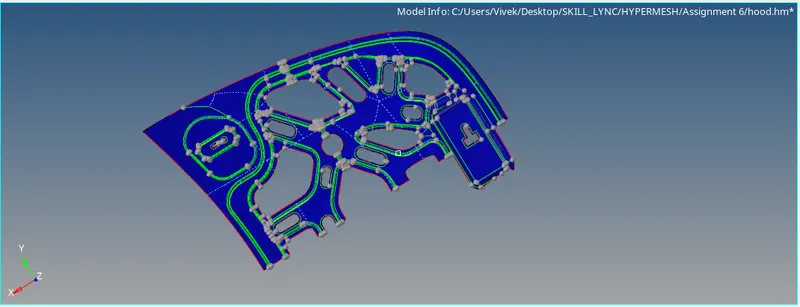
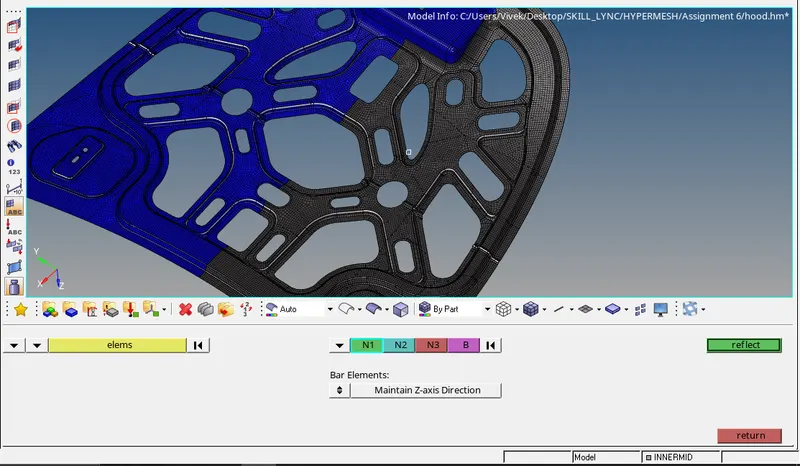
- Now after comepleting the mesh we have to create same mesh in other half.
- So for that go to TOOLS>REFLECT>ELEMENTS
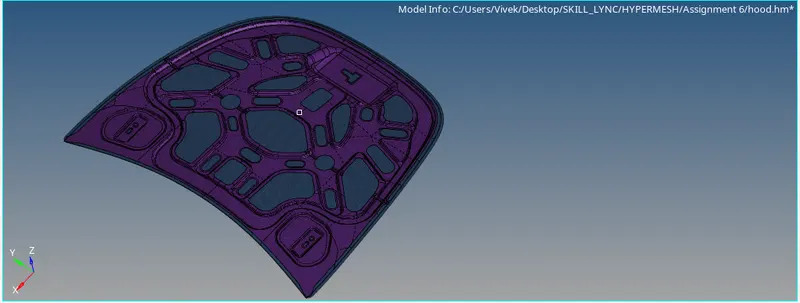
- So the last product is shown below:
- Now we will assign the thickness to the component.
- For that we have to create property and assign the thickness to the component.
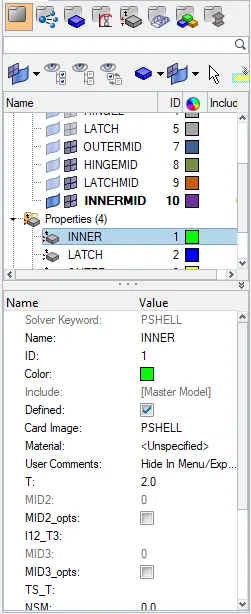
- So the thickness is assign to all the components.
RESULTS:
- The midusrfacing is done of all the component.
- AUTOCLEANUP is performed on the required component.
- Manuall cleanup is also done wherever required.
- Meshing is done on all the component.