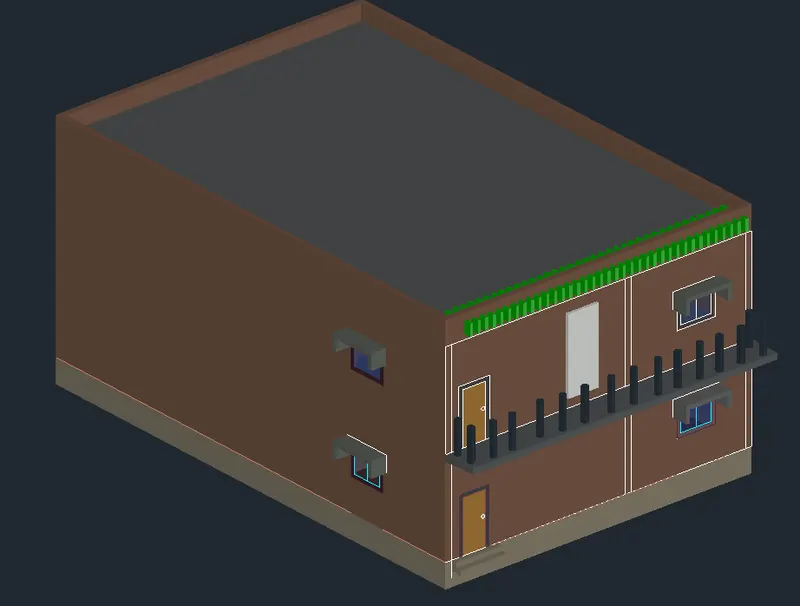
Project 2_Creating a 3D rendered model for a Residential Building in AutoCad
Aim: To create a 3D model of a residential building with a rendered view.
Procedure:
- In the command box type units-engineering-0'-0".
- In the command box type limmax -100',100'.
- In the command box type limits 0',0'-100',100'.
- In the command box type zoom - a
- In the command box type l to draw the lines.
- In the command box type draw the plan in top view.
- In the command box type offset where you required.
- In the command box type trim the excess lines.
- In the command box type design to insert the dining table, sofa, etc., select which item u want.
- In the command box type
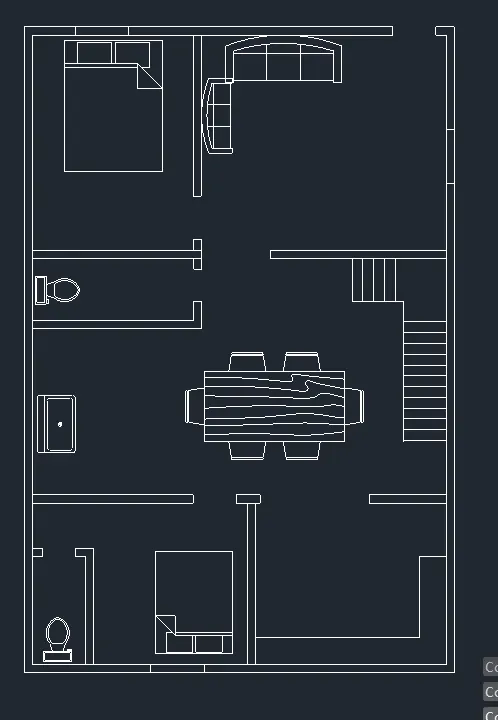
- In the command box type boundary
- In the command box type region and select wall.
- In the command box type extrude the wall for 12'
- In the command box type rec to draw the window
- In the command box type union and select all walls.
- In the command box type extrude the window.
- In the command box type subract the window from wall
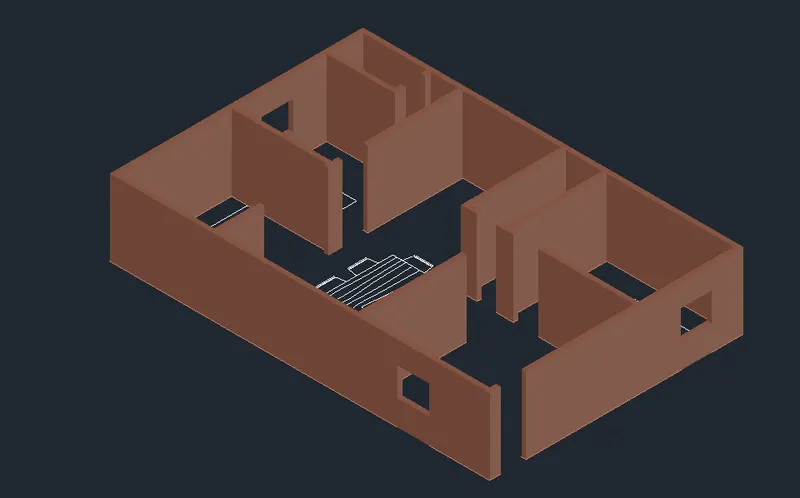
- In the command box type rec at the top of the wall for slab
- In the command box type region and select the rec
- In the command box type extrude the rec for 1'
- In the command box type extrude the wall again for 12'
- Draw the door panel and door frame dor door
- In the command box type region for panel and frame.
- In the command box type extrude.
- Draw the window panel and window frame. and projection
- In the command box type region for panel and frame.
- In the command box type extrude.
- Draw the flooring
- In the command box type extrude for 3'
- Draw the steps and extrude them.
- create a balcony and extrude.
- In the command box type circle of dia 5"
- In the command box type extrude the circle for 3'
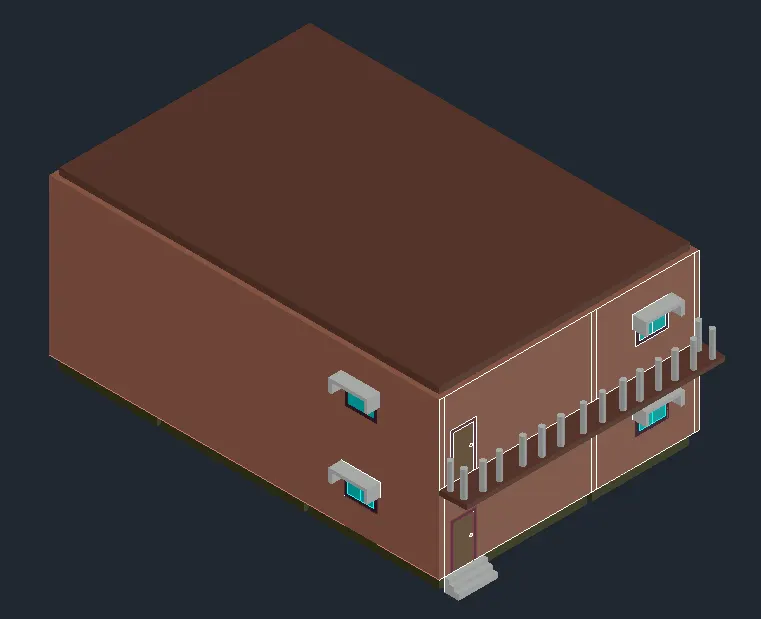
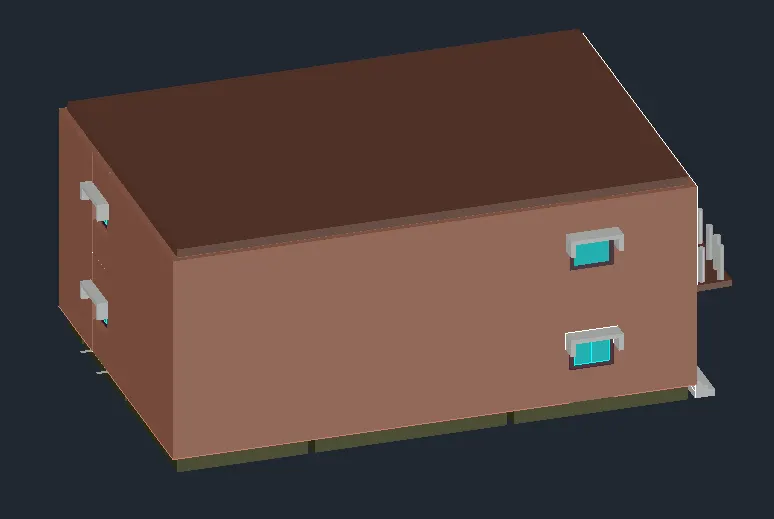
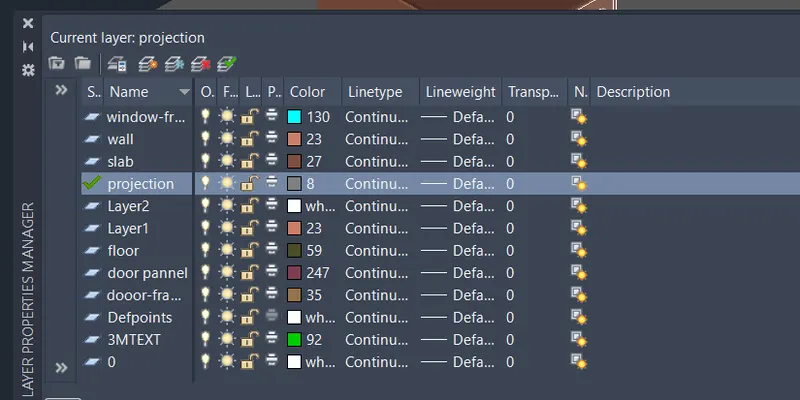
- Go to layers and name the layers.
- And select the different colours for each layer.
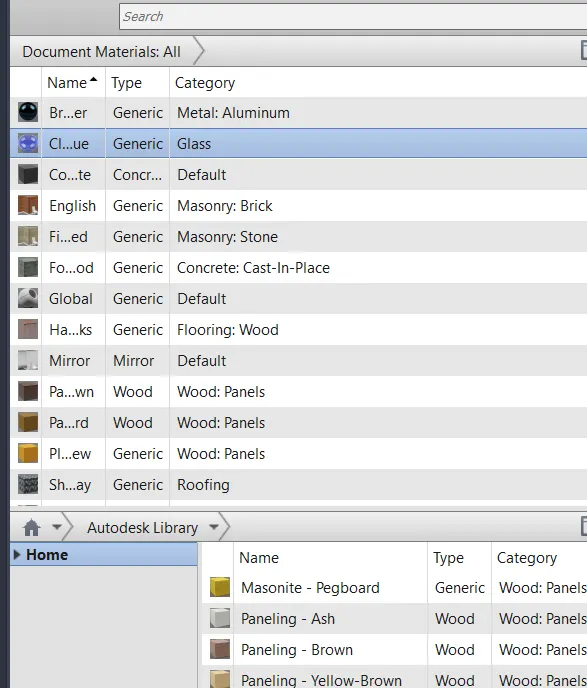
- Go to the material browsering and select the material.
- And apply the each material for each item.
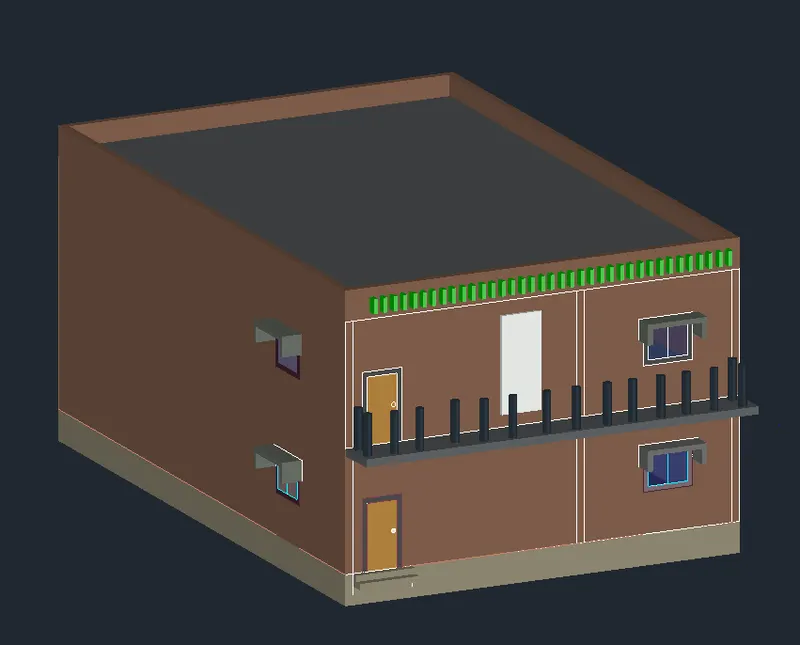
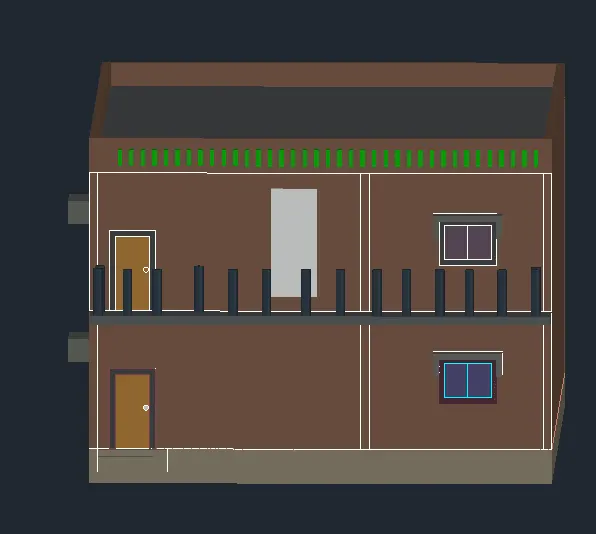
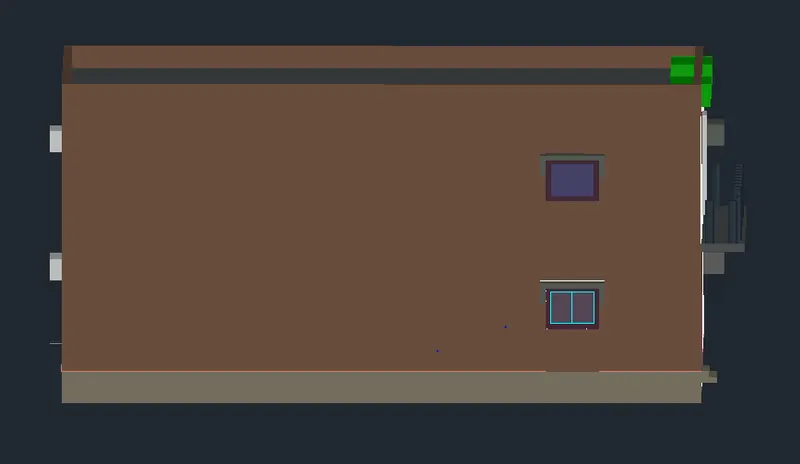
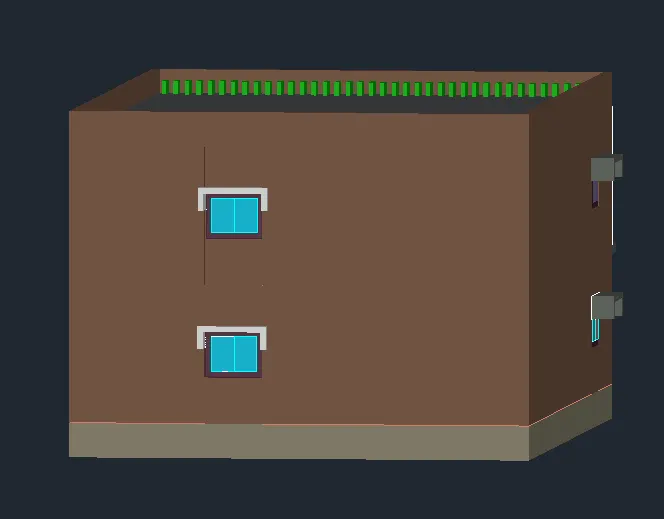
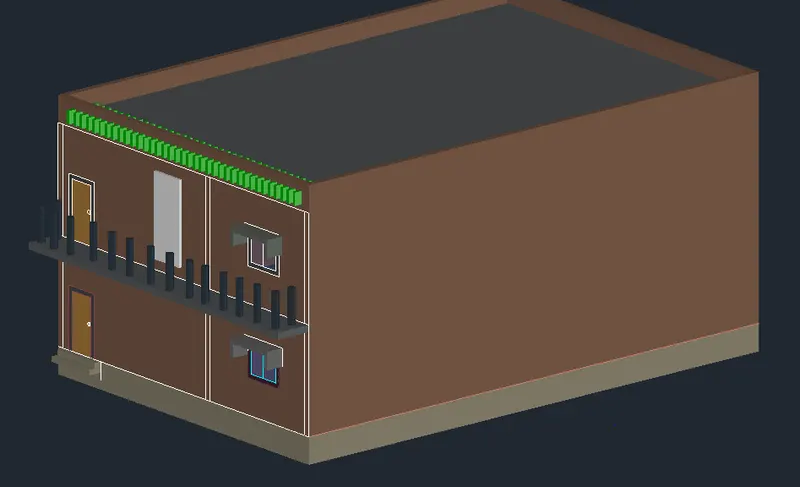
Result: