Usage of Navigation tool , Timeliner and Clash Detection test using Naviswork
1. Aim: To export the Revit architectural and structural to Navisworks manage.
Procedure:
- Open the Revit software.
- Click on open and select week 7 Architectural and structural plan.
- Click on File and select export to NWC.
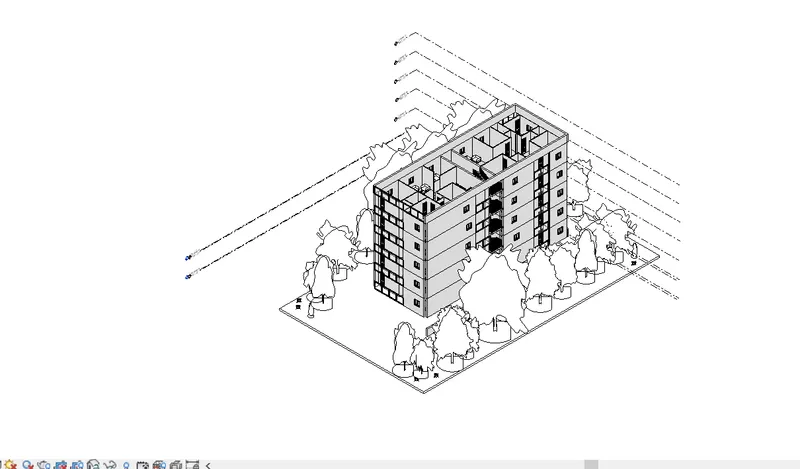
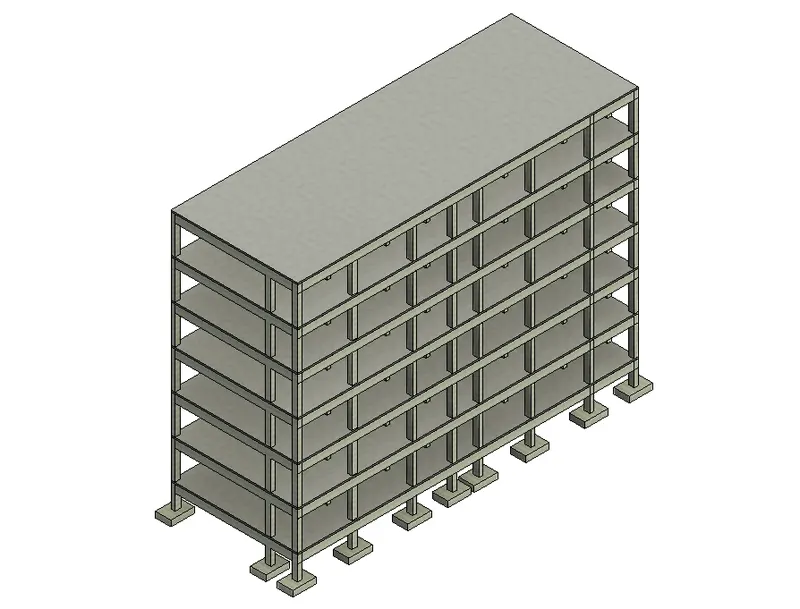
- Now open navisworks manage.
- and click on

- Select the file which you export.
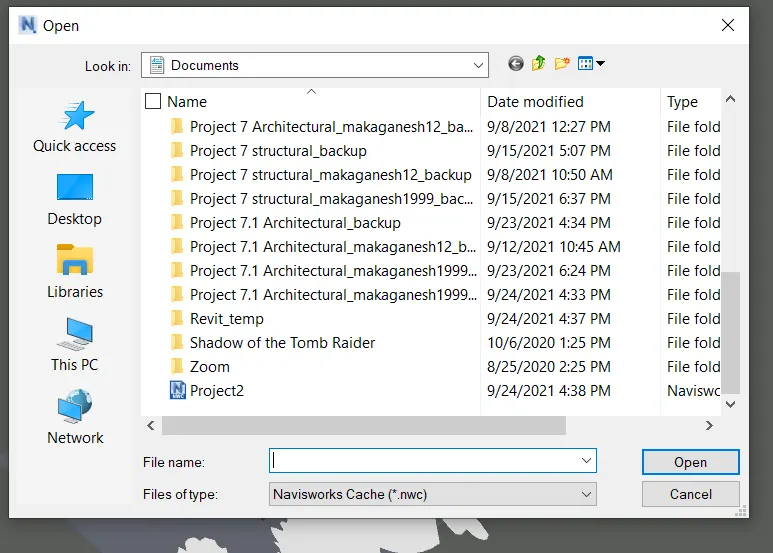
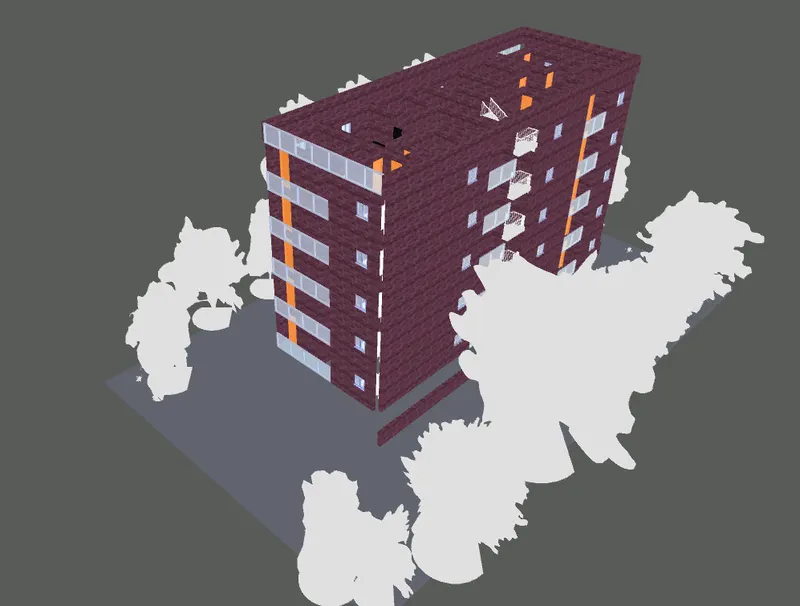
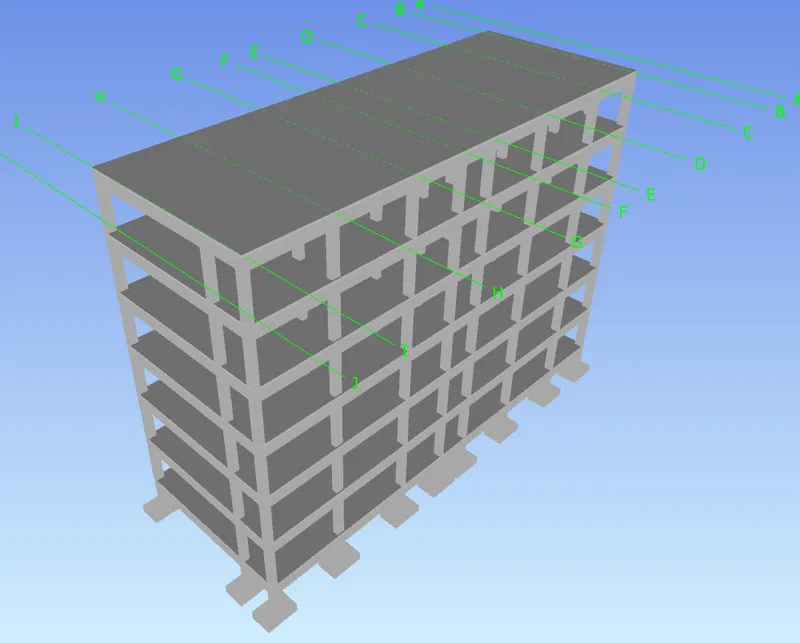
Result: Revit Architectural and Structural is successfully export to Navisworks.
2. Aim: Use Navigate Tool to walk around the model and walking through the rooms and record moving as animation in the Navisworks file
Procedure:
- Open the Navisworks mange.
- Click on open and select the file.
- Click on the record
- Select the walk.
- By adjusting the mouse and go inside.
- After that stop the recording.
- And click on viewpoints.
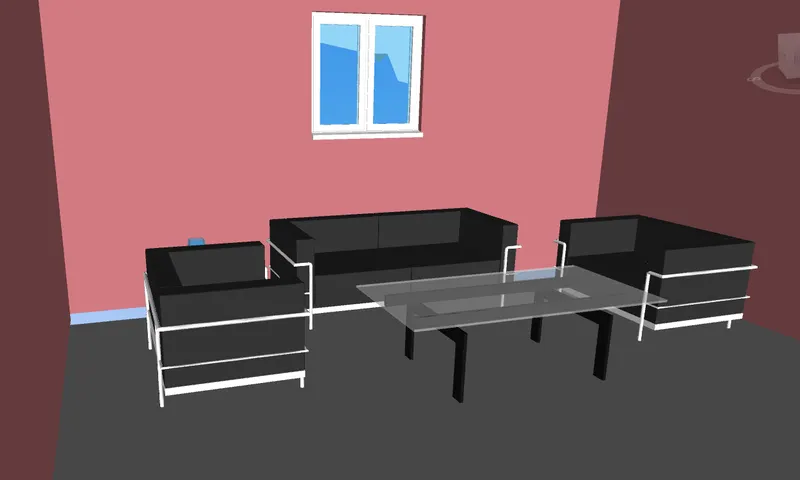
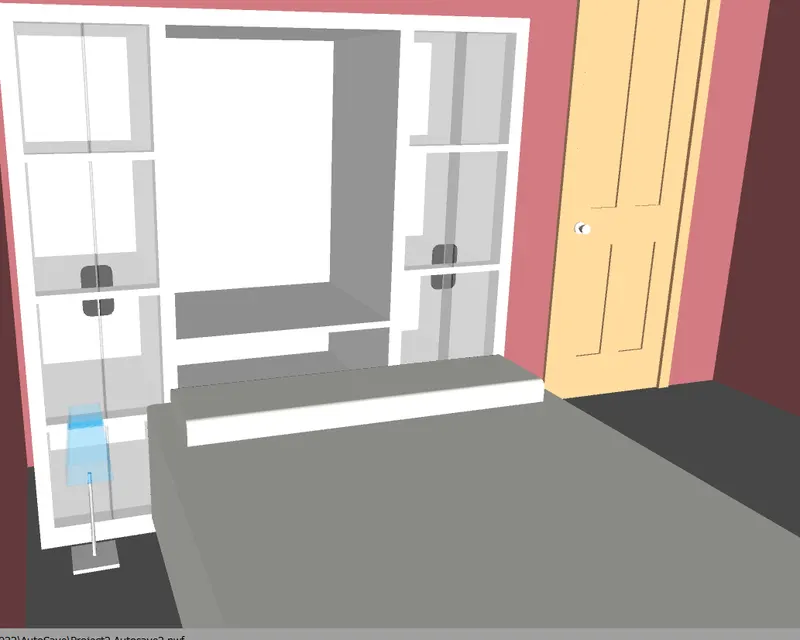
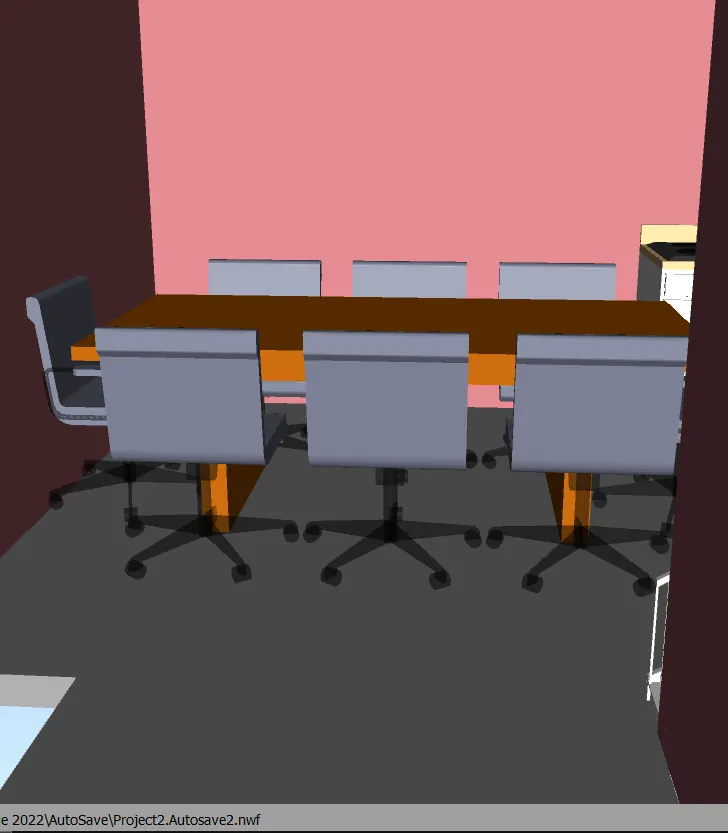
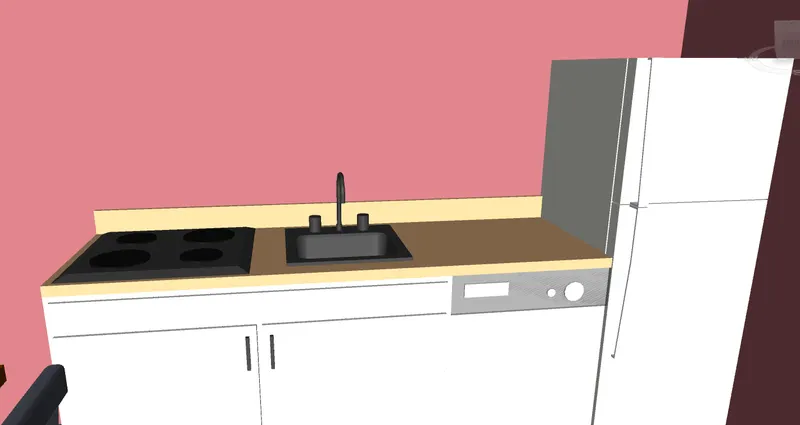
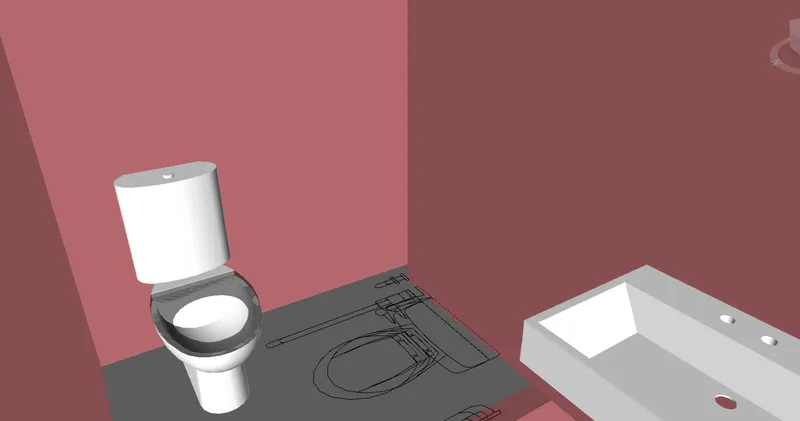
Result: Navigate Tool is used to walking around the model and walk through the rooms created and record your moving as animation in your Navisworks file
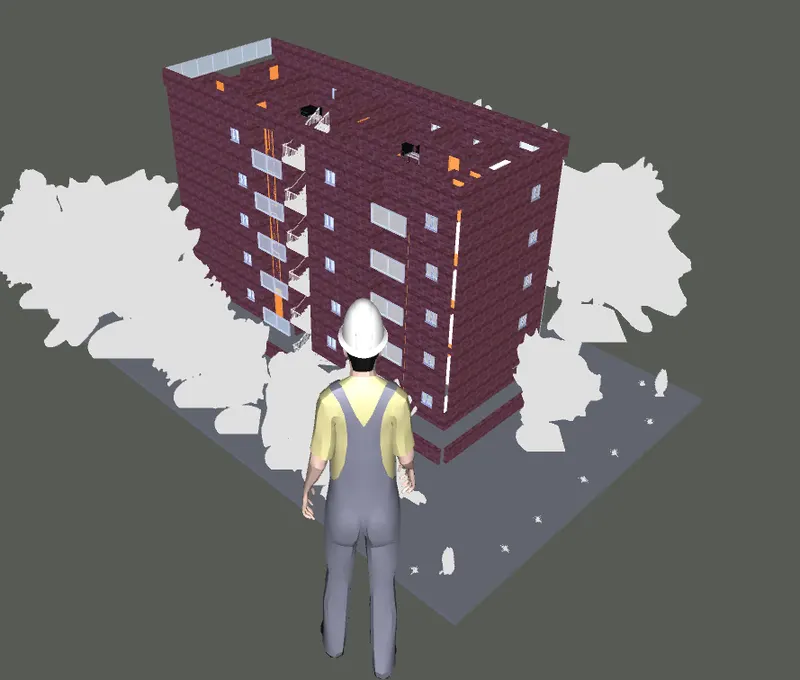
3. Aim: To Use Navigate tool to use the Realism feature to walk through the model and record your moving as animation in the Navisworks file.
Procedure:
- Open the Navisworks mange.
- Click on open and select the file.
- Click on realism
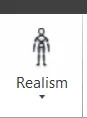
- And click on the Walk
- By adjusting the mouse and go inside.
- And save the viewpoint which you required.
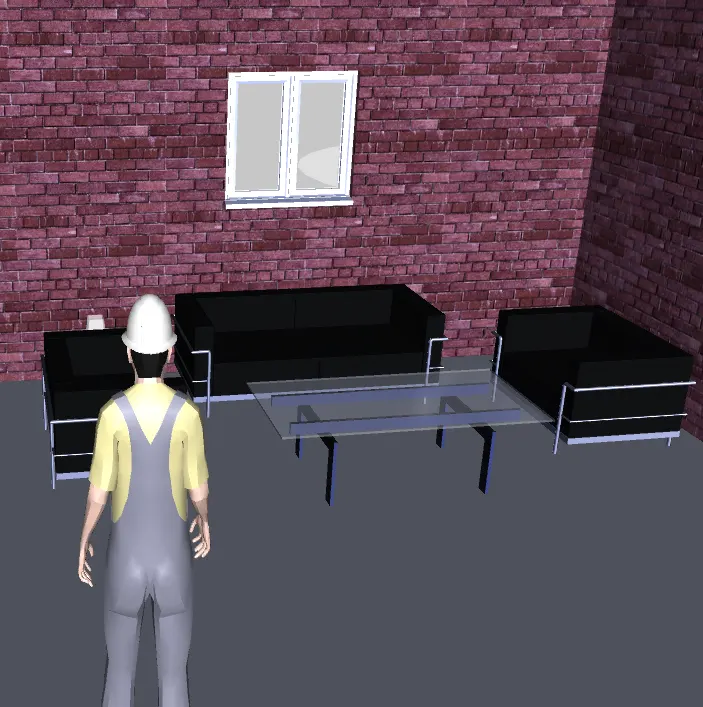
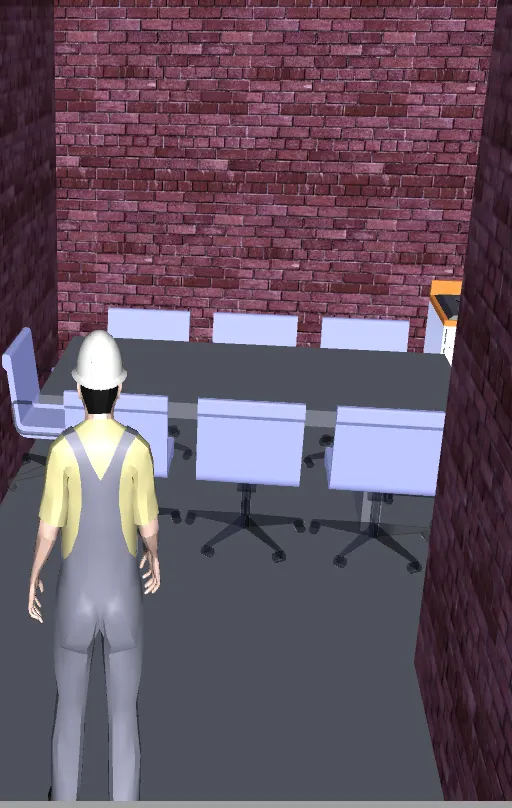
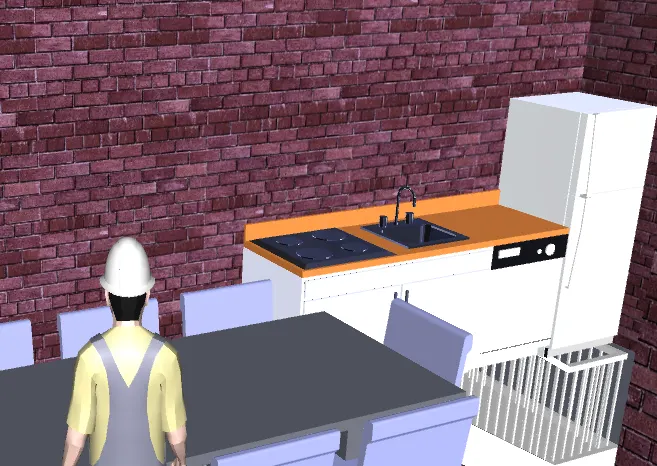
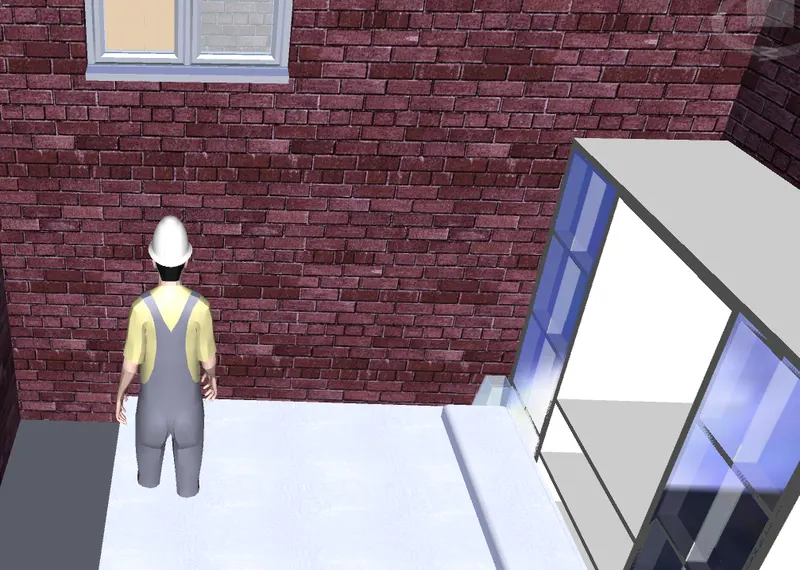
Result:
Walk to the model using realism is successfully completed.
4. Aim: To create the clash detection test between the two models.
Procedure:
- Open the Navisworks mange.
- Click on open and select the file.
- Goto home tab and select clash detective.
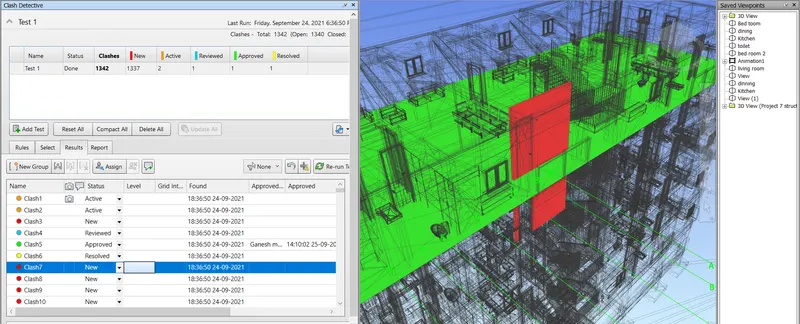
- Run the clash detection test.
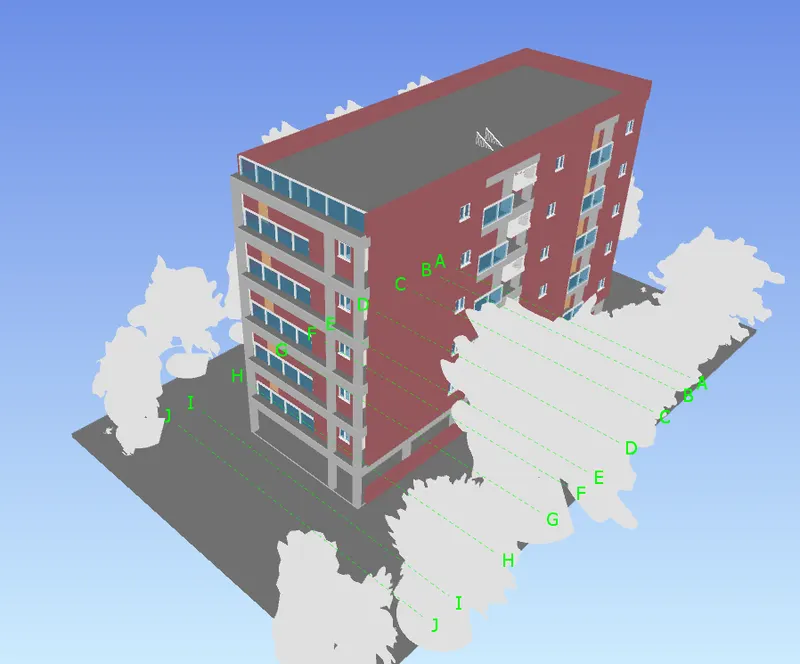
- Study the clash between the two models.
- Now list down the clashes which are approved and neglected
- List down the clashes which are resolved as well.
- Now save the results after color-coding the clashes to the naviswork file.
Result:
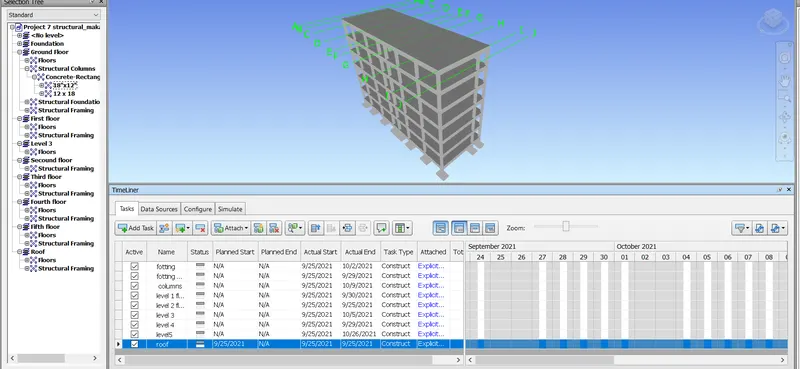
5. Aim: To use the Timeliner feature in Navisworks prepare a schedule for the project developed in week 6 to 8 by adding reasonable assumptions for task start date and end date and simulate the task completion as a visual simulation.
Procedure:
- Open the Navisworks mange.
- Click on open and select the file.
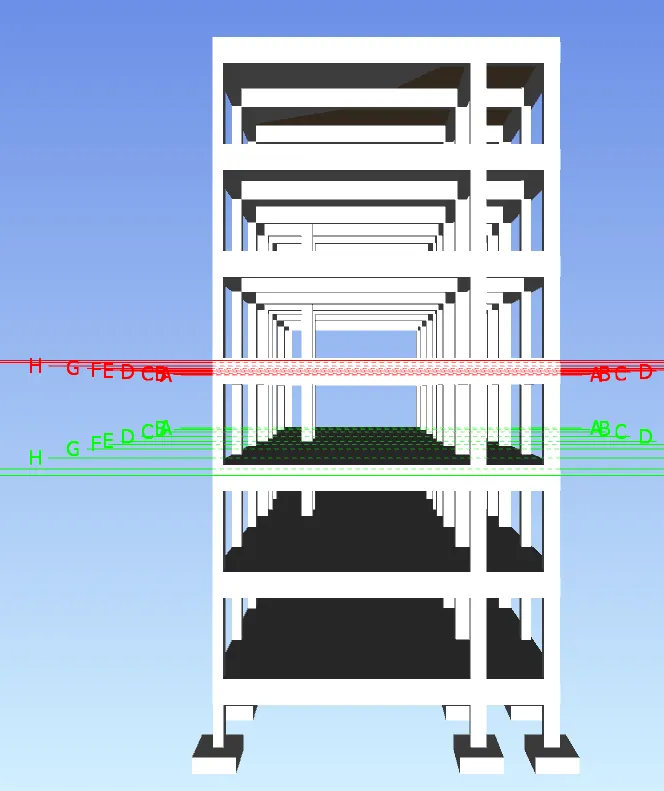
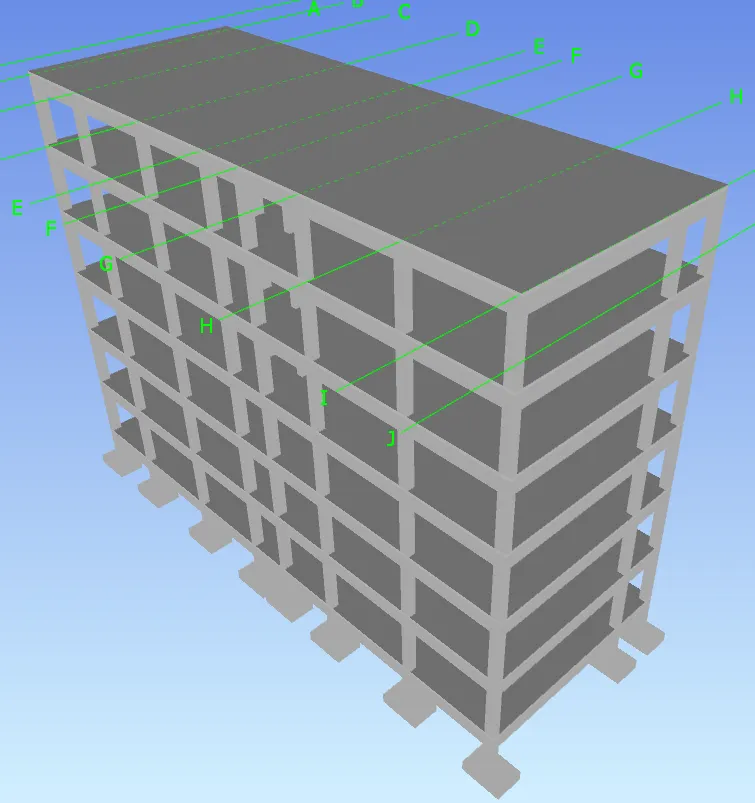
- go to home tab and click on timeliner.
- After clicking the timeliner.
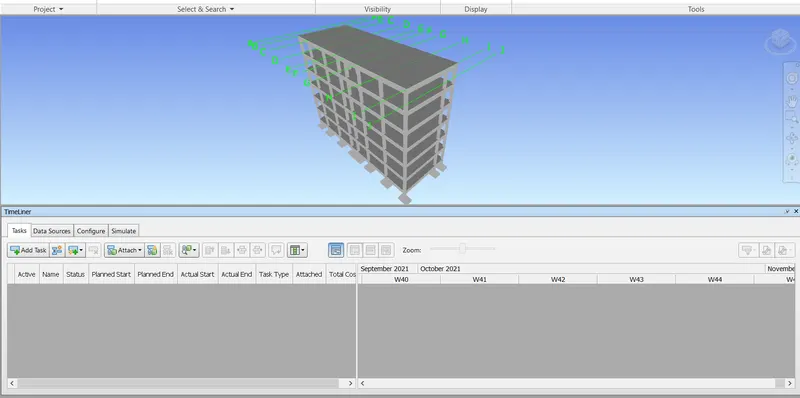
- one dialogue box will open
- And click on add task.
- Name that activity
- And select the dates as per requirement.
- Again add the task
- Enter the details as per requirement.
- do the same procedure for other tasks also.
- After completion of all tasks.
- Go to stimulate.
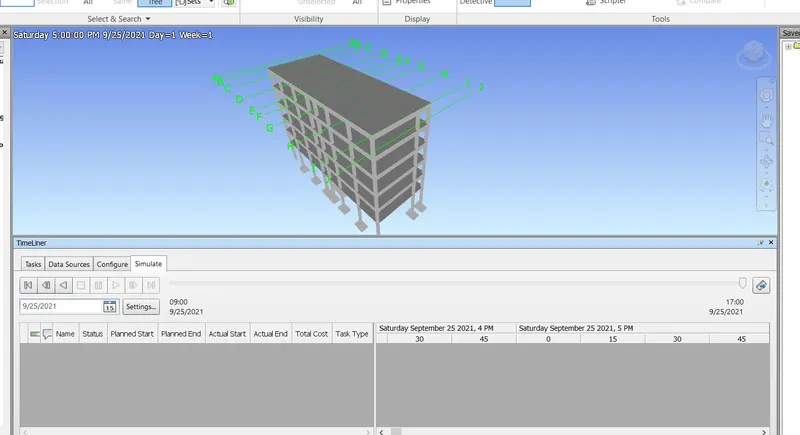
- save the project.
Result:
The timeline simulation to navisworks file saves successfully.