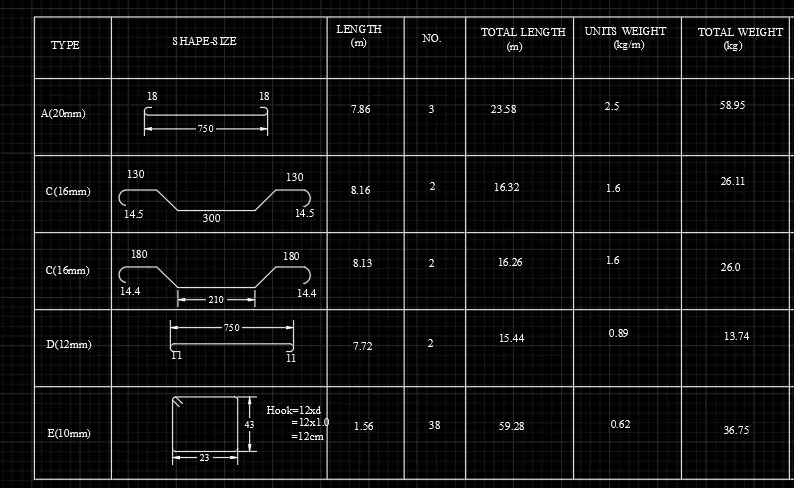
Creating Bar Bending schedule, Different Door types, and Creation of standard drawing templates using AutoCad
1. Aim: To create custom1_tittleblock and custom2_tittleblock templates by using the block command
Procedure:
Step-1: custom1_tittleblock
- In the command box type L to draw the table.
- In the command box type text
- go to properties tab to change the colour.
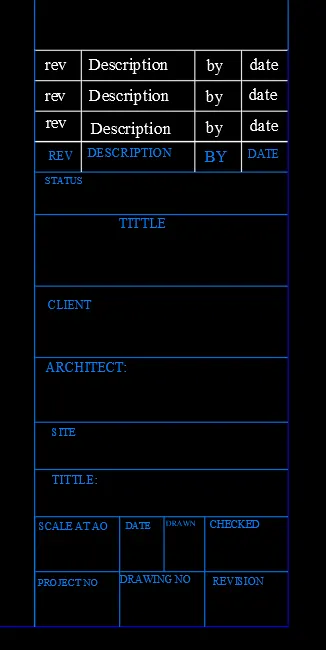
- In the ribbon-block-create block and name, it custom1_tittleblock.
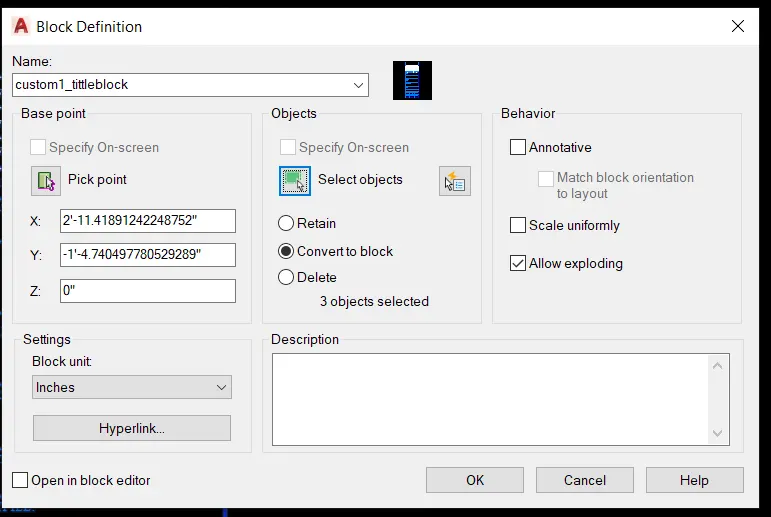
Result: custom1_tittleblock
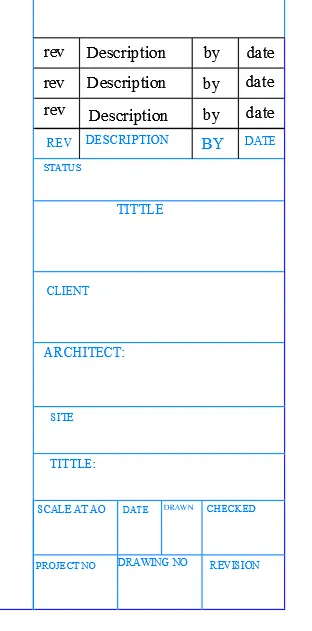
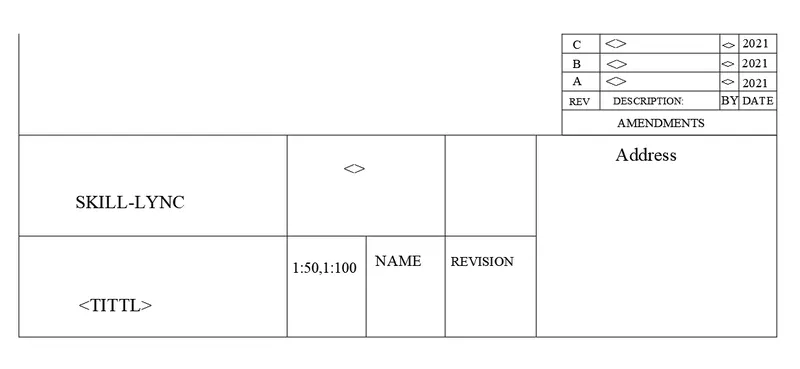
Step-2: Custom2_tittleblock
- In the command box type L to draw the table.
- In the command box type text
- go to properties tab to change the colour.
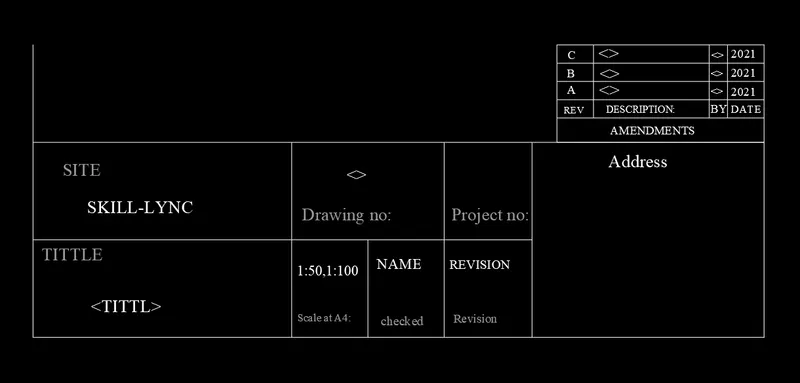
- In the ribbon-block-create block and name, it custom1_tittleblock.
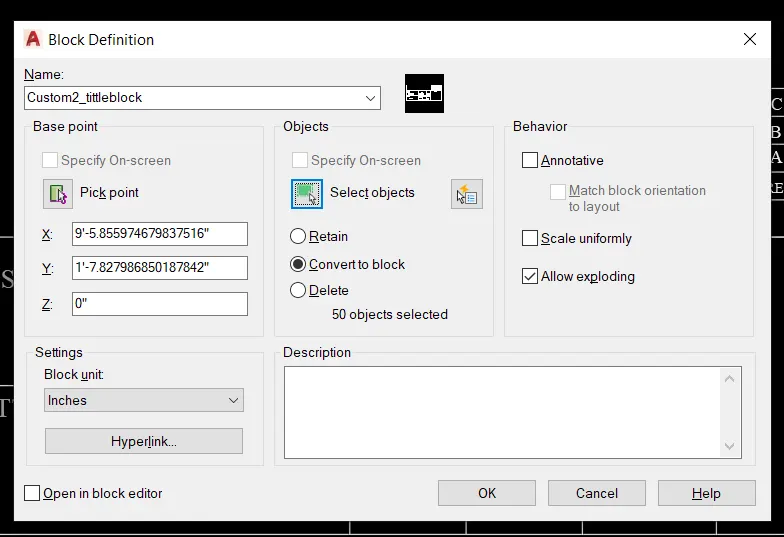
Result: custom_tittleblock
2. Aim: To create the doors type for warehouse and also create the block for doors after creating them.
Procedure:
Step1:
- In the command box type the units - mm
- In the command box type the limax - 100,100
- In the command box type the limits - 0,0
- In the command box type zoom
Step2:
- In the command box type l to draft the lines.
- In the command box type rec to draft the boxes or rectangle.
- In the command box type fillet to get the curves edges.
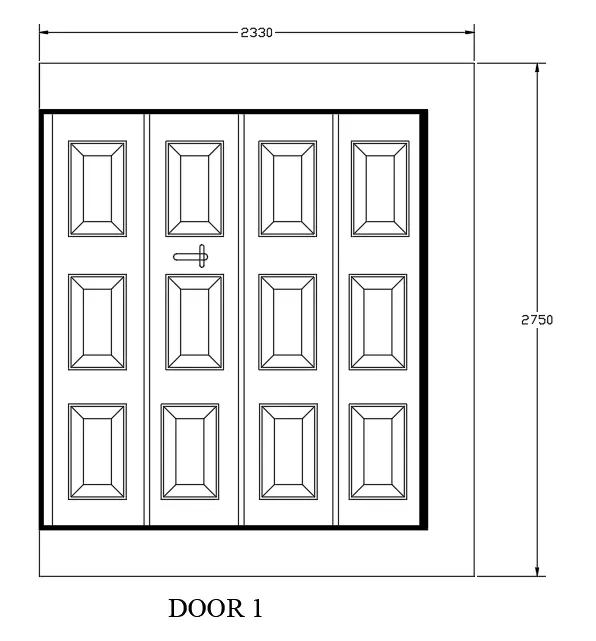
- In the command box type dimensions for door
- In the command box type text
- In the command box type hatch and select solid and change colour to black
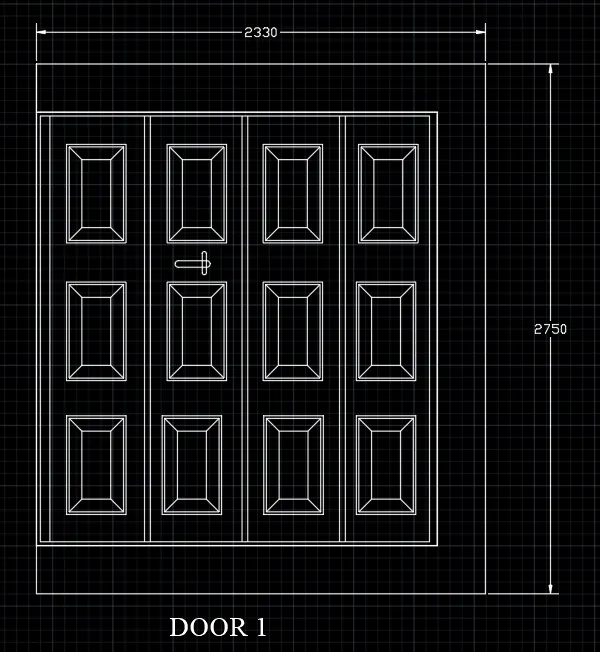
- In the command box type block to create a door block.
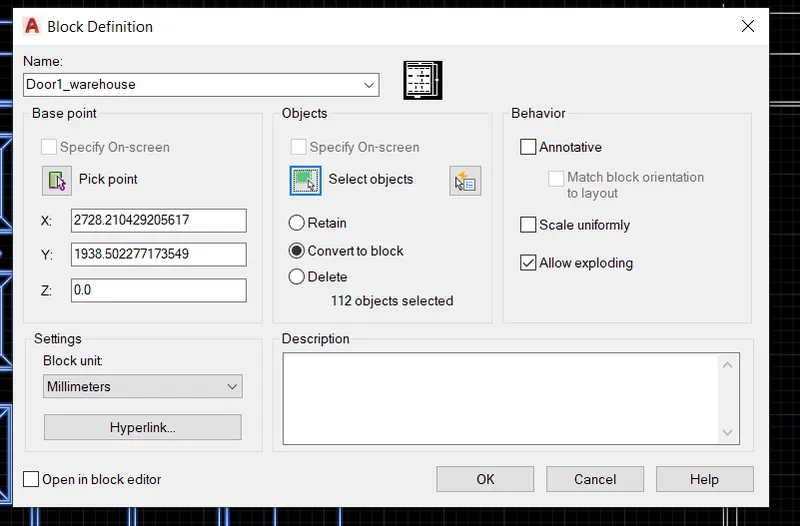
Result: for Door 1
Step3:
- In the command box type l to draft the lines.
- In the command box type rec to draft the boxes or rectangle.
- In the command box type fillet to get the curves edges.
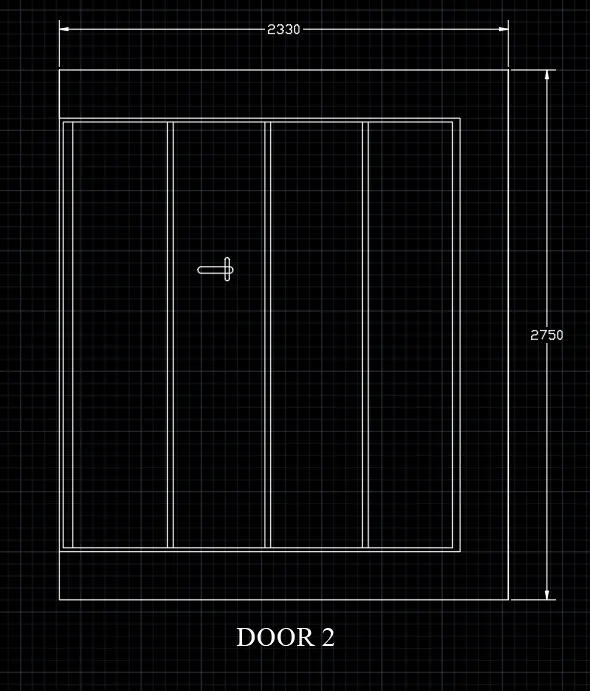
- In the command box type dimensions for door
- In the command box type text
- In the command box type block to create a door block
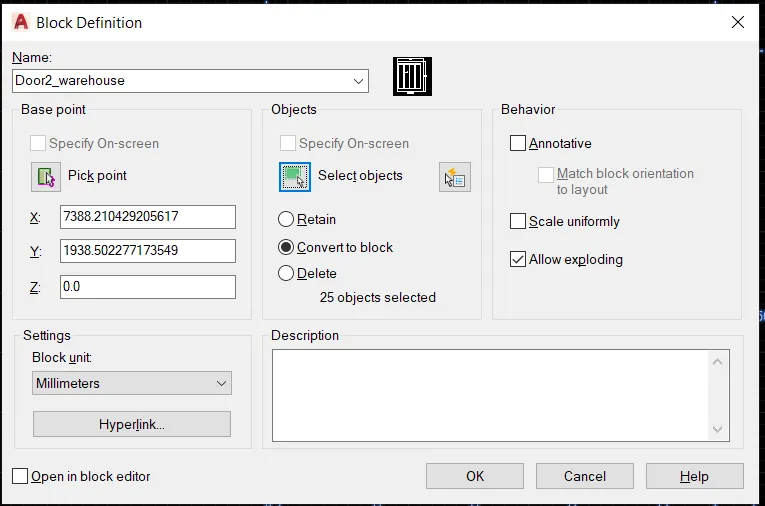
Result: For Door2
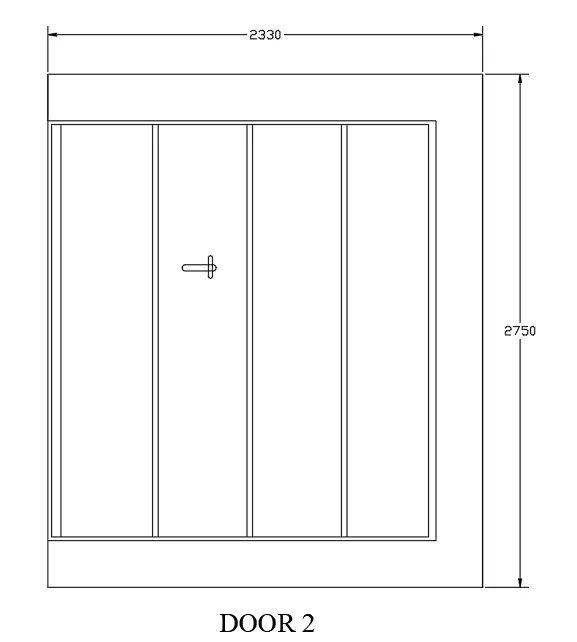
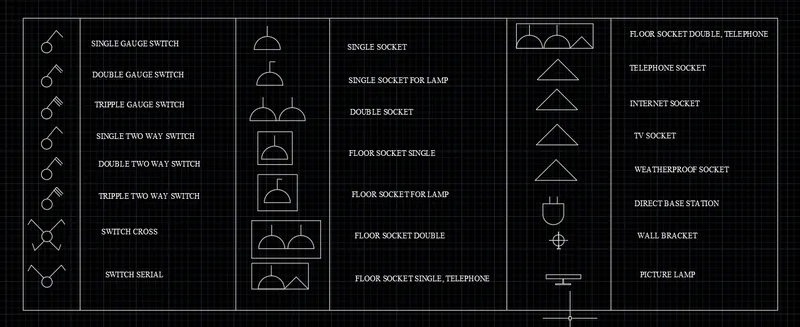
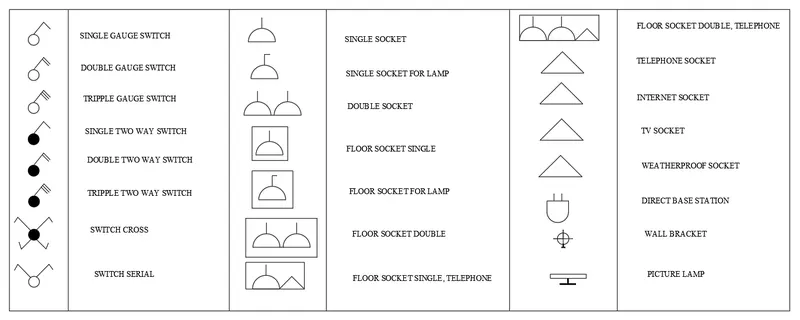
3. Aim: To create each symbol as a block With the name and arrange them in table.
Procedure:
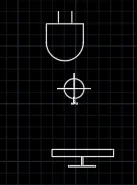
- In the command box type C to get the circle.
- In the command box type L to get the lines
- In the command box type text.

- In the command box type block
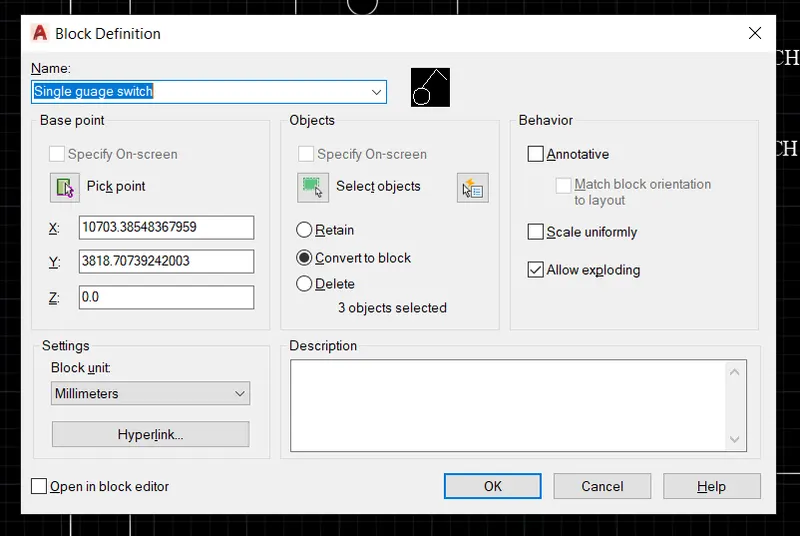
- And the same command is used for all symbols.
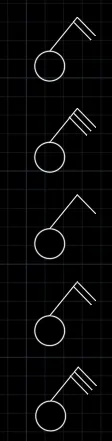
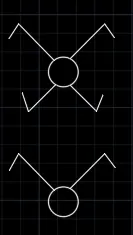
- In the command box type line to draw the lines
- In the command box type arc to create the arc.
- In the command box type Text
- In the command box type Block
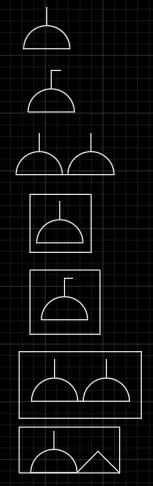
- In the command box type line to create the lines.
- In the command box type Text
- In the command box type Block
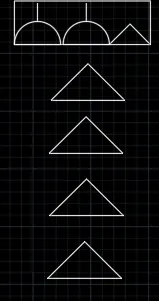
- In the command box type line to draw the lines
- In the command box type fillet.
- In the command box type Text
- In the command box type Block
Final Result:
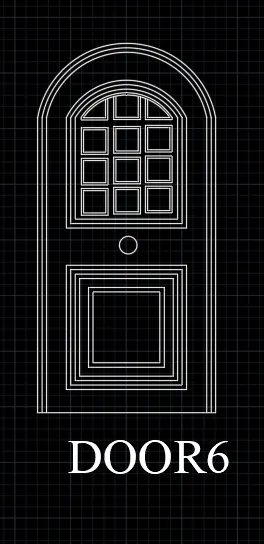
3. Aim: To create the door type for residential building as a block
Procedure:
Step 1:
- In the command box type units-engineering-inches.
- In the command box type limits-0,0 , limax - 100,100
- In the command box type zoom-a
Step 2:
- In the command box type l to draw the lines.
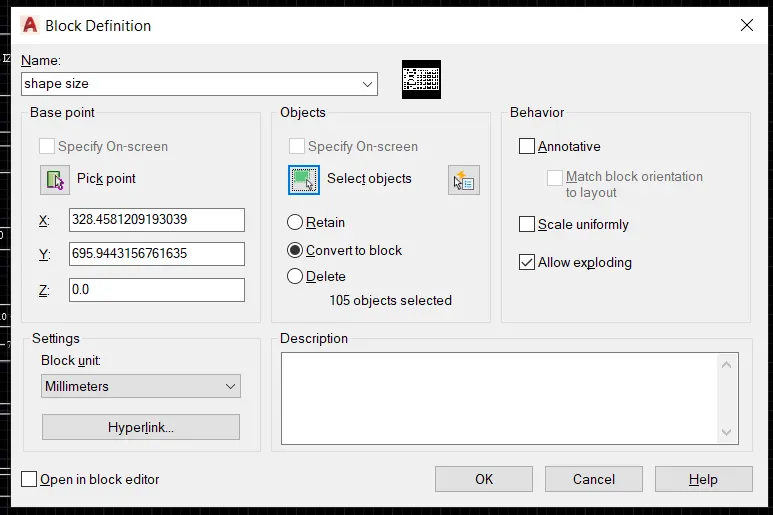
- In the command box type b to create a block
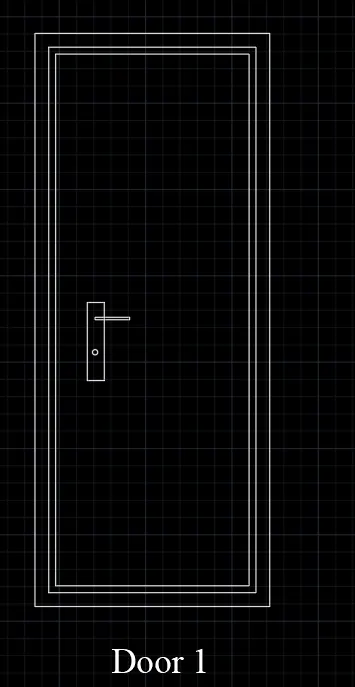
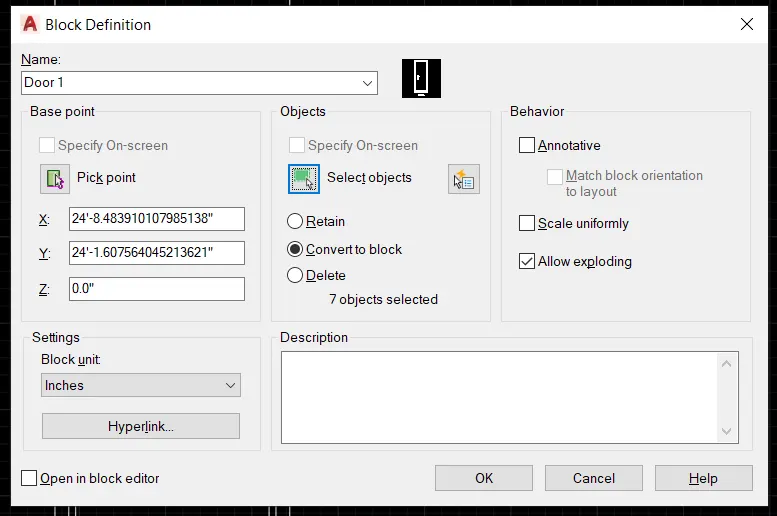
- In the command box type AAT- name the block and save
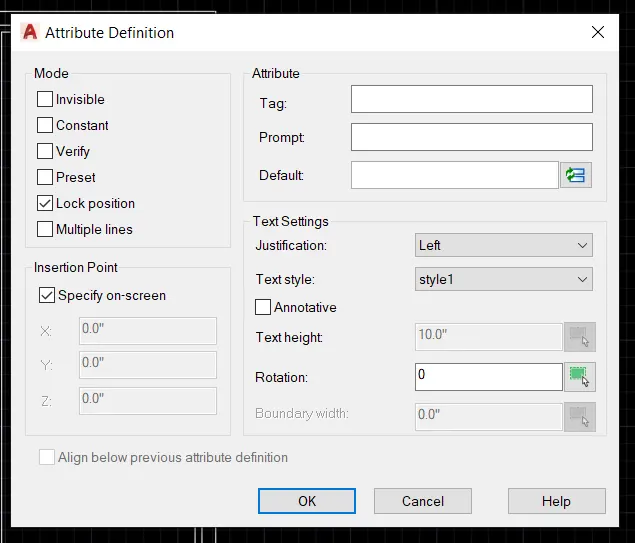
- And do the same command for the rest of the doors.
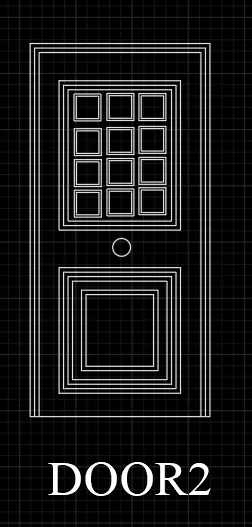
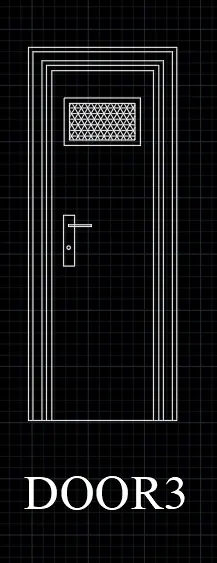
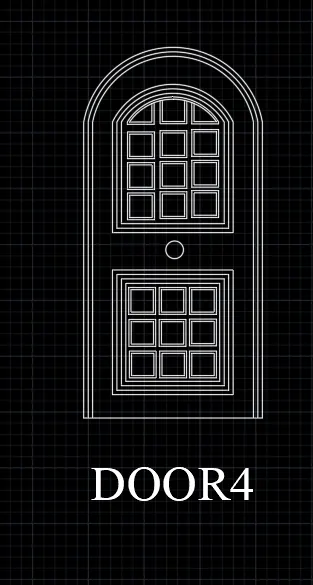
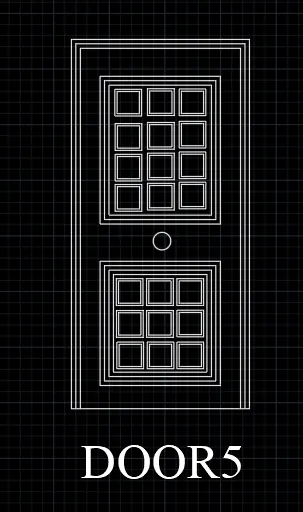
6. Aim: To create each shape as a block and insert them on the tables as given in the picture.
Procedure:
Step 1:
- In the command box type units-decimal-meters
- In the command box type limits-0,0
- In the command box type limax-100,100
Step 2:
- In the command box type l to draw the lines
- In the command box type pl to draw the desired arc, poly lines
- In the command box type mt to give text
- In the command box type b to create the block.
- In the command box type I ti insert the block
- In the command box type table to inseret the table
Result: