3D Creation of Celing, Roof, Architectural plan, Structural plan, Sectional view, Elevation view and Camera specific view for a house plan using REVIT
1. Aim: To model a ceiling above the architecture plan.
Procedure:
- Open Revit software.
- Open the project you created.
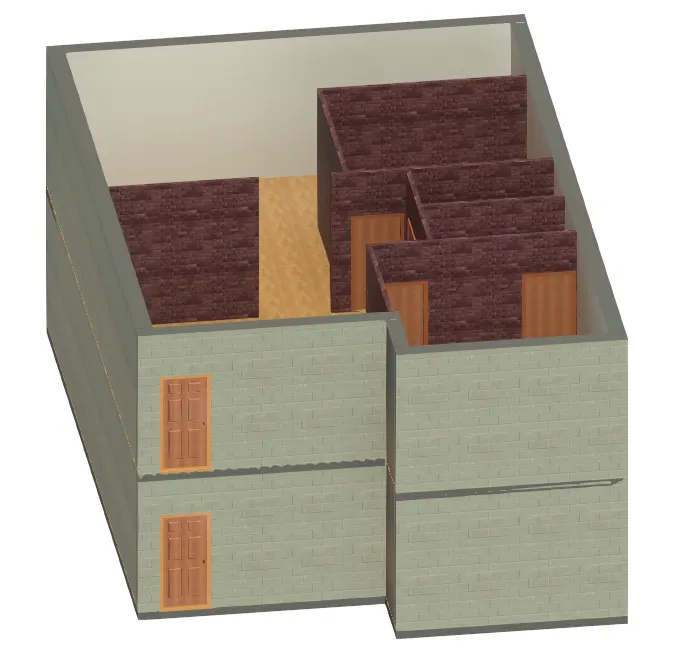
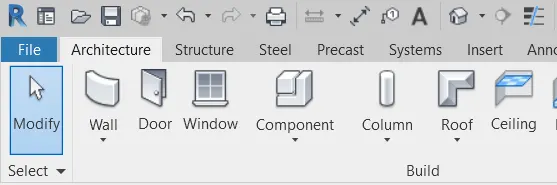
- Select the ceiling from the architecture toolbar.
- Now select each room one by one
Result:
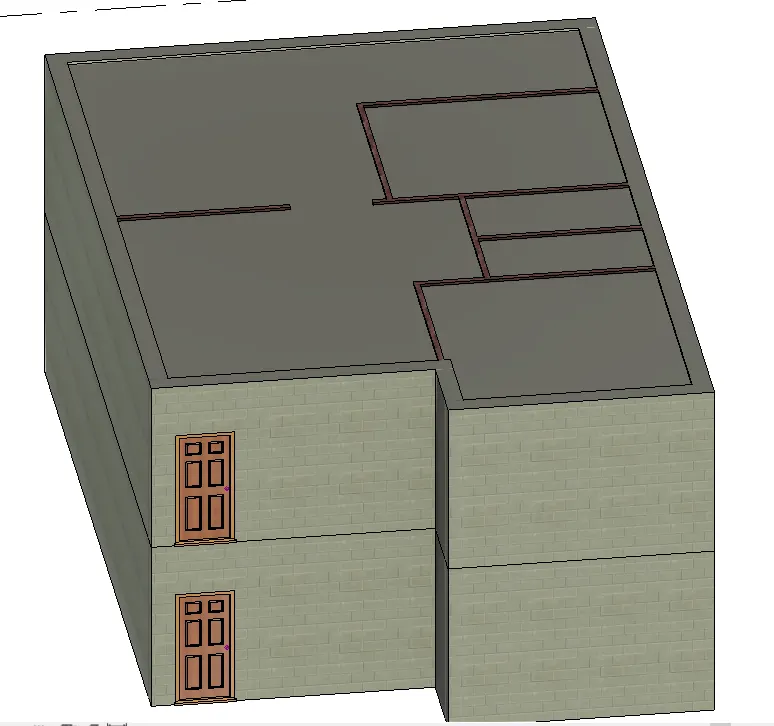
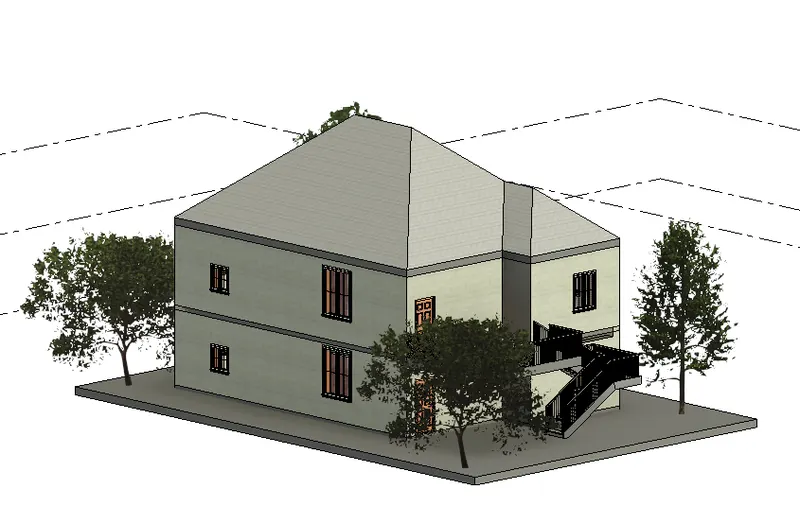
2. Aim: To create a roof above the ceiling and adjust the roof slop 10 degree
Procedure:
- Open Revit software.
- Go to the previous project.
- Click on the architecture toolbar-roof
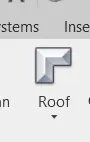
- Go to level 2 and select the lines
- In the Properties change the degree to 10
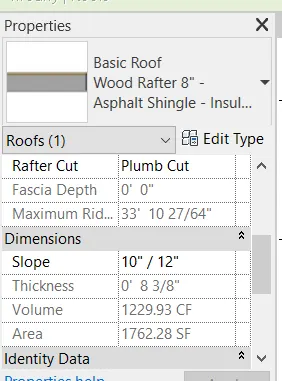
Result:
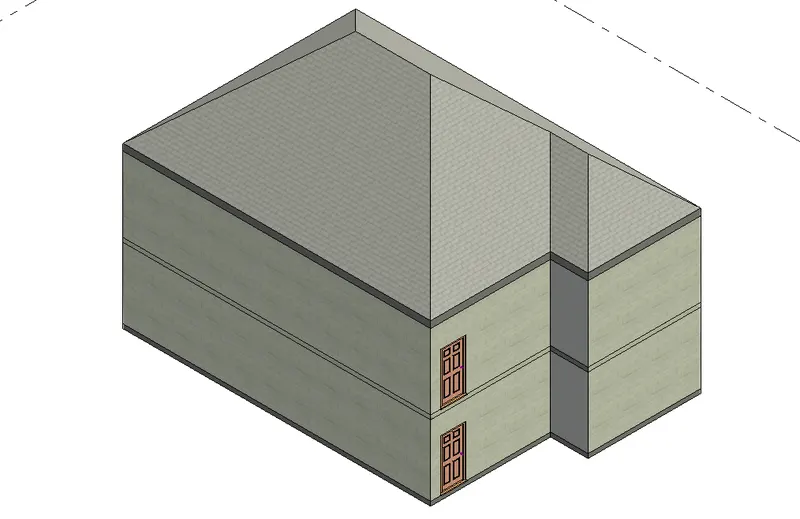
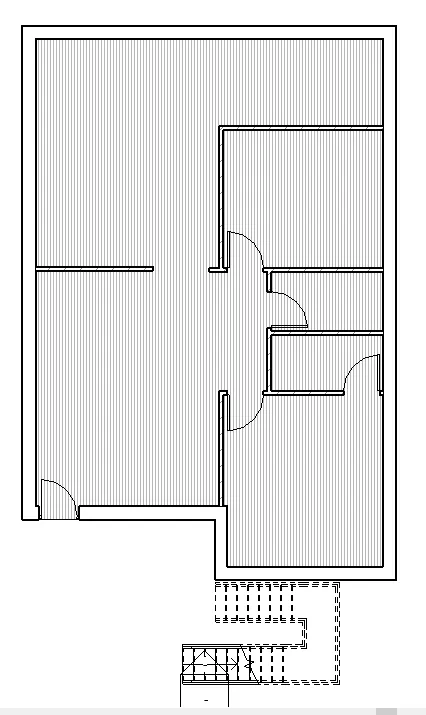
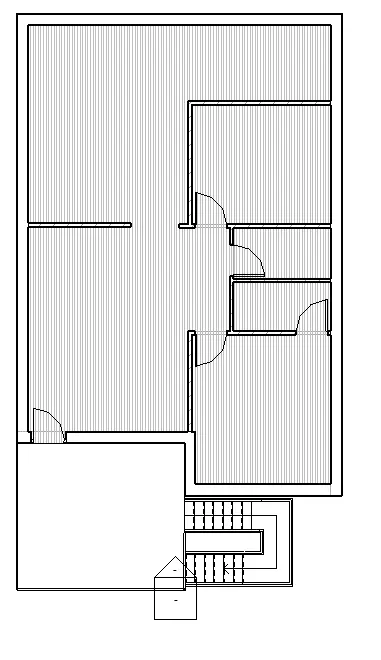
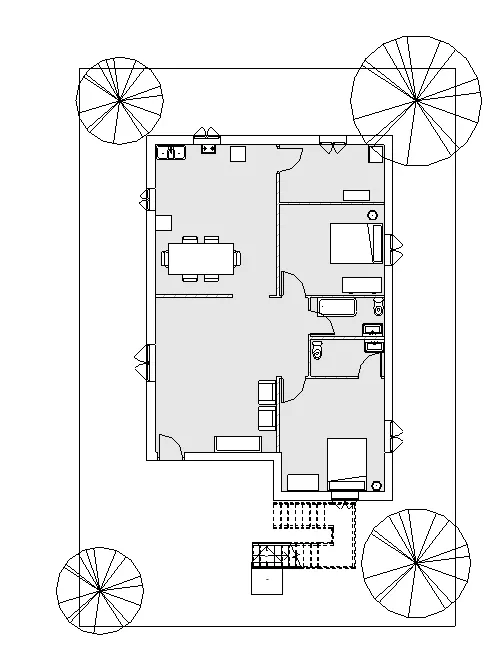
3. Aim: To create the architectural plan and structural plan view.
Procedure:
- Open Revit software.
- Go to the previous project.
Structural plan:
- Click on level 1
Level 2
Architectural plan:
- In architectural pan give furniture, windows, doors.
- Go to architecture toolbar-component-load family
- click on furniture and select what you want.
4. Aim: To create the grids for the architectural plan and also add dimensions.
Procedure:
- Open Revit software.
- Go to the previous project.
- Go to the toolbar and click on grids
- And select the longitudinal grids.
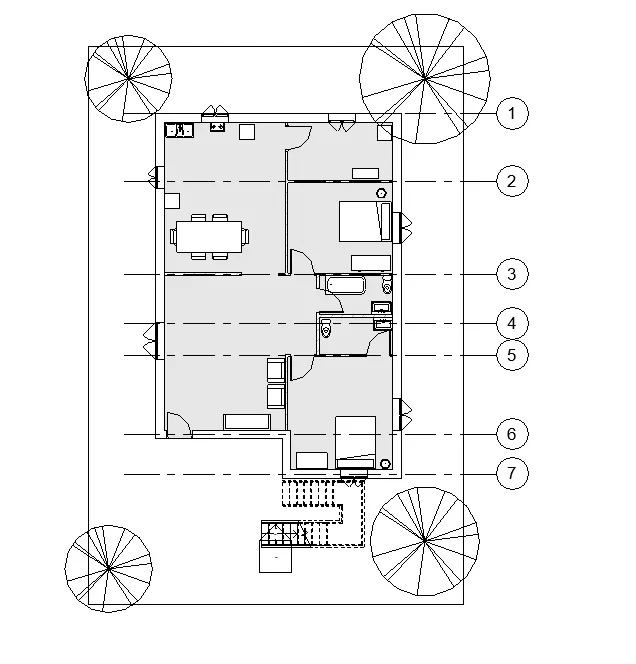
- now give the transverse grids.
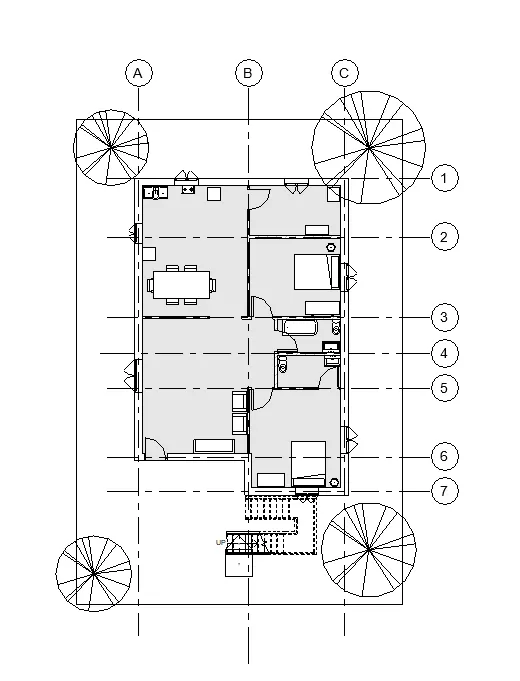
- Go to annotate toolbar and select dimension
- give the dimensions for walls
Result:
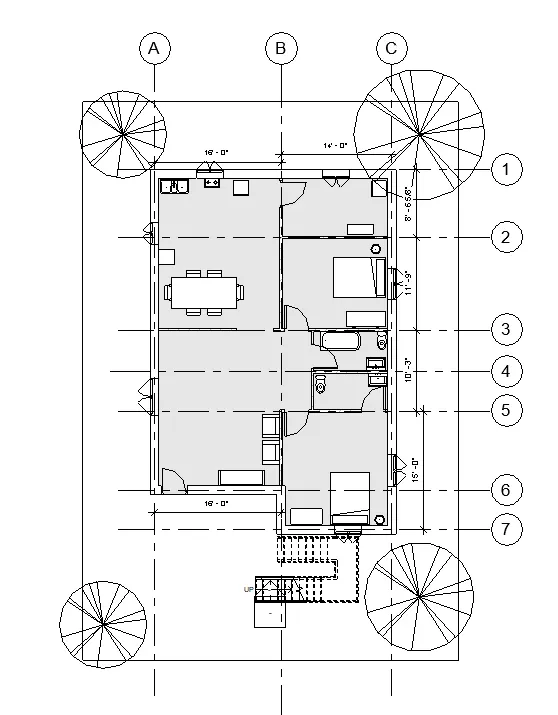
5. Aim: To create a sheet template from the view tab and adjust the parameters on the sheet to add appropriate views.
Procedure:
- Open Revit software.
- Go to the previous project.
- Go to the View tab of the panel
- Choose the sheet option in the sheet composition panel of the view tab.
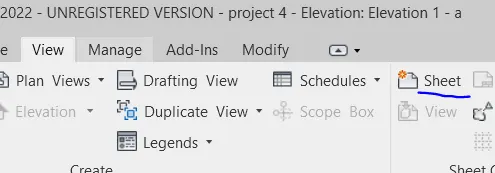
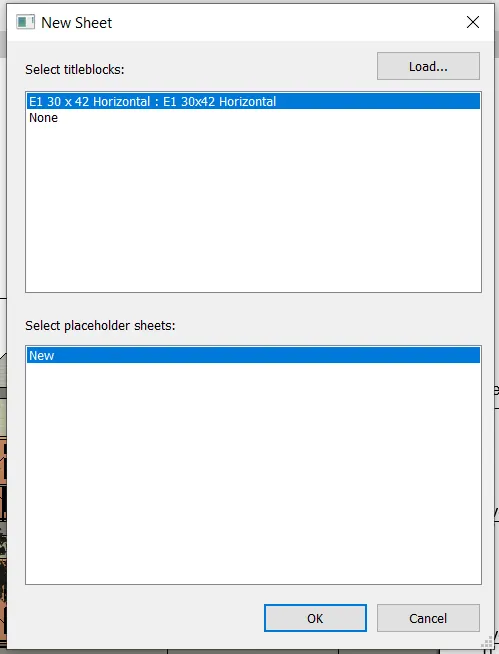
- Click on load
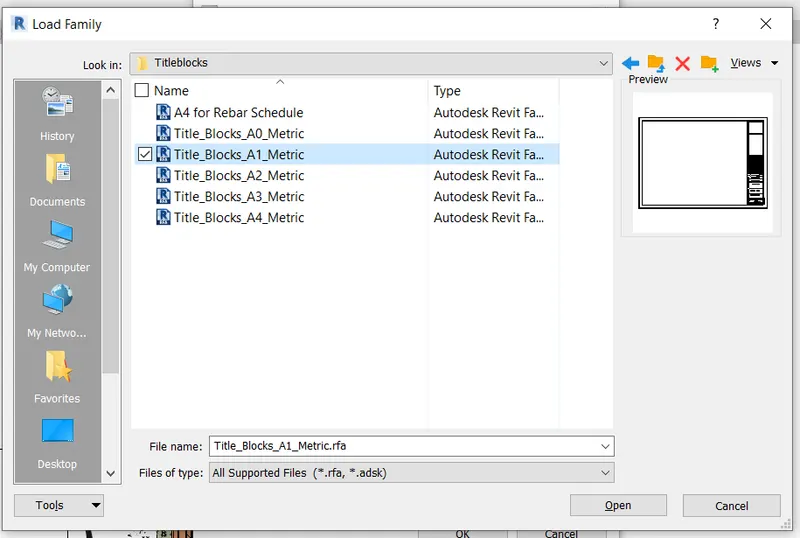
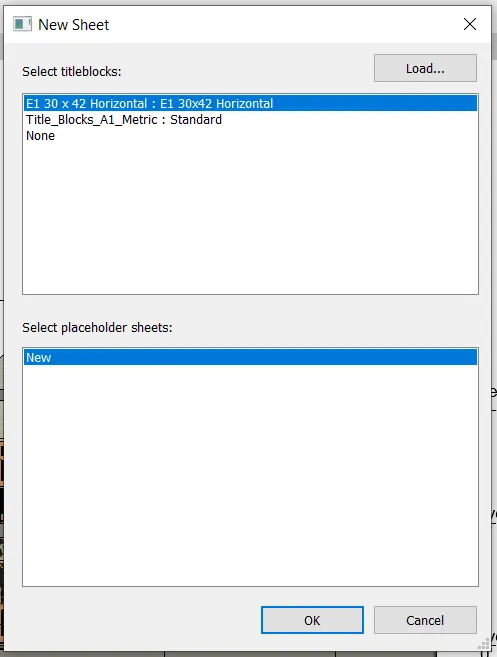
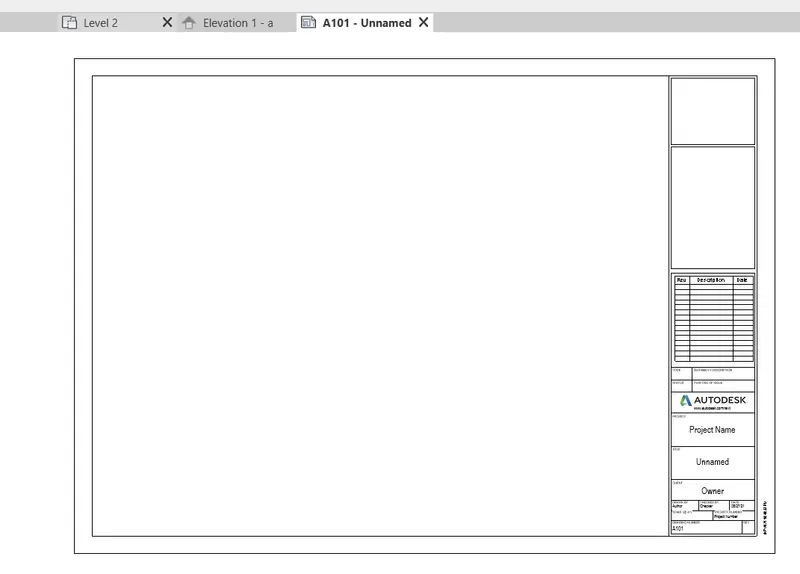
- Go to View tab click on view.

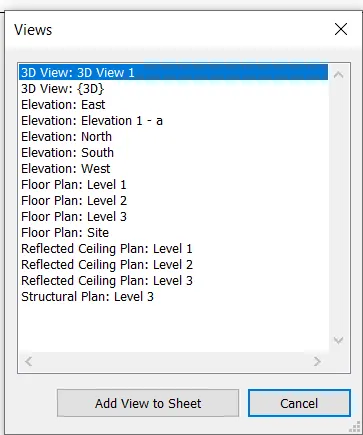
Result:
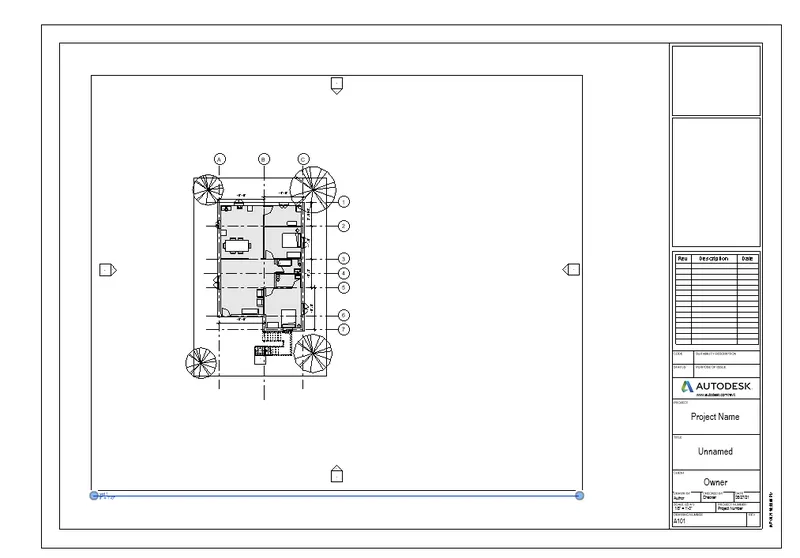
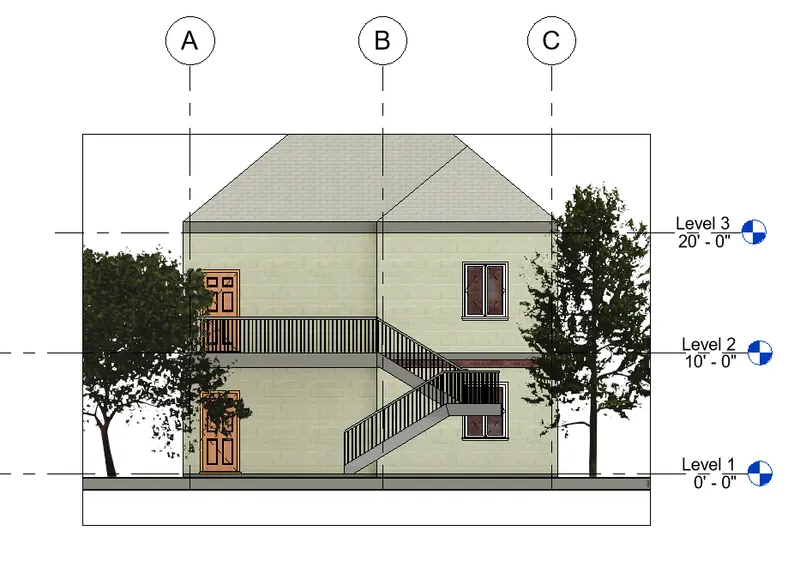
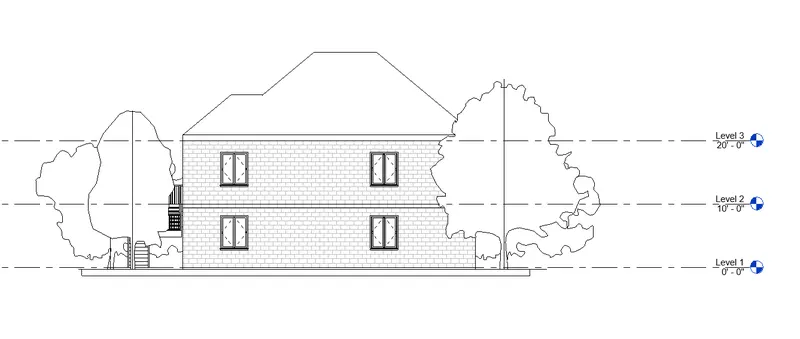
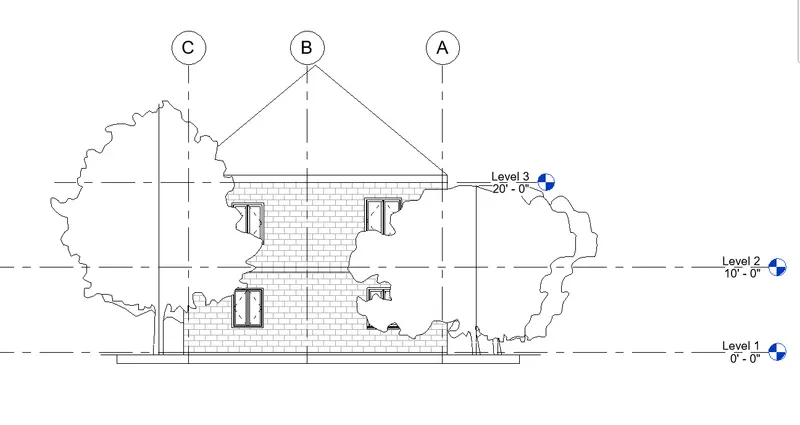
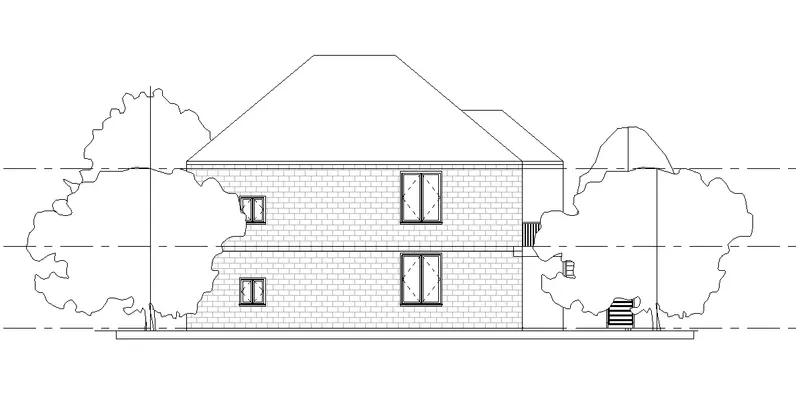
6. Aim: To create an elevation view from an elevation view tab of north, east, west, south.
Procedure:
- Open Revit software.
- Go to the previous project.
- Go to the elevation view tab and select the view of north, east, west, south.
East view
North view
South
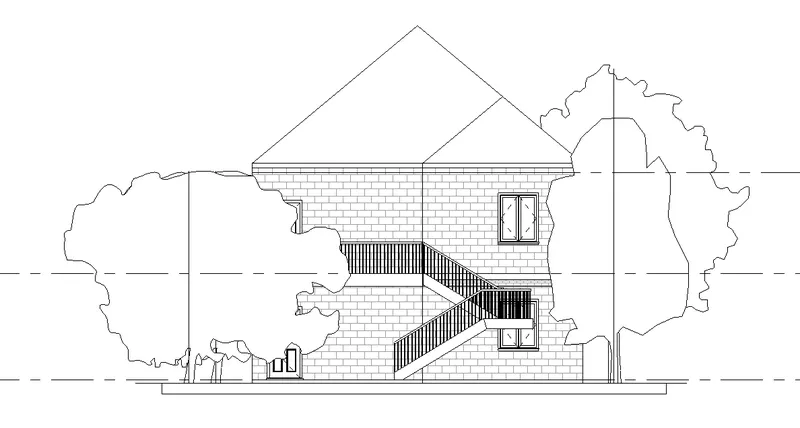
West view:
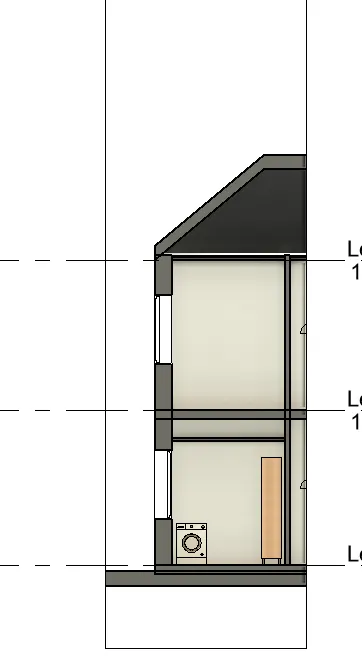
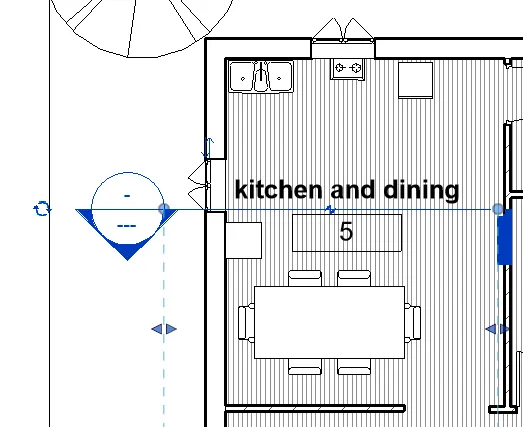
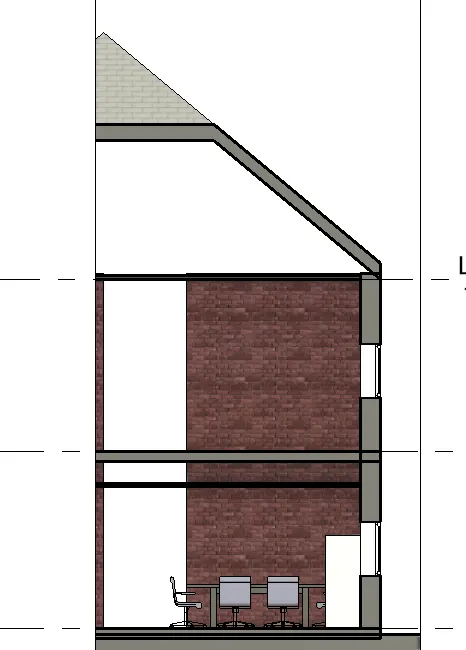
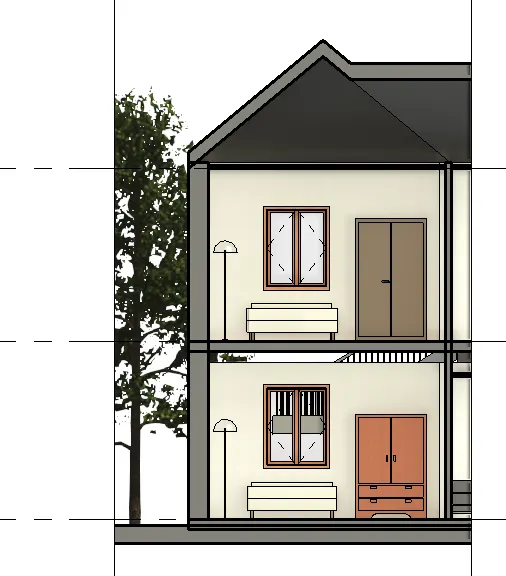
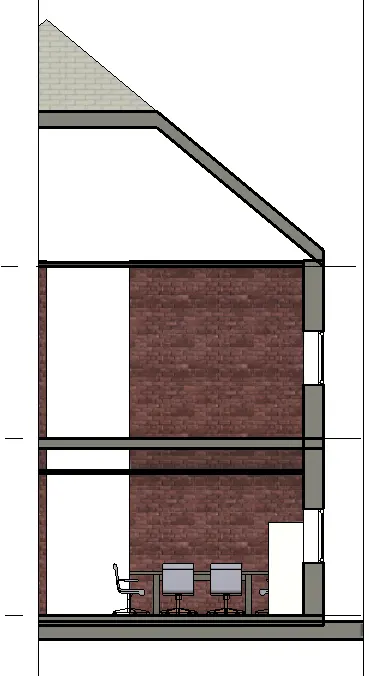
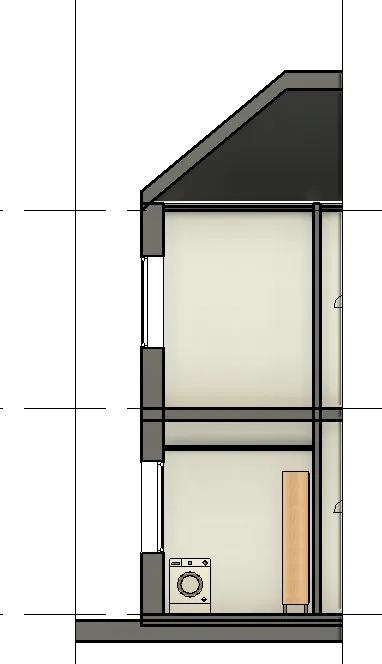
7. Aim: To create a section through each room, creating a section of longitudinal and transversely.
Procedure:
- Open Revit software.
- Go to the previous project.
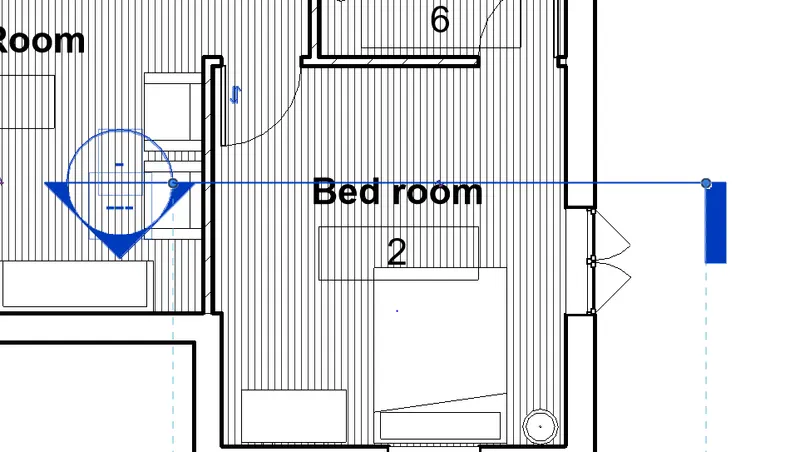
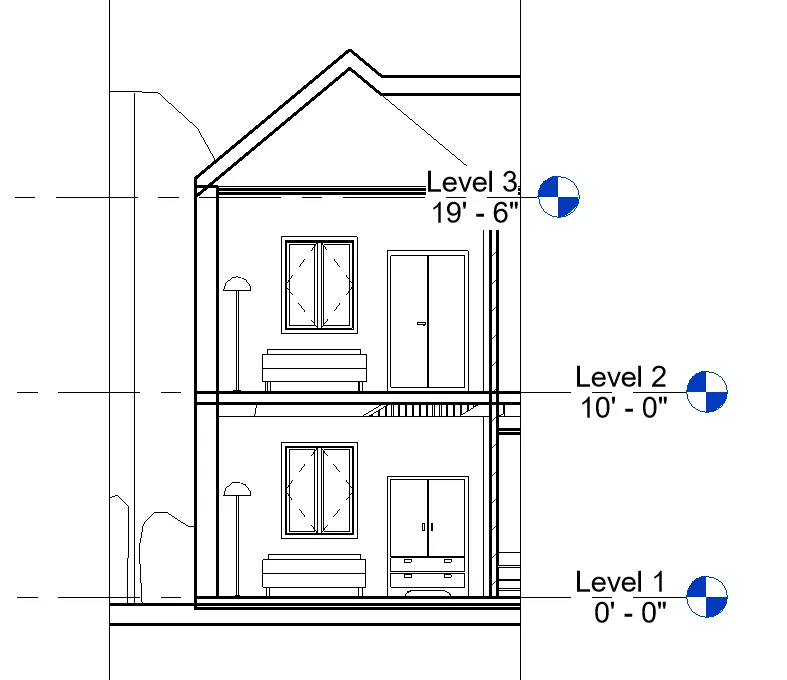
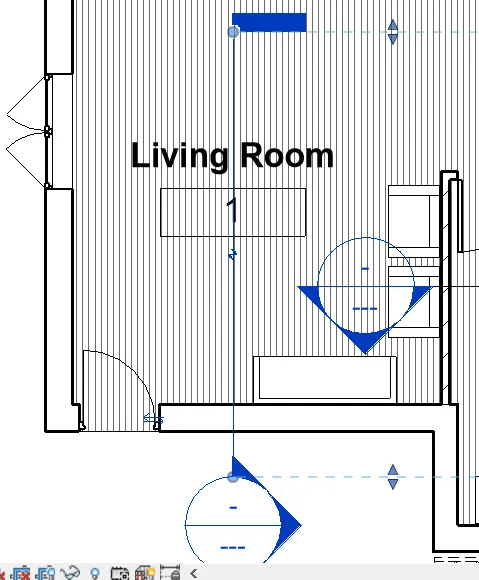
- Click on the section tab from the view tab, draw the section in the bedroom through the longitudinal.
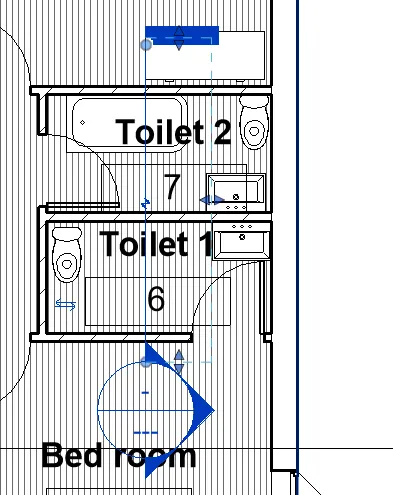
- Select section view in the toilet of transverse view.
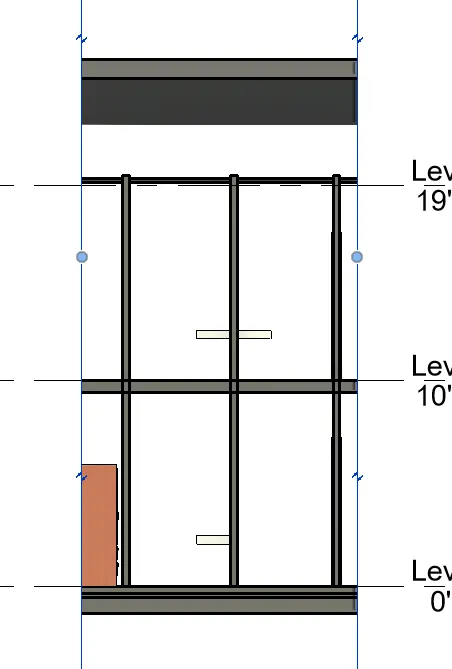
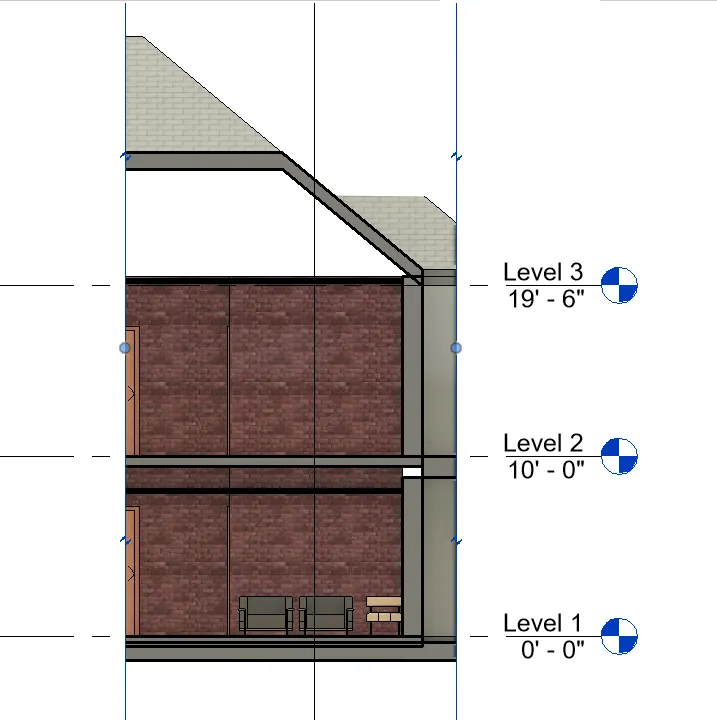
Living room section
Storeroom view
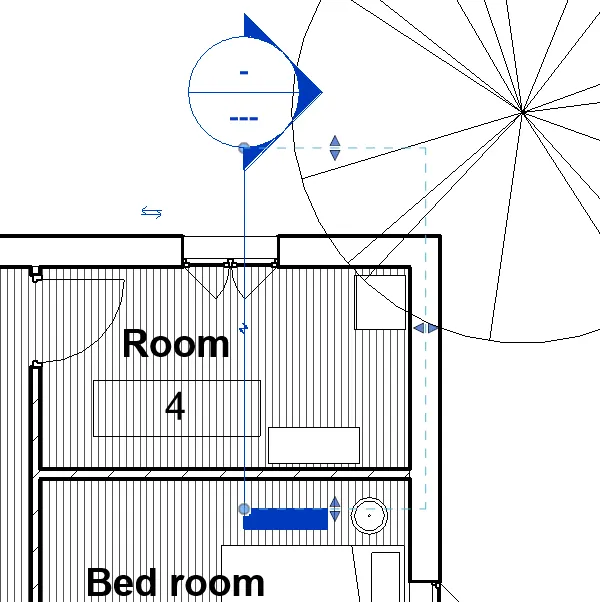
Dining room:
Result:
The section view is created
- Bedroom
- Living room
- Toilet
- Dining
- Storeroom
8. Aim: To classify different views like plan view, section views and elevation views and document them in the project browser.
Procedure:
- Go to the plan view of level 1
- In the properties go to elevation
West view
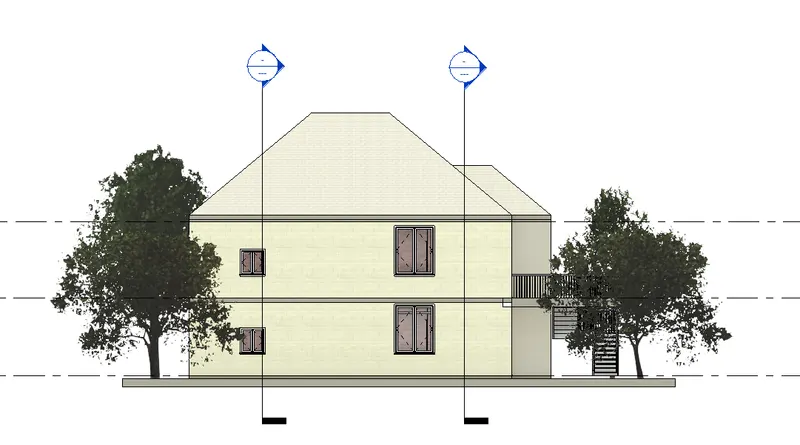
East view
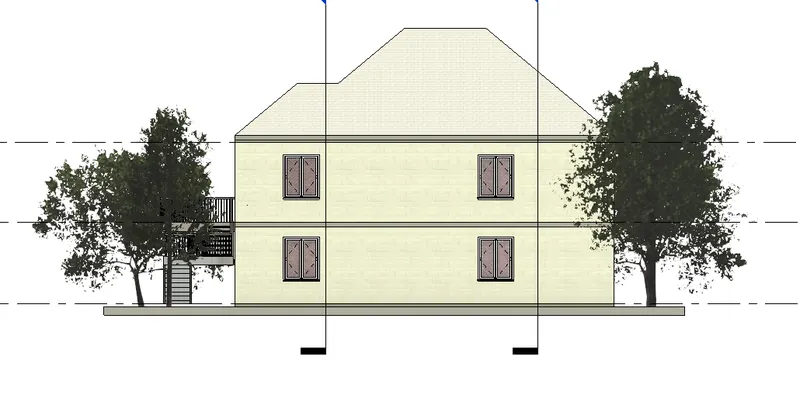
North view
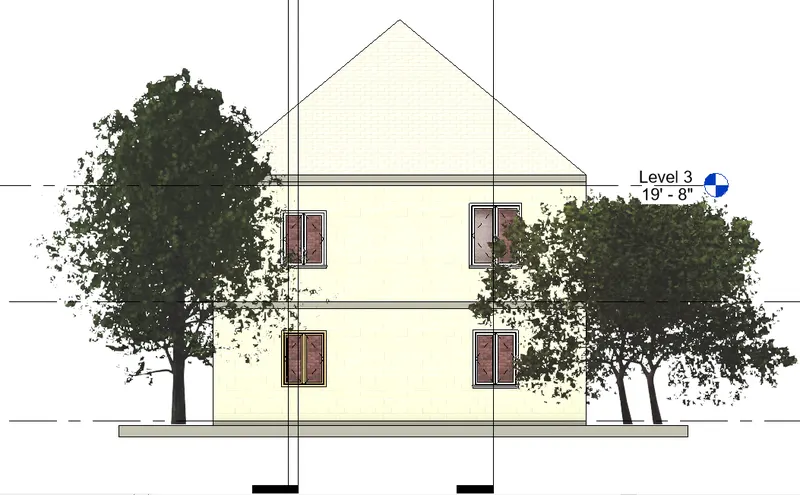
South view
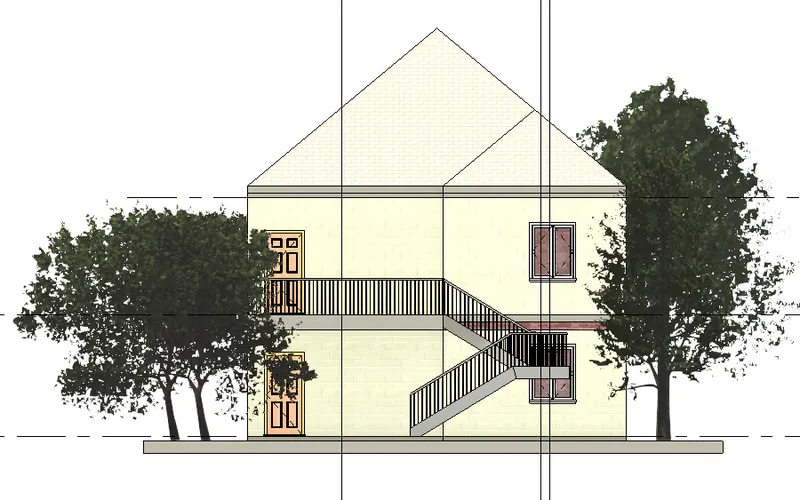
Section view
Living room
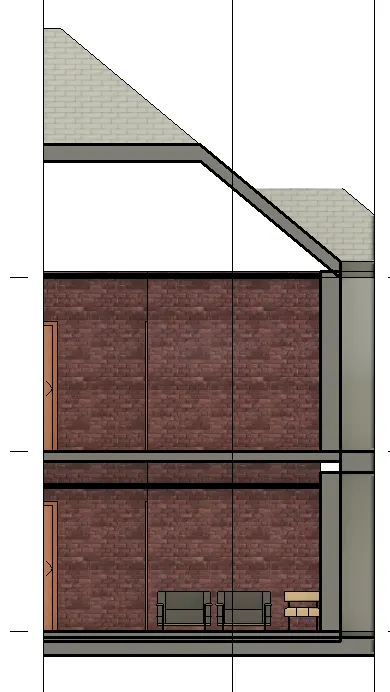
Bedroom
Dining room
Storeroom
9. Aim: To create multiple sheet templates using sheet templates.
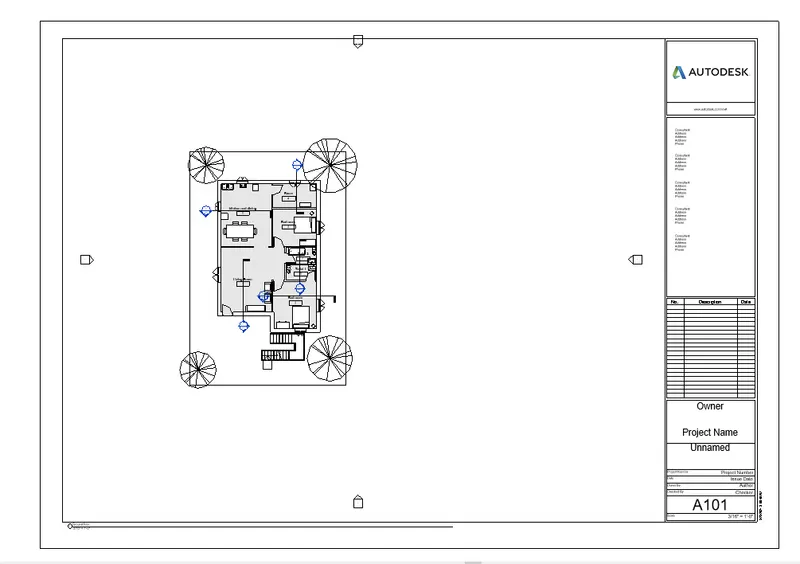
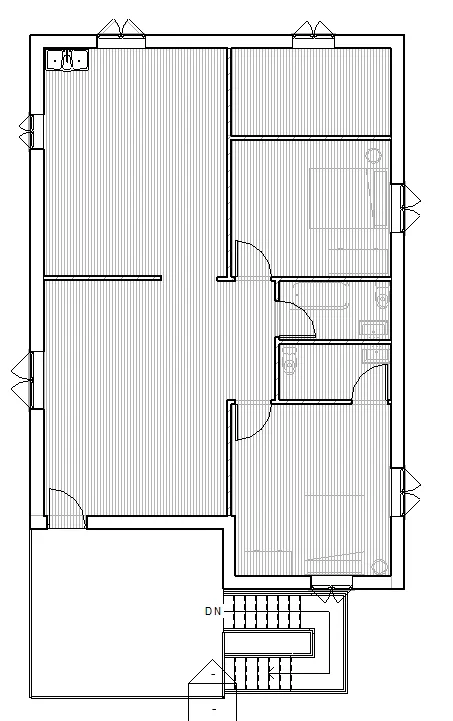
1.A 101-Ground floor architecture plan
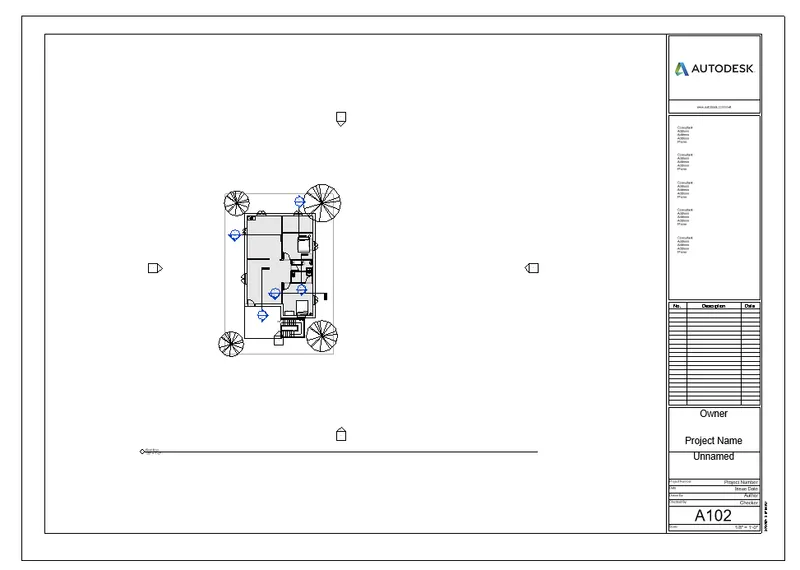
2.A 102-First floor architecture plan
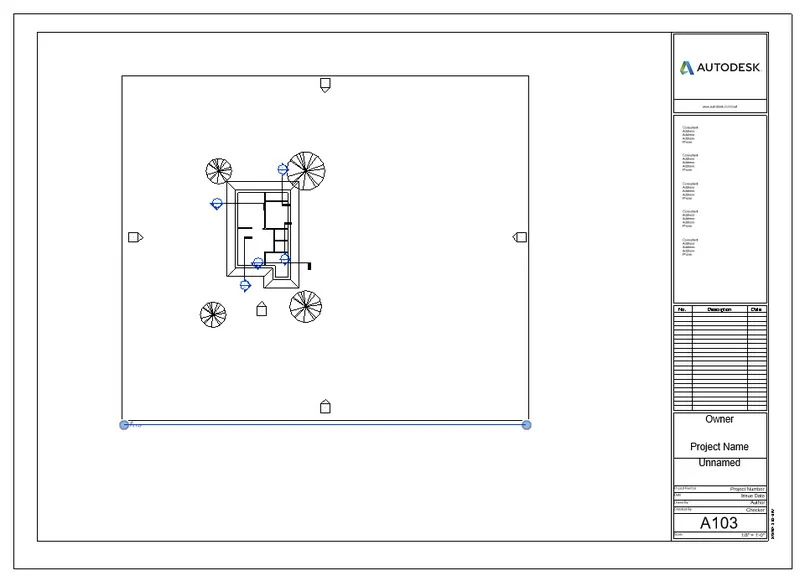
3.A 103-Roof plan
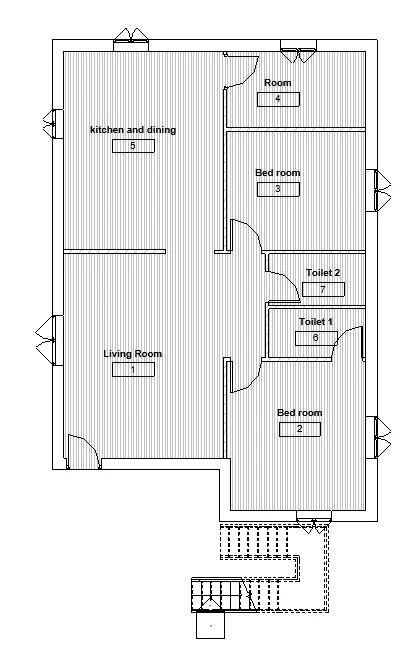
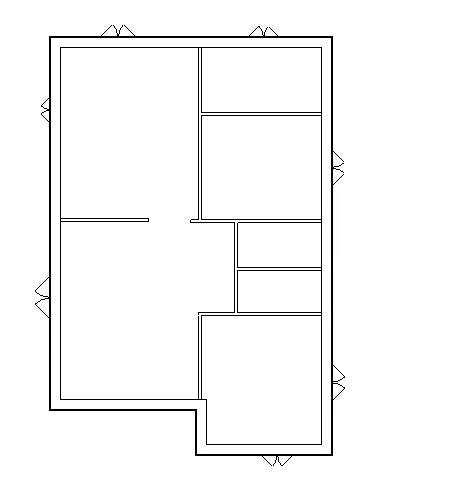
4.S 101-Ground floor structural plan
5.S 102-First floor structural plan
6.S 103-Roof plan
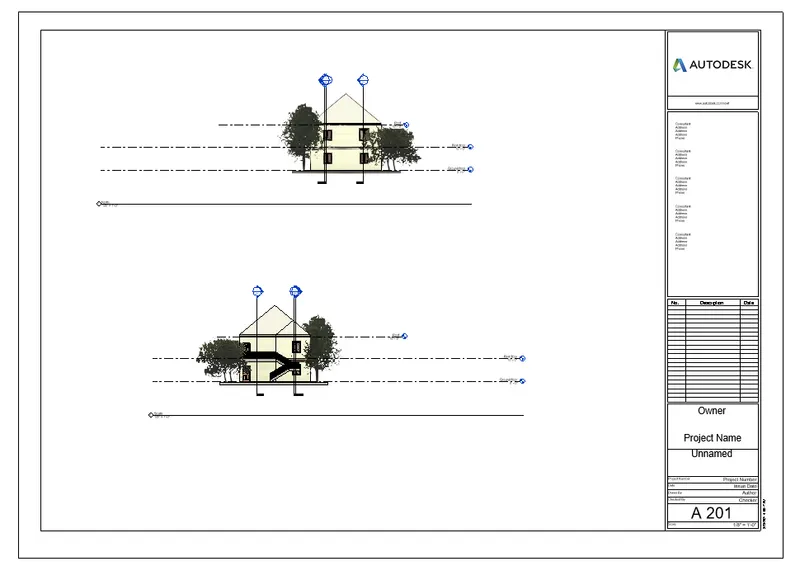
7. A 201-North-south elevation
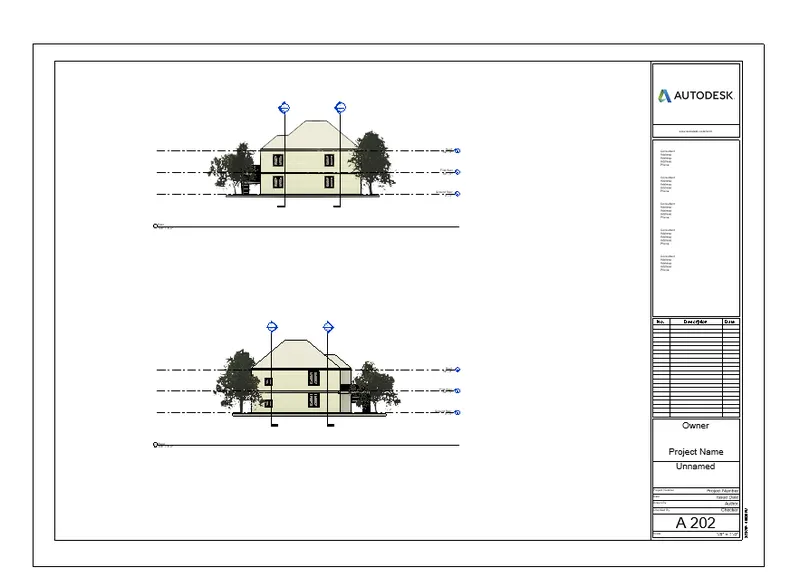
8.A 202-East-west elevation
Procedure:
- Go to the View tab and select sheet
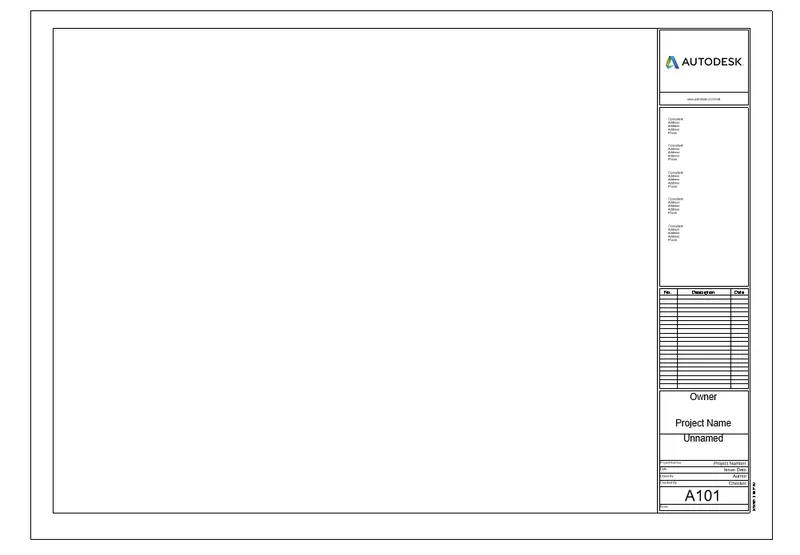
- Go to the View tab and select view.
Ground floor architecture plan
First-floor architecture plan
Roof plan
Ground floor structural plan
First-floor structural plan
Roof structural plan
North-south elevation
East-West elevation
Section view
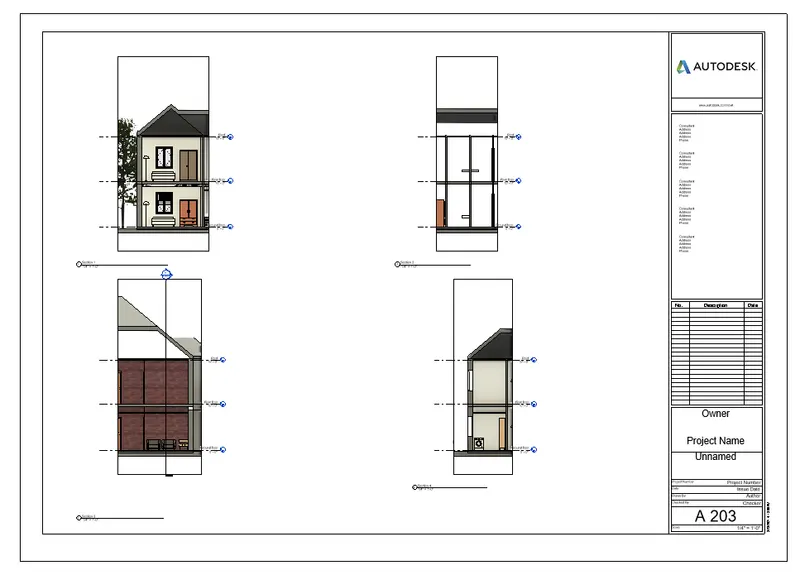
10. Aim: Creating camera views for each room and creating the sheets for 3d views
Procedure:
- Go to the view toolbar and select camera.
- Go to the view toolbar and select sheet
- Go to the view toolbar and select view.
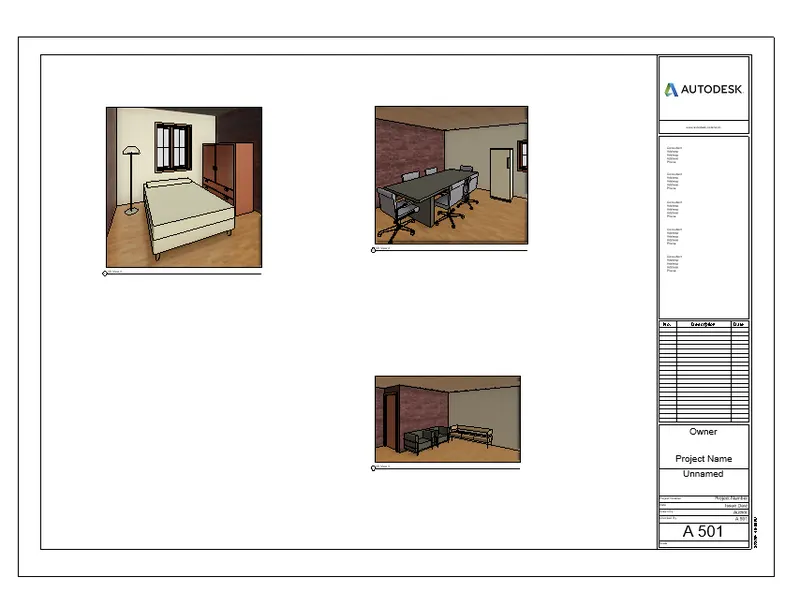
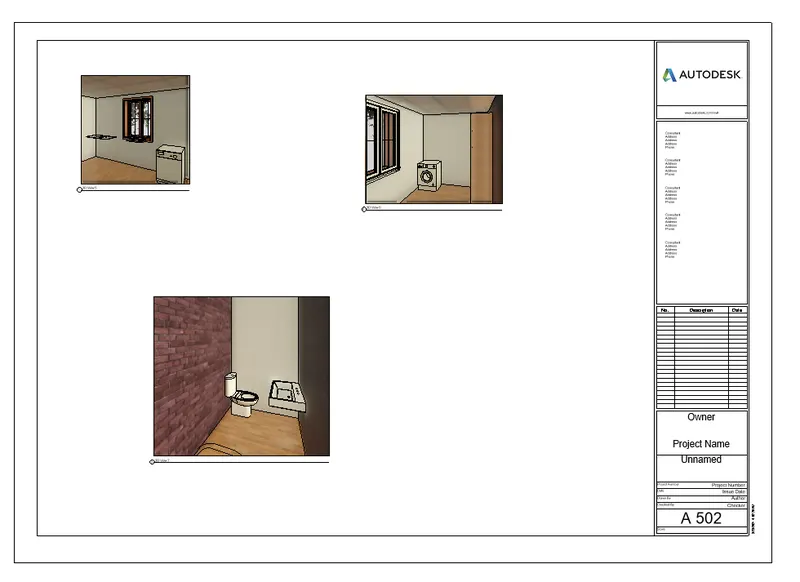
Result: Camera views of all rooms created and sheets are created accordingly.