Creating Levels, Grids, Layout and model elements for a residential unit using REVIT
1. BIM: Building information modeling (BIM) is an intelligent 3D model-based process that gives architecture, engineering, and construction (AEC) professionals the insight and tool to more efficiently plan, design, construct and manage buildings and infrastructure. It is a process supported by various tools, technologies, and contracts involving the generation and management of digital representations of physical and functional characteristics of places. Building information models (BIMs) are computer files that can be extracted, exchanged or networked to support decision-making regarding a built asset. BIM software is used by individuals, businesses and the government agencies who plan, design, contract, operate and maintain buildings and diverse physical infrastructure such as water, refuse, electricity. Gas, communication utilities, roads, railways, bridges, ports and tunnels.
Features of BIM:
- Improved visualization
- Improved productivity due to easy retrieval of information.
- Increased coordination of construction documents.
- Embedding and linking of vital information such as vendors for specific materials, location of details and quantities required for estimation and tendering.
- Increased speed of delivery
- Reduced costs.
- It contains most of the data needed for building performance analysis.
2. Aim: To understand the concept of categories, families, elements, instances in Revit.
Procedure:
Step1:
- Open Revit-new-architectural template-project.
- Save the file using the save tab
Step2:
- Click on the architectural tab-component tool.
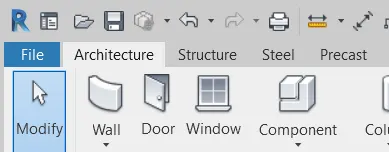
- Click on place a component.
- Then click on
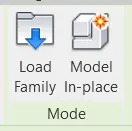 load family.
 - Click on structure precast-custom slab.
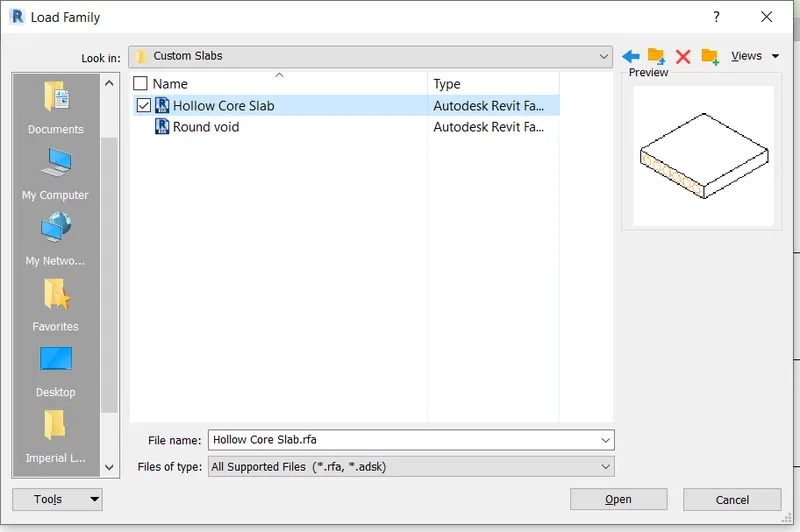
- Select Hollow-core slab and then click on ok.
- Families can also be added from the project browser.
3. Aim: To set up a Project.
Procedure:
Step1:
- Open Revit software.
- Click on the New-Architectural template.
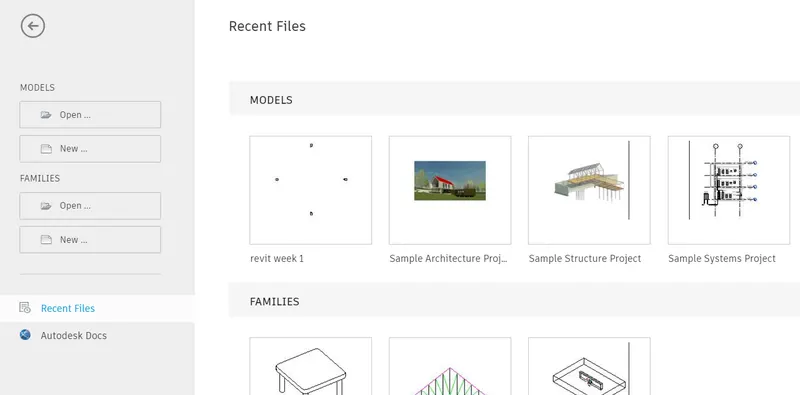
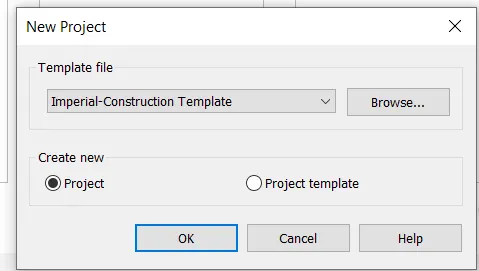
Step2:
- Click on save icon.
- Save the file with any name.
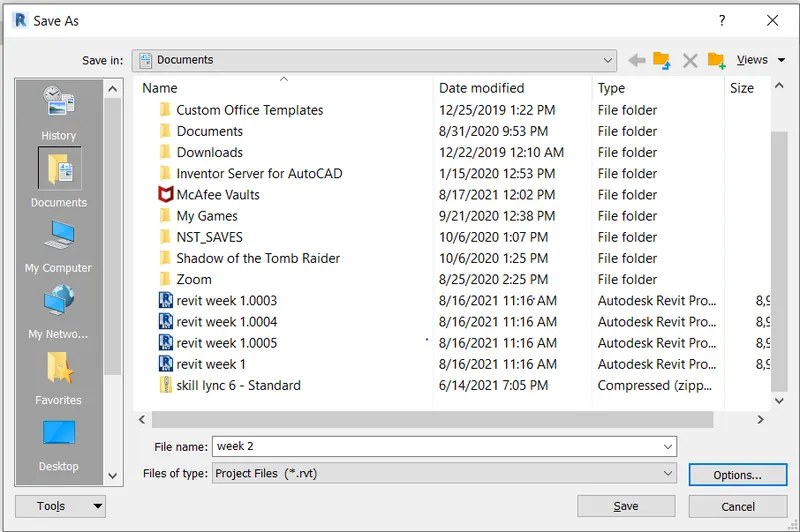
Step3:
- Type UN in the command box.
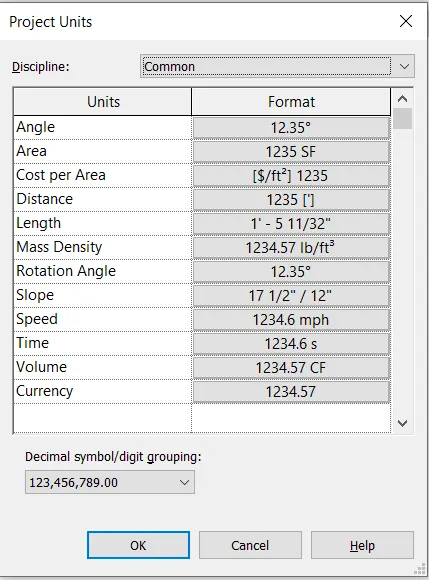
Step4:
- click on manage tool-project information.
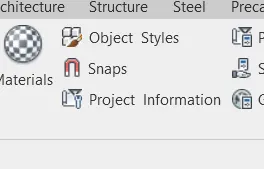
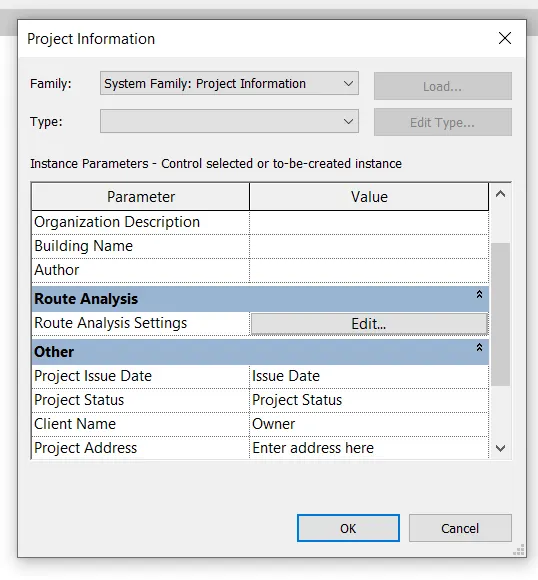
Result:
Basic steps are done.
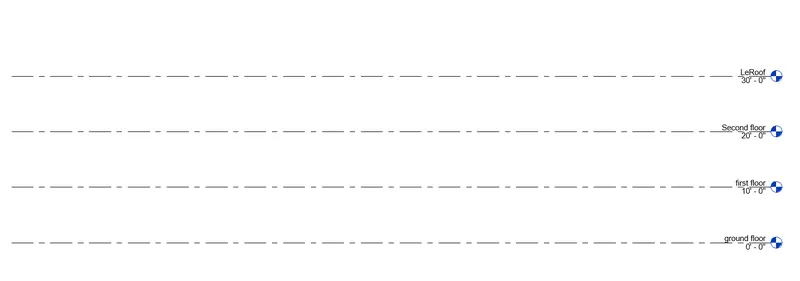
4. Aim: The concept of Levels and Grids. Follow the naming and conventions. Create the following Levels.
Ground Floor @ 0’
First Floor @ 10’
Second Floor @ 20’
Roof @ 30’
Procedure:
Step1: (levels)
- Go to elevation view.
- Click on levels and create ground floor, first floor, second floor, roof.
Step2: (Grids)
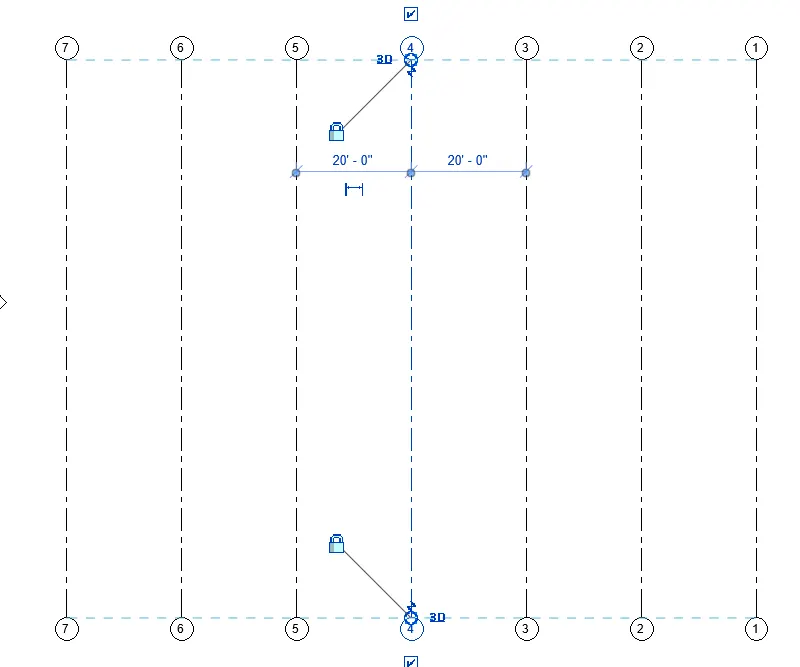
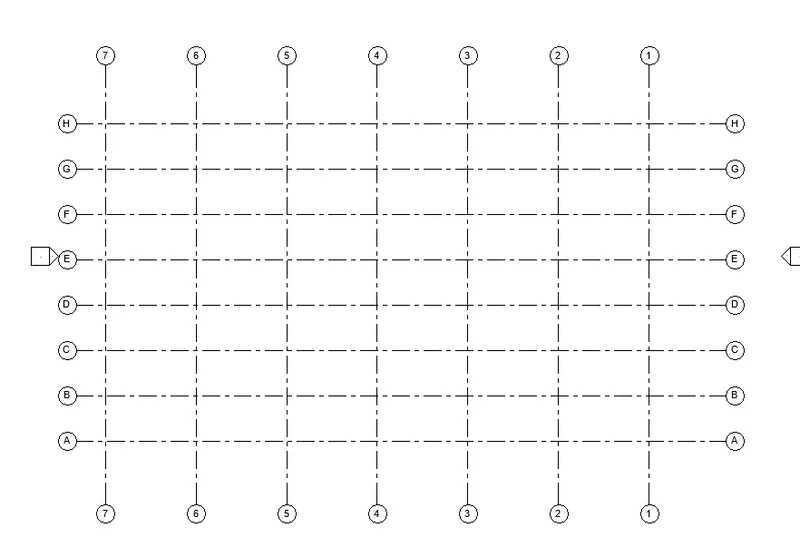
- Go to architectural tab-datum-grids.
- Draw the longitudinal grids 1 to 10 and spacing 20'
- Draw the horizontal grids from A to H of spacing 10'
Result:
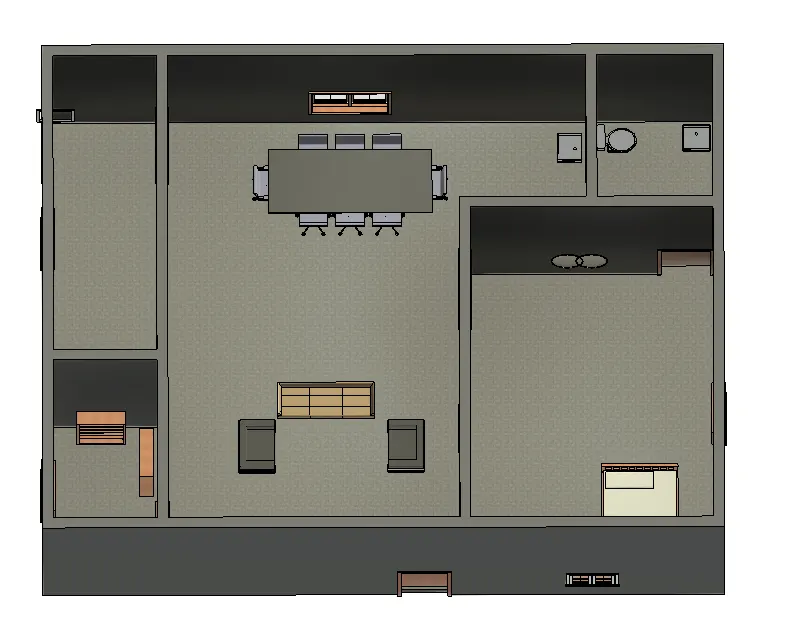
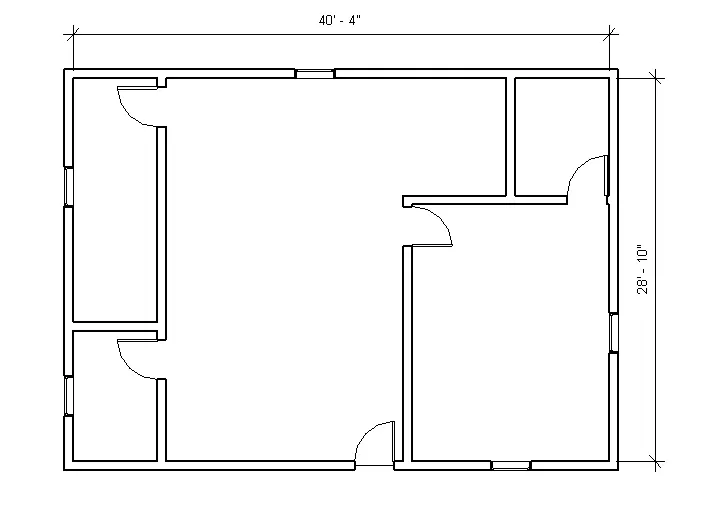
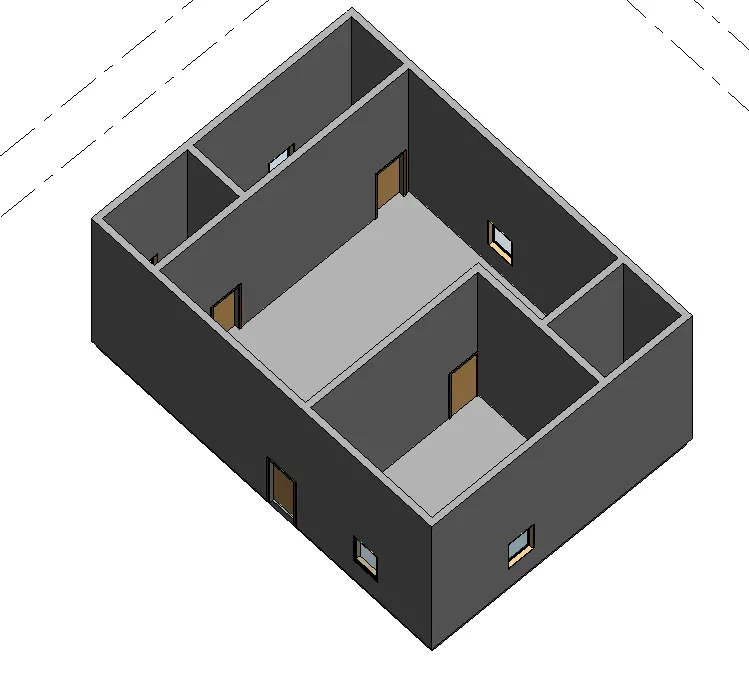
5. Aim: To create 3d modeling of residential unit O
Procedure:
Step1:
- Open Revit software-New-Architectural template.
- Save the file and give the appropriate name.
- Manage-project information-fill project information.
Step2:
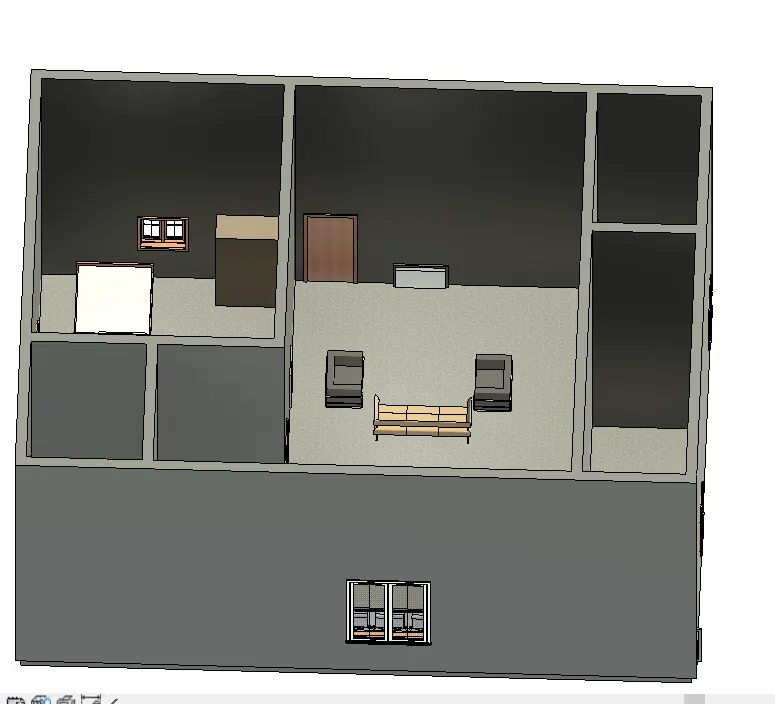
- In the architectural tab-floor-draw the layout.
- In the architectural tab-wall-draw the wall.
- In the architectural tab-windows-draw the windows.
- In the architectural tab-doors-draw the doors.
Result:
3D view:
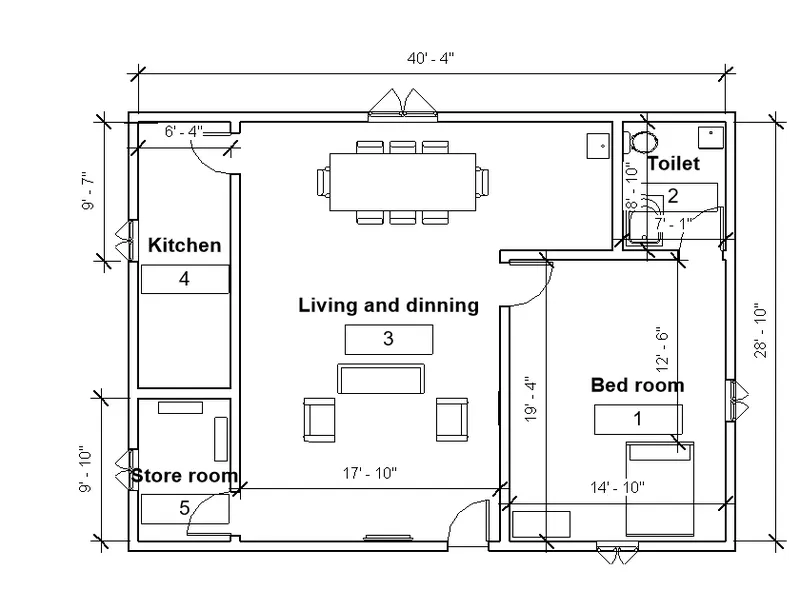
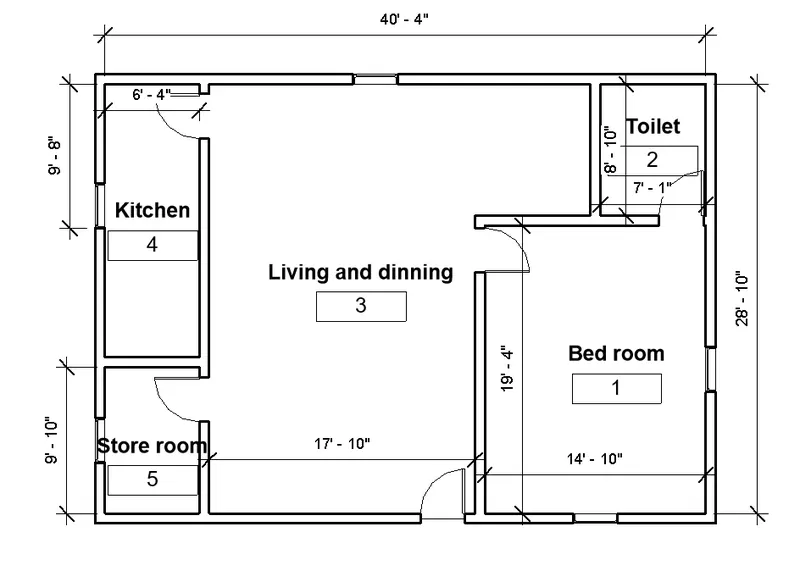
6. Aim: To create dimensions and tag room for the layout.
Procedure:
- Open previous plan
- Go to annotate tool bar-linear dimensions.
- Go to architecture tab-room-tag room.
Result:
7. Aim: To identify residential model elements.
Procedure:
- In the architectural tab click-components-place components-load family-furniture.
- Provide the all furniture you required.
- Save the project.
Result: