Usage of Collaborate tool in REVIT
1. Aim: To set Project base point and project shared coordinates for the project.
Procedure:
- Open Revit software.
- Click on new and select the Architectural template.
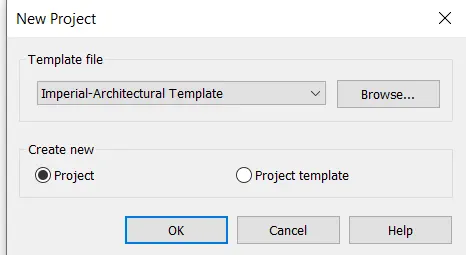
- Save the project.
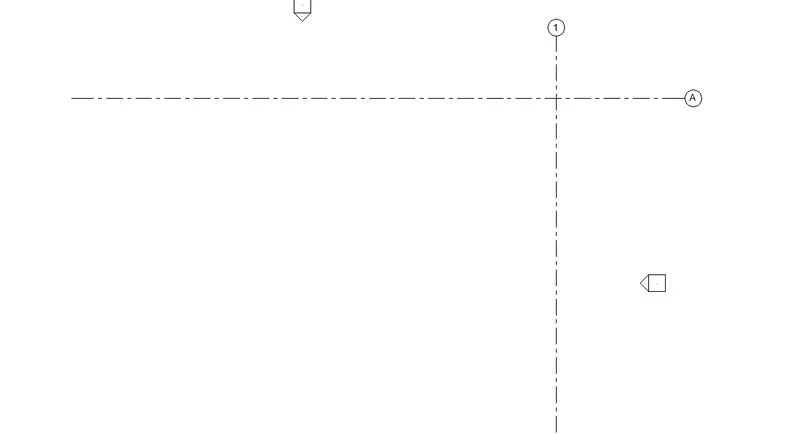
- Go to Architecture tab-Grids

- Draw the grids in longitudinal and transverse.
- Go to the manage tab
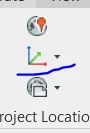
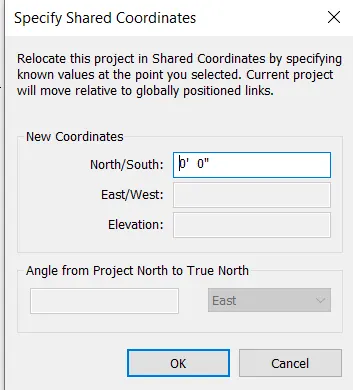
- Click on Project coordinates-specify the coordinates.
- In North/south type 0'
- In east/west type 0'
Result:
The base point and project shared coordinates are created.
2. Aim: To create a structural template with the same parameters as an architectural project template.
Procedure:
- Open Revit software.
- Click on new and select the Structural template.
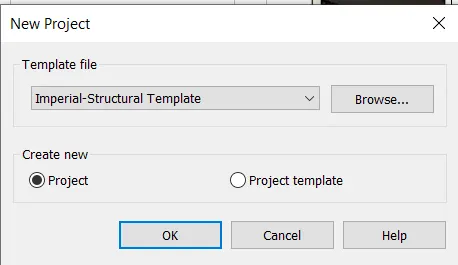
- Save the project.
- Go to Structural tab-Grids
- Draw the grids in longitudinal and transverse.
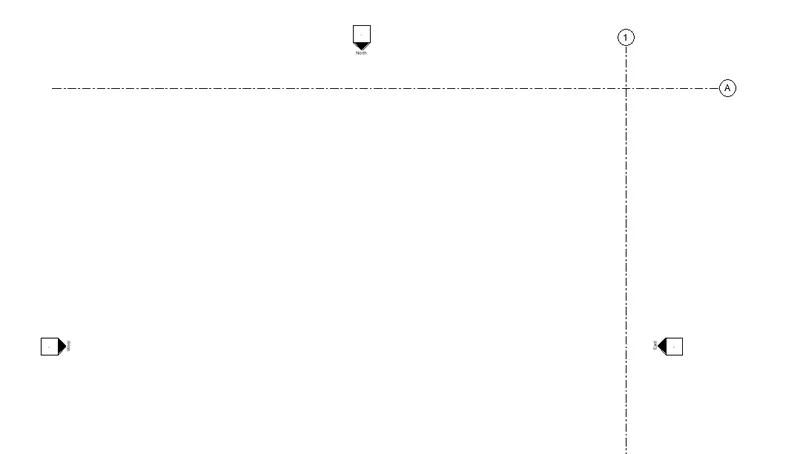
- Go to the manage tab
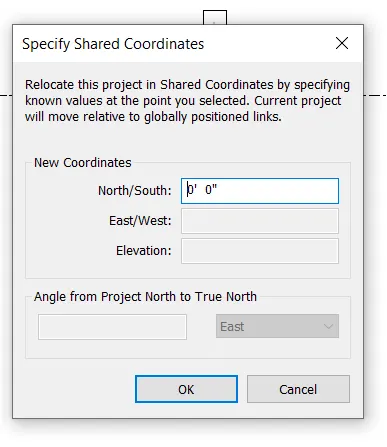
- Click on Project coordinates-specify the coordinates.
- In north/south type 0'
- In east/west type 0'
Result:
The structural template is created with same as the Architectural template.
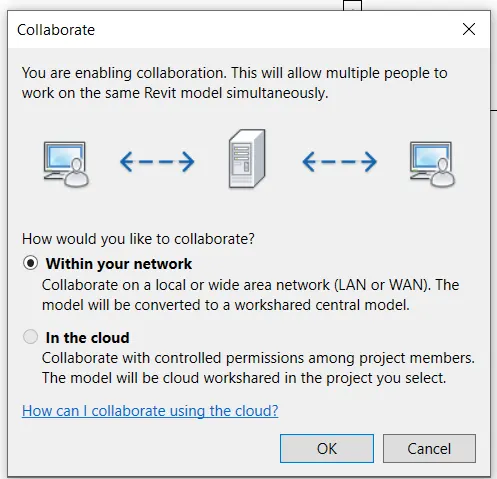
3. Aim: Re-open the Architectural model by Using the tools under the Collaborate tab to make the architectural model a central model
Procedure:
- Open Revit software.
- Open the previous Architectural project.
- Go to Collaborate tab and click on collaborate
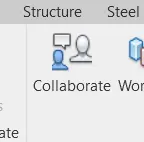
Result:
Collaborate for Architectural model is done.
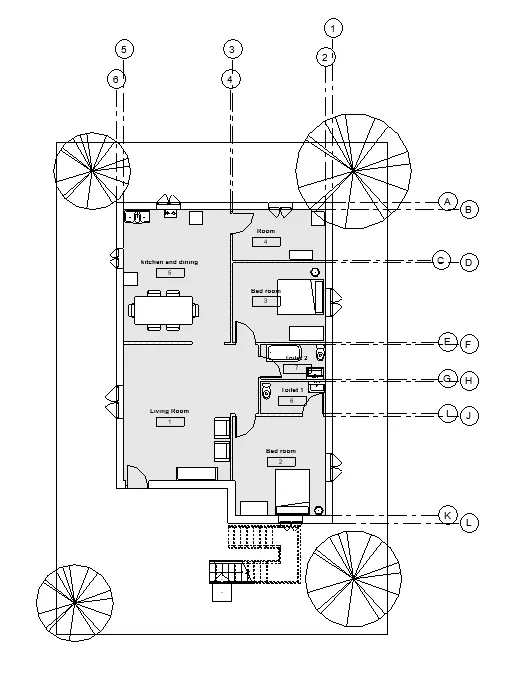
4. Aim: To create the transverse and longitudinal grids for the week2 project.
Procedure:
- Open Revit Software.
- Click on open and select project 2
- Go to the architectural tab and click on grids.
Result:
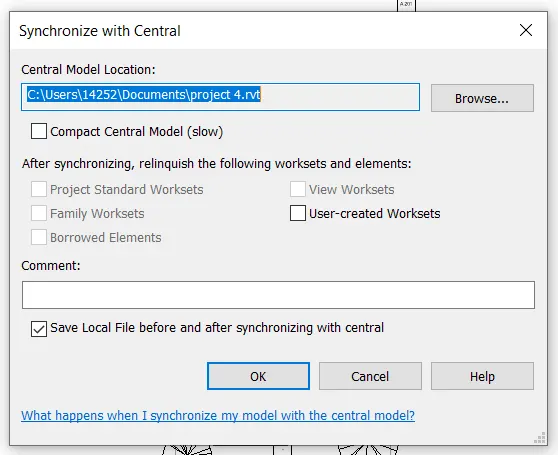
5. Aim: To Synchronize the changes from the local copy to the central file of the architectural model.
Procedure:
- Go to Collaborate tab and click on Synchronize with central
- And click on save.
Result:
The Synchronize is done.
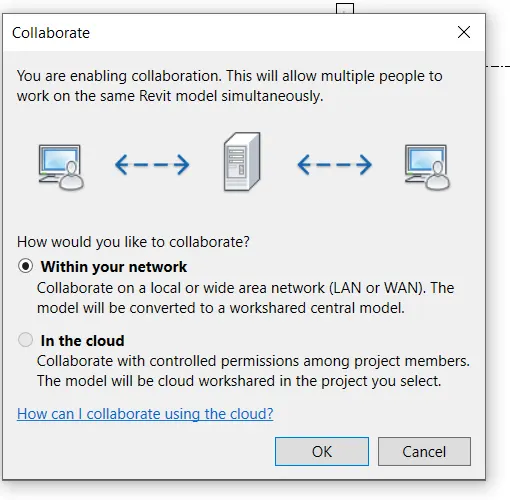
6. Aim: To Open the structural model and use the collaborate tools to save the model as a central file.
Procedure:
- Open Revit software.
- Open previous structural project.
- Go to collaborate tab and click on collaborate
Result:
The collaborate tools to save the model as a central file.
7. Aim: To copy the grids and levels from the architectural model to the structural model by using the monitor tool.
Procedure:
- Open the Architecture file which we created earlier.
- Go to the manage tab
- And add the structural model In the manage link
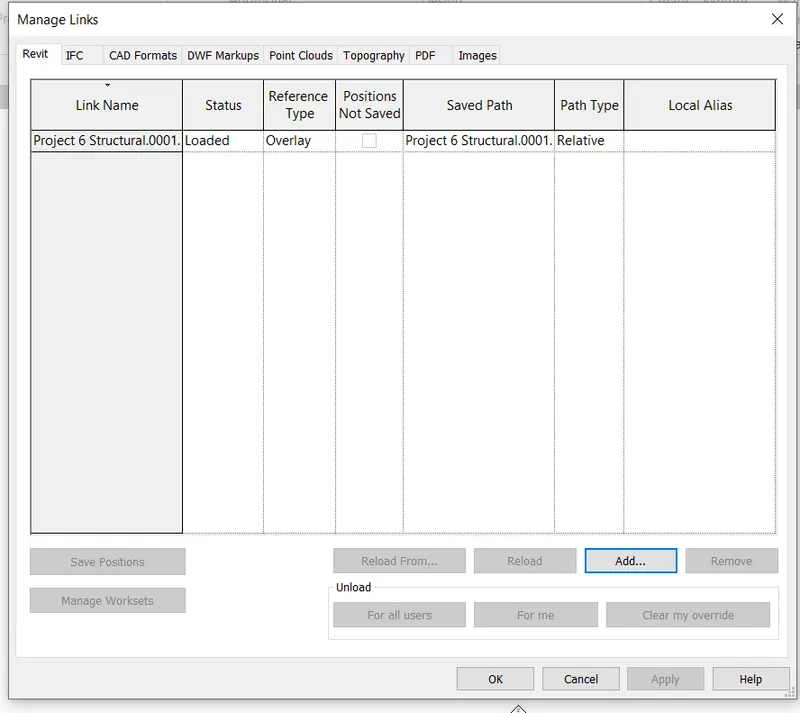
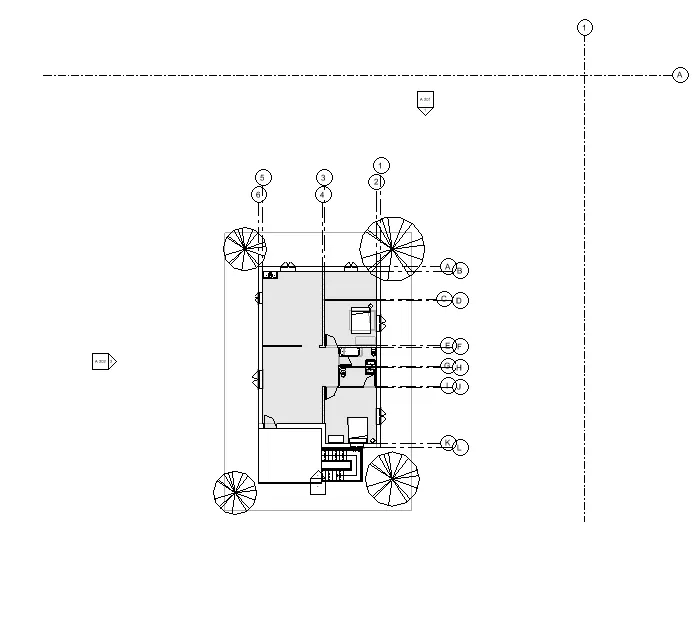
- Select the copy monitor in the collaborate tab and click the select link.
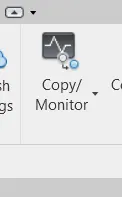
- Select copy option so that we can select all objects with a single click.
- Select the object which we need to copy and click on finish.
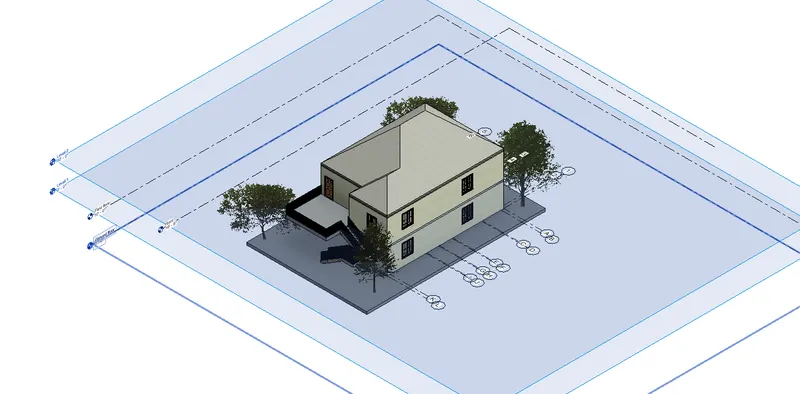
Result:
The object in the architectural model is successfully copied in the structural model.
8. Aim: To create a new file with a construction template and linking both the architectural and structural model by using the manage links and saving the file and closing.
Procedure:
- Open Revit software.
- Click on new and select construction template
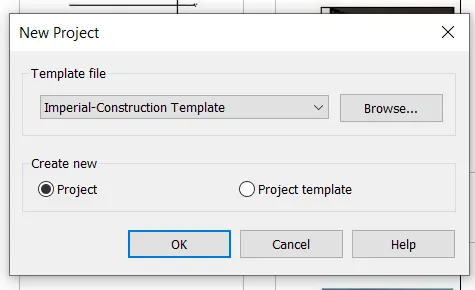
- And save as central model.
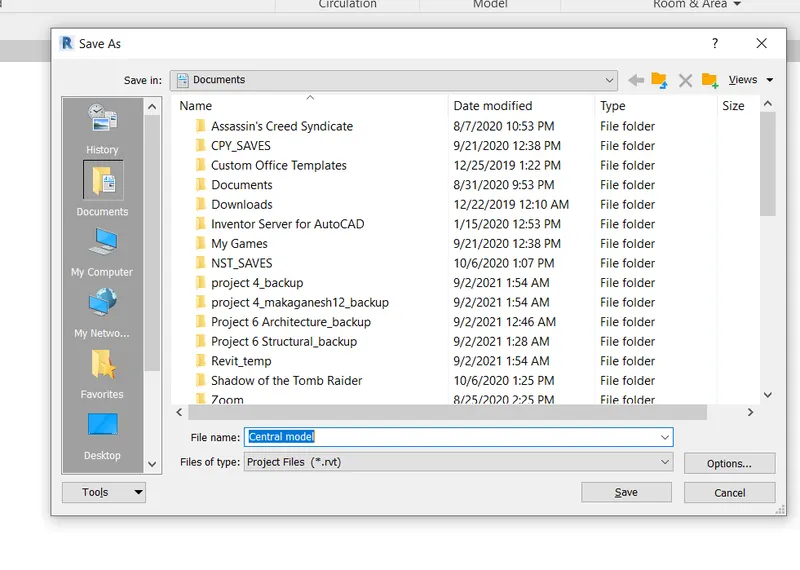
- Go to collaborate tab-collaborate-click on synchronize it as the central model.
- Go to the manage tab click on manage links and add the architectural and structural files.
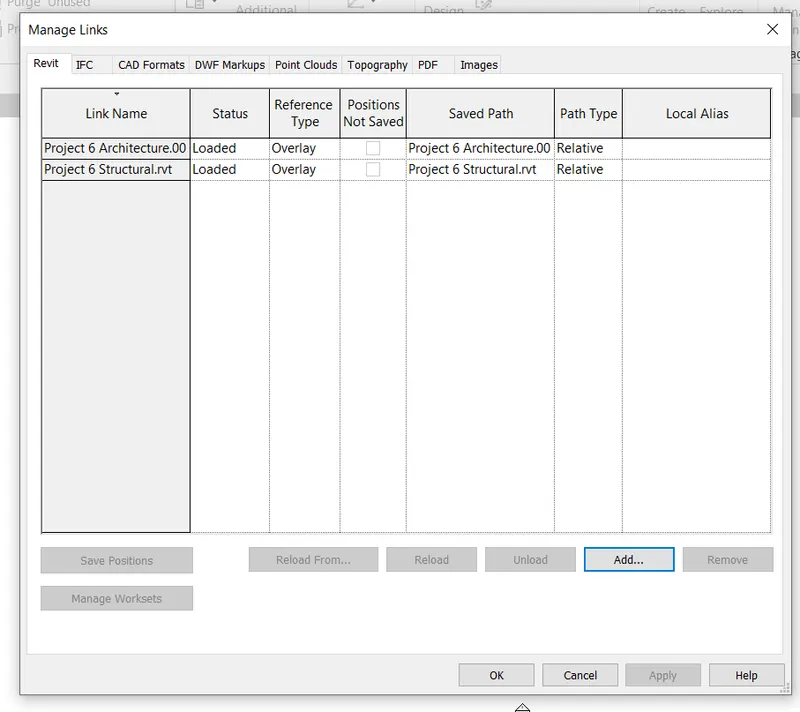
Result:
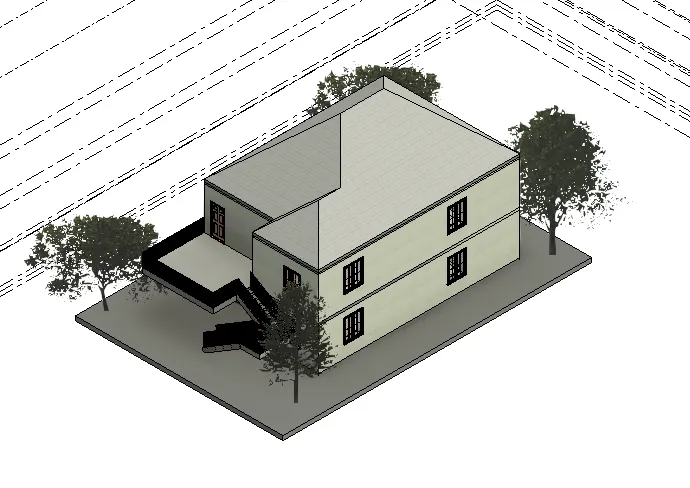
9. To check whether the structural and architectural model grids are matching in the construction template.
Yes, both structural and architectural model grids matching in the construction template.
if not,
- Open the model and click the relocate position in the position menu in the manage tab.
- Now select the base coordinates of both files.
10. Architectural
- Creating doors
- creating windows
- material assign
- creating staircase
- Design development
Structural
- Foundation
- Columns
- Slabs
- Floor
- Staircase
- Beams
Construction model
- site access
- Quality control
- Healthy and seafty.