Shell Meshing on an Automobile Hood using Hypermesh.
Week 6 Challenge
- Aim : To extract the mid surface and mesh the given model of an Automobile Hood.
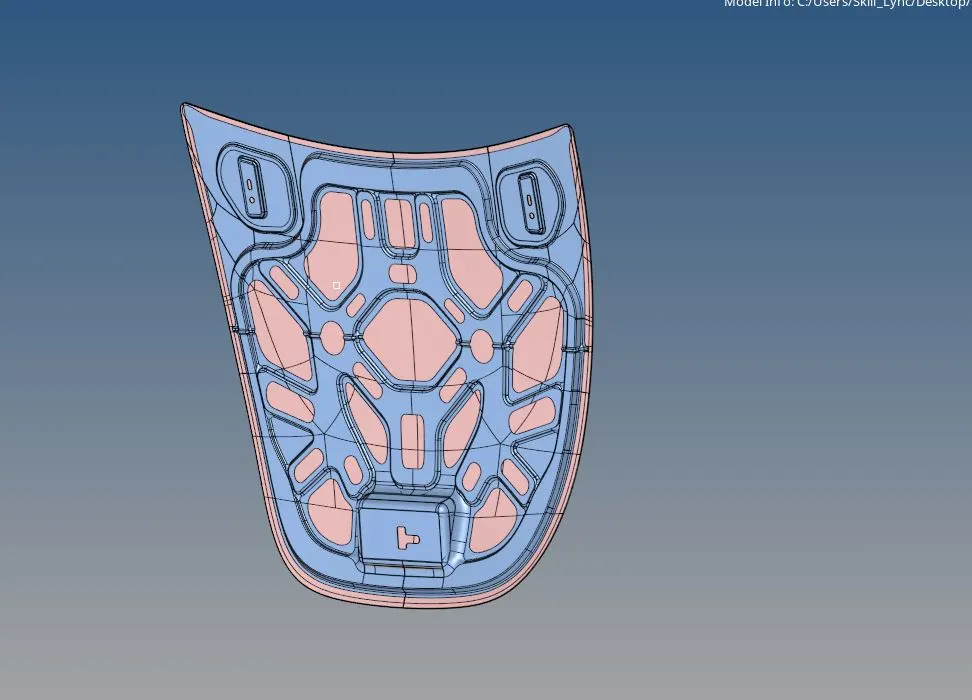
Initial Component as received.
- Procedure: 1. The very first step when we receive the model is to delete the solids present in it. To do this, I used the delete command (shortcut-F2) and used the solids option in it.

Delete command
2. After the deletion of the solids in the model, I then proceeded to extract the mid-surface of the various components present in the model. The first component is took the mid-surface for is the latch in the hood. To do this, I used the Mid-surface command in the Geometry tab and selected the surfaces present in the geometry of the latch.

Mid-surface Command
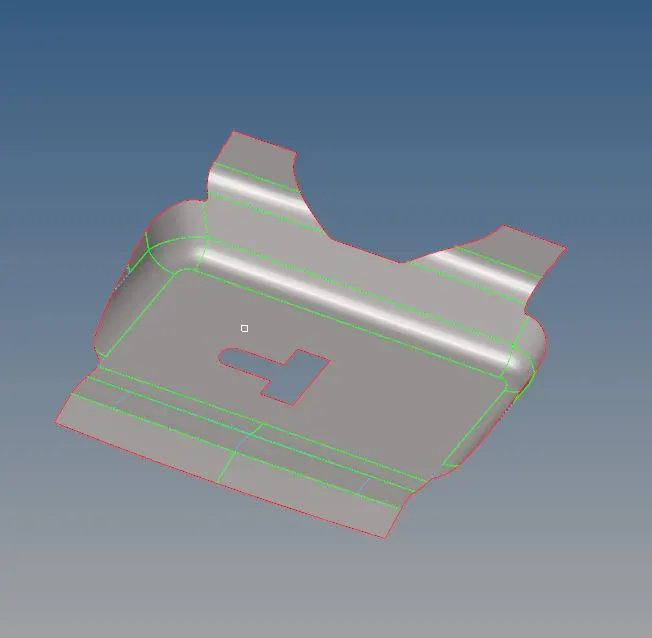
Latch Mid-surface
3. I then proceeded to Perform the Geometric clean up on the mid-surface of the component. To do this, I firstly enabled the Display all points and measured the distance between the edges where I could see that the elements formed there will fail for minimum length criteria. After identifying a few edges, i removed them by using the toggle lines command which is present in the Quick Edit Tab (shortcut-F11). I then removed all the lines and made the necessary cuts on the mid-surface of the component.
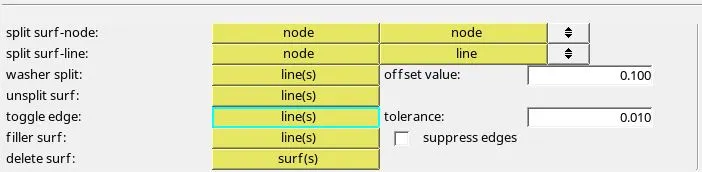
Toggle Lines
4. After the Geometric Clean up was performed on the surfaces, I then went on to mesh the component. To do this, I used the Automesh command (shortcut-F12) in the Geometry tab. I then meshed all the various surfaces in the component part by part to achieve a better mesh flow.

Auto Mesh command
After Automeshing the mid-surface part by part, the component looked something like the following:
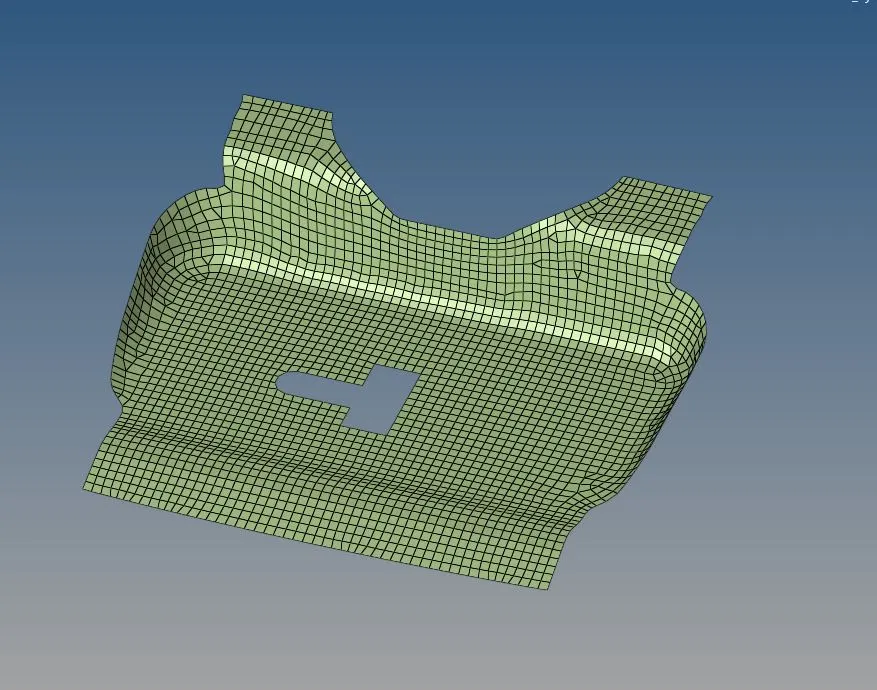
Latch Mid-surface
5. After Meshing the component, I then removed all the unnecessary tria elements from the mesh and also, cleared all the elements that were failing for different Quality criteria. To perform this, I used the quality criteria tab and removed all the tria elements and cleared all elements that were failing.

Quality index
6. I then followed the same procedure all the other components. All the Meshed components look something as
a. Outer Extract: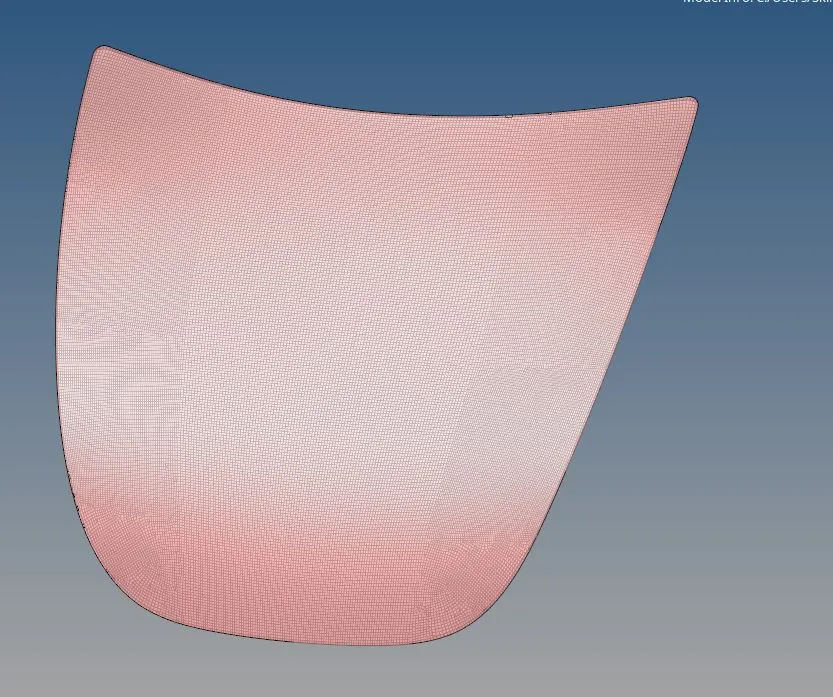
b. Inner Extract :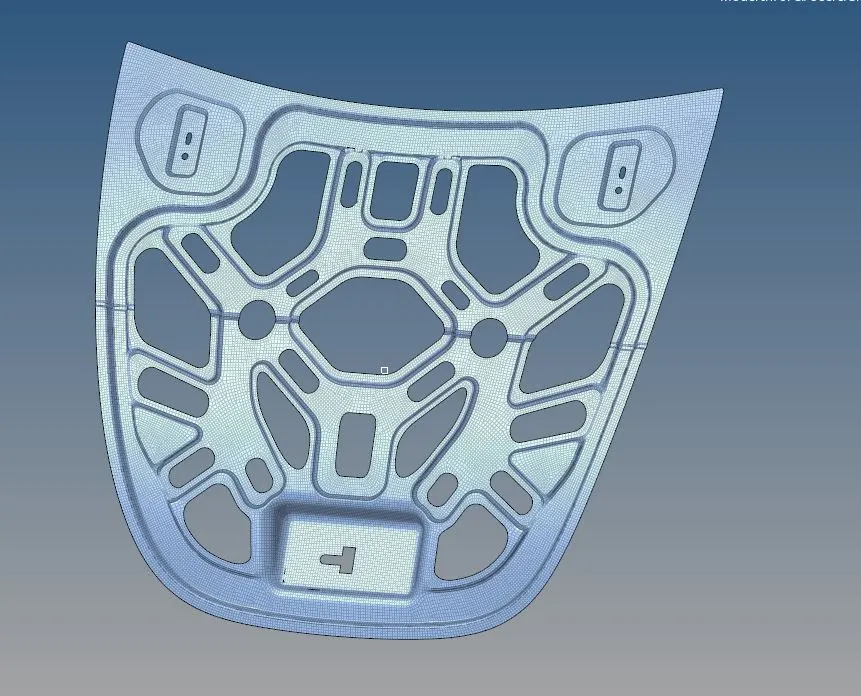 .
.
c. Both the Hinges: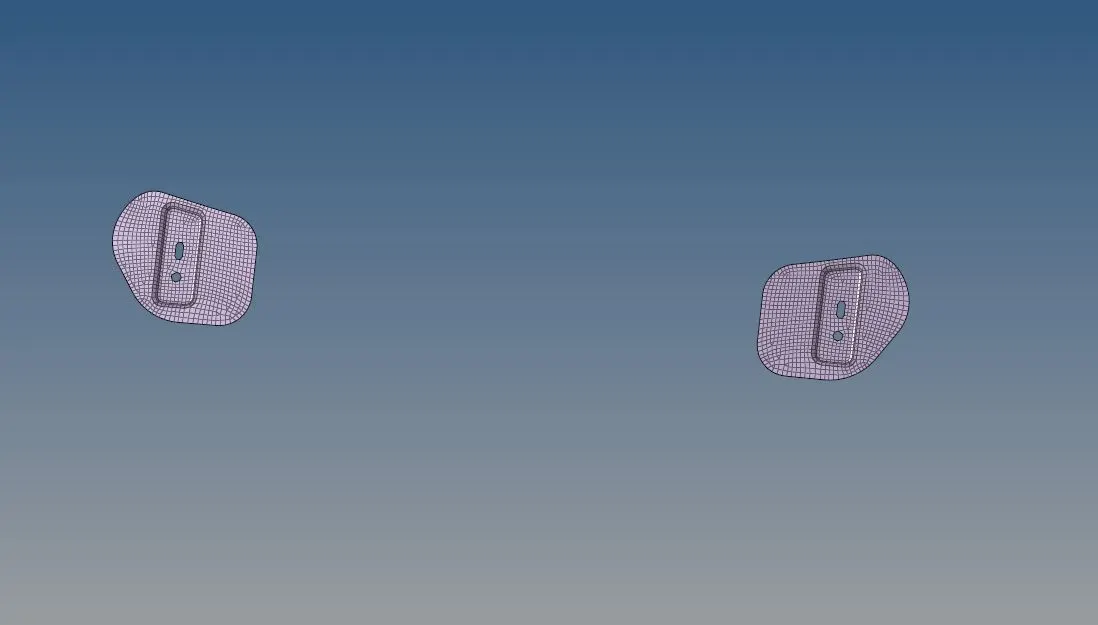
d. Latch :
7. All the Elements have also cleared the Quality Criteria:
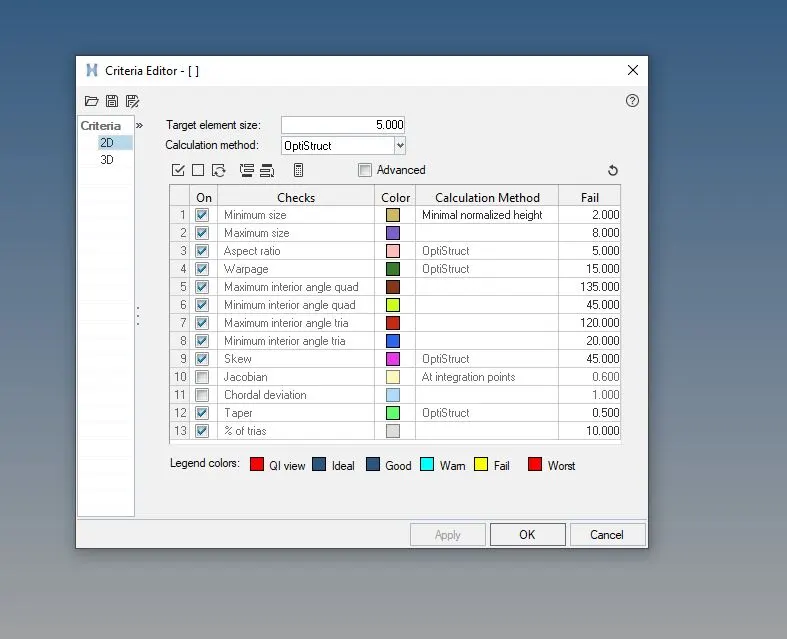
Quality Criteria.
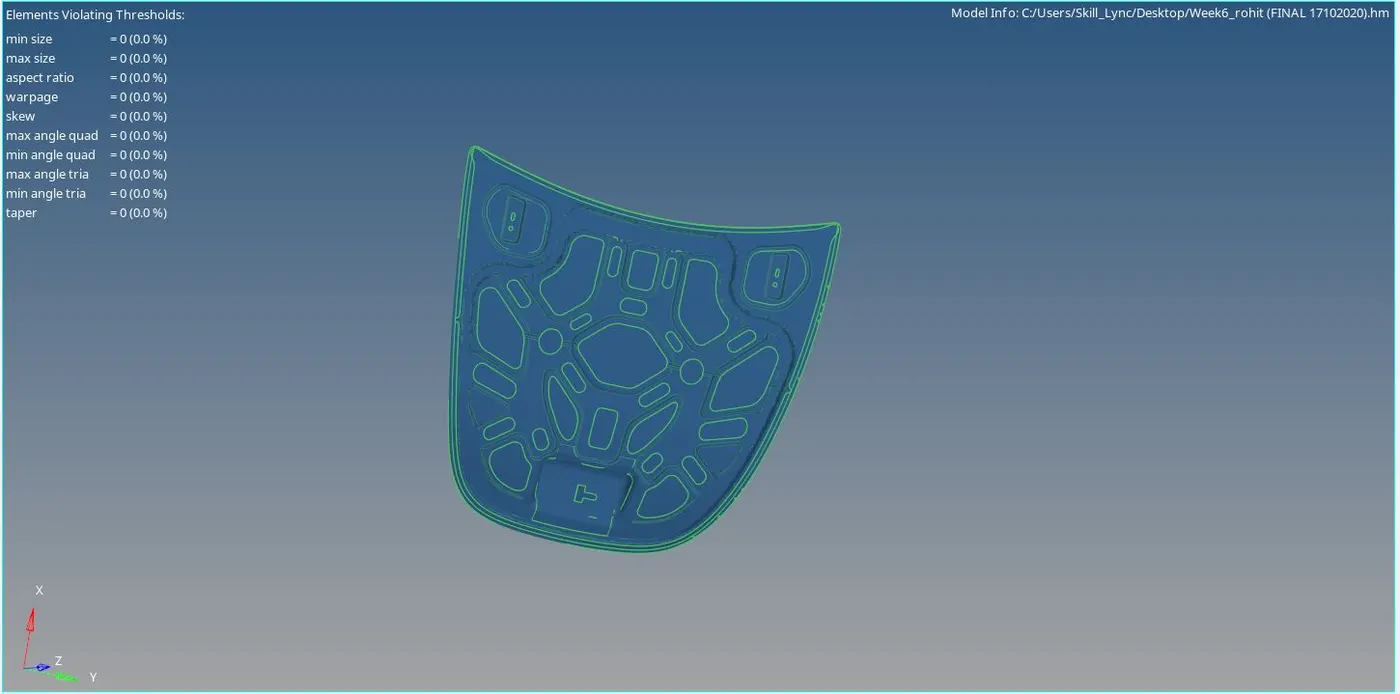
All Components cleared the Quality Criteria - Conclusion: In conclusion, I would like to state that, this model has helped me understand the various procedures and obstacles that can be faced when meshing a component. I also understood how to clear the Various Quaity Criterias by different methods.