Solid Meshing on Different components in Hypermesh
Week 8 Challenge.
- Aim: To succesfully mesh the given components with 3D Tetra Elements and clear all the Tet collapse error with it.
There are three ways in which we can perform 3D Meshing on a component:
A.To initially Mesh the component with 2D Shell elements (trias) and then convert them into 3D Tetra Elements.
B. To use the Quick 3D Meshing command in the Utility panel.
C. To Volume Mesh the component on the solids. - Procedure:
A. To convert the 2D Shell elements into 3D Tetra elements.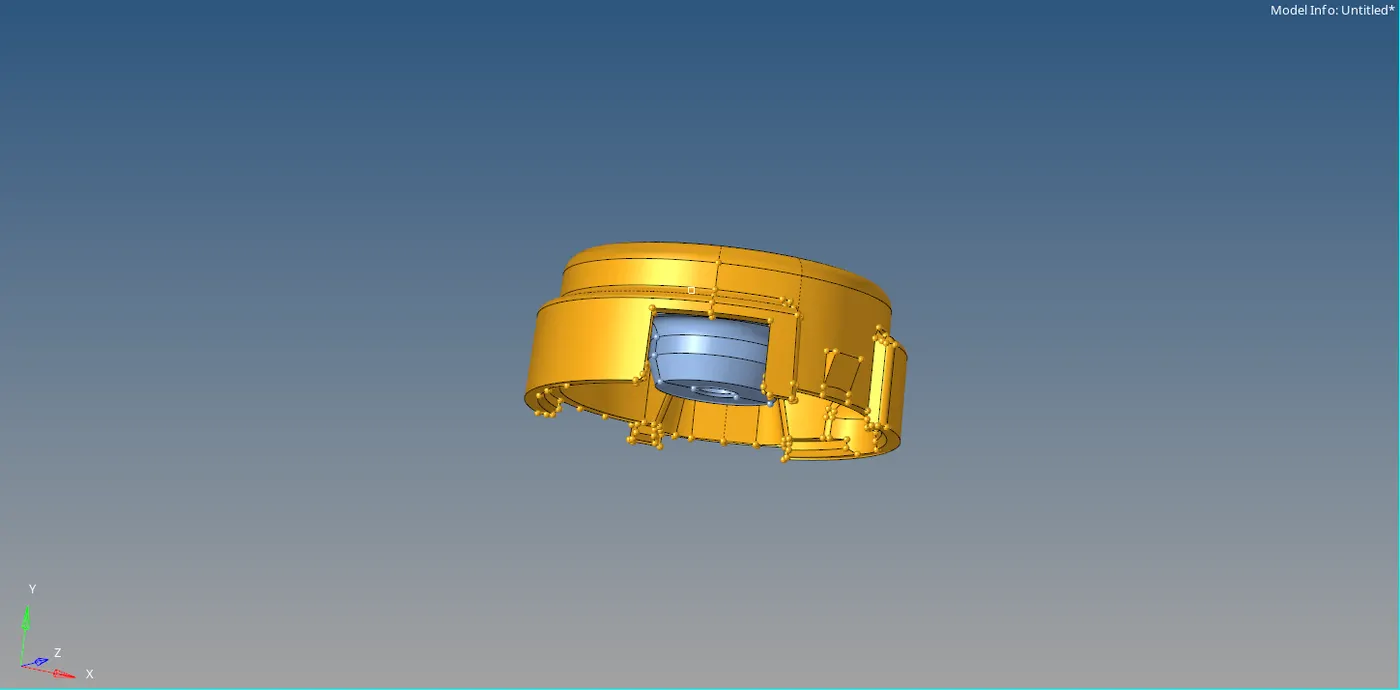
Component as received.
1. The very first step in this process is to delete the solids present in the model. To do this, we can use the delete command (shortcut-F2) and use the solids option in it.
Delete solids command.
2. The next step would be to perform a geometric clean up on the model. To do this, we need to switch on the "Display all fixed points" option on the Left hand side of the screen. Display fixed points command.
After this option is enabled, we need to measure all the possible distances between the edges where the element (tria in this case) might fail for minimum element length Quality criteria. When these edges are found, there are multiple ways in which they can be corrected, one such method is to simply toggle the edge if it is not disturbing the feaeture of the model. To do this, we can use the Quick Edit Tab (shortcut-F11) and use the Toggle Edges options.
Toggle edges command.
3. After the model is Geometrically cleaned, we need to proceed to mesh the component with tria elements. To perform a 2D tria meshing on the component, we can use the automesh command in the 2D tab (shortcut-F12). We need to alter the target element length and the meshing elements before we go ahead with the meshing process.
Automesh Command
4. After the 2D Meshing is performed on the surface, we need to check for the Quality errors in the model. To check them, we need to use the Check elements command in the Tools Tab. We will give the necessary inputs and check for every criteria given.
Check elements command.
If at all any elements are failing then we need to resolve them using the cleanup tools in the Quality index command under the 2D tab.
Quality index command.

Quality index commands.
5. After all the Quality criteria was cleared, then we need to move to coverting them into 3D Tetra elements. To do this, we can use the tetramesh command in the 3D tab in the pushpanel.
Tetra Mesh command.
We need to select the elements and then give in the Tetra mesh to the component. We can confirm if the tetra mesh is done or not by simply masking the 2D surface elements. To do this, we can use the mask command (Shortcut- F5) and mask the elements to see the Tetra elements in the model.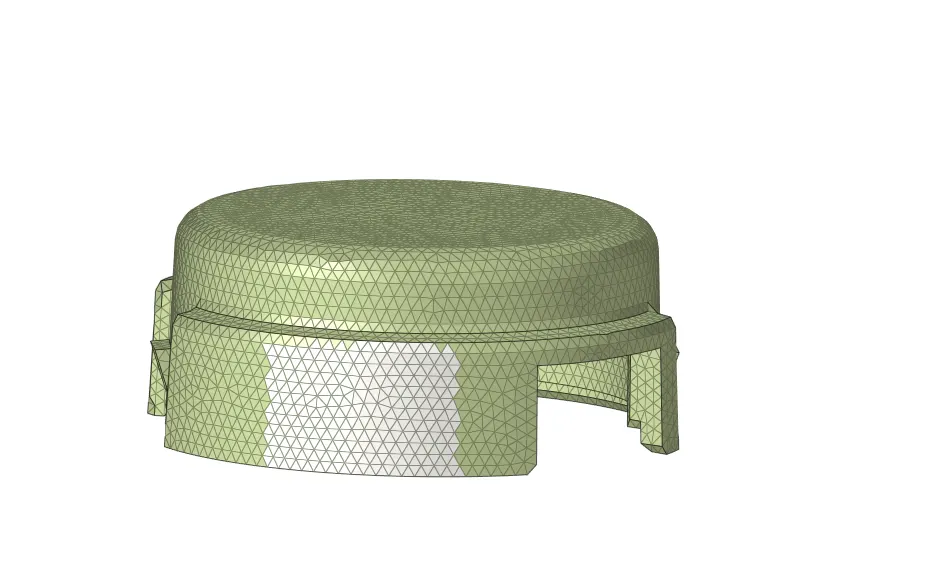
Mask option.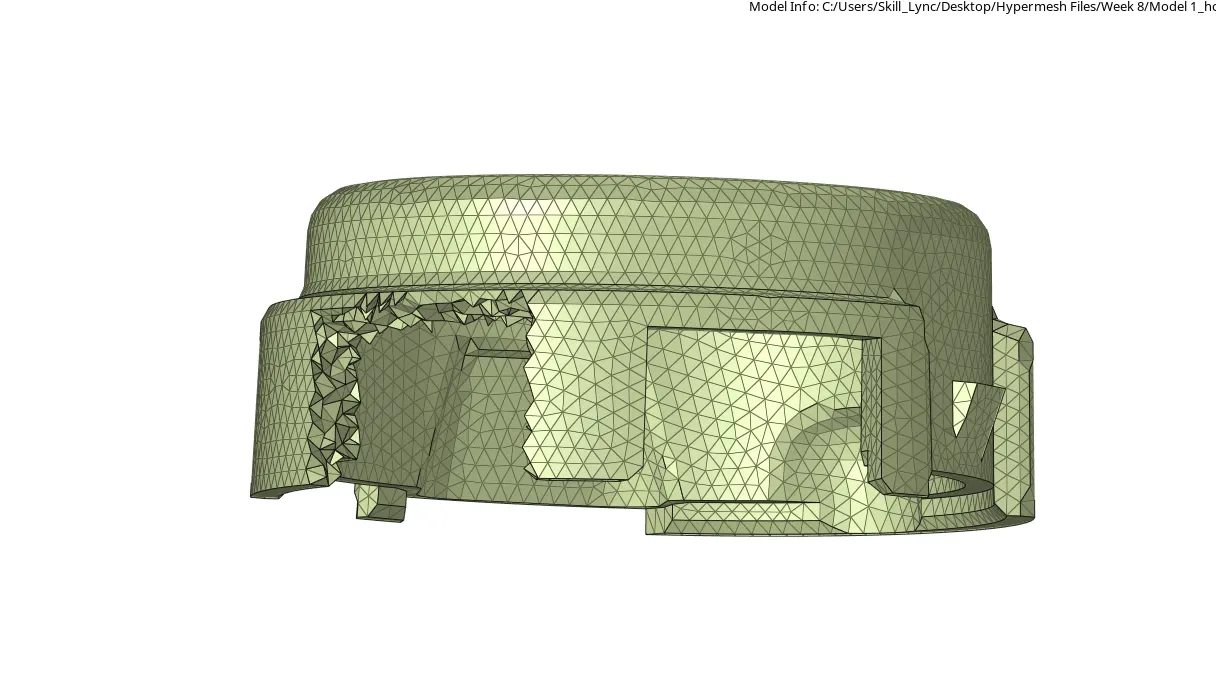
Tetra Elements are visible.
6. After the 3D Meshing is done, we need to check for Tet collapse error in the 3D Meshed tetra elements. We can do do this by using the check elements option and checking for the tet collapse option under it.
Checking for tet collapse errors.
We can see the number of elements that have failed for that particular Quality criteria by simply clicking on it. The number of elements appear on the bottom left hand side of the screen.
Number of Tet collapse elements failed.
Since my Quality criteria had been cleared with the 2D elements, I got 0 tet collapse errors in the 3D elements.
After the Tet Collapse error has been cleared, the model is said to be meshed with 3D Tetra elements.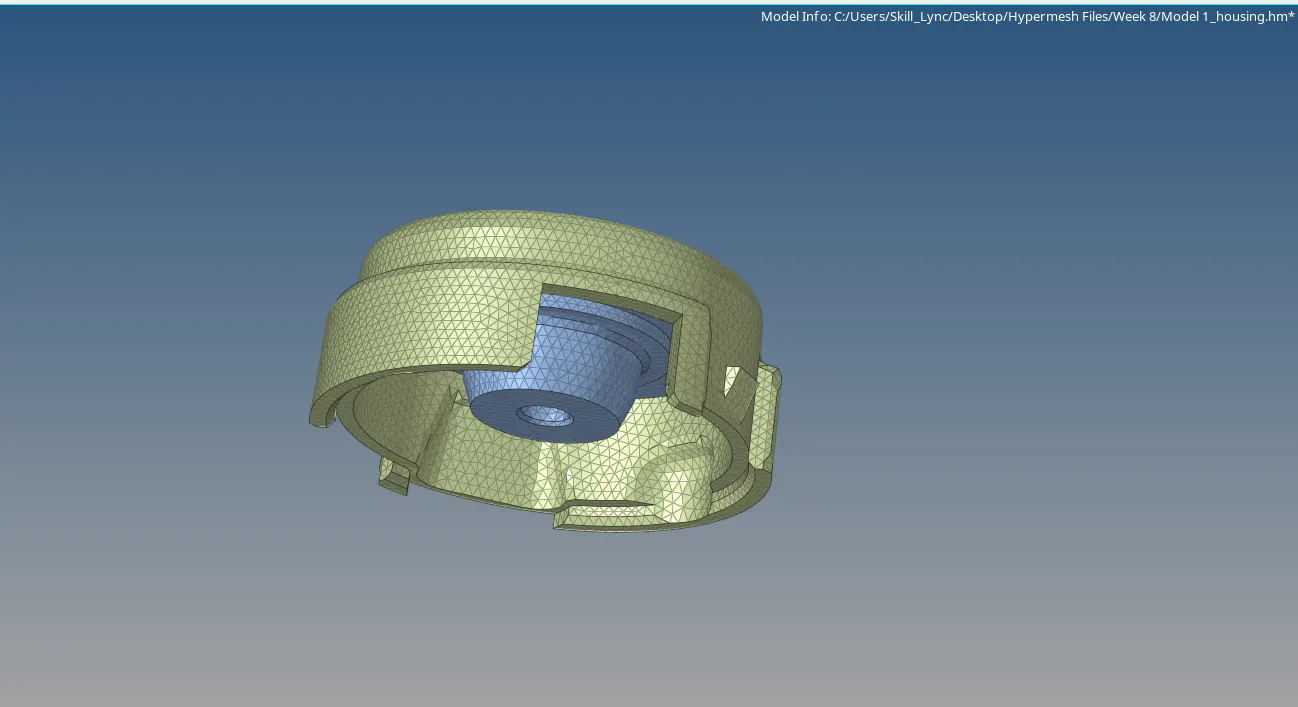
Final component meshed with Tetra elements
B. To use the Quick 3D Meshing command in the Utility panel.
1. This method is used when the Quality criteria is not a major concern for the model. We do not delete the solids, we simply go to the utility bar in the left hand side of the screen. We use the Geom/Mesh option in it.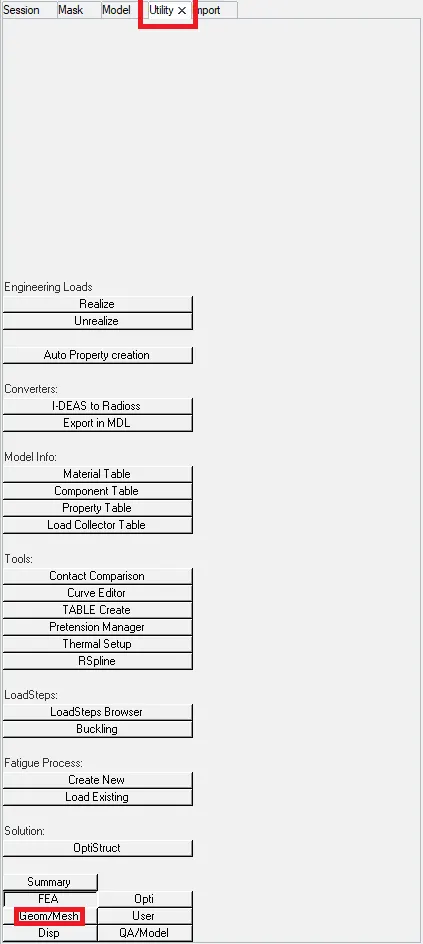
Utility Tab.
After this, we need to use the Tetra mesh command in it.
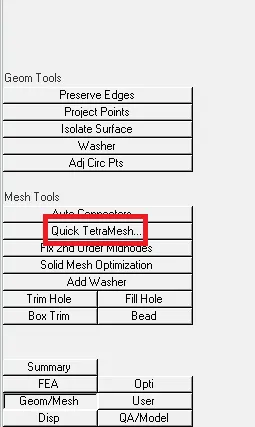
Then next, we need to give in all the required paramters and Mesh the component fully.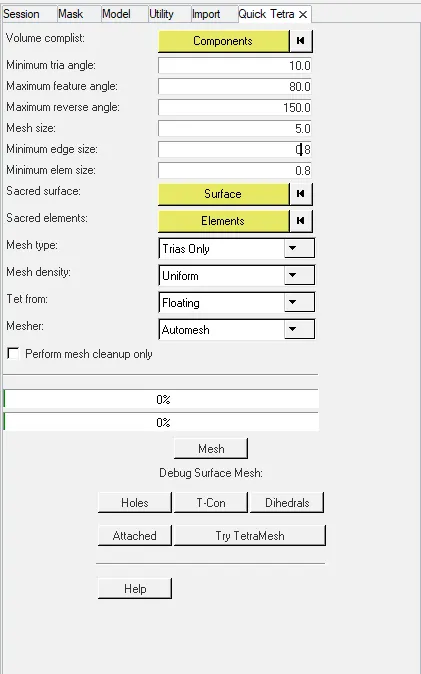
The next step would be to check and Clear all the Tet collapse errors as already mentioned. To clear the Tet collapse error, we need to increase the height of the Tetra element. To do this, we need to use the Distance option (shortcut-F4) and increase the height of the element.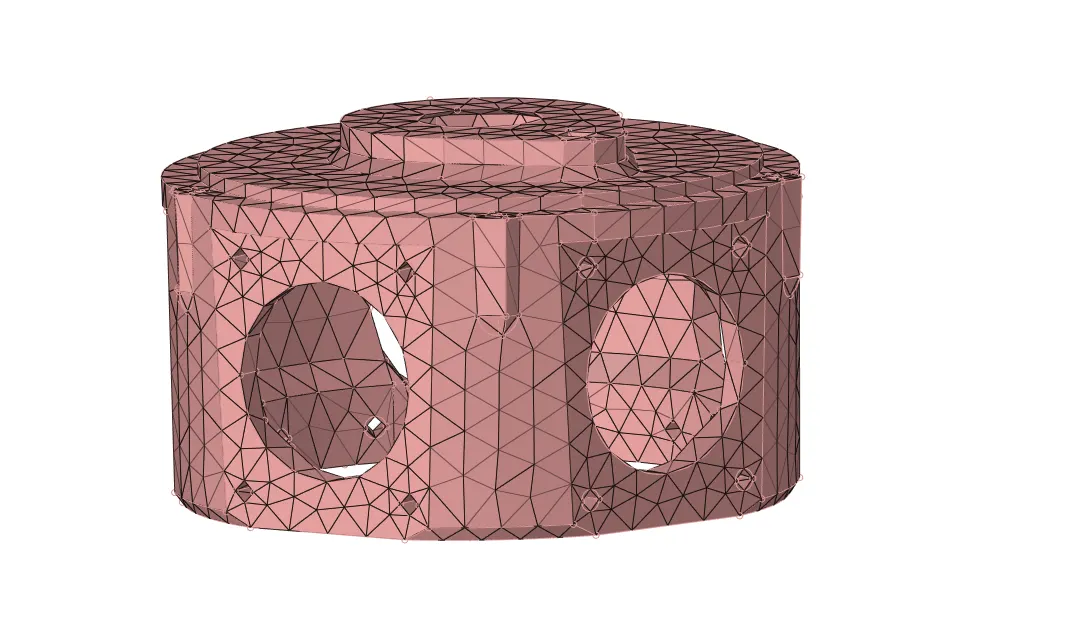
Final Tetra Meshed component.
C. To Volume Mesh the component on the solids.
1. In this process, we simply Mesh the volume of the given solid using the tetra mesh command in the 3D Tab.
Volume Mesh Command
We then need to select the solids and mesh the component. After we recieve a 3D tetra meshed component, we need to check for thet Tet collapse using the same method as before. If any elements are failing Tet collapse, we need to increase the height or simply remesh the tetra elements with a certain set parameters.
Tetramesh parameters setup.
Tetra remesh command.
After the Remesh is done, most of the tet collapse error elements may be resolved, but if still some elements are remaining, then we need to manually increase the height of the element using the distance option.
Since all the tet collapse errors have been cleared, the component is said to be meshed with the 3D Elements.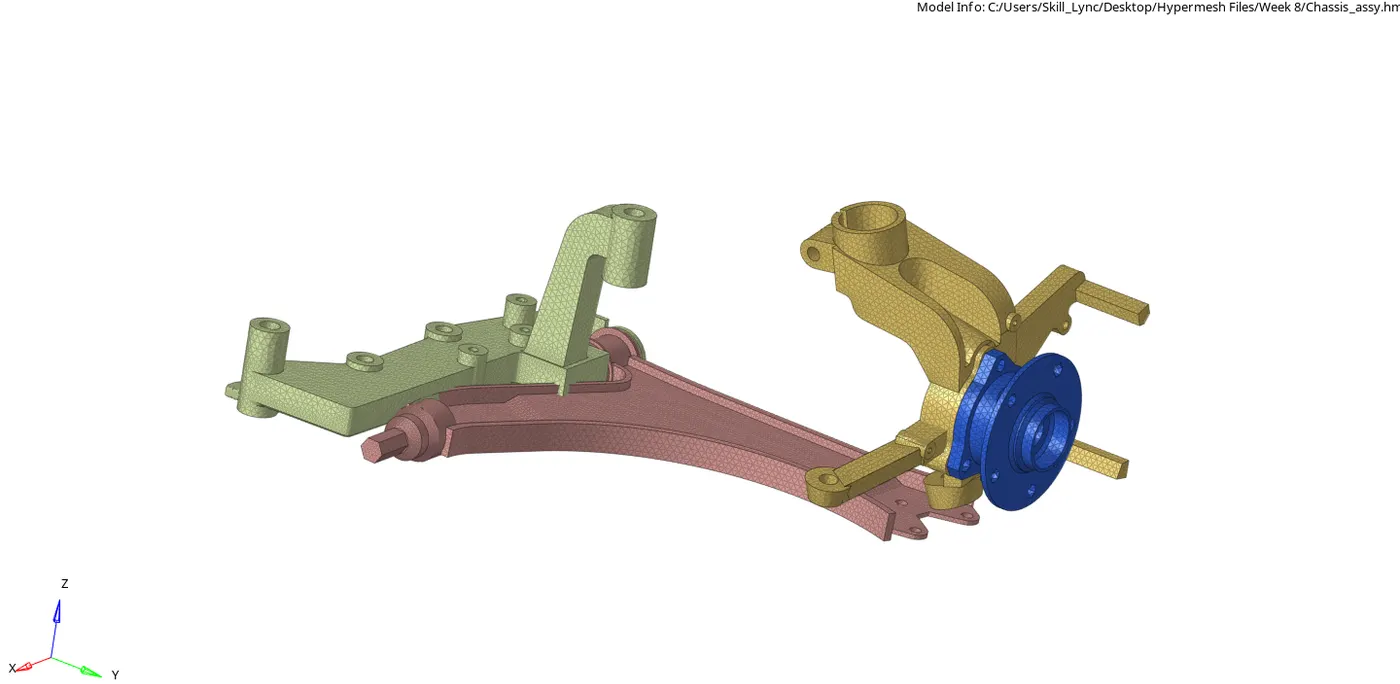
Final component meshed with 3D Tetra Elements. - Conclusion: In conclusion I would like to state that this challenge has helped me better understand the different processes under the 3D Meshing methods and to understand as to apply which methods according to the geometry and time constraint for the model. I understood how to clear the Tet collapse errors by different methods as well.