Shell Meshing on an Instrument Panel of a Vehicle
Report on Meshing on an Instrument Panel.
- Aim: To successfully Mid-surface and Mesh the given geometry of the Car Dash Board Model.
- Procedure: 1. The very first step upon receiving the model is the Geometry clean up. I used the checks manager option on the software. I selected the Geometry option under Checks Manager.
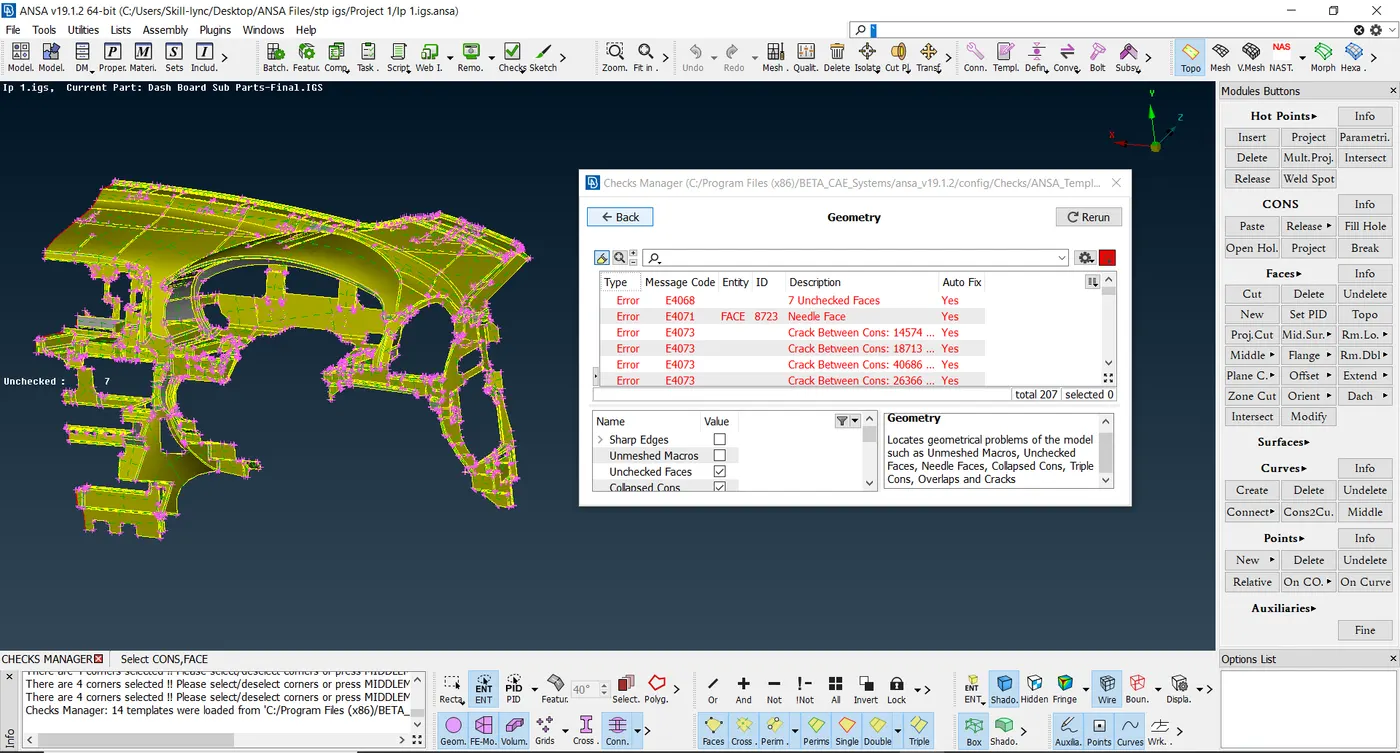
Model without Geometry Clean up.
On performing the Geometric clean up,
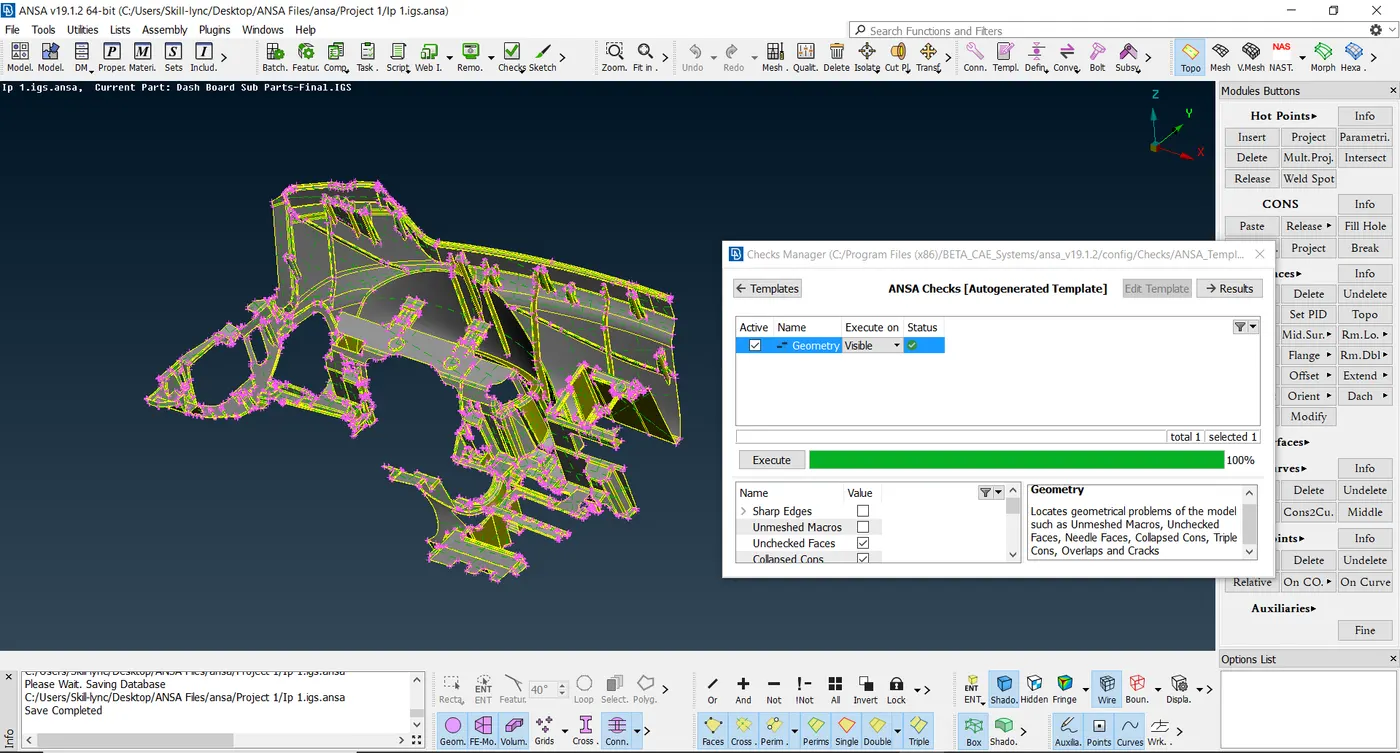
Model after the Geometry Cleanup was performed.
2. After performing the Geometry clean up, I checked for the orientation of the geometry. Then later, I underwent with the extraction of the mid surface of the different sub-components in the model. The method I have used for this process is the command of Offset under Faces which comes under the tab of Topo. I used the Feature Option to select the entire geometry under that certain angle.
To use the offset command, I used the Select-front only option, and selected all the surfaces of the sub component. After the Mid-surface of a component is taken, I assigned a property to that face using the SetPID command under the Macros option.
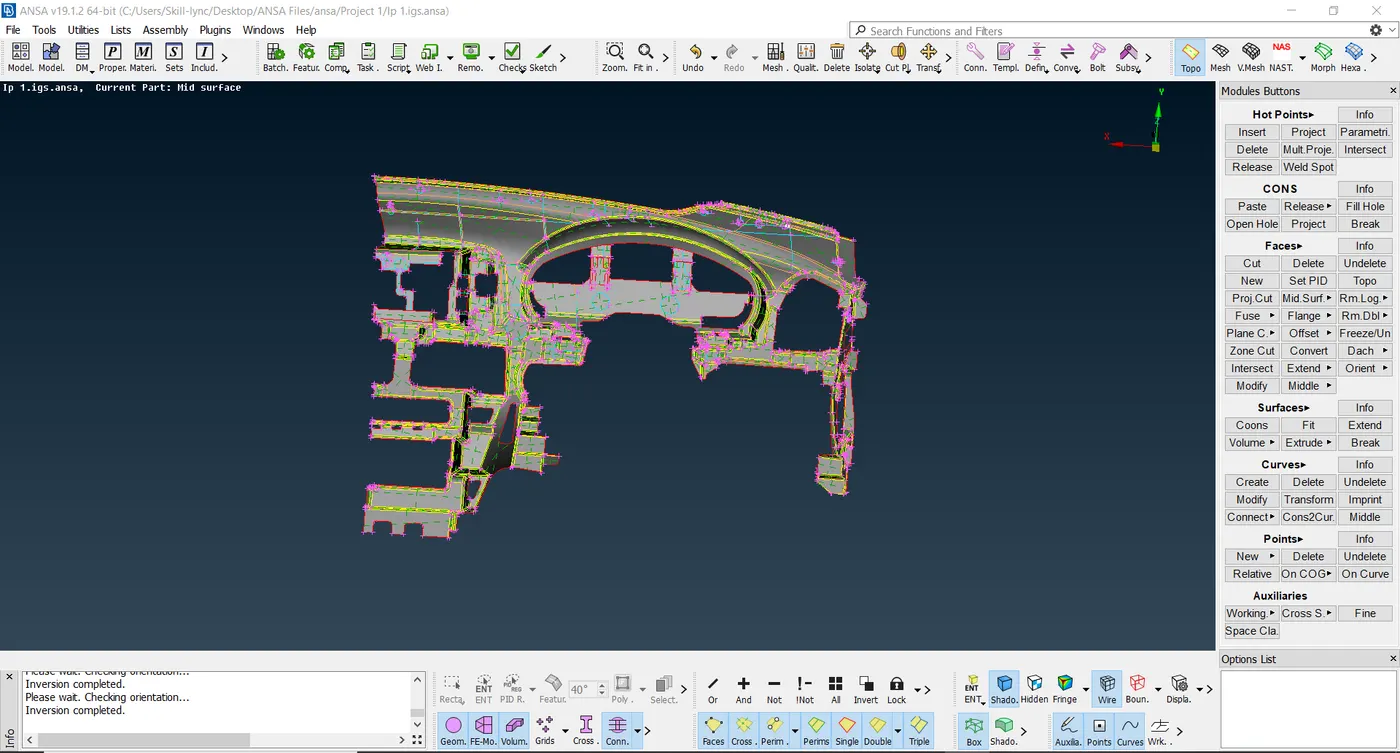
Mid-Surface of the entire component.
After the Mid-Surface was taken, I checked the Geometry of the mid-surface and while doing that I un-checked the Single Con and the Triple Con and ran the checks manager on the Mid-Surface.
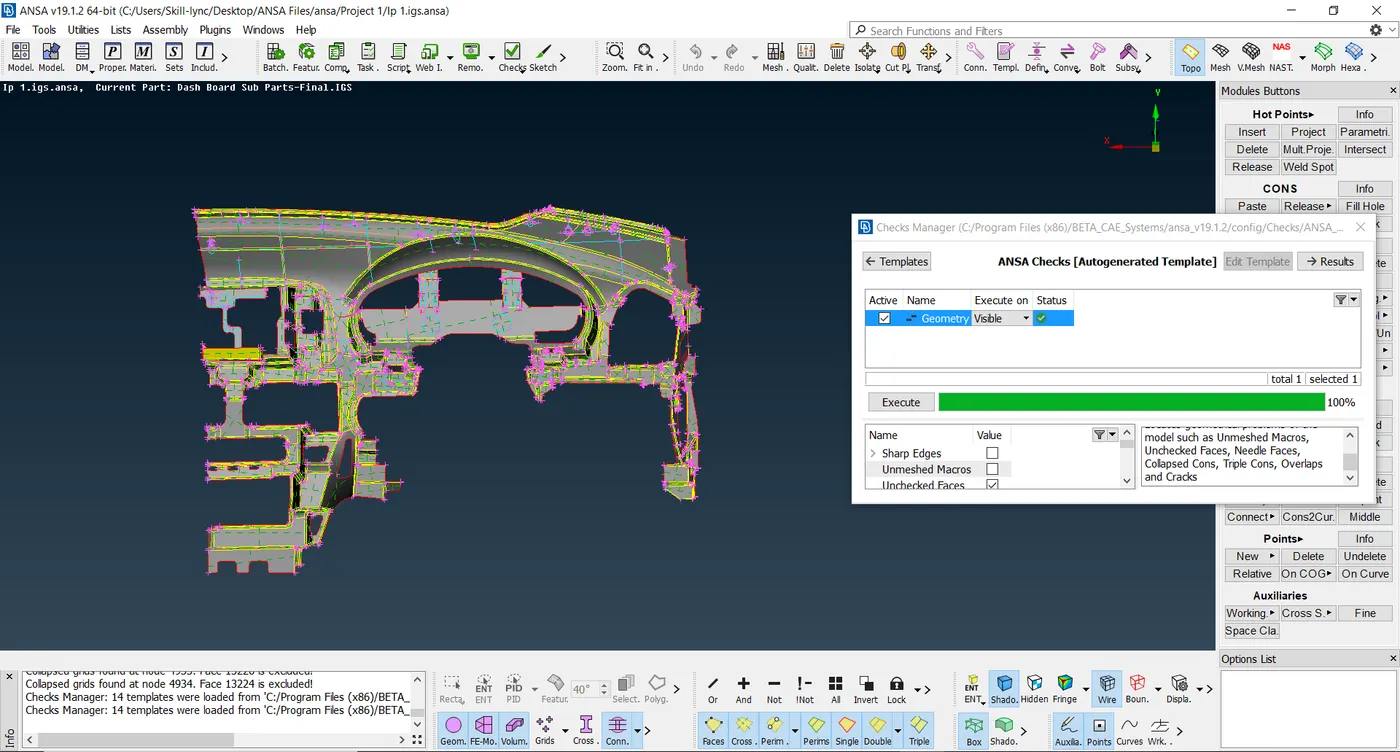
Mid-surface Geometry Clean up.
3. I then set up the Quality Criteria for the Meshing Procedure.
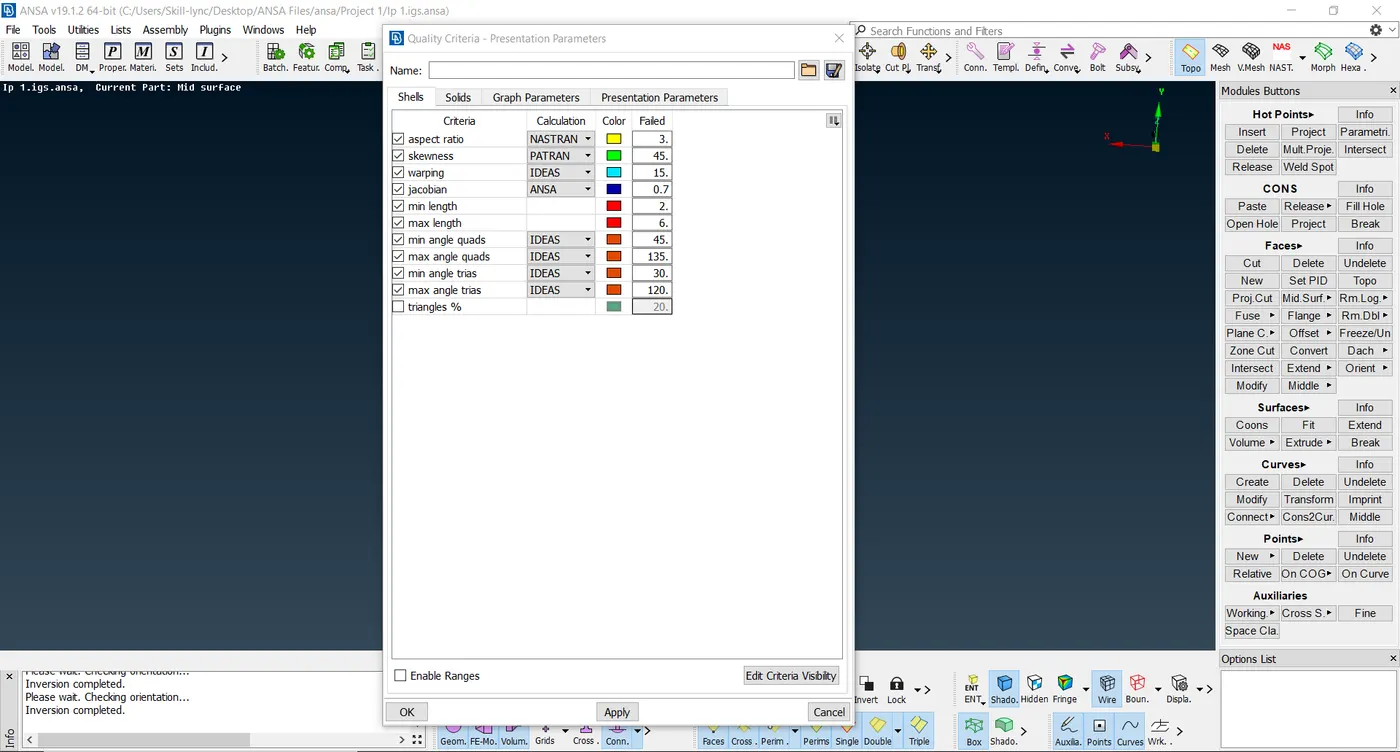
Quality Criteria
4. After the Quality Criteria was set up, I performed the meshing on the model. I did the Meshing part by part and resolved for any tria elements.
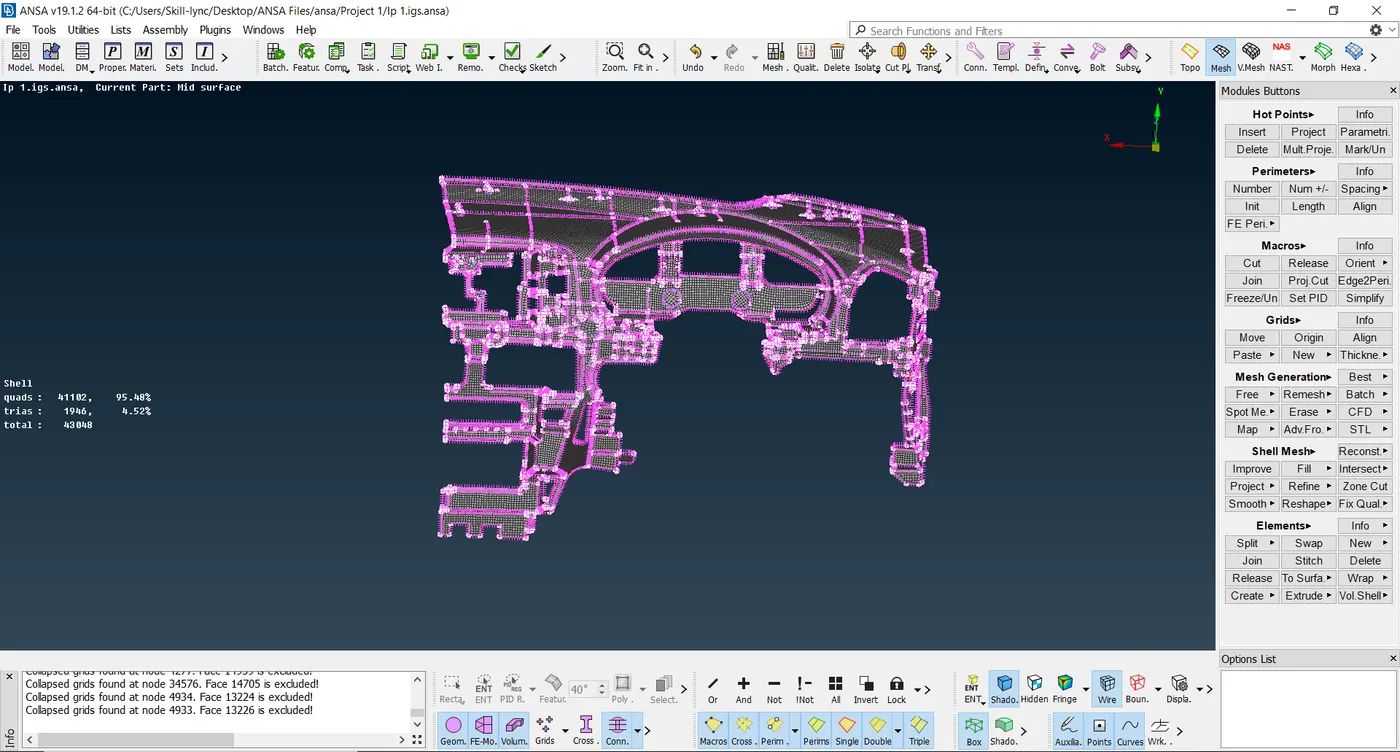
Meshed Component.
Then later I removed the OFF elements on the component with removing the opposite trias and rotating quads.
5. After the Meshing was completed, I assingned thickness on the component on the mid-surface according to the parent geometry. For this I used the Set PID option under the Faces command in the Topo tab.
Then I selected the component geometry and assigned the Thickness.
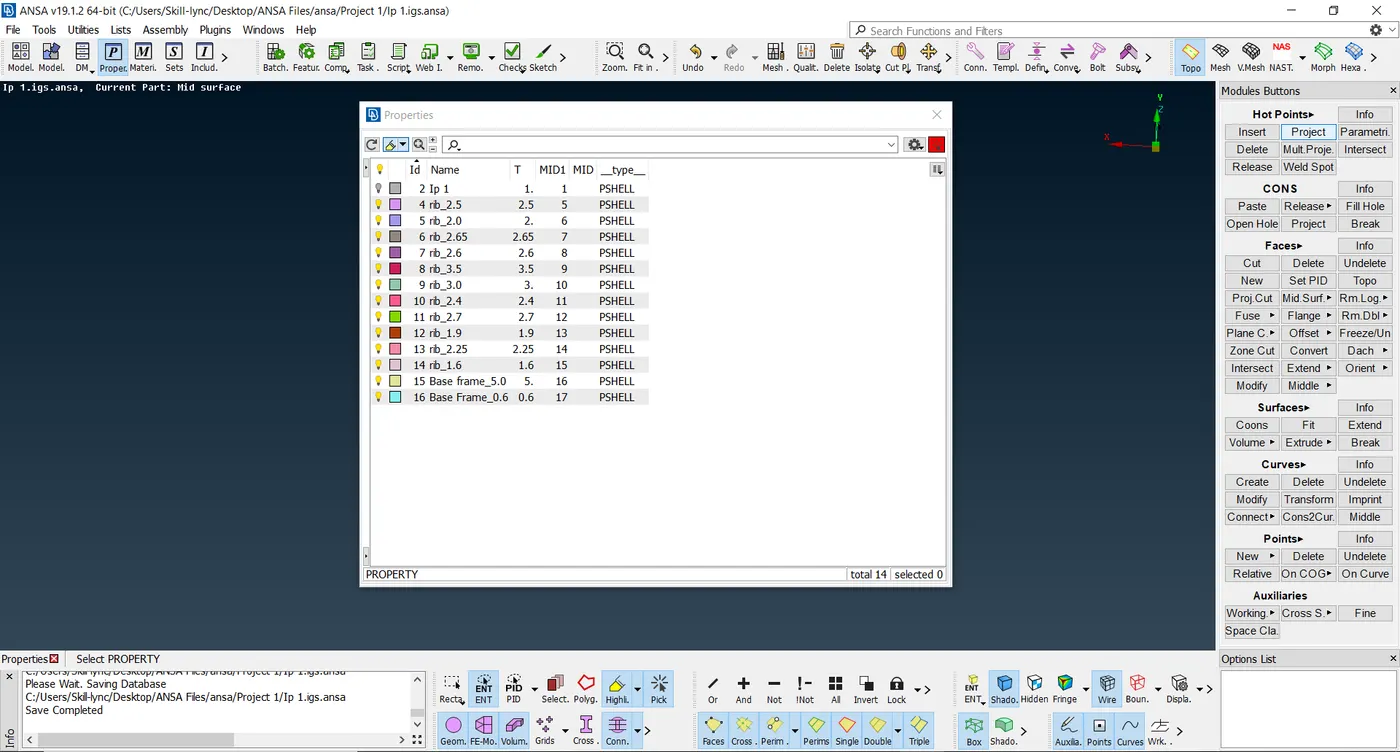
Thickness assingned to the Mid surface.
After the thickness was assigned, we can view the geometry in different colours in the PID viewing tab as well.
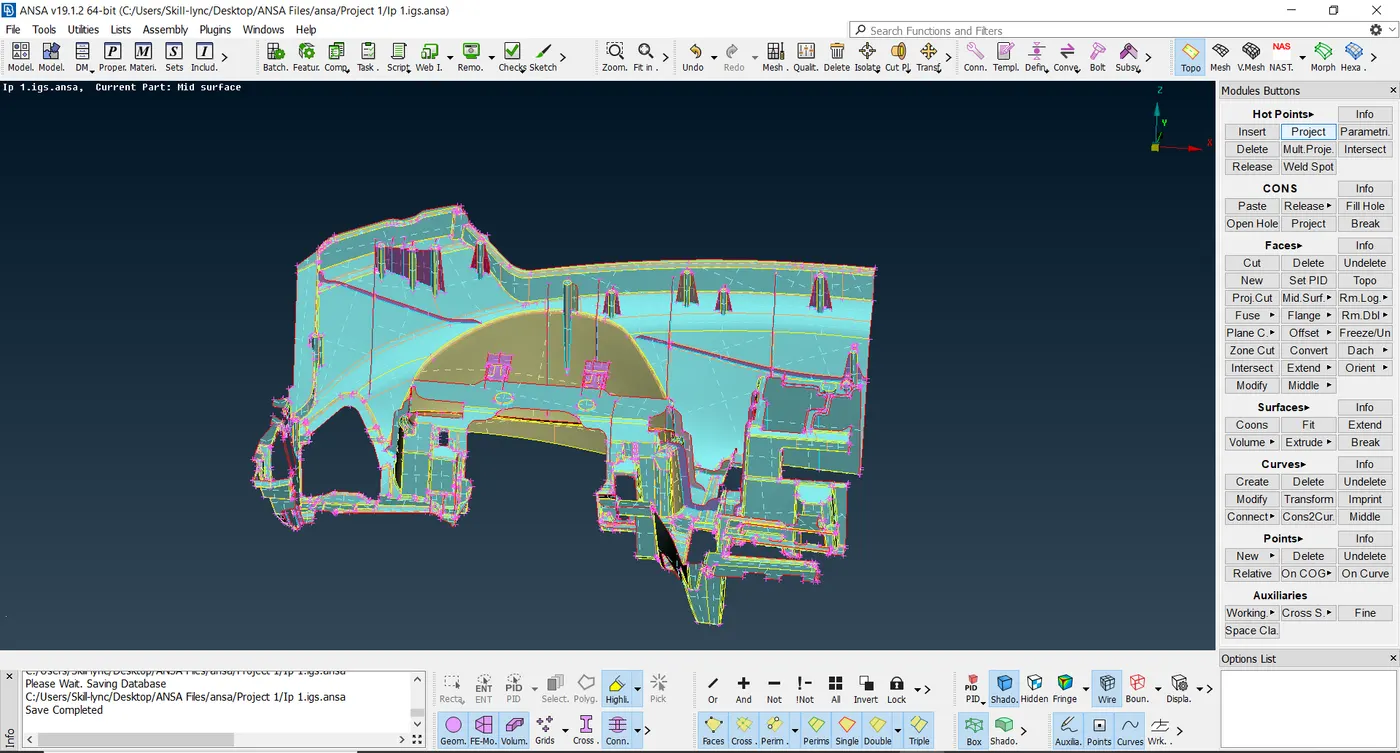
Different PID's according to the thickness assigned.
- Learning Outcomes: 1. Complete Review of the Shell Meshing Procedure
2. Understanding the different Mesh clean up techniques.
3. How to resolve for different Off elements.
4. How to take a Mid-surface of a complicated Geometry.
- Conclusion: In conclusion, I would like to conclude that the project helped me in getting a complete review of the mid-planing and Shell Meshing procedure.