Different types of Connections on a truss model in Hypermesh
Week 9 Challenge
- Aim: To create various types of connectors and attach all the different components given in the model.
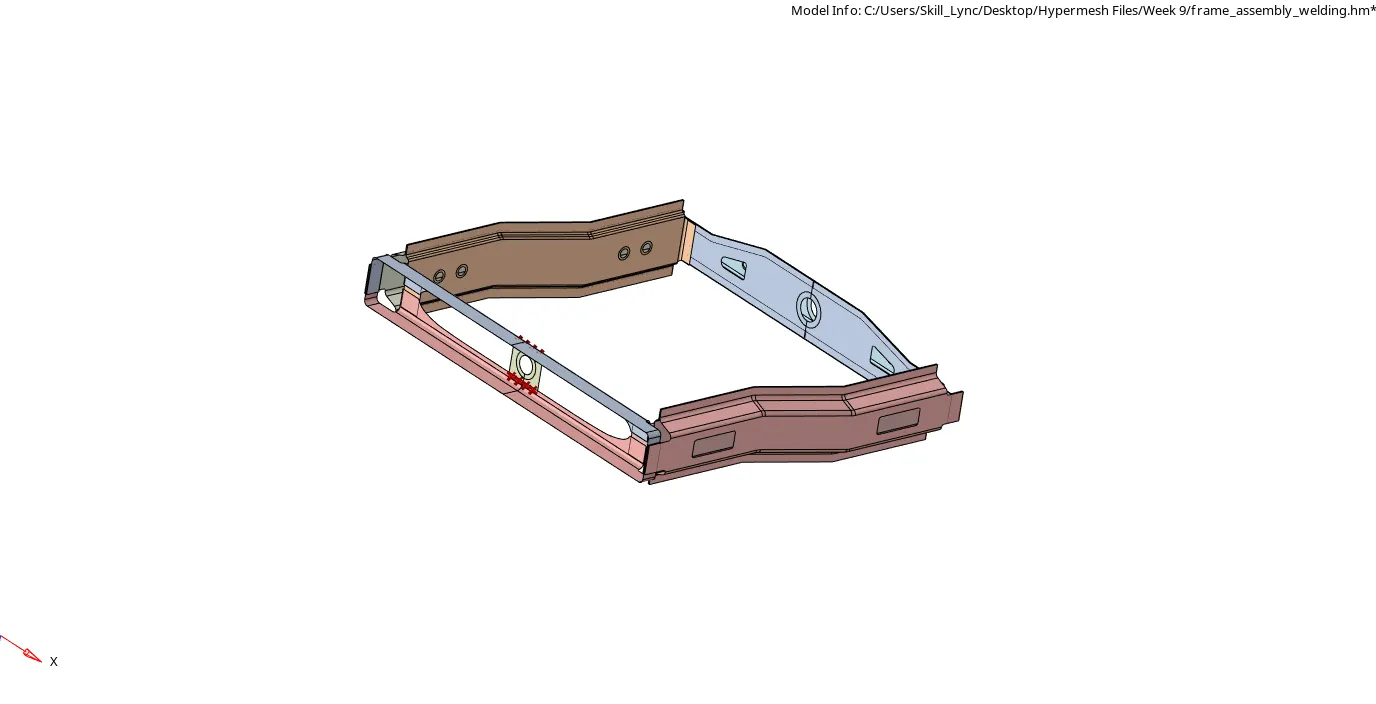
Model w/o Mesh and connections - Procedure: 1. The very first step to create all the connectors is to mesh the given components. To do this, I used the Automesh option under the 2D tab(shortcut-F12) and used the mixed type of elements with the average element length as 5mm.

Automesh Command
2. After the Mesh was made on the surface, we need to make the appropriate connections wherever required. To make the connections we need to use the 2D tab and use the connectors command in it.
Conectors command
Like for example, if we were to make a Seam Quad (Angled+Capped+L) between two components, then we need to use the Seam option under the connector command.
Seam option
In this option, we select the type of seam weld as "seam-quad (angled+capped+L) and give in the necessary inputs such as the weld angle, cap angle and the run off angle. After these inputs, we select the nodes where the connection is to be realised. Then after we select the two components and create the connector.
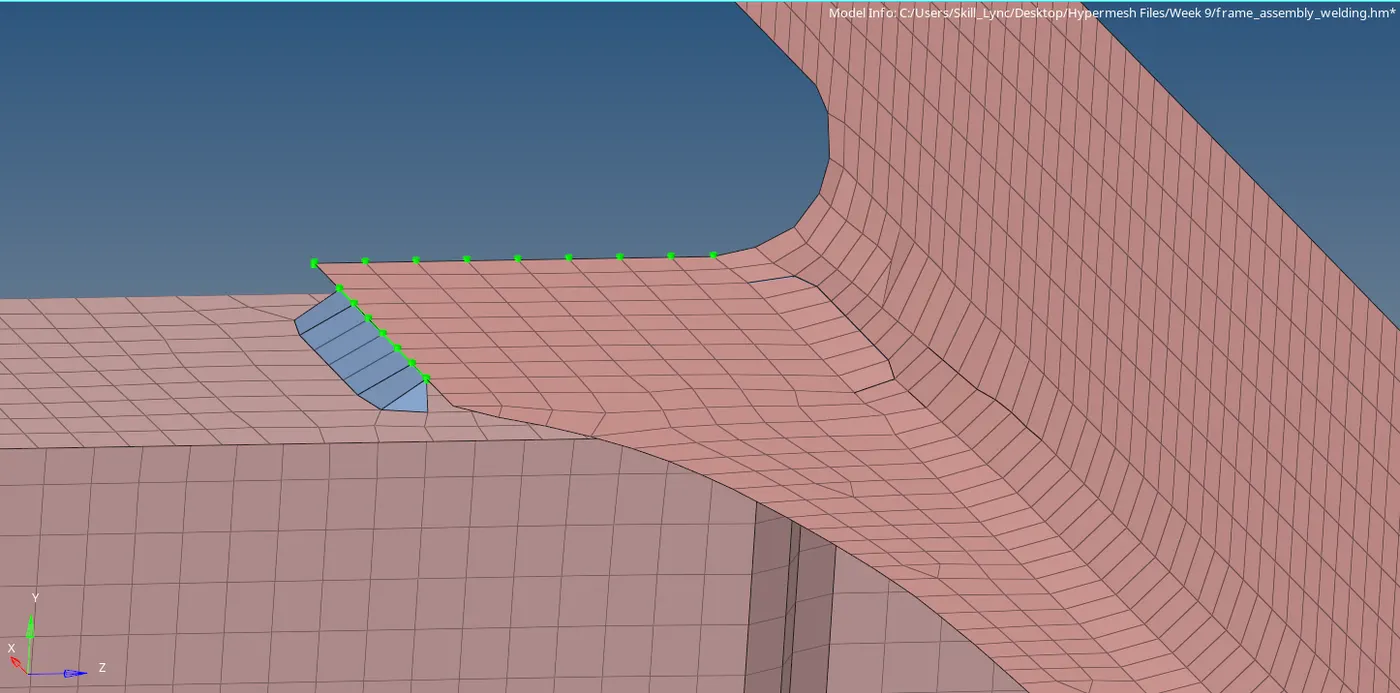
Seam Weld Connection.
Another example would be where we need to create a bolt connection between two components. To do this, we can use the Bolt option under the connector command.
Bolt Command
We then need to select the type of the connection as Bolt (general) and change the Hole option to create hole, if none. Later, we need to select the nodes wherever the connection is required.
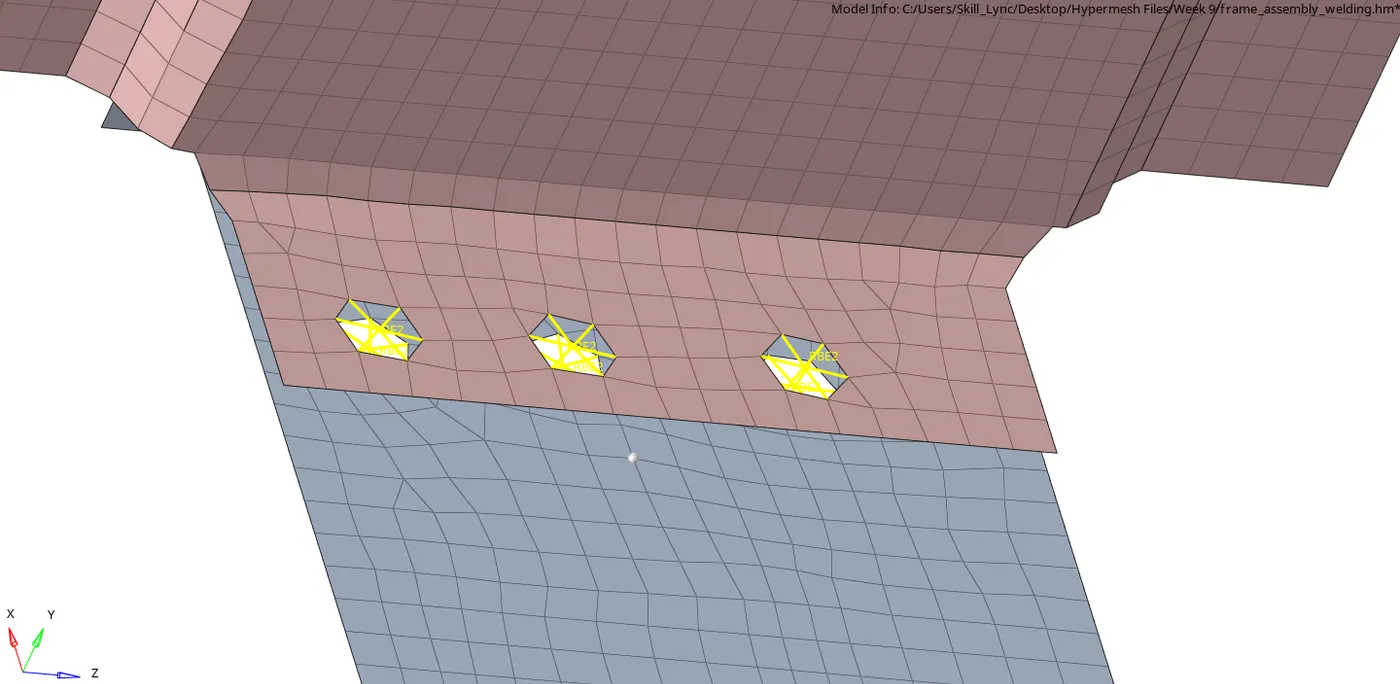
Bolt Connection
Similarly, all the connections can be made from within the 1D or the 2D tab in the pushpanel. Certain examples are as follows:
a. Hexa Adhesive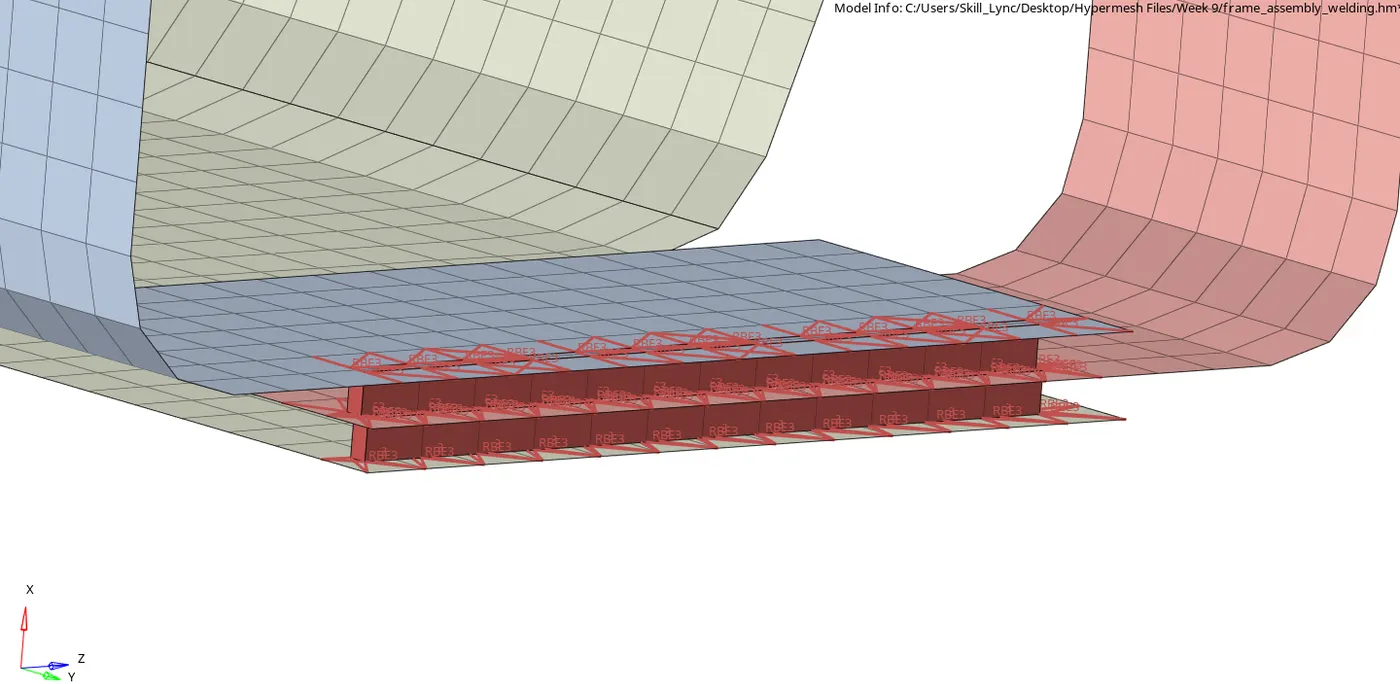
b. Spot Weld with Rigid Elements (RBE2 connectinon)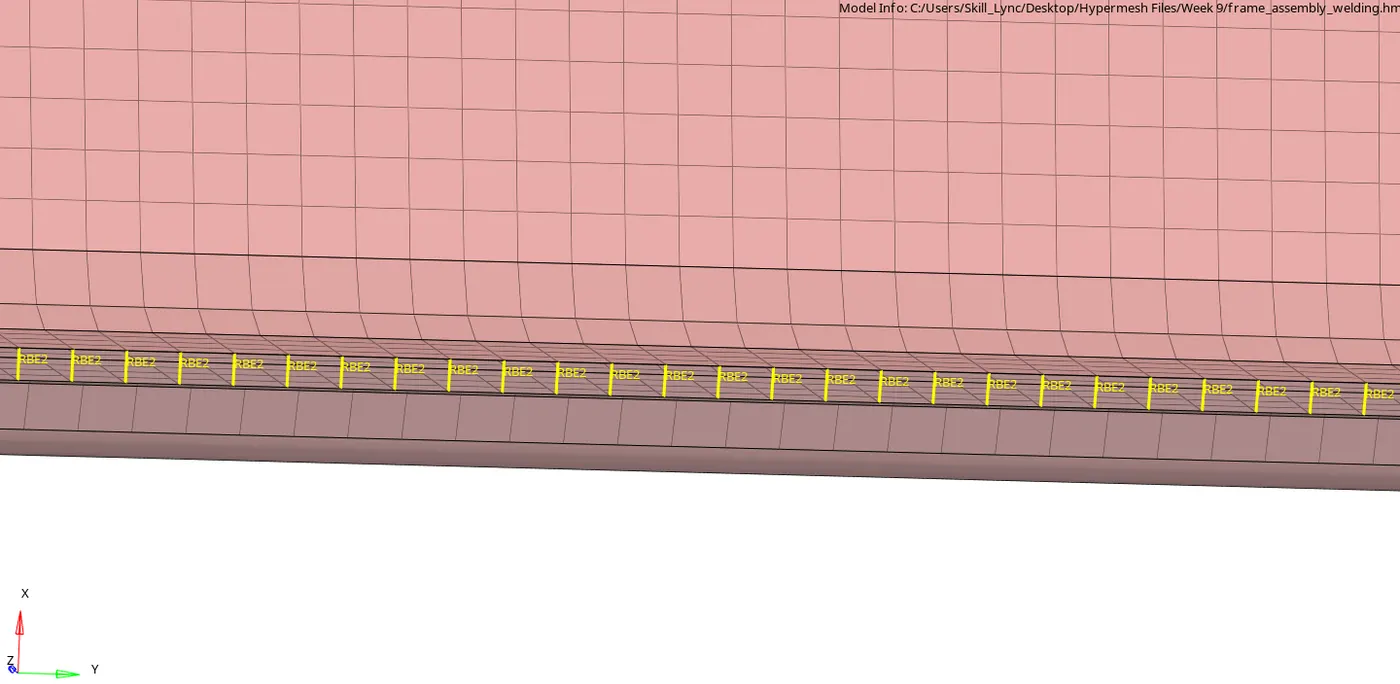
c. Spot Weld with Spring Elements.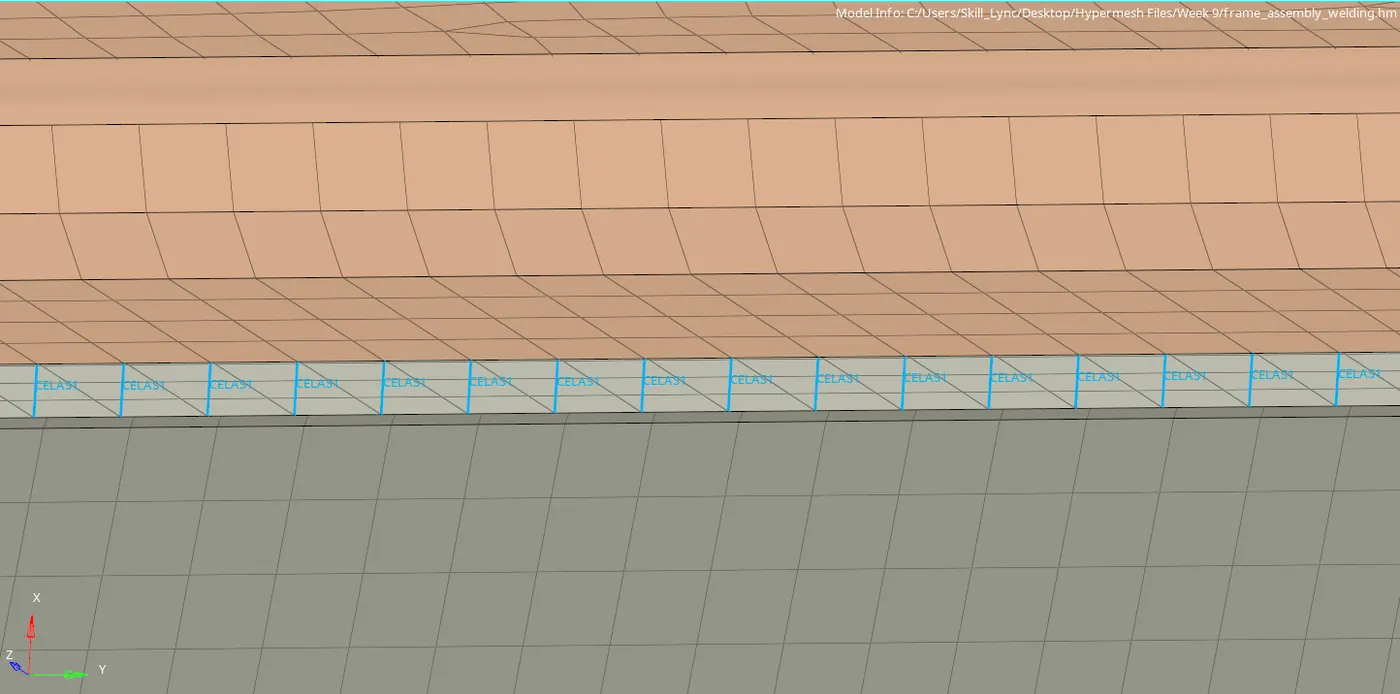
d. PBAR Element.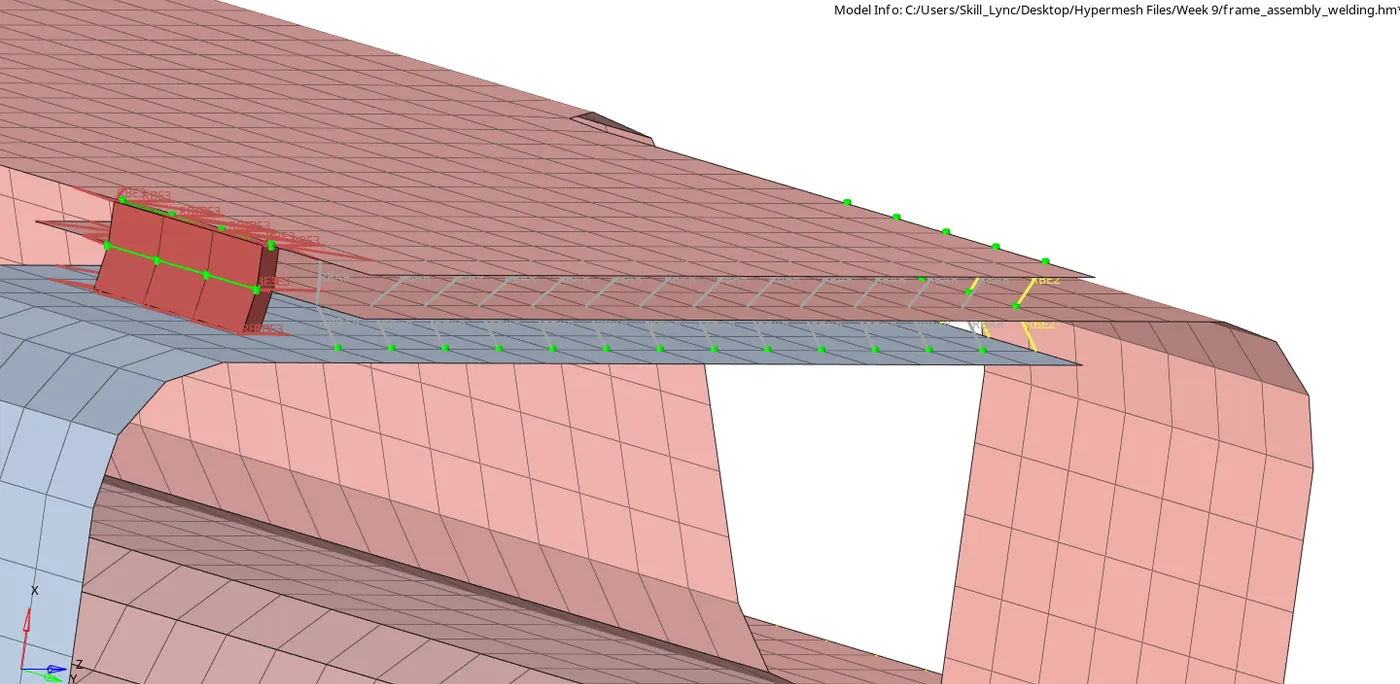
- Conclusion: In conclusion I woud like to state that this challenge helped me understand the various types of connectors and how to make them in a given component.