Week 9 - Creating connection for Rear door
Aim :
For the given model do all the connection necessary required
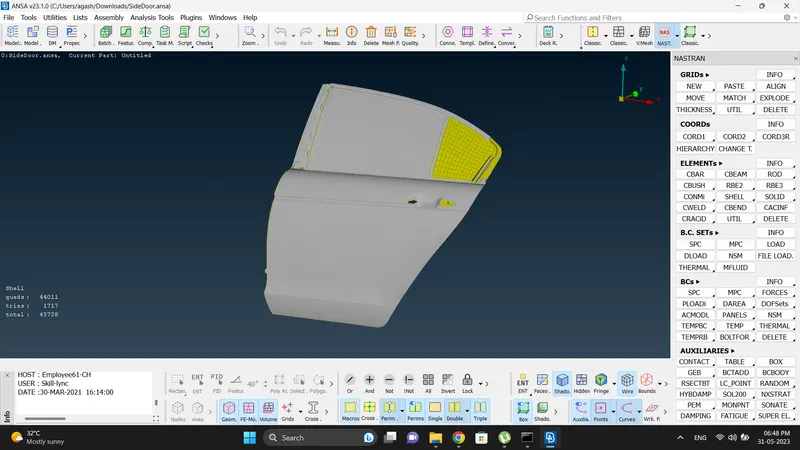
Cad Model Image :
Initial
Procedure:
1. Check the geometry
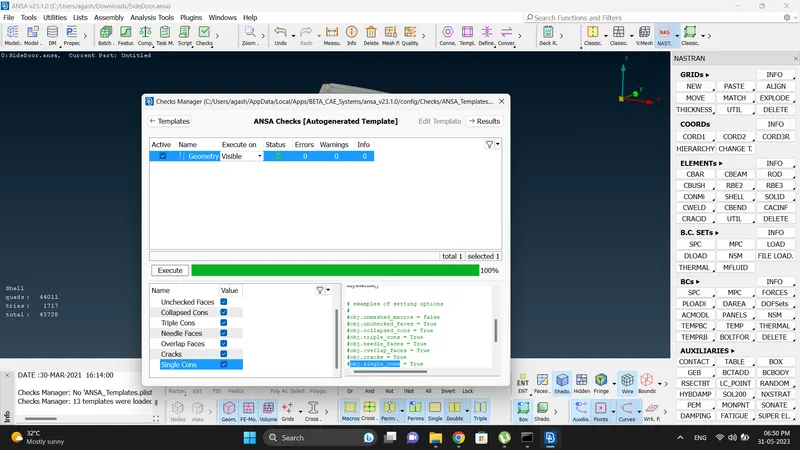
2. for connection of two part if there are hole we have to use bolt representation. There are two ways to create bolt creation we can use RBE2 many nodes (RBE2 cluster) to represent.
first go to Nastran-RBE2-Many nodes and select nodes we have to give connection (while selection use loop)
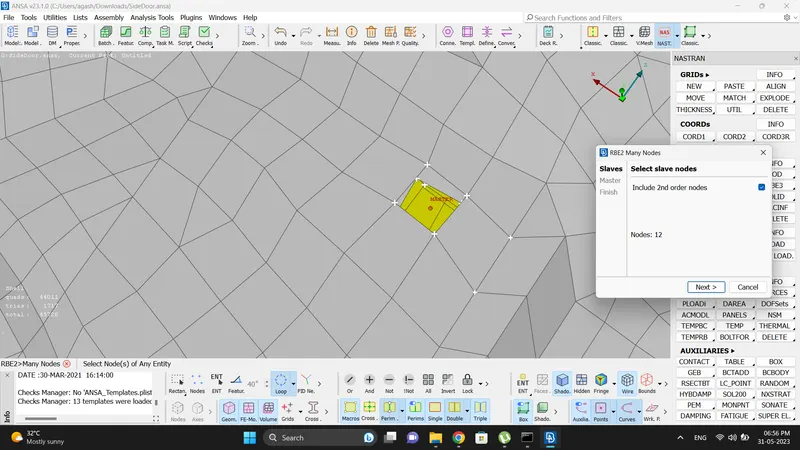
3. confirm the selection. Check Degree of freedom is in all direction and part to ask always for the first time and confirm it
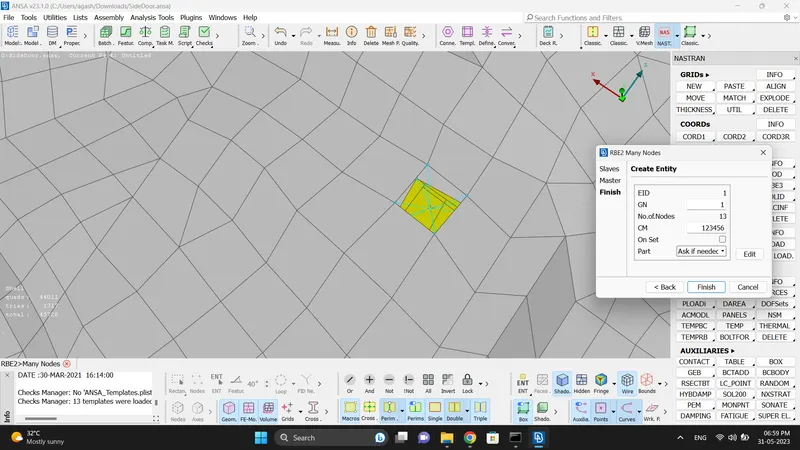
4. After confirmation it will ask to save connection we can rename the untitled as our need and right click-mark-current-on and confirm the entity
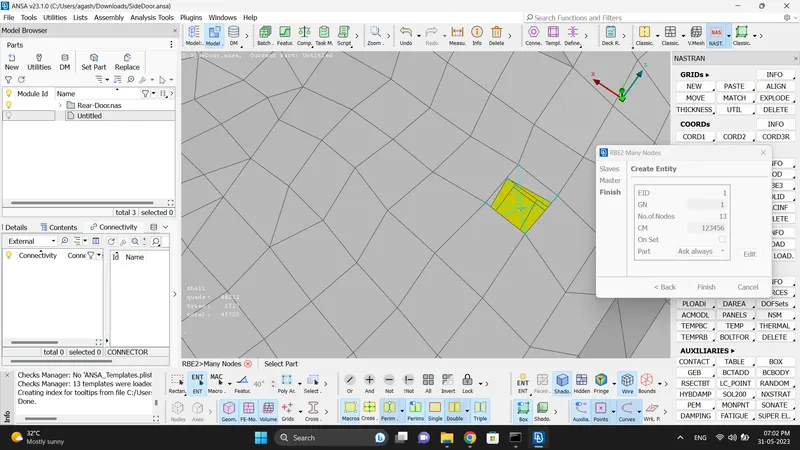
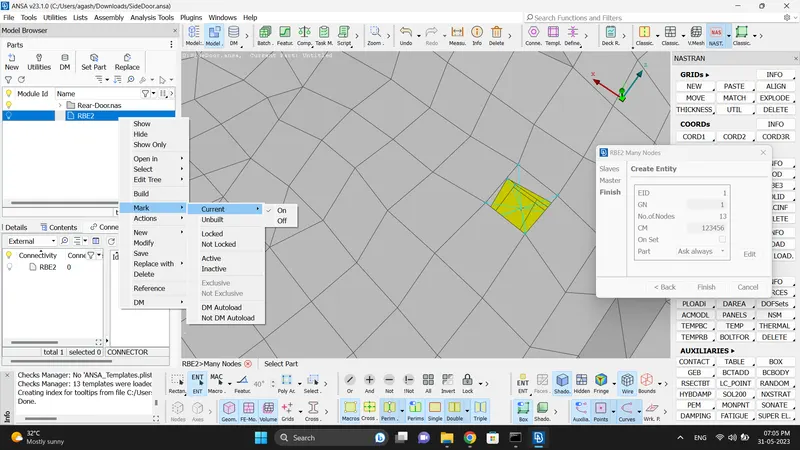
5. The RBE2 Cluster connection are made for bolt representation
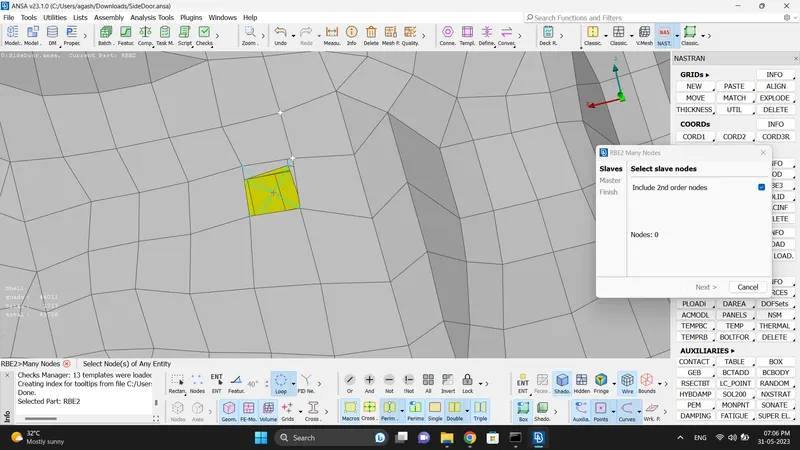
6. Other method to create conection are first we need to create COG where bolt to be representated
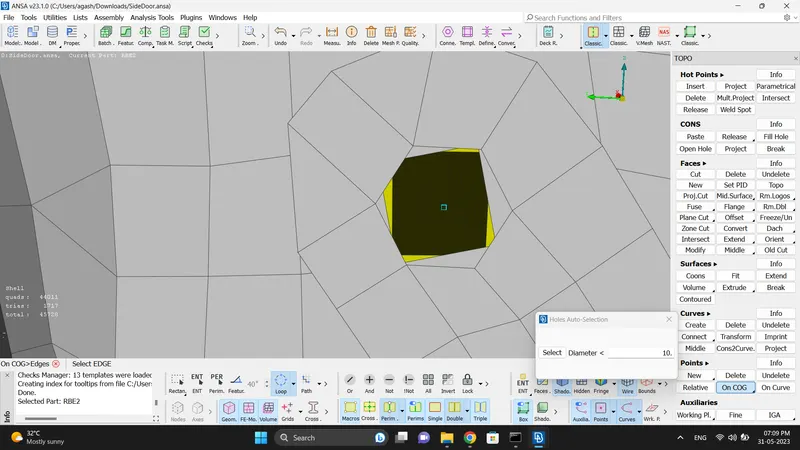
7. Use convert the 3d to bolt
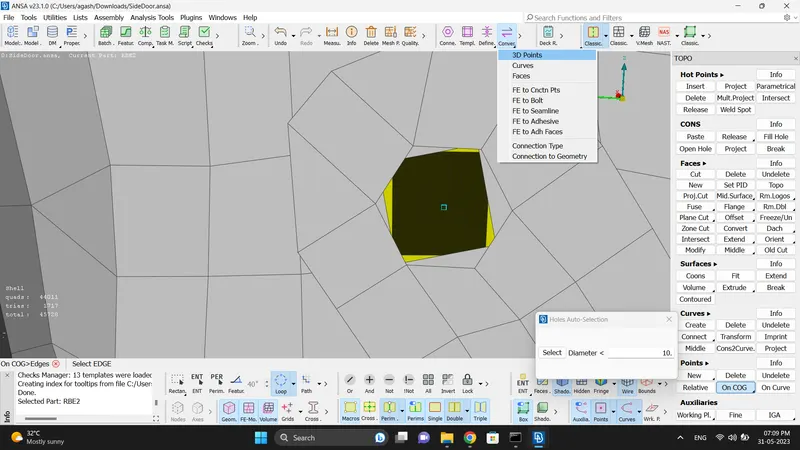
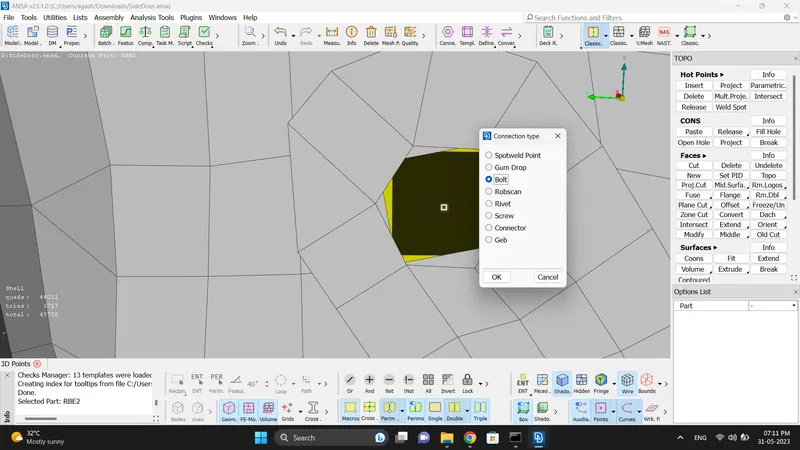
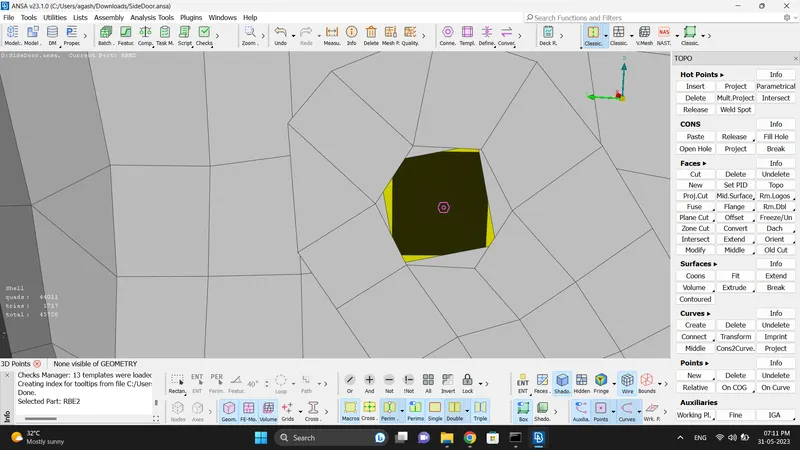
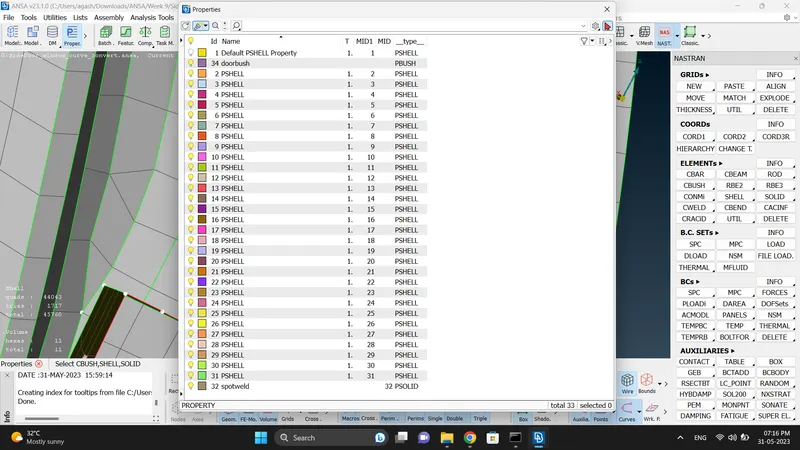
8. For using this method we need to create different PID for all the parts
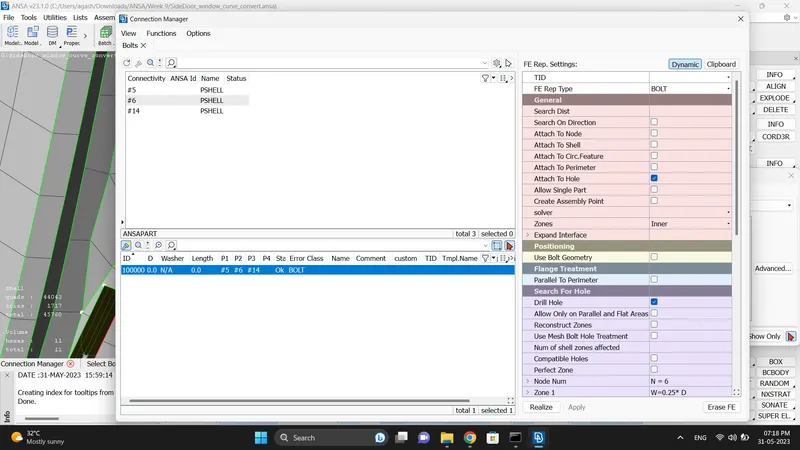
9. Go to connection Manager, select bolt and confirm it
9. Select P1, P2, P3 as per the part to be connected and select FE Rep Type to Bolt and zone to Inner.
After that apply and realize. The bolt representation is complete
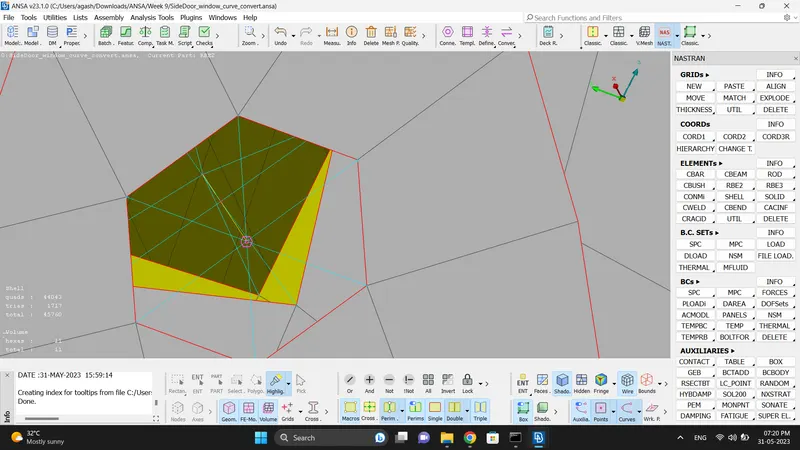
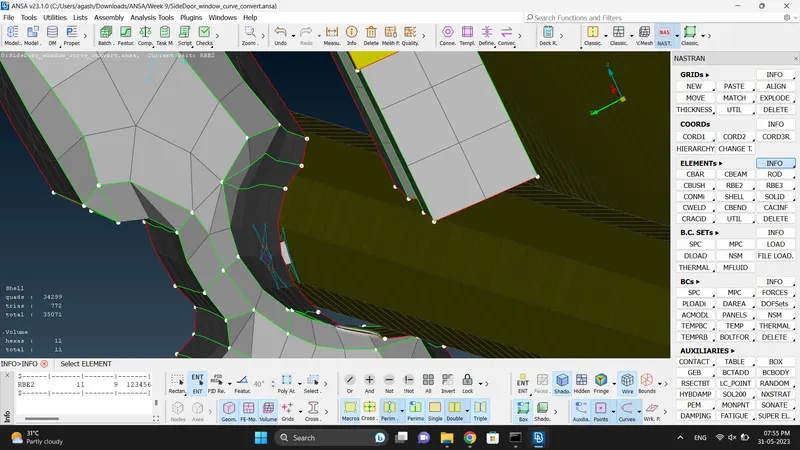
10. If two parts need to be connected we can use RBE2 Many nodes to create connection as shown below
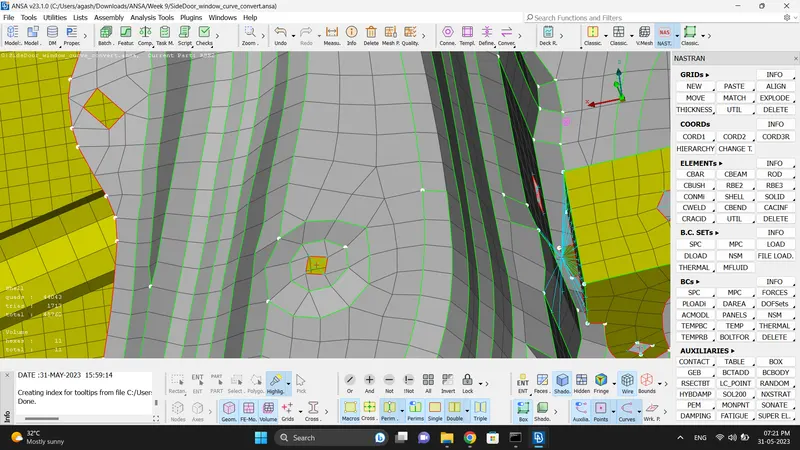
11. For the connection of door handle we need to use two RBE2 Cluster and Connect the two master node with RBE2 many nodes
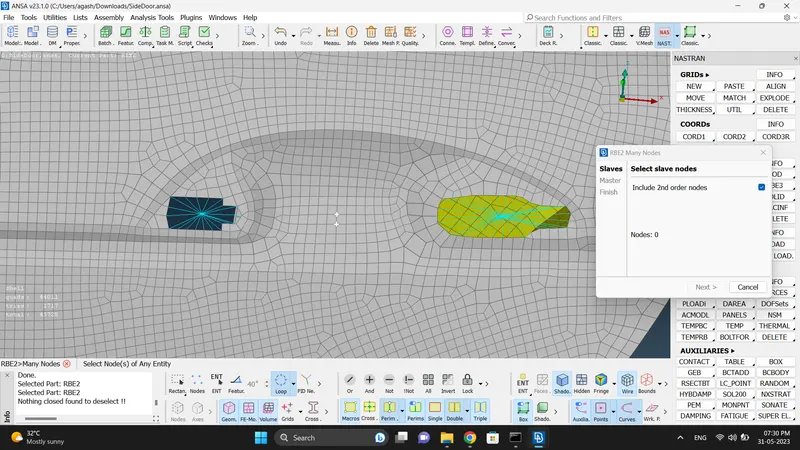
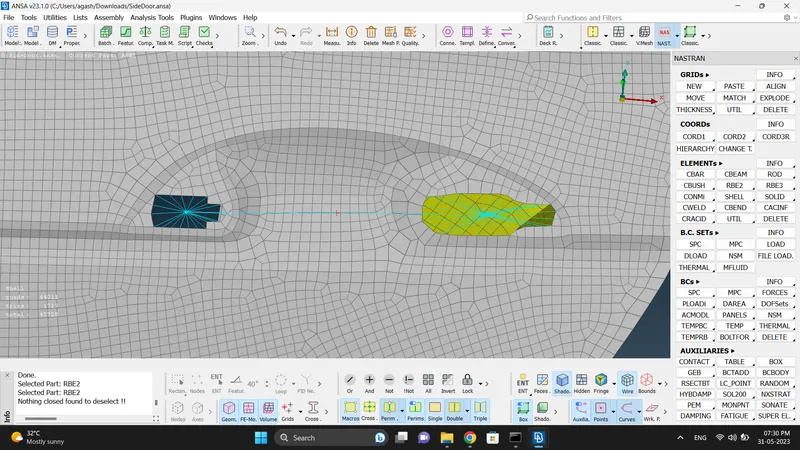
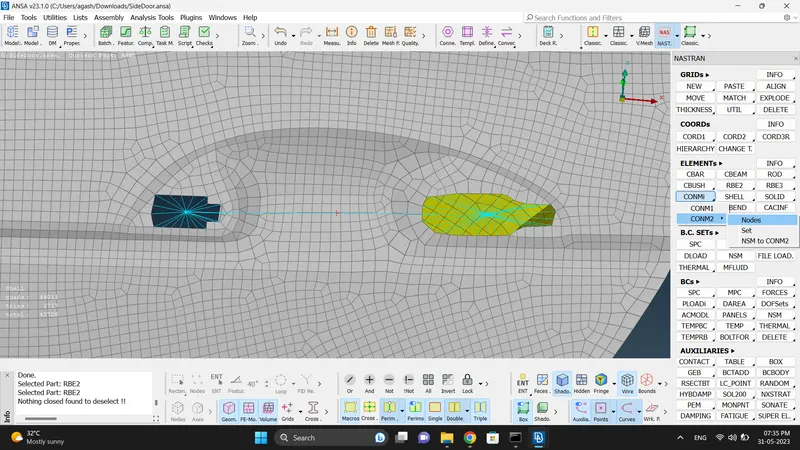
12. Apply load to the master load of approx 100 gram (all load to be converted in tonne)
To apply load use Nastran-CONMi2-Nodes, Select the centre load and confim it.
Give value of mass in M (Mass value should be in tonne) and confim it.
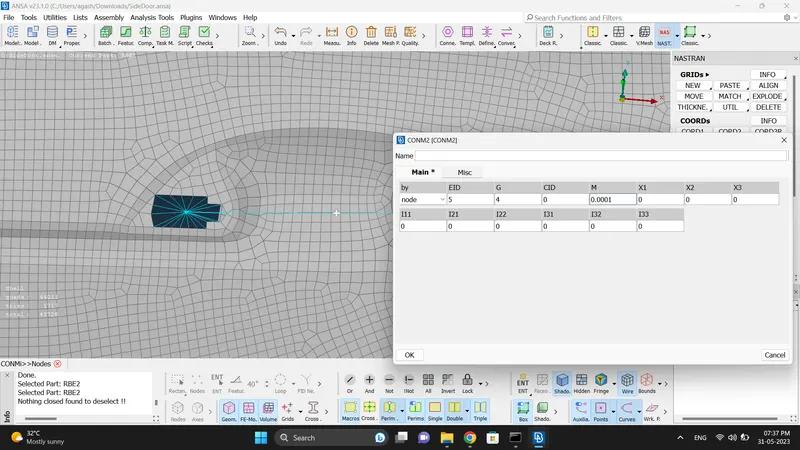
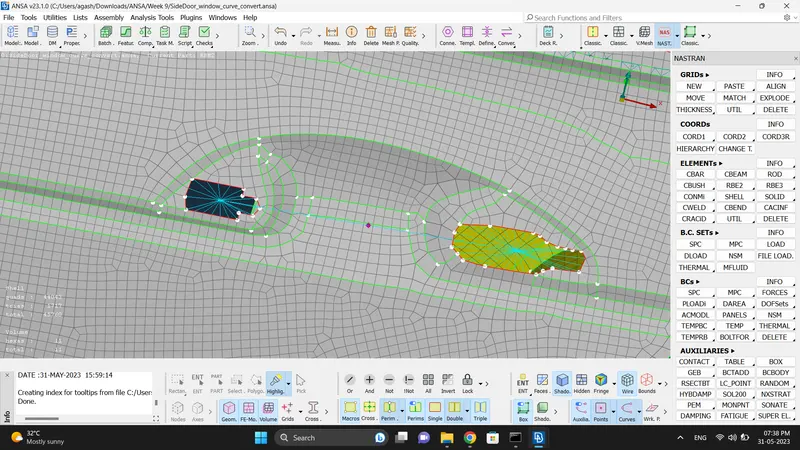
13. To give connection to this part use RBE2 many nodes and while connection 2 master node make sure to not not give CM in Roational Z - axis
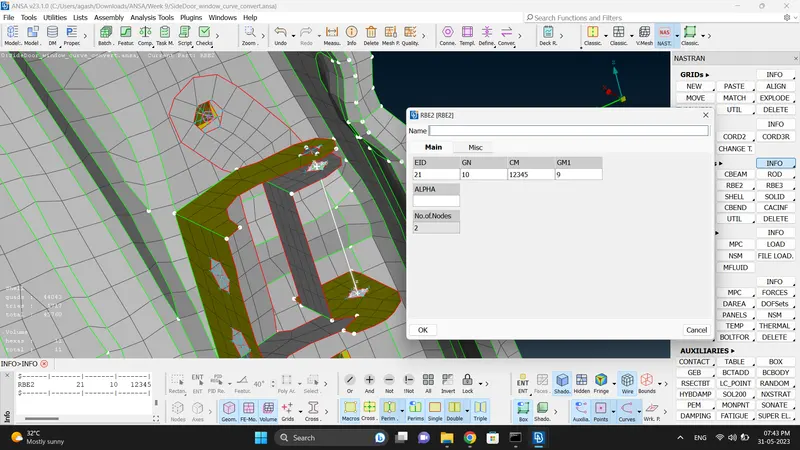
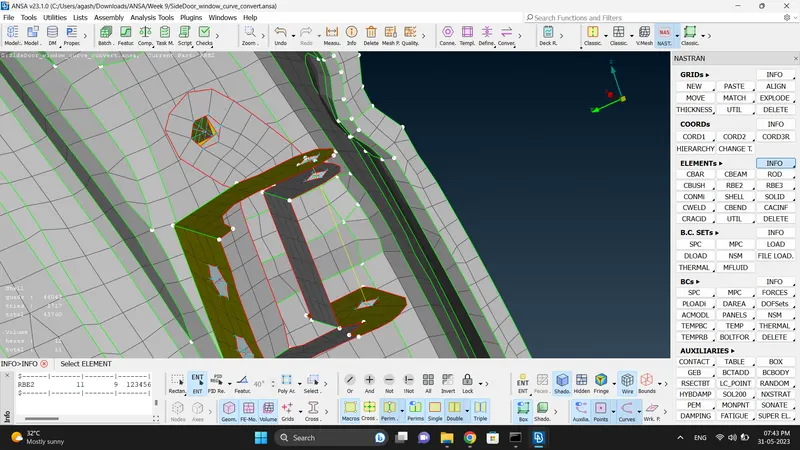
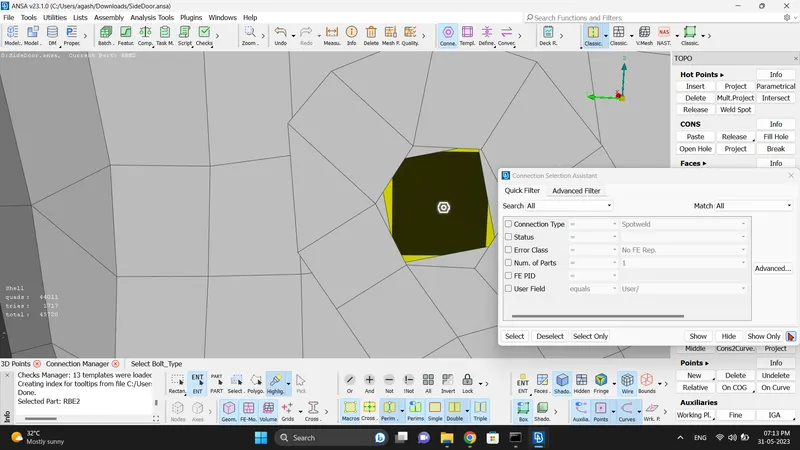
14. To create a spot weld the two area should be parallel to each other.
First create COG (while creating COG make sure it is in centre and not near the edge) and convert it into Spotweld Point.
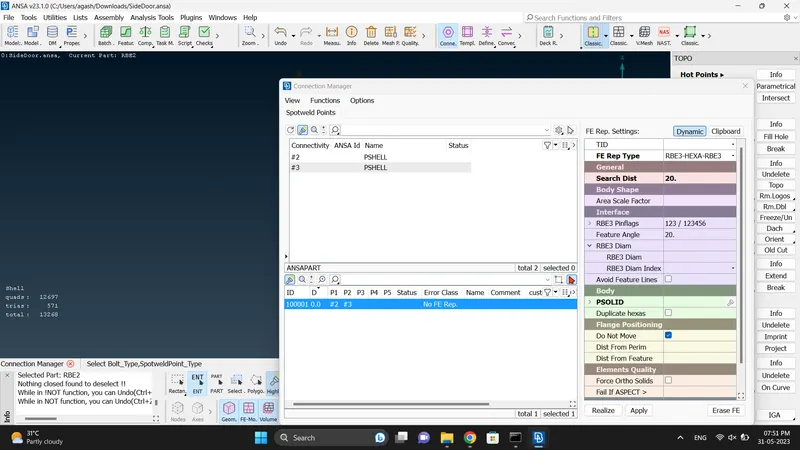
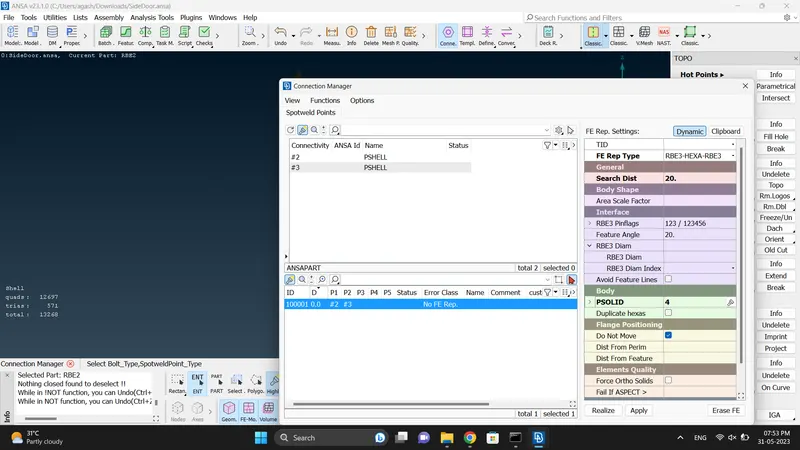
Go to connection manager, select FE Rep Type - RBE3-HEXA-RBE3, select P1 and P2, give search distance 20, and select or create property PSolid id. Then apply and relalize to make a connection
Do other parts connection using spot weld as per requirement
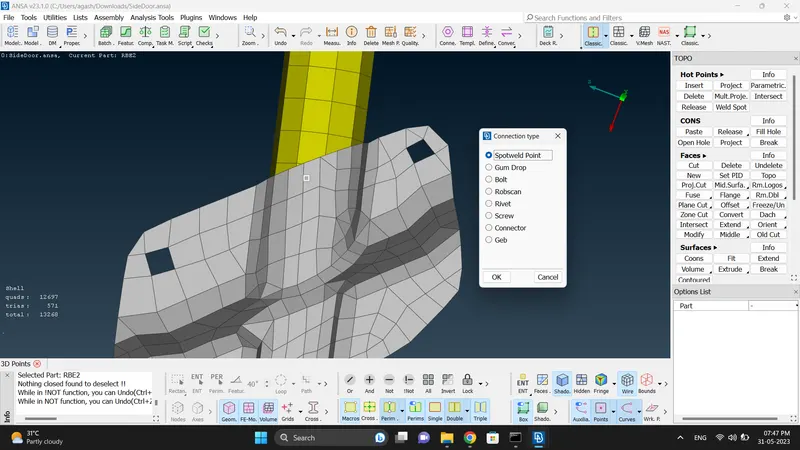
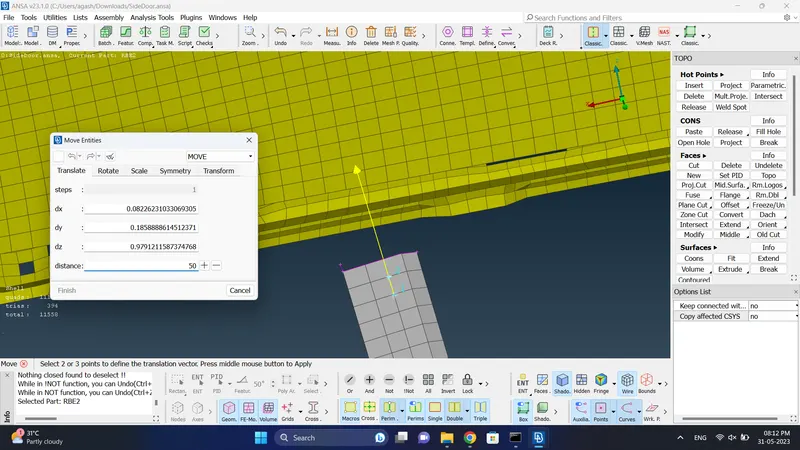
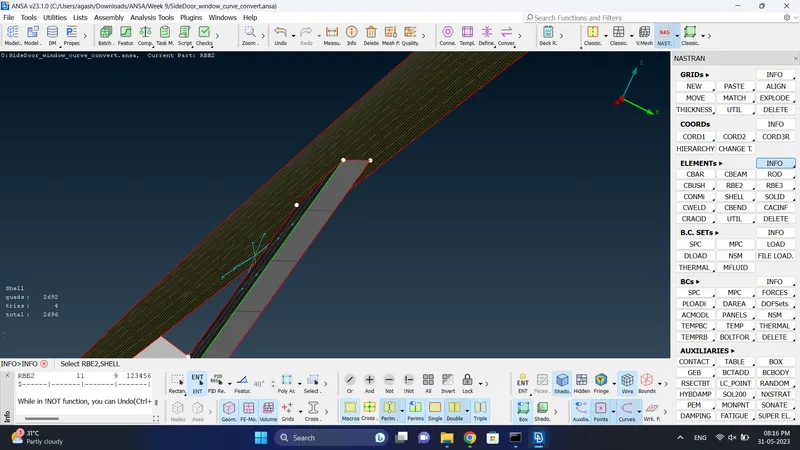
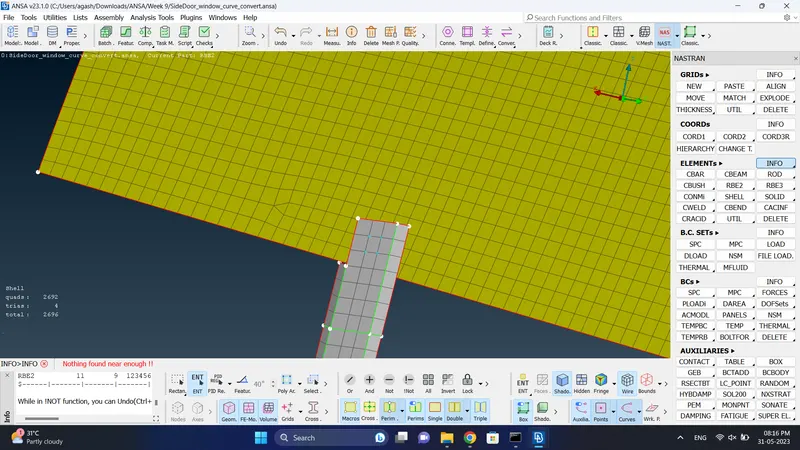
15. To give connection of sliding mechanism to the glass. since the glass and sliding mechanism are not near to each other we have to make them.
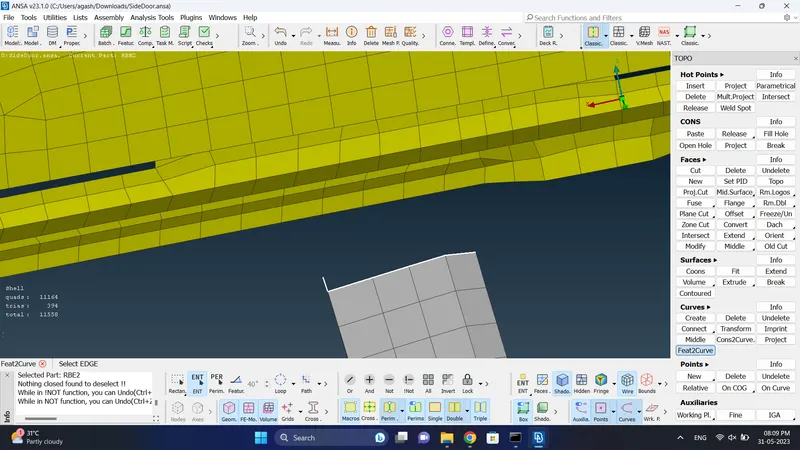
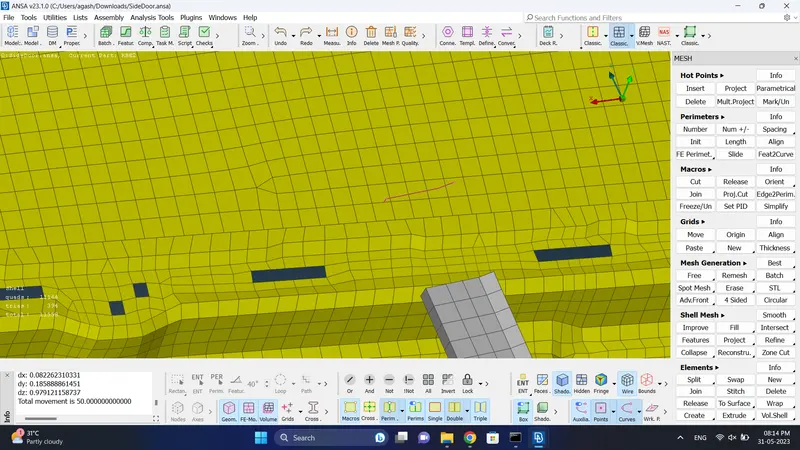
create curve using Feat2Curve.
Then move the curve in upward manner using Transform move as approx distance 50.
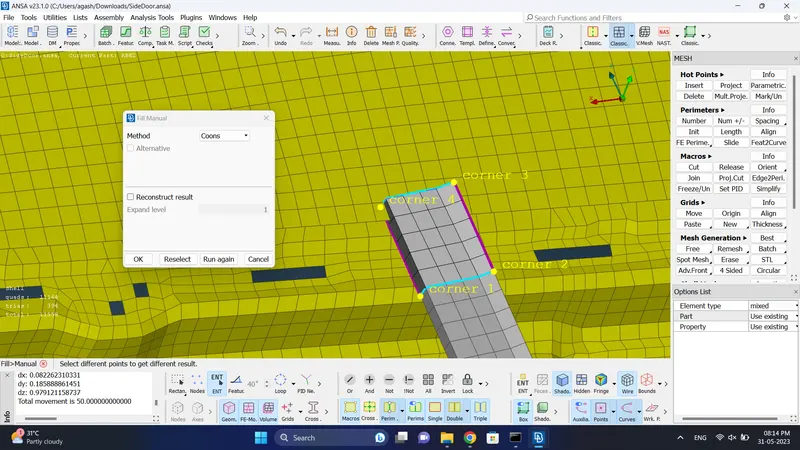
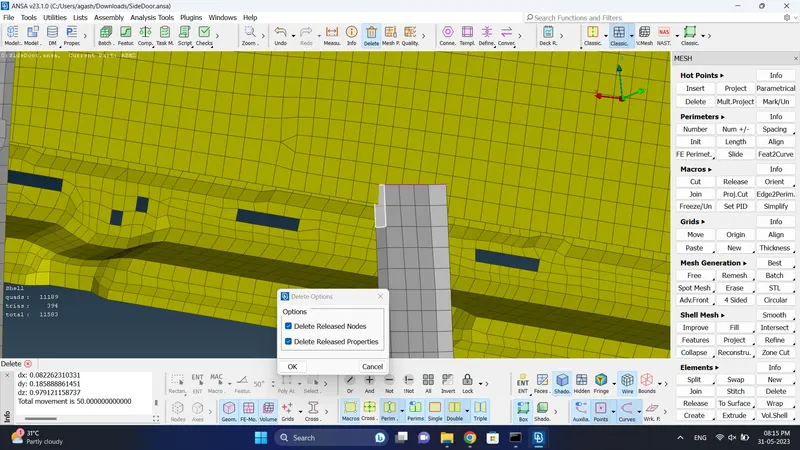
Then create element using fill hole option. Delete the extra element that are going inside glass
Then give RBE2 many nodes connection.
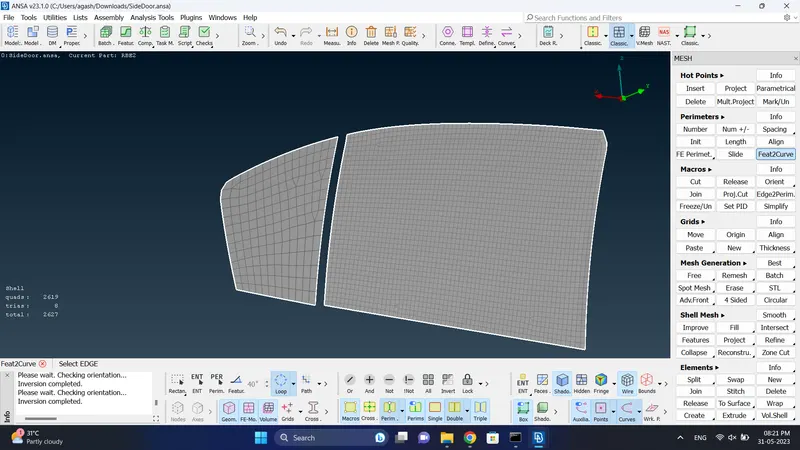
16.The glass will be covered in Black rubber bush on both side so we need to create the CBUSH connection
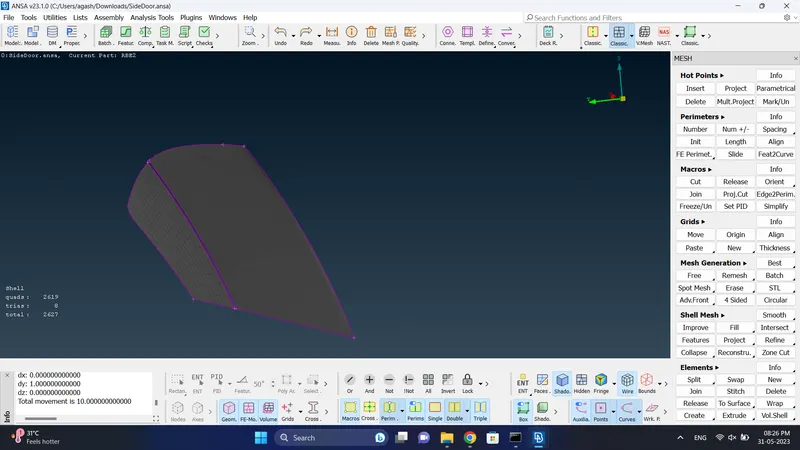
For this connection we need to convert the glass edges into curve using Feat2Curve into new entity
For the bottom of the glass there will be a 2 CBUSH element so we need another curve use transform copy at 10 in Y Direction
Select one curve at a time and use convert - Curves - Spot line (do same to all curves)
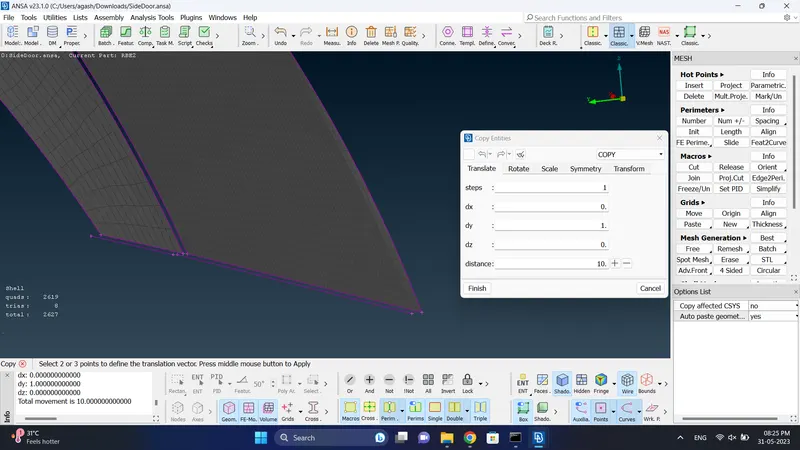
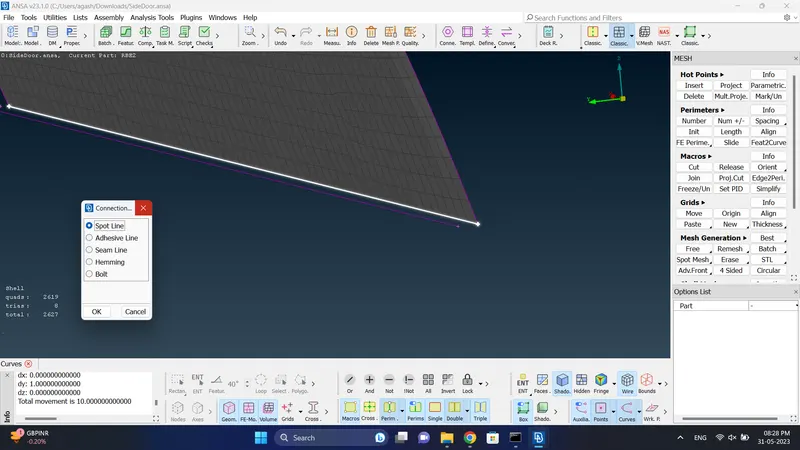
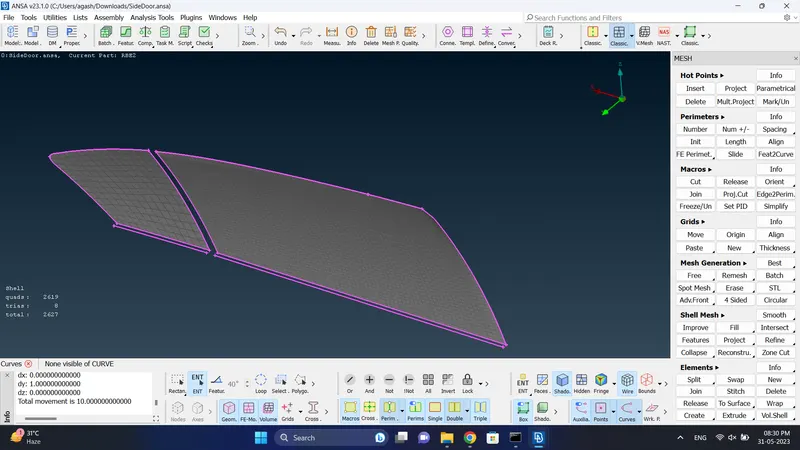
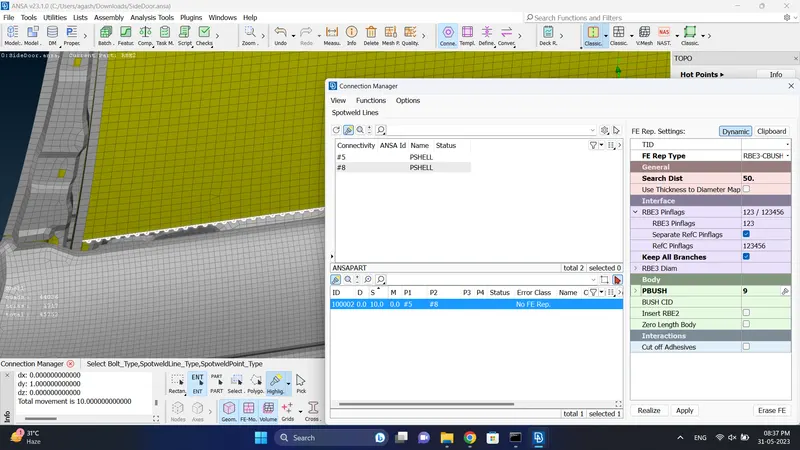
17. Use connection manager, select spotline - select P1 and P2, Give S - 10, FE Rep Type RBE3-CBUSH-RBE3, Tick Keep all branches, Give search distance 50, Create a PSOLID and assign it, Apply and Realize the Connection
After that do the same process for all the CBUSH connection
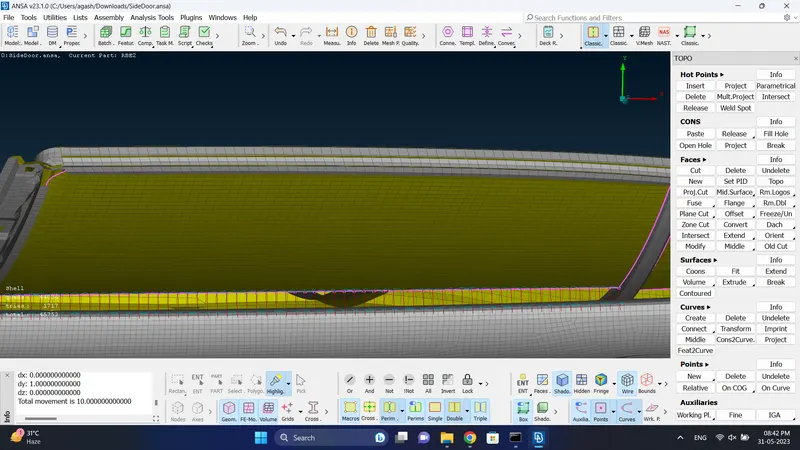
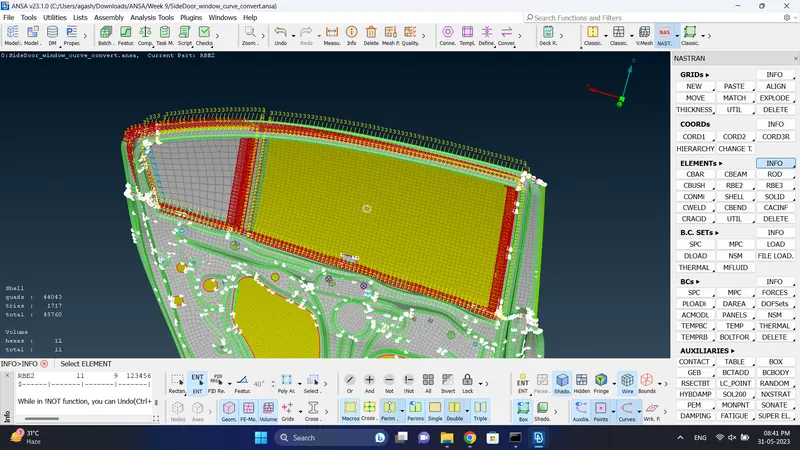
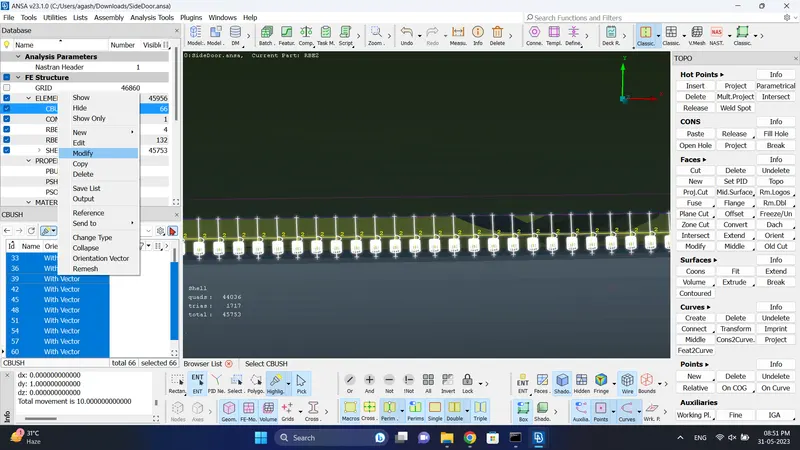
18. The CBUSh Co-ordinates and the global Co-ordinates are not aligh to align them we need to go to
Database - Element - CBUSH
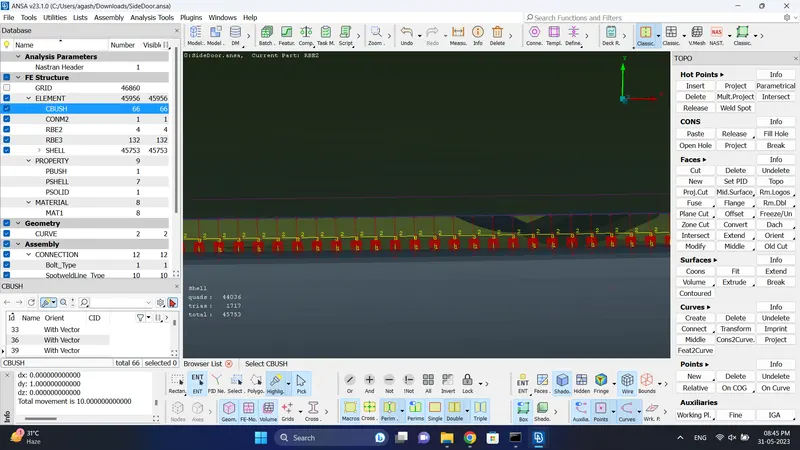
19. Enable the orient and CID by going the show/hide column
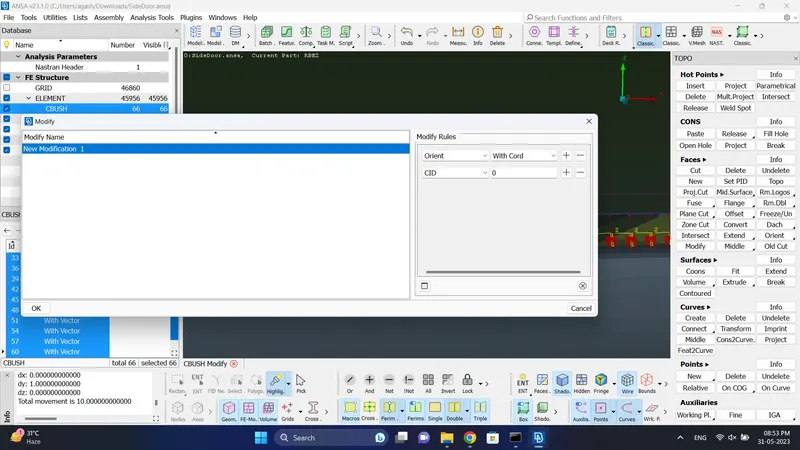
to change all the CBUSH in one step select all - Right Click - Modify
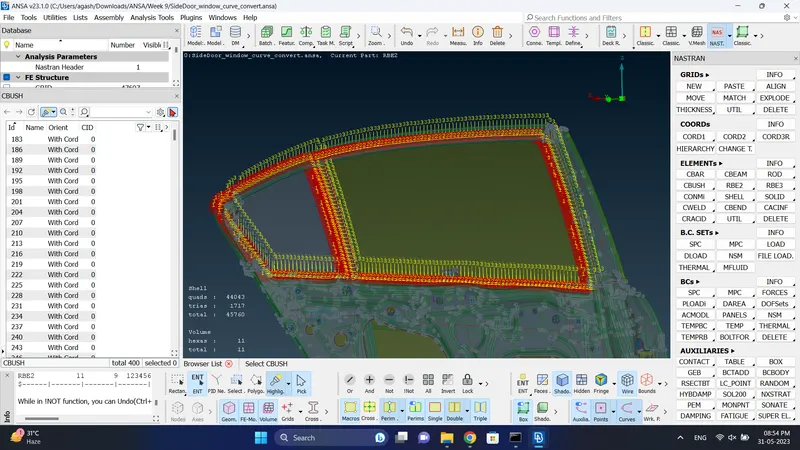
Selct Orient - with cord, CID - 0 and click ok
Now all the Co-Ordinates will be align
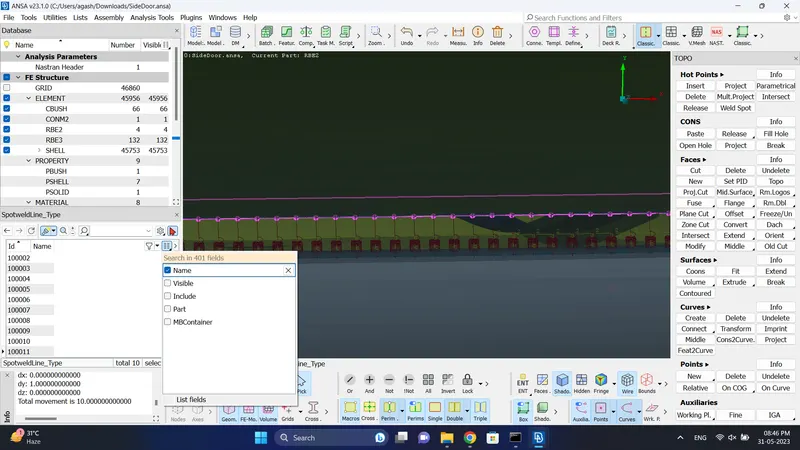
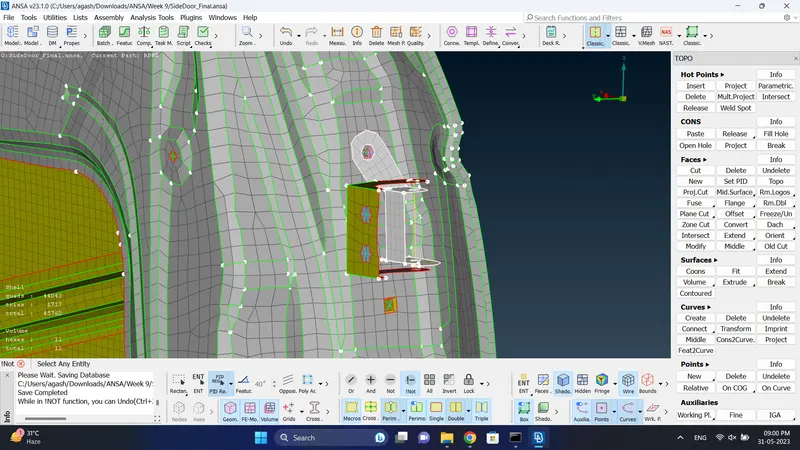
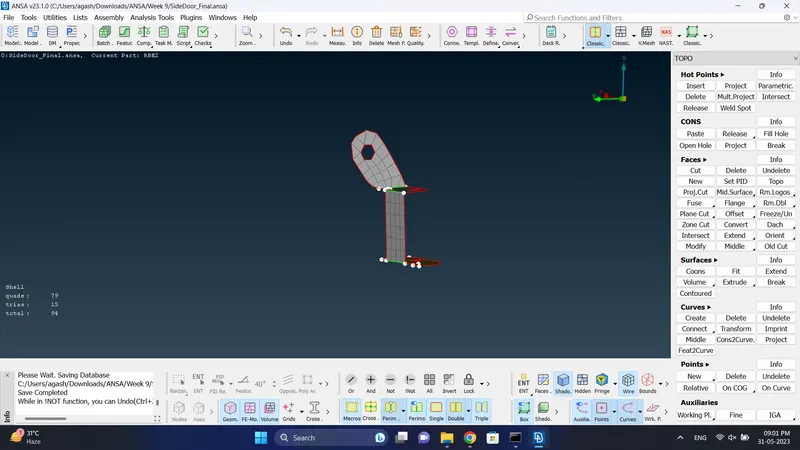
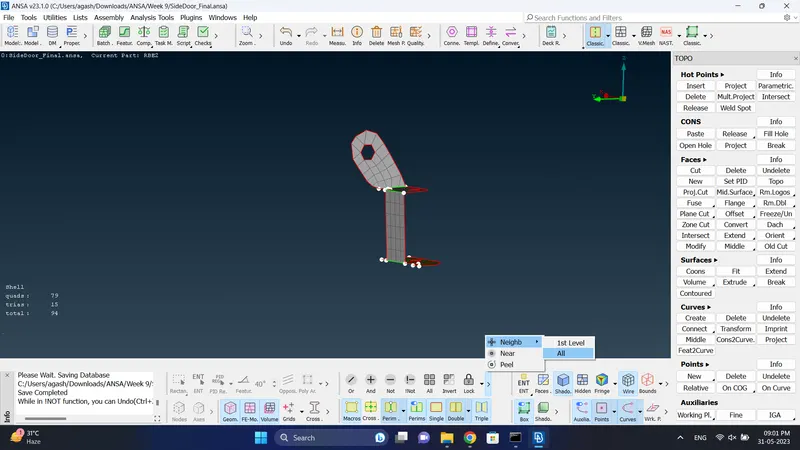
20. After doing all the connections check if all parts are connected to each other by using iNot option
Hide single part and after that use Neighbour all to see all parts are connected to each other.
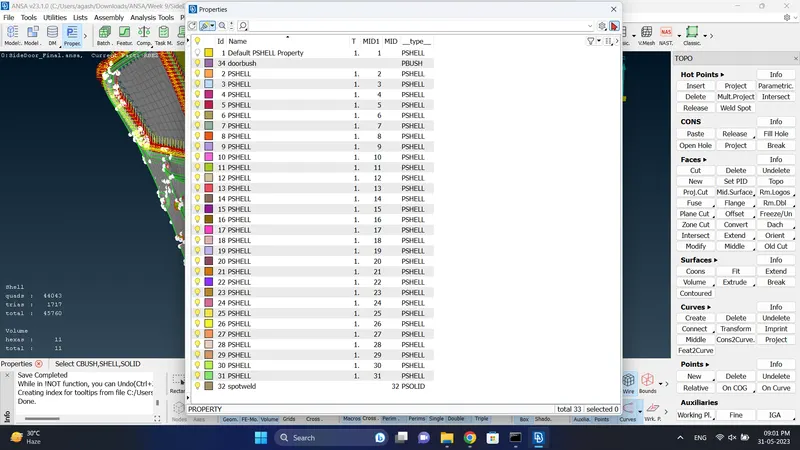
Go to Poperties and check if all parts are visible
Final CAD Image:
Learning Outcome:
I learn to make different connection like Bolt, RBE2, Spot weld, CBUSH type connection.
Conclusion:
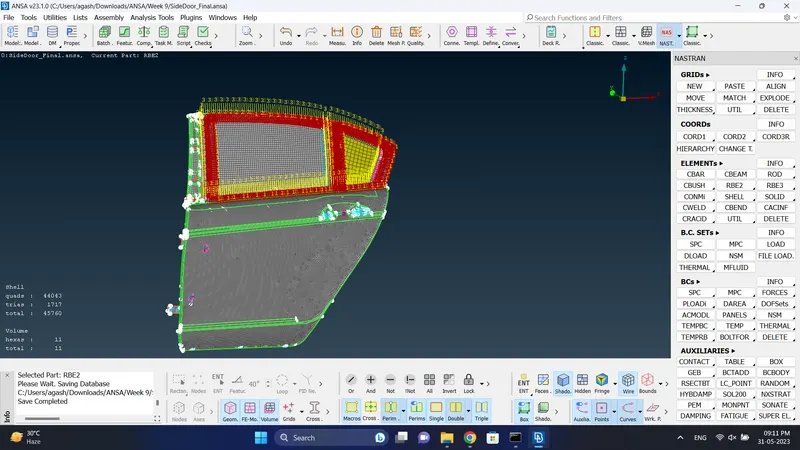
All the connections are made sucessfully