week-11 Joint creation and Demonstration
Aim: The objective of the challenge is to create spherical, revolute, translational and cylindrical types of joints between two rigid bodies and two deformable bodies in Ls-Dyna.
Procedure:
Rigid Revolute Joint
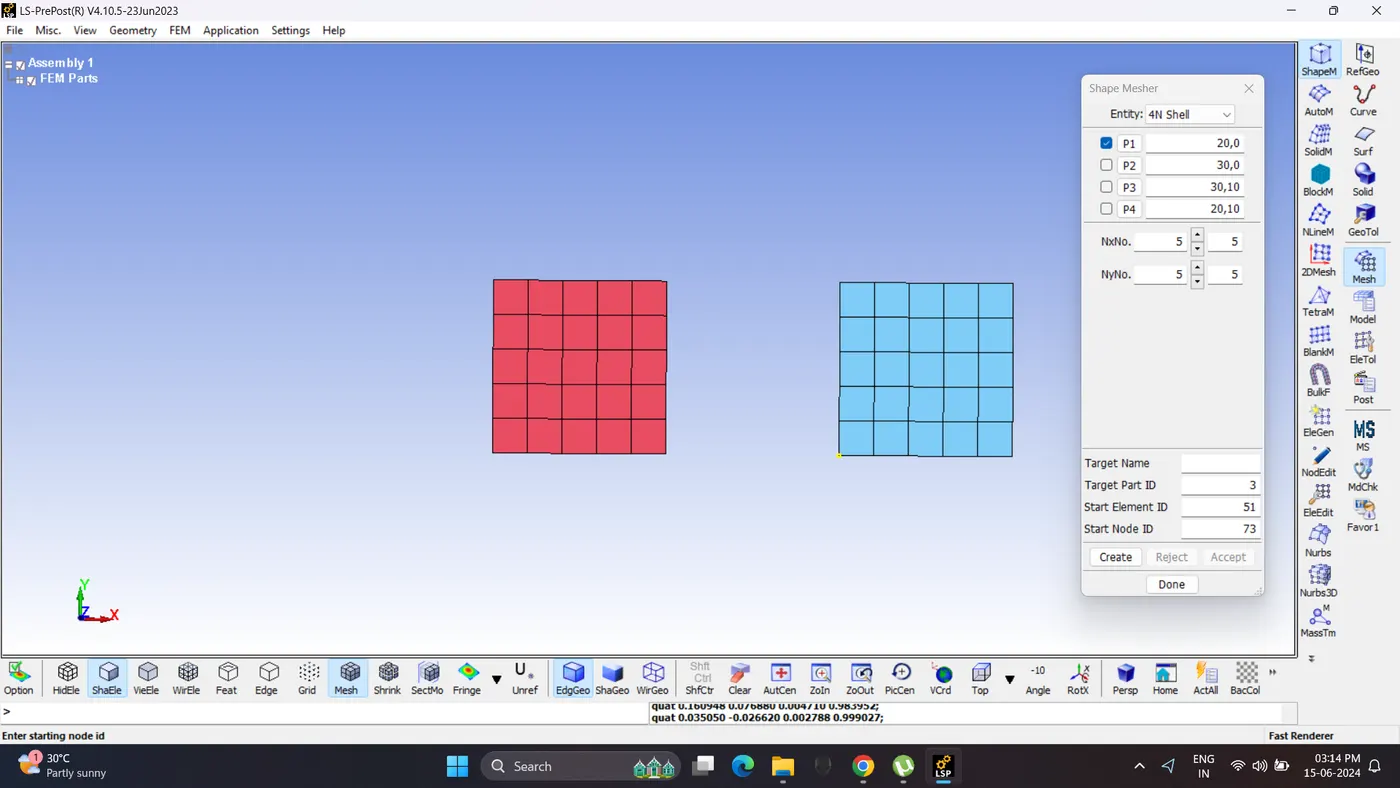
1. Open LS Prepost and create two plates.
Go to Mesh - Shape Maker -4N Shell - Give co-ordinate - Click Create.
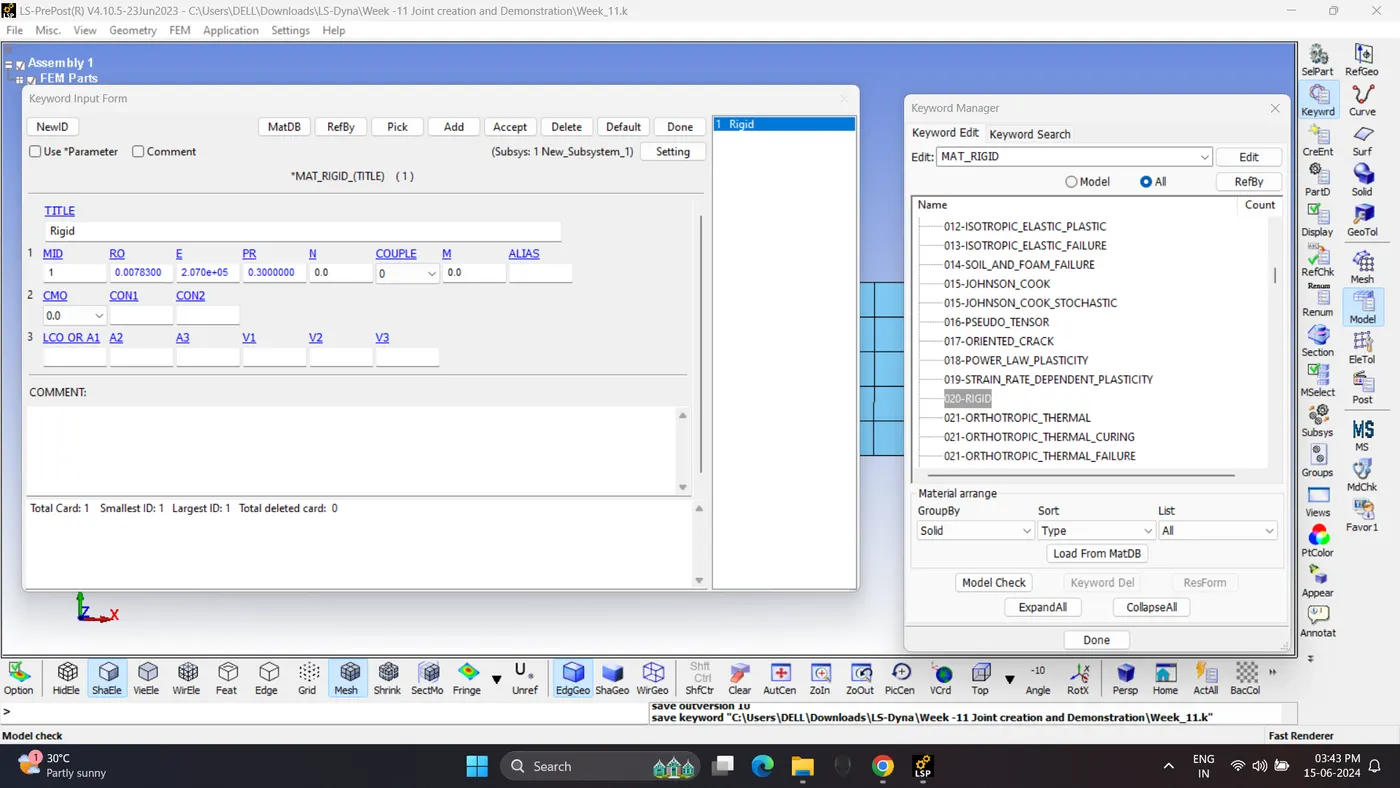
2. Create a rigid material. Go to Model - Keyword Manger - MAT - 020-RIGID.
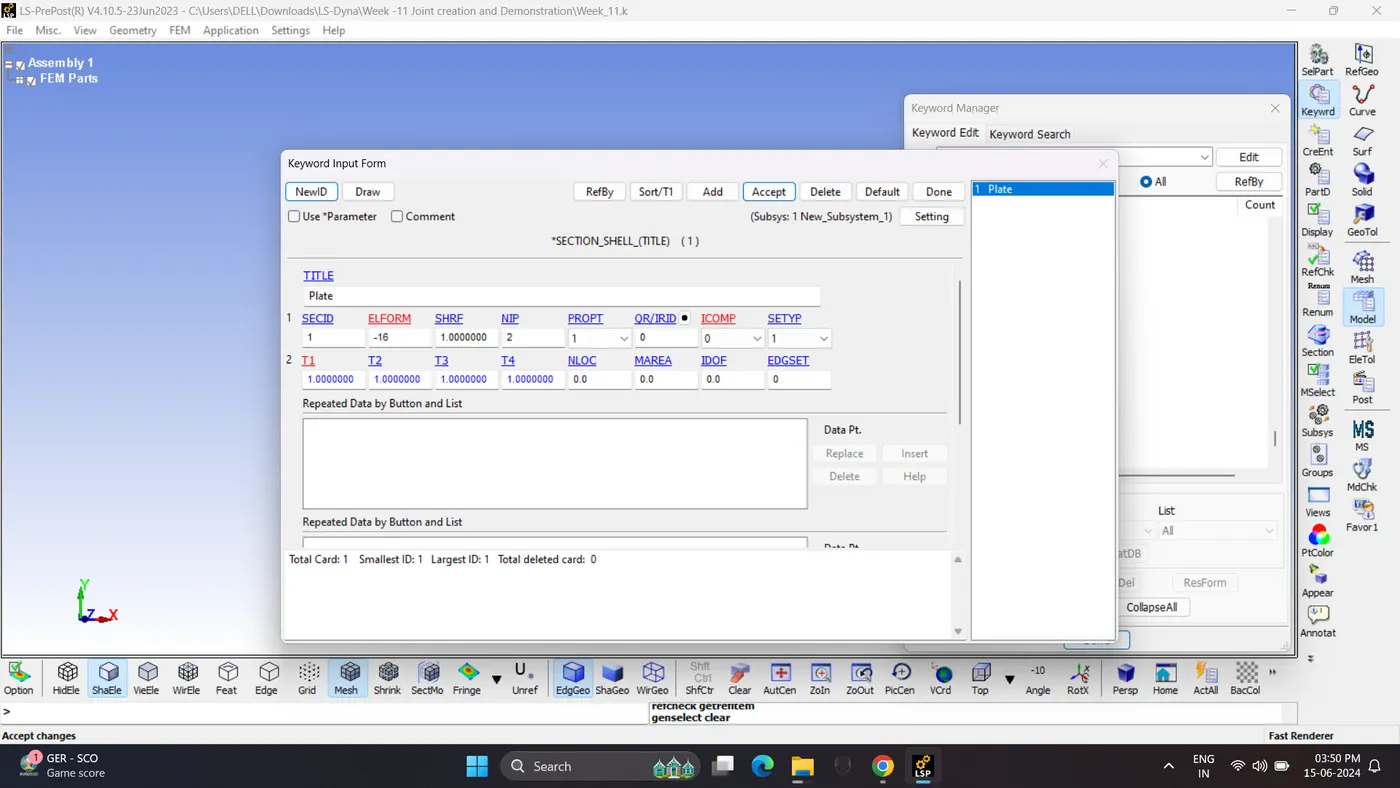
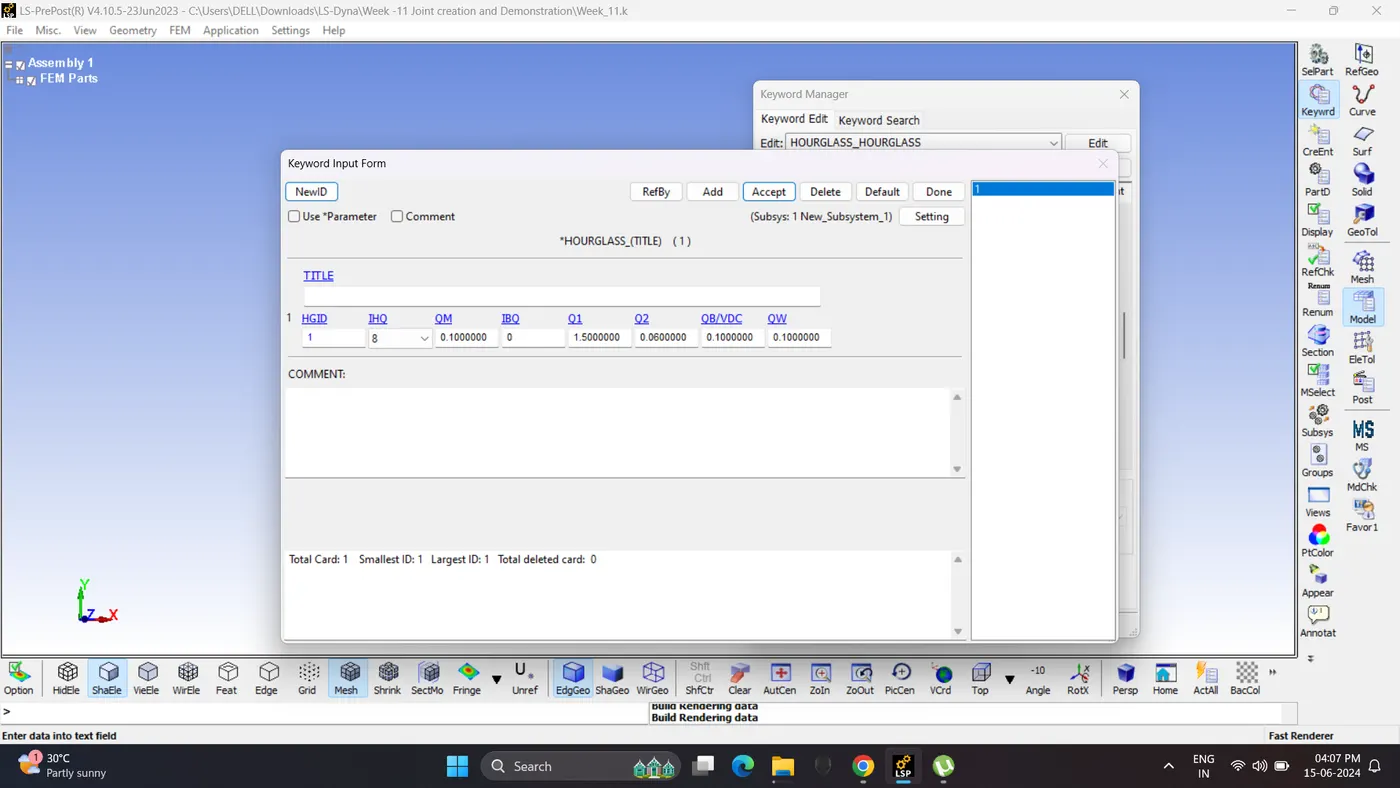
3. Create section, hourglass card and assign material, hourglass and section to plates.
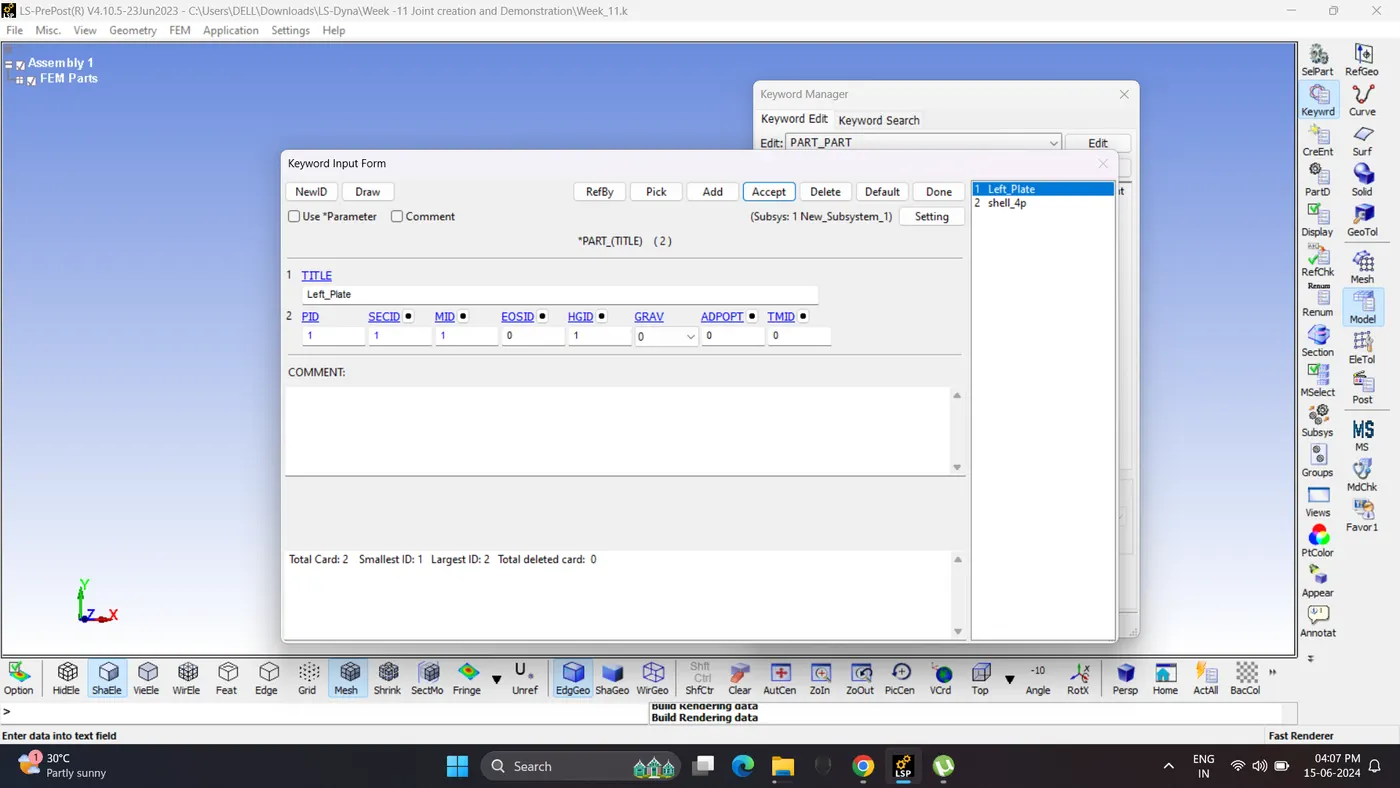
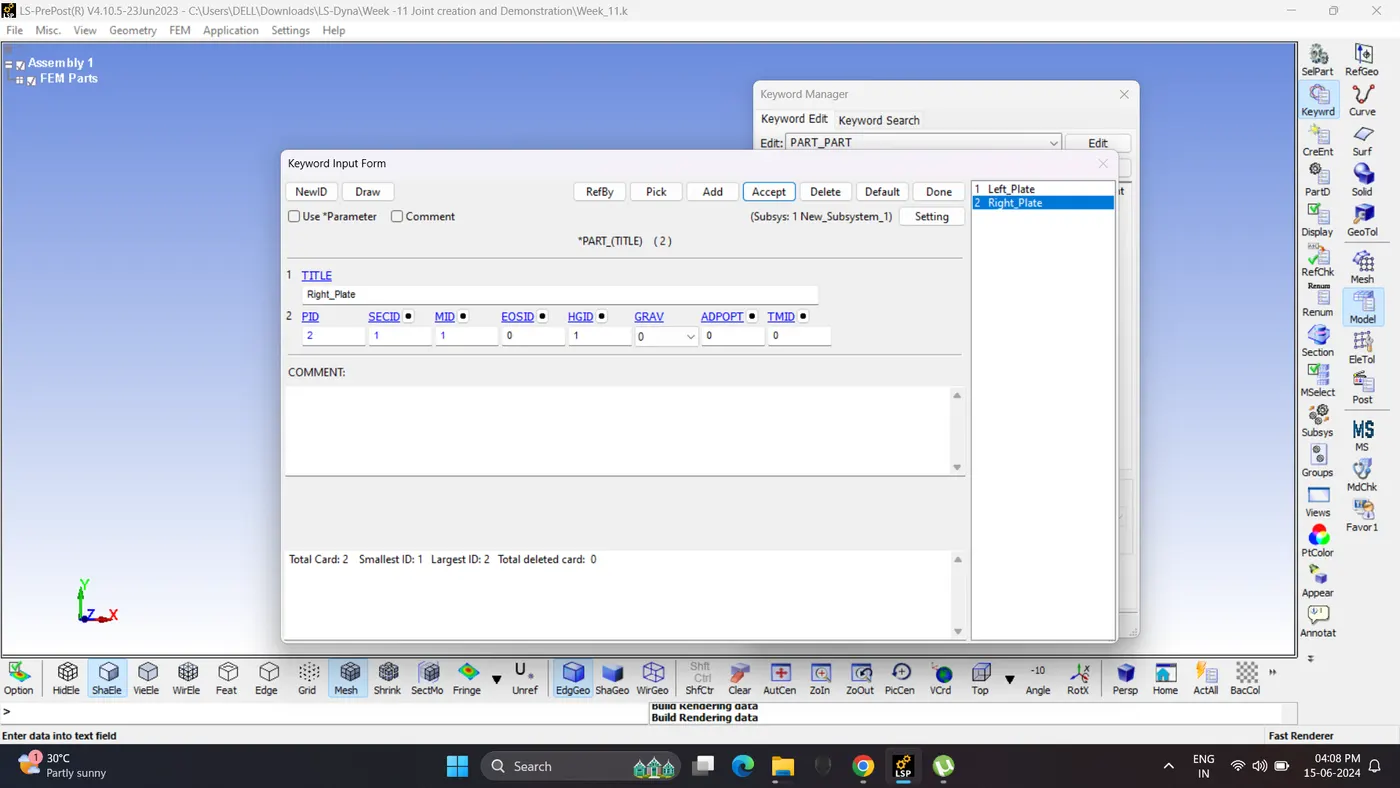
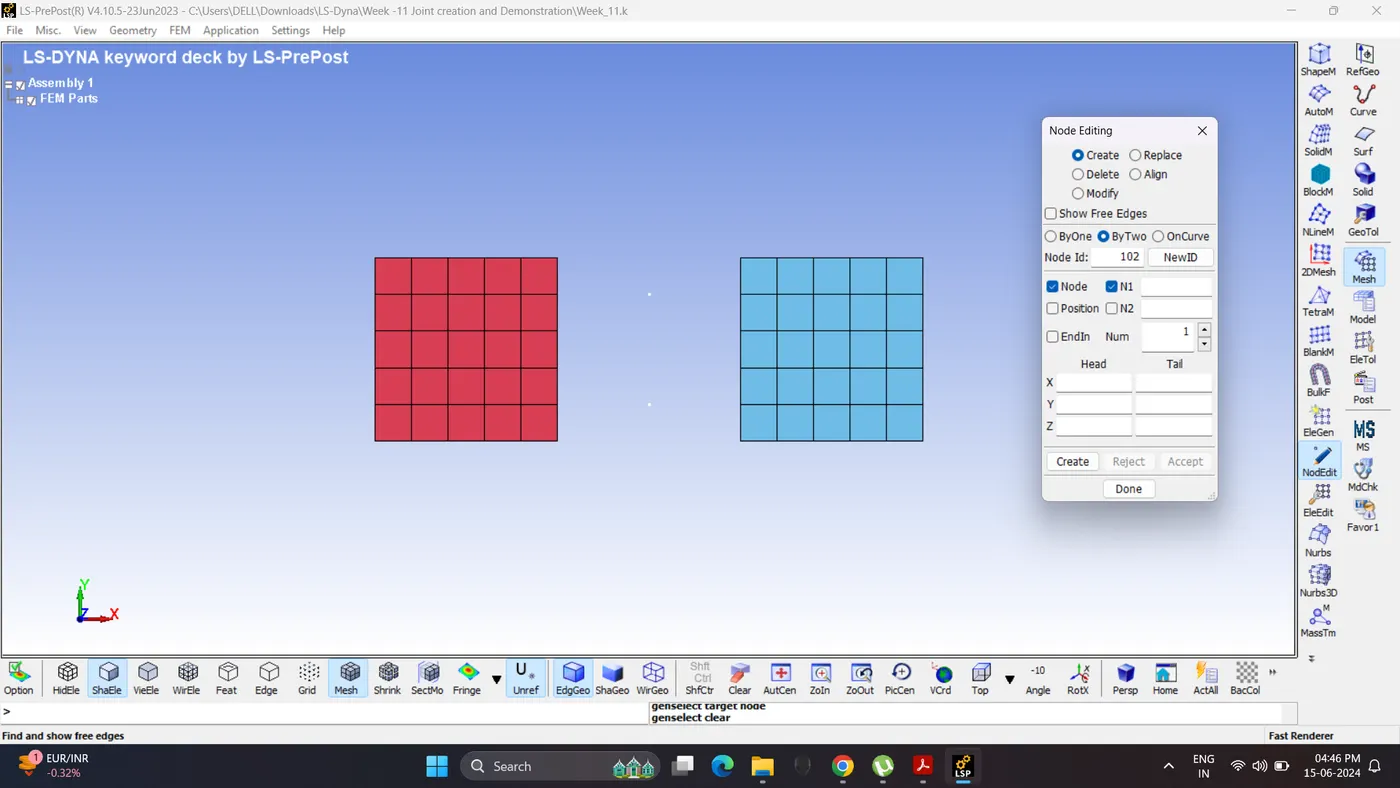
4. Create 2 node. Go to Mesh - Node Editing.
5. Create node set.
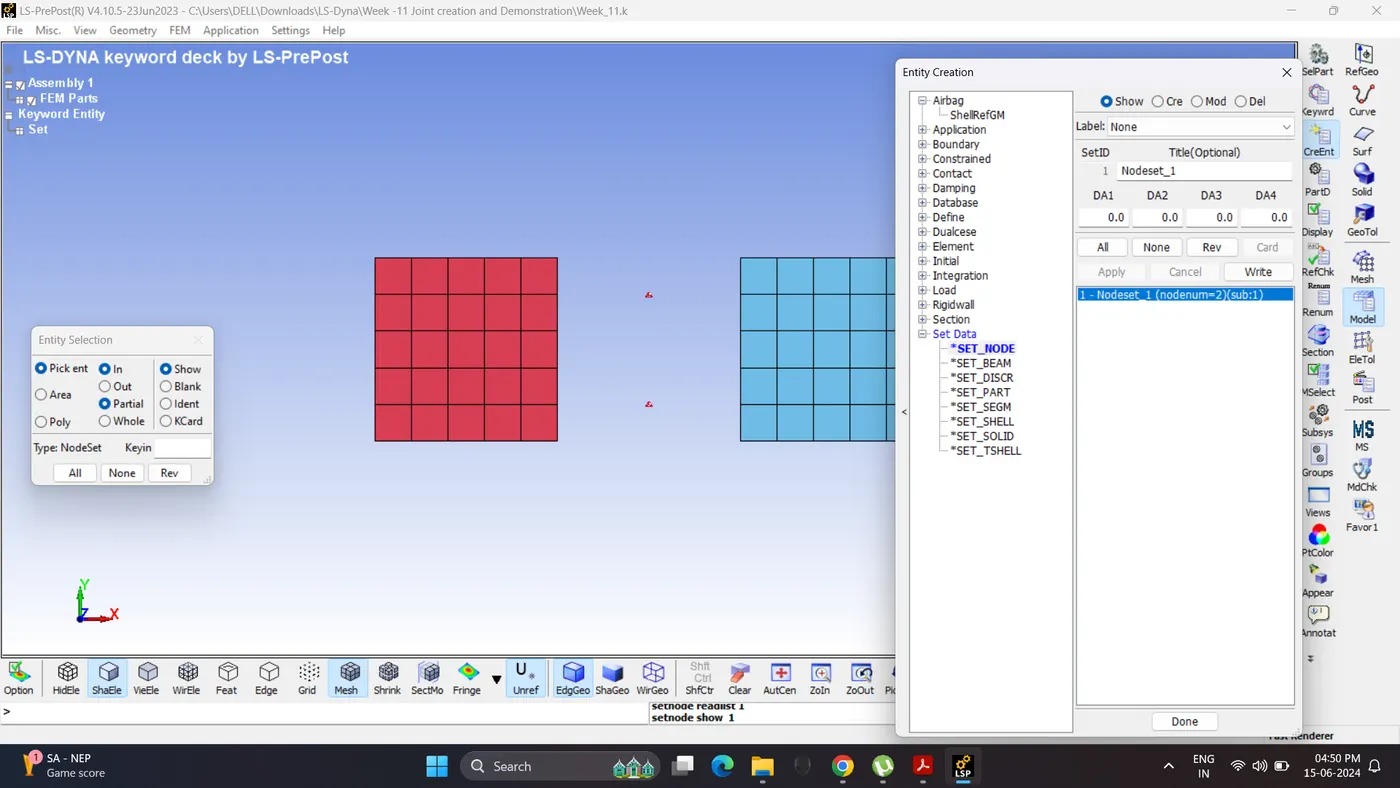
6. Similarly create another set of nodes.
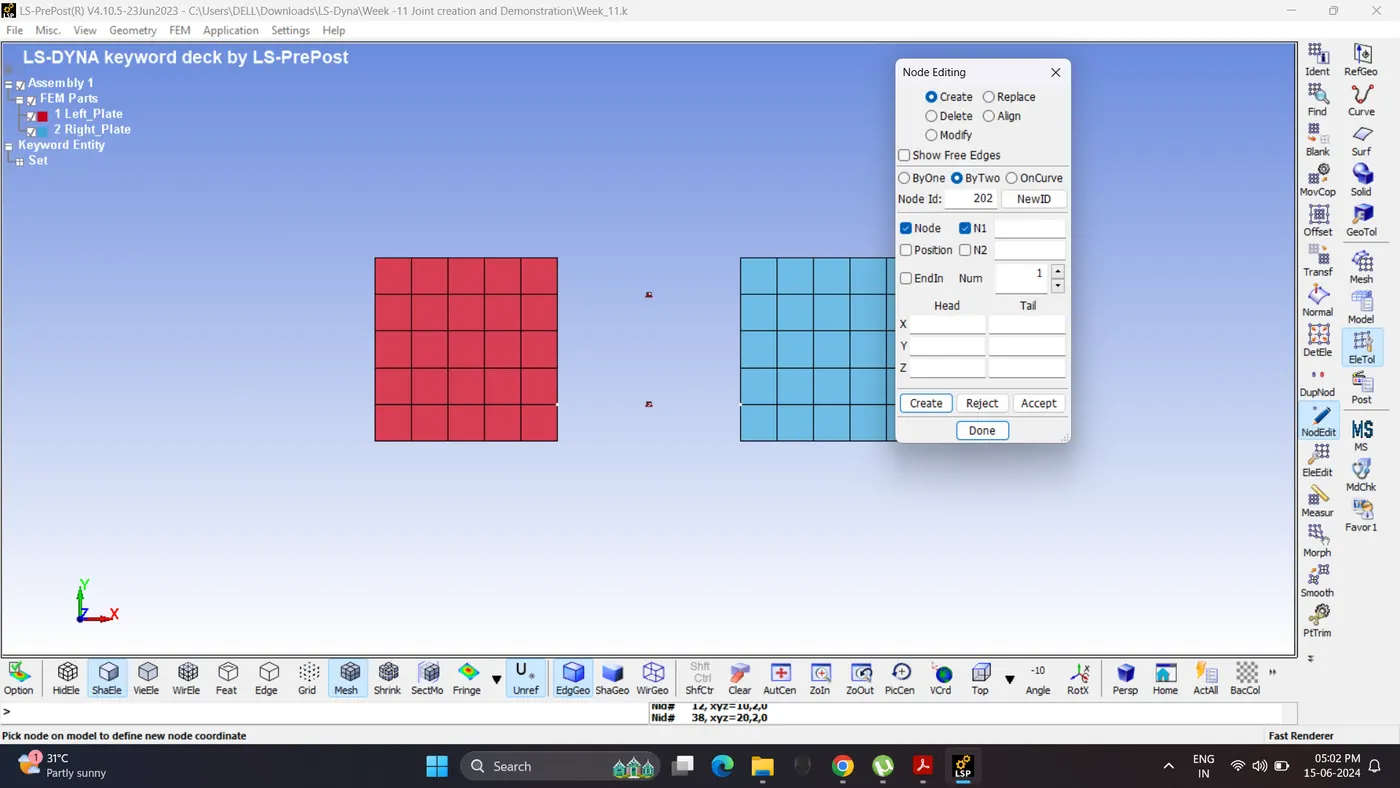
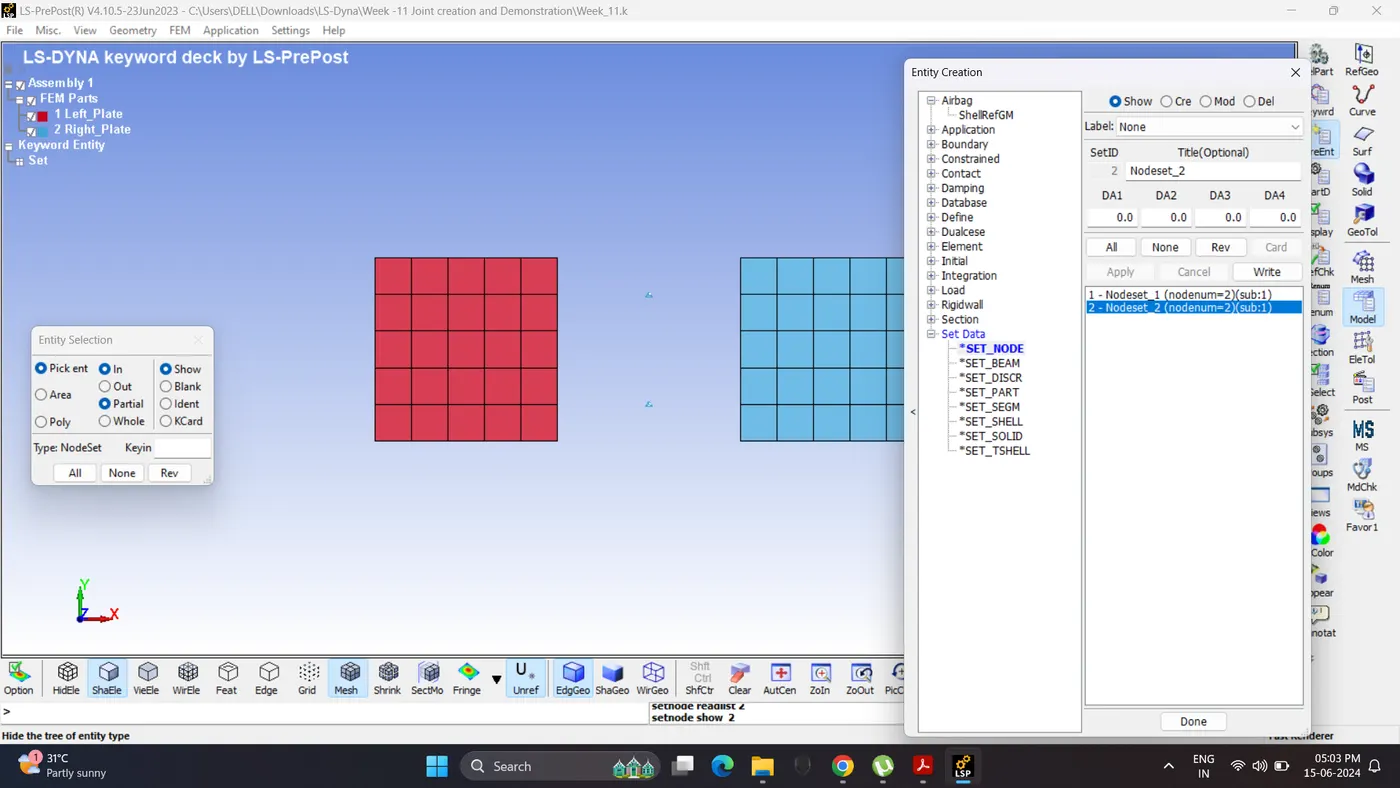
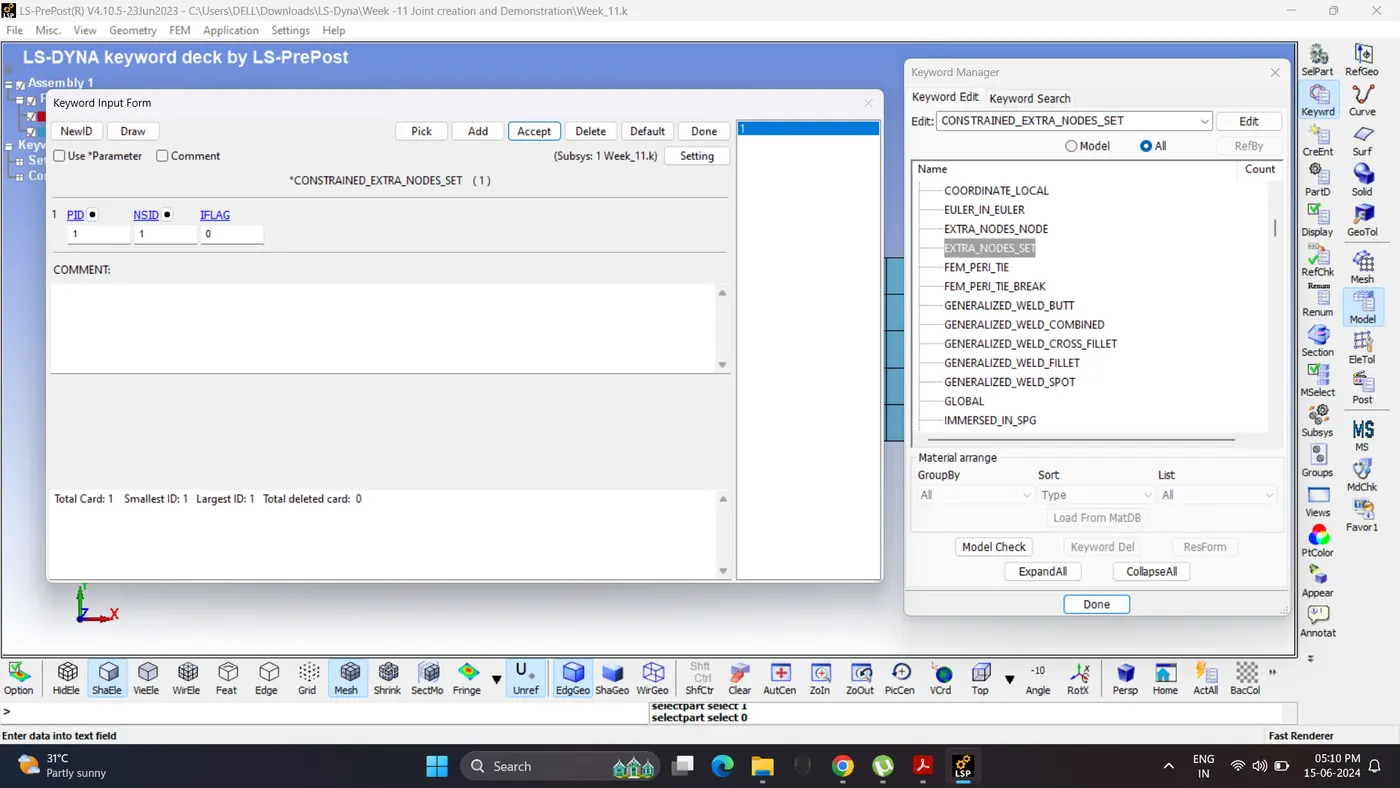
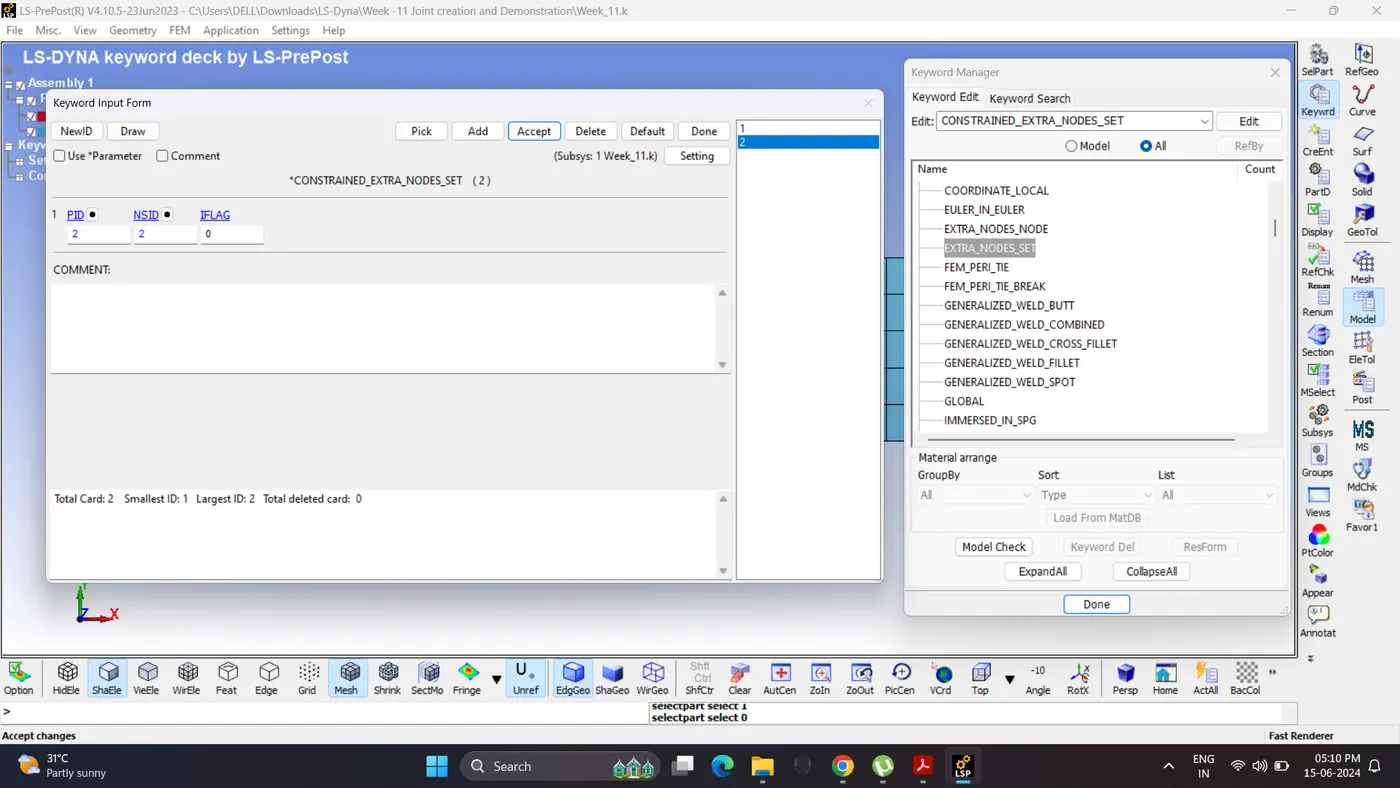
7. Create CONSTRAINED_EXTRA_NODES_SET card. Assign nodeset 1 to Left_Plate and Nodeset_2 to Right_Plate. Go to Model - Keyword Manager - Constrained - CONSTRAINED_EXTRA_NODES_SET.
8. Create CONSTRAINED_JOINT_REVOLUTE card. Go to Model - Keyword Manager - Constrained - JOINT_REVOLUTE.
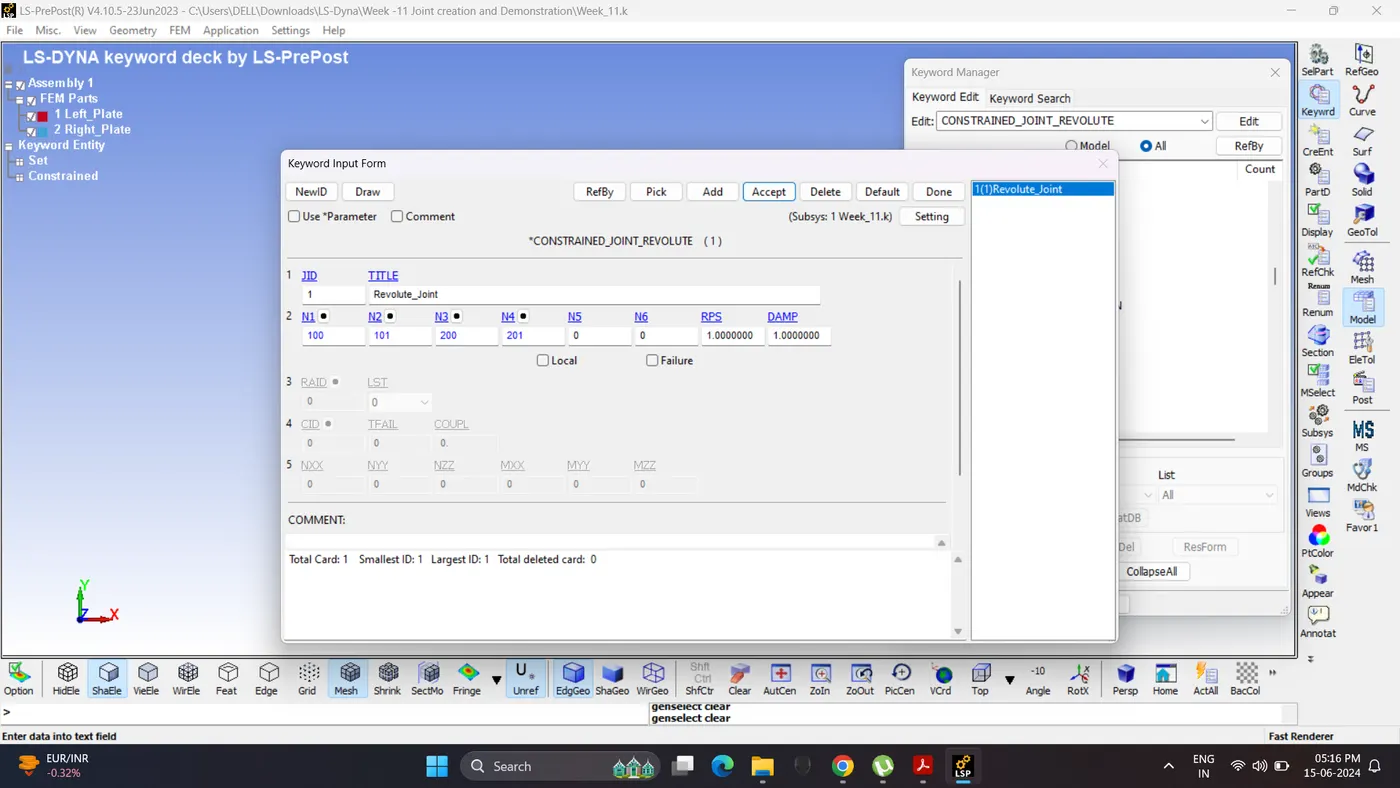
9. Lock all the DOF of Right_Plate.
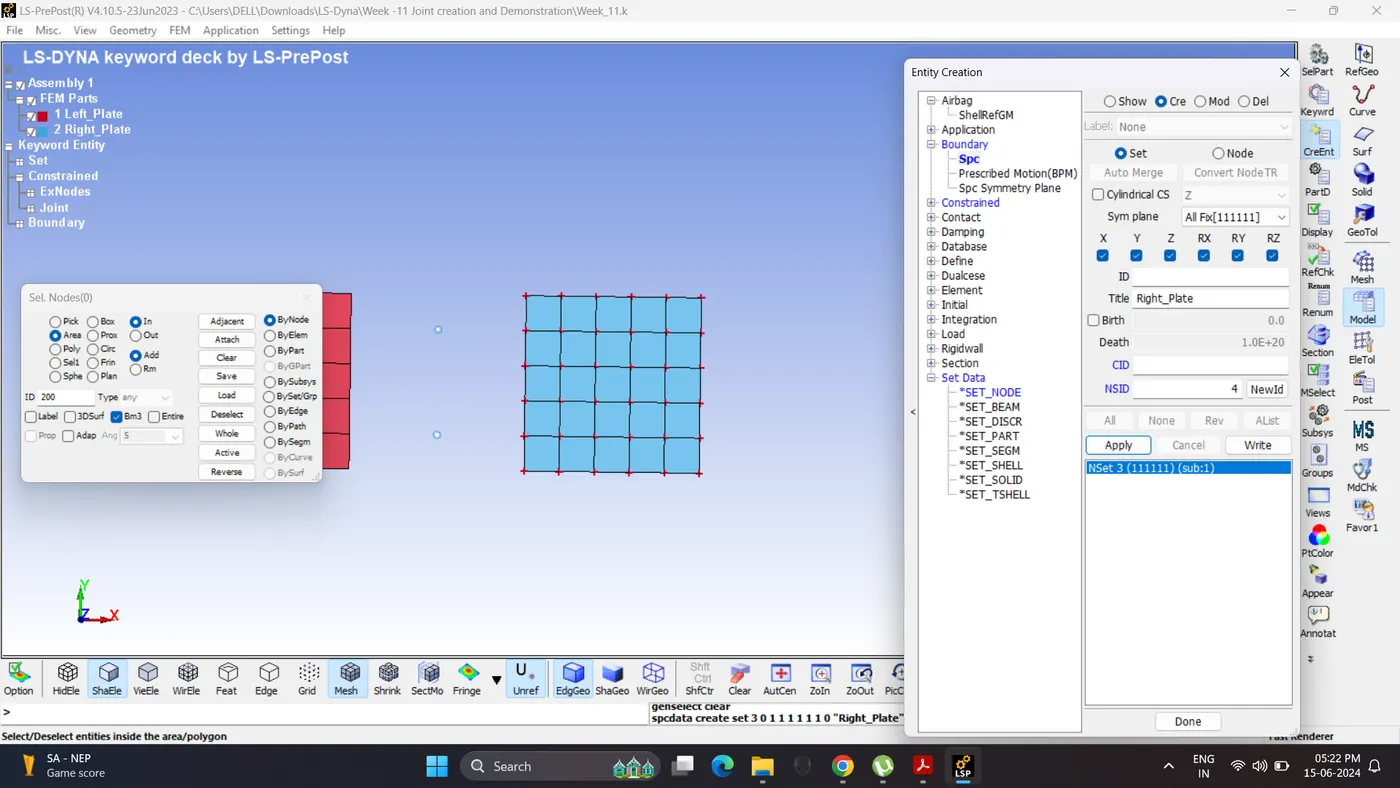
10. Create a Curve for displacement of Left_Plate. Go to Model - Keyword Manager - Define - Curve.
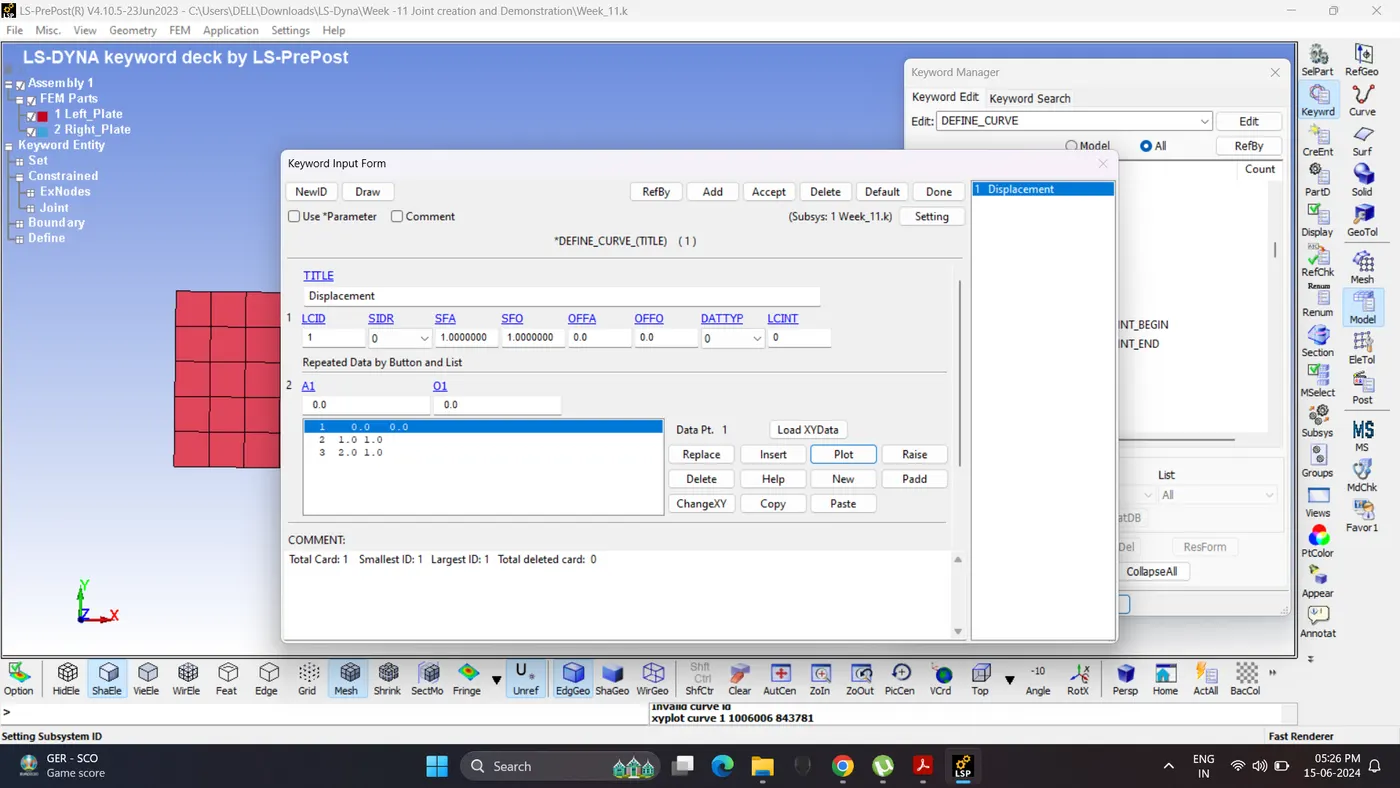
11. Create a node set for Motion.
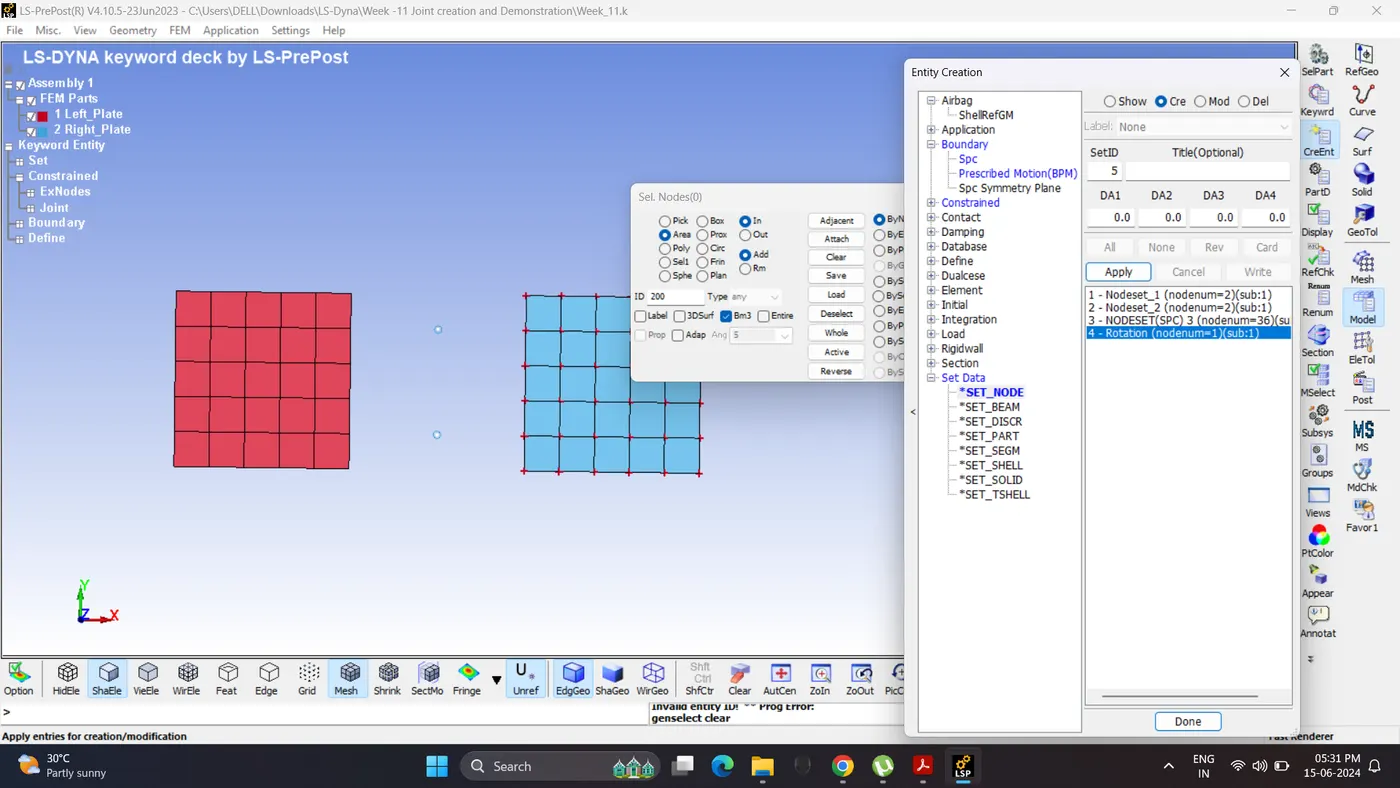
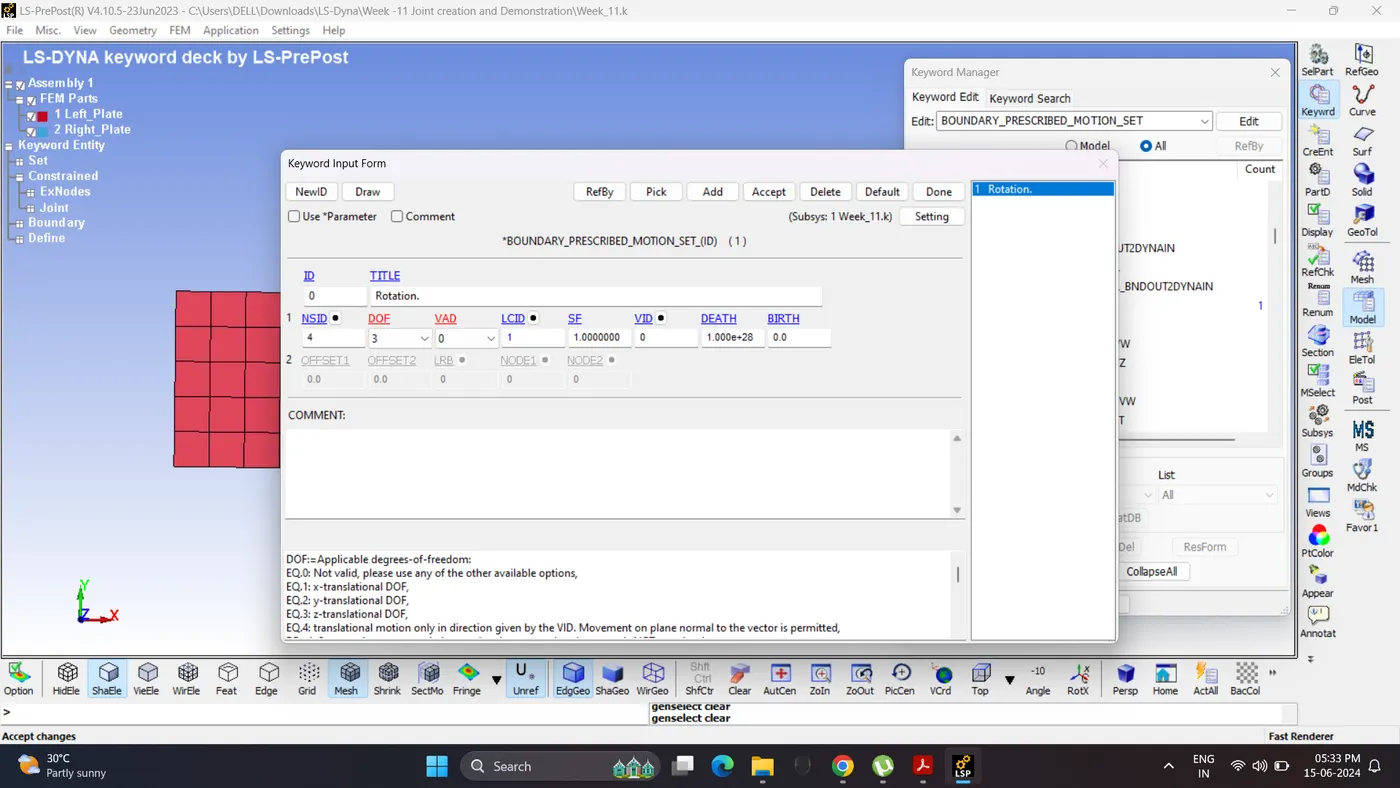
12. Create a Prescribed Motion Set Card for left plate. Go to Model - Keyword Manager - Boundary - Prescribed Motion Set.
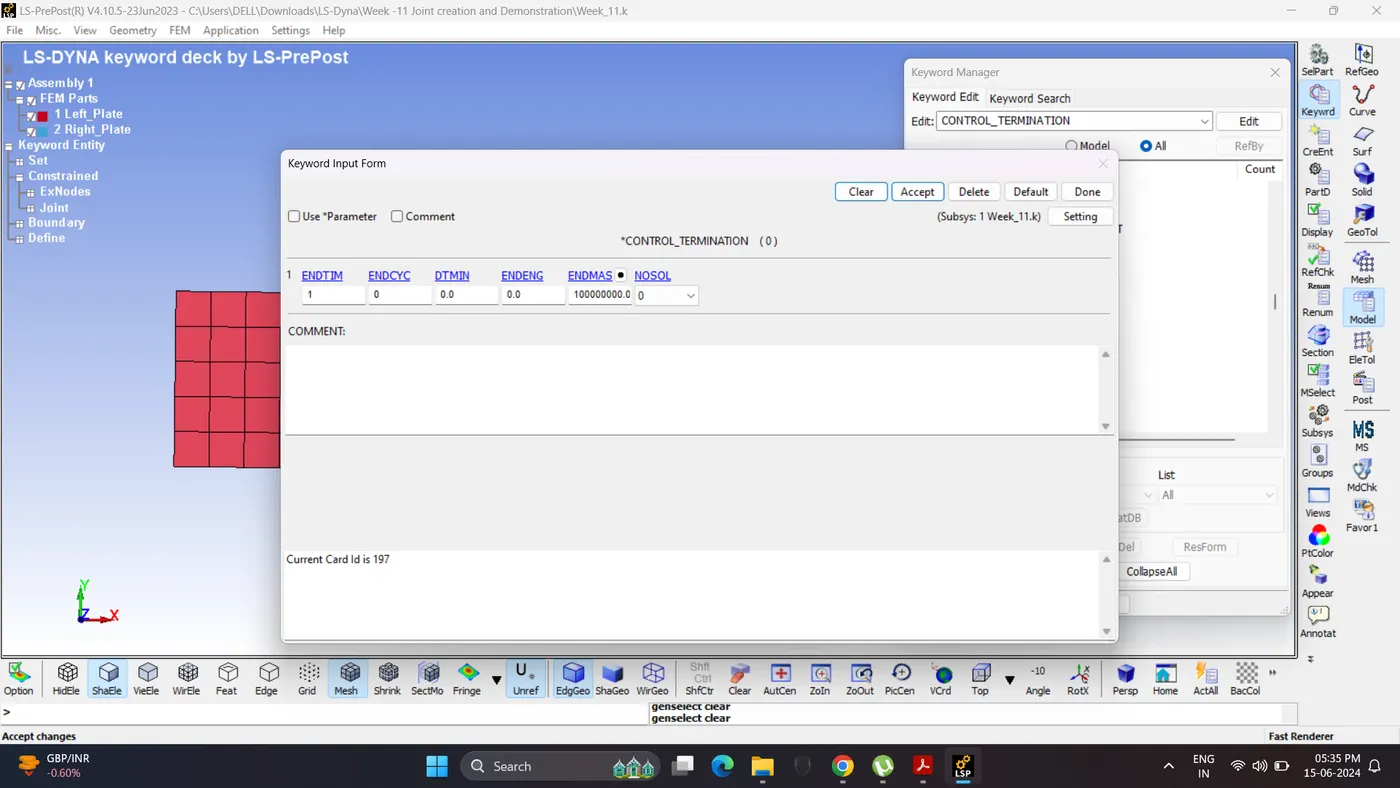
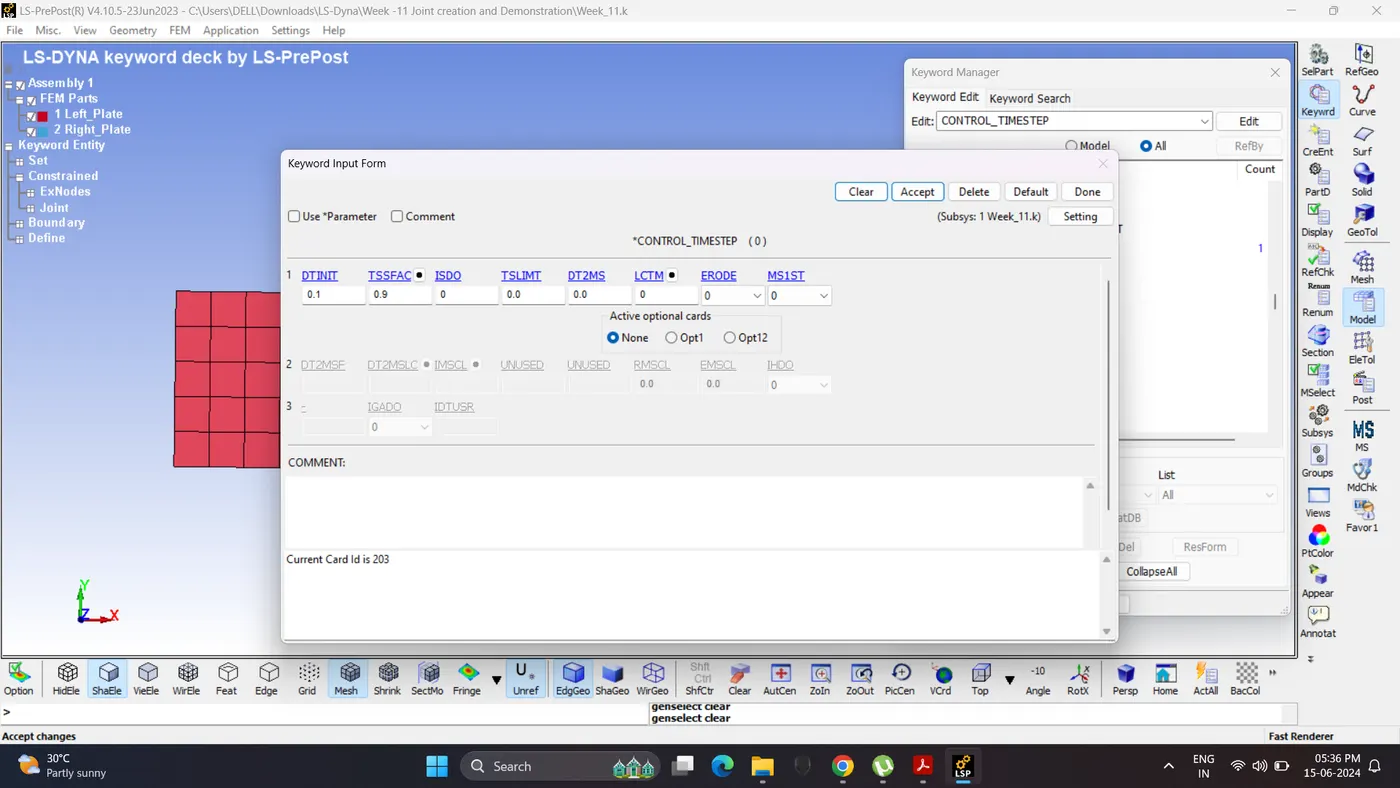
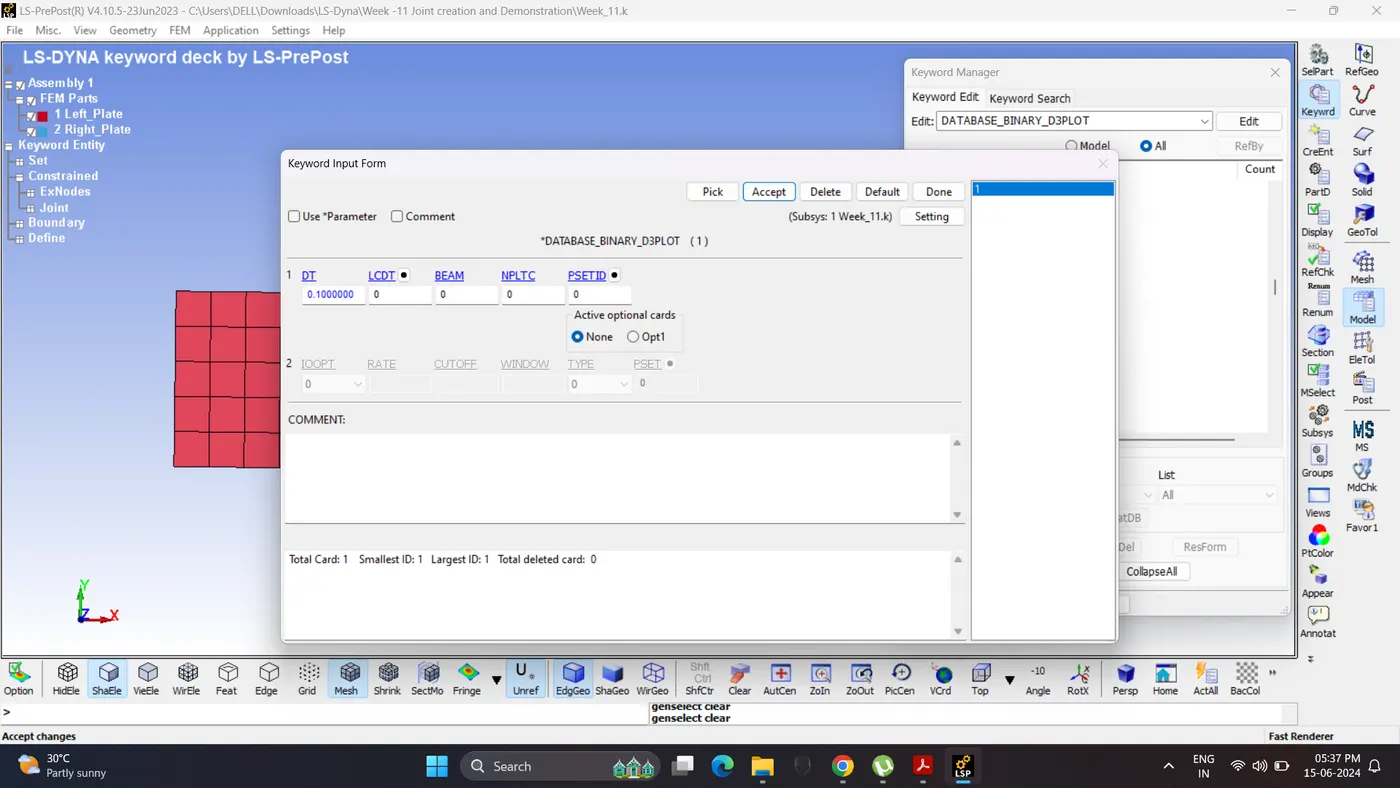
13. Create Control cards.
14. Run the Model Checker.
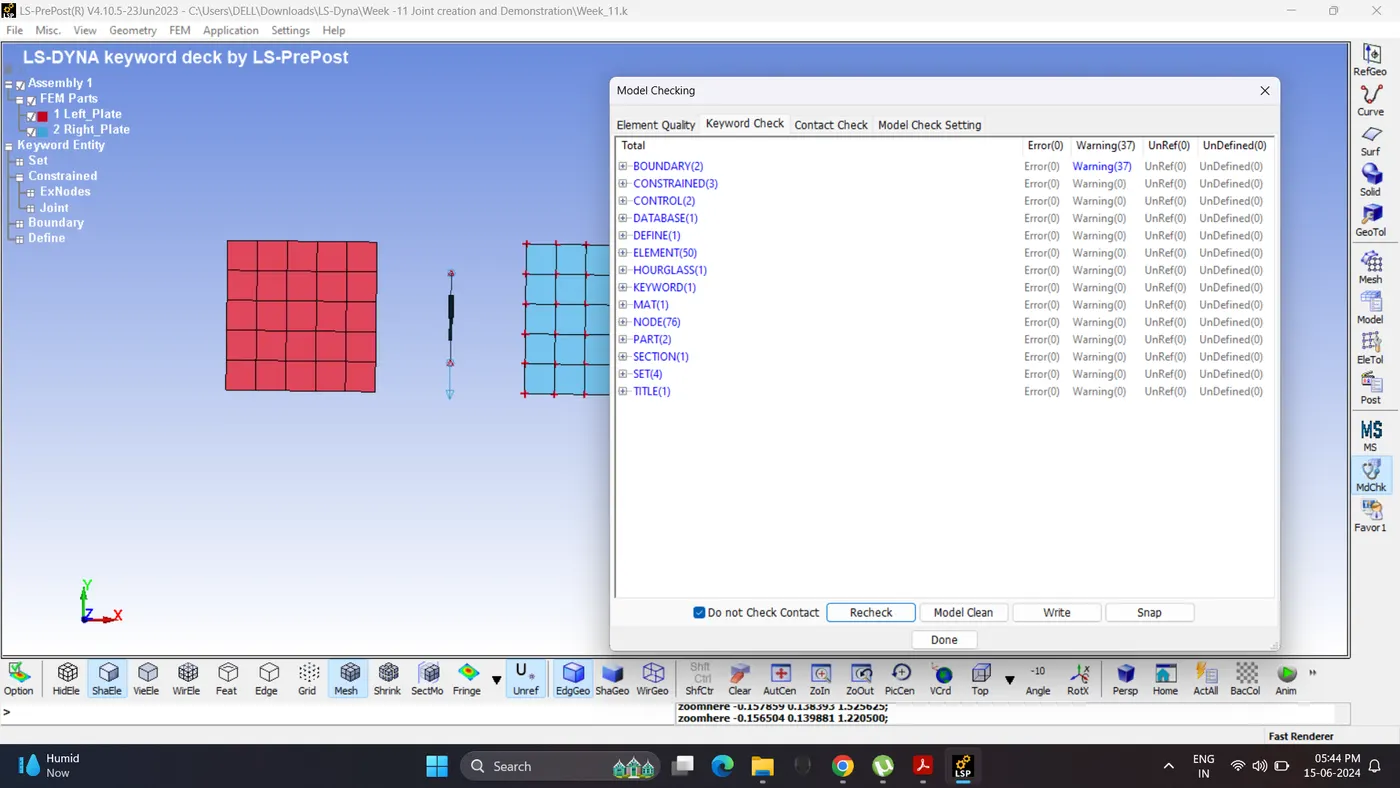
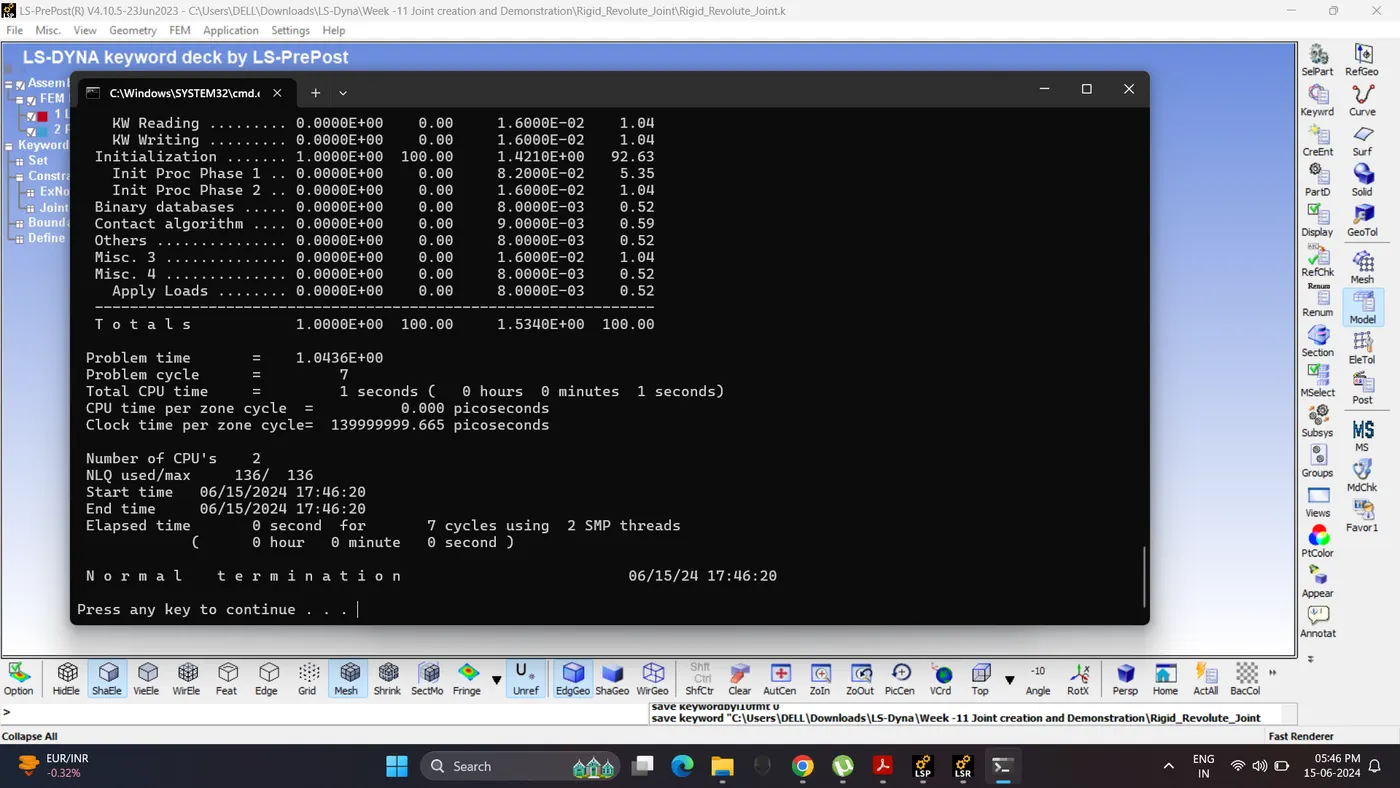
15. Save the Keyword File and Run the Simulation.
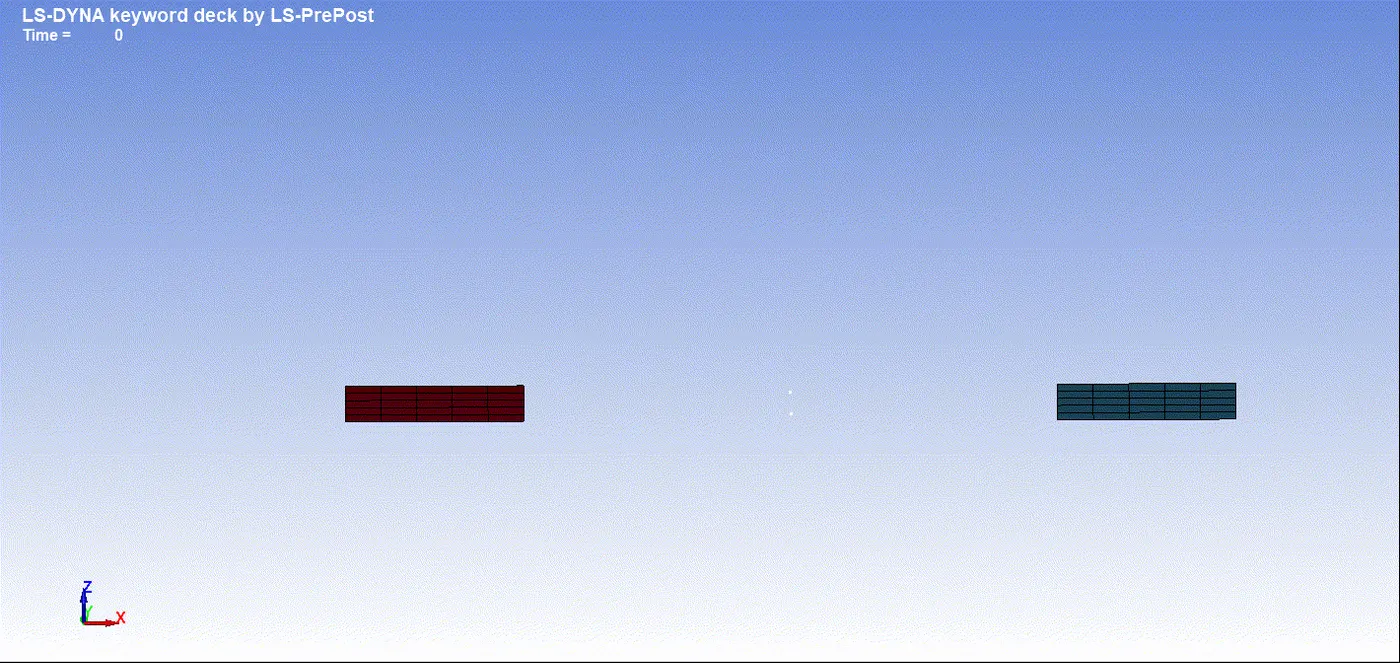
16. Open the D3_plot in Ls-PrePost. Play the simulation.
2. Revolute Joint (Deformable Body)
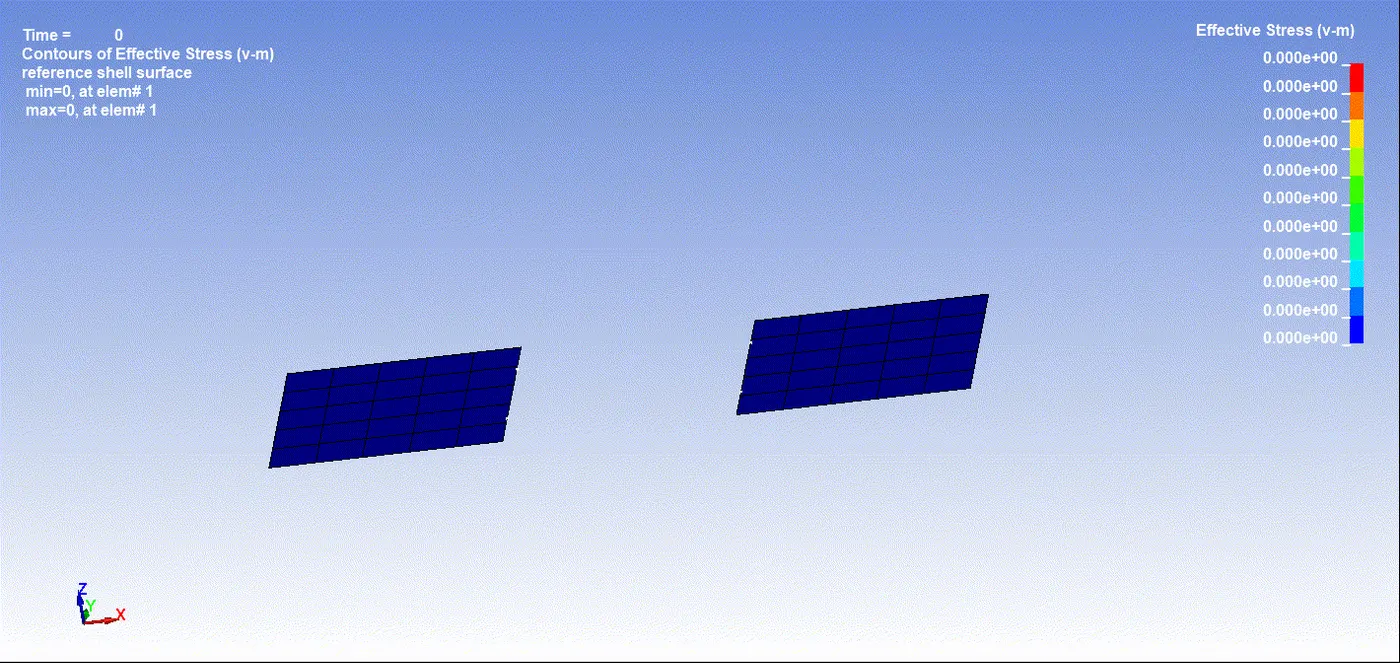
1. In this case same FE shell model used as previous case.
Delete other keywords and saved as a Deformable_Revolute_Joint.K file.
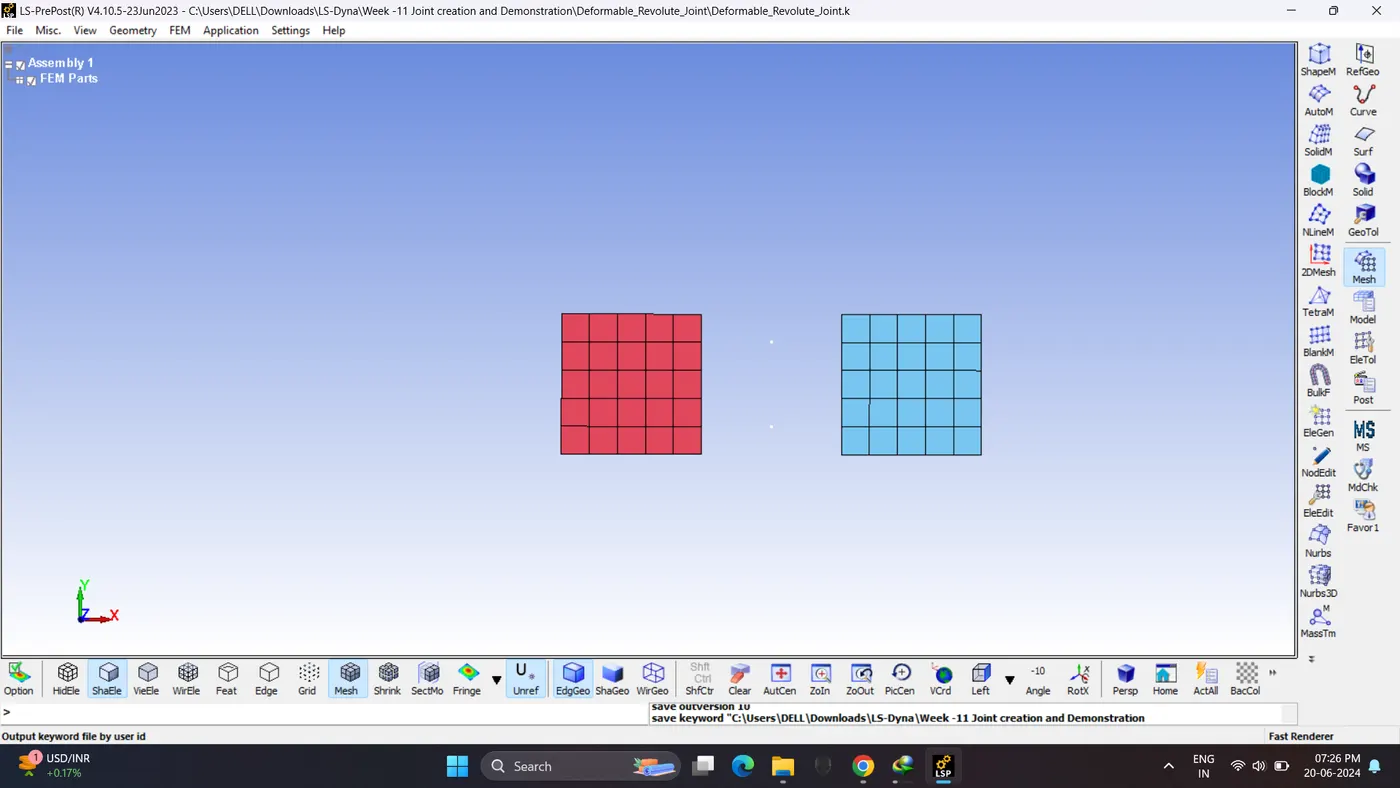
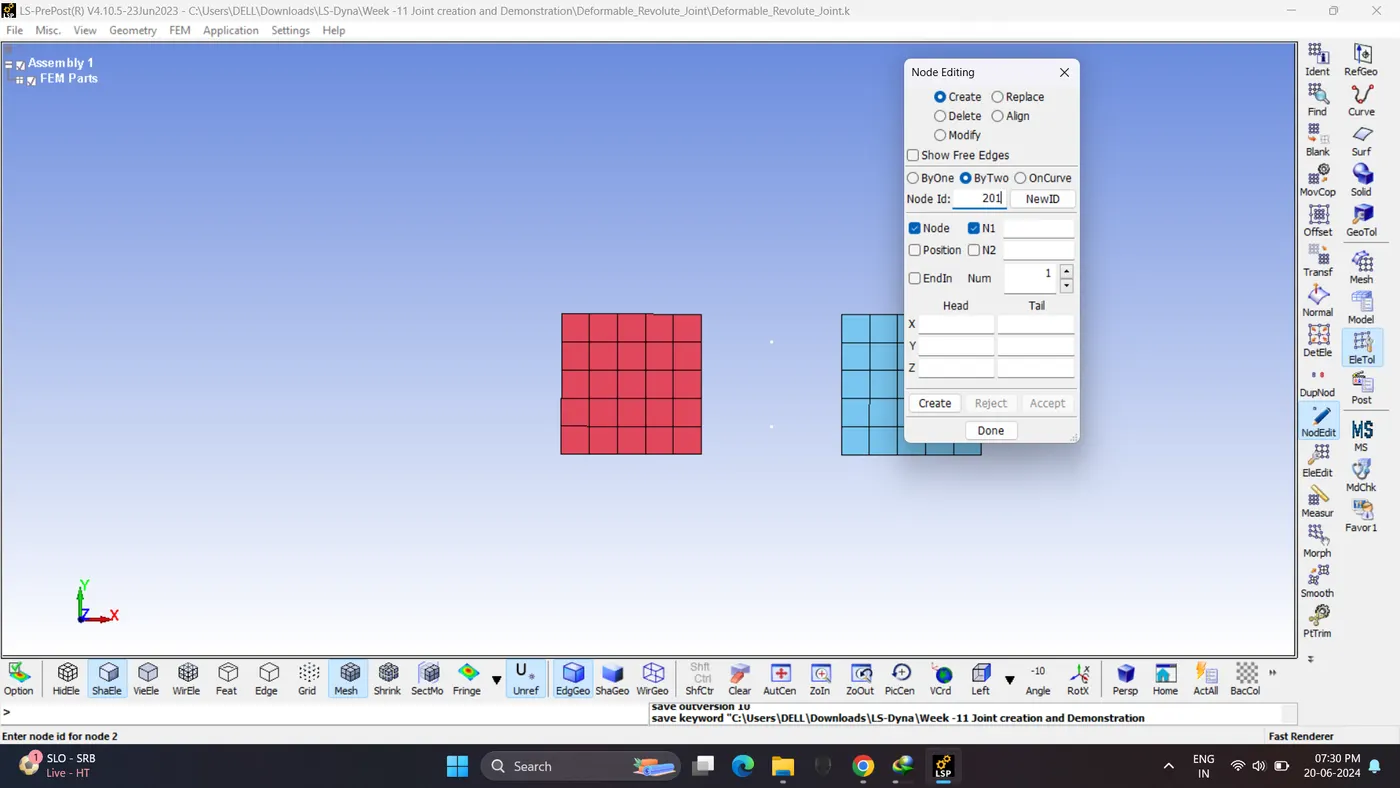
2. Create 4 nodes for Joint.
Note: 2 Nodes should have same co-ordinate. Node 100, 200 and 101, 201 having same co-ordinate.
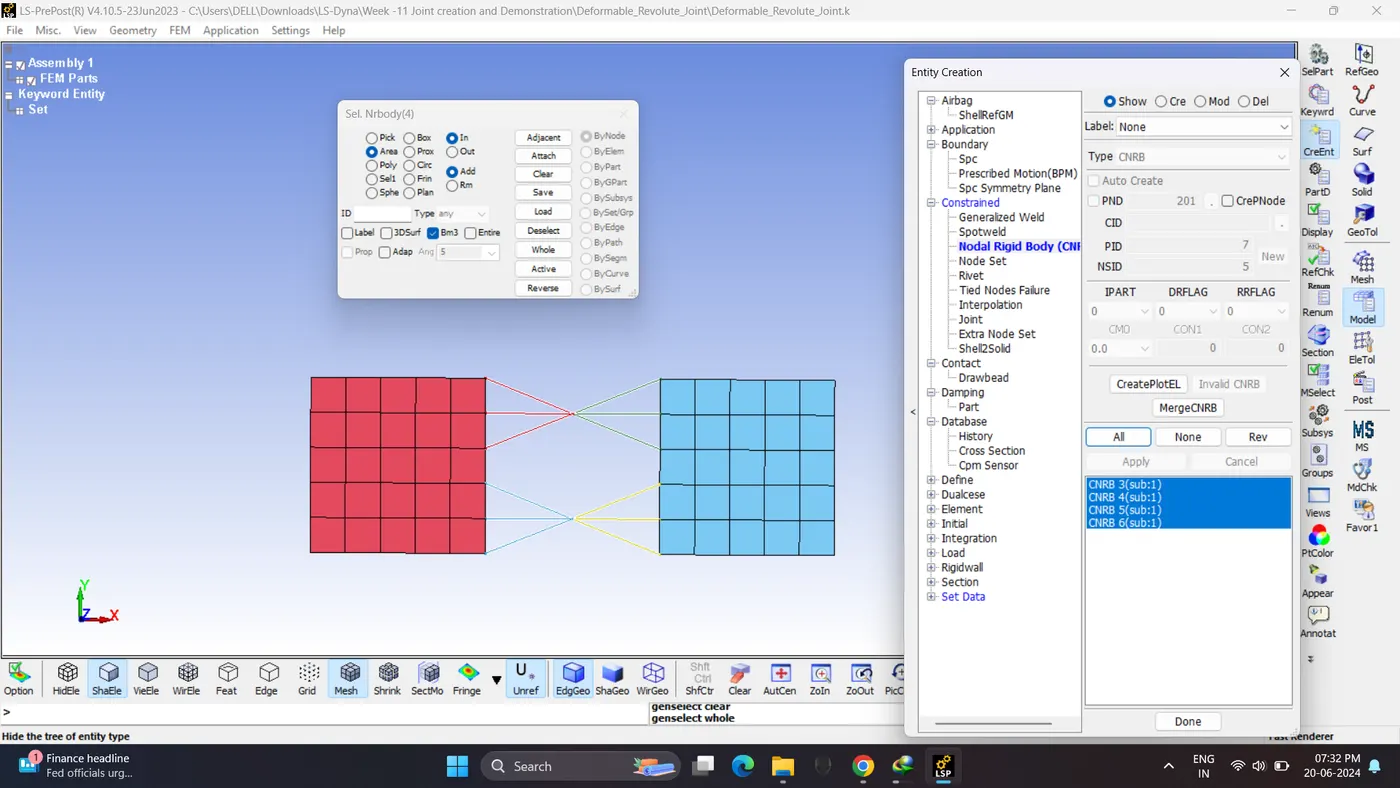
3. create CNRB for left, right shell. Go to Model - Create Entity - Contrained - Nodal Rigid Body.
Node 100, 101 is used as Pnode for left shell and Node 200, 201 s used as Pnode for right shell Edges nodes.
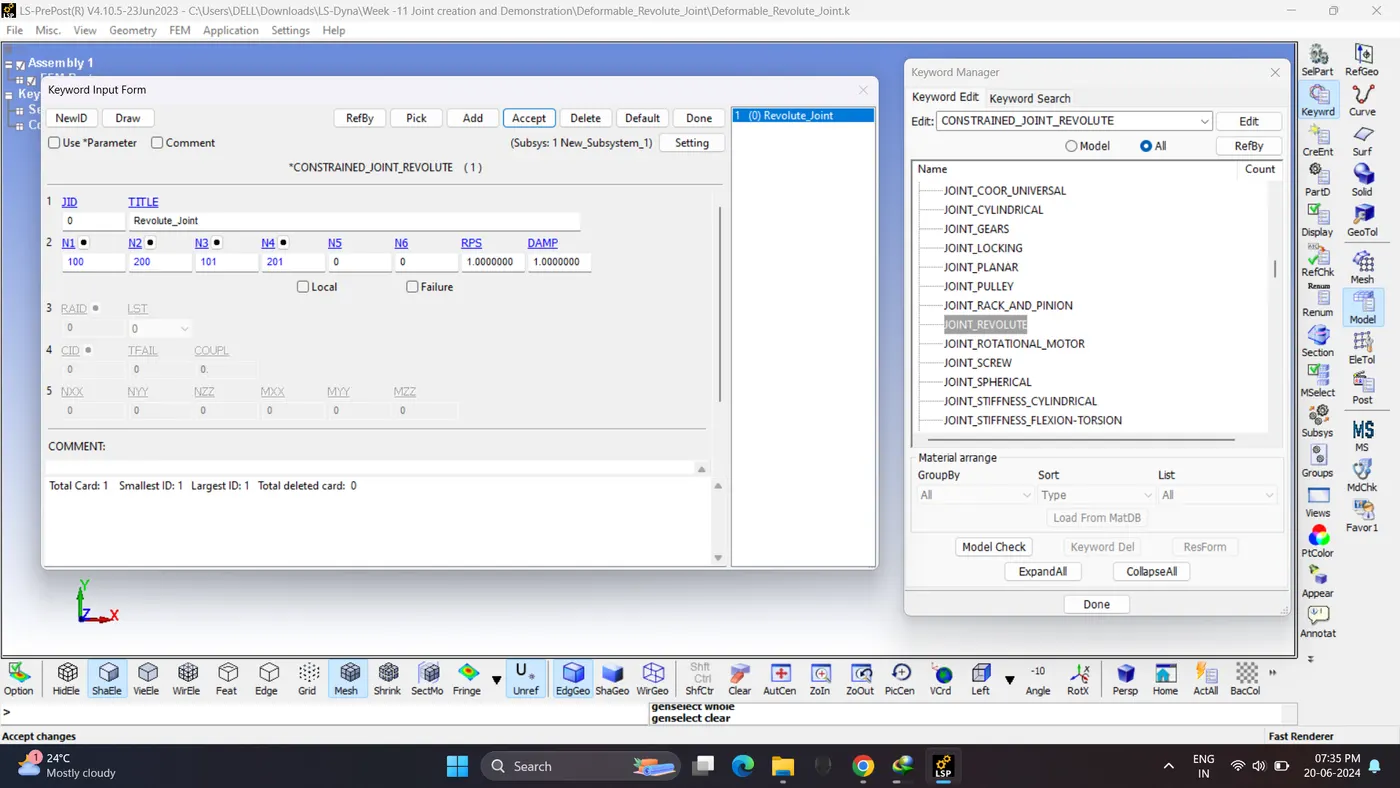
4. Create Constrained Revolute Joint. Go to Model - Keyword Manager - Constrained - Joint_Revolute.
5. Lock all the DOF of left Plate.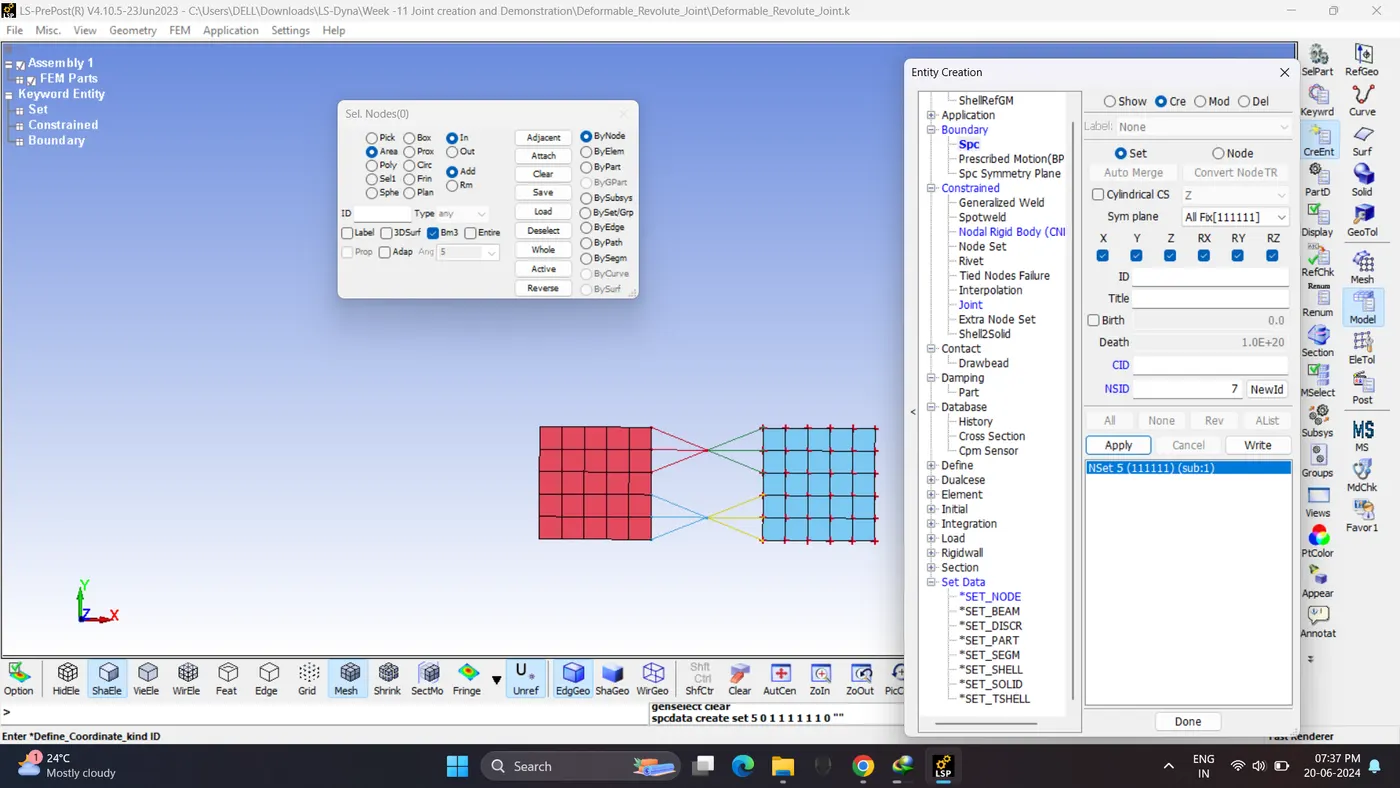
6. Create a Initial velocity for left side shell plate.
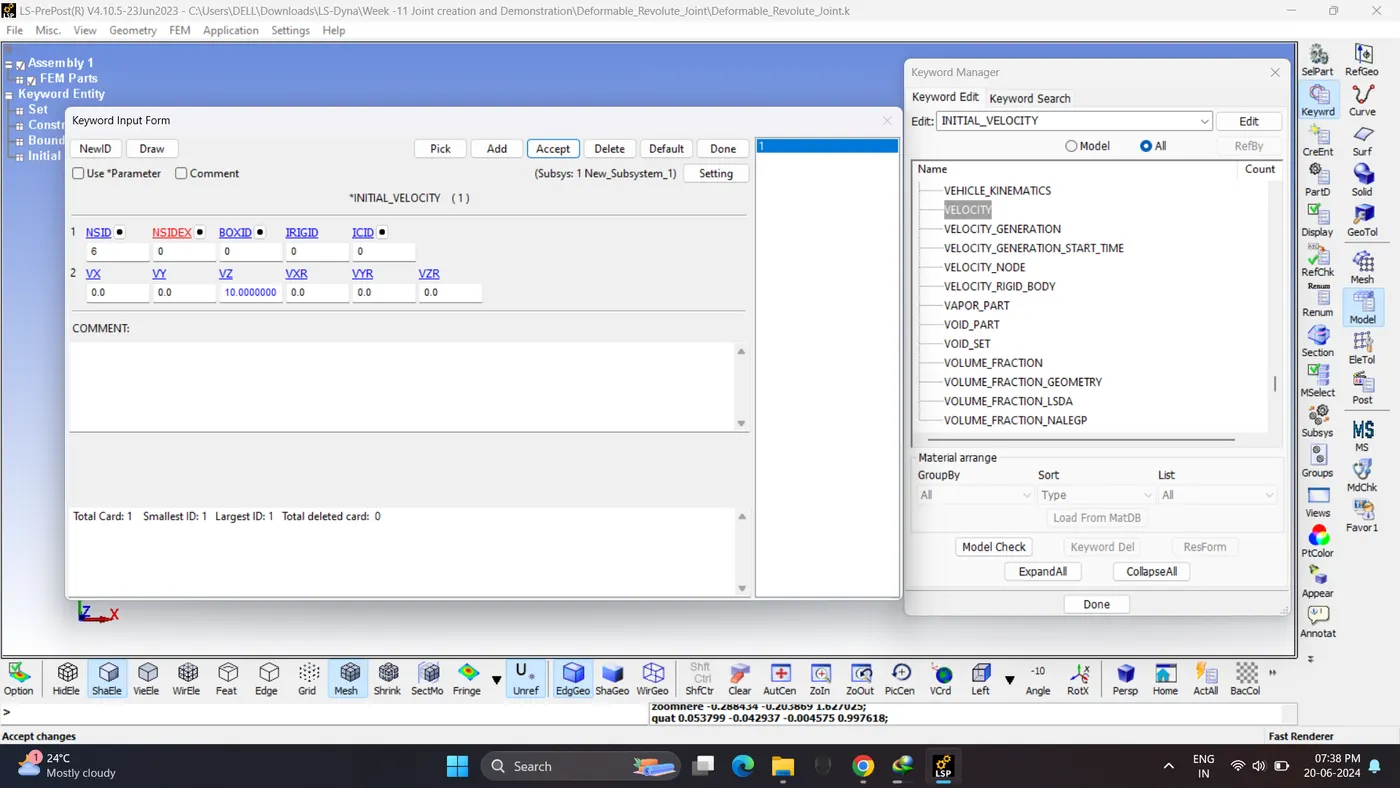
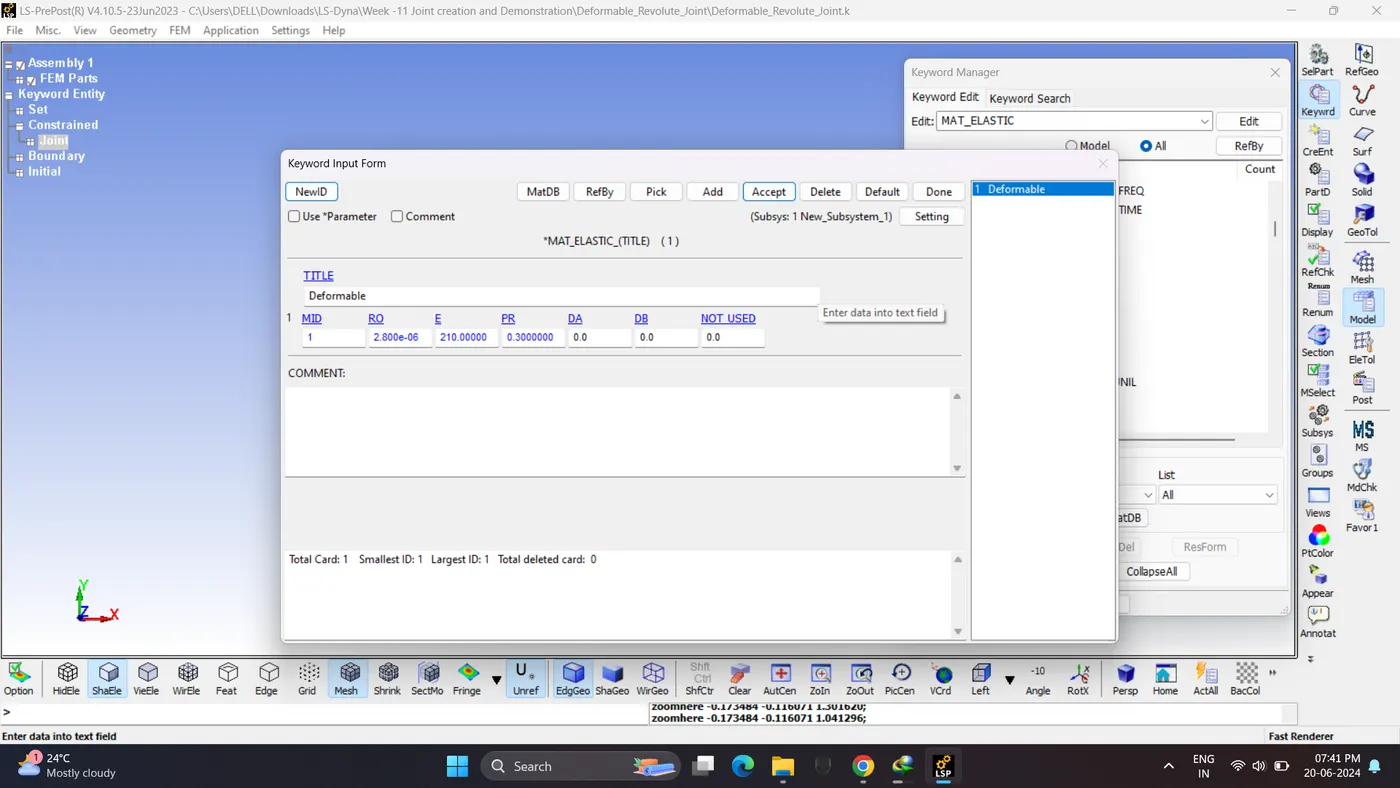
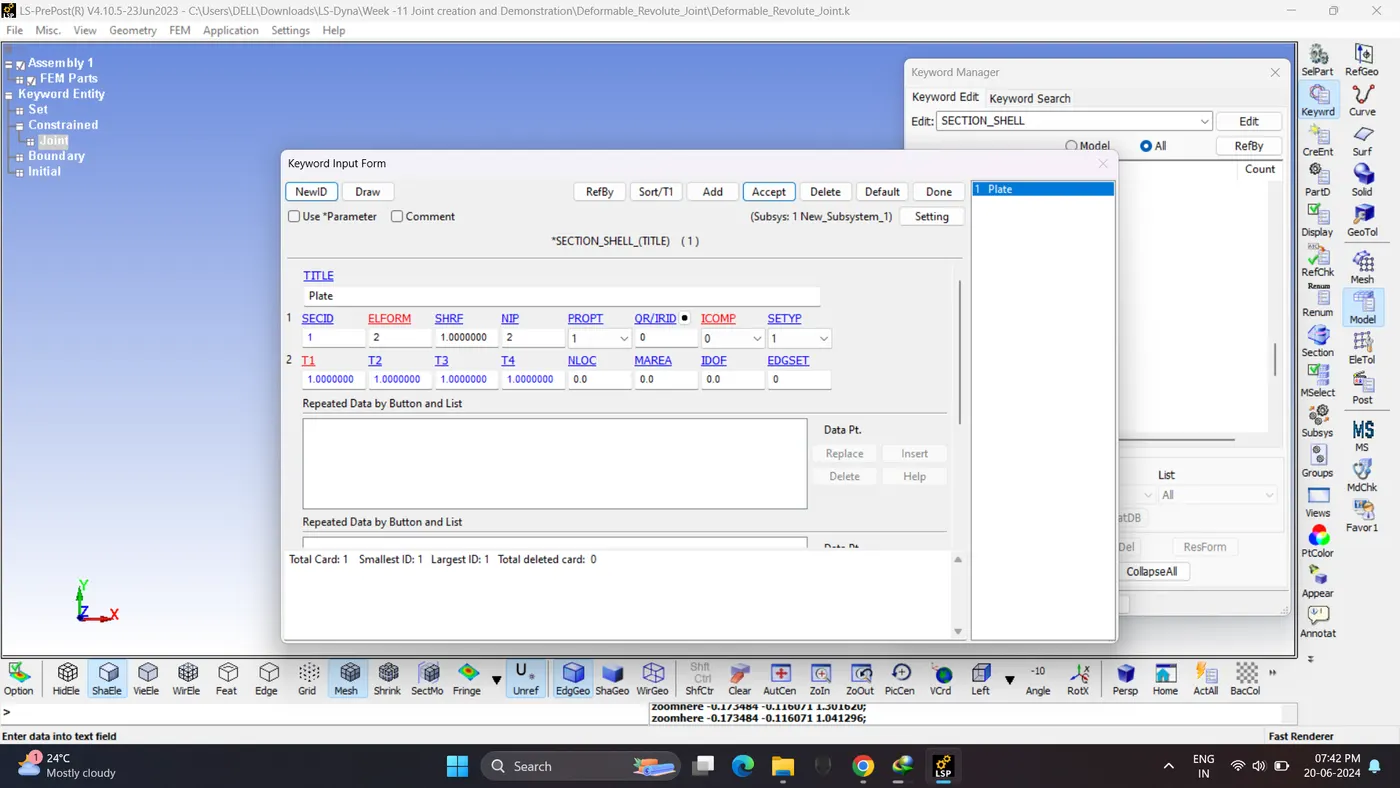
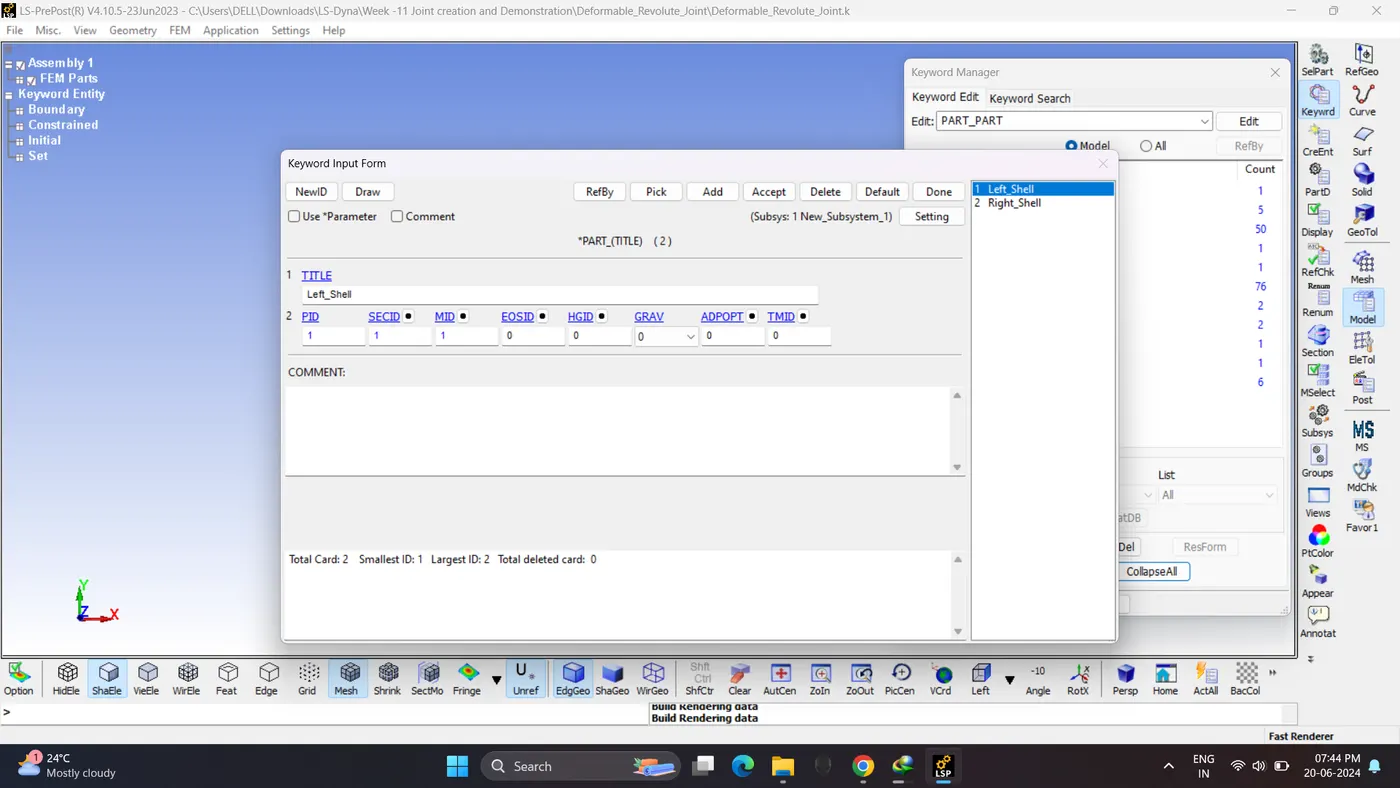
7. Create Material, section and assign it to parts.
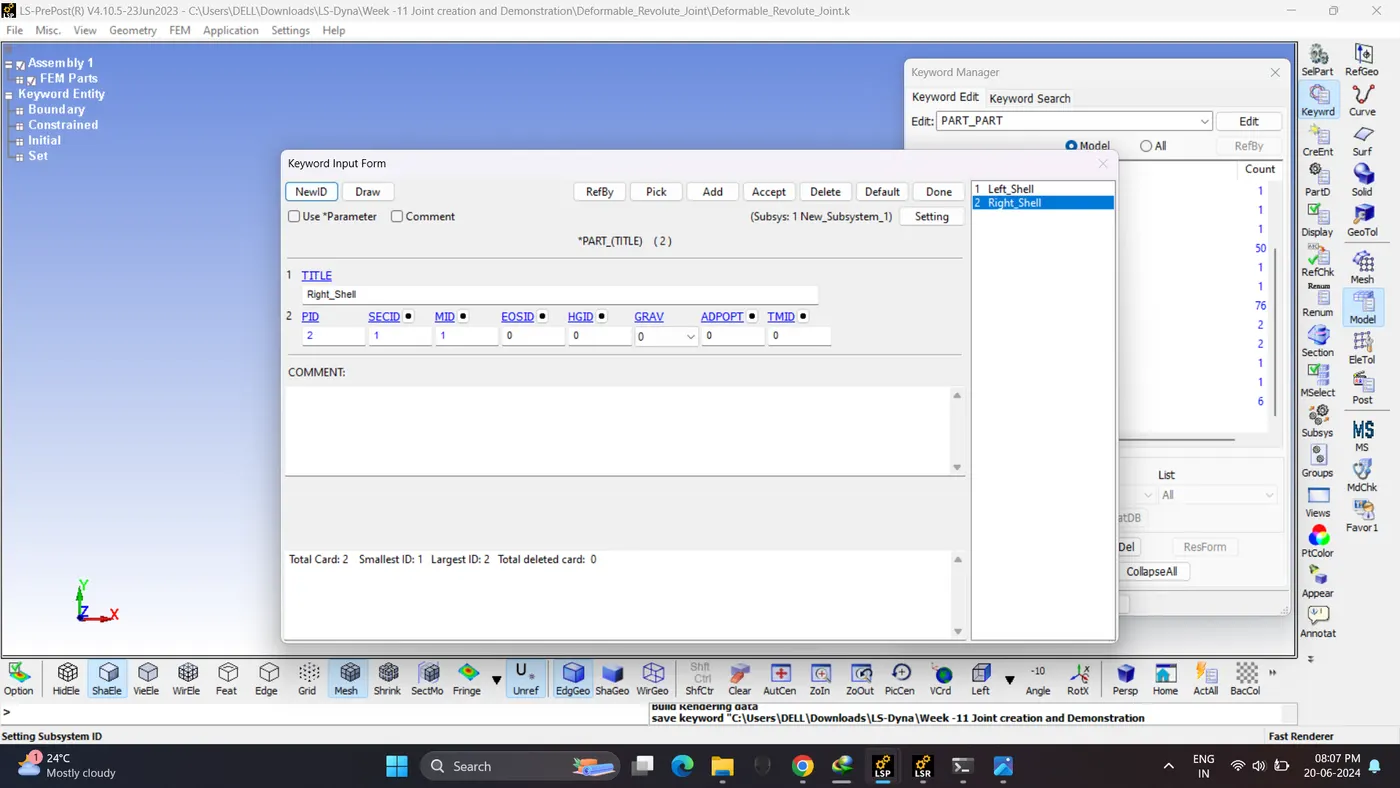
8. Create Control card and output request cards.
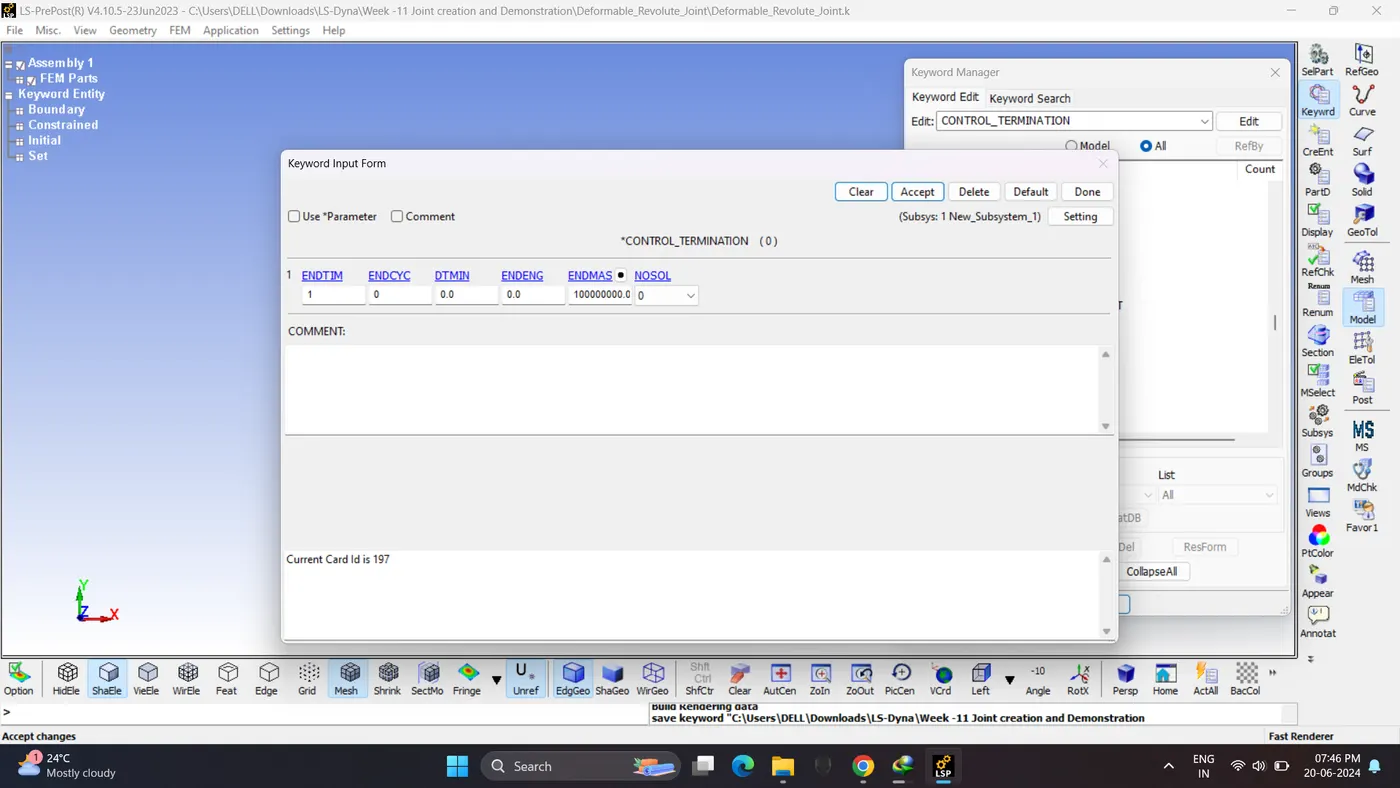
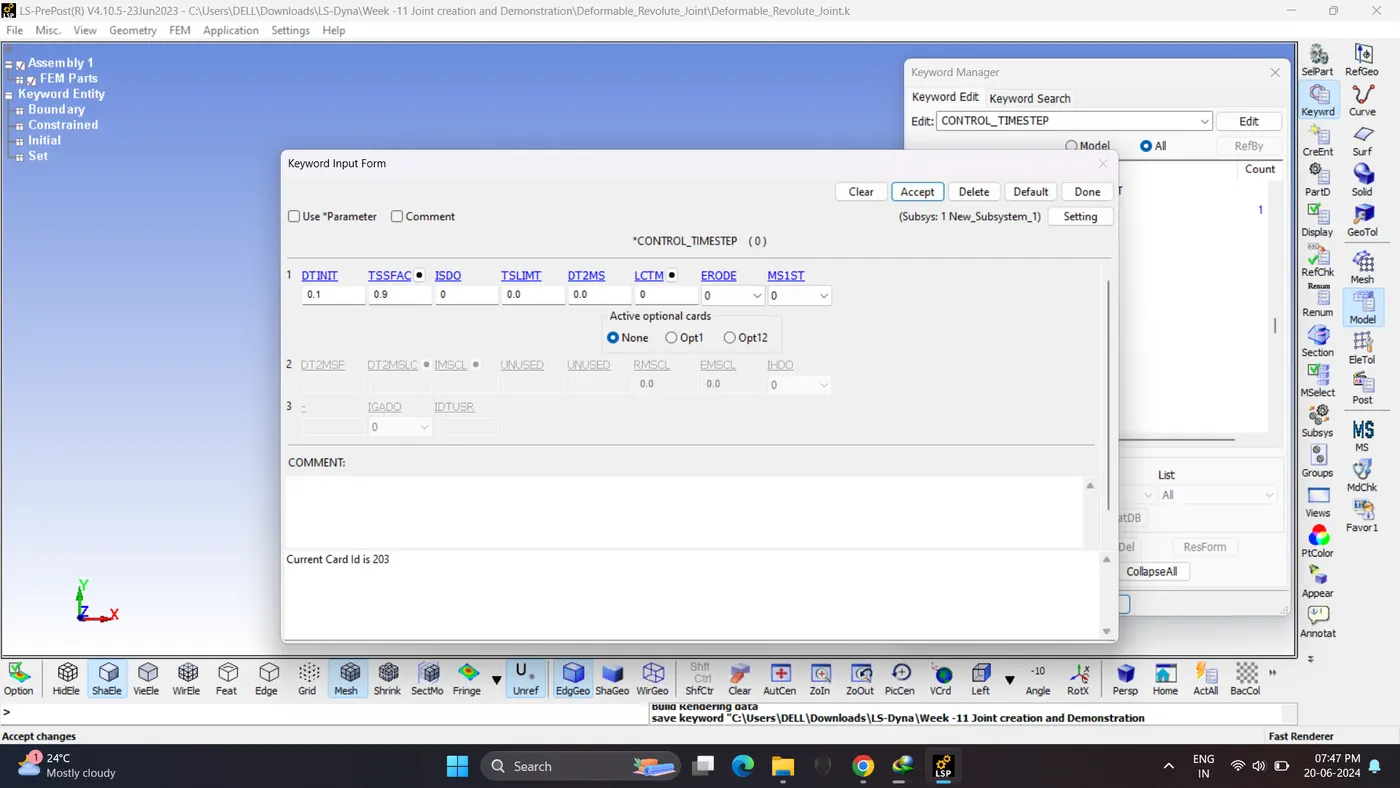
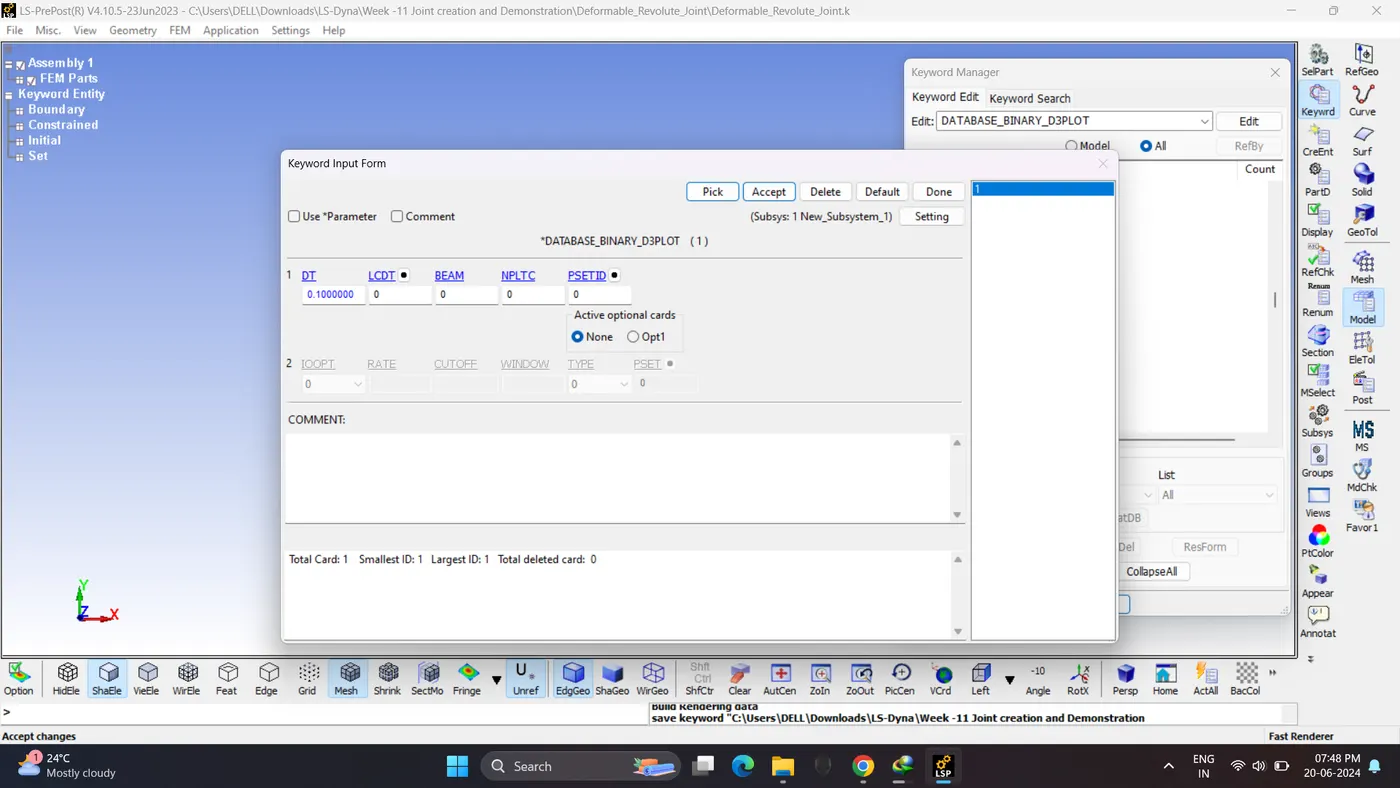
9. Save the file and run the simulation.
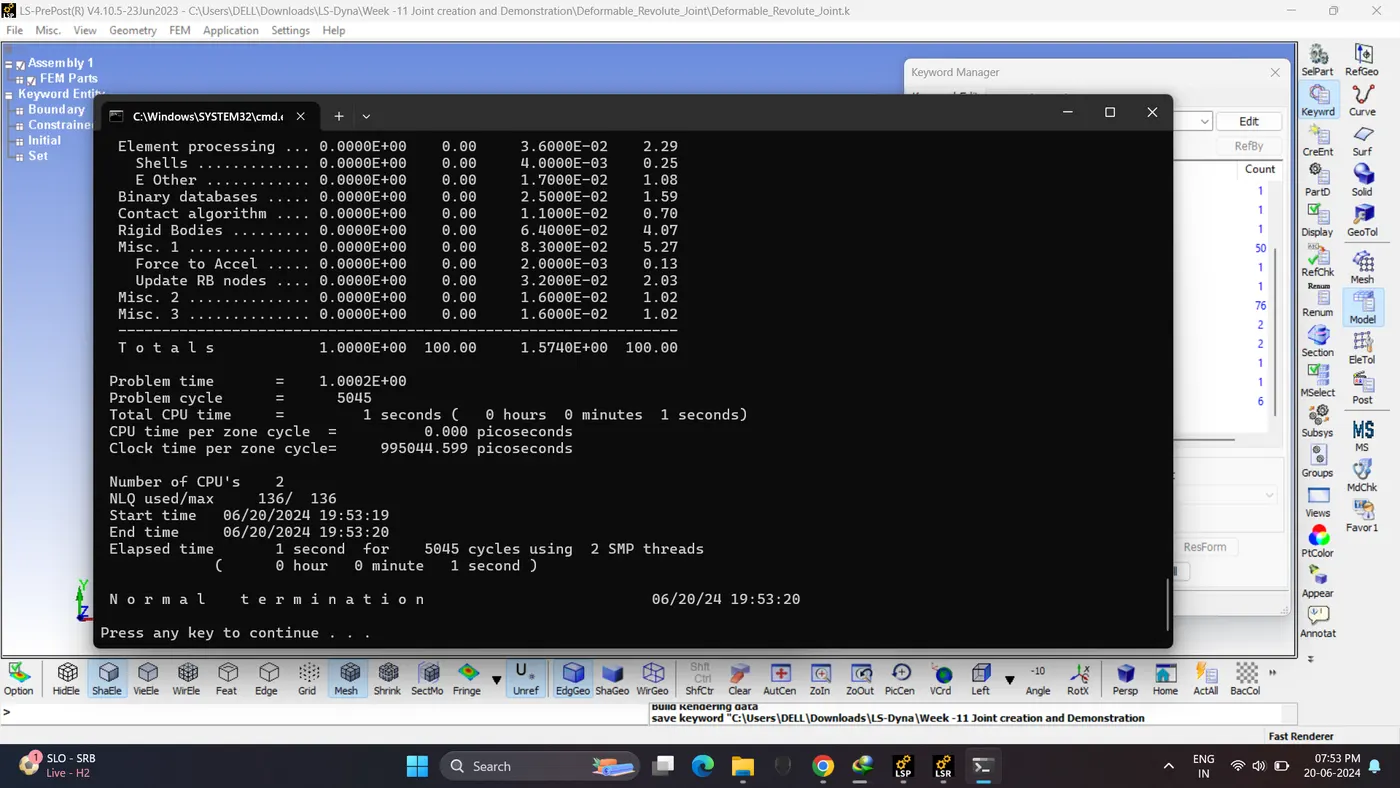
10. Open d3plot file. Contour von mises stress and play the simulation.
3. Sperical joint (Rigid Body)
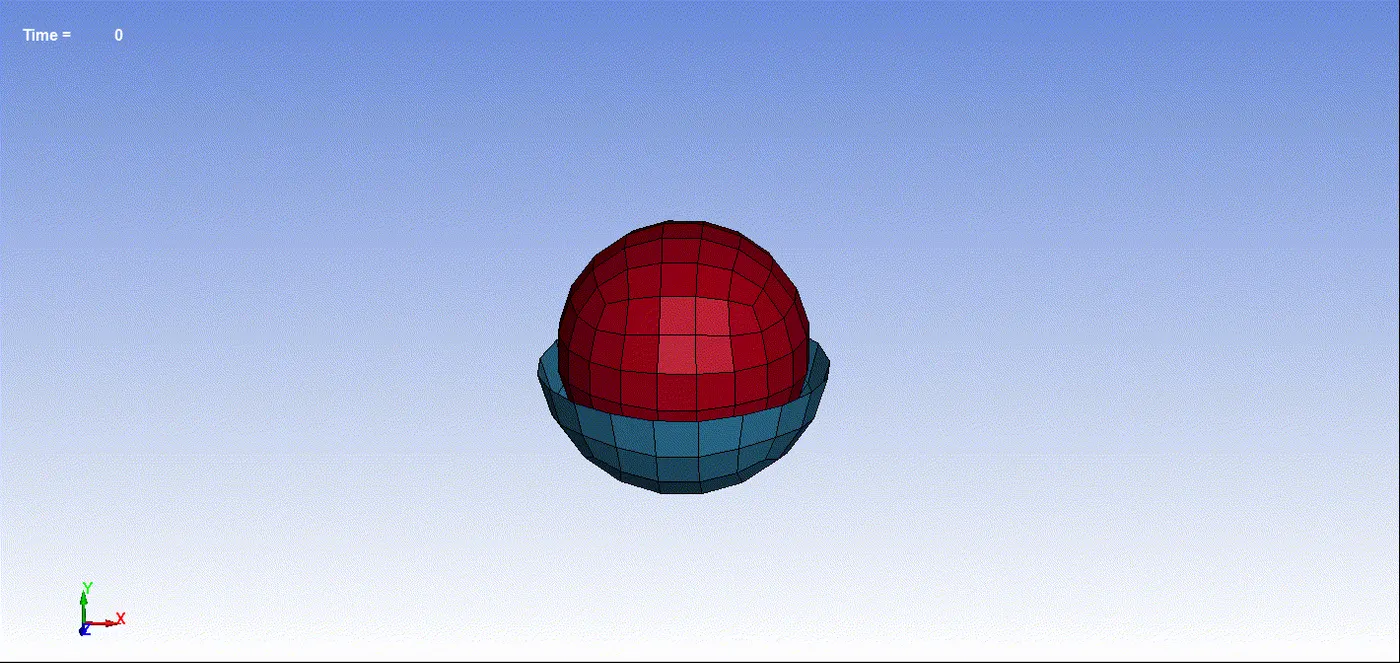
1. Open LS- Prepost. Create inner spherical shell. Go to Mesh - Shape Maker - Sphere shell.
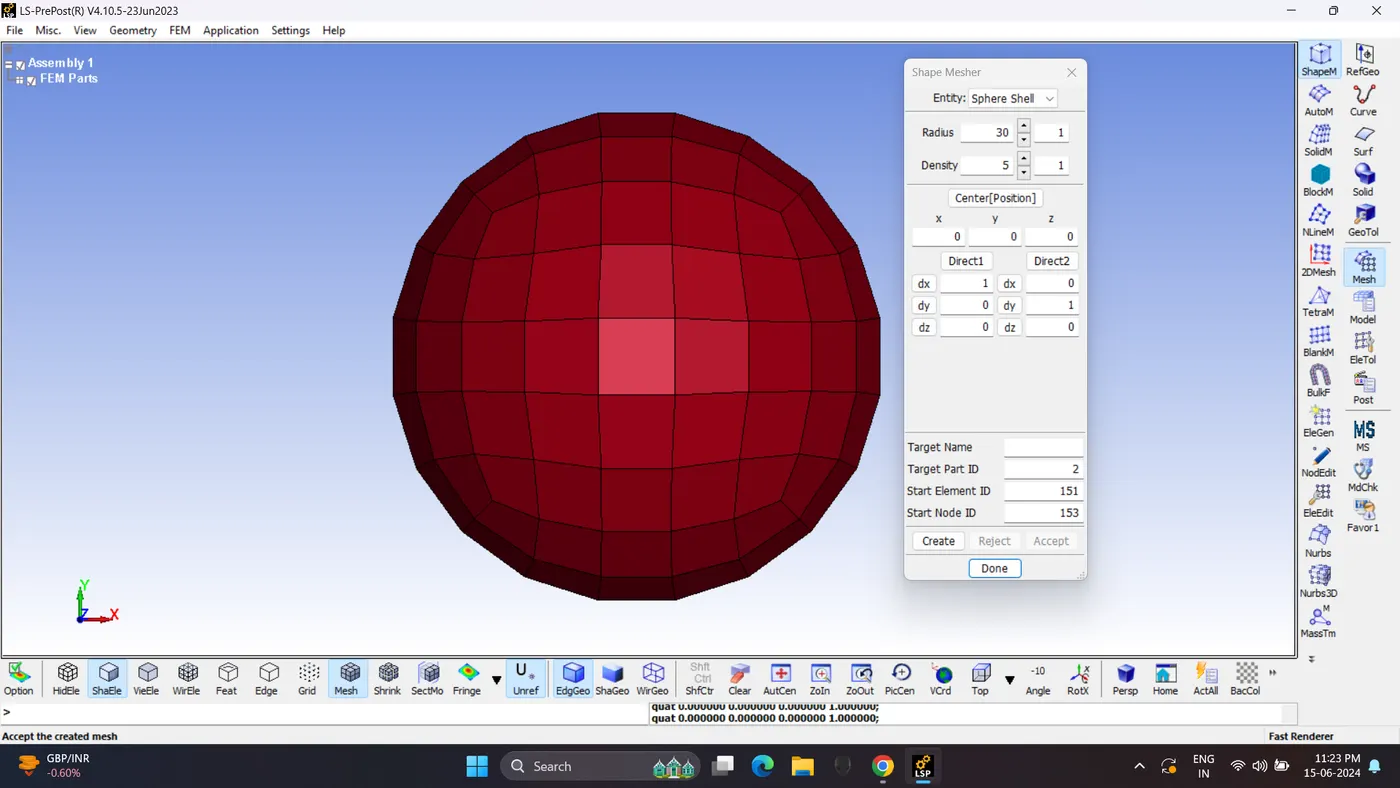
2. Create outer shell.
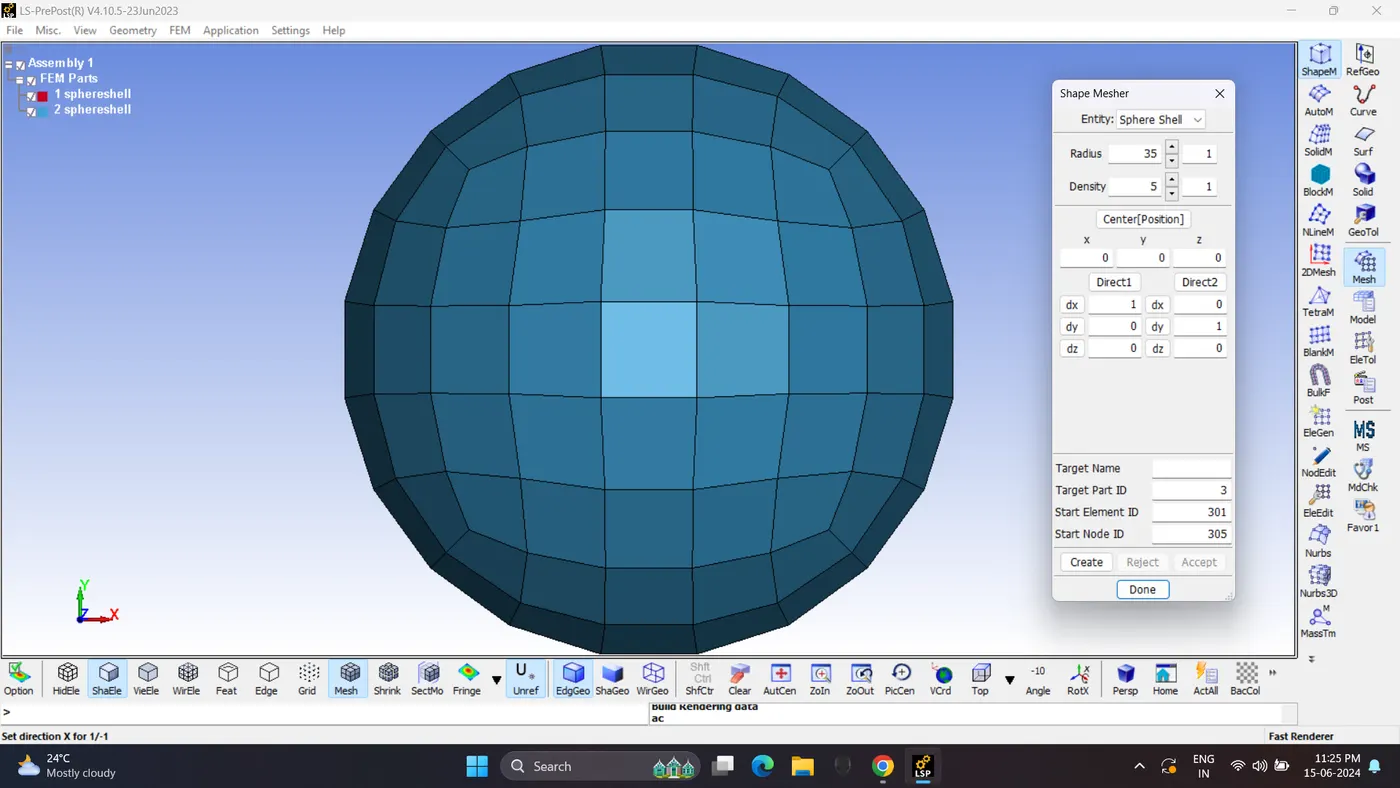
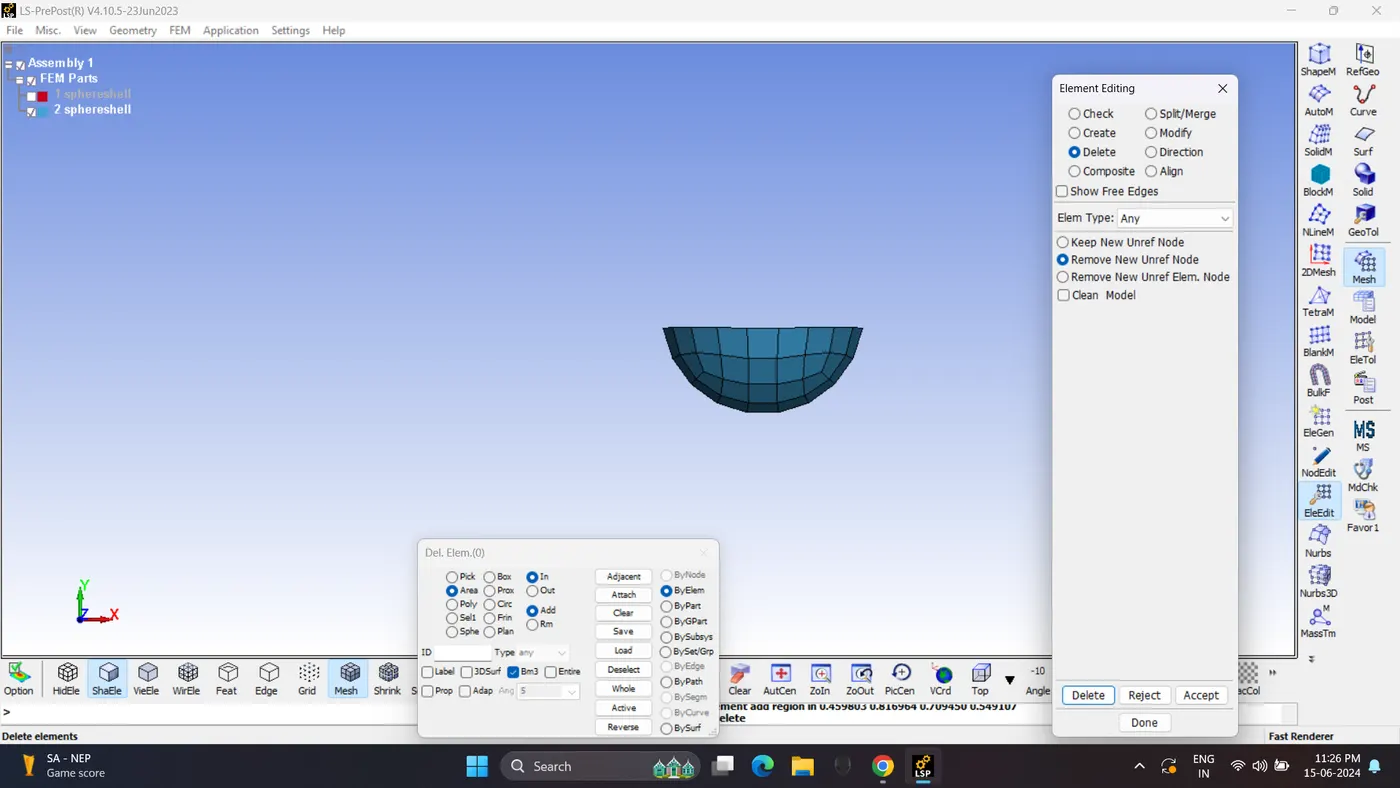
3. Delete the half of outer shell element.
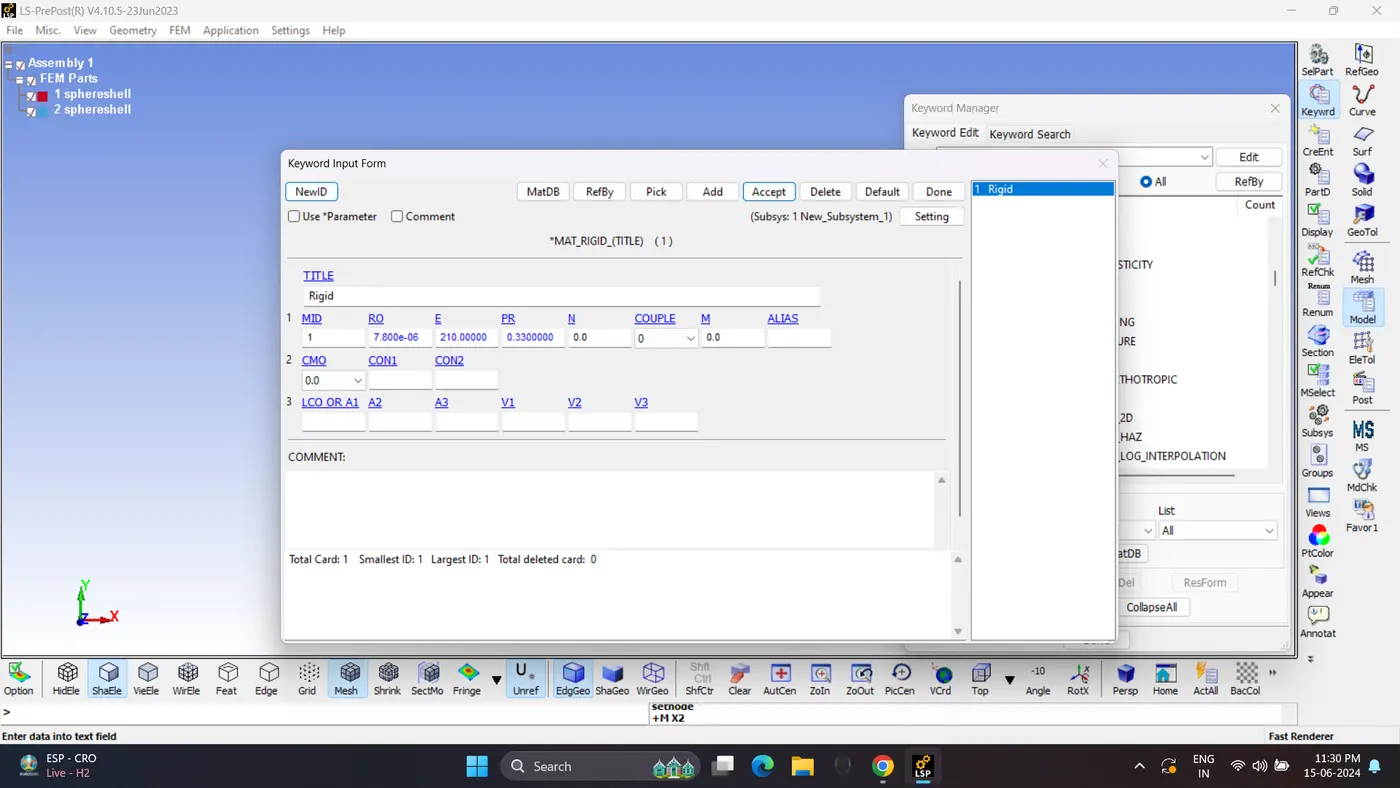
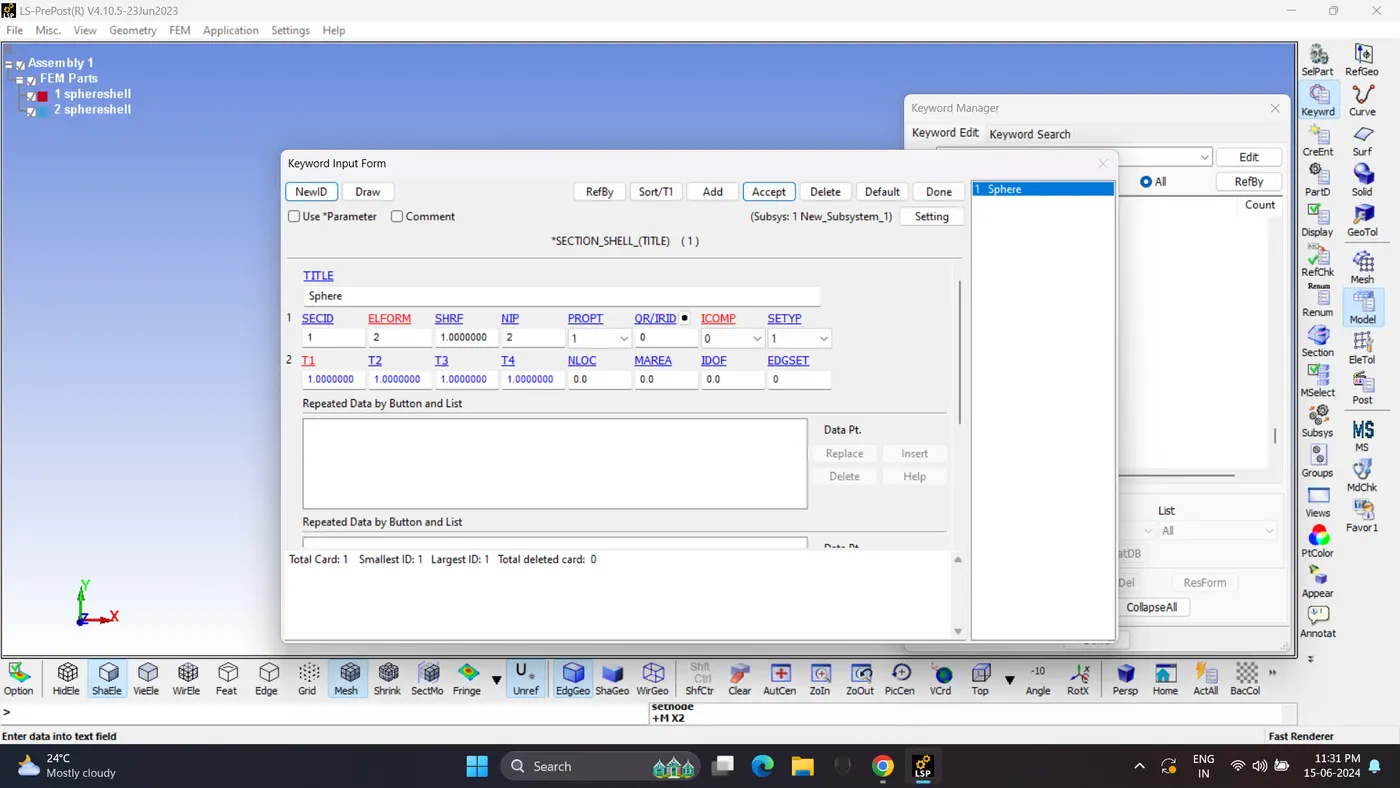
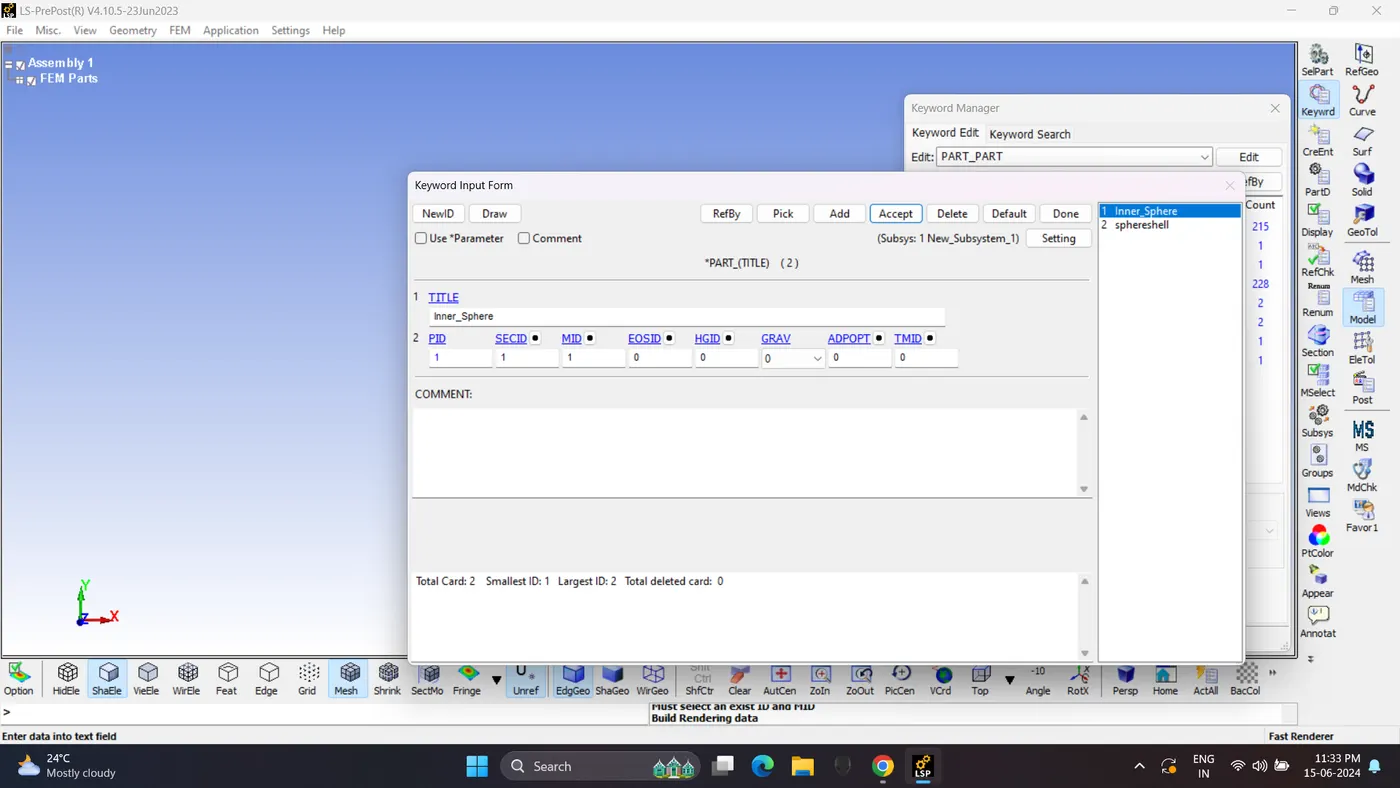
4. Create Material and Section. Assign this card to part.
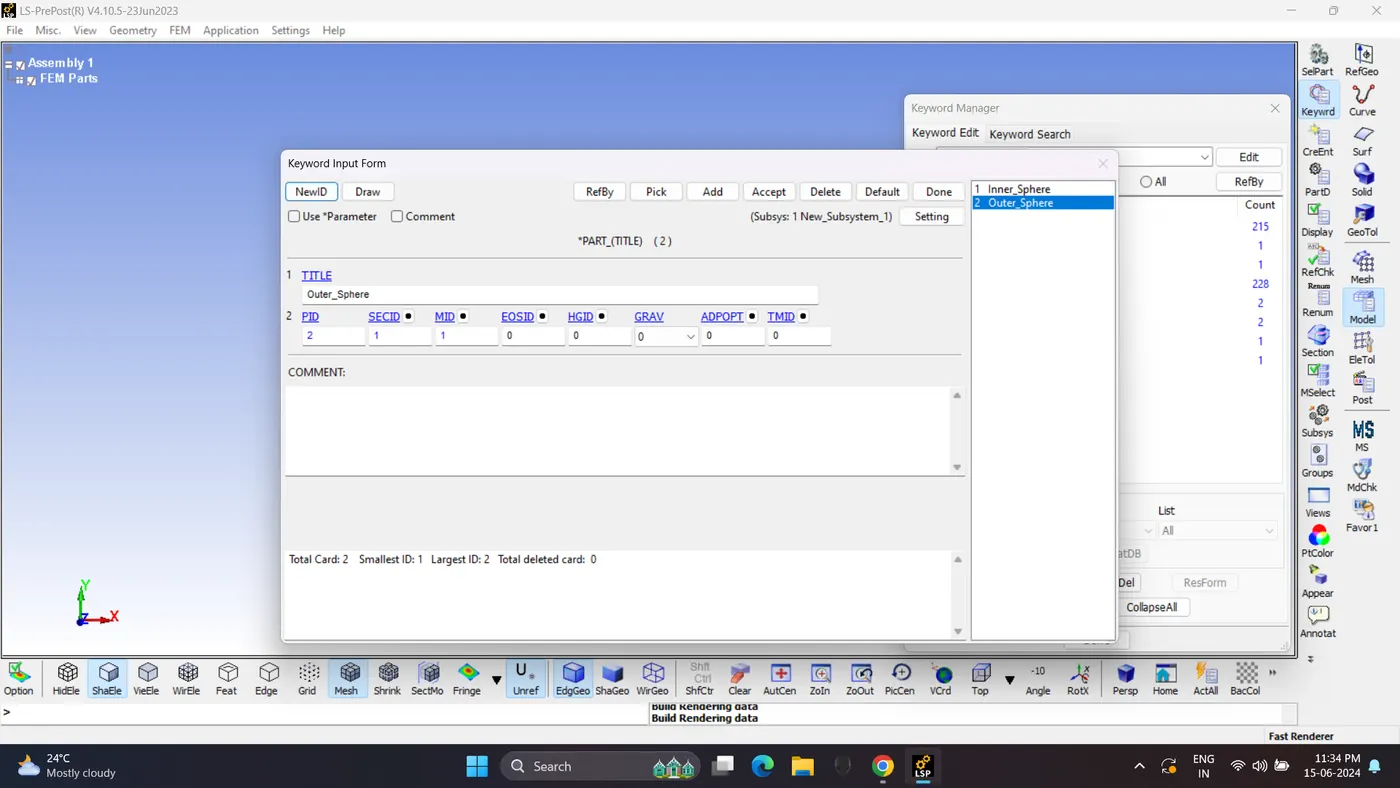
5. Create 2 Center node. Assign Node 1000 to inner sphere and Node 1001 to outer sphere by creating extra node set.
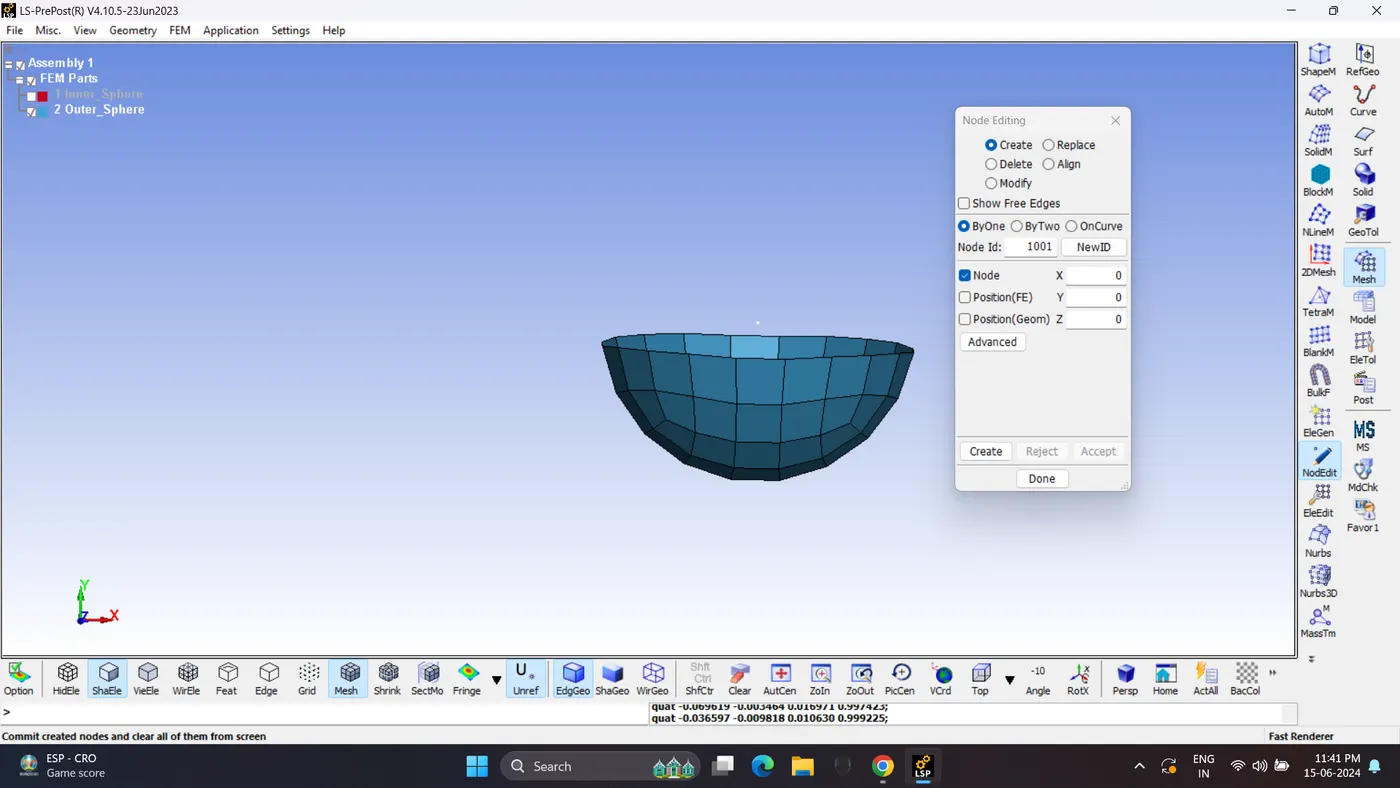
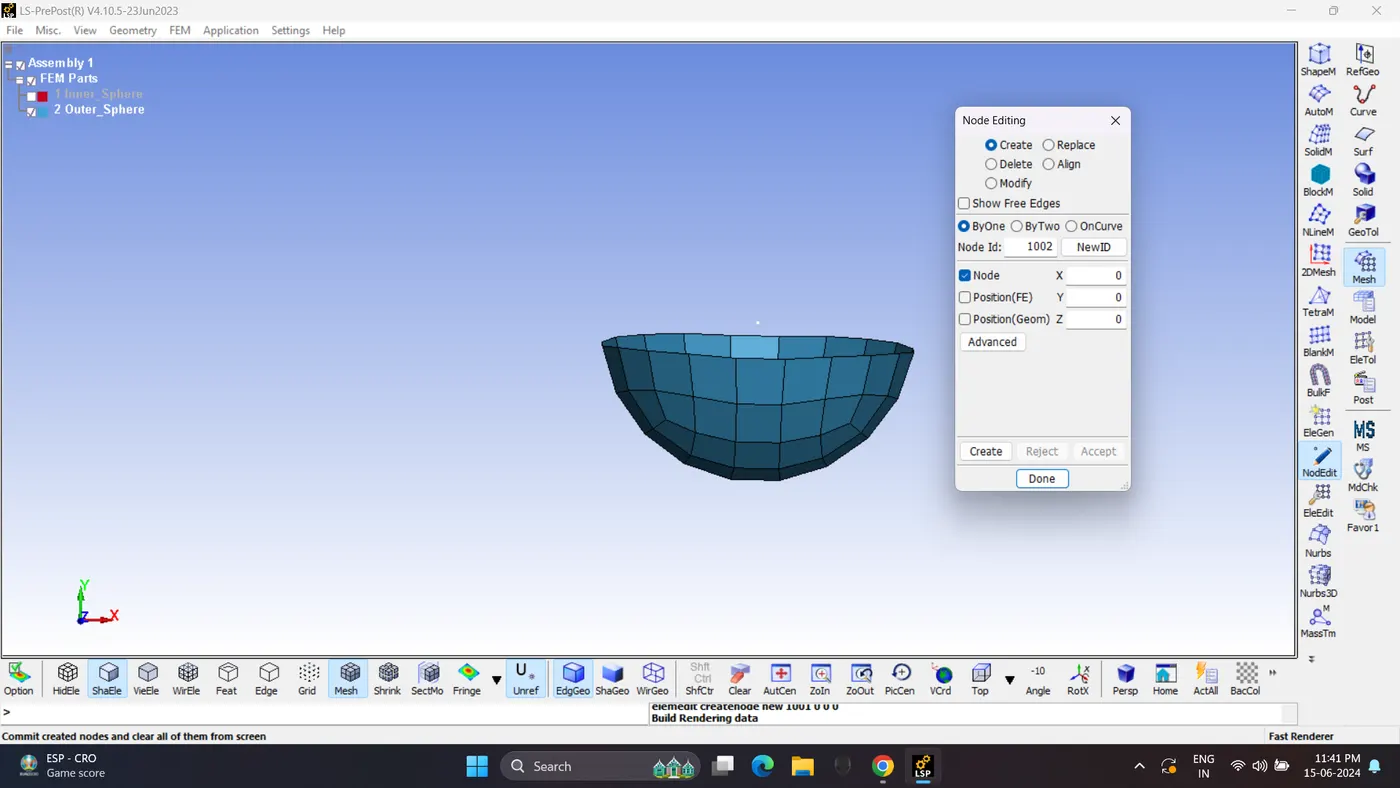
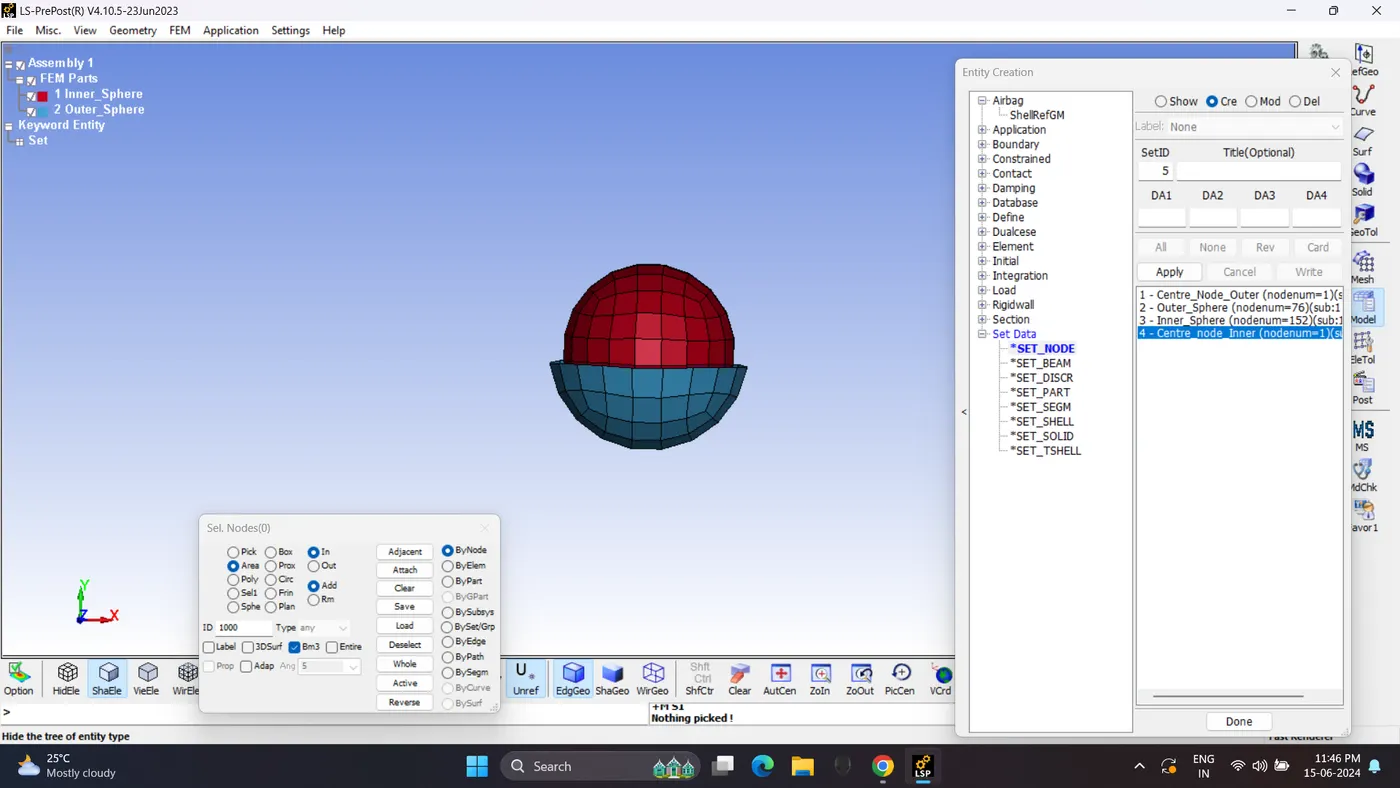
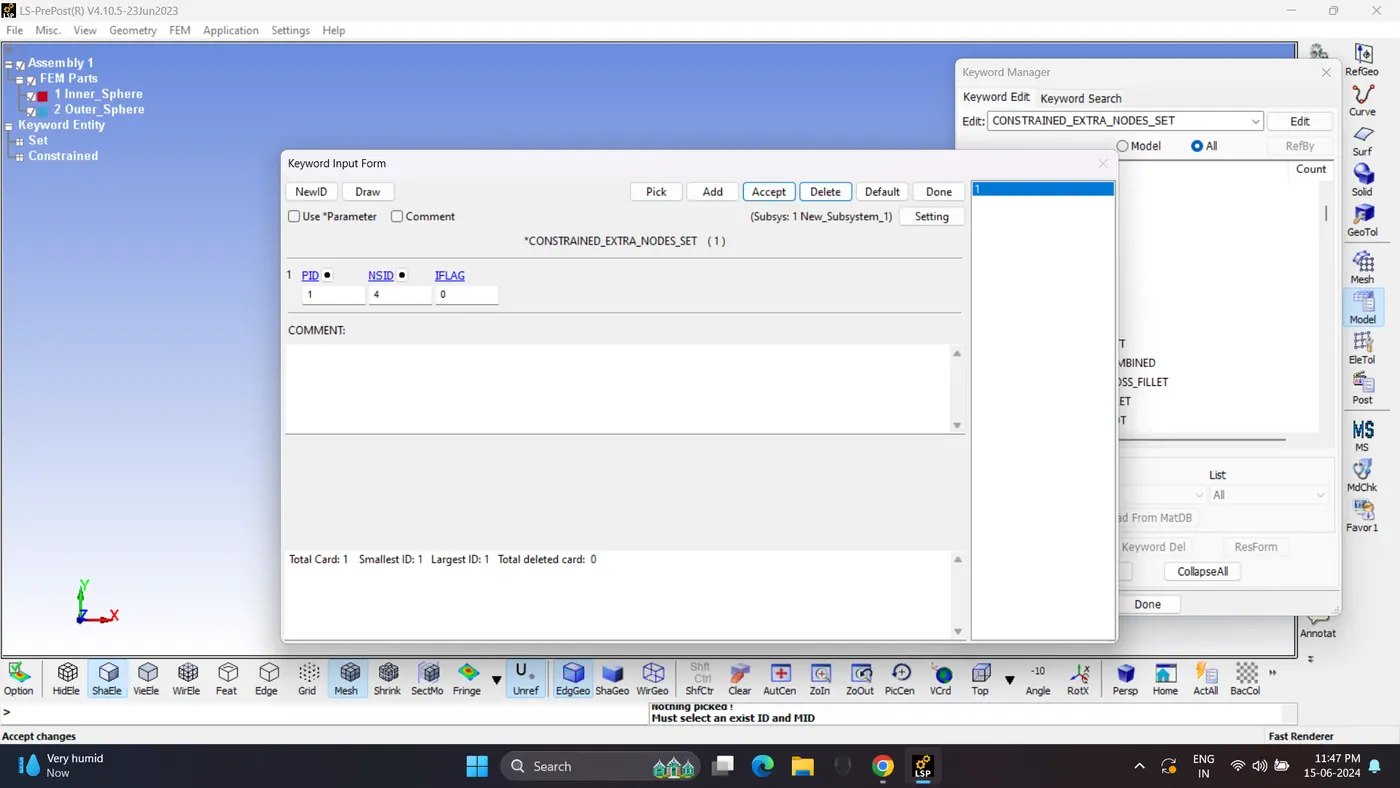
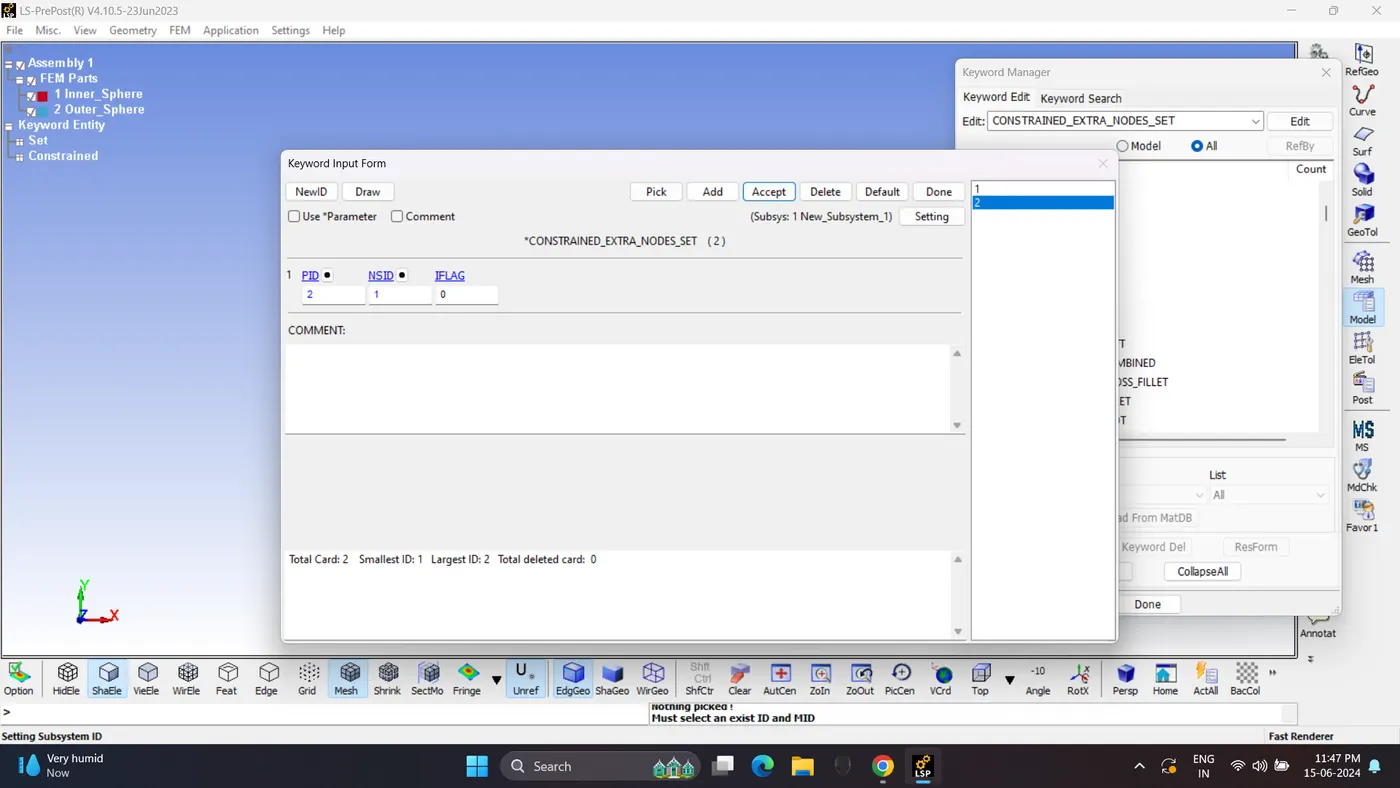
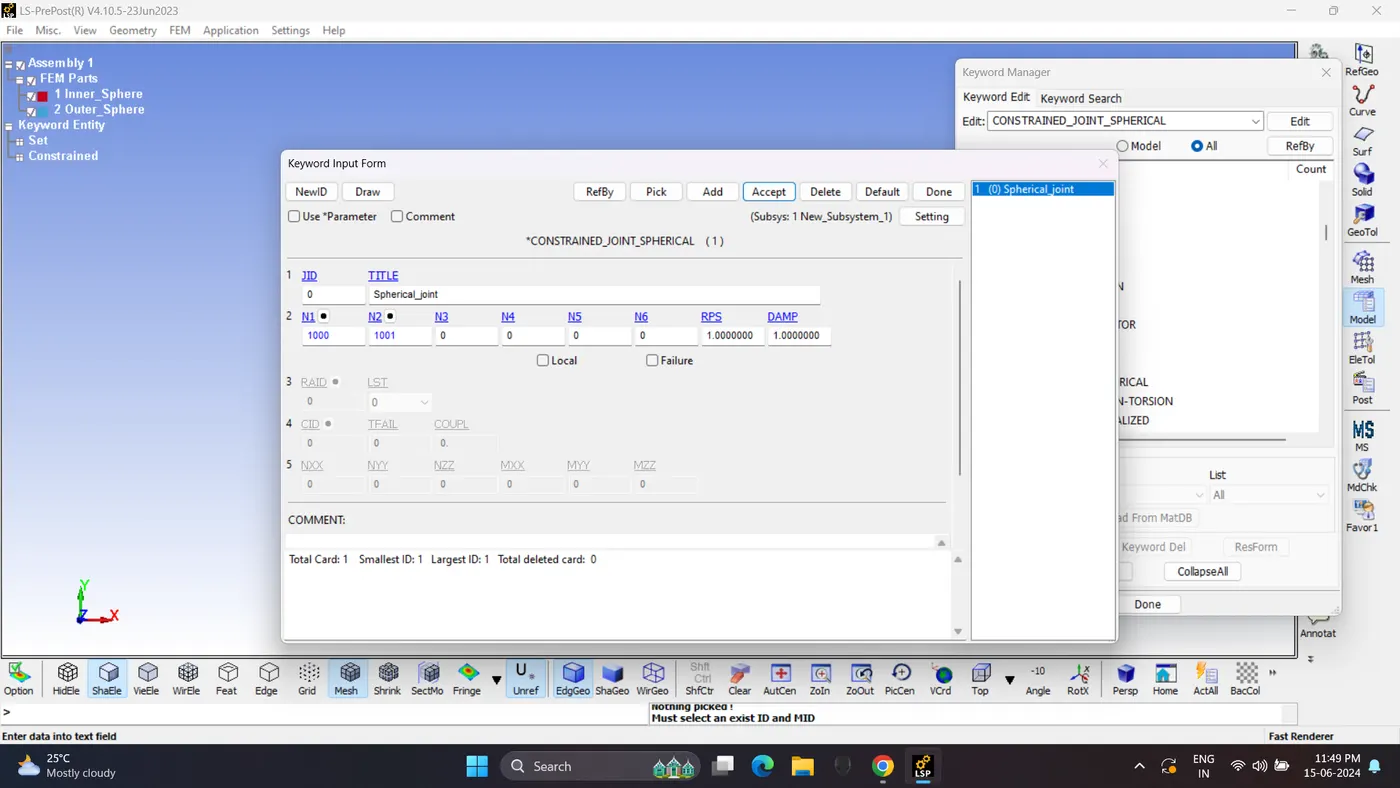
6. Create a CONSTRAINED_JOINT_SPHERICAL card.
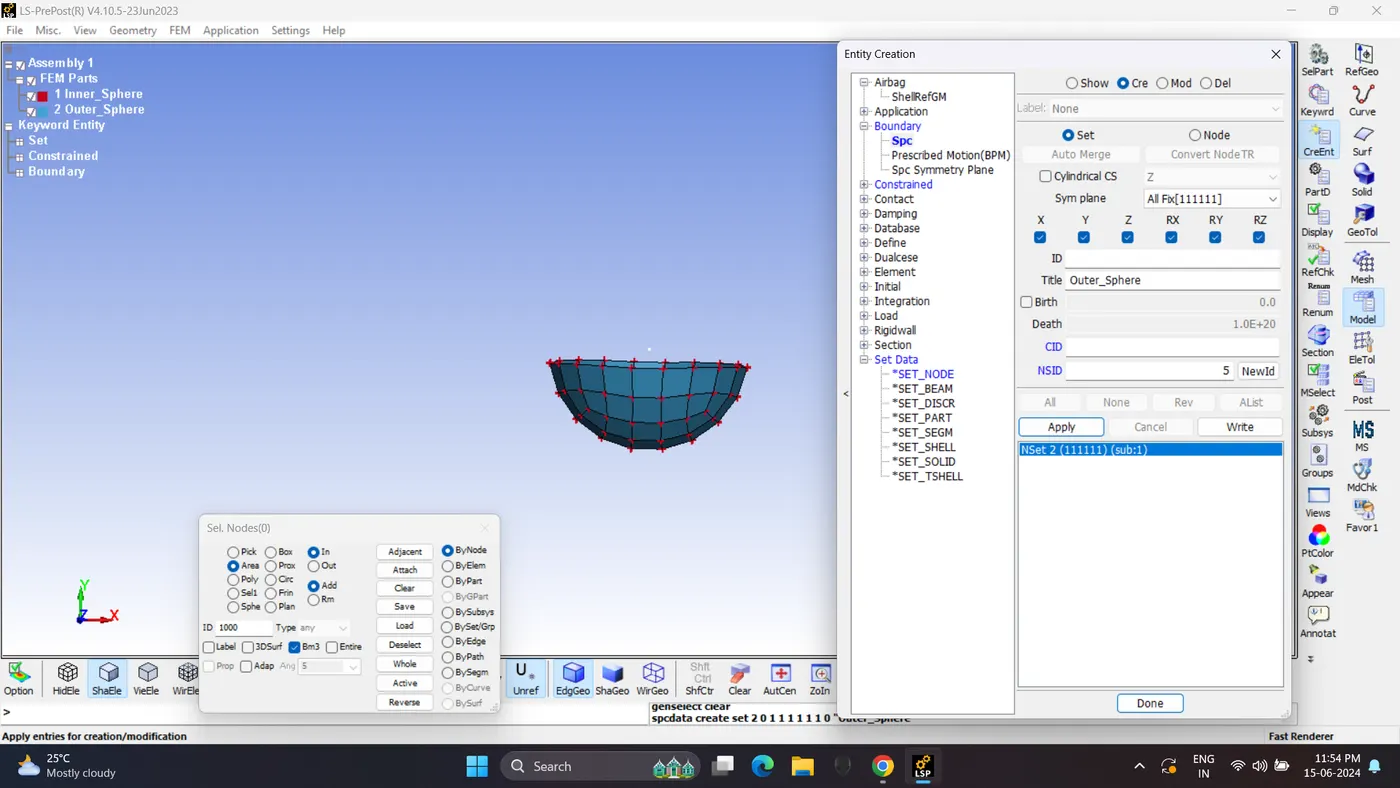
7. Lock the degree of freedom of outer sphere.
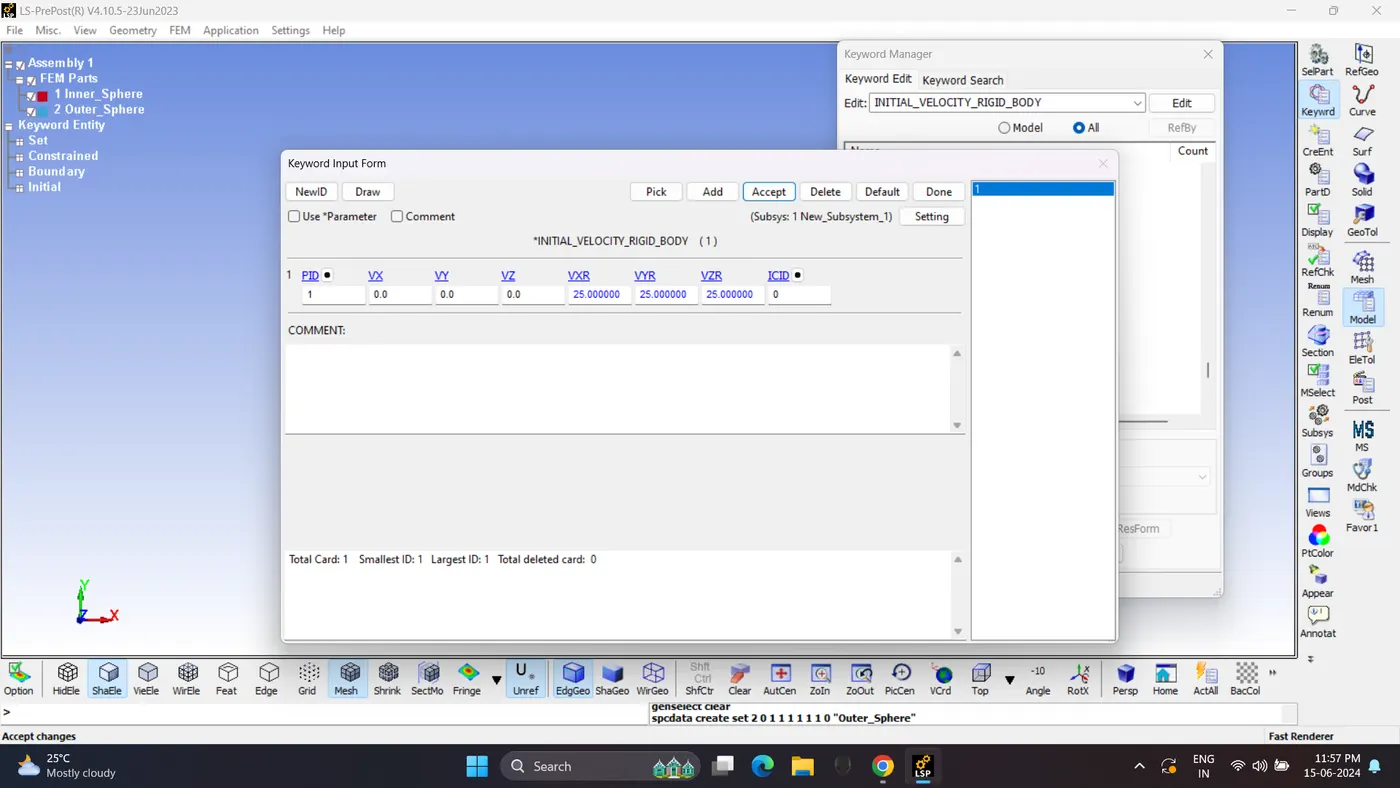
8. Give Initial velocity to inner sphere.
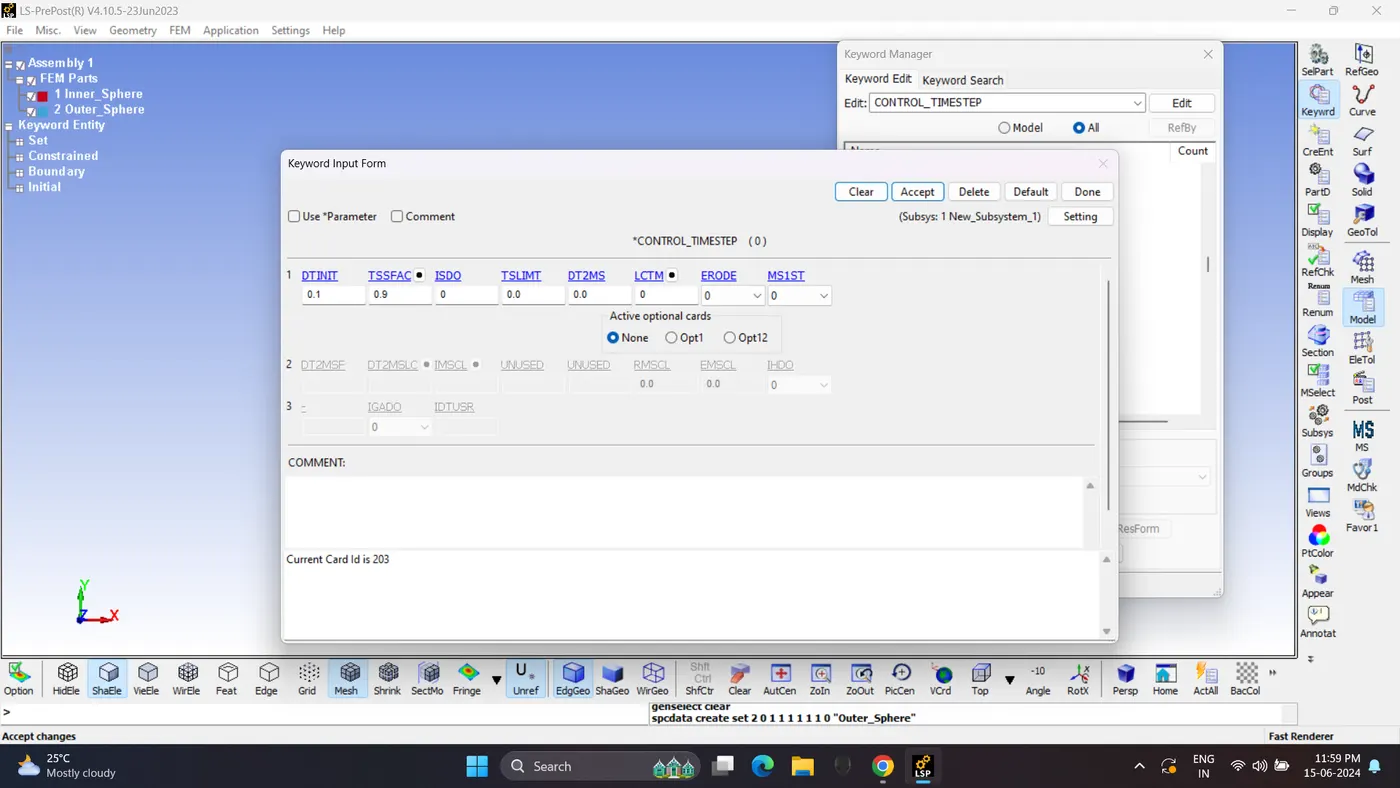
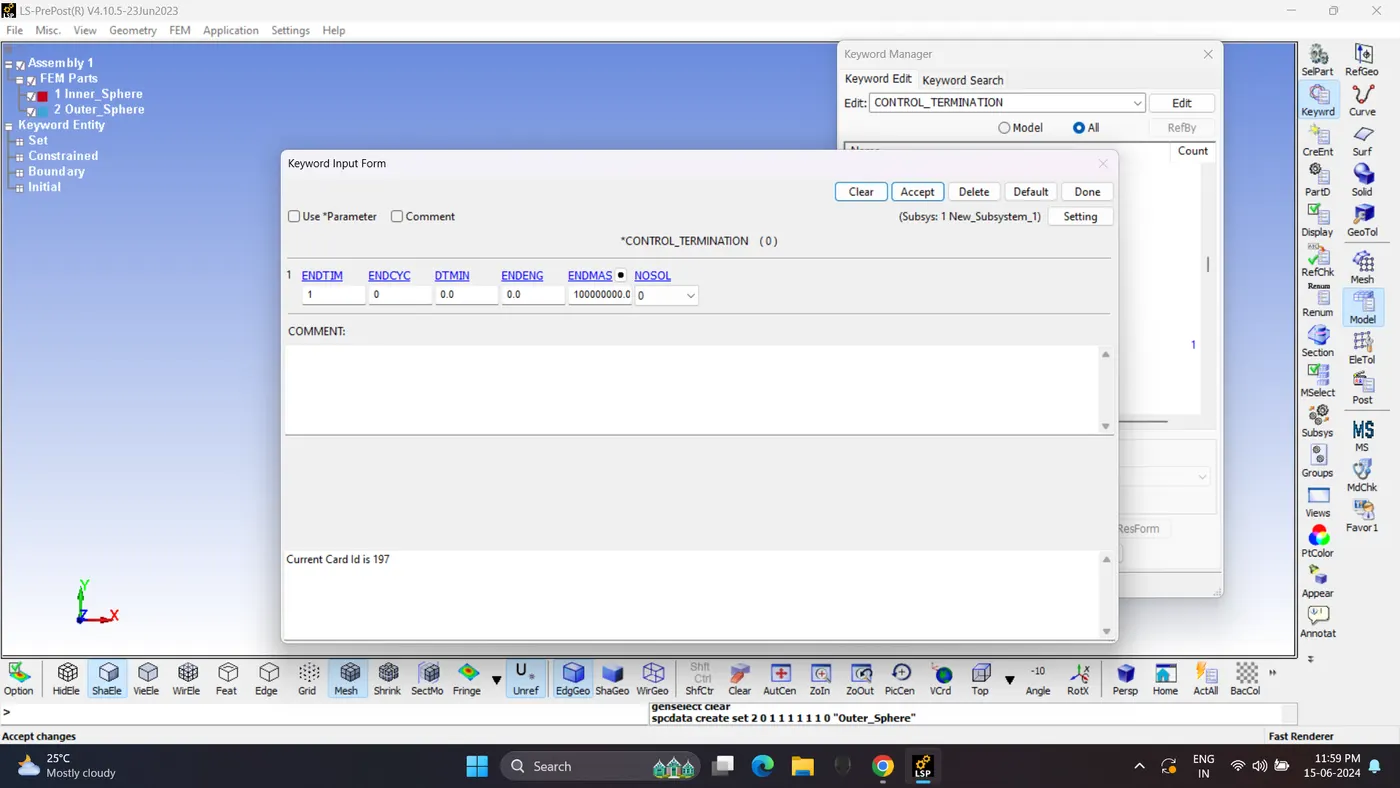
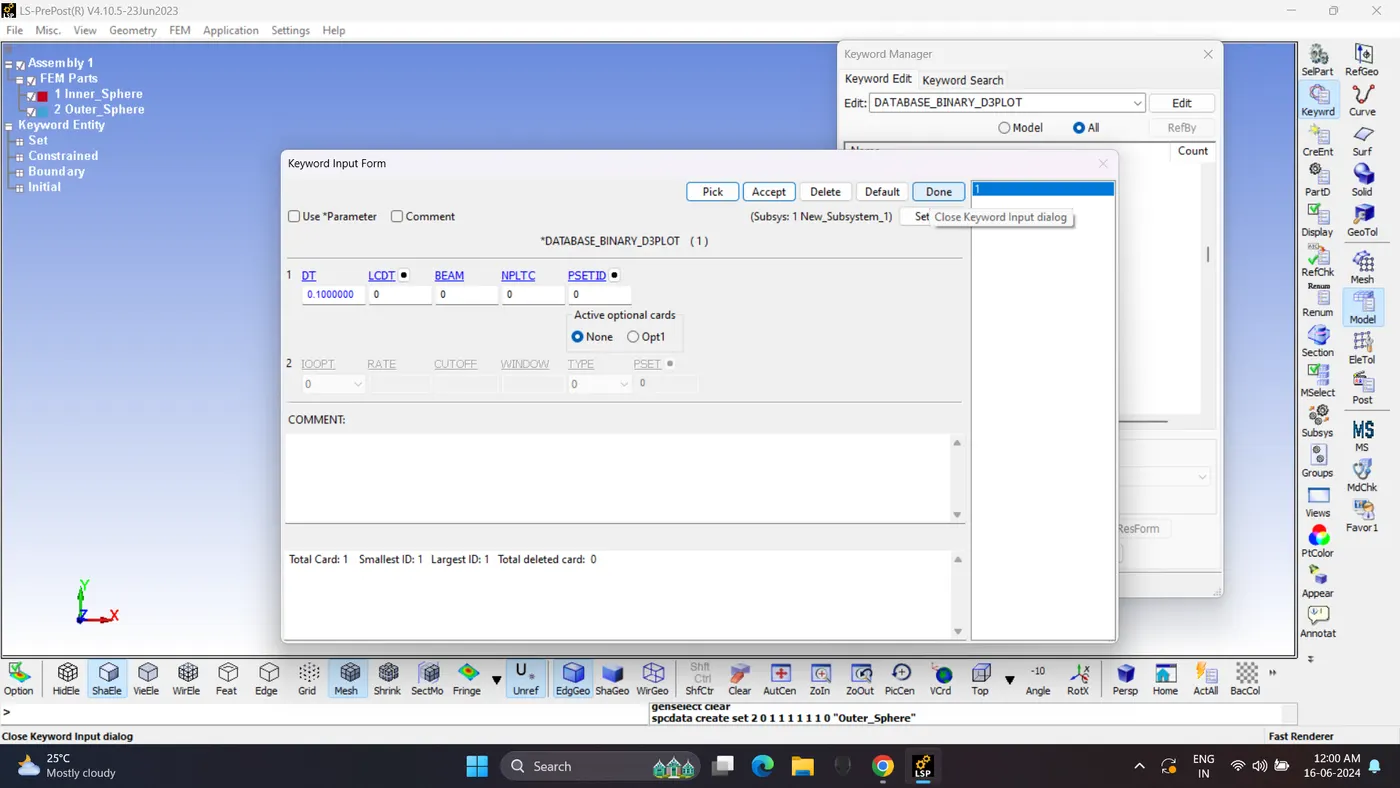
9. Define Control and Output Card.
10. save the file and Run the simulation.
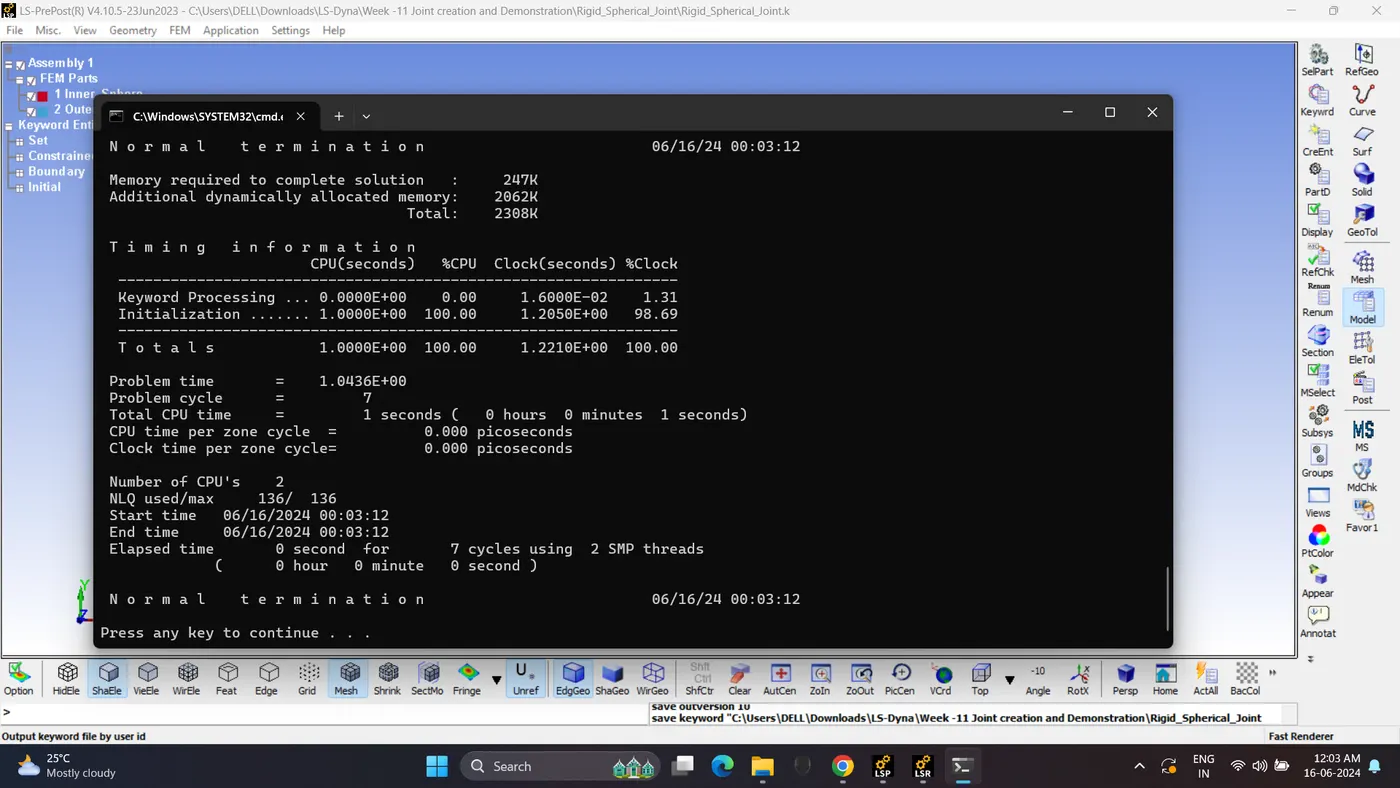
11. Open d3plot file and play the simulation.
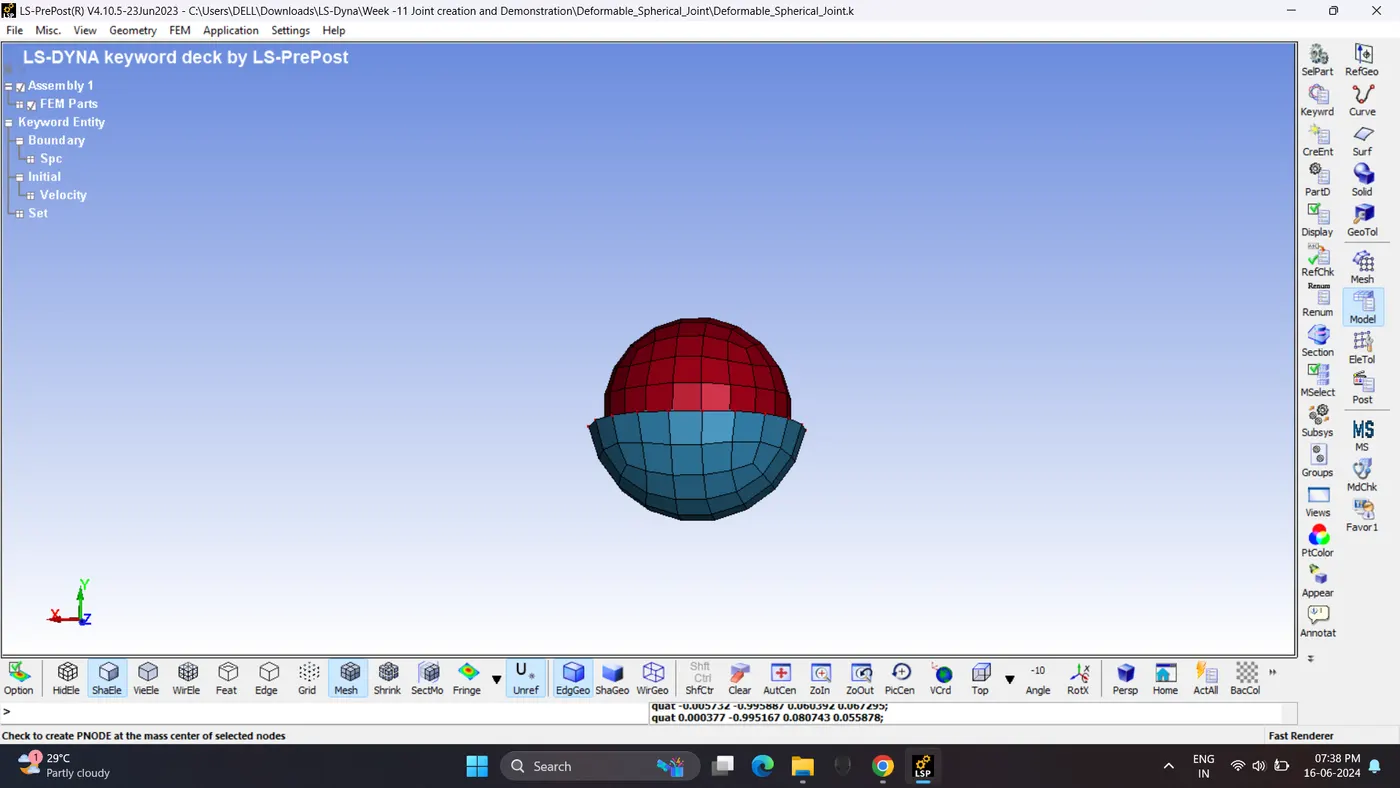
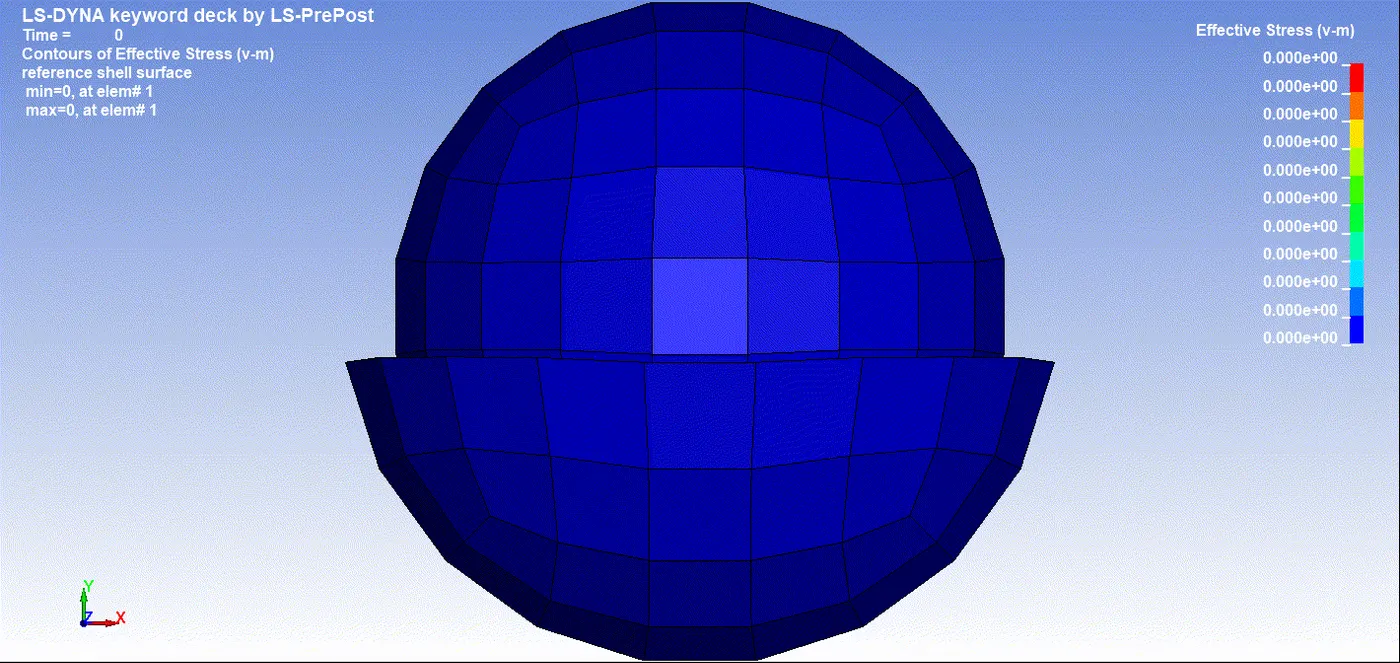
4. Spherical Joint (Deformabale Body)
1.In this case same FE shell model used as previous case.
Delete other keywords and saved as a Deformable_Spherical_Joint.K file.
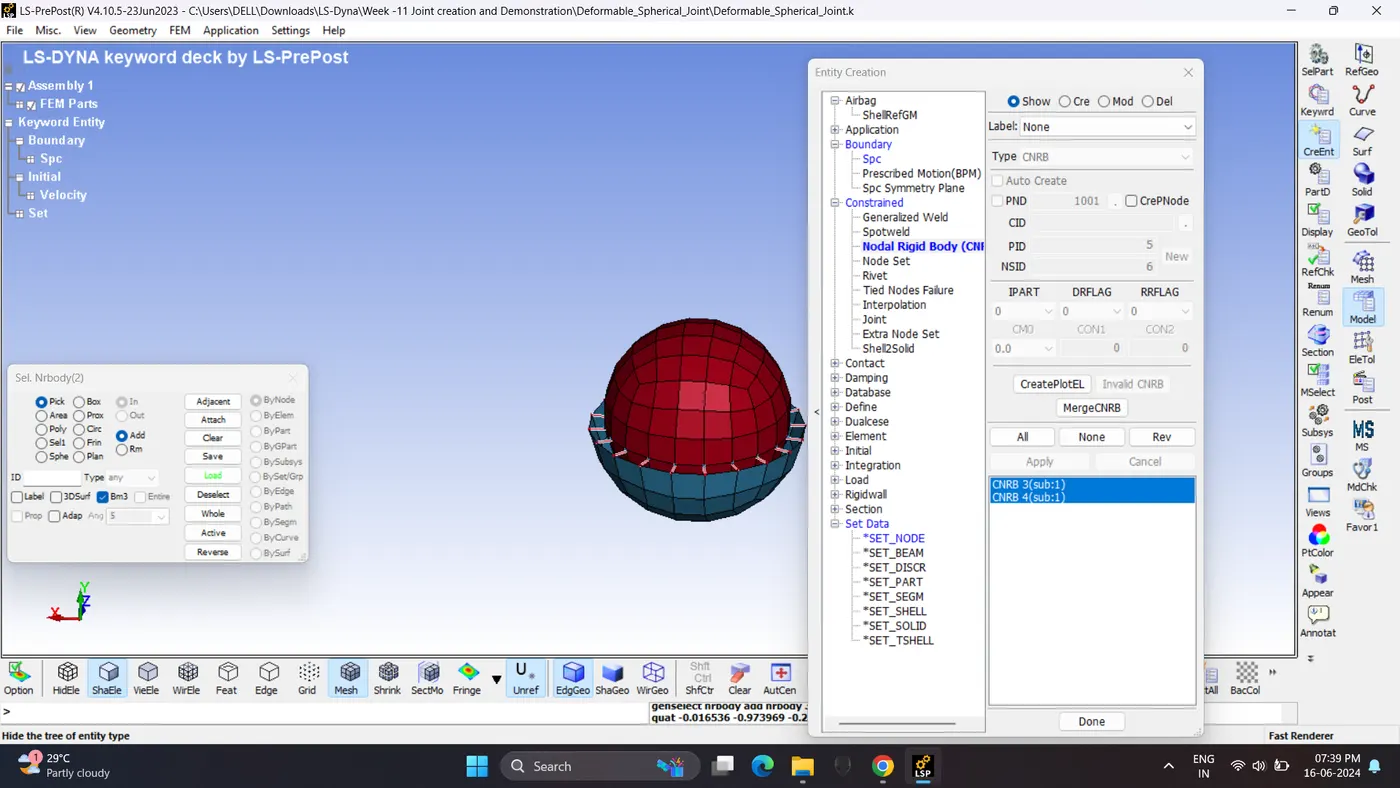
2. Create CNRB for inner and outer sphere.
3. Create Material, Section and assign them to parts.
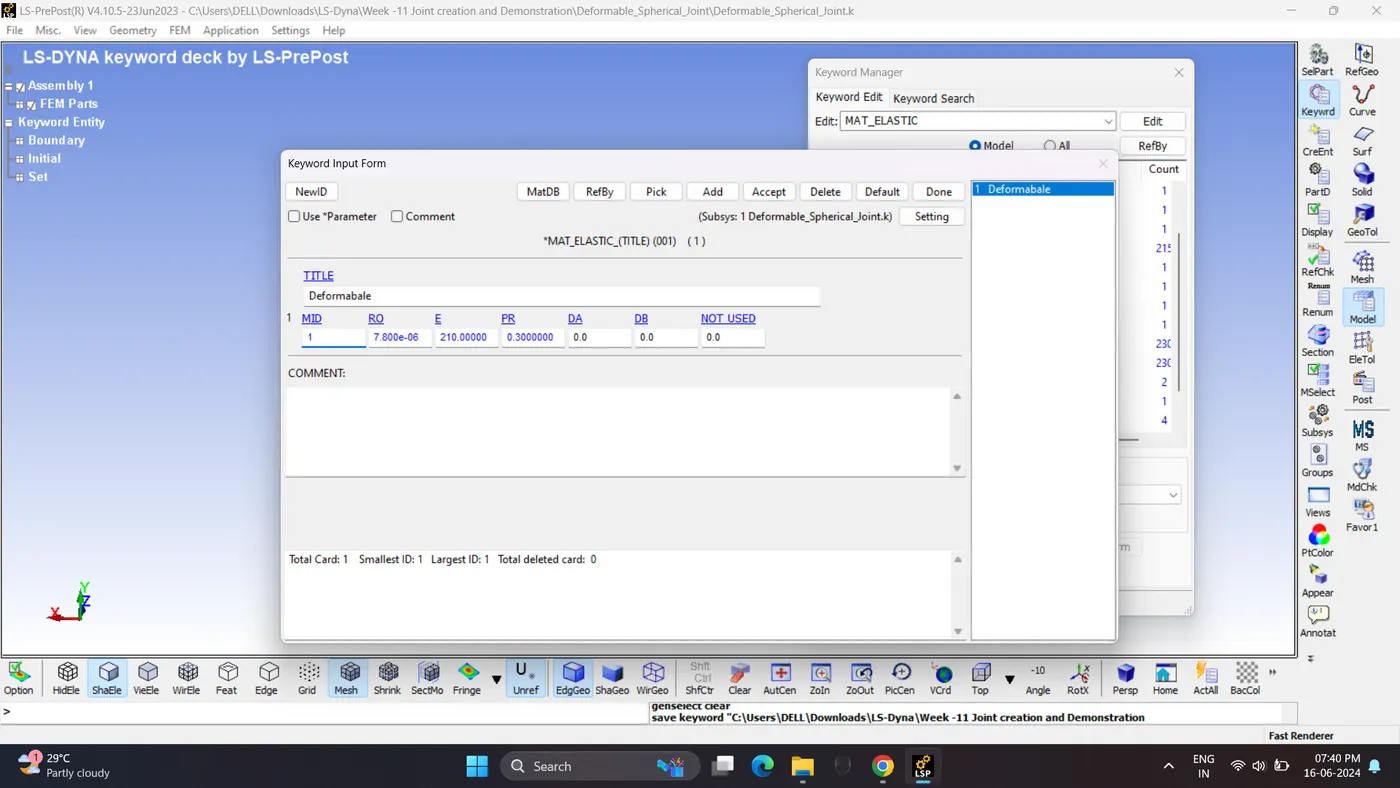
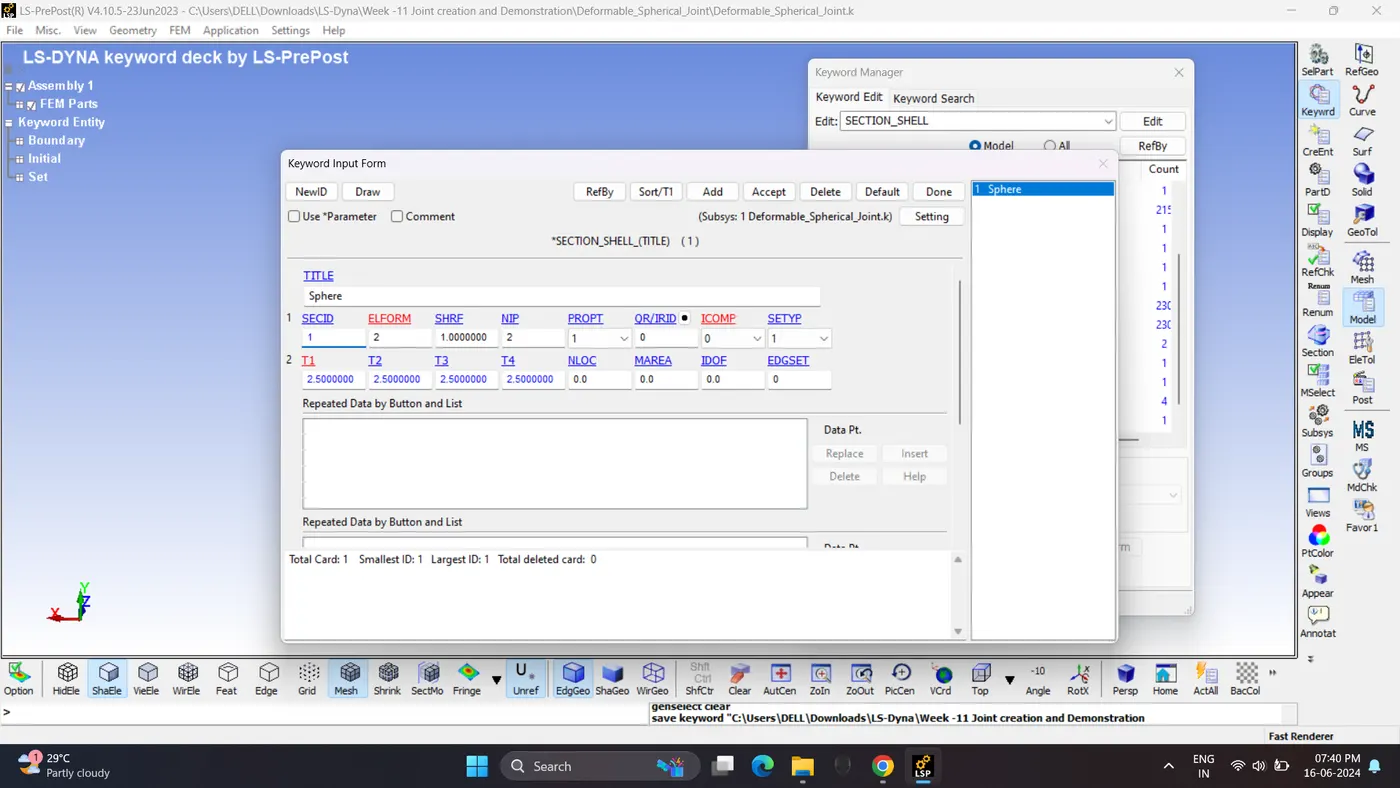
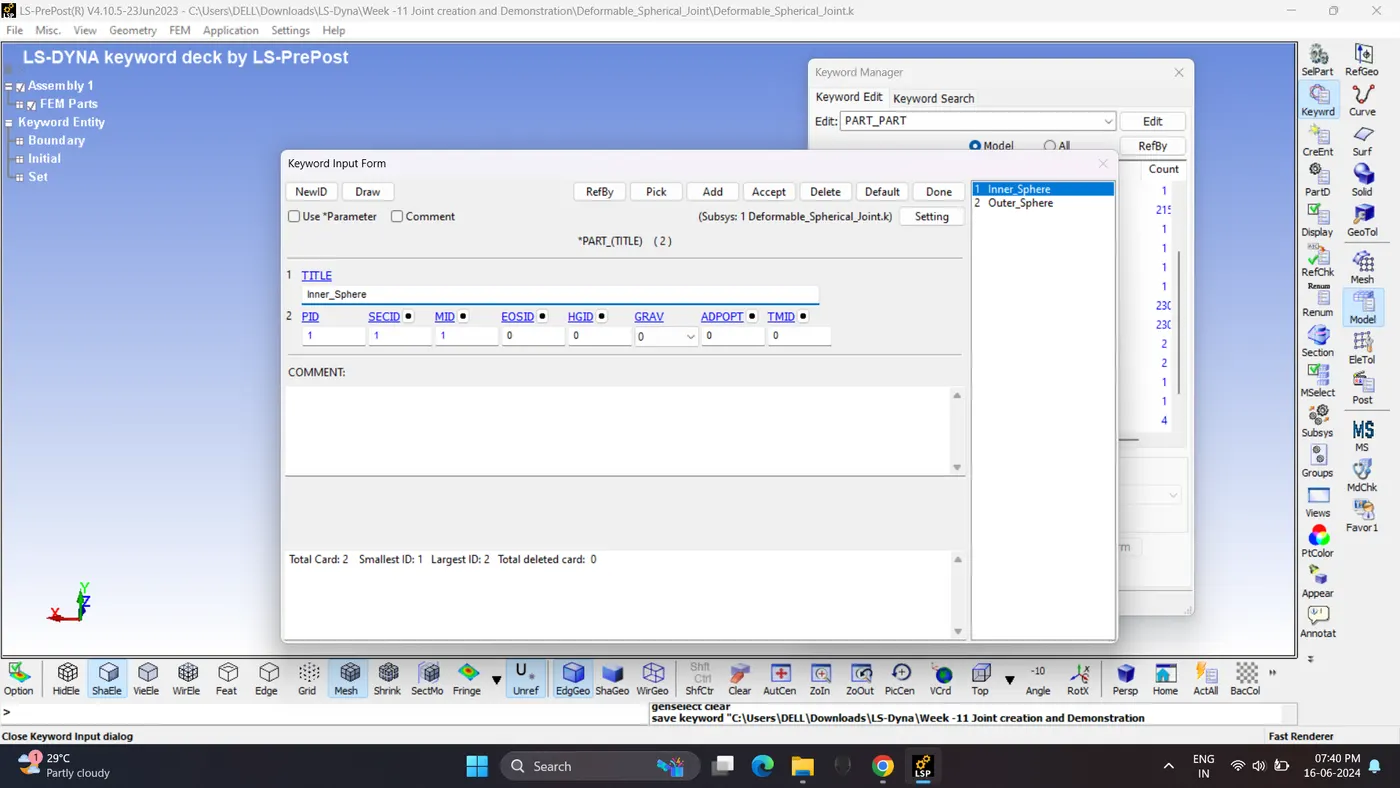
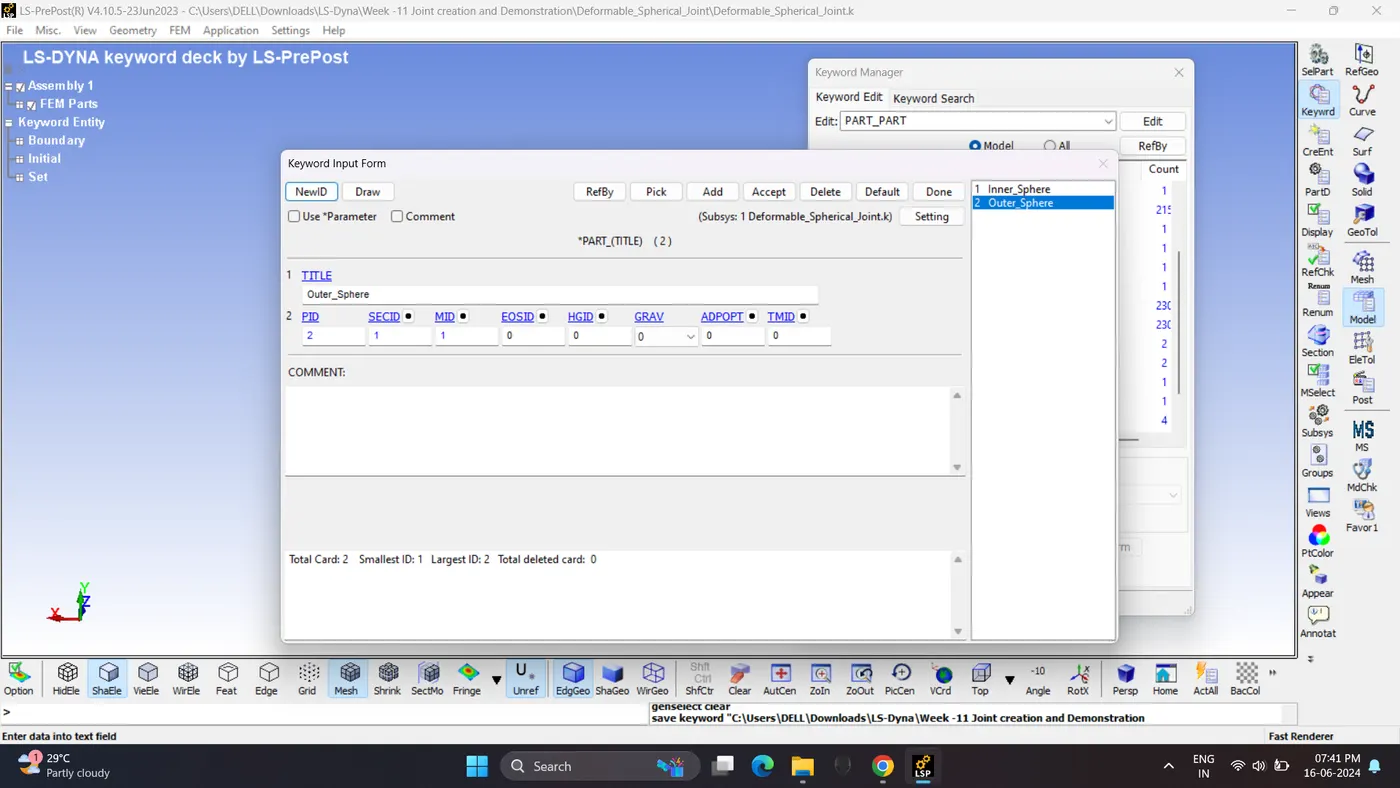
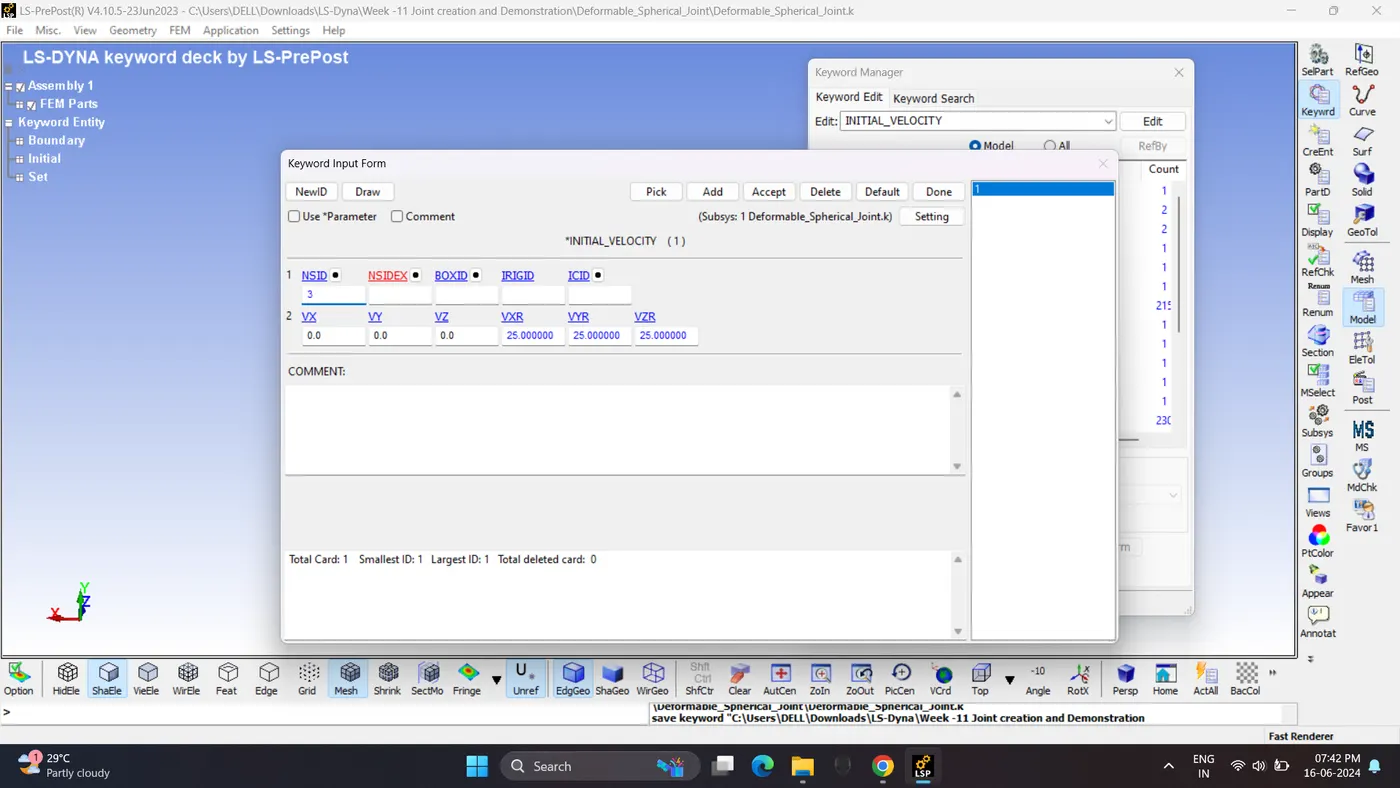
4. Create Velocity card for inner sphere.
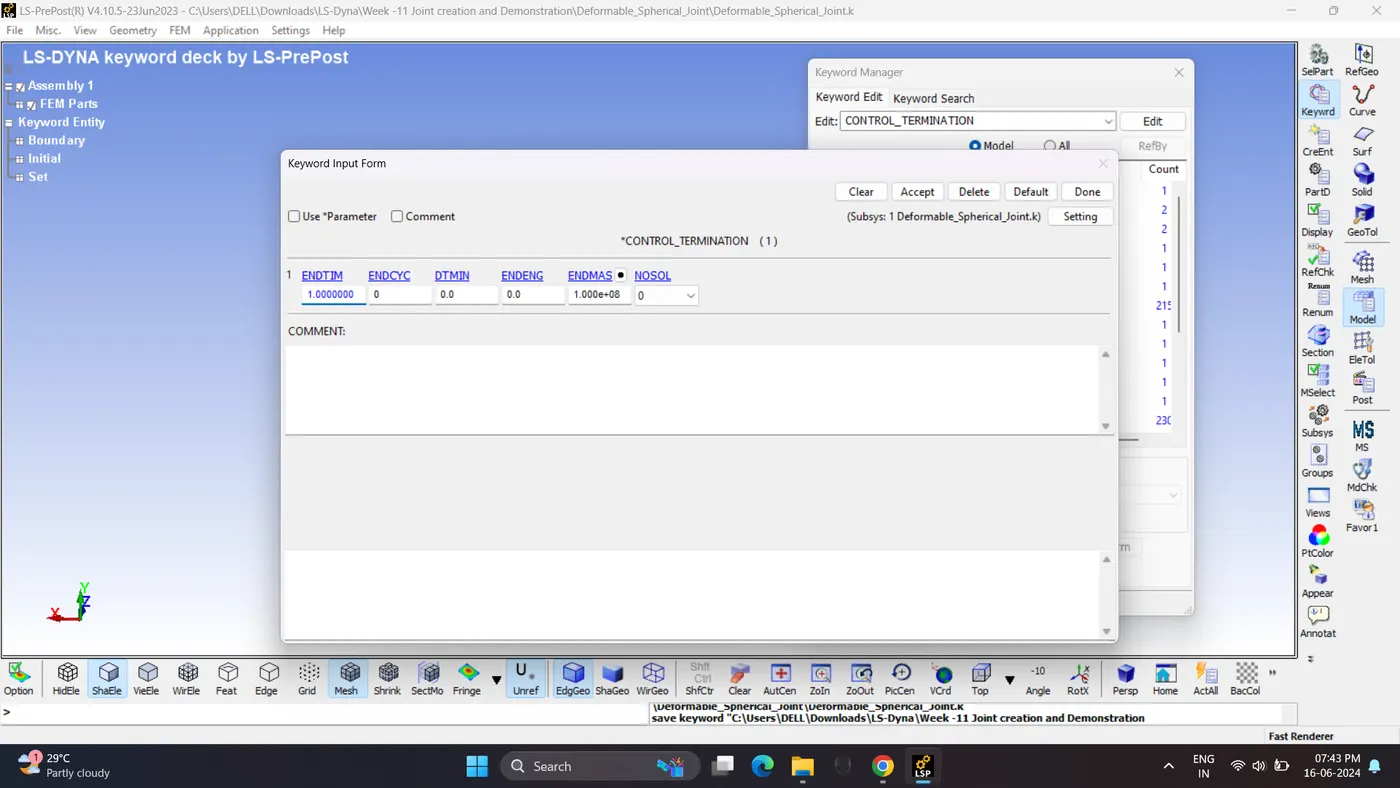
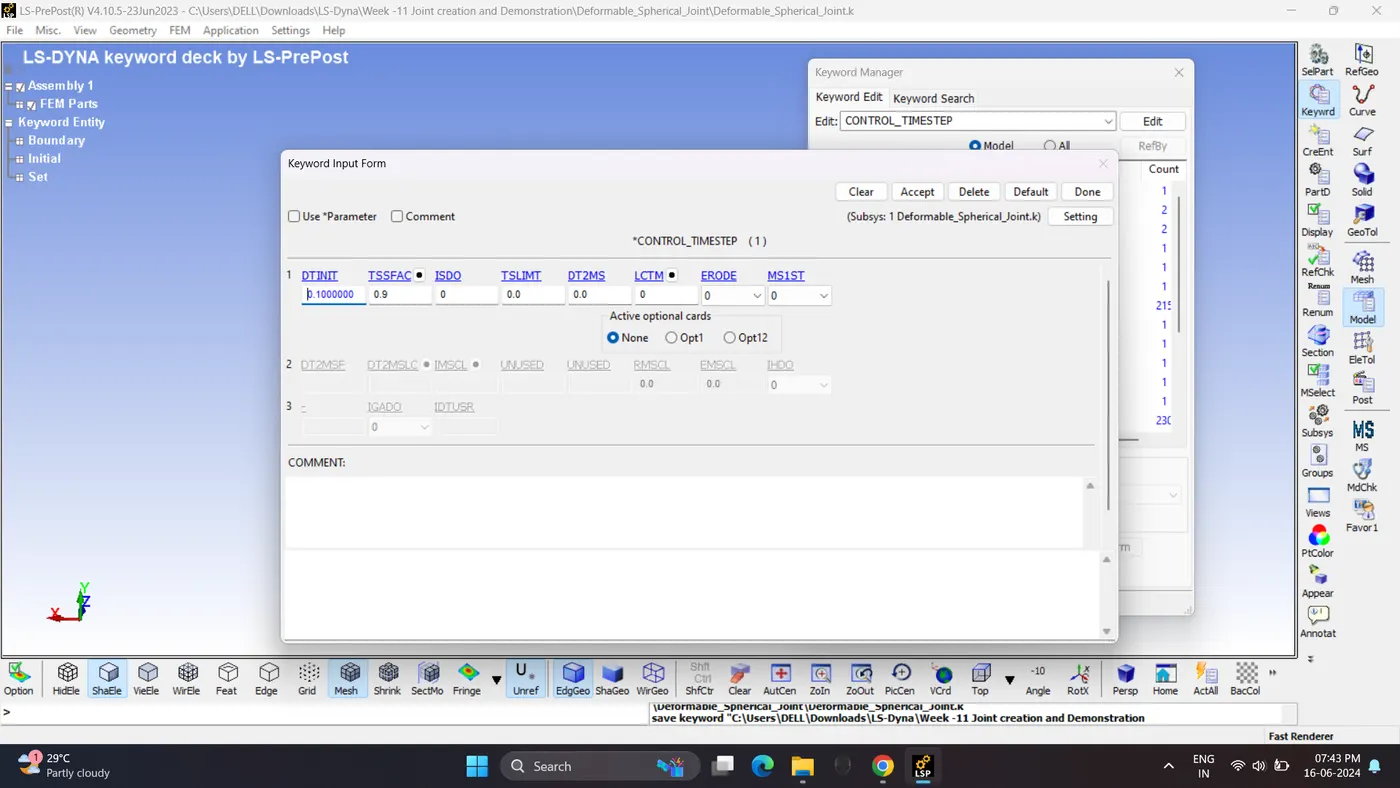
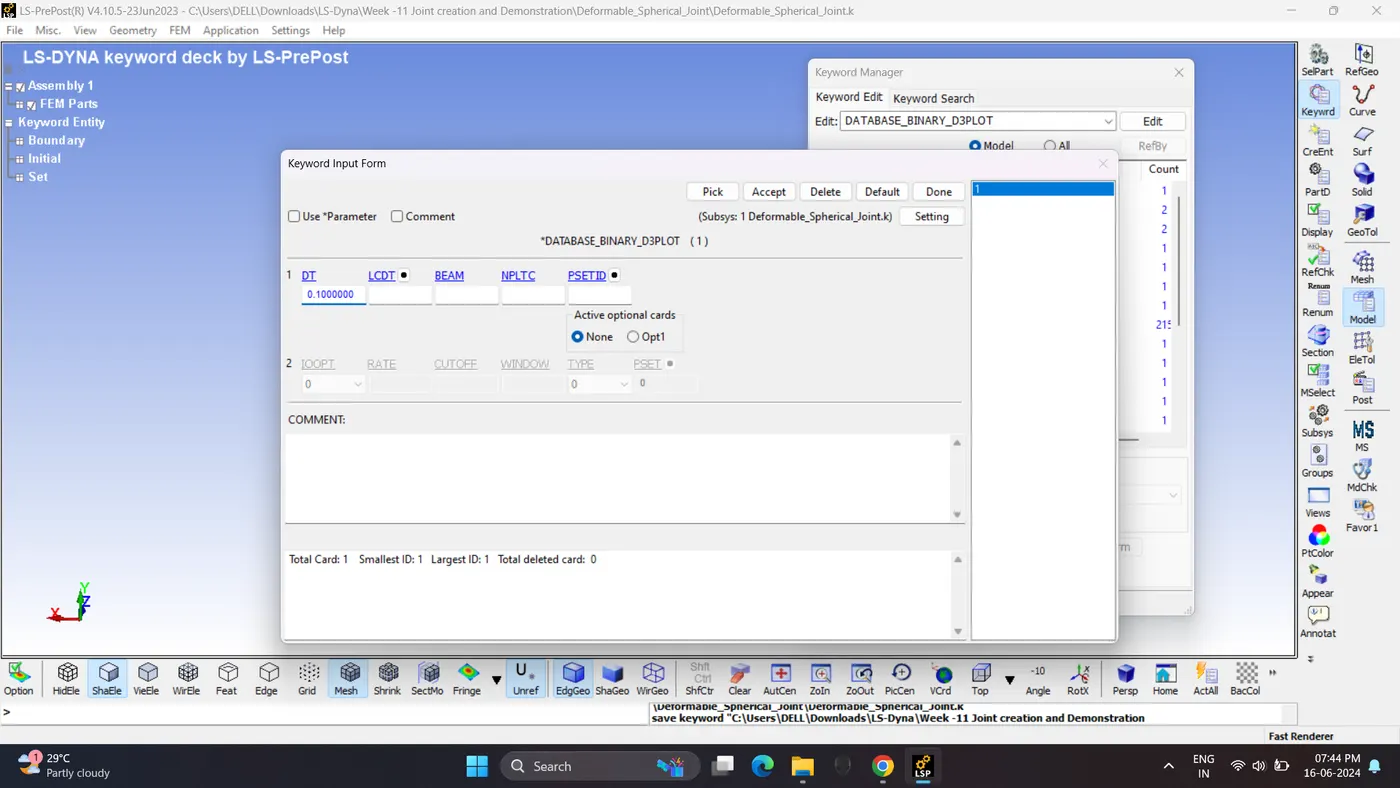
5. Create Control and Output request cards.
6. Save the file and run the simulation.
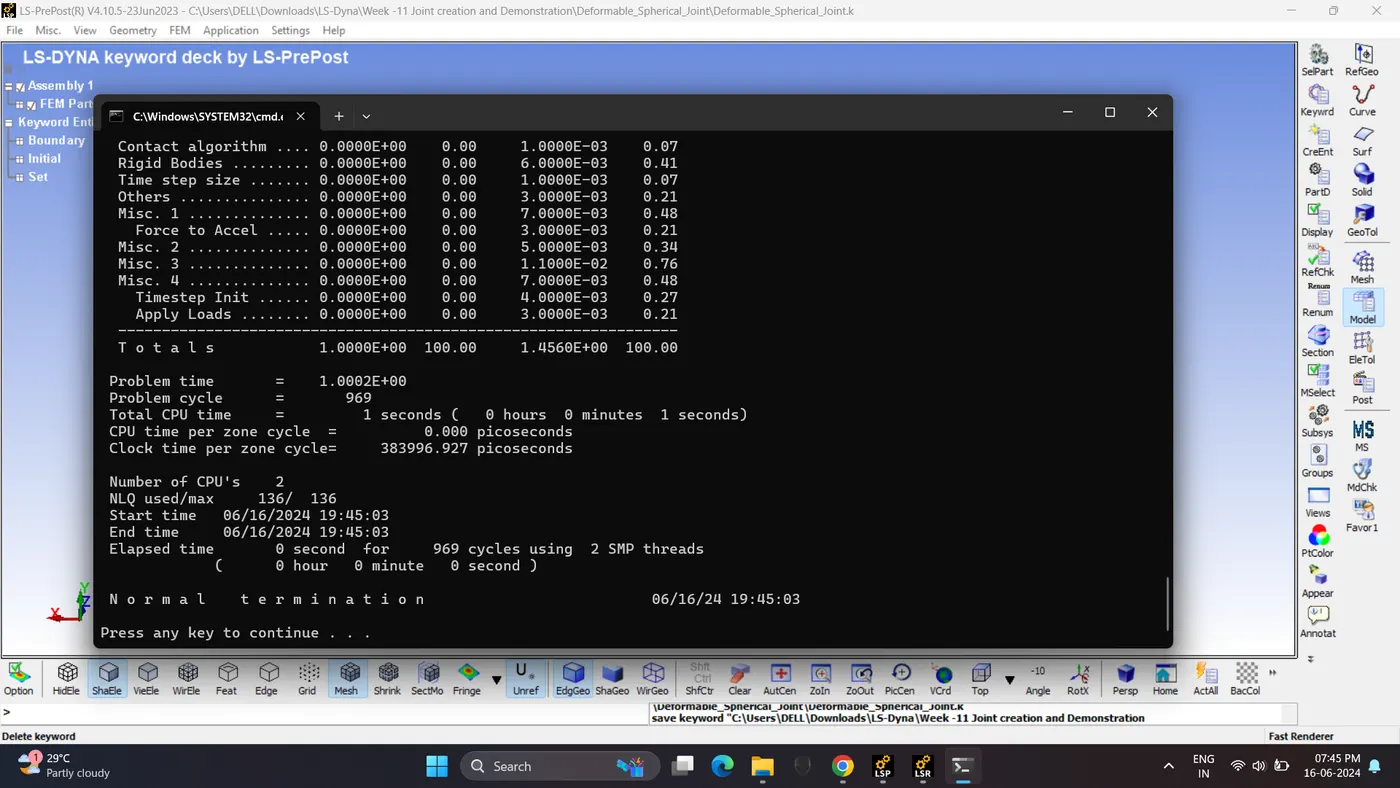
7. Open the D3plot file and run the simulation by contouring the stress.
5. Cylindrical Joint (Rigid Body)
1. Open Ls-PrePost create two cylinder using Shape Mesher.
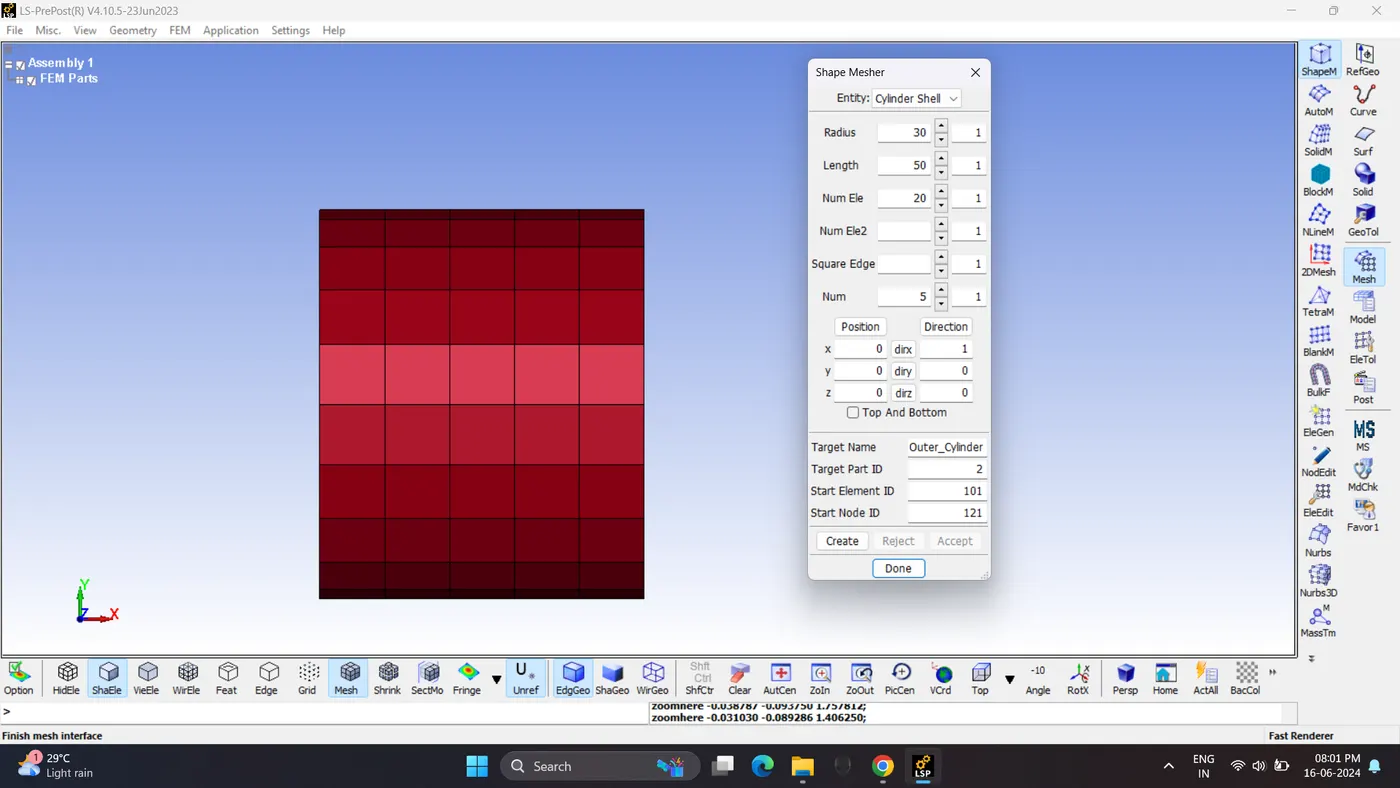
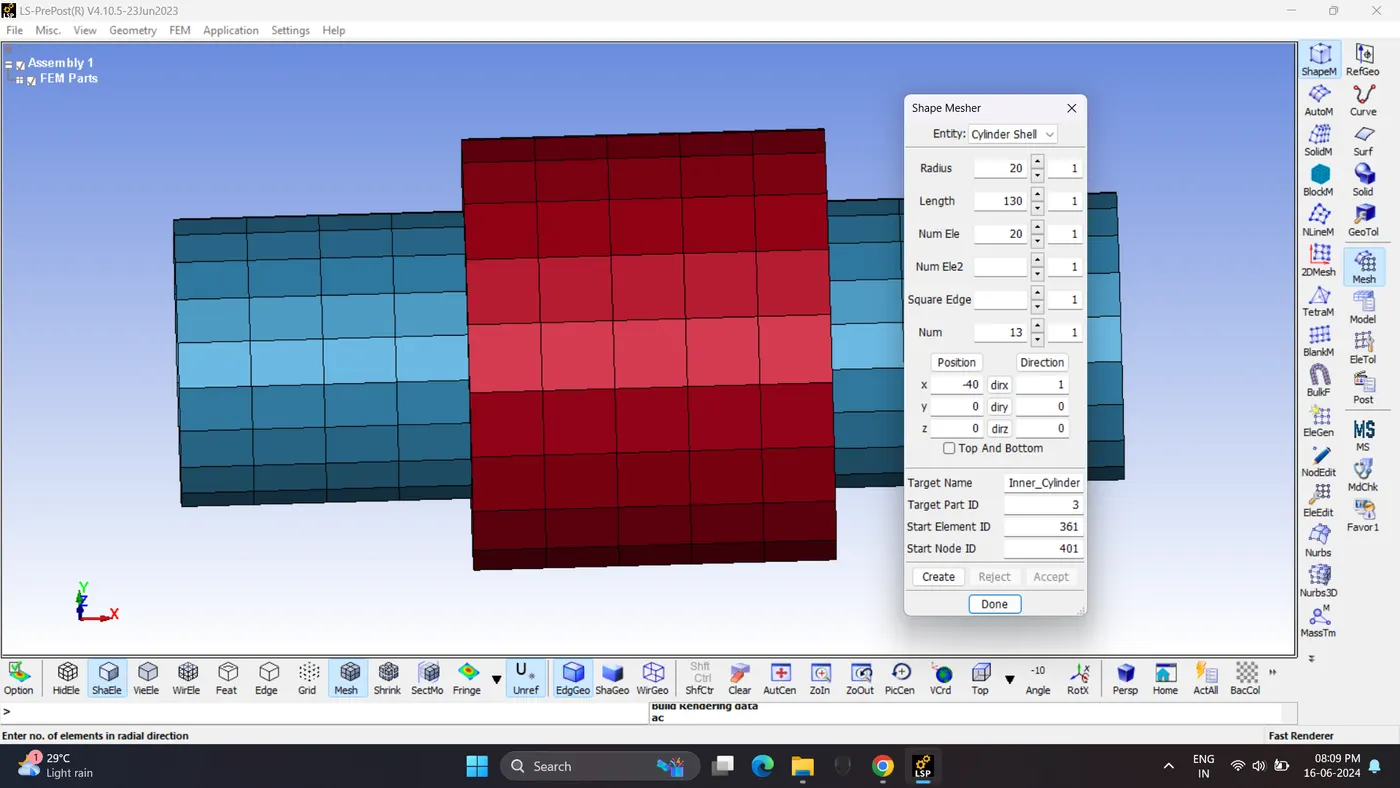
2. Create 4 node for extra node set. Assign two nodes to inner and 2 node for outer cylinder.
Assign node no. 1000 and 1001 to inner and 2000 and 2001 to outer cylinder by creating extra node set.
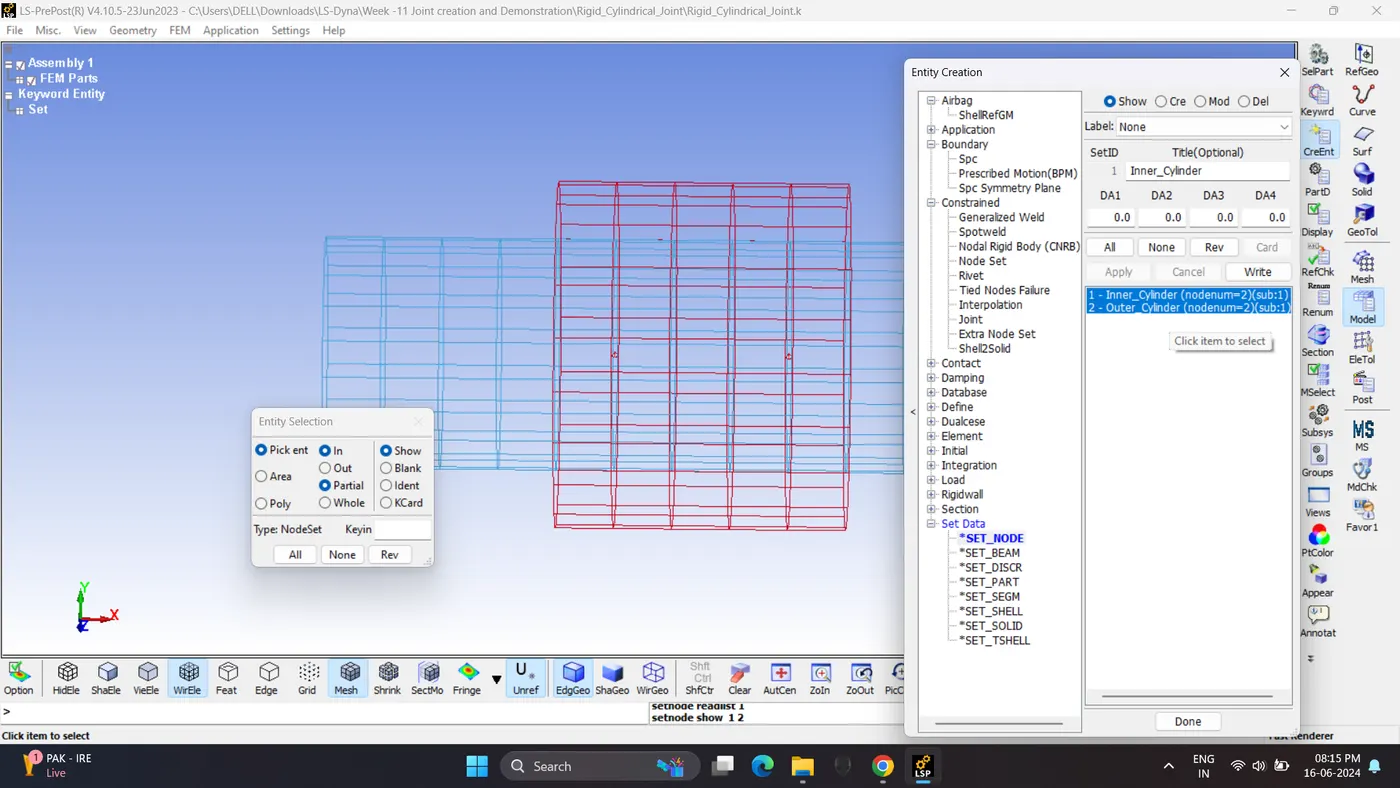
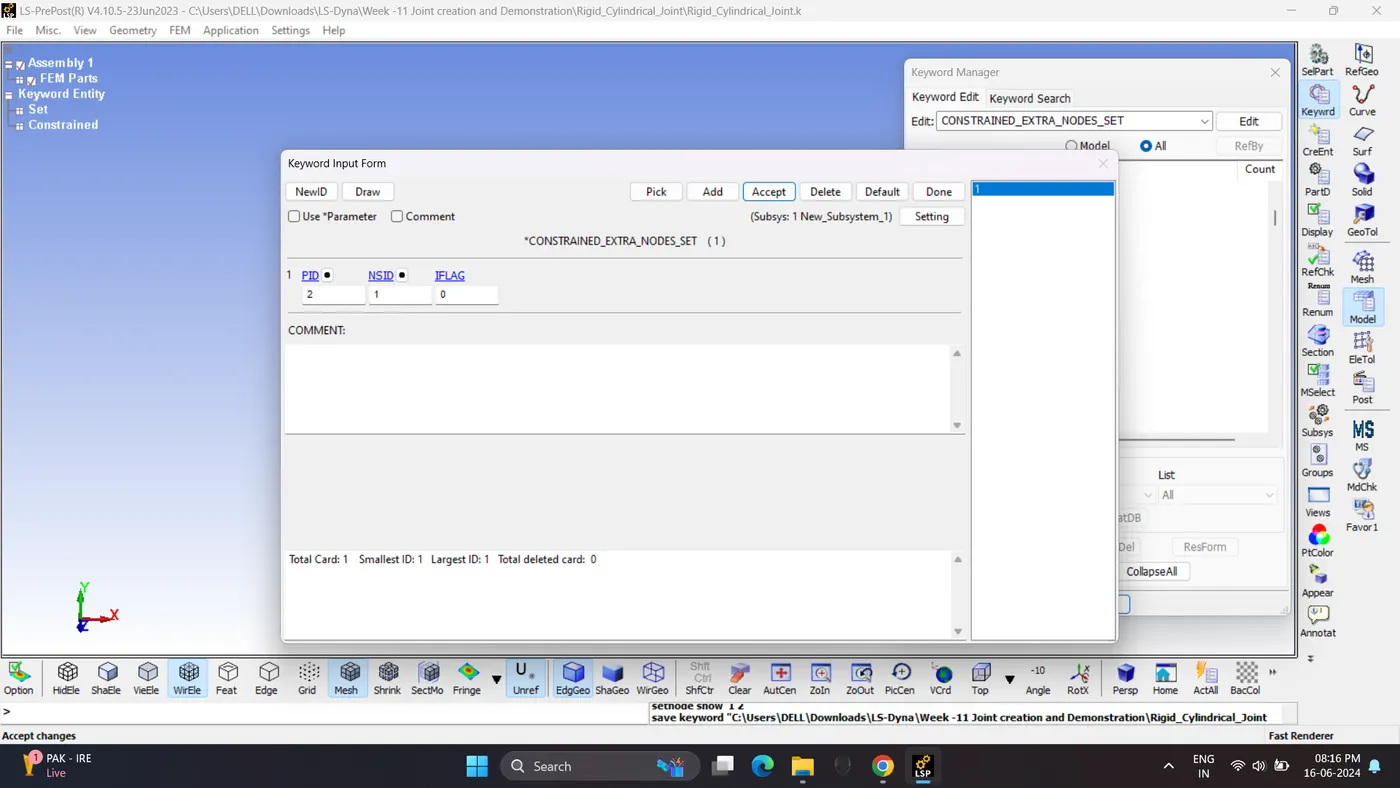
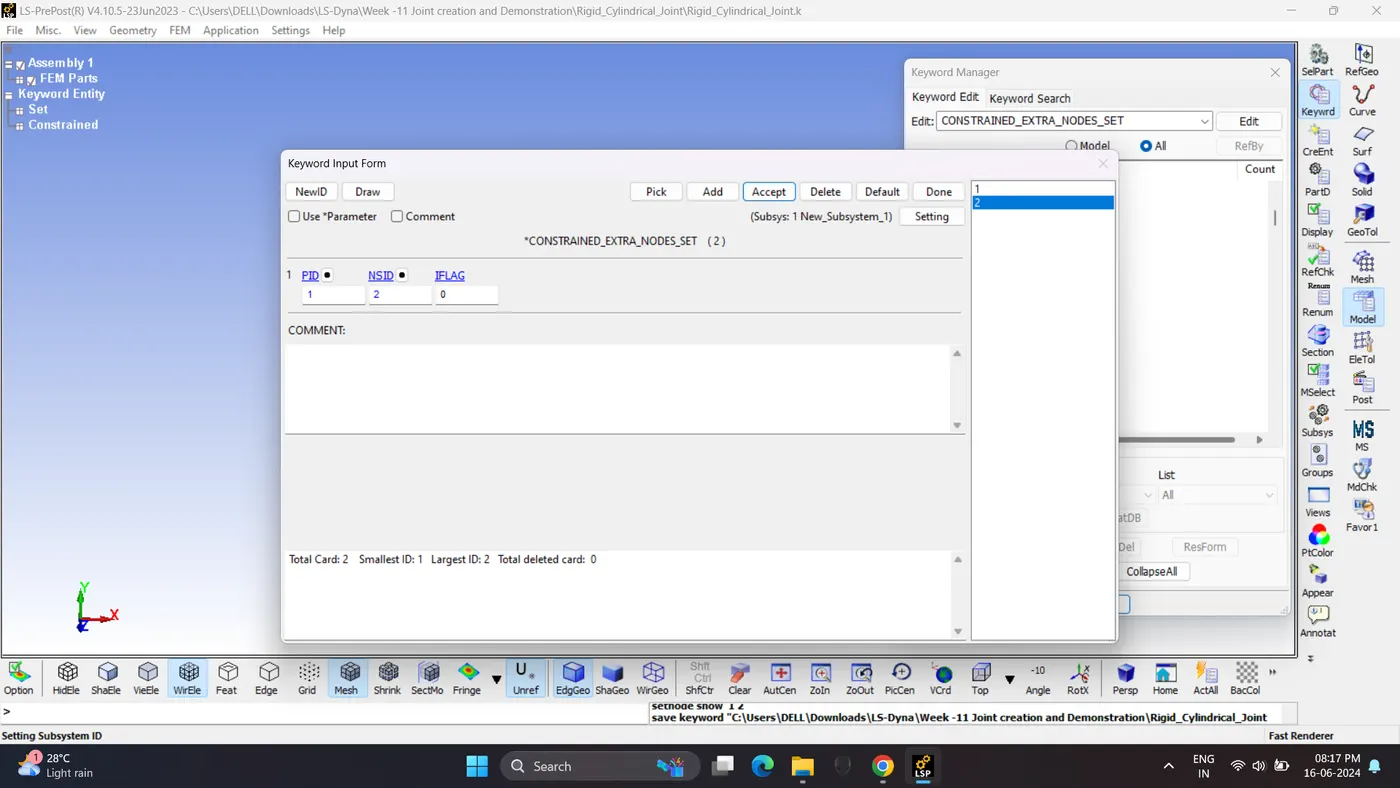
3. Create a Constrained Cylindrical Joint.
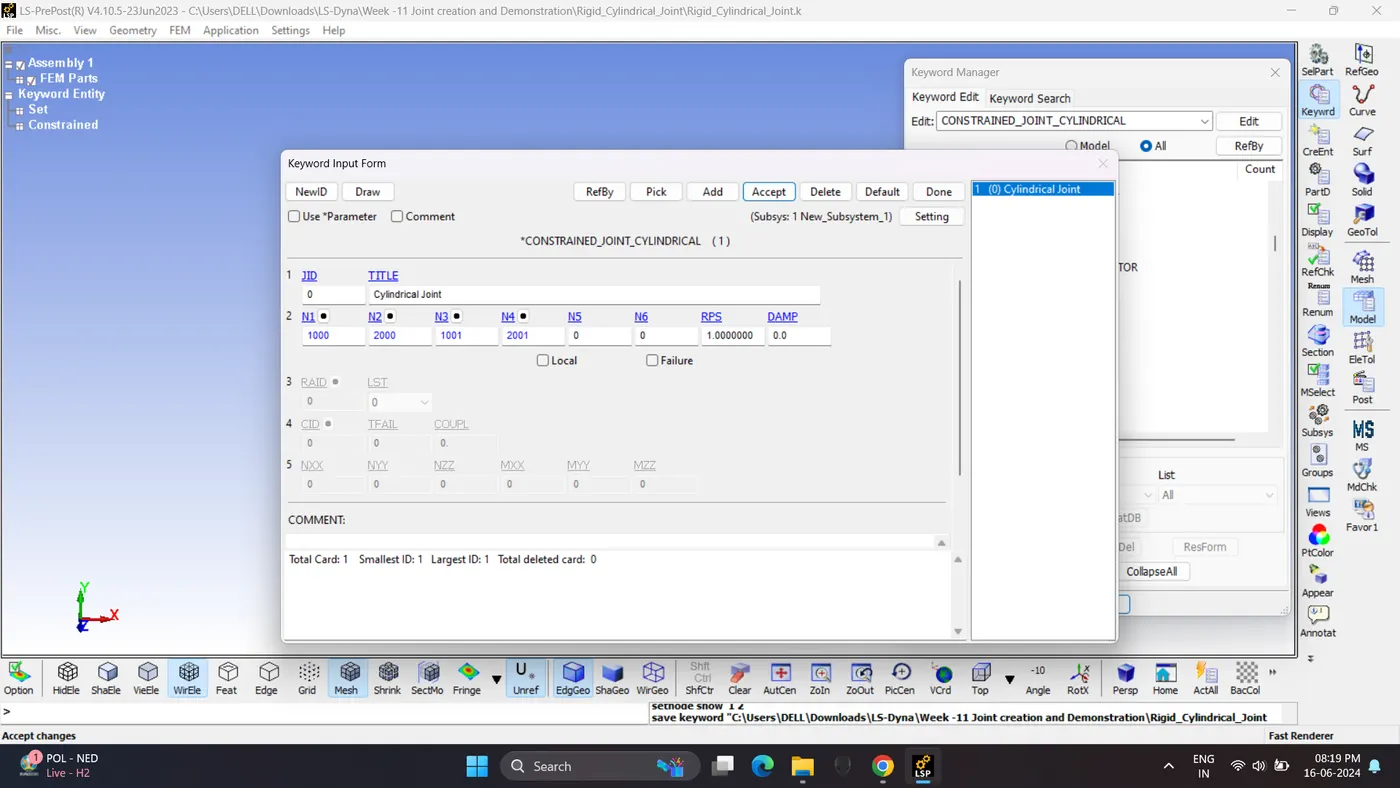
4. Give Material, Section and Assign them to parts.
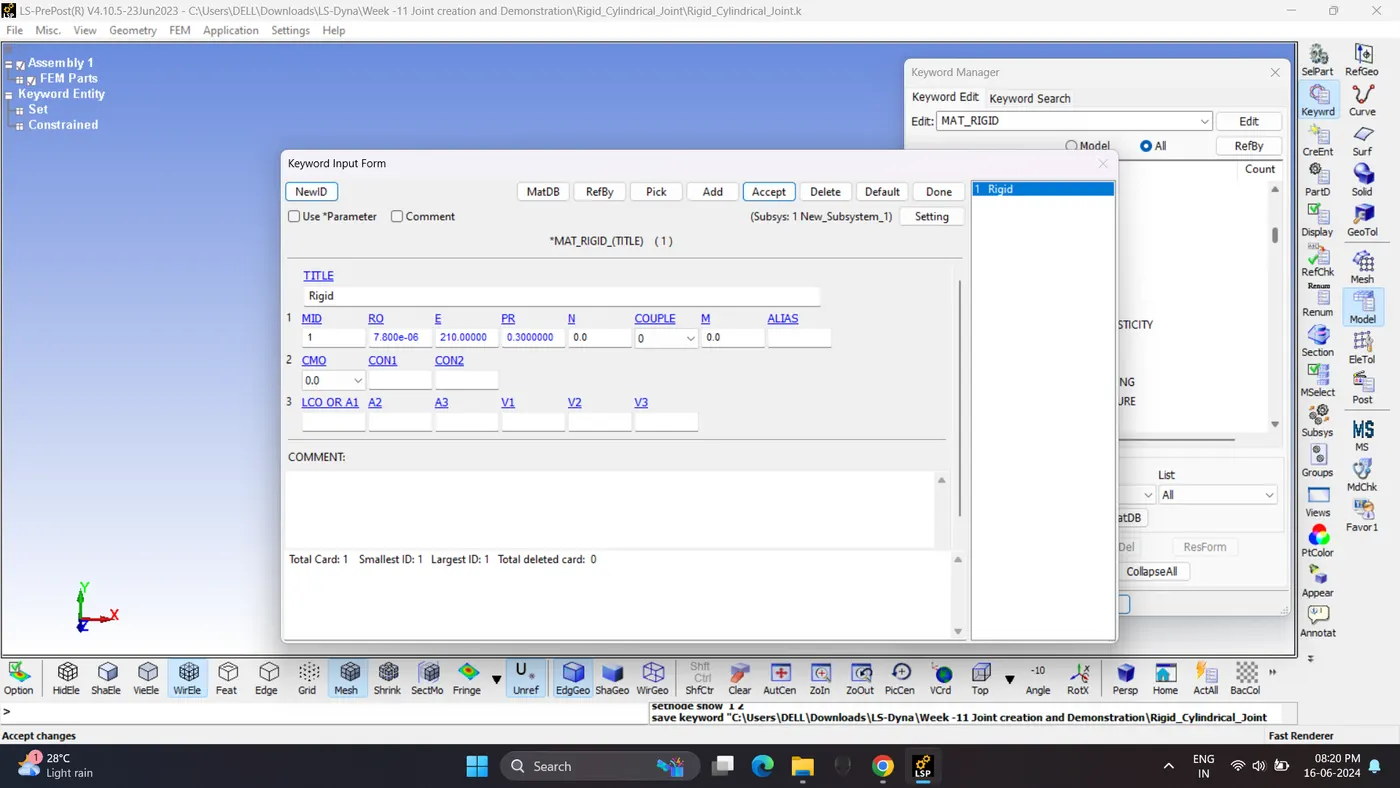
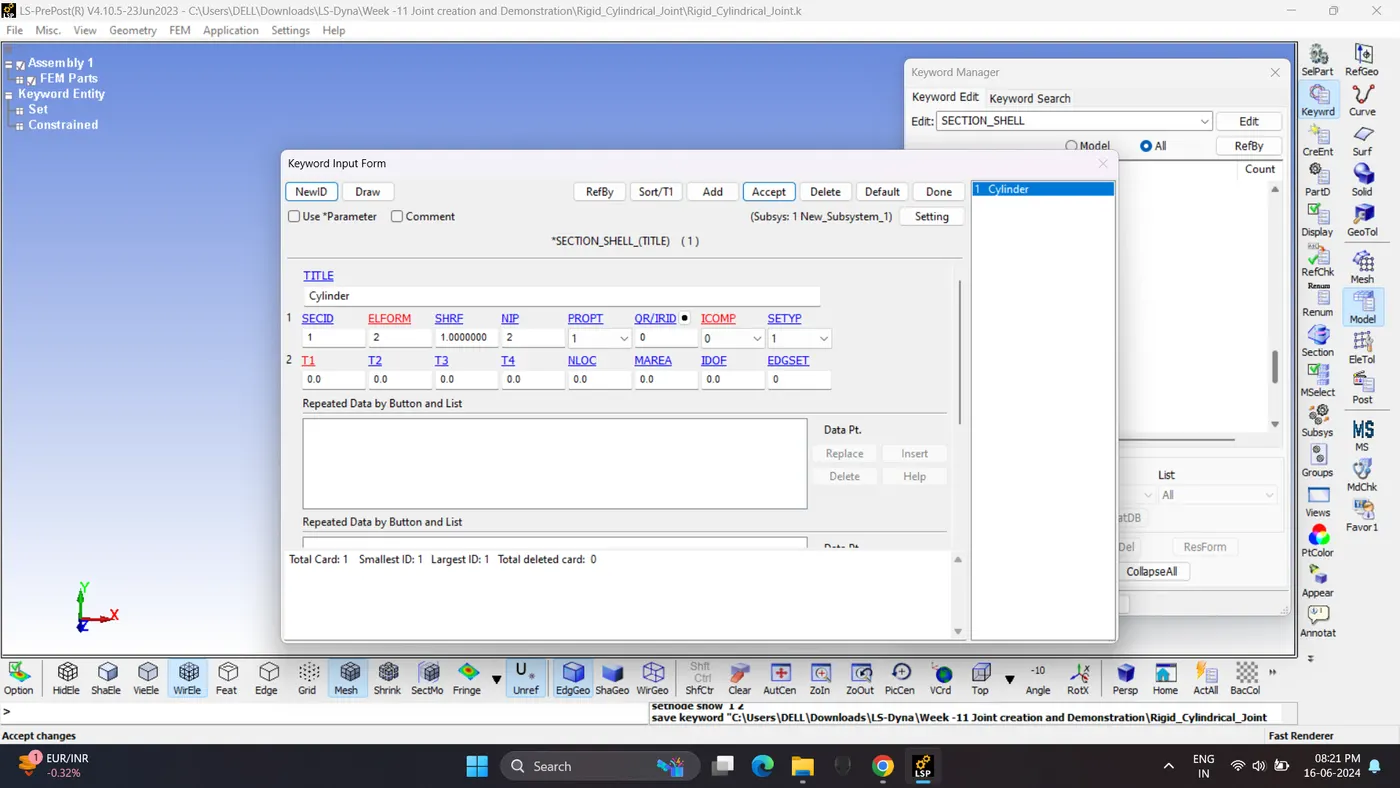
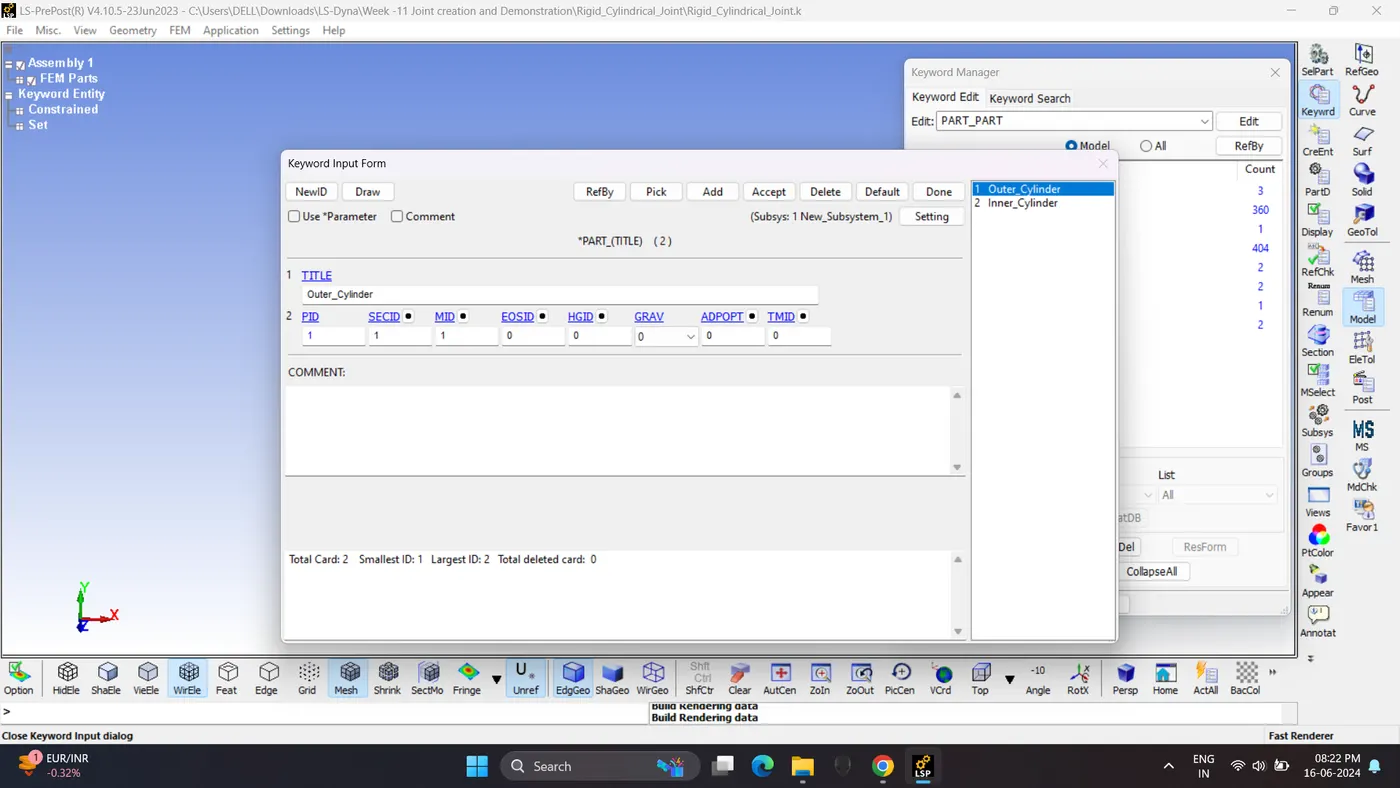
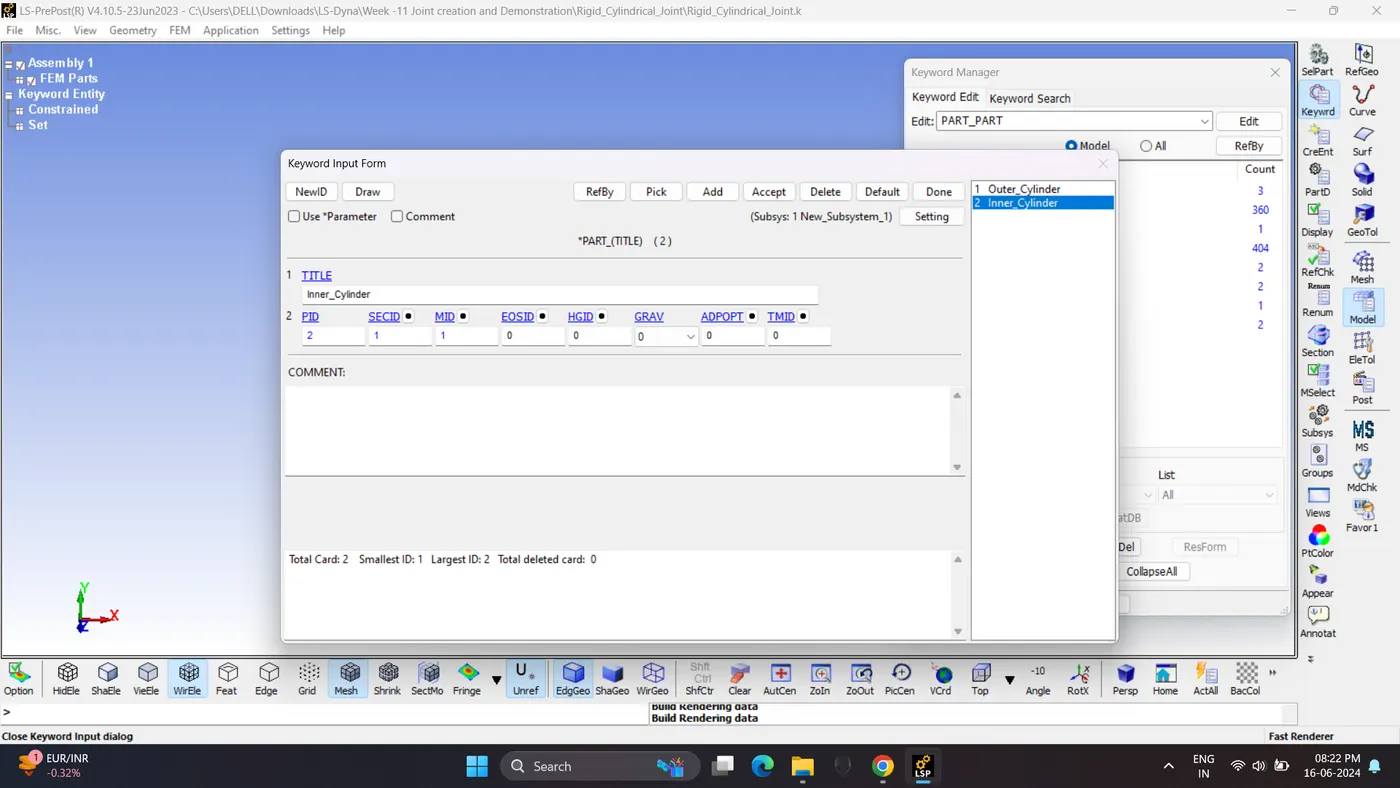
5. Create a initial velocity for inner cylinder.
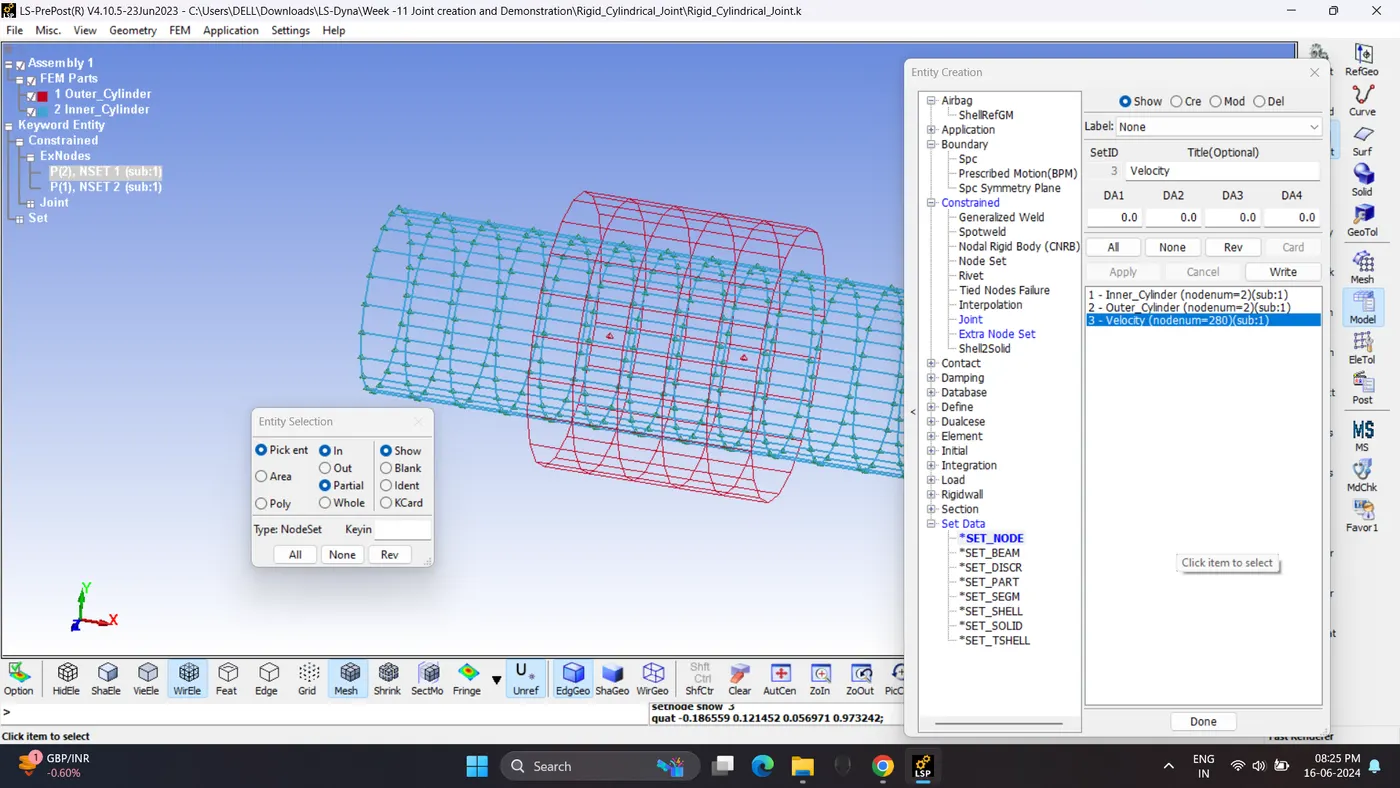
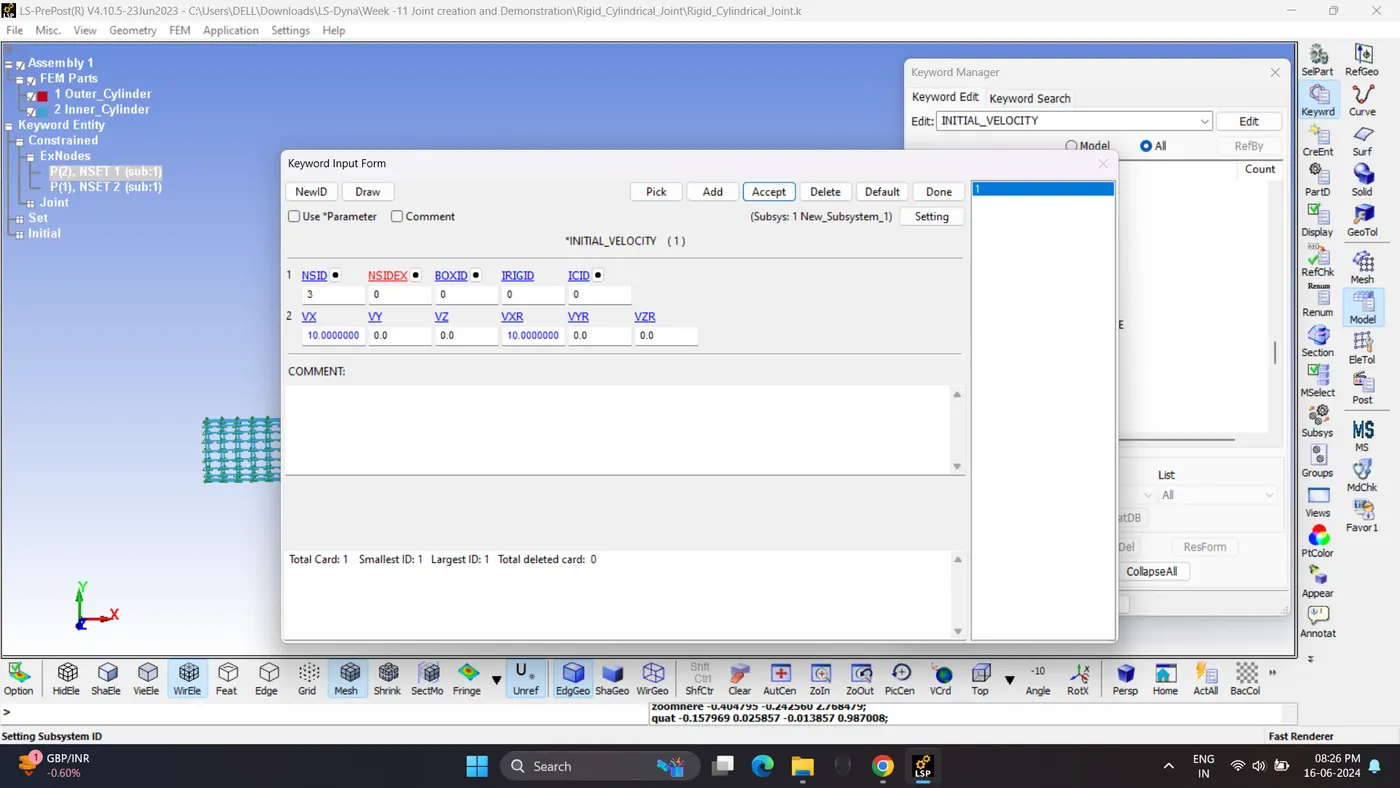
6. Create control card and output request card.
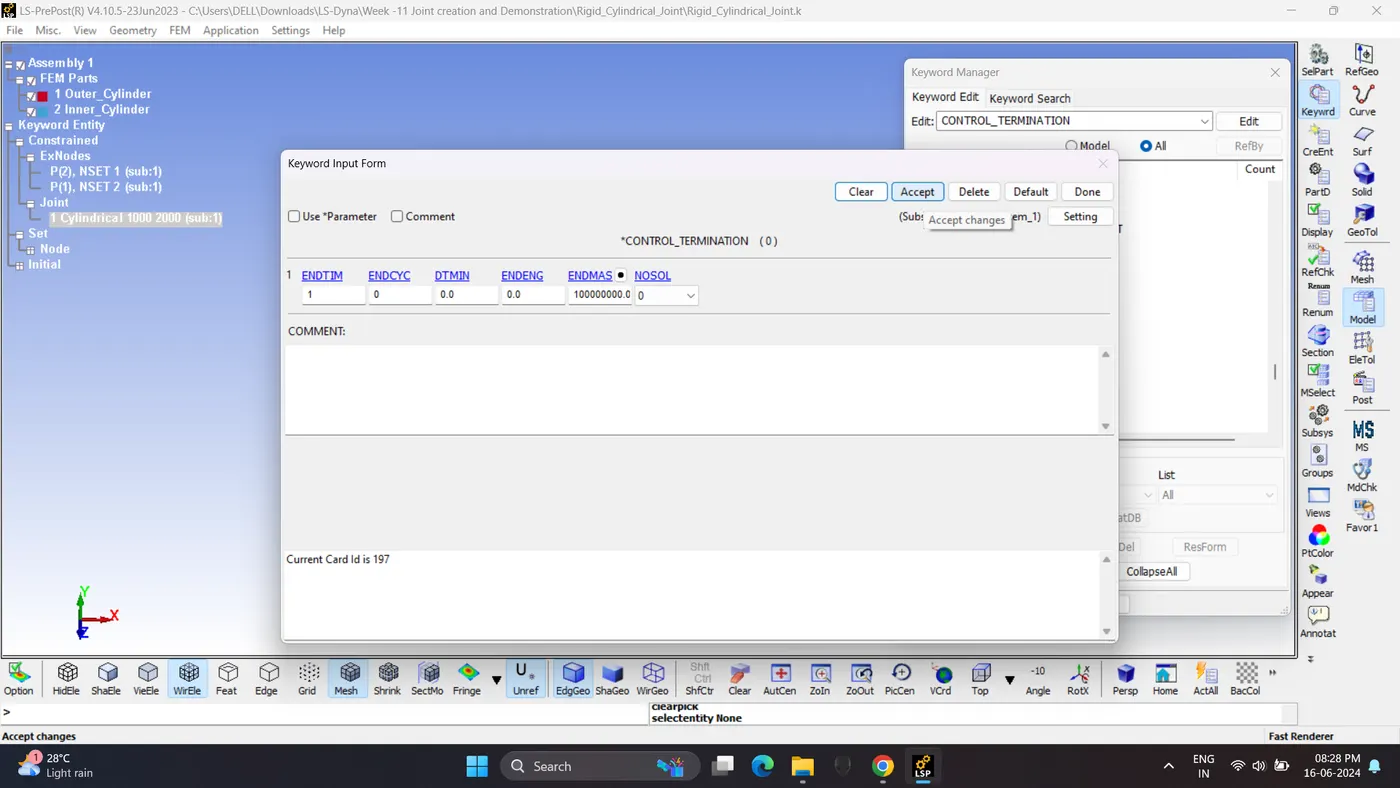
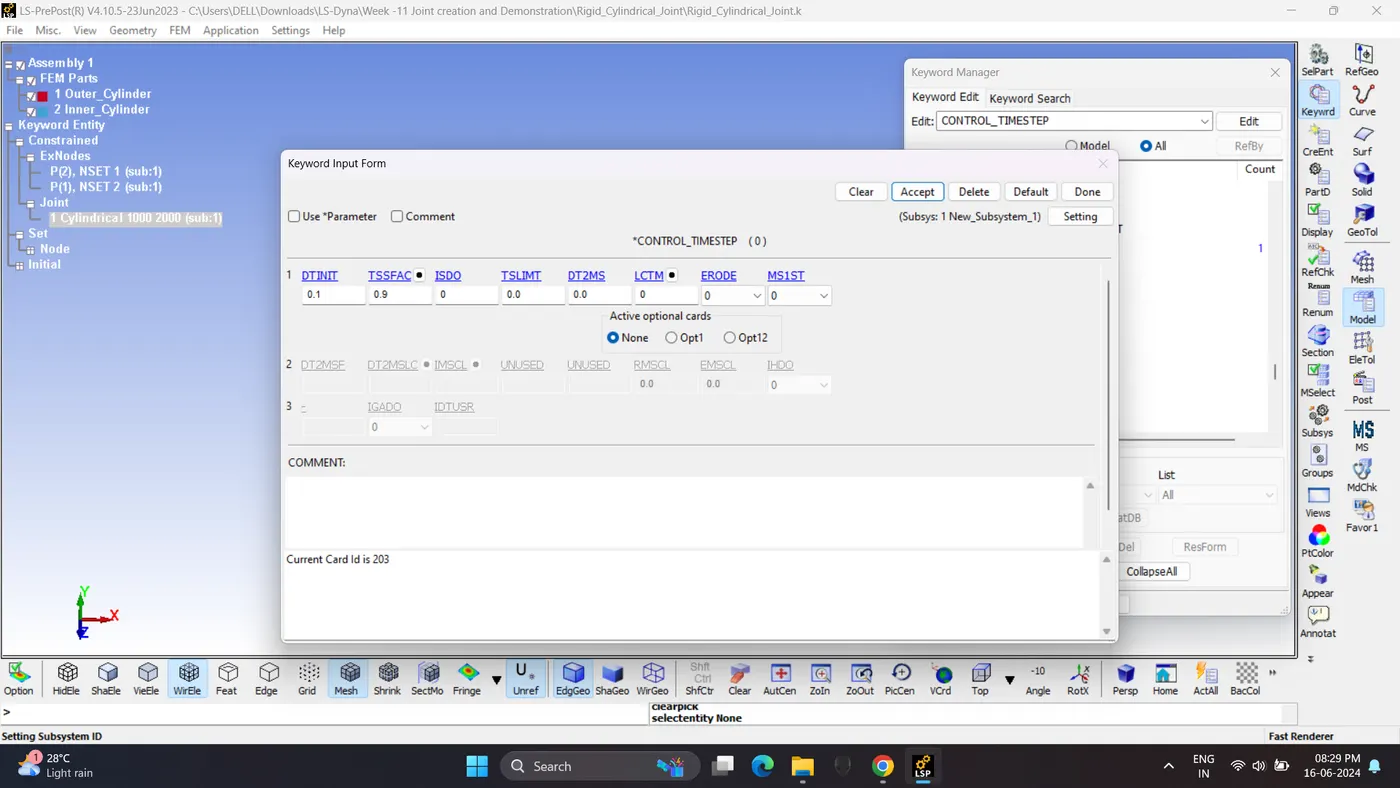
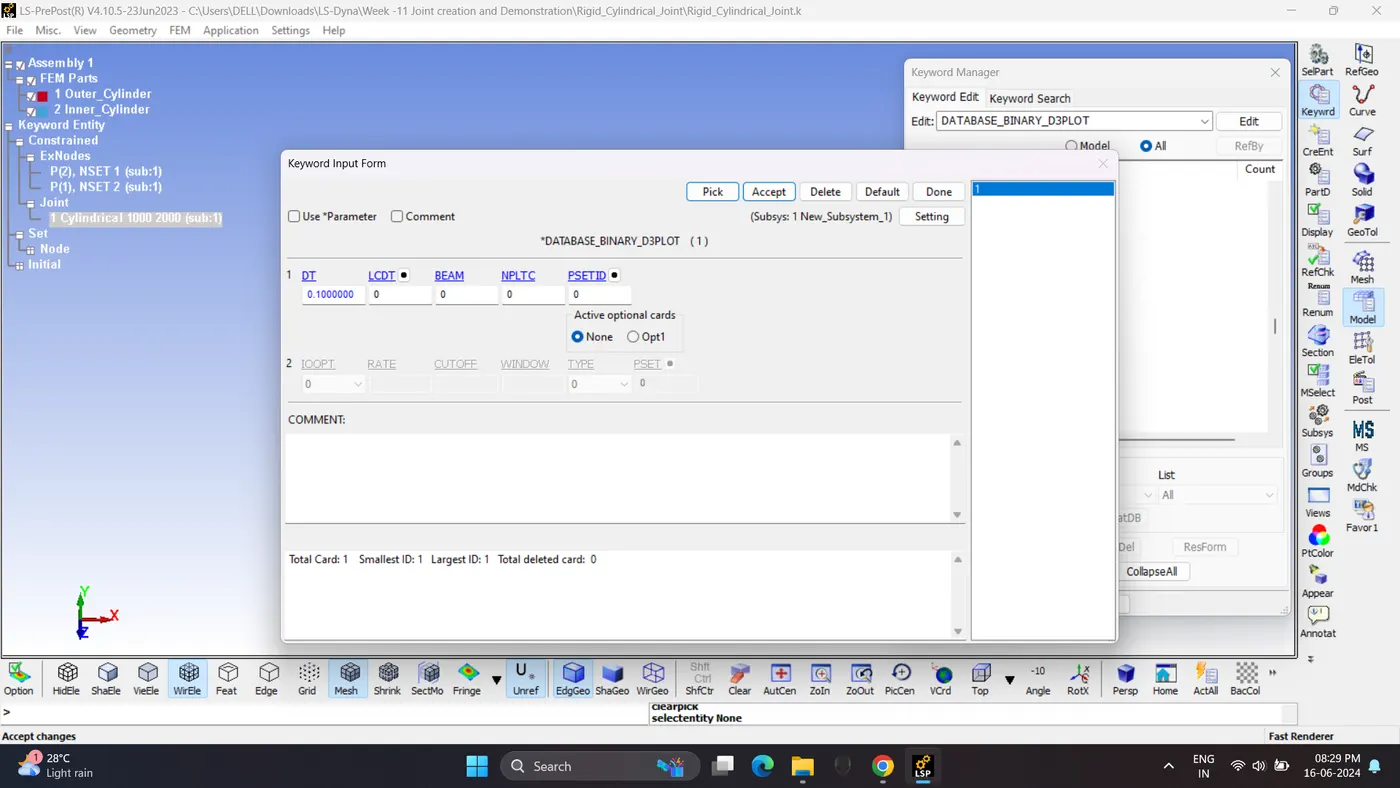
7. Save the File and Run the simulation.
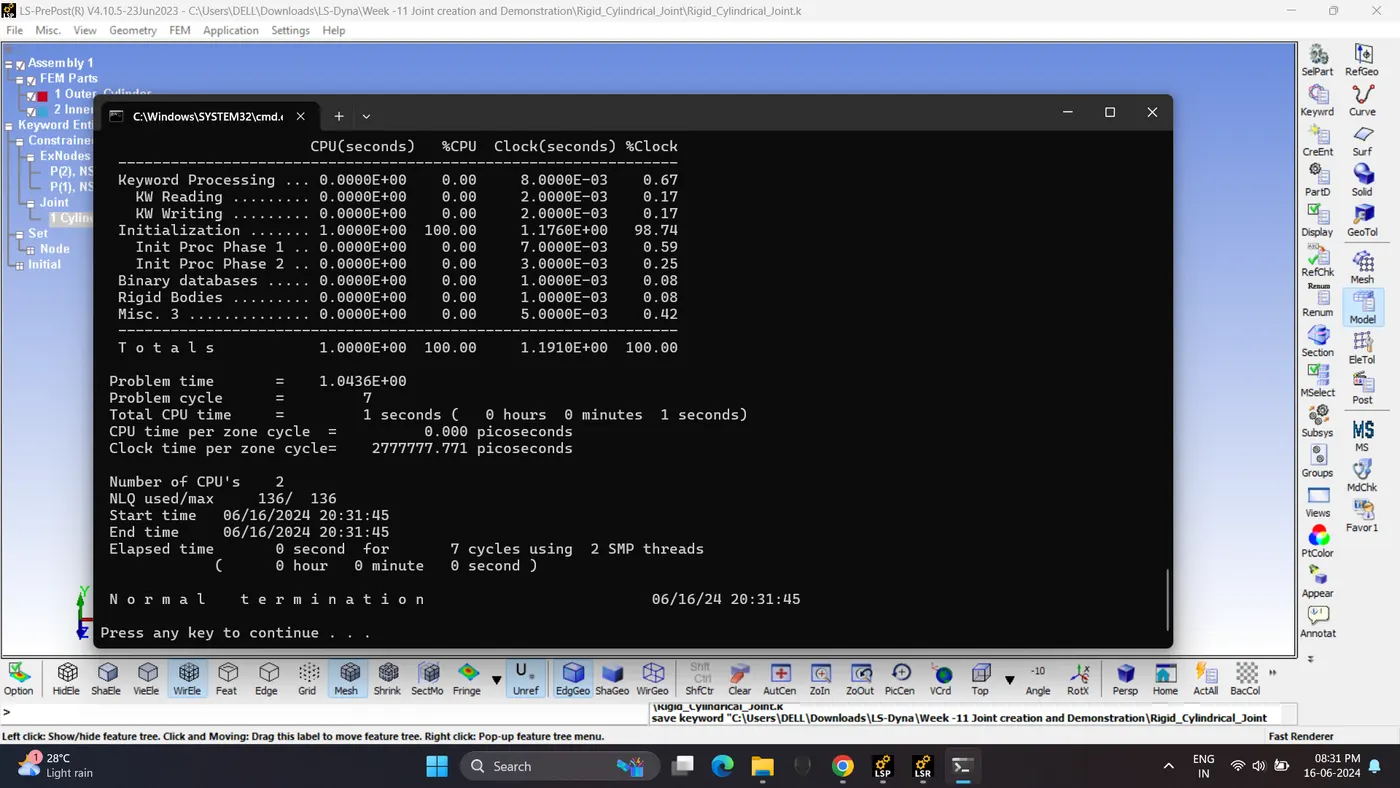
8. Open the D3plot file and run the simualtion.
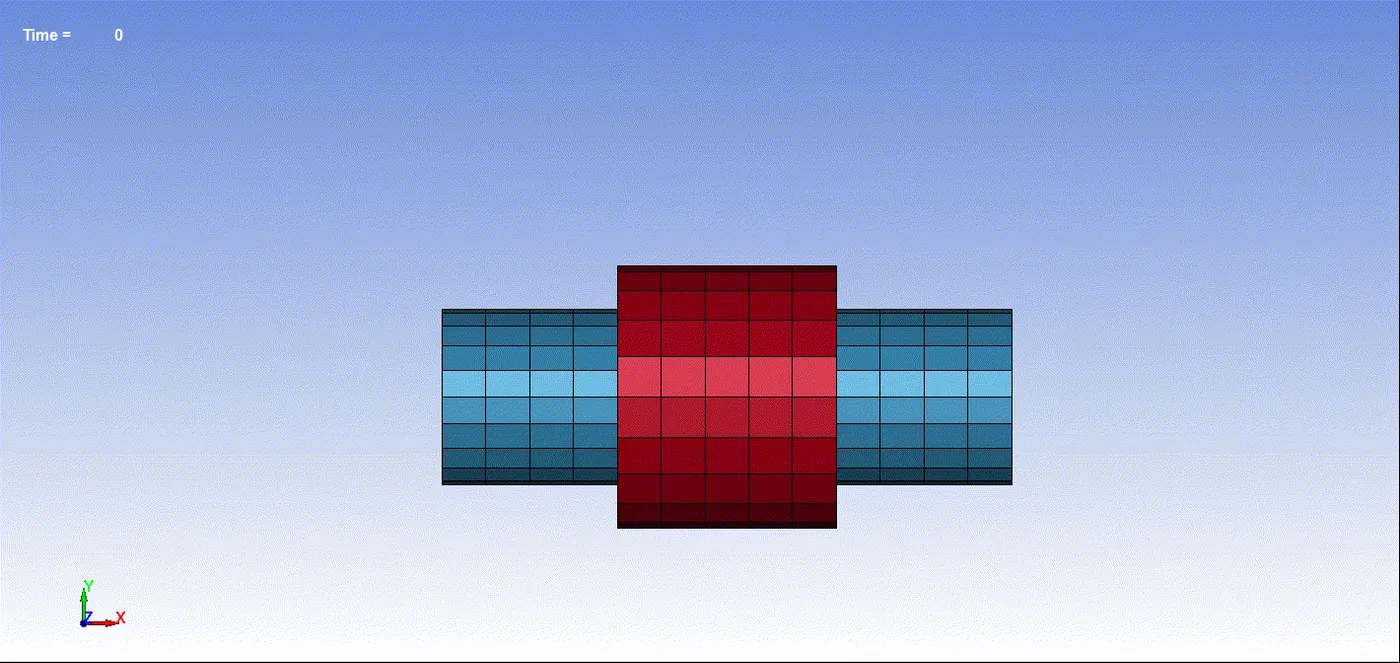
6. Cylindrical Joint (Deformable Body).
1. In this case same FE shell model used as previous case.
Delete other keywords and saved as a Deformable_Cylindrical_Joint.K file.
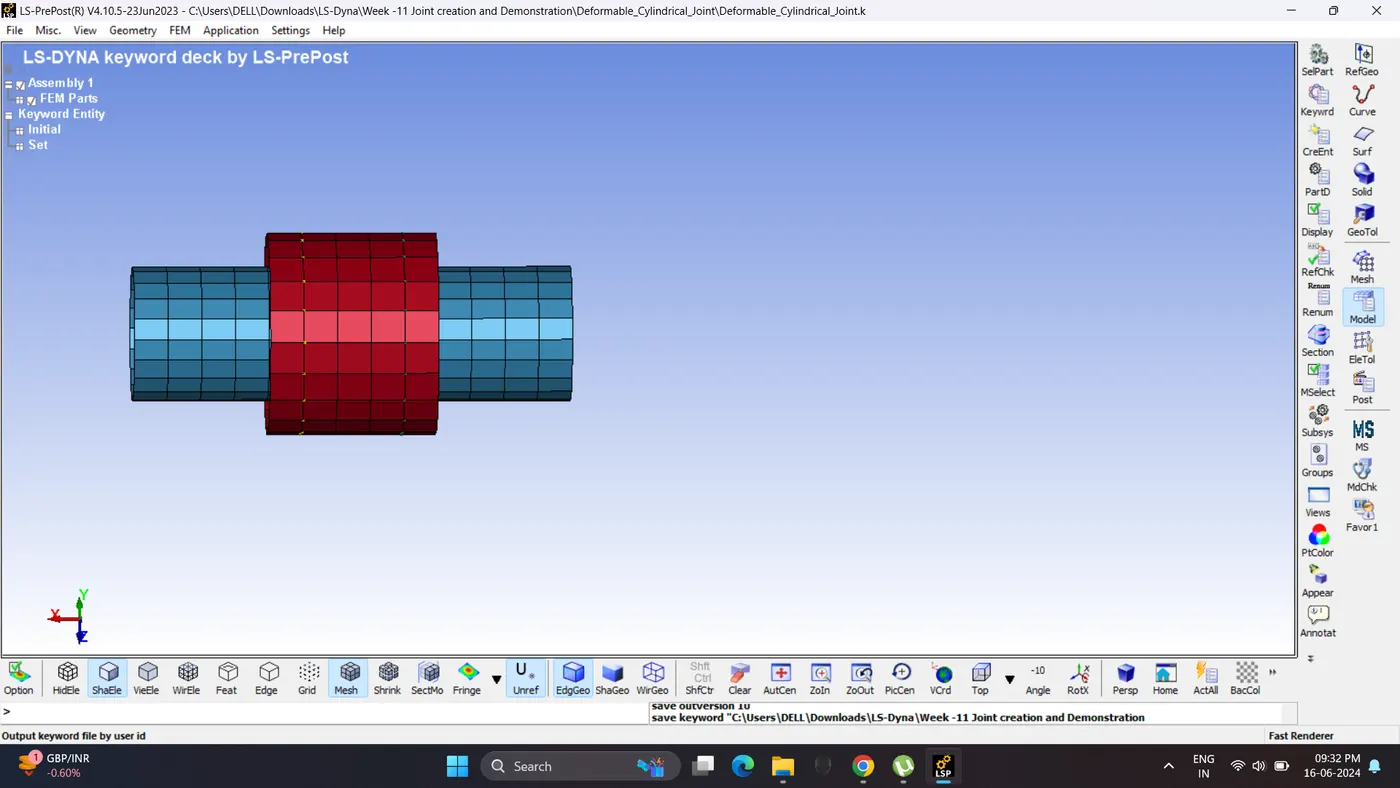
2. Create CNRB for inner and outer cylinder.
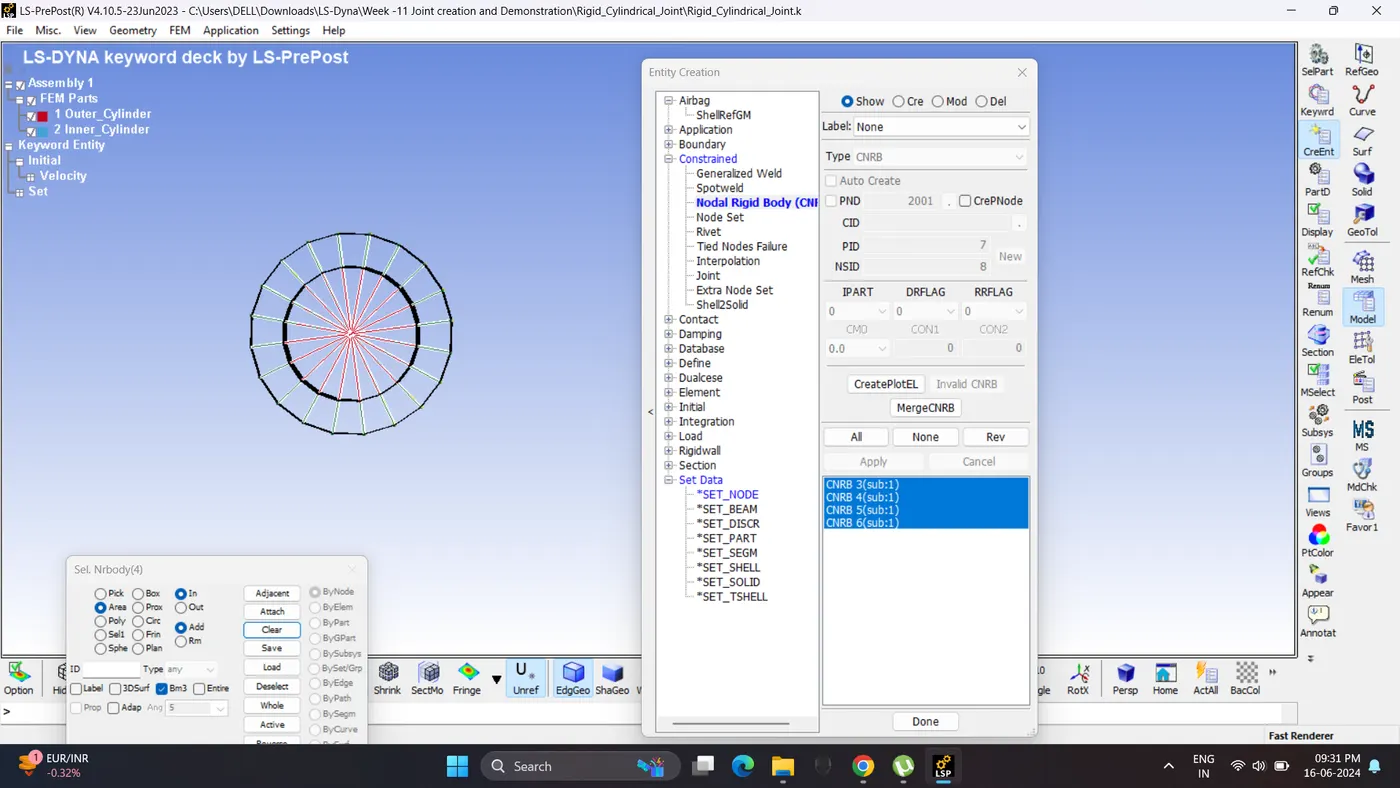
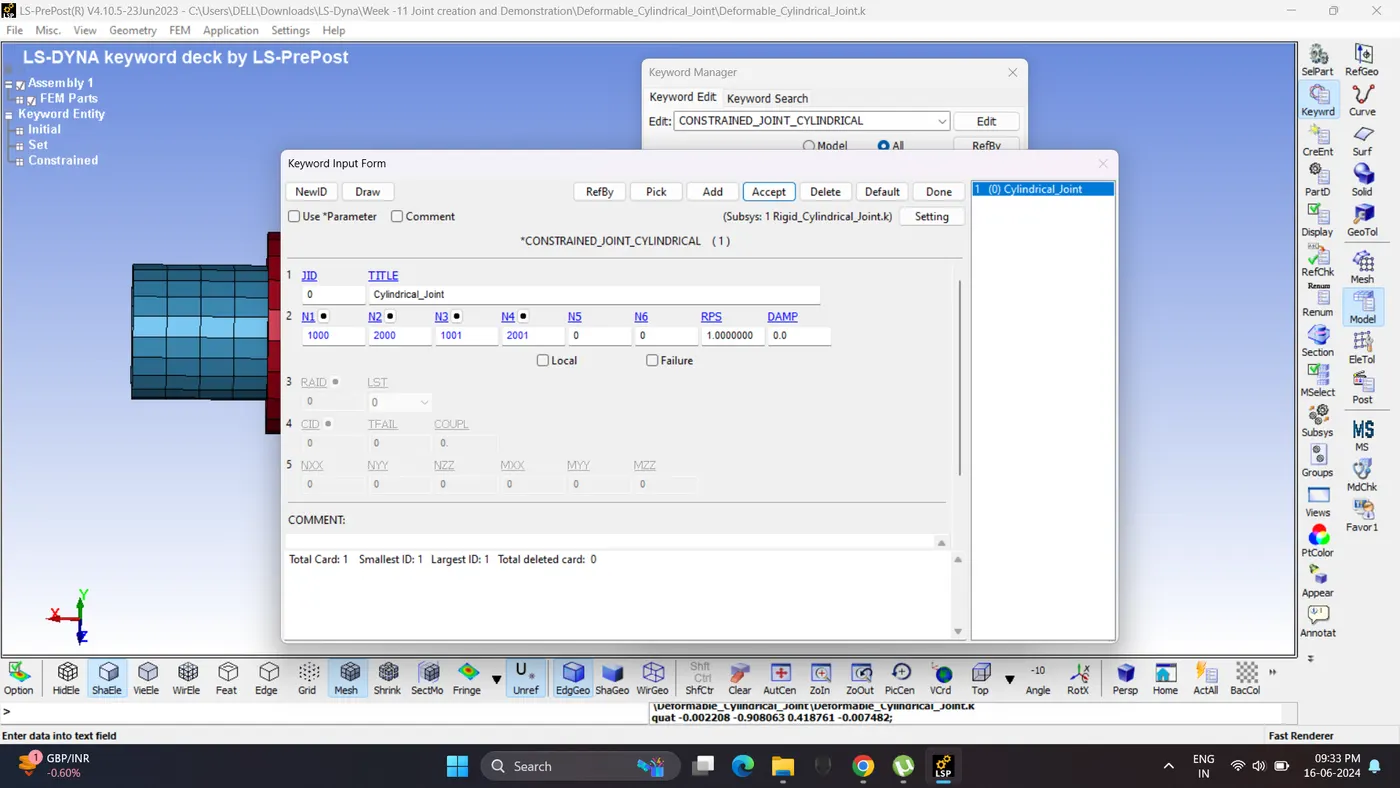
3. Create Constrained Cylindrical Joint.
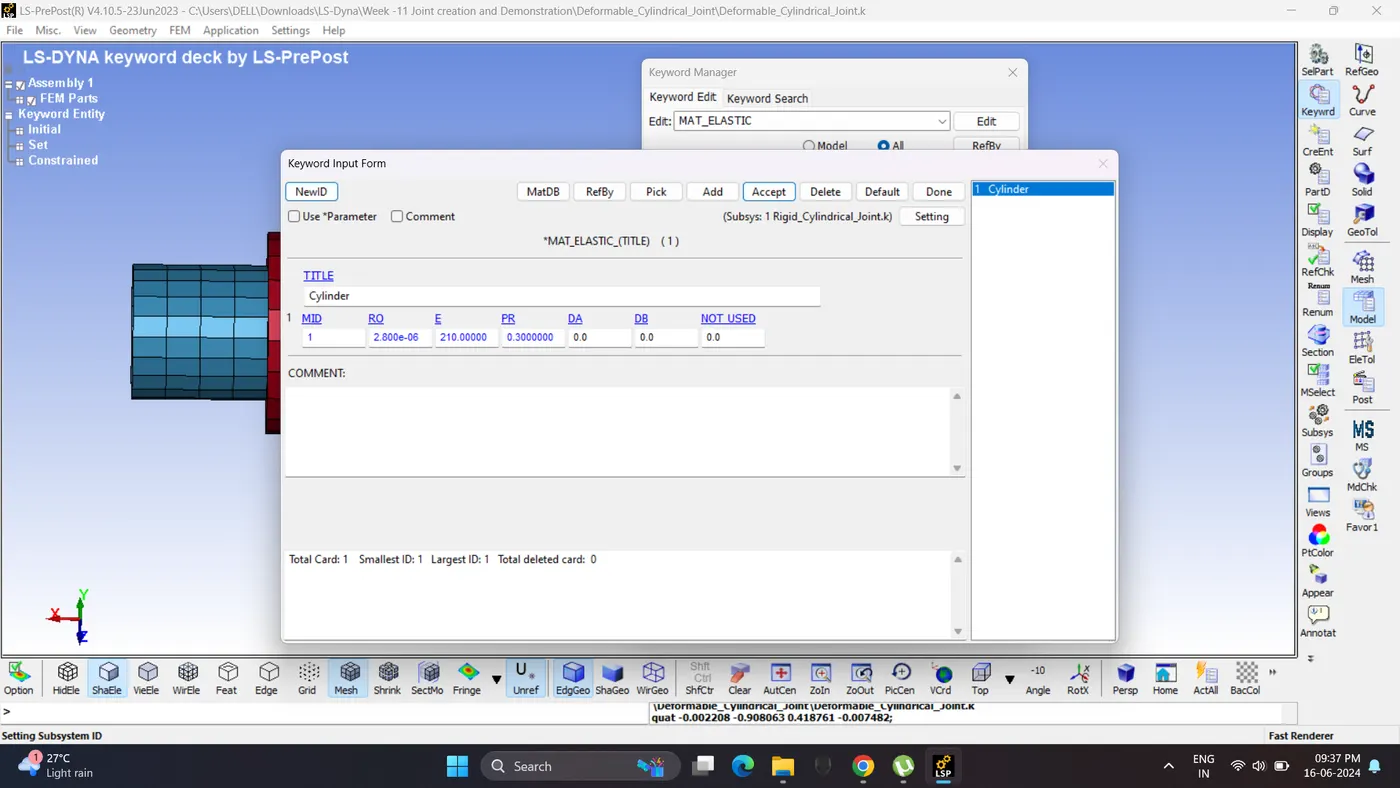
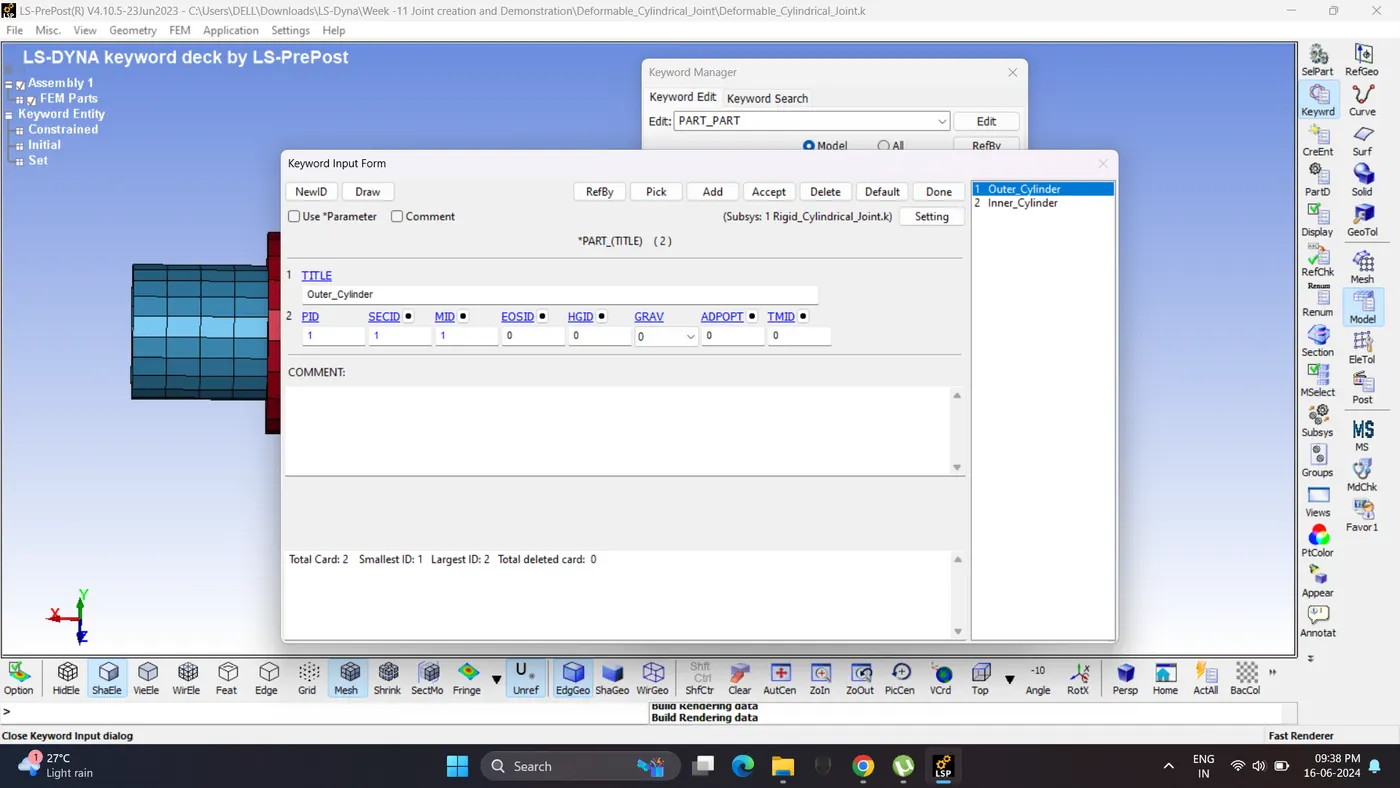
4. Create Material, Section and assign it to parts.
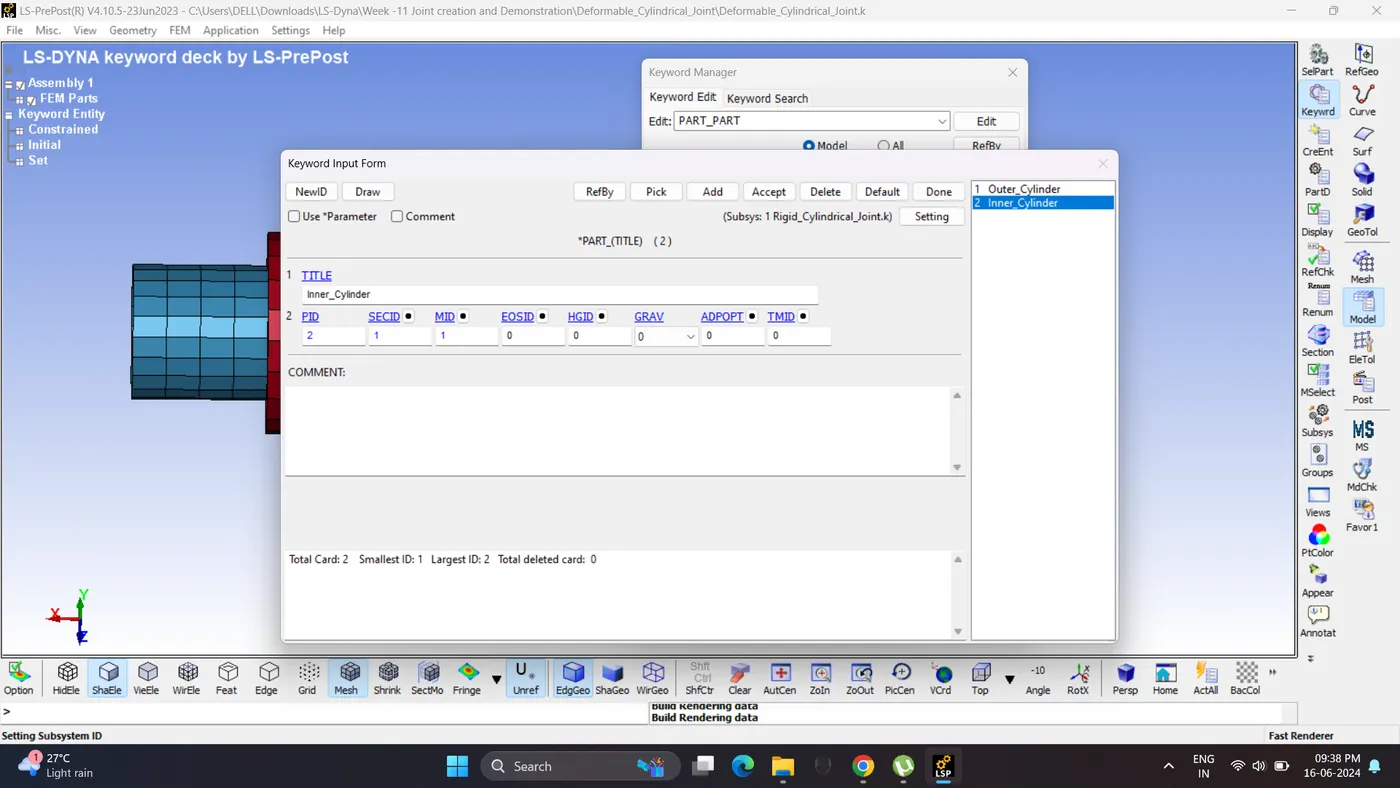
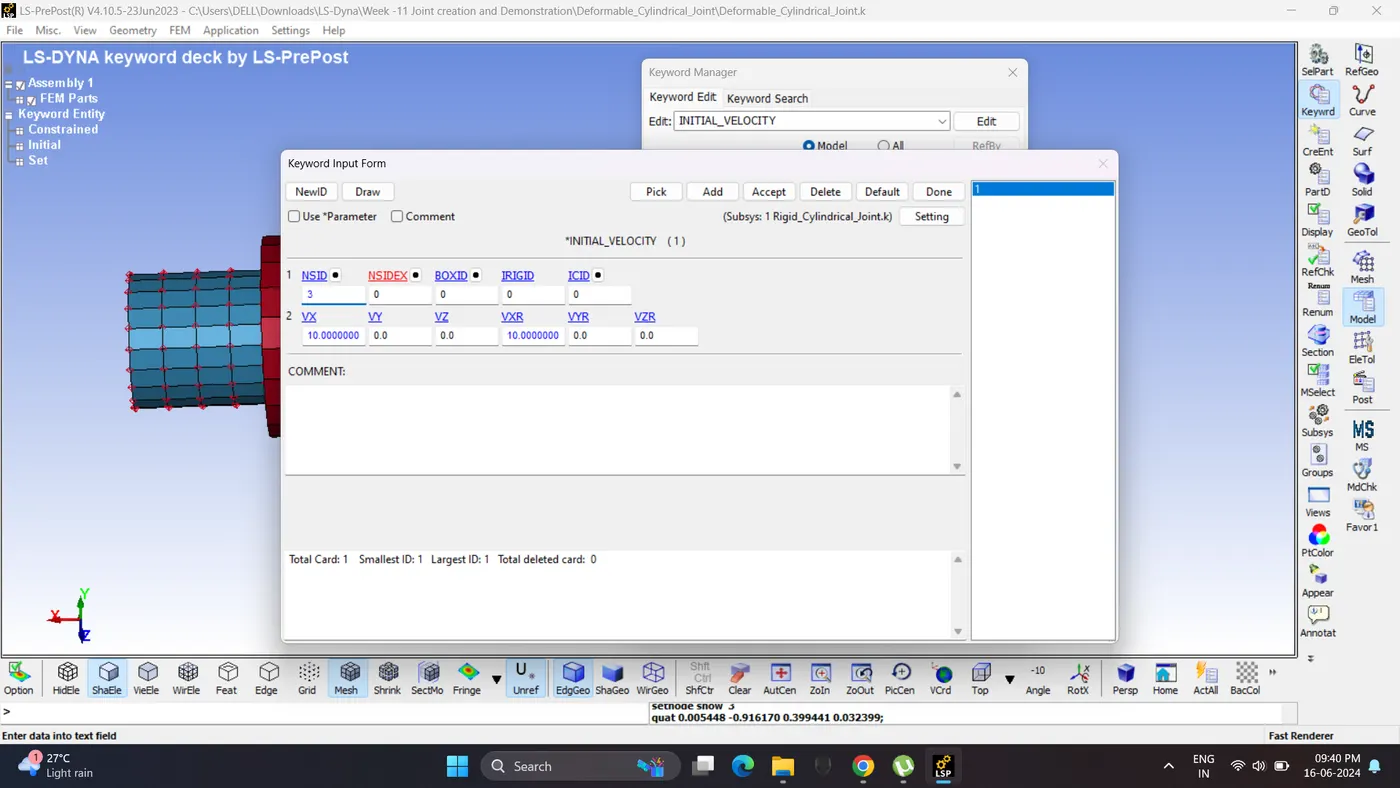
5. Create Initial velocity for inner cylinder.
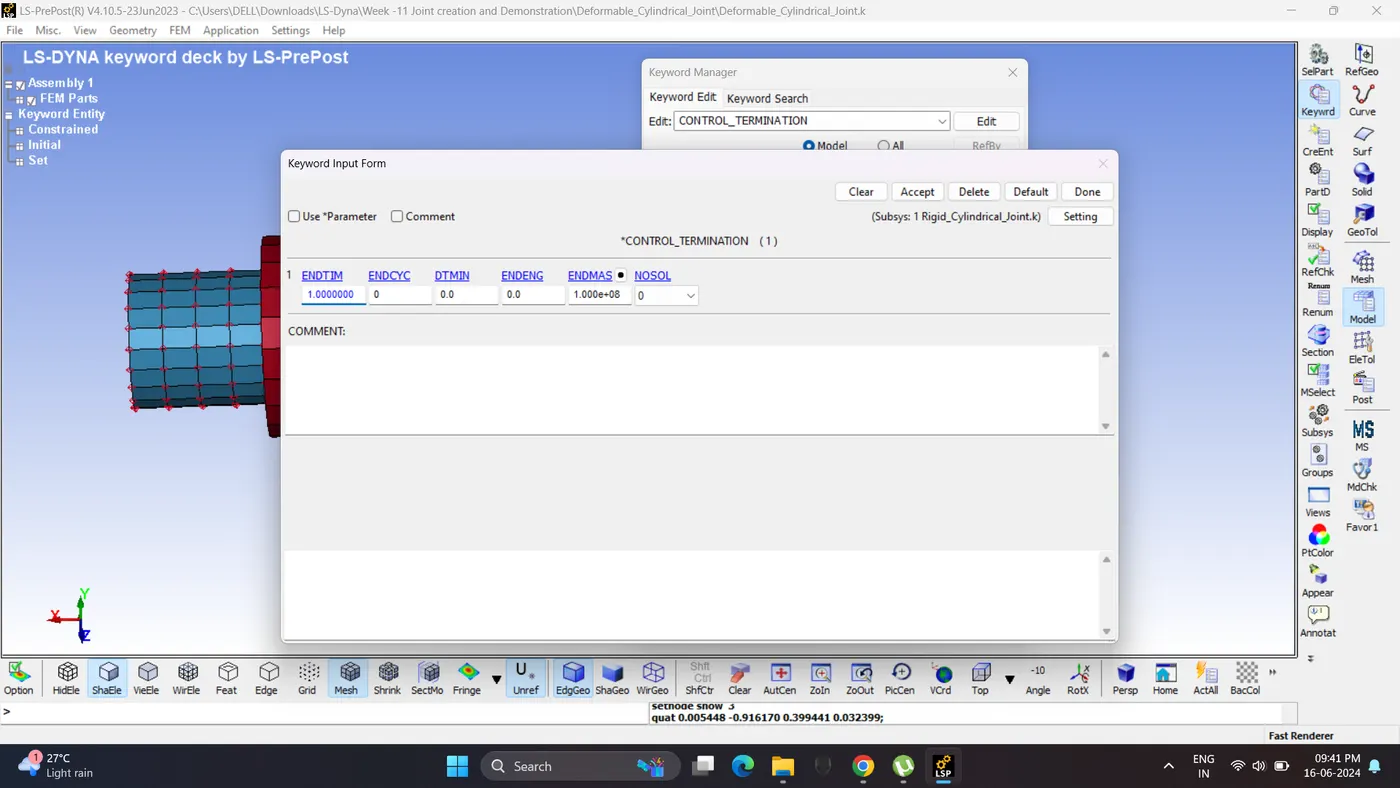
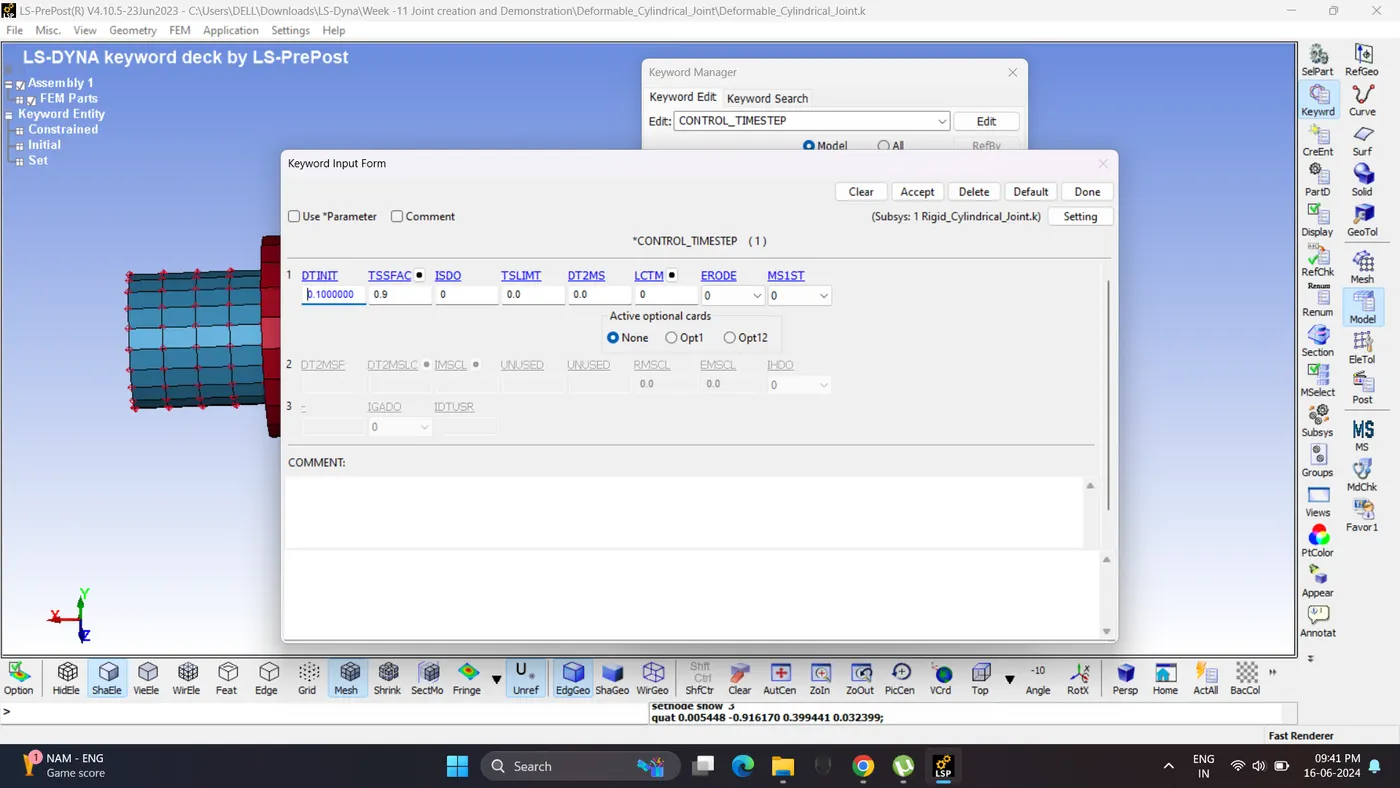
6. Create control card and output request card.
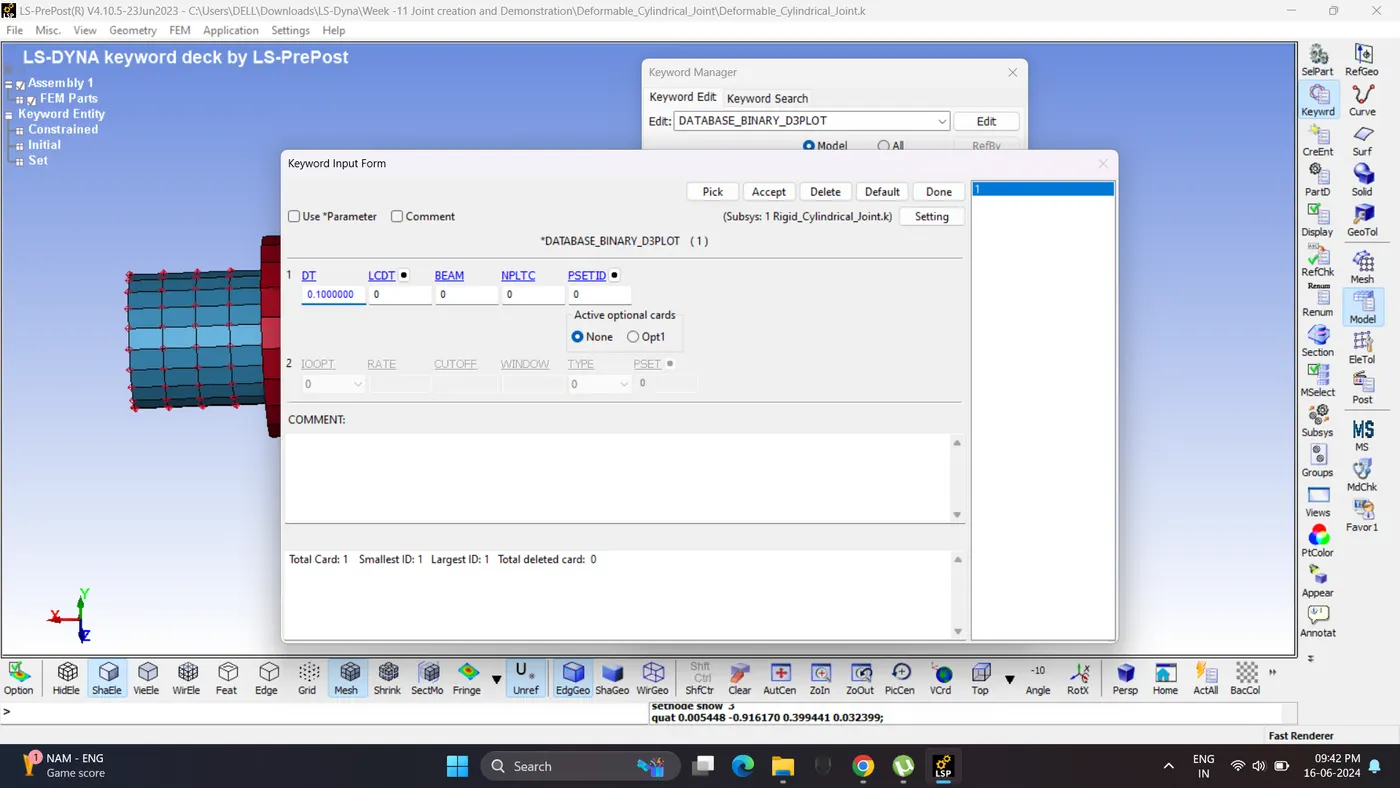
7. Save the file and run the simulation.
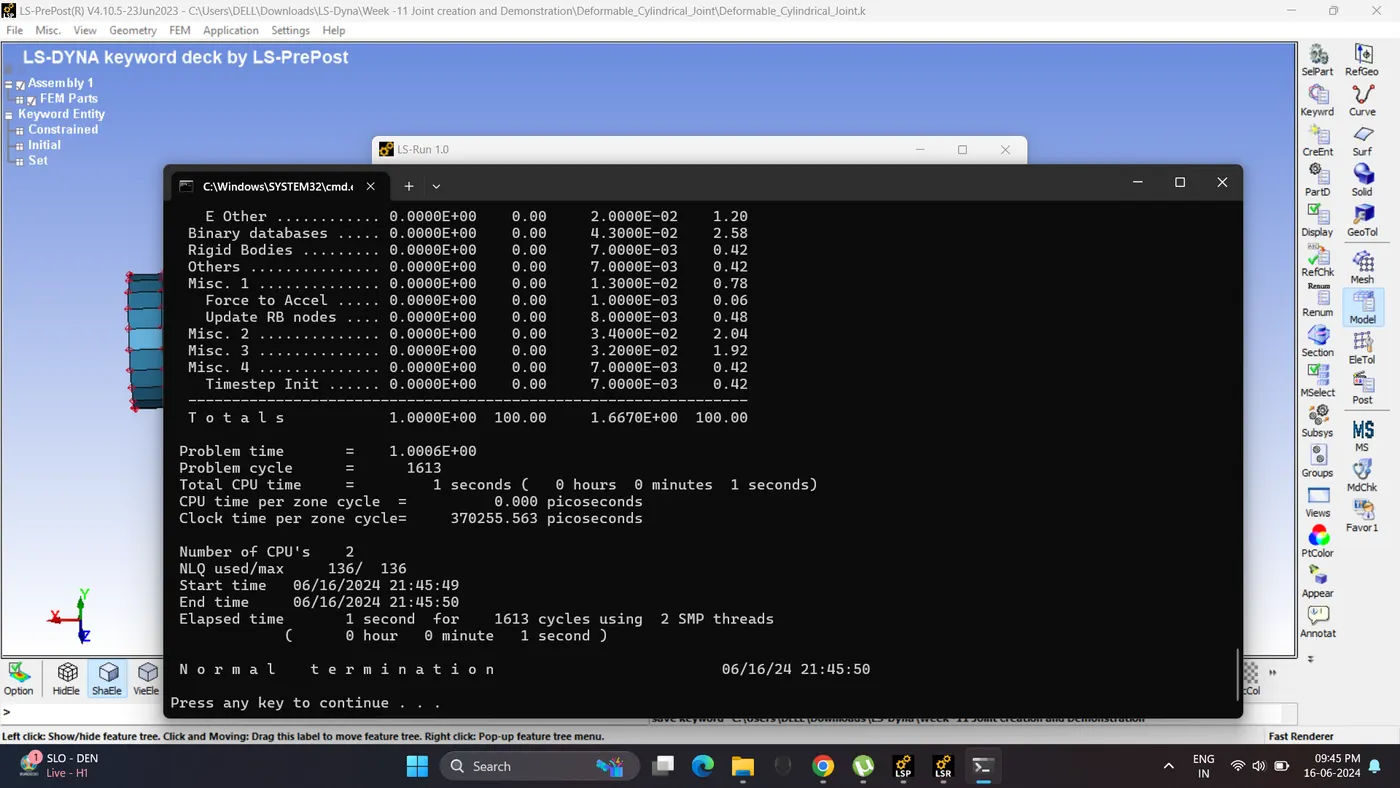
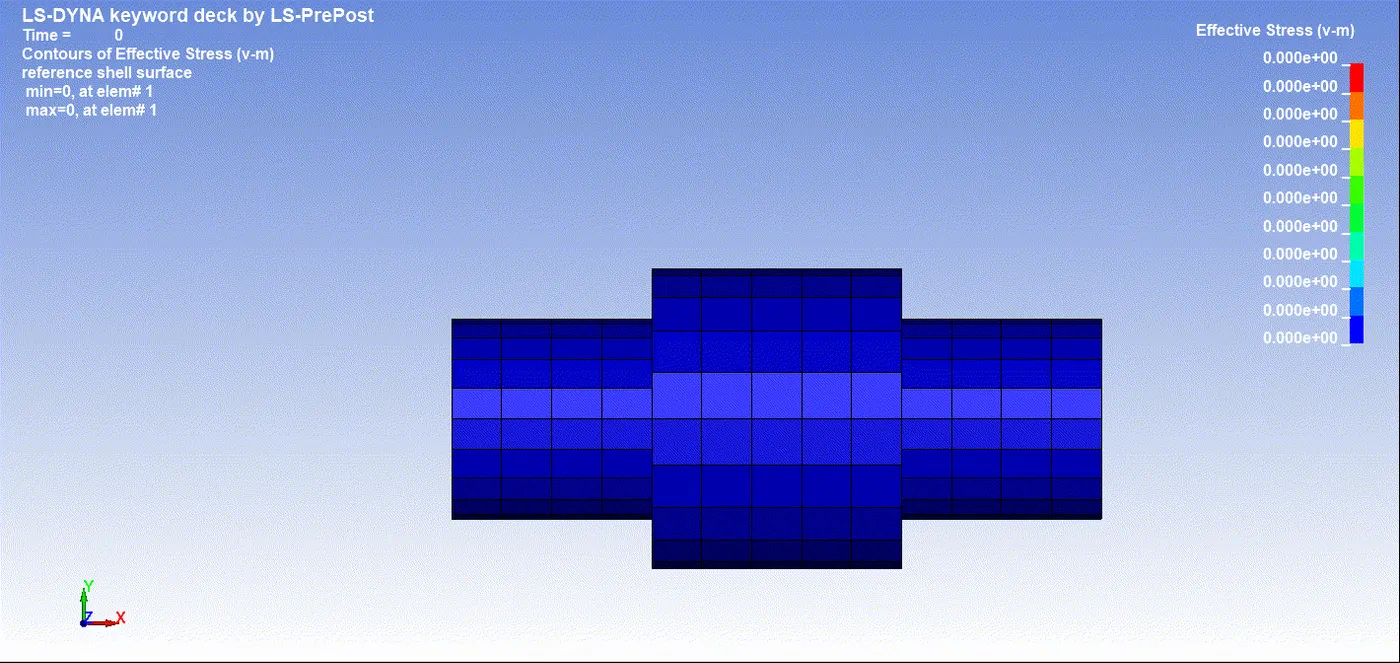
8. Open D3plot file. Contour von mises stress and play the simulation.
7. Translation Joint (Rigid Body)
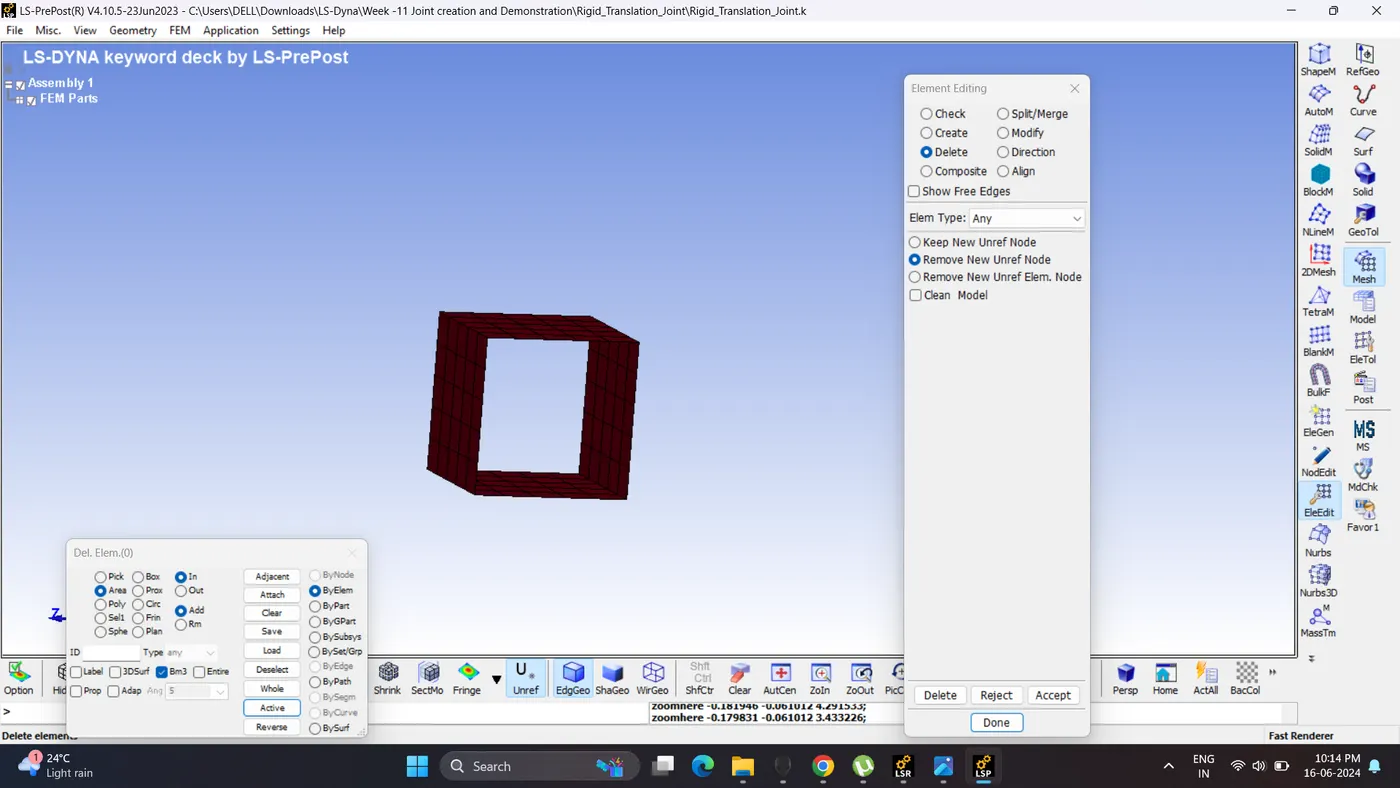
1. Open Ls PrePost. Create outer shell. Firstly create a box and delete side faces elements.
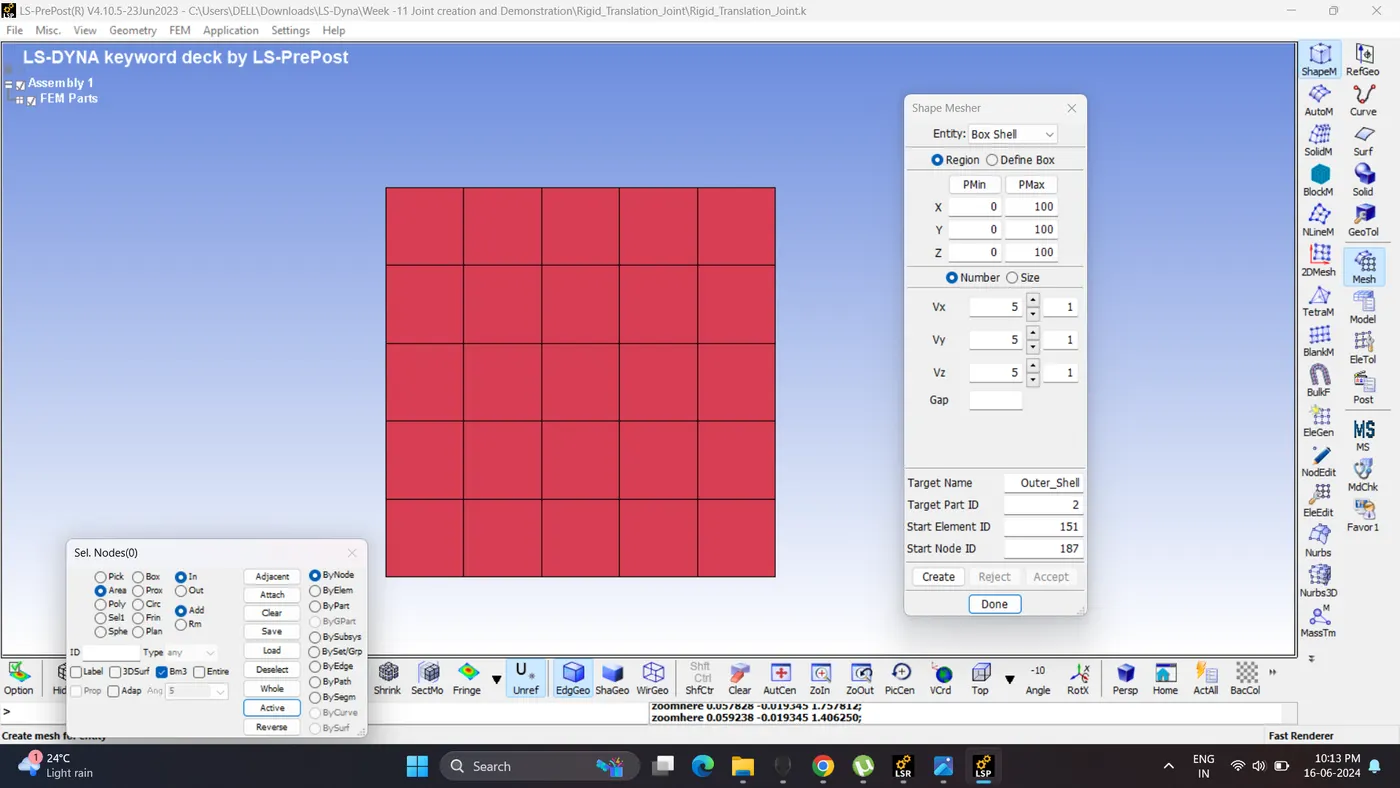
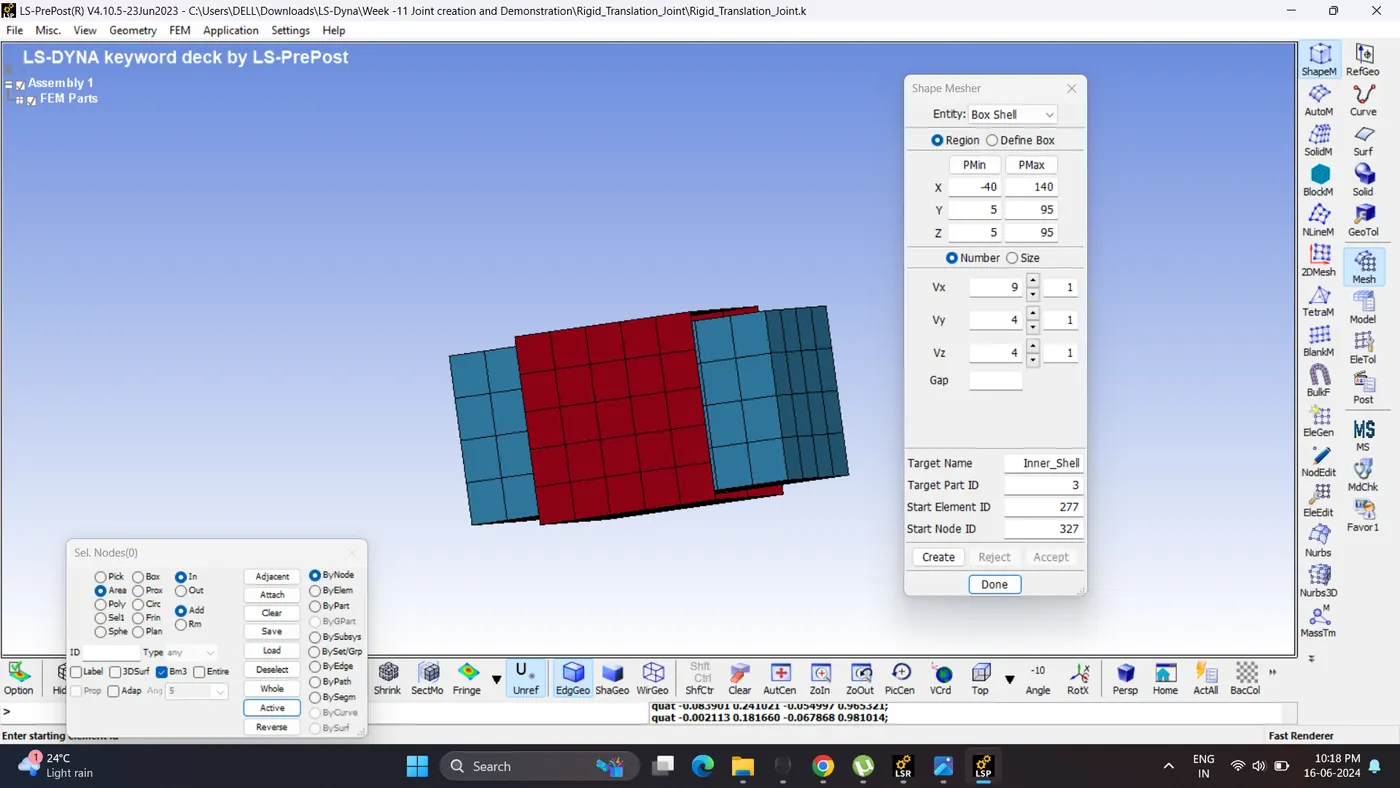
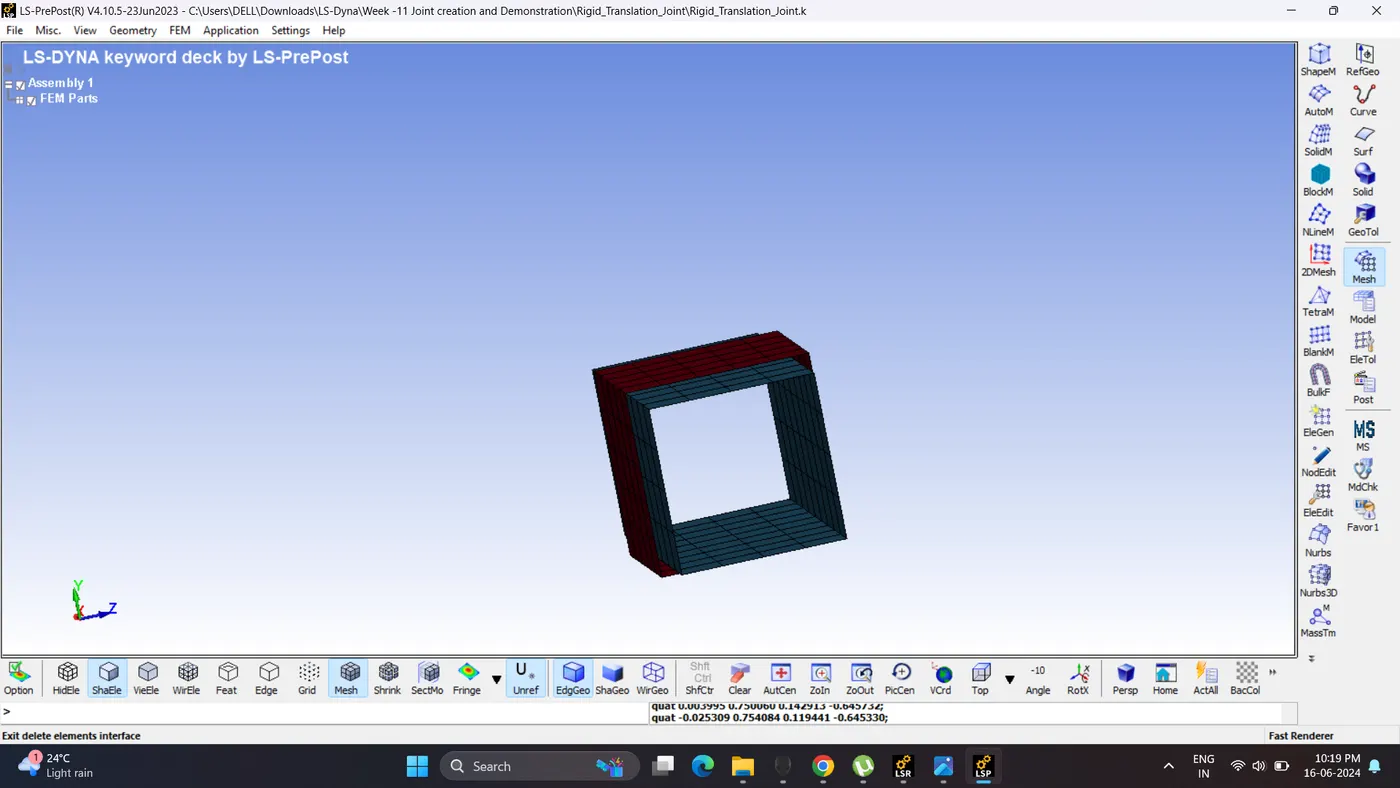
2. Similarly create inner shell.
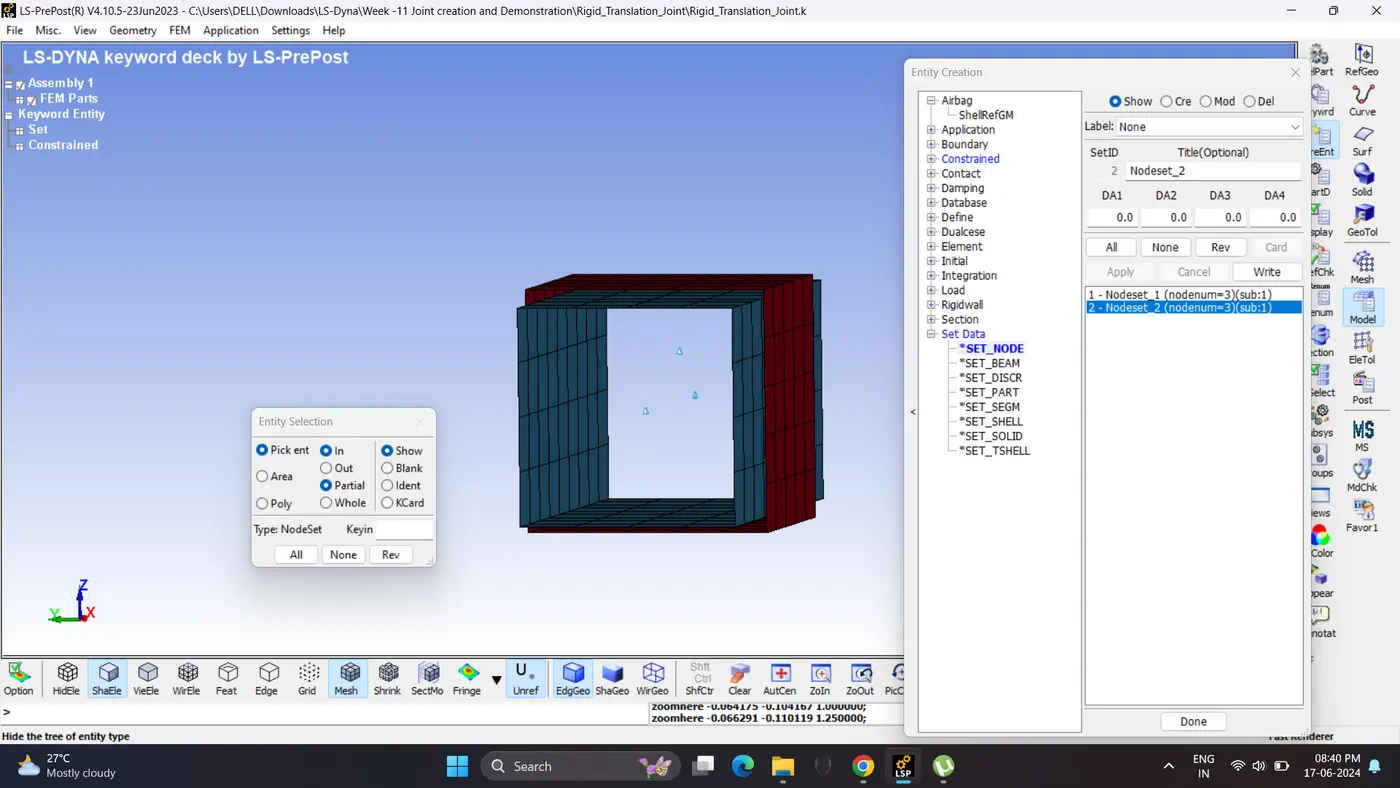
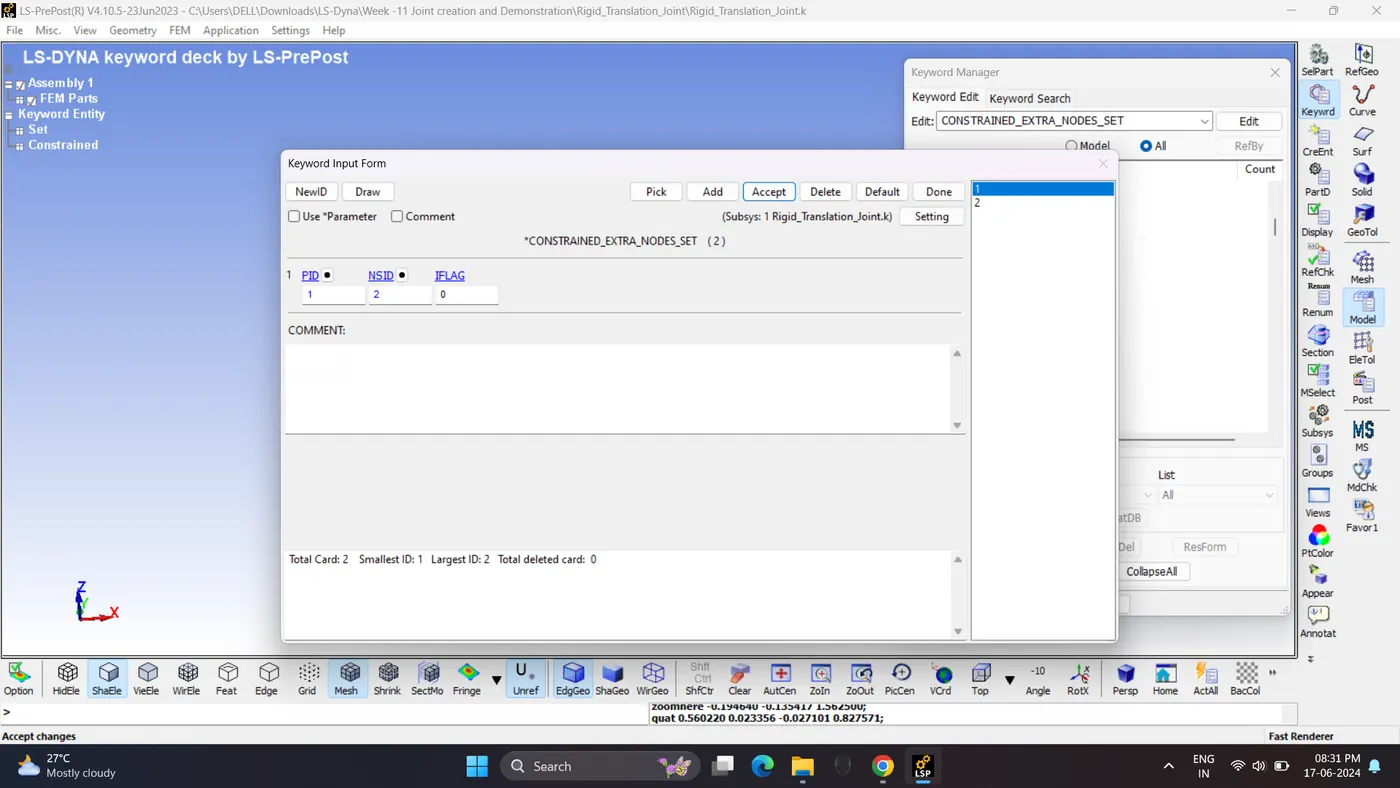
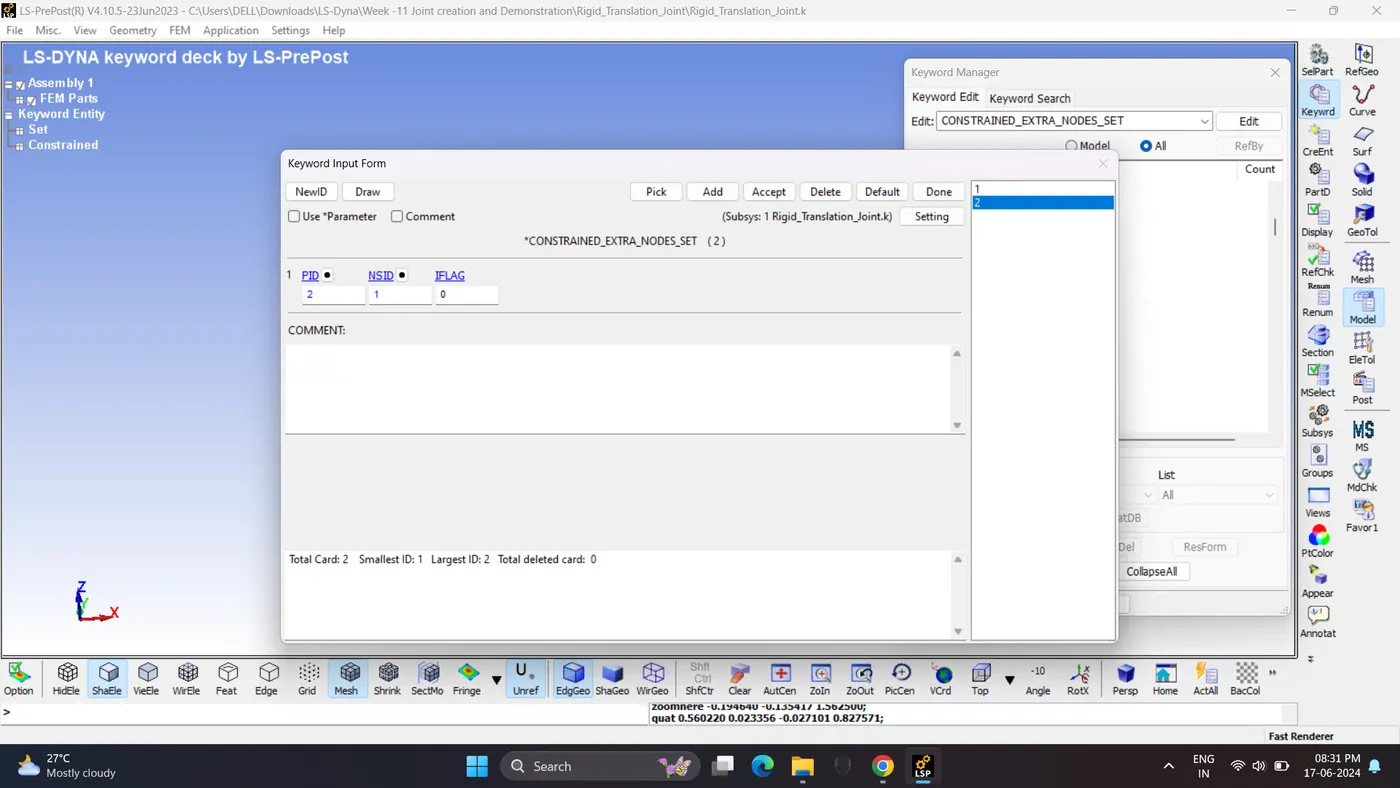
3. Create 6 node for extra node set. Assign two nodes to inner and 2 node for outer cylinder.
Assign node no. 1000, 1001, 1002 to inner and 2000, 2001, 2002 to outer shell by creating extra node set.
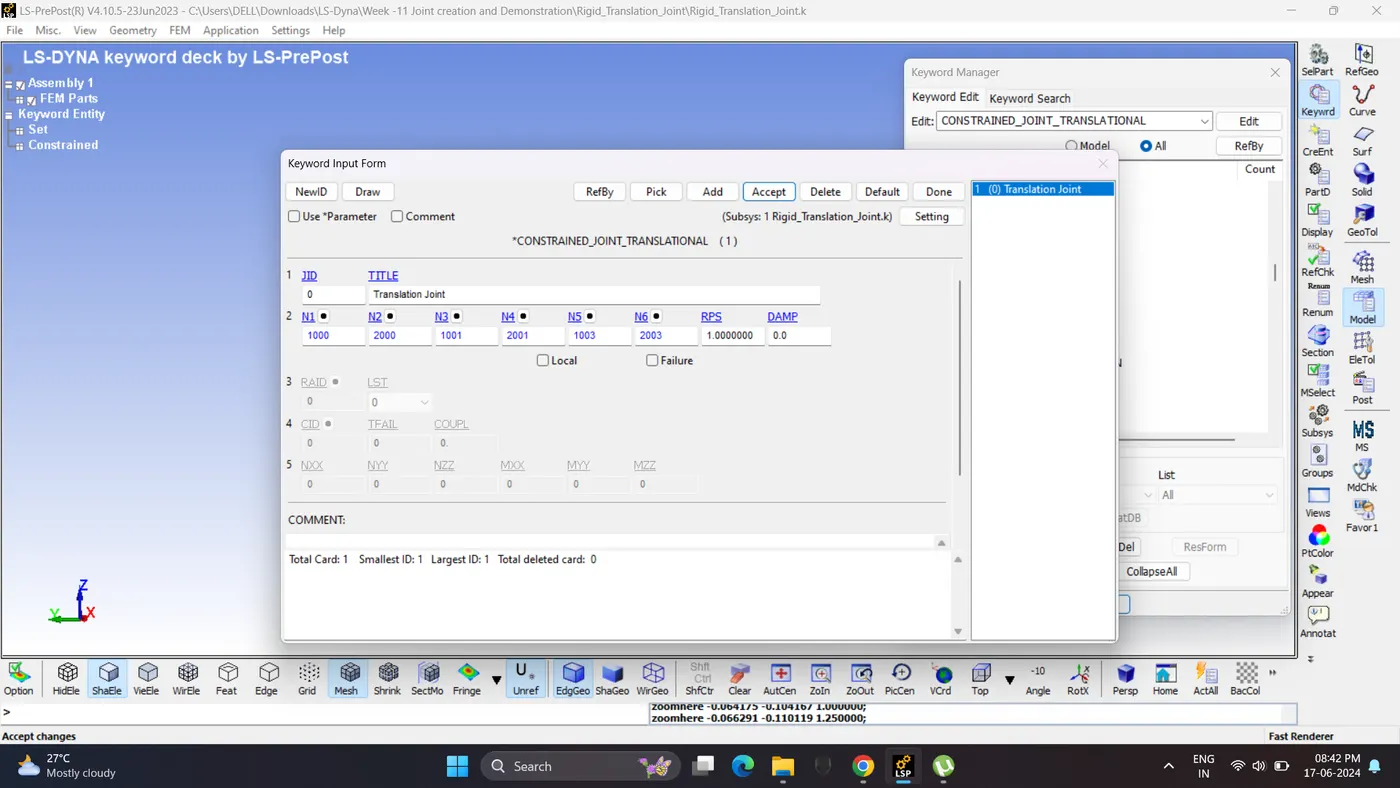
4. Create Constrained Translation Joint.
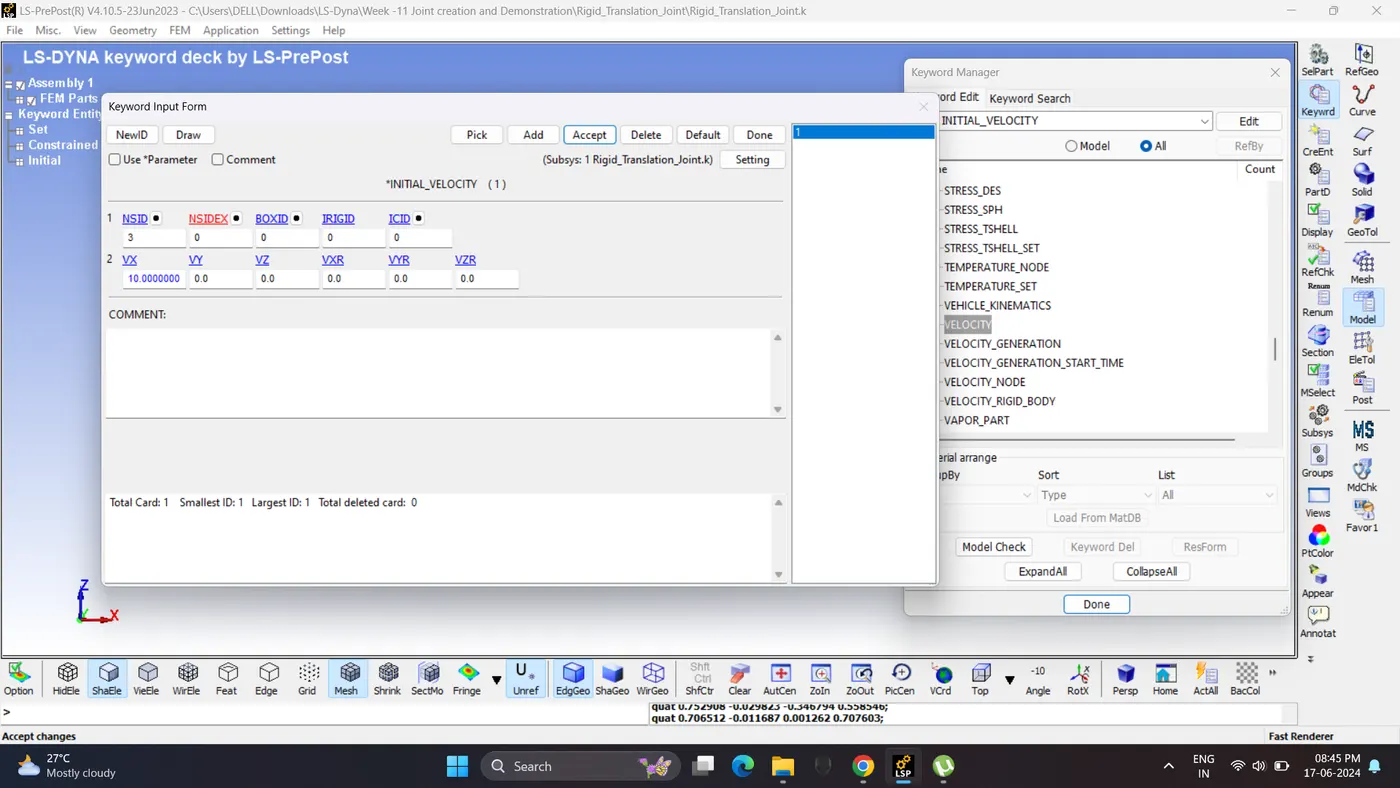
5. Create Initial Velocity for inner shell.
6. Lock all DOF of Outer Shell.
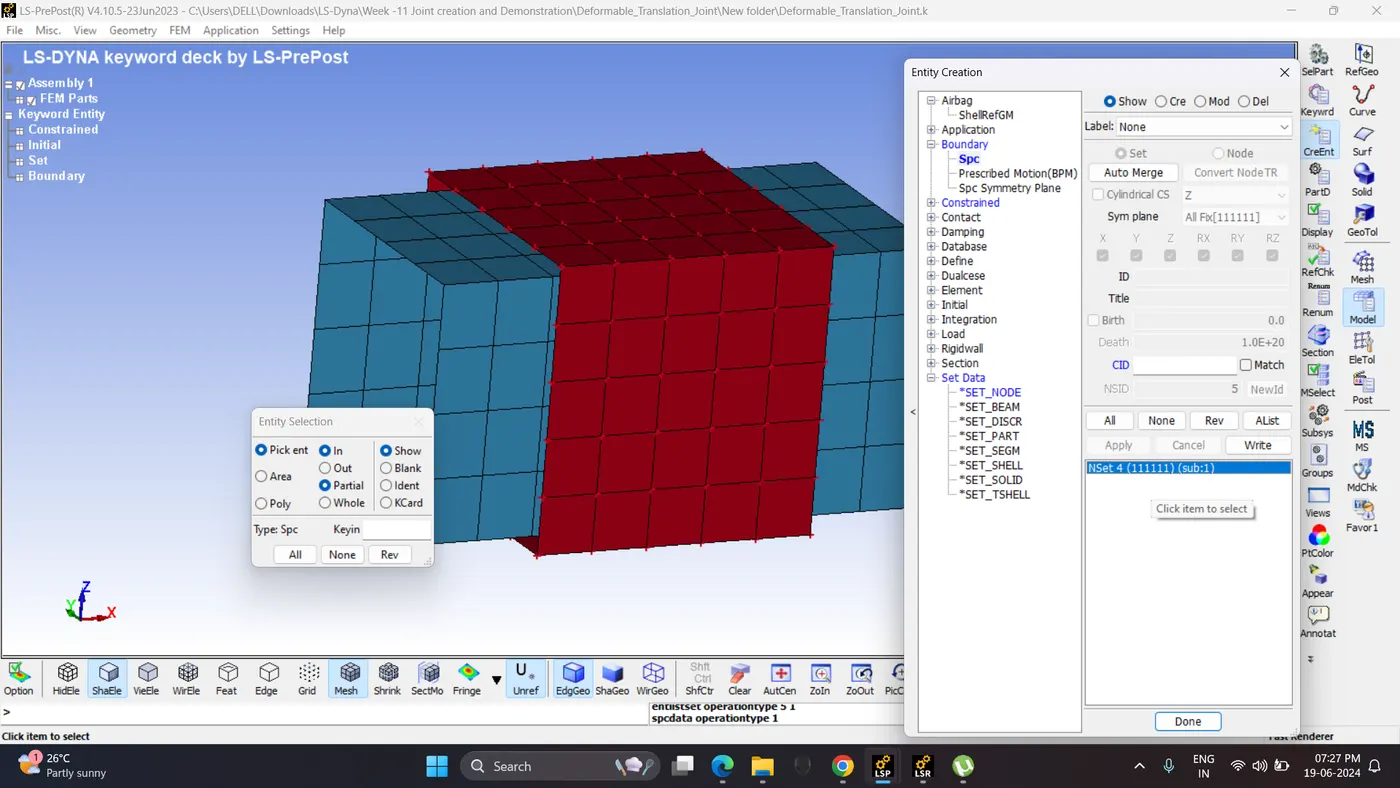
7. Create Material, section and assign it to them.
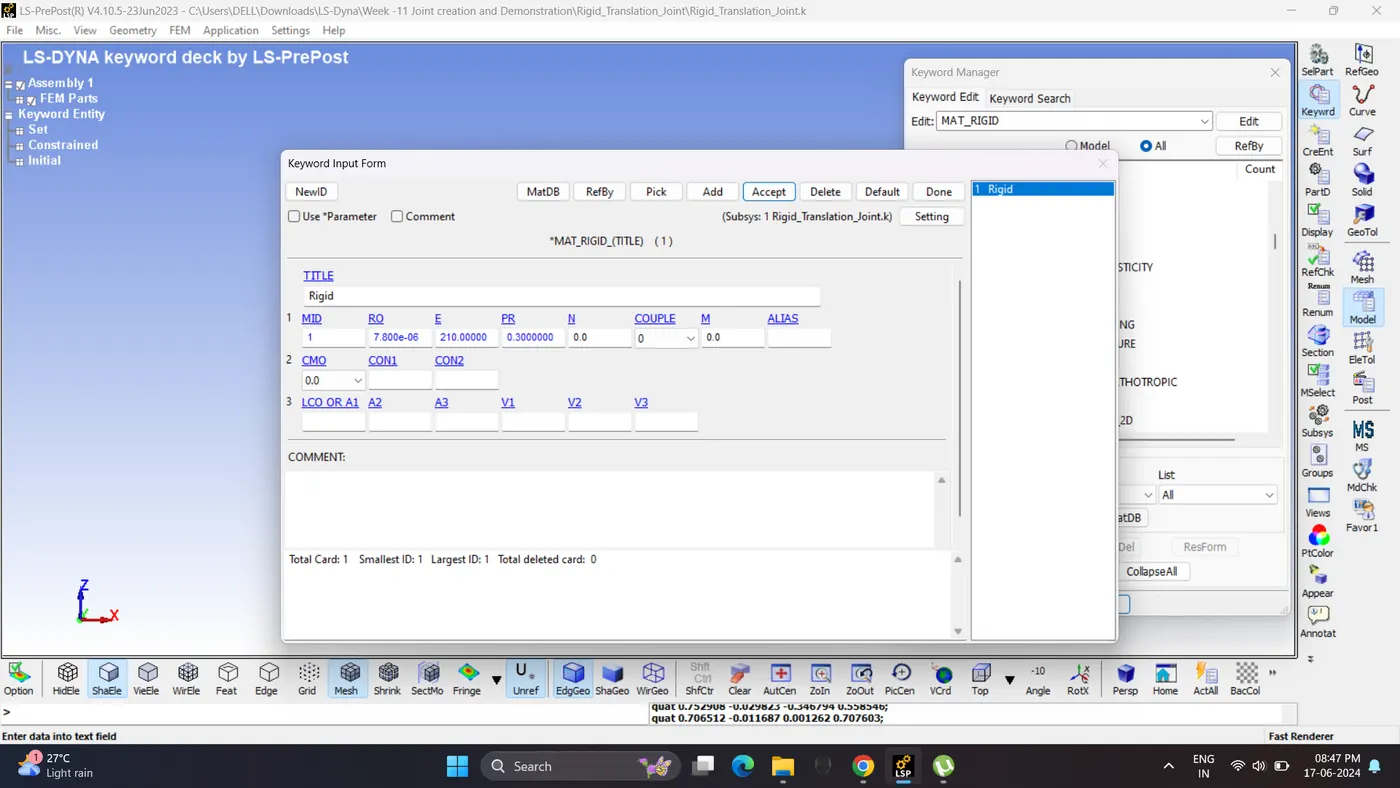
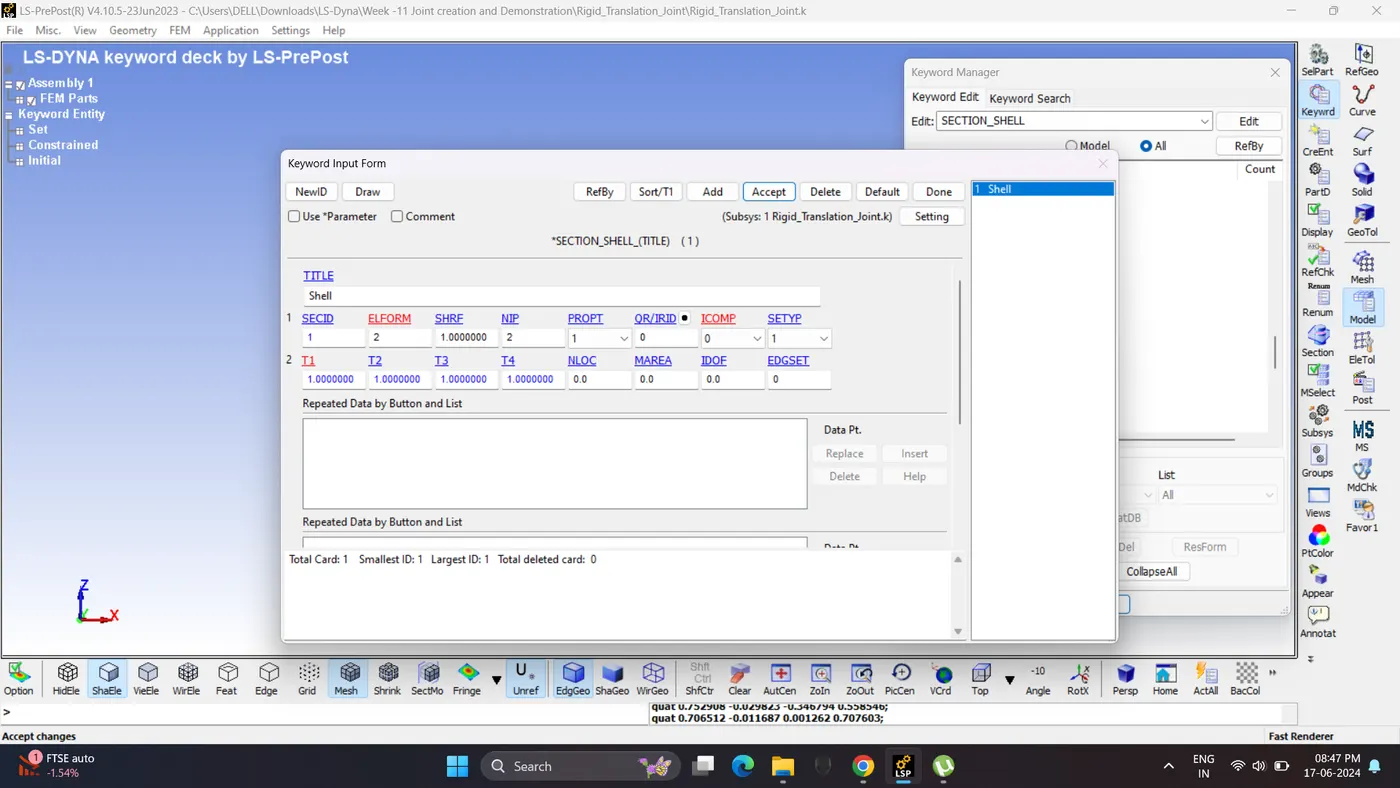
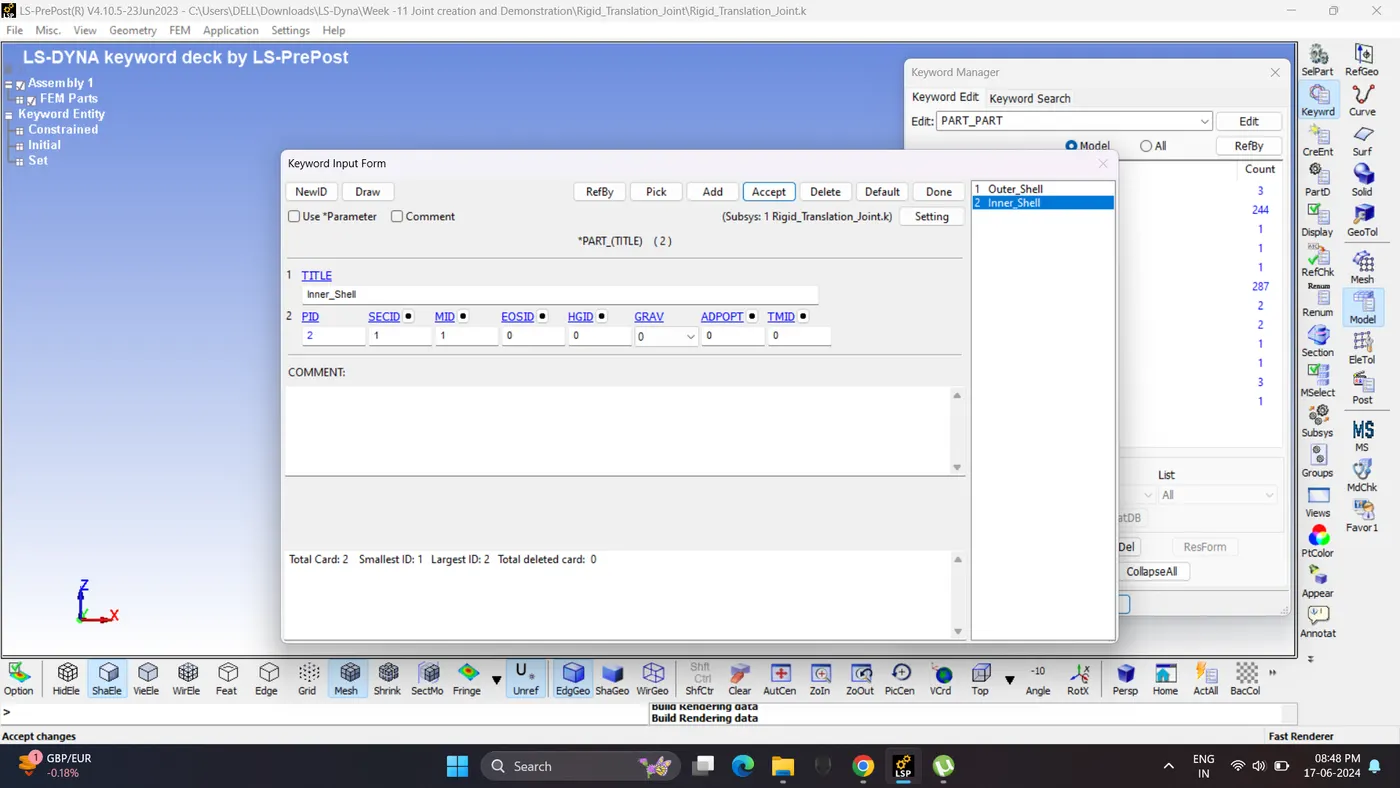
8. Create Control cards and output request cards.
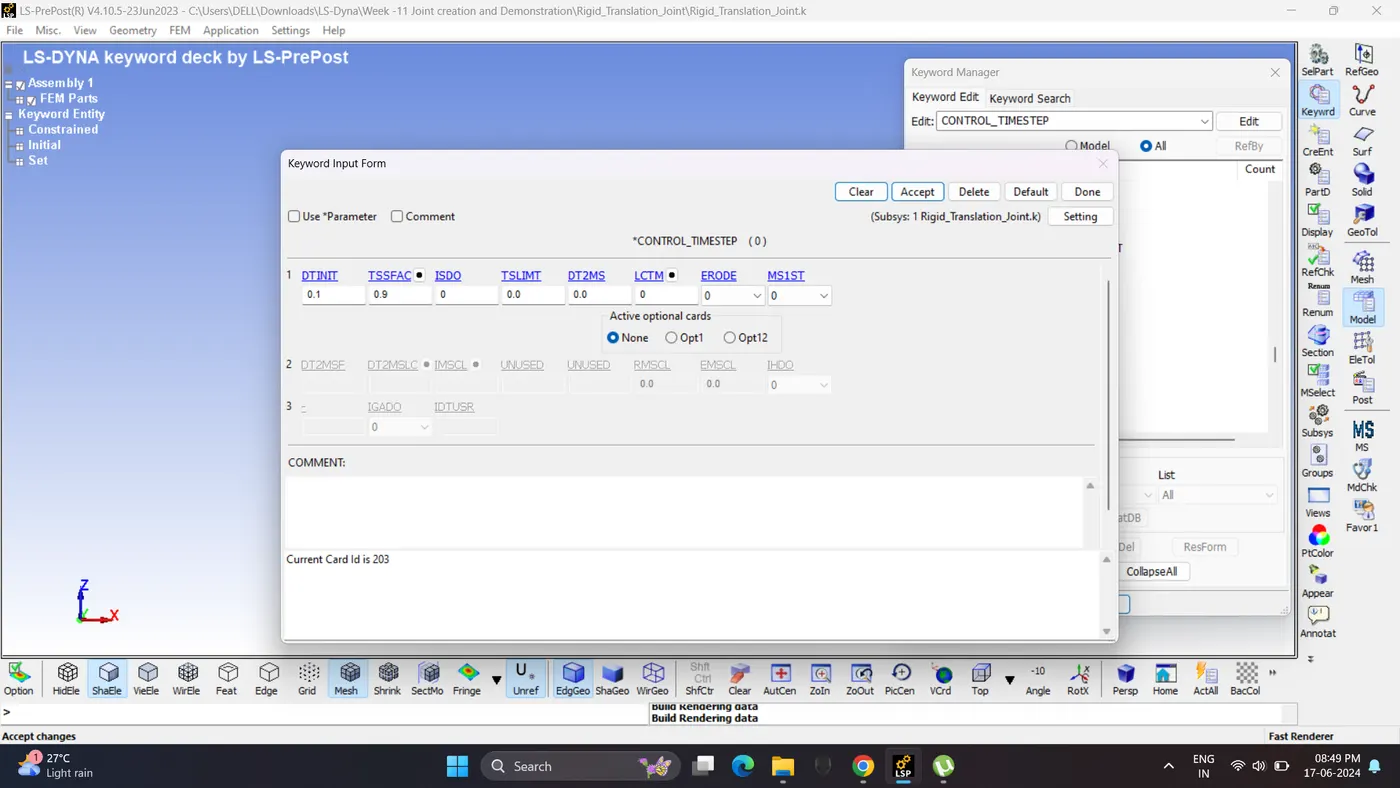
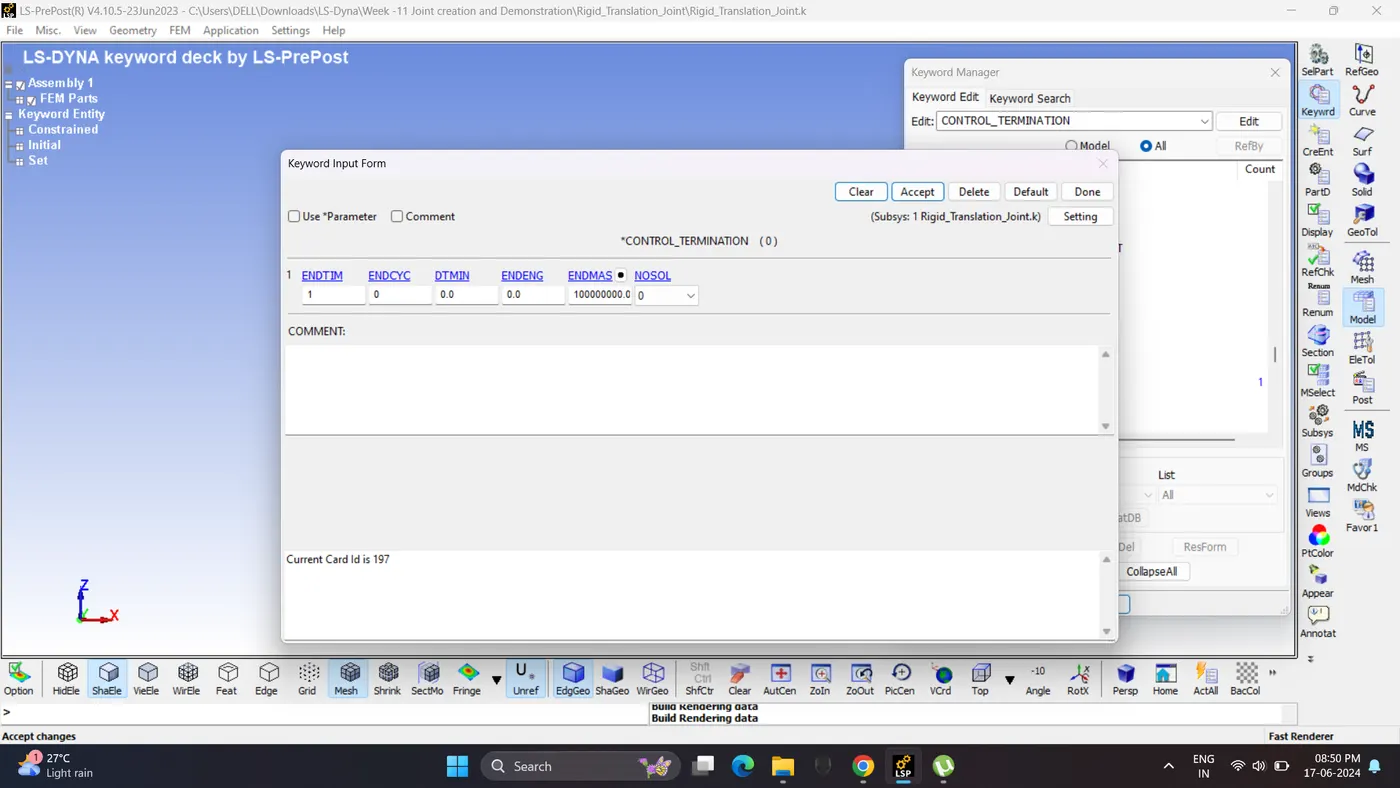
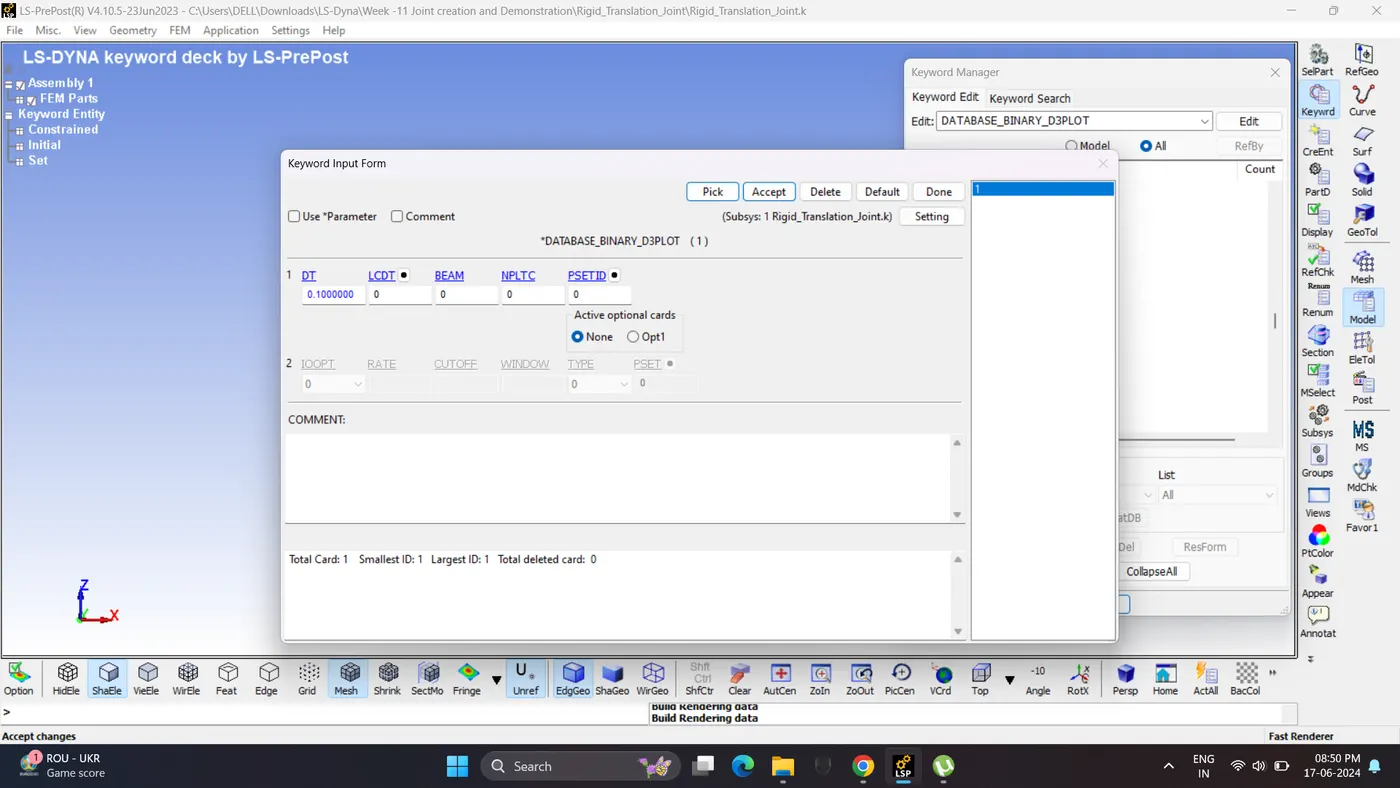
9. Save the File and Run the simulation.
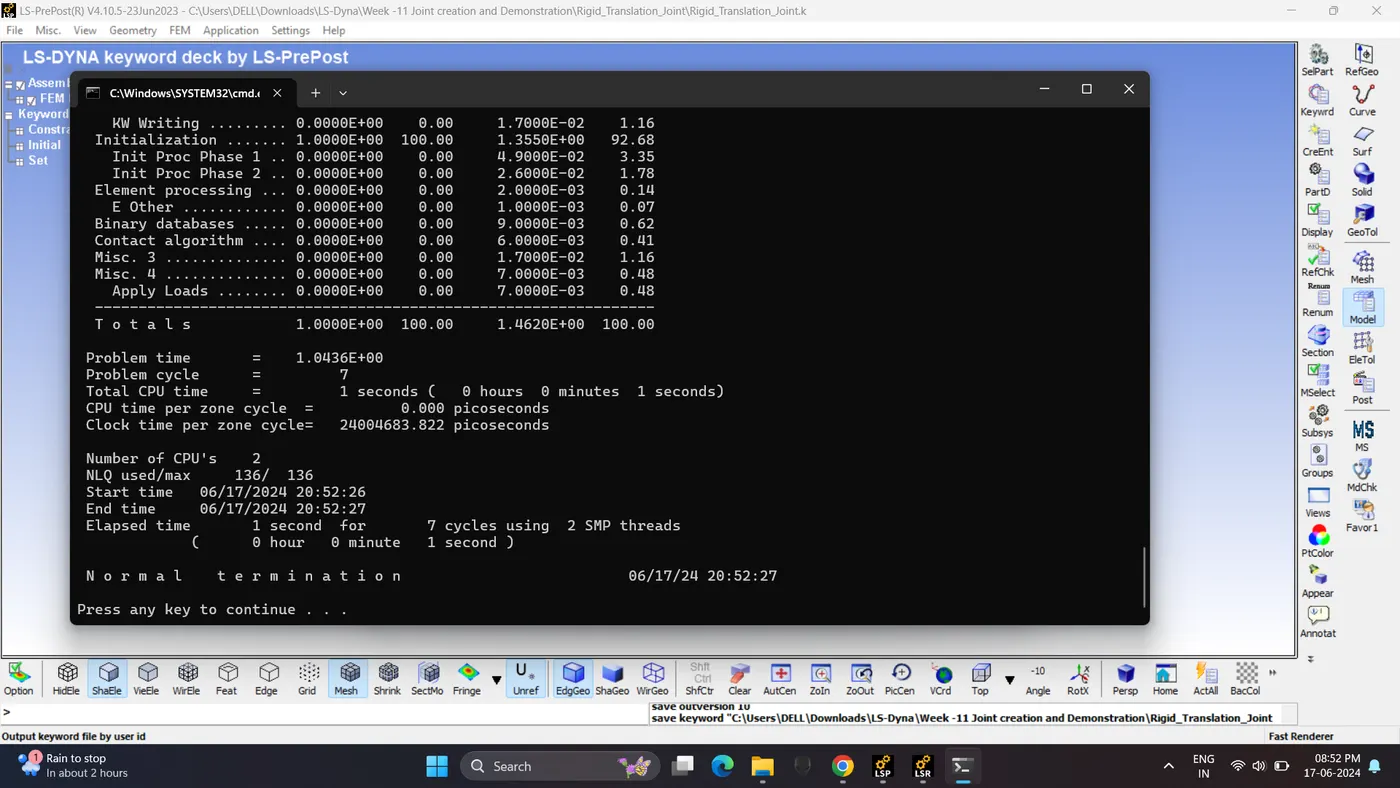
10. Open d3plot file and run the simulation.
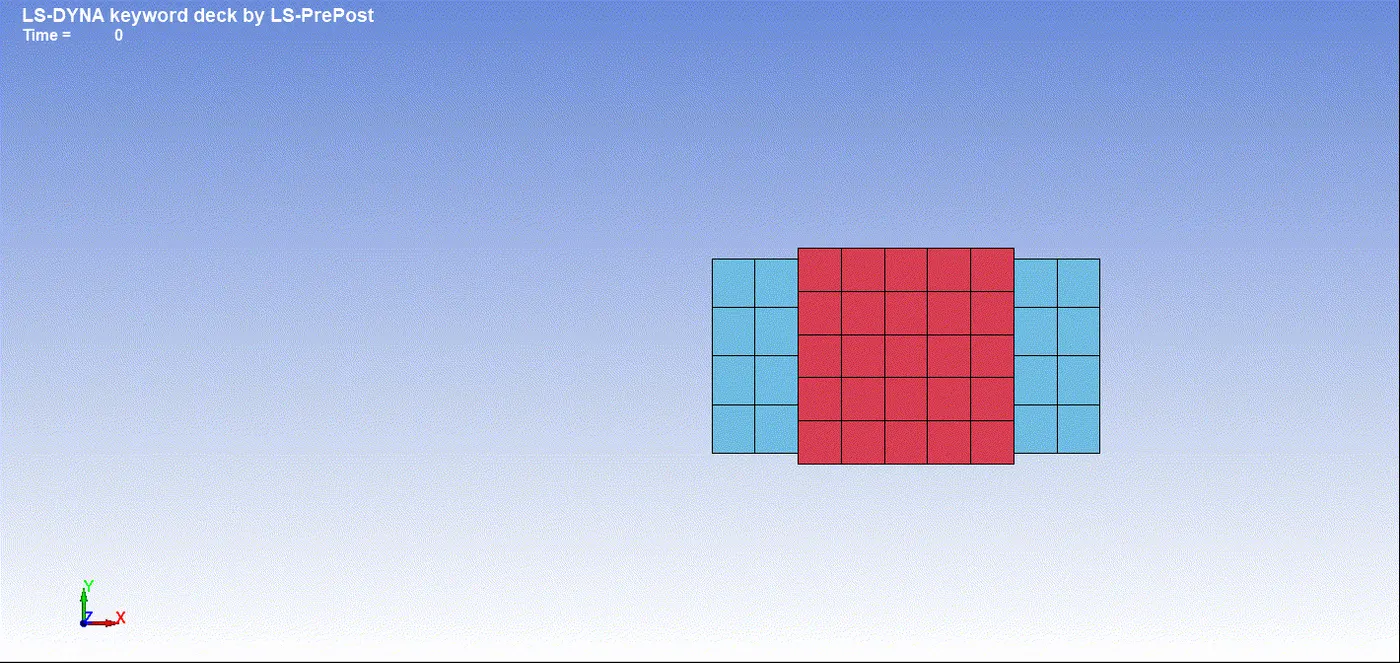
8. Translation Joint (Deformable Bodies).
In this case same FE shell model used as previous case.
Delete other keywords and saved as a Deformable_Translation_Joint.K file.
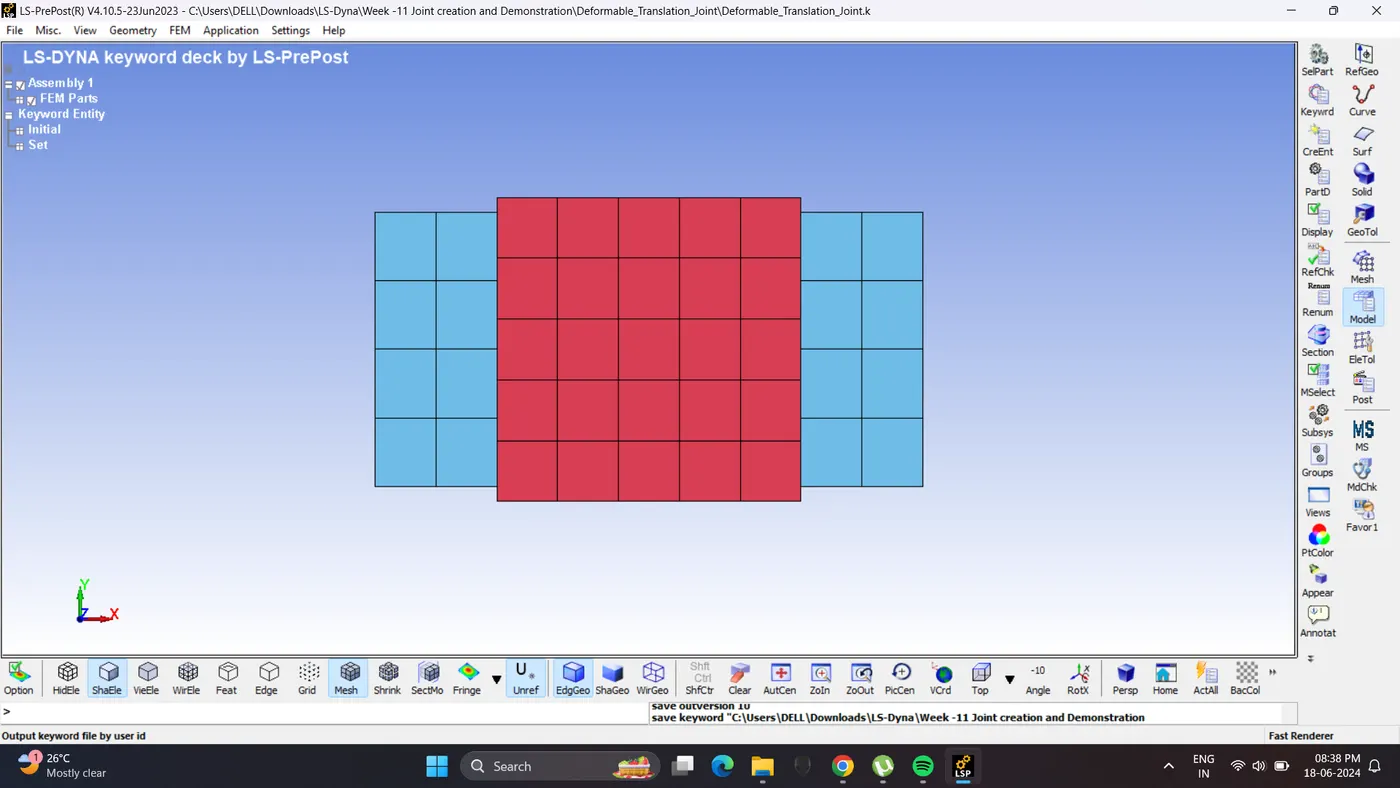
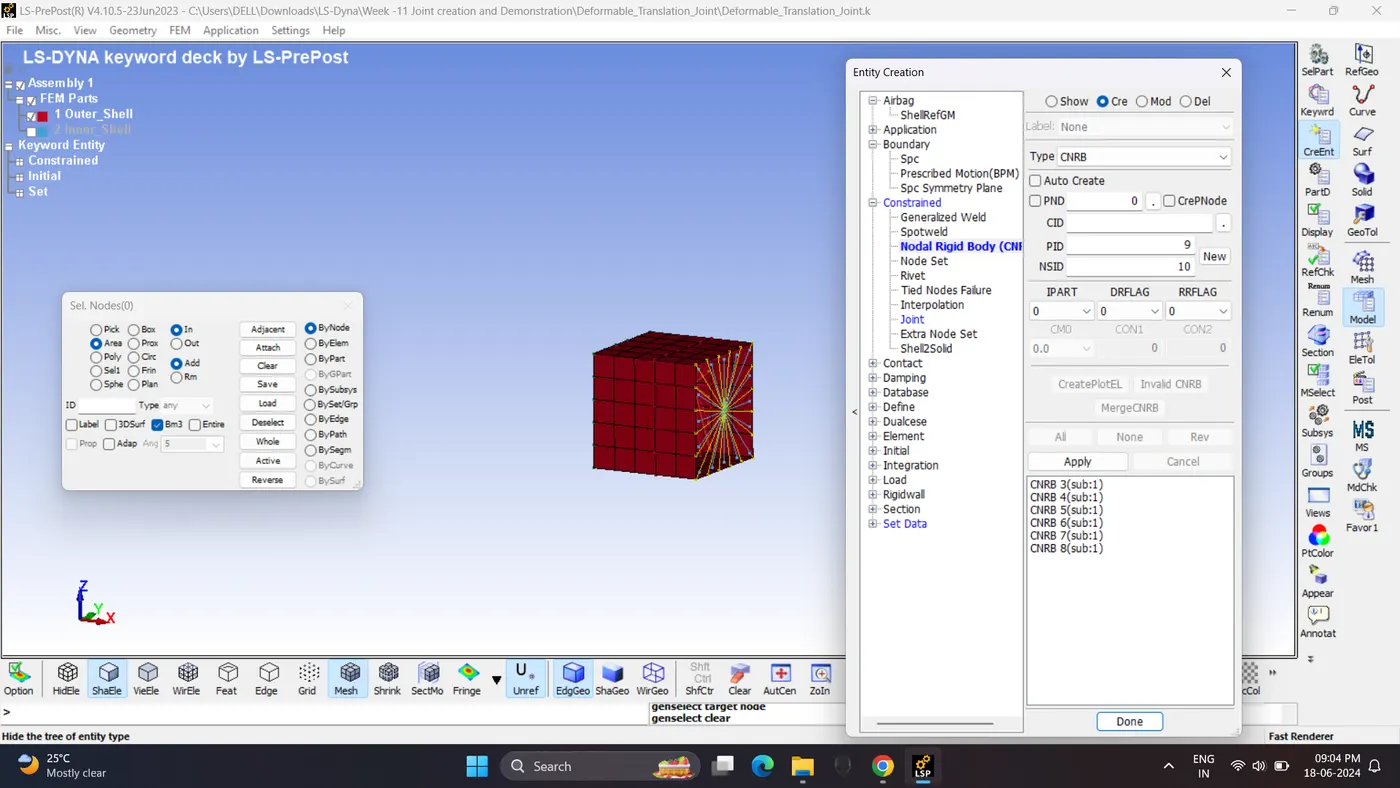
2. Create CNRB for inner and outer Shell.
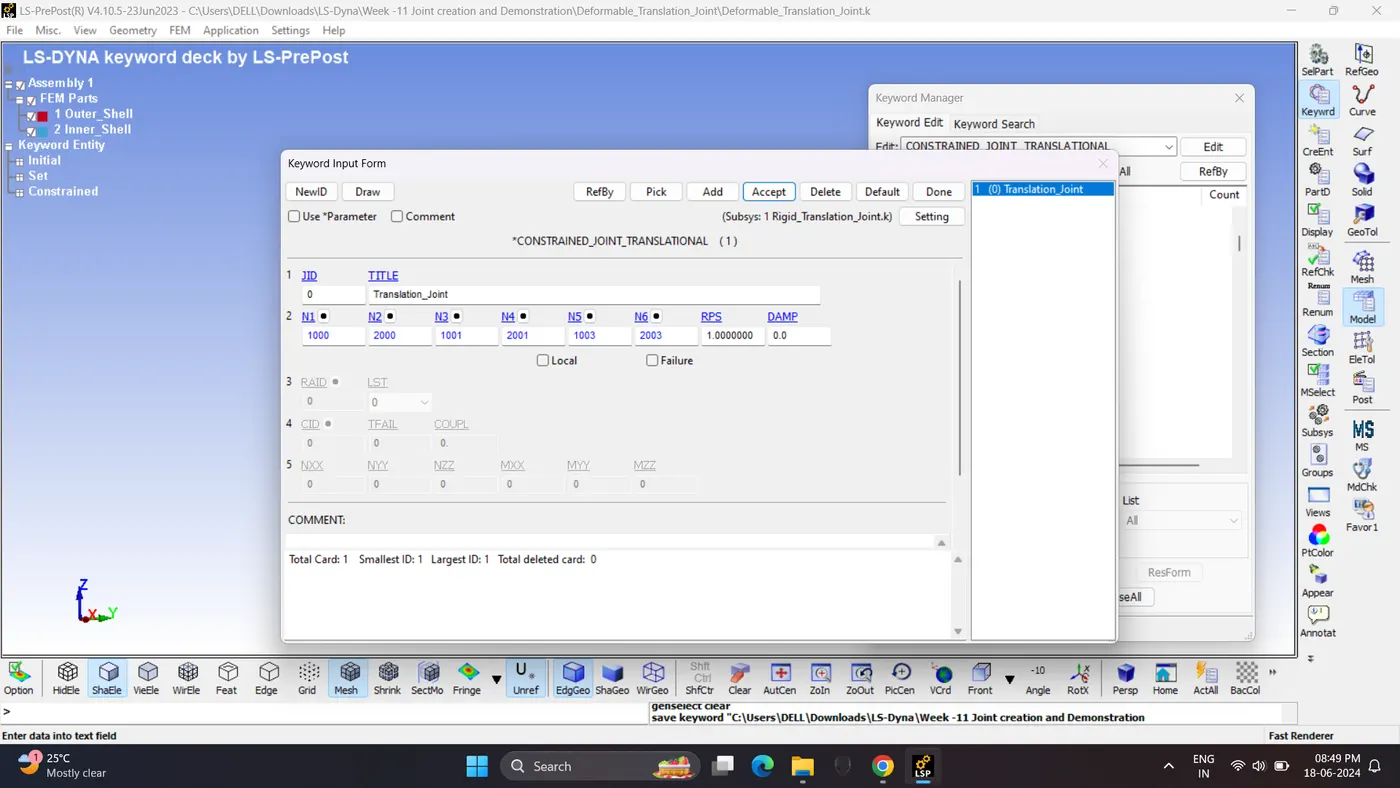
3. Create Constrained Translation Joint.
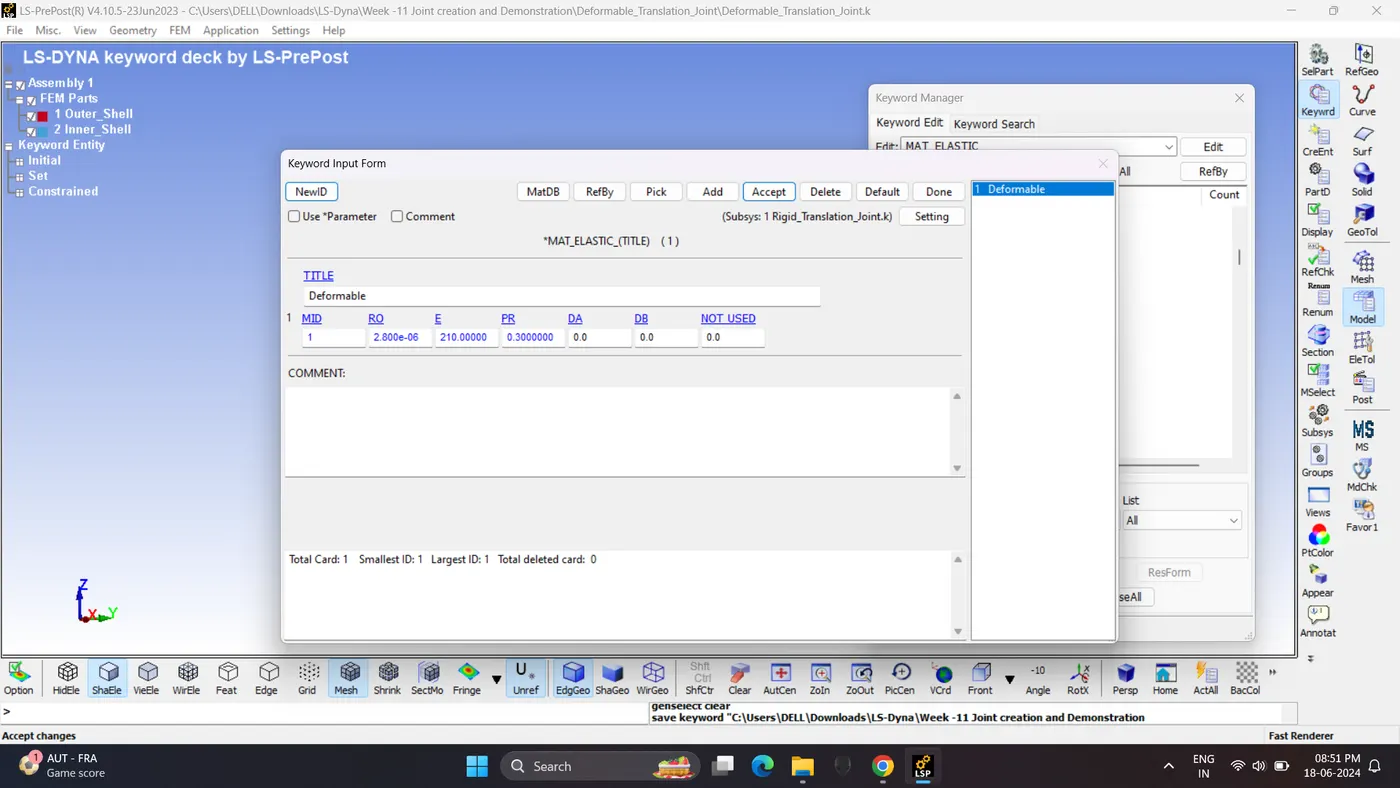
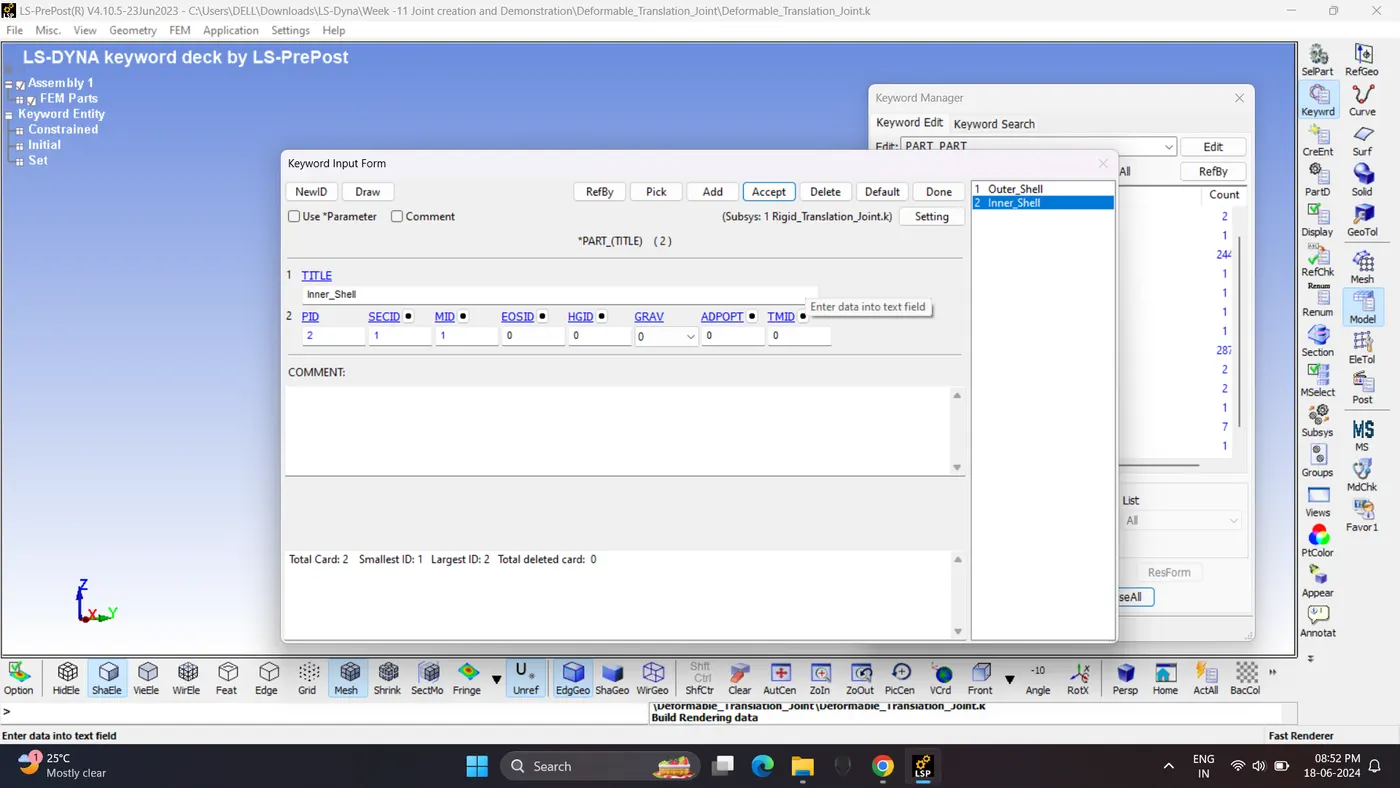
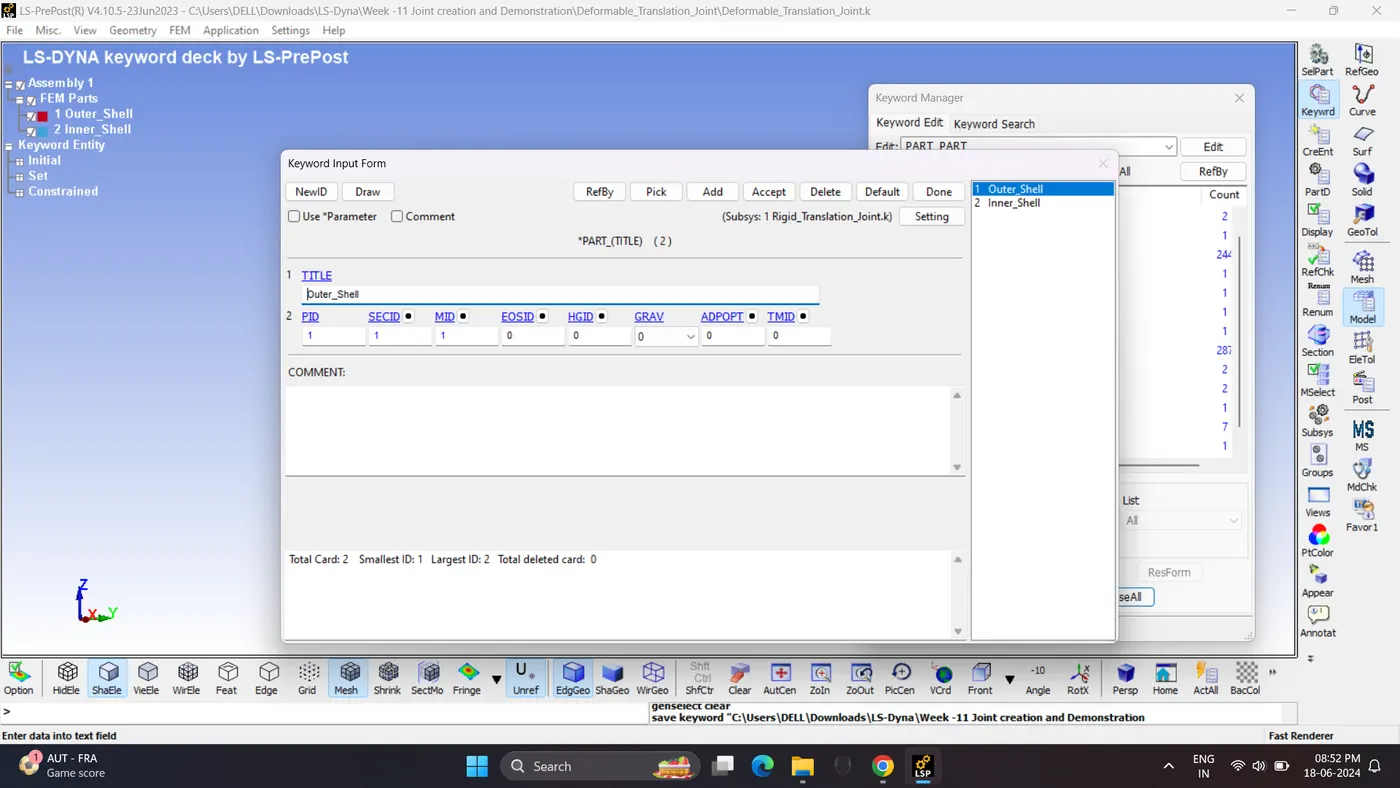
4. Create Material, Section and assign it to parts.
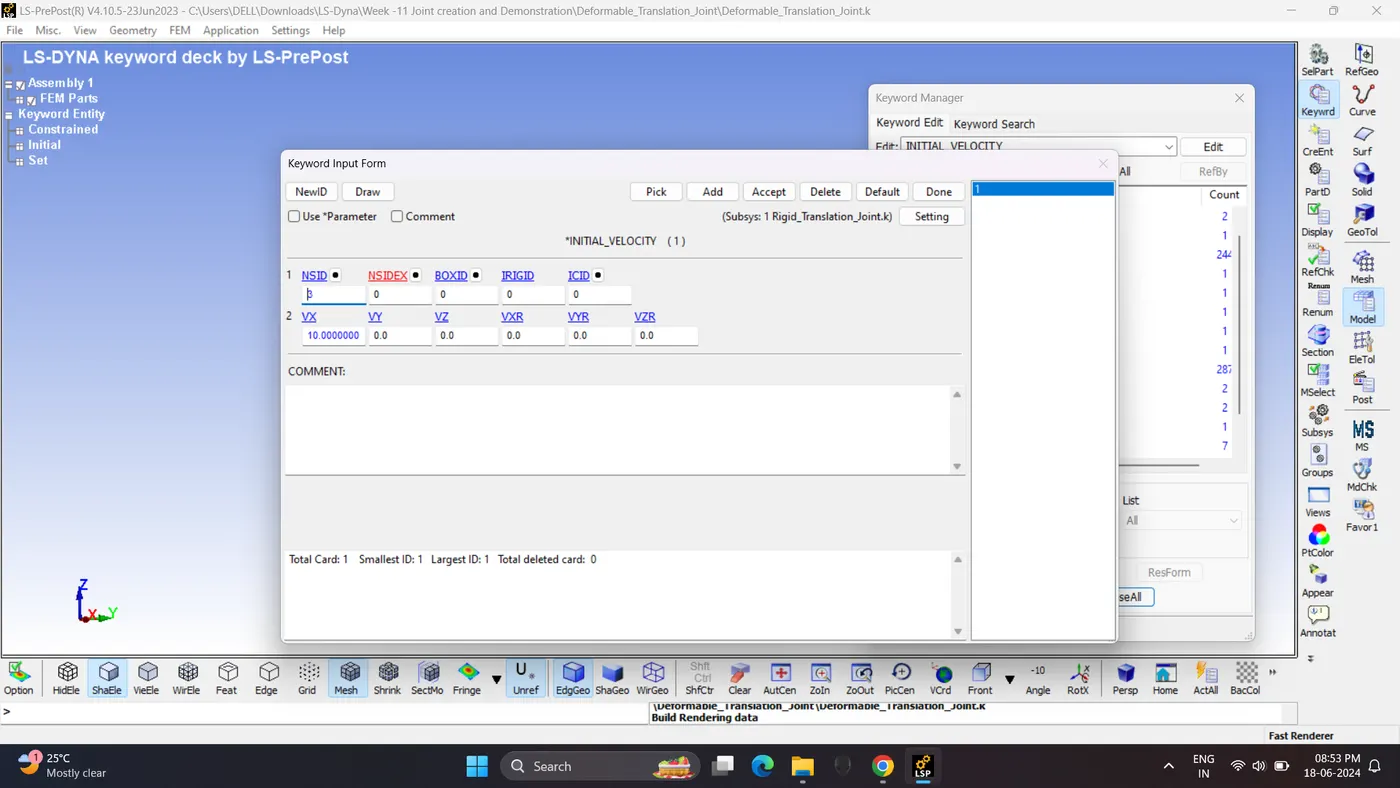
5. Create Initial velocity for inner Shell.
6. Create control card and output request card.
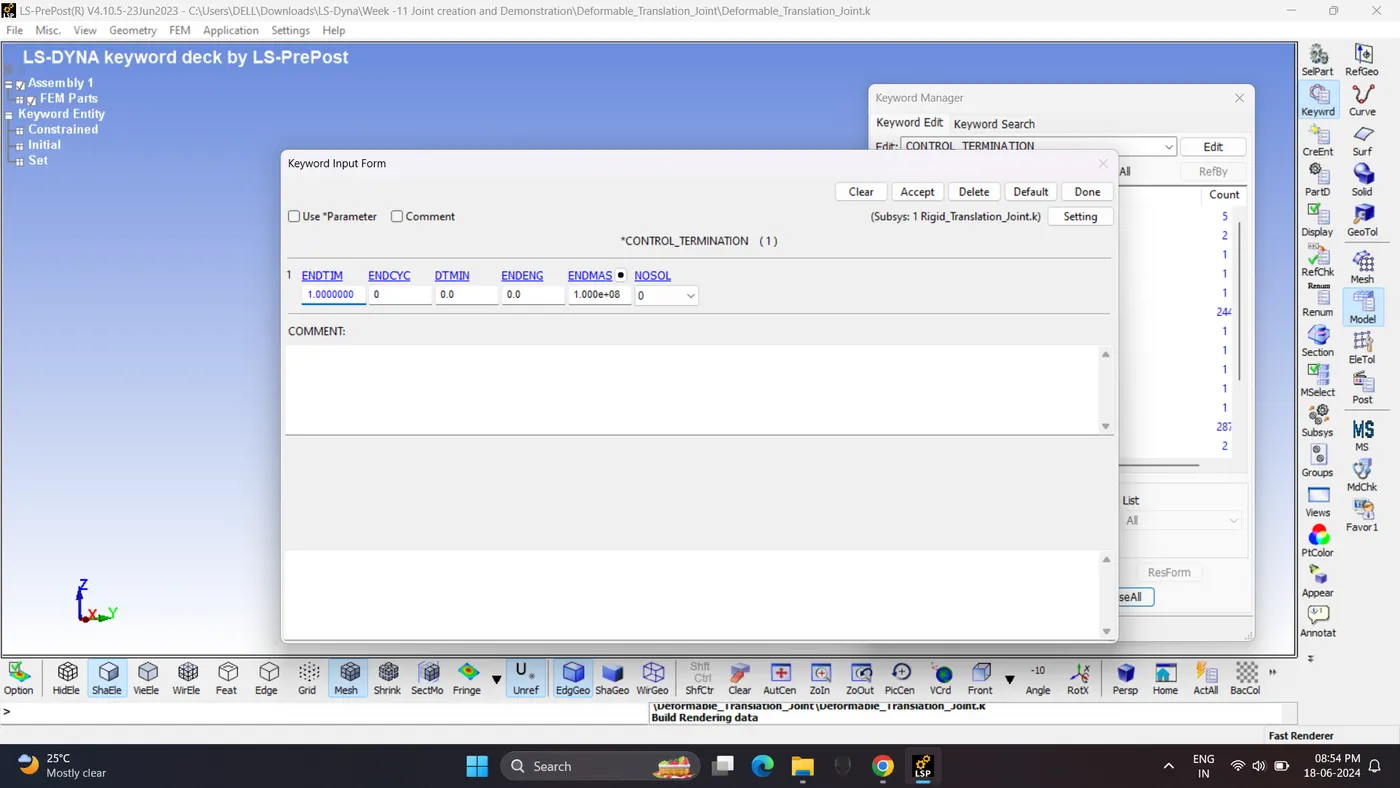
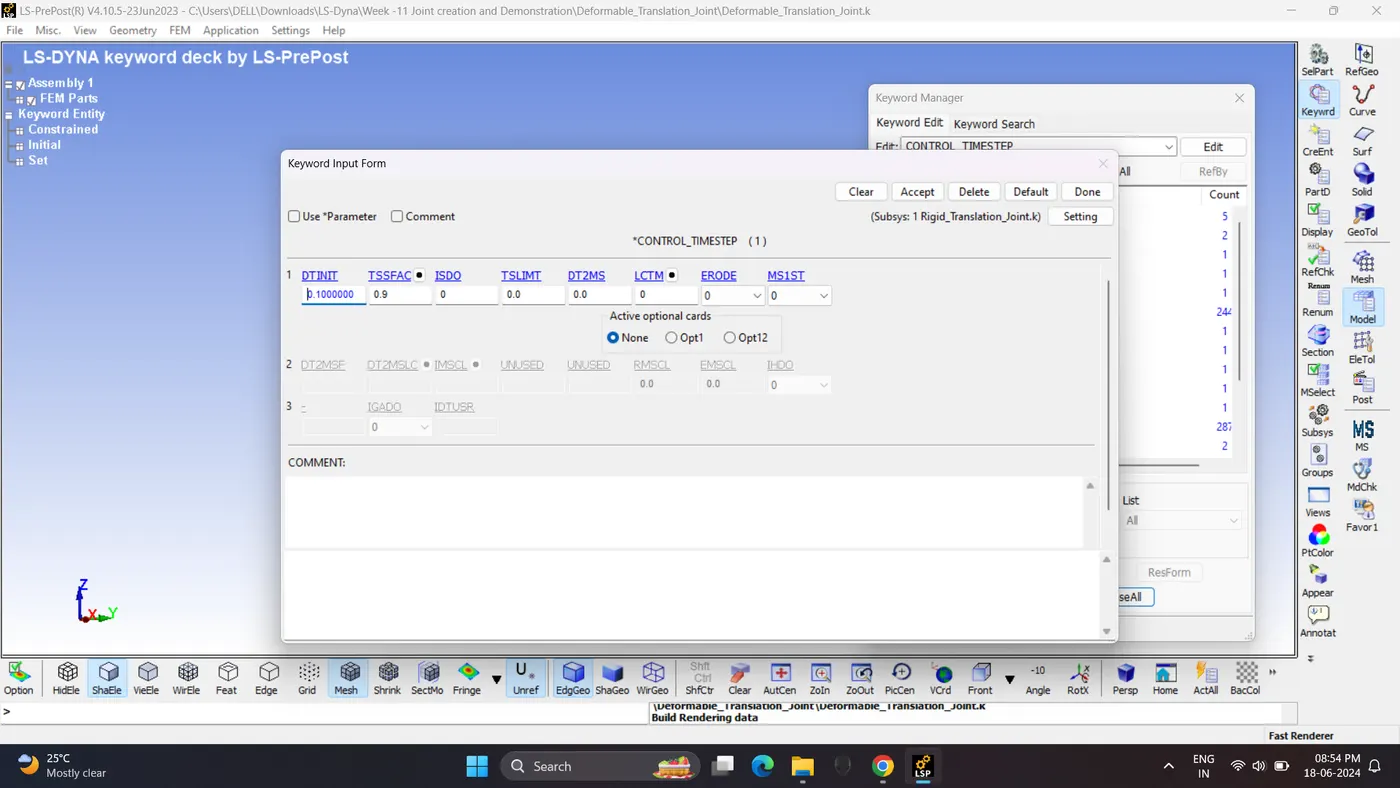
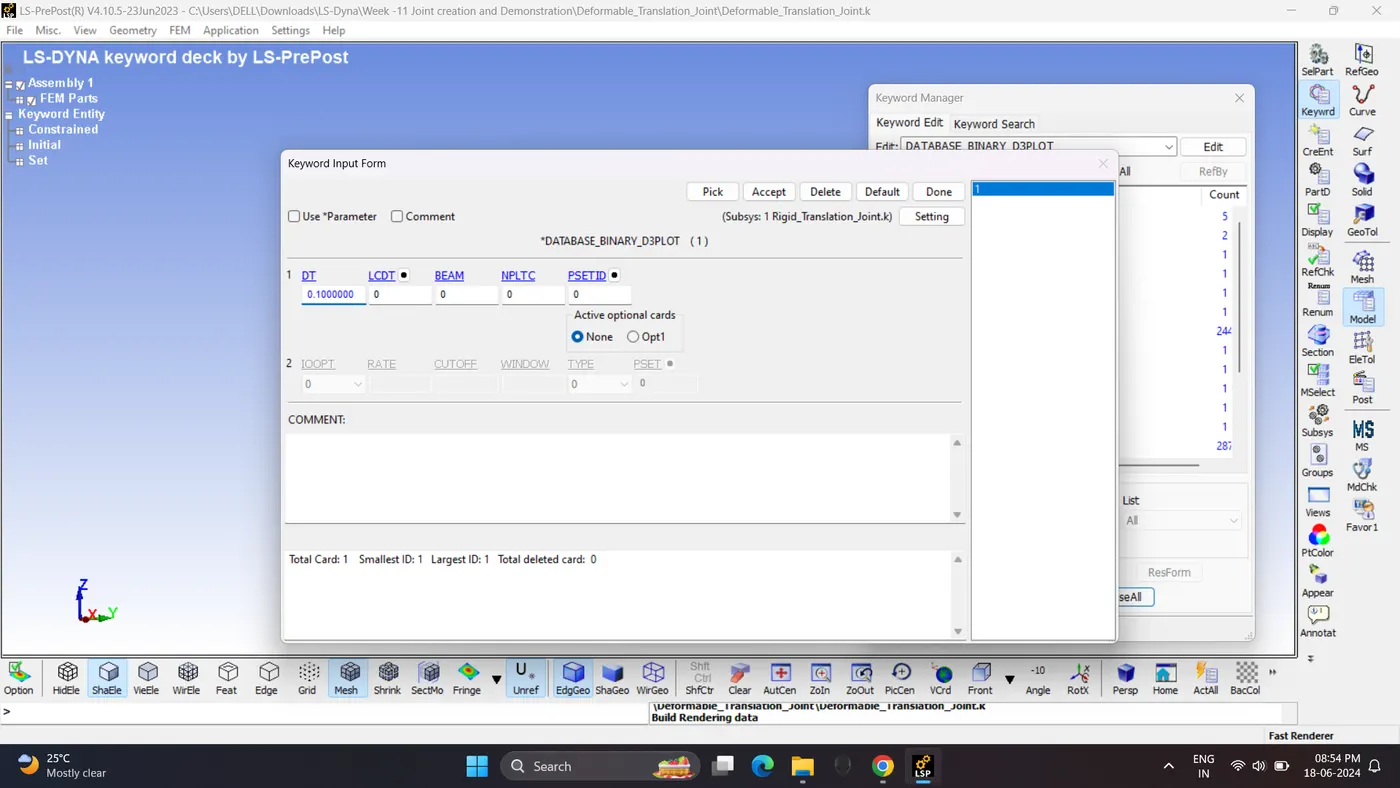
7. Save the file and run the simulation.
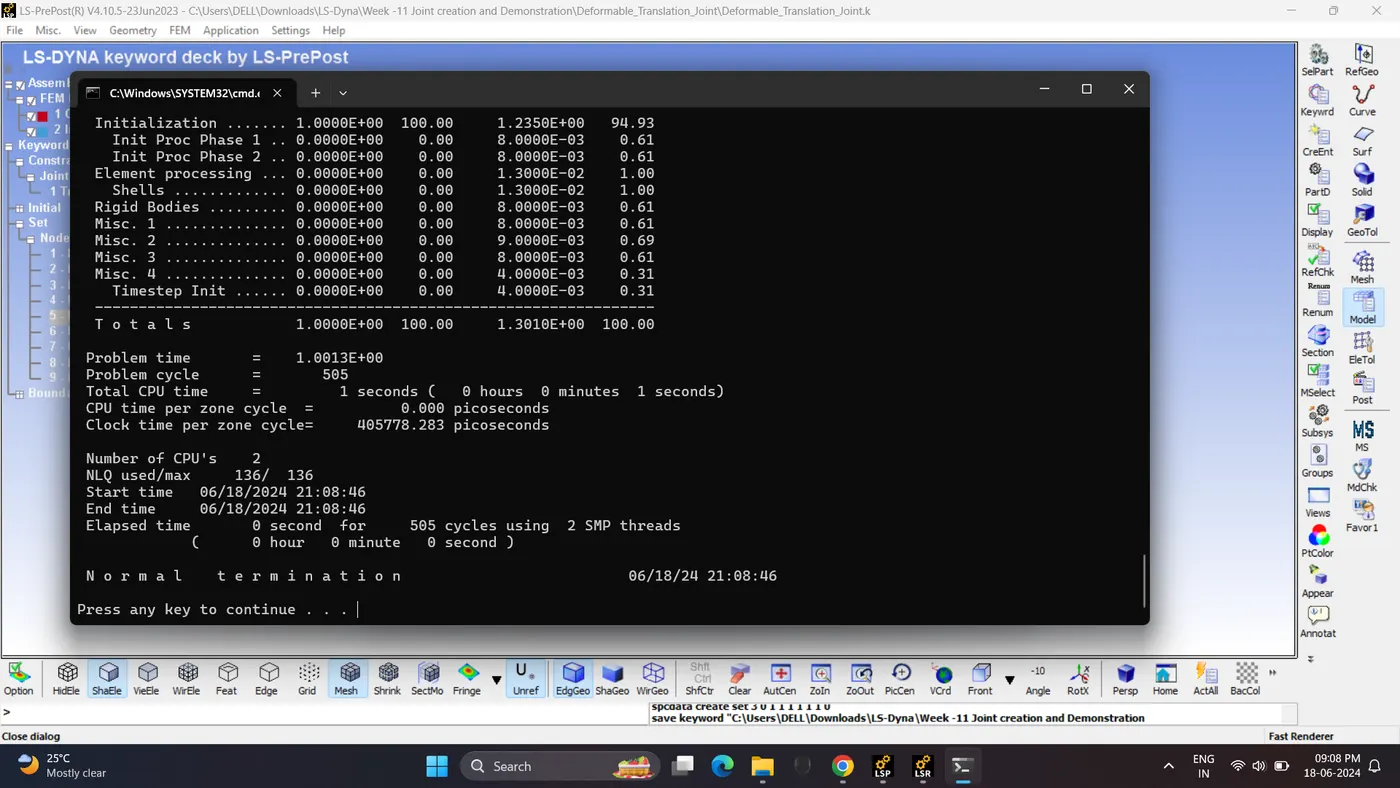
8. Open d3plot file and run the simulation.
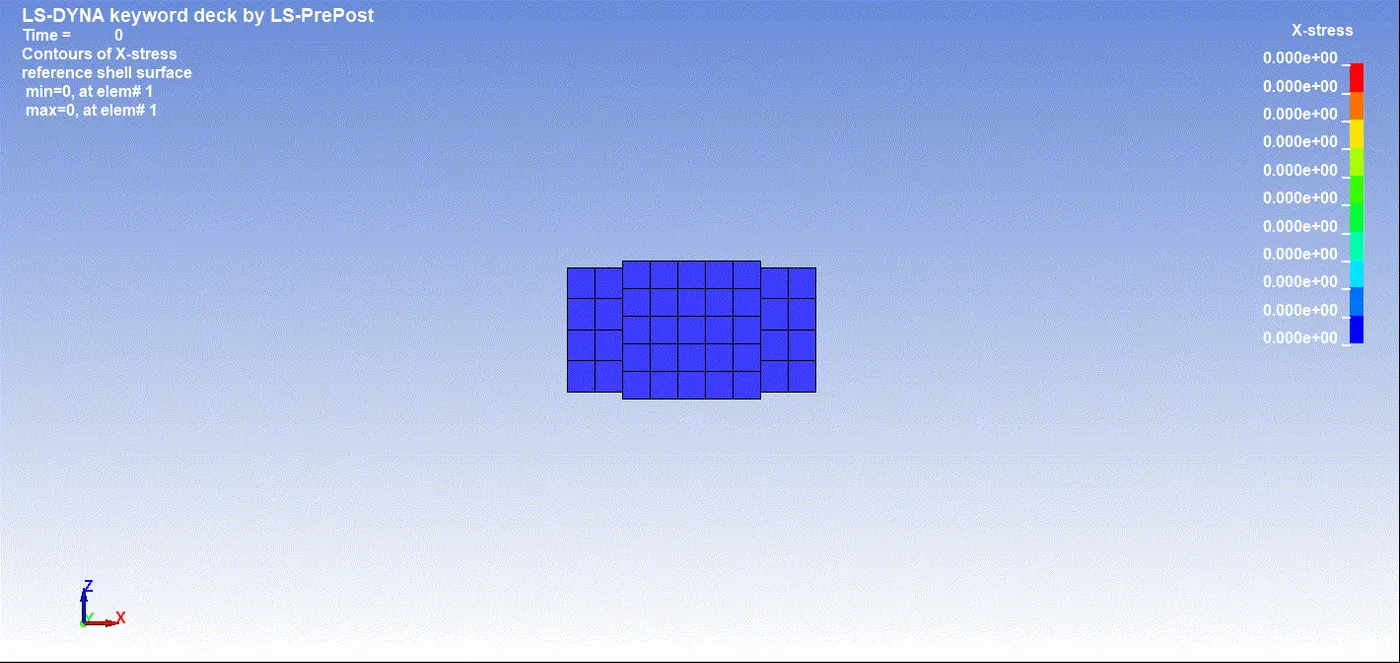
Conclusion:
The joint demonstration for revolute, cylindrical, spherical, and translational joints between two rigid bodies also with two deformable bodies using the *CONSTRAINED_JOINT keyword is done successfully. Here we have used *CONSTRAINED_EXTRA_NODES and CNRBs to create the joint accordingly for two cases. Although the definition of joints for the two cases remains the same, the ways of implementation differ.