Assignment 1-2D Meshing Challenge
Objective:
Carry out the geometry cleanup operation on the given 3 files.
- Practice
- Clip Repair
- Mounting Bracket
There should not be any free edges, convert all of them into refine geometry.
- Clean the geometry.
- Extract midsurface.
- Clean midsurface geometry.
- Ignore holes less than dia 5mm.
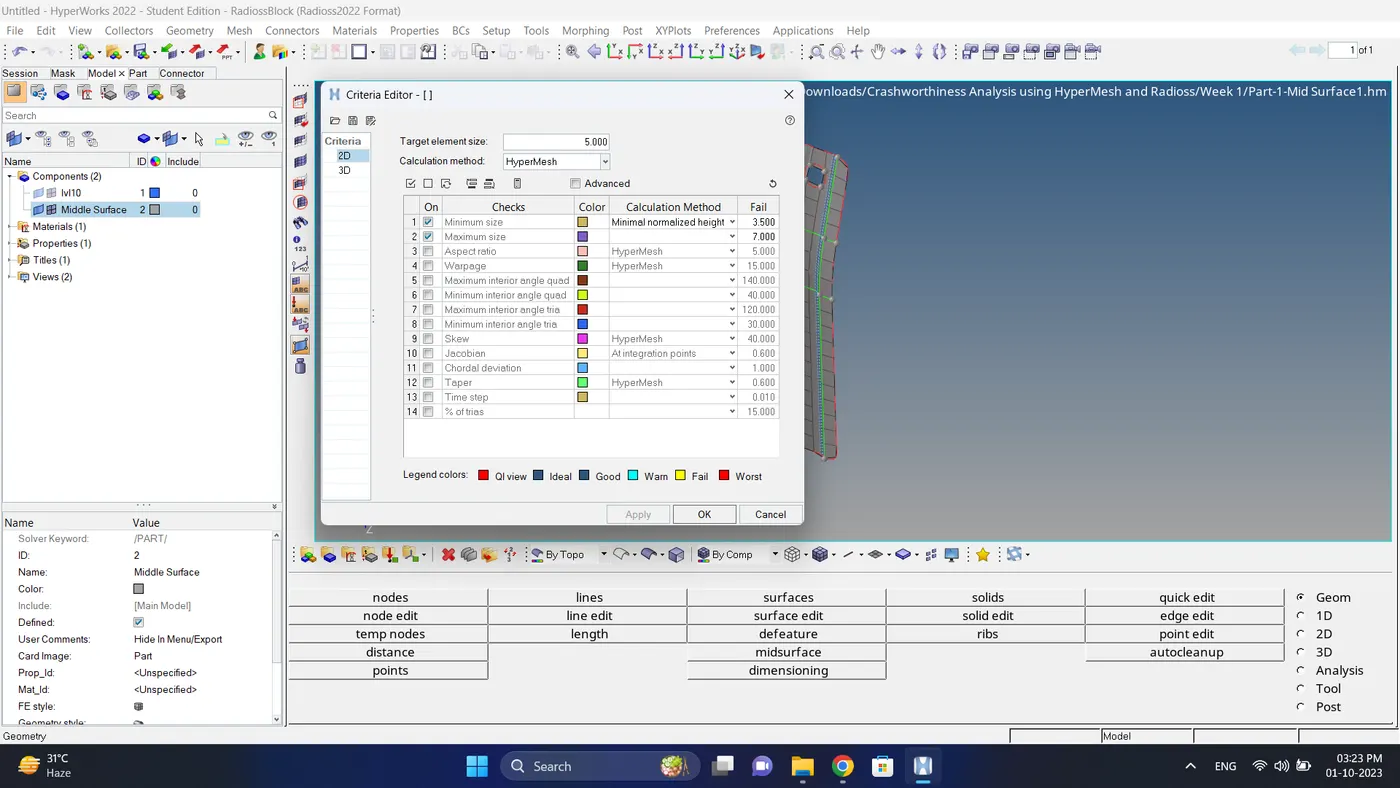
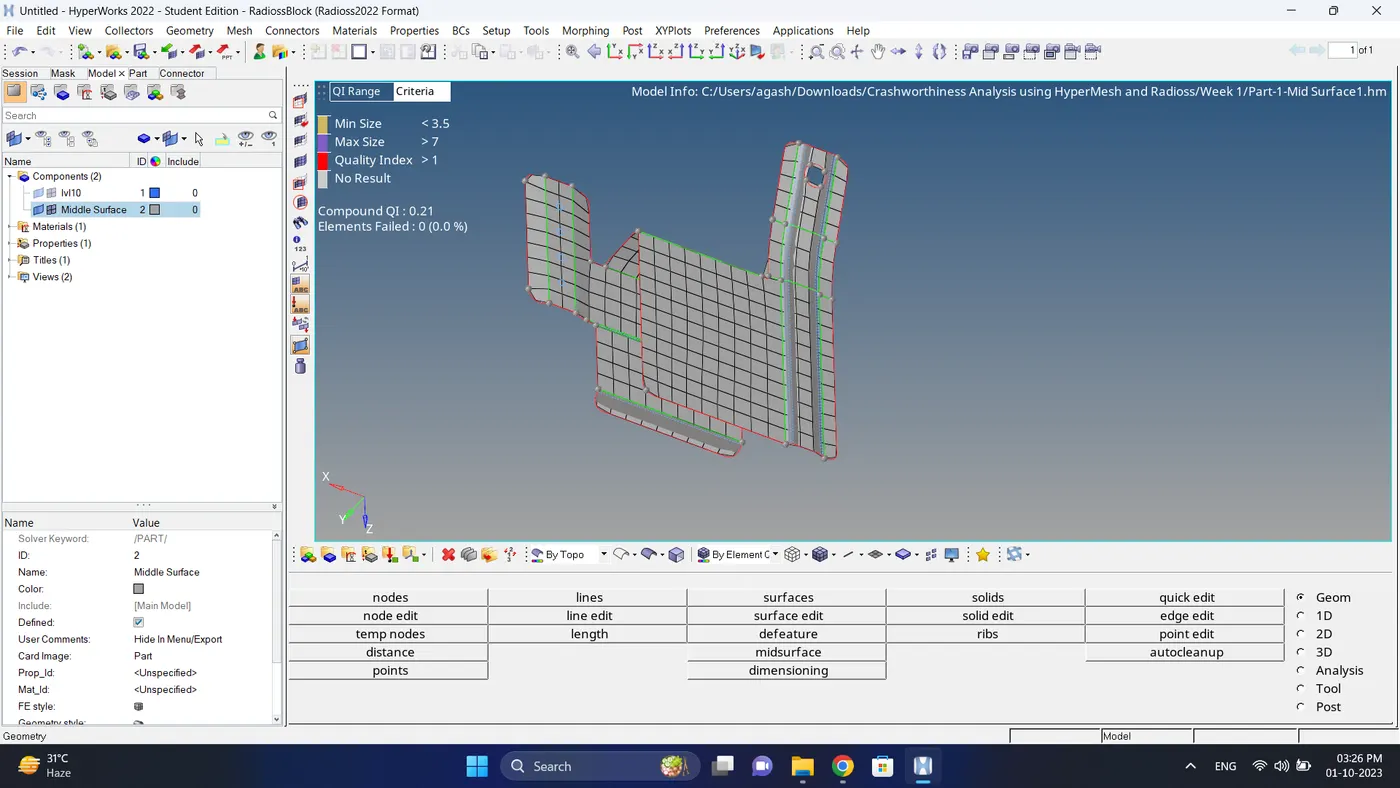
- Create 2D mesh with target length 5mm, min 3.5mm max 7mm.
- And assign proper thickness, by creating a generic property.
- Then Save in .hm format.
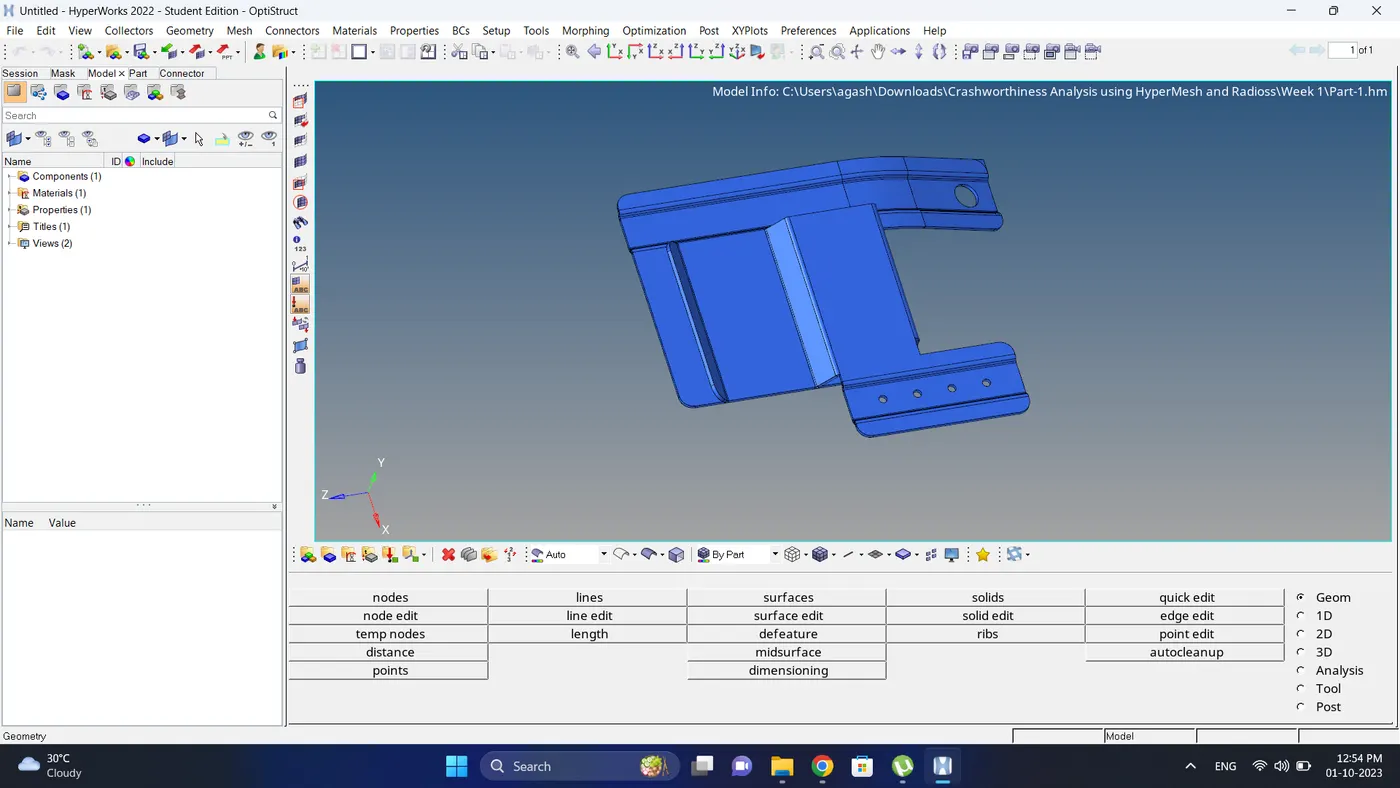
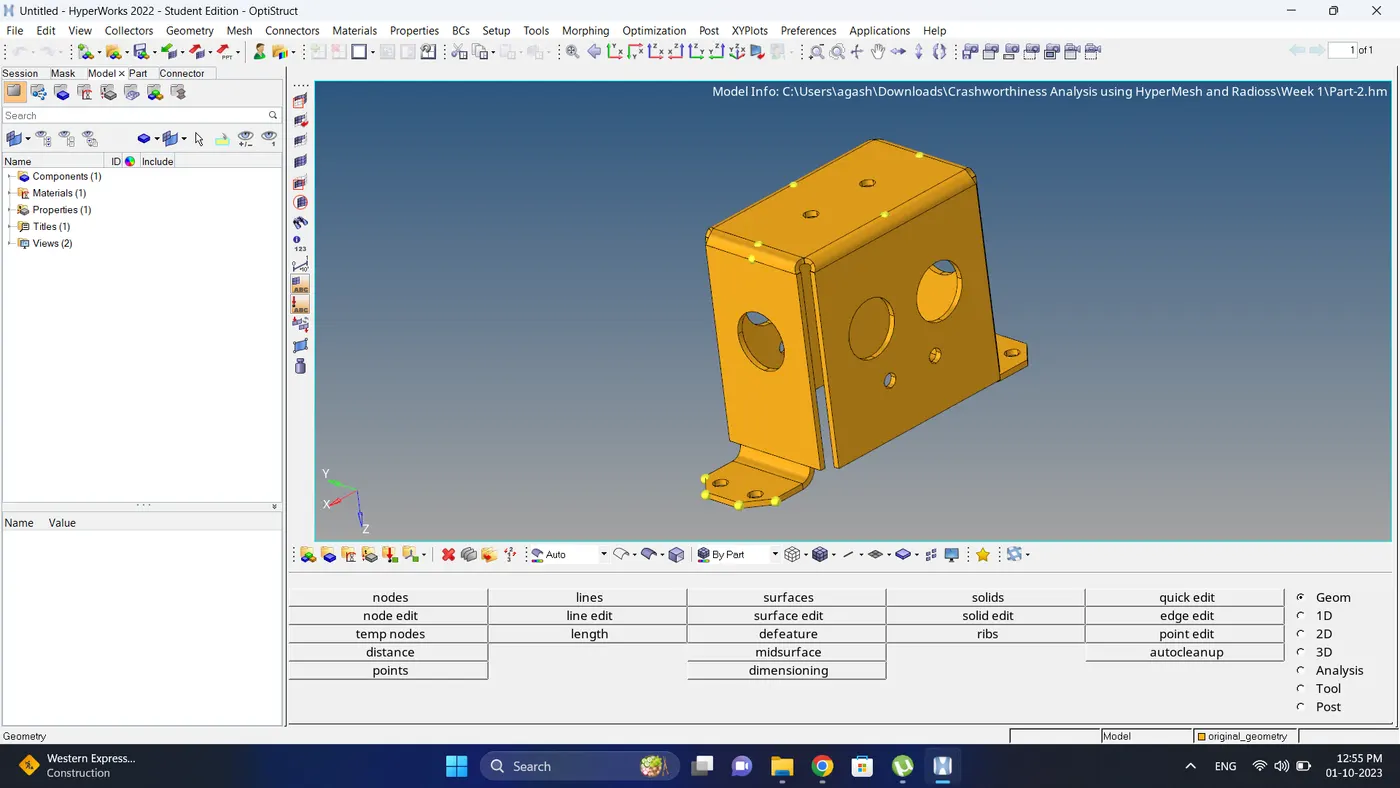
Initial Model Image:
Part 1
Part 2
Procedure:
Part 1.
1. Open the Model (Part 1).
2. Check the geometry.
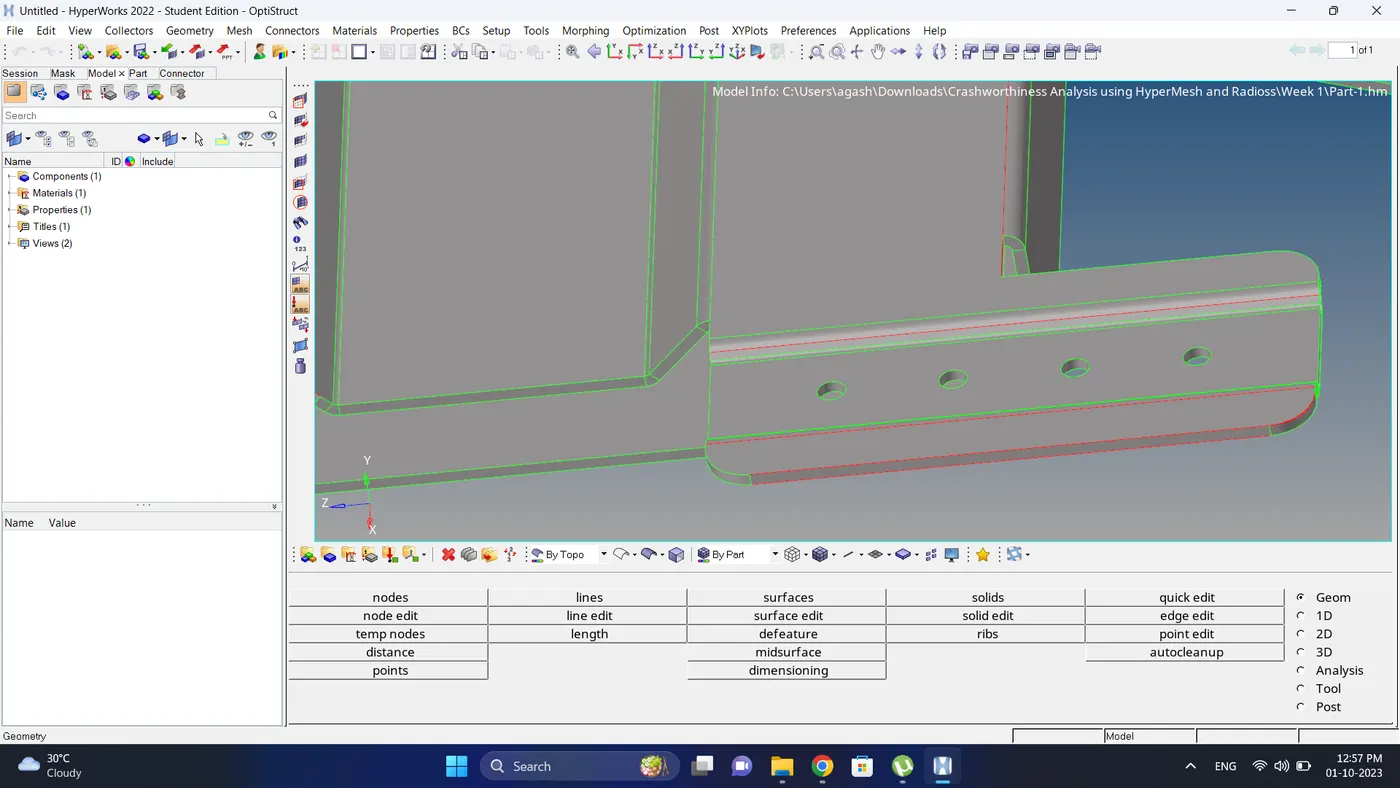
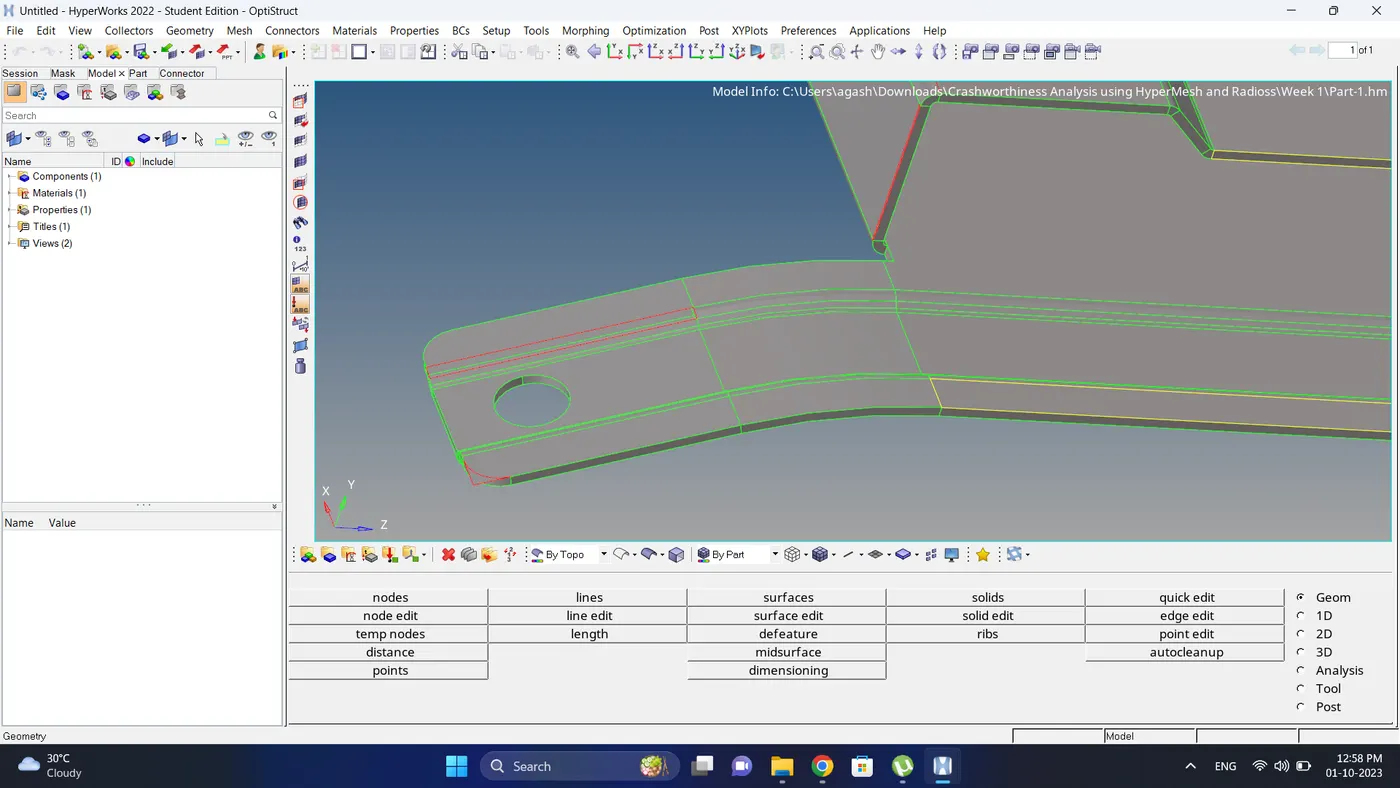
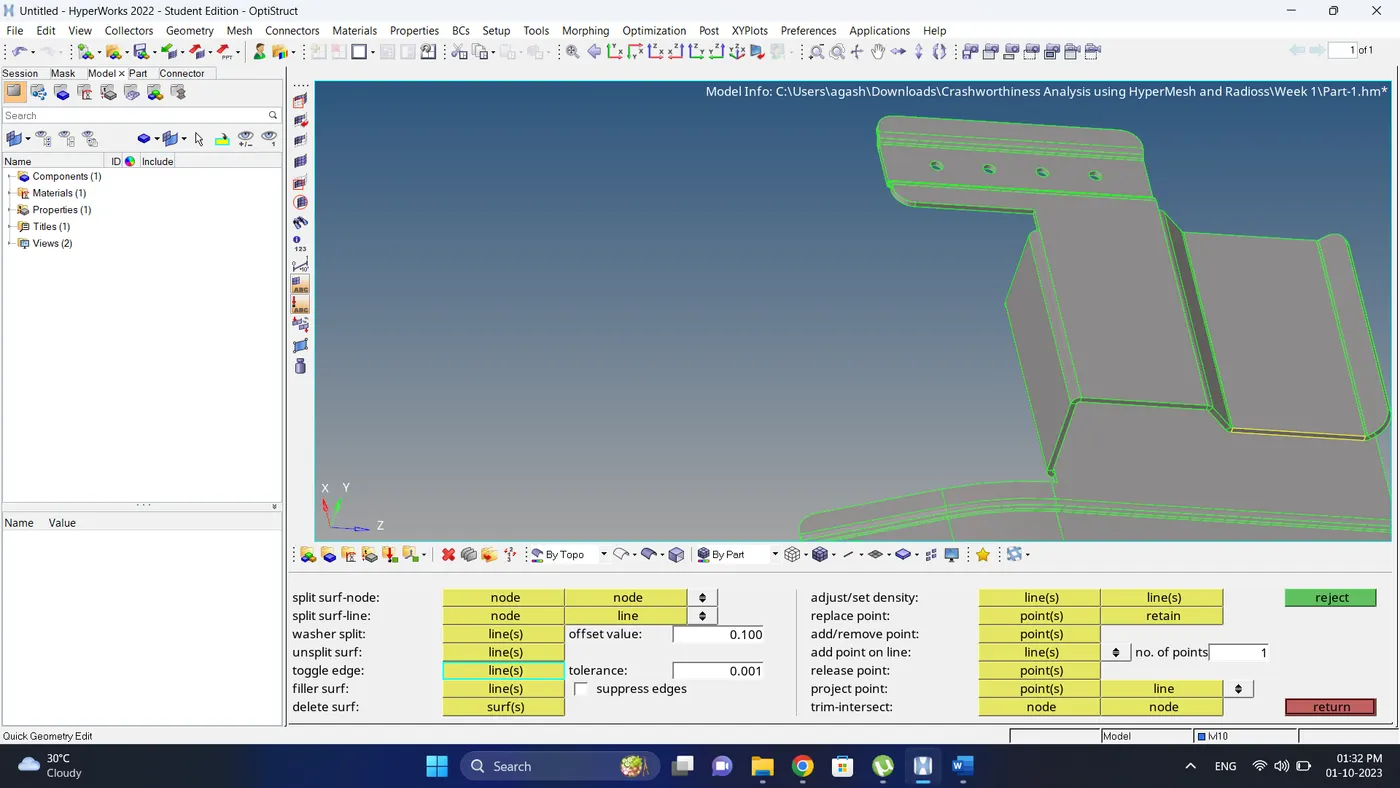
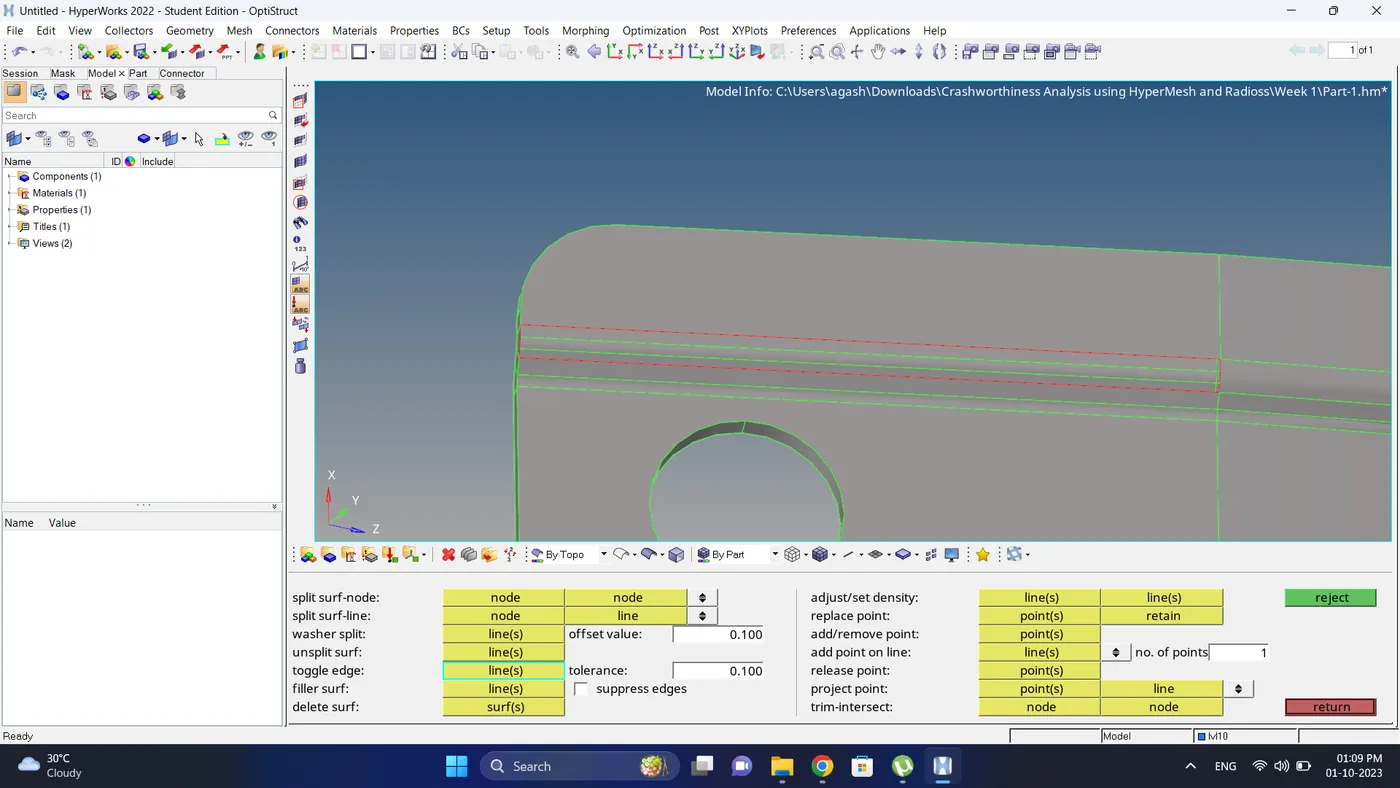
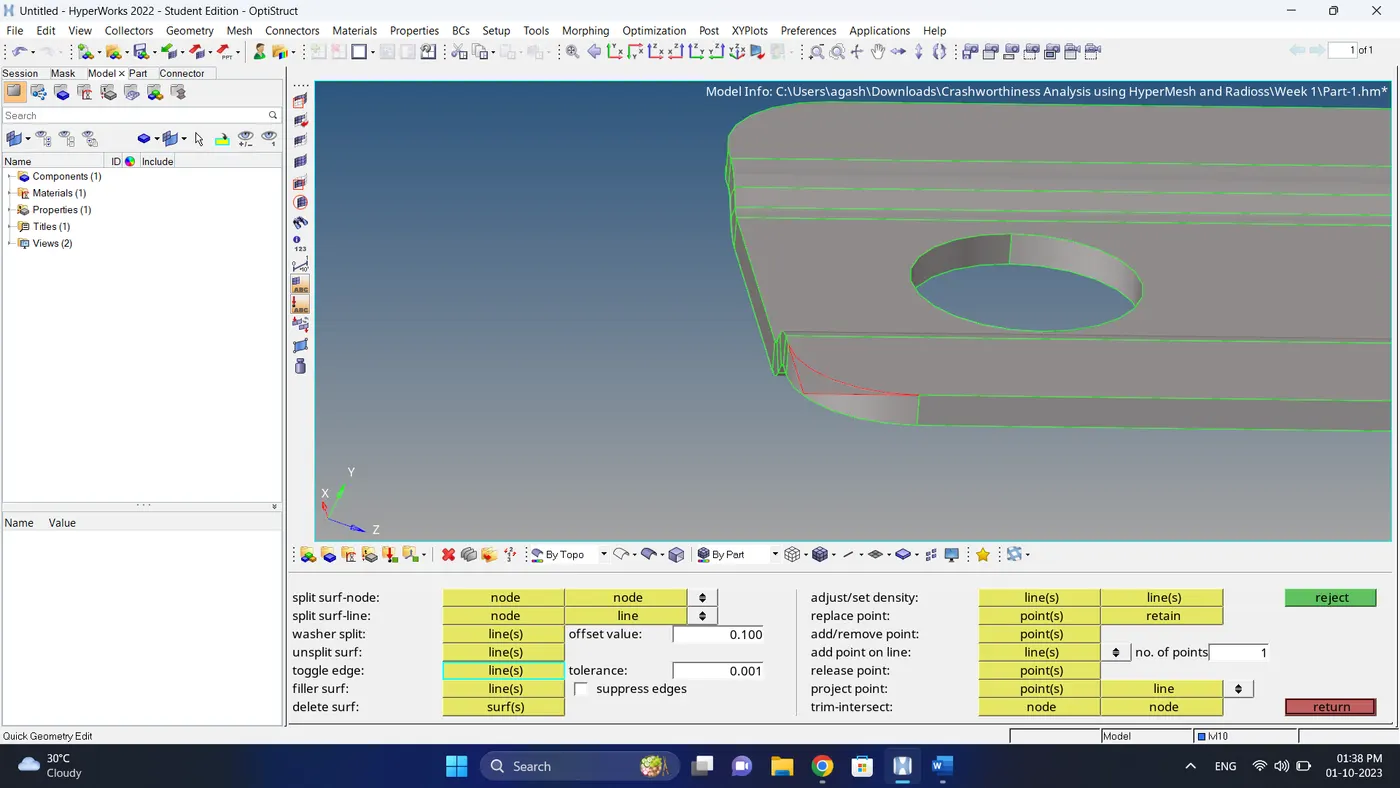
3. Firstly fixed the geometry where there are free edges using Geom - quick edit - toggle edge option.
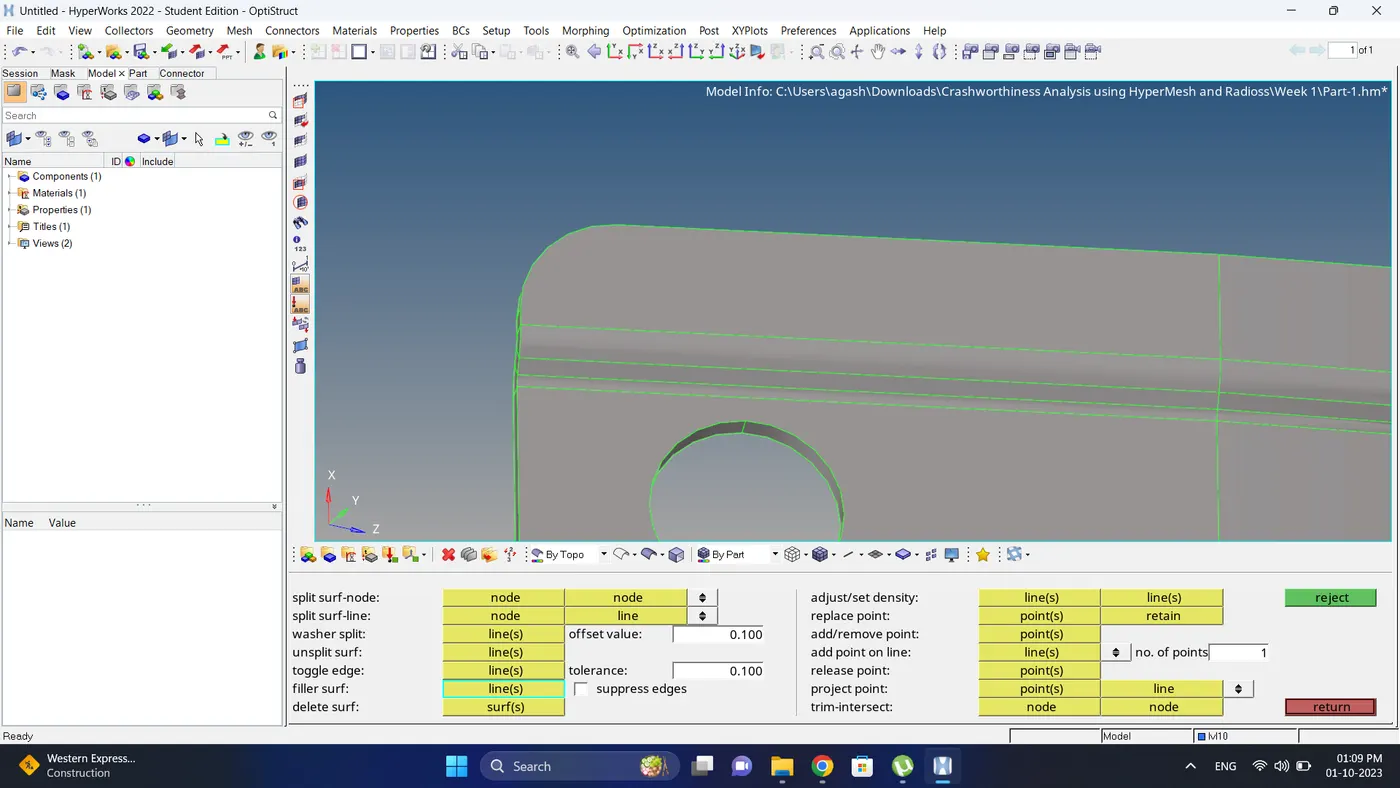
4. In some region where surface is missing create a surface using Geom - quick edit - filler surface.
<!--[endif]-->
<!--[endif]-->
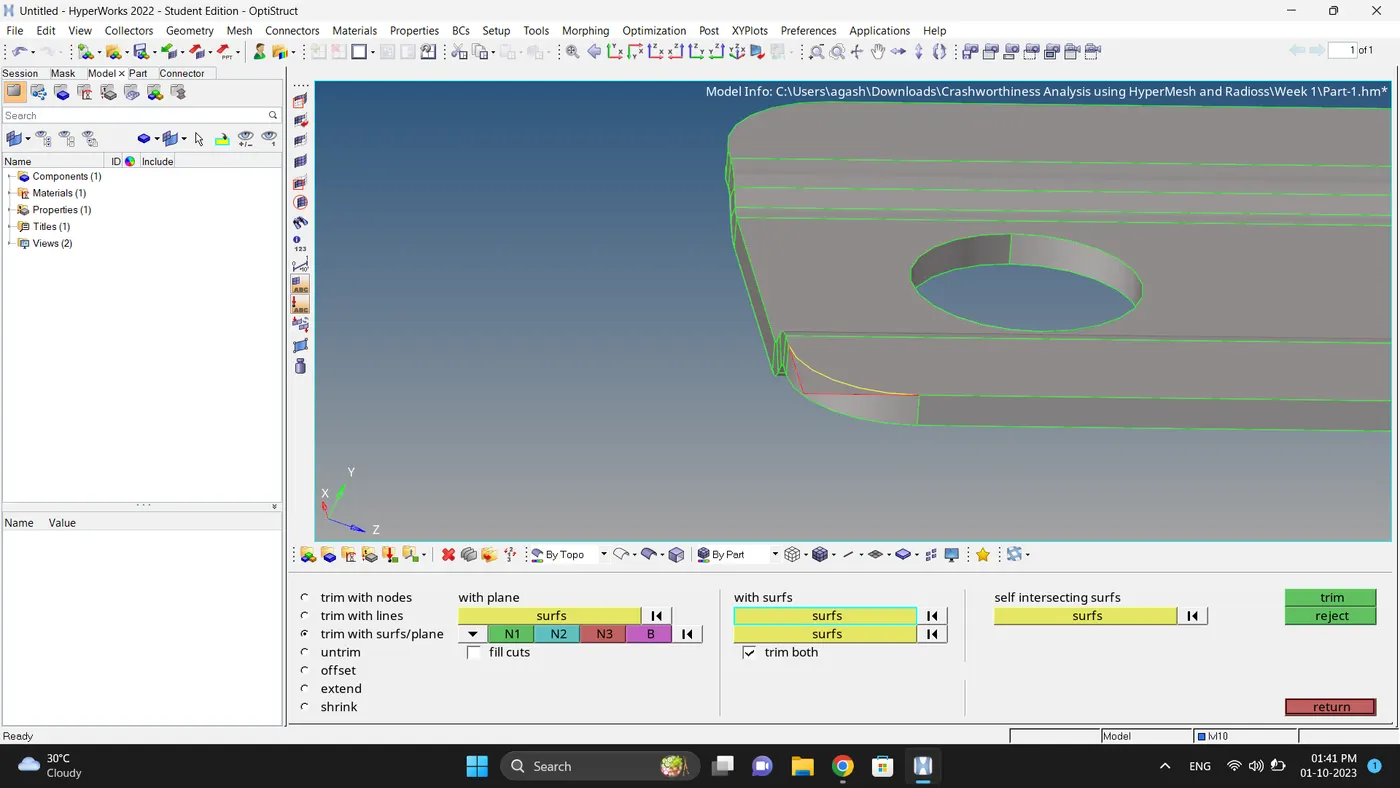
5. To fix this region firstly intersect this two surface using Geom - surface edit - trim with surfs/plane and then delete the extra surface.
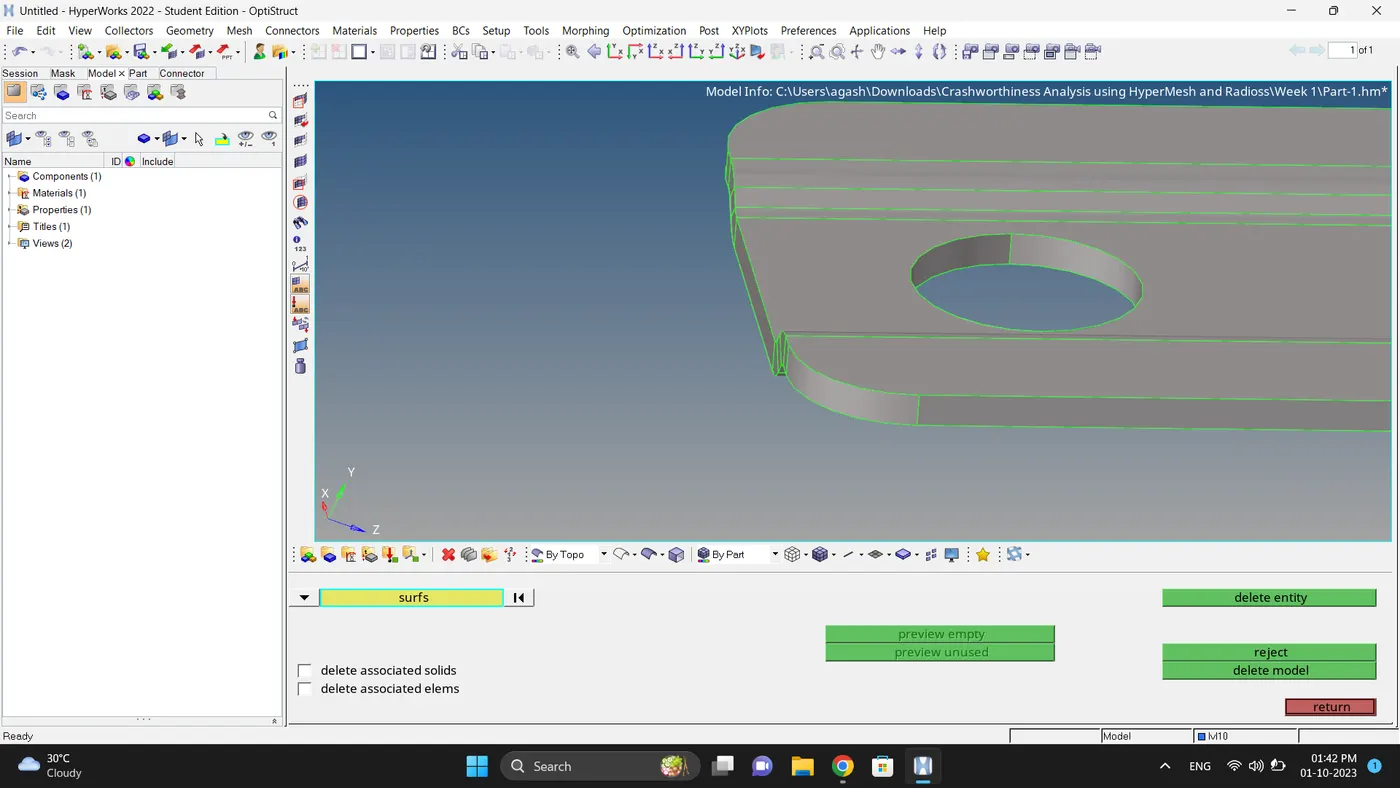
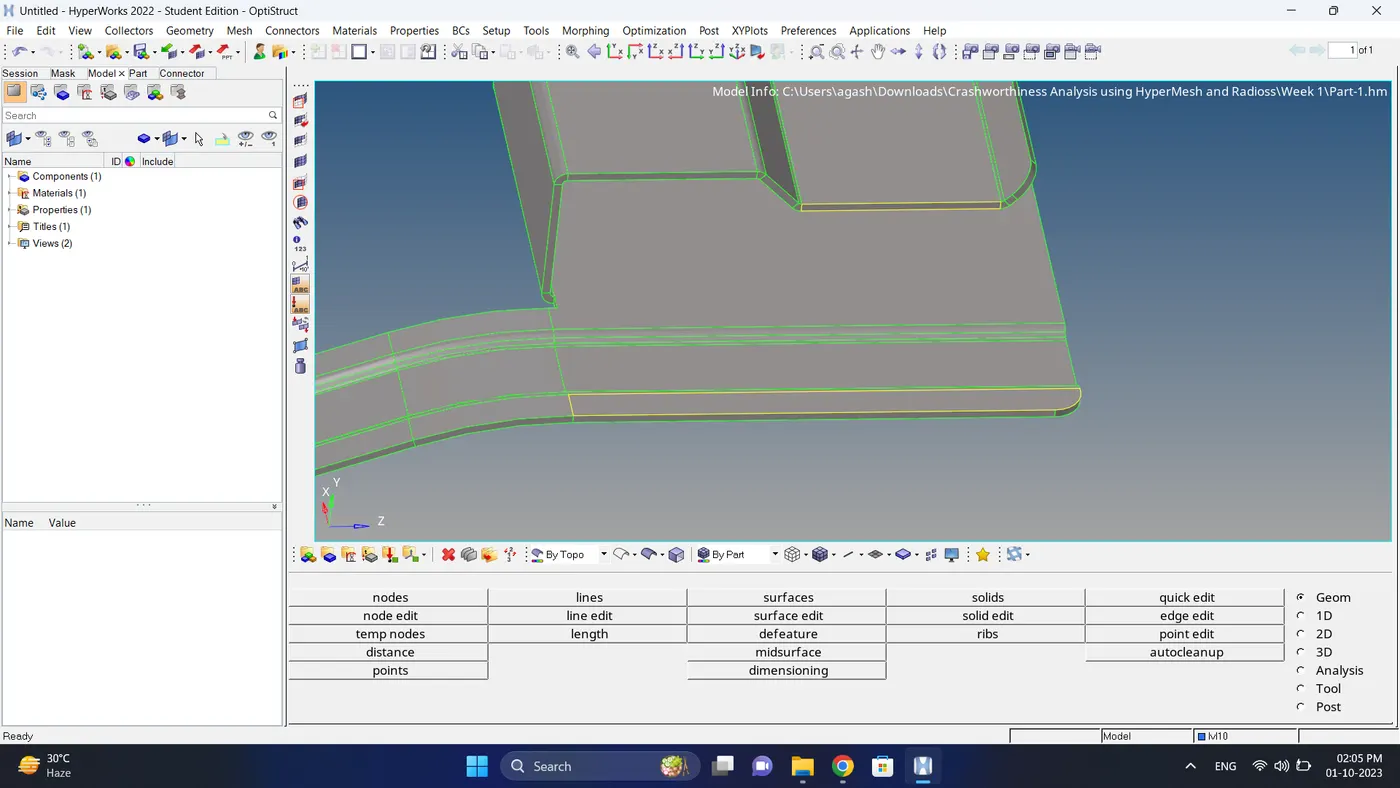
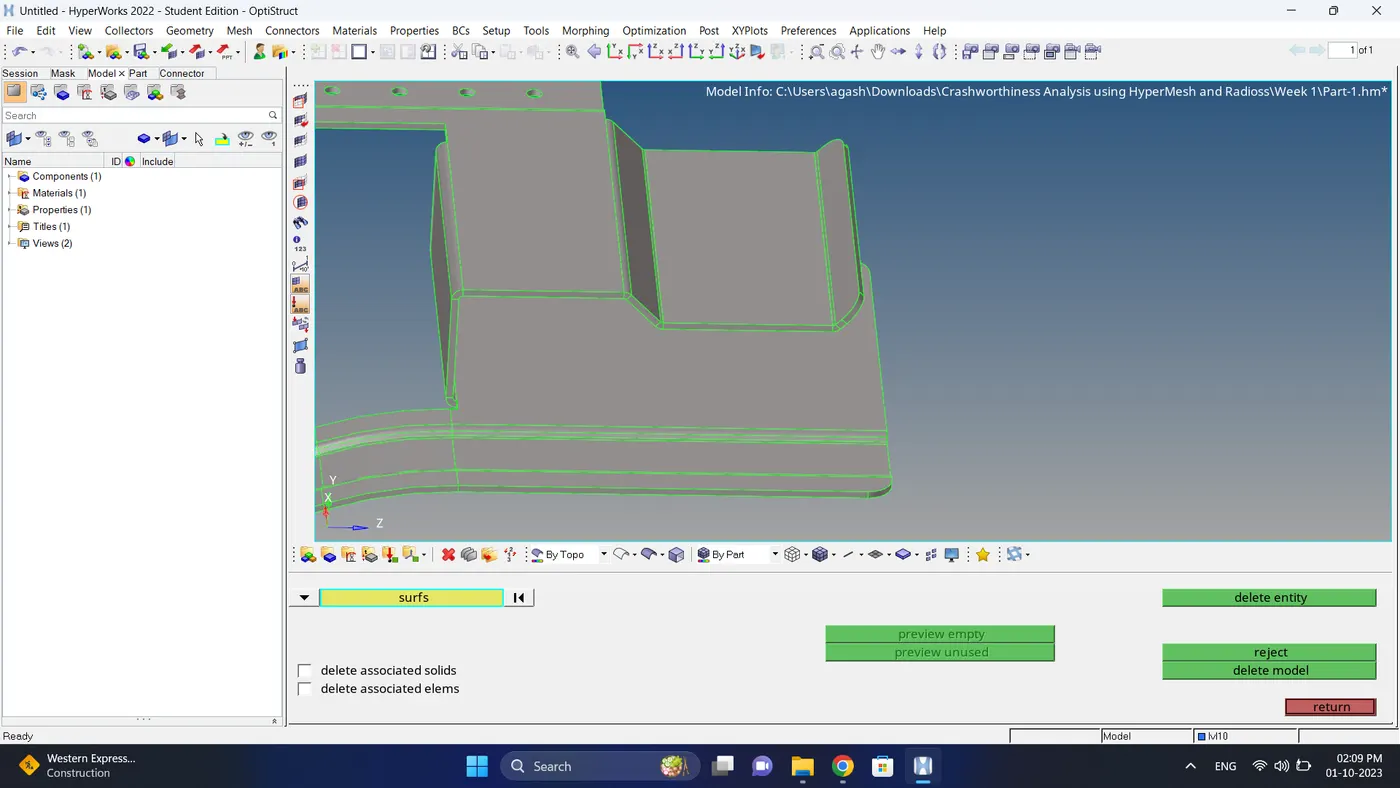
6. Yellow con indicate thats there are a duplicate surface present there to fix this we have to delete the extra surface.
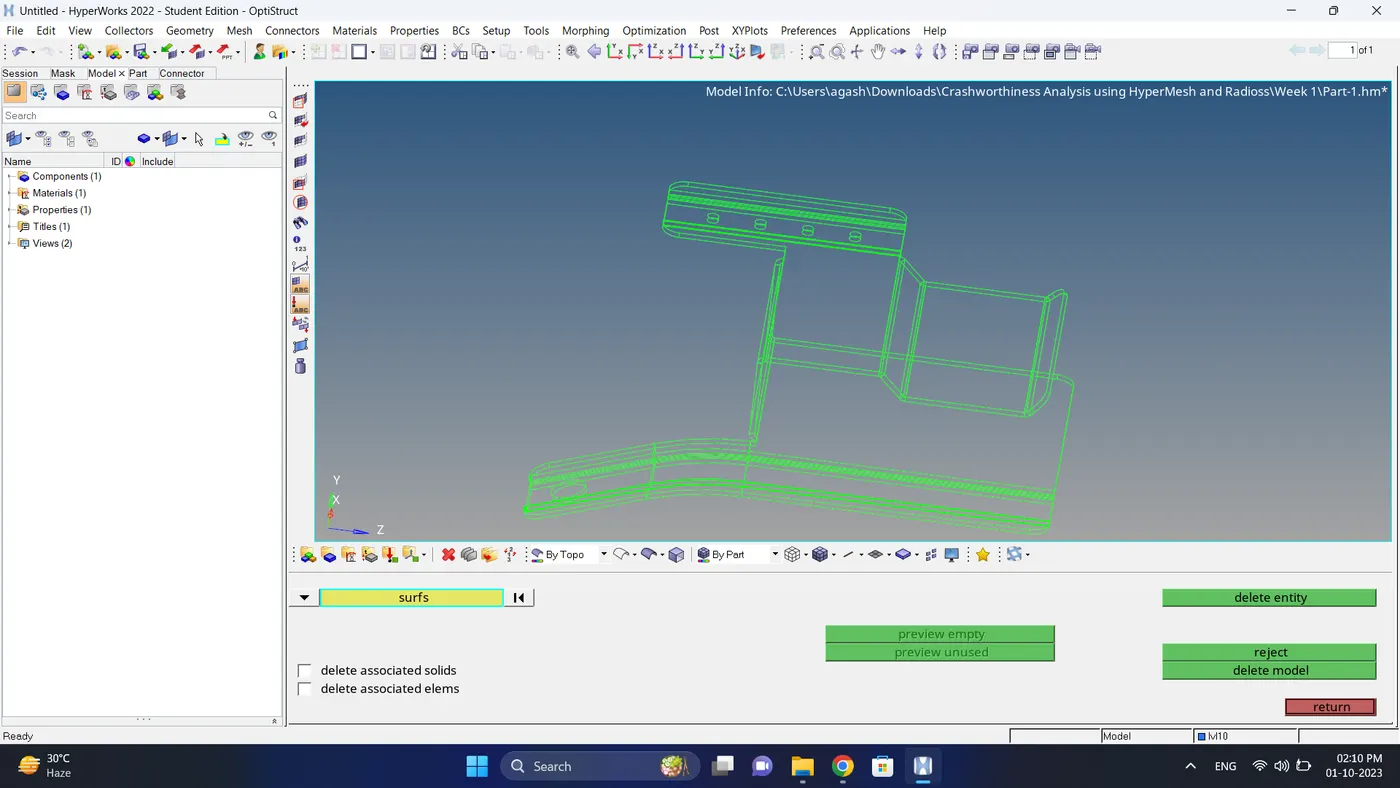
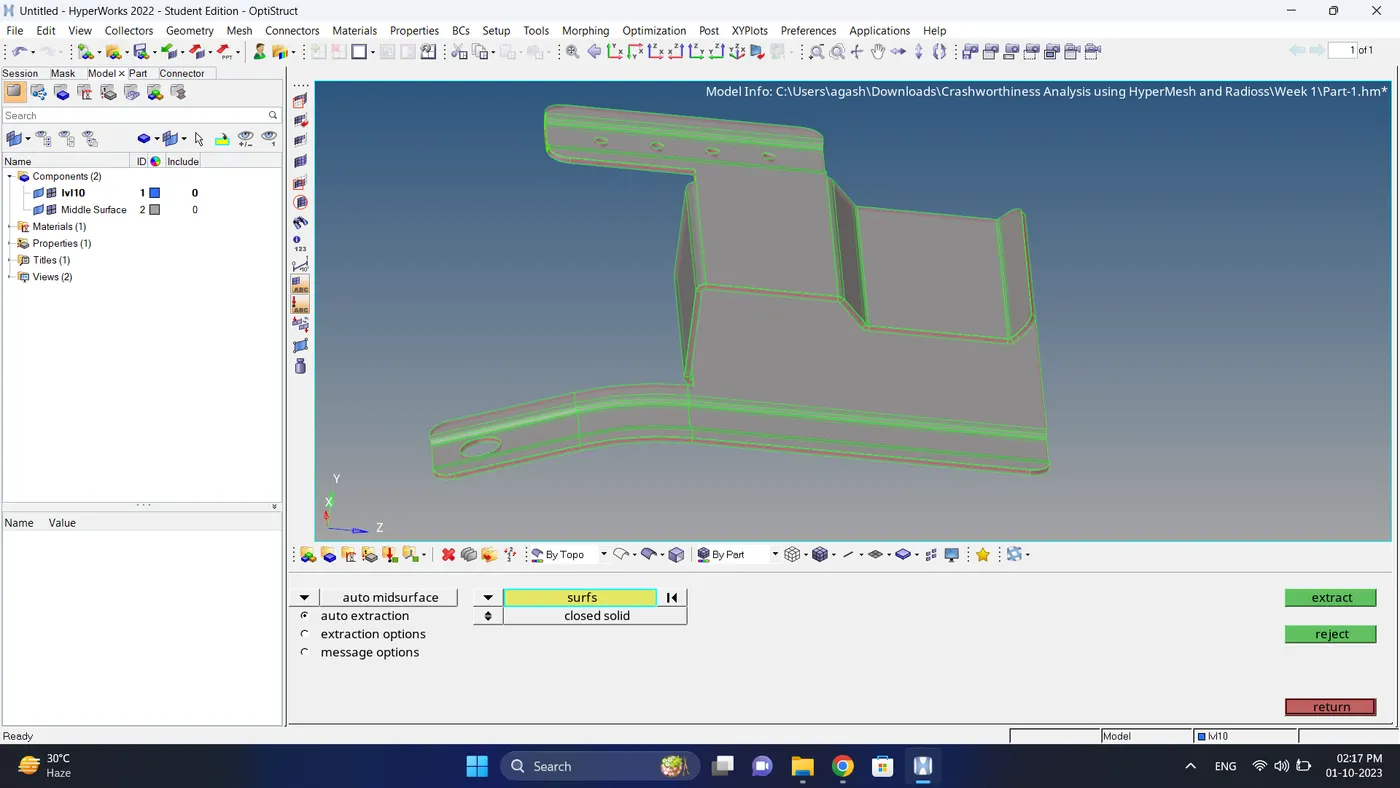
7. After completion of geometry cleanup of parent geometry, create a midsurface using Geom - midsurface option.
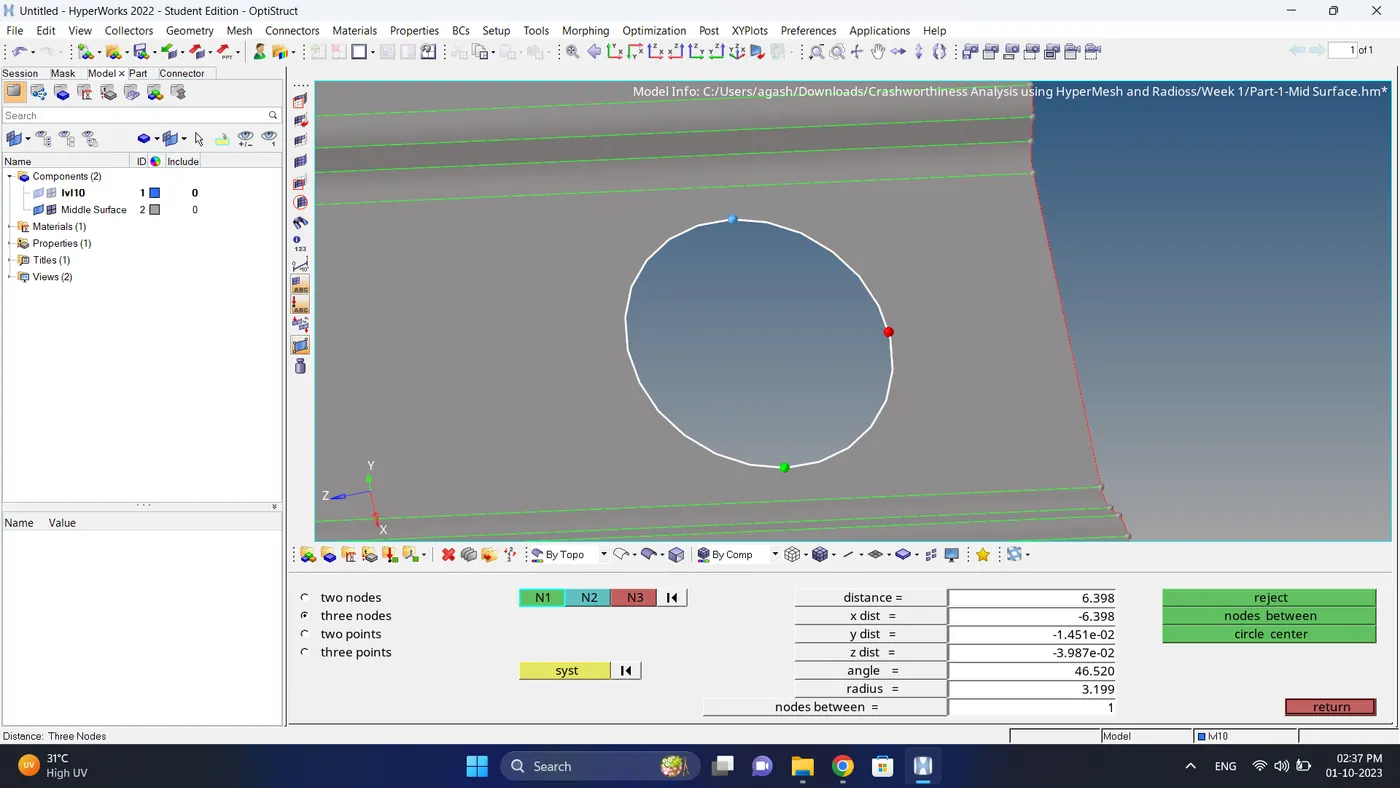
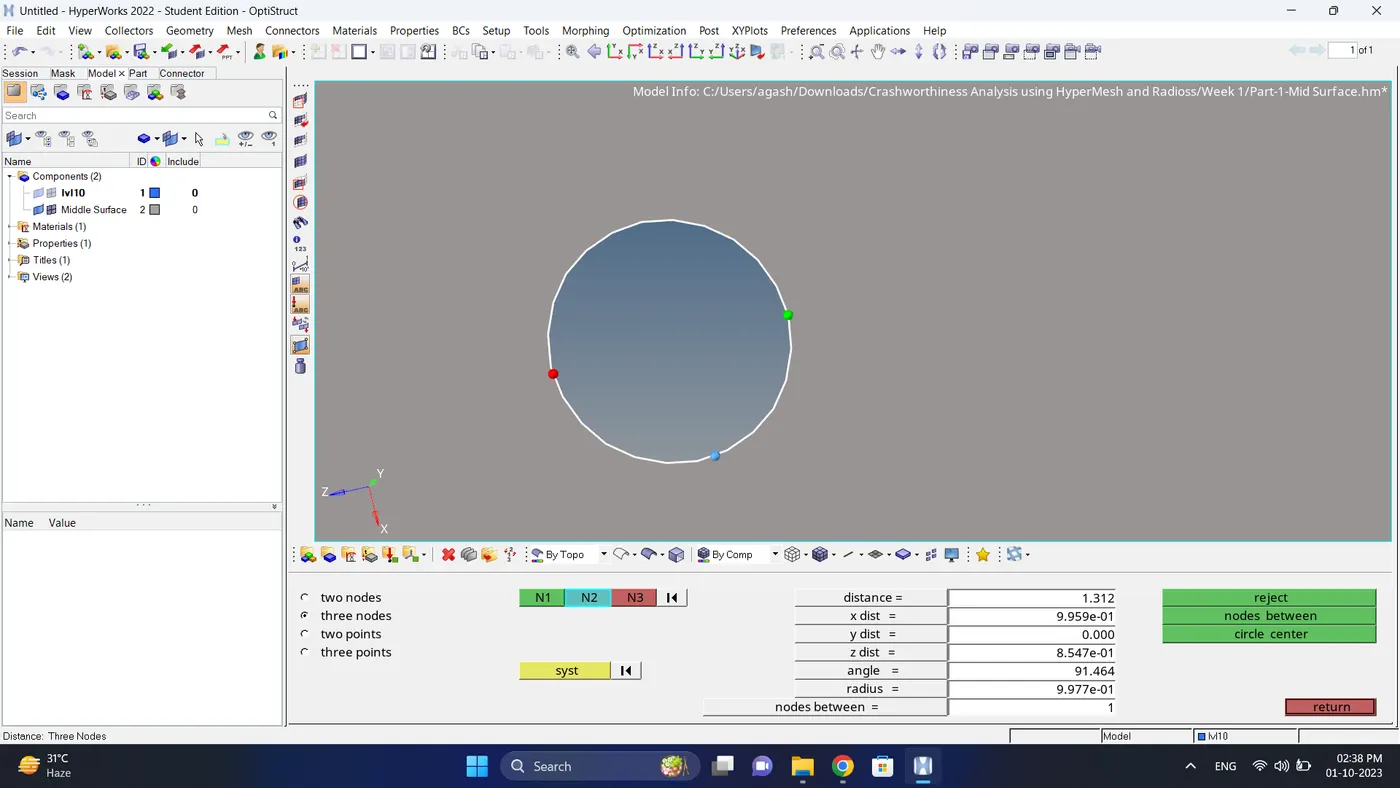
8. Measure the radius of the holes if its less than 2.5 mm then use filler surface option to fill the hole and toggle the line.
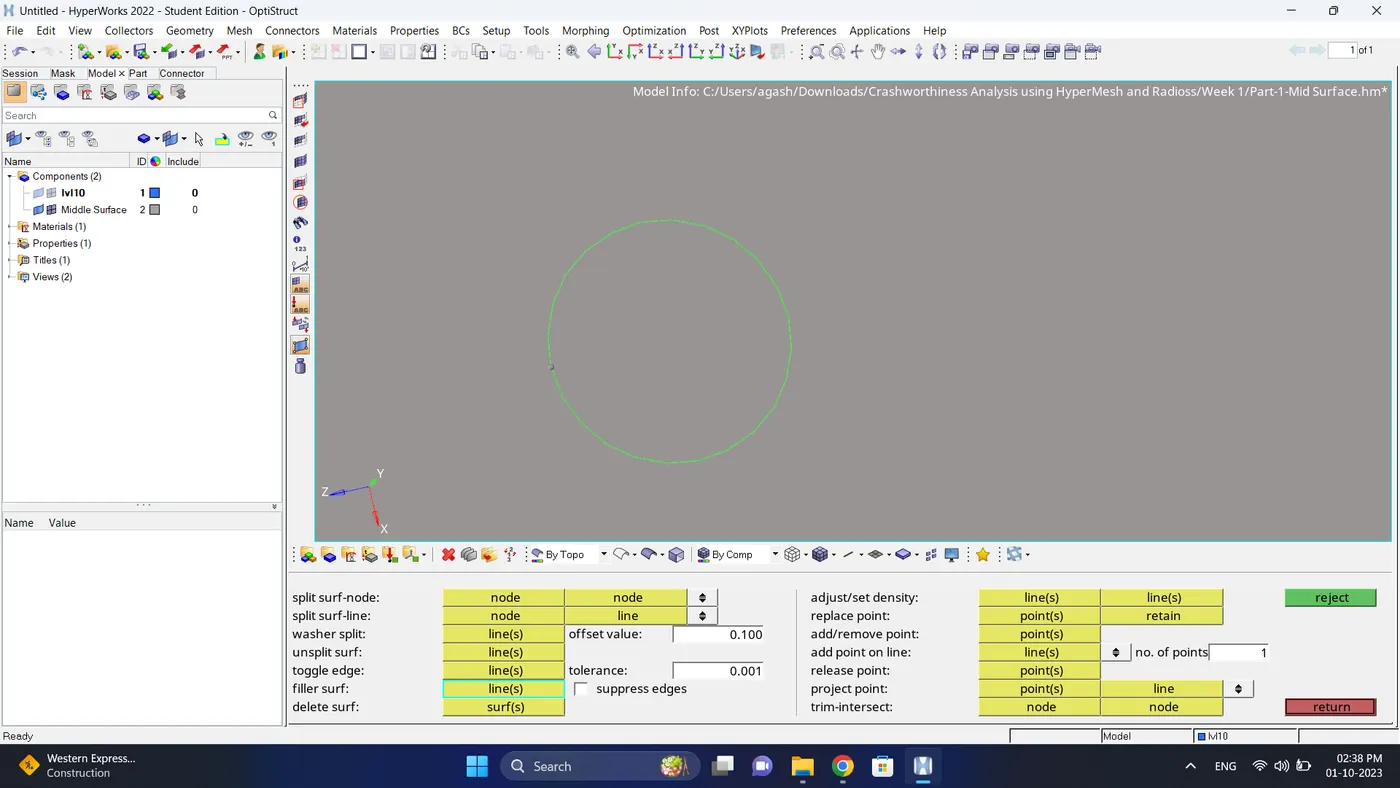
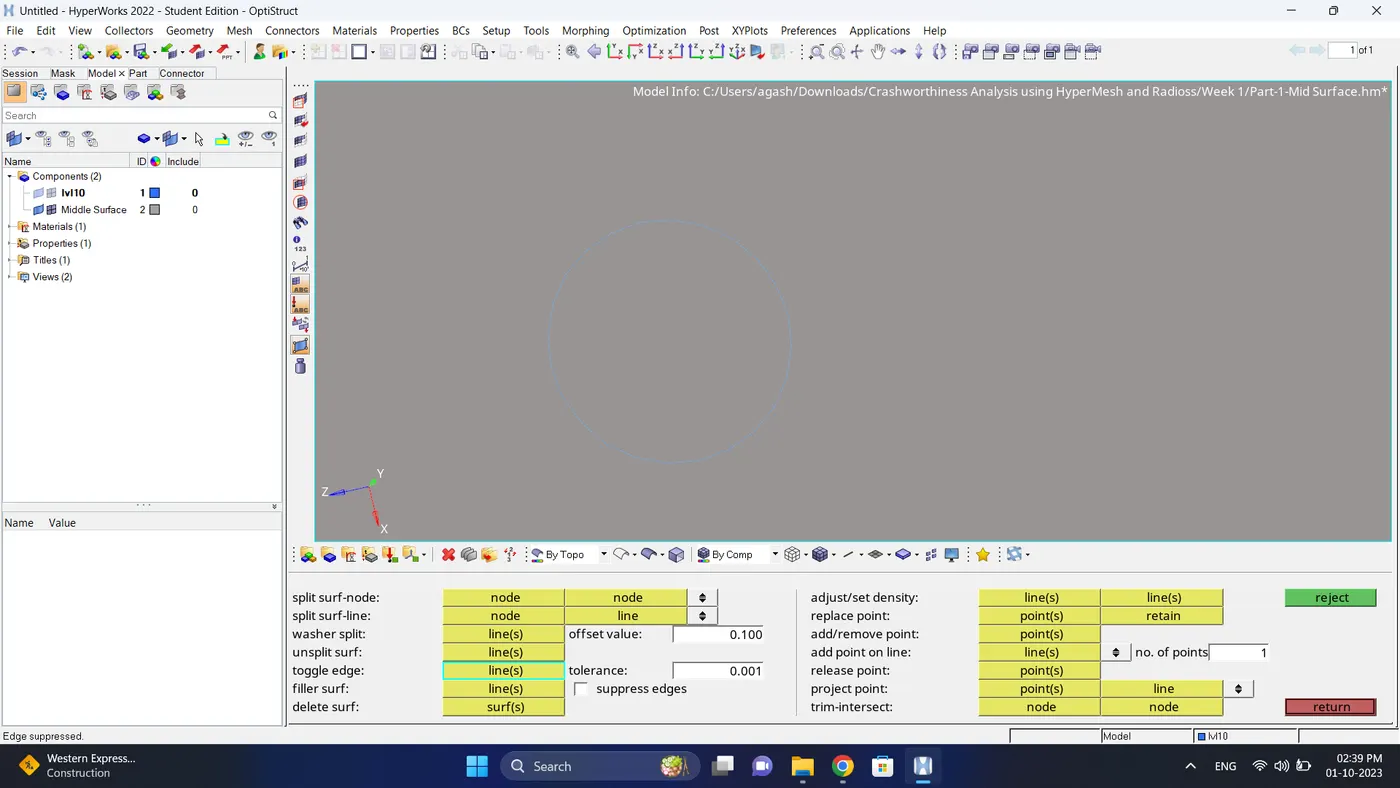
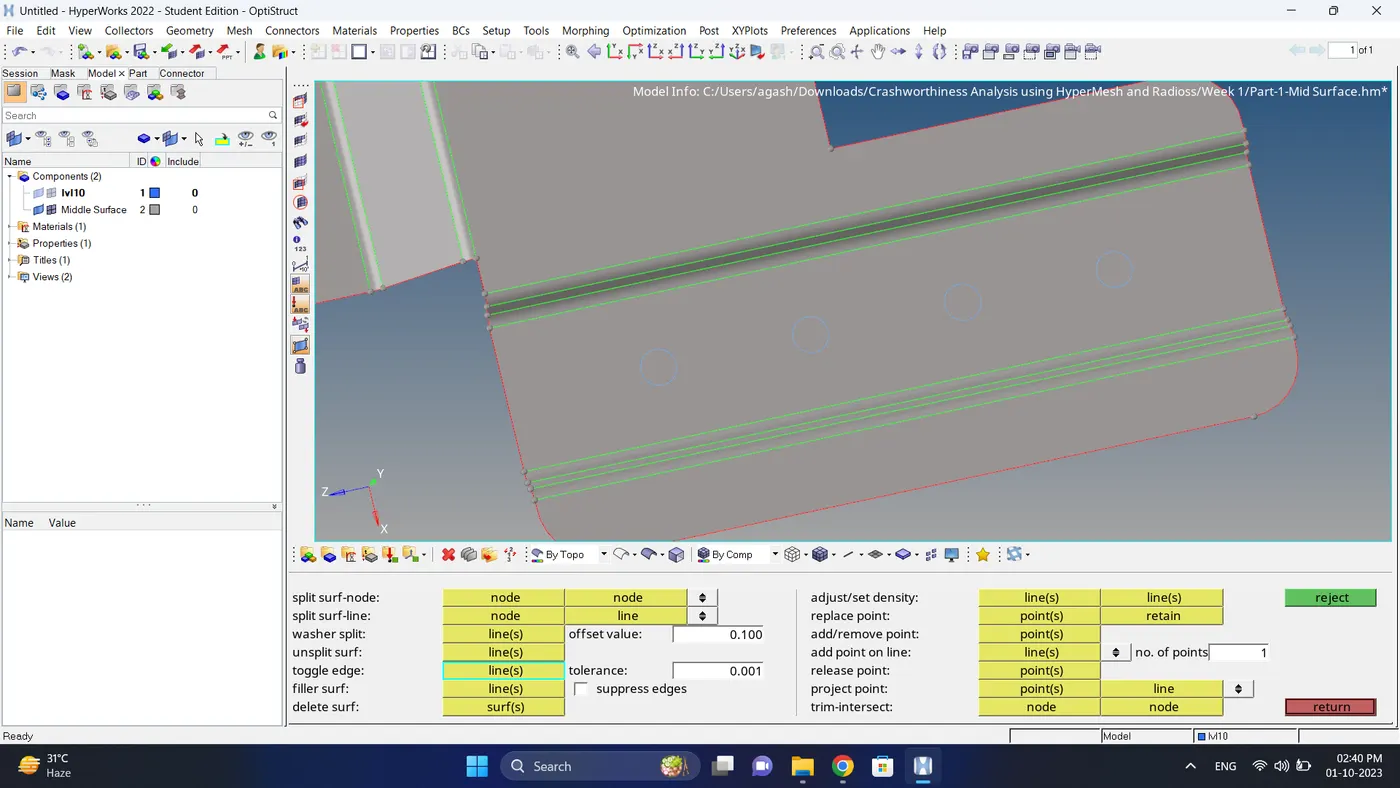
9. Mesh the model using 2d - automesh option.
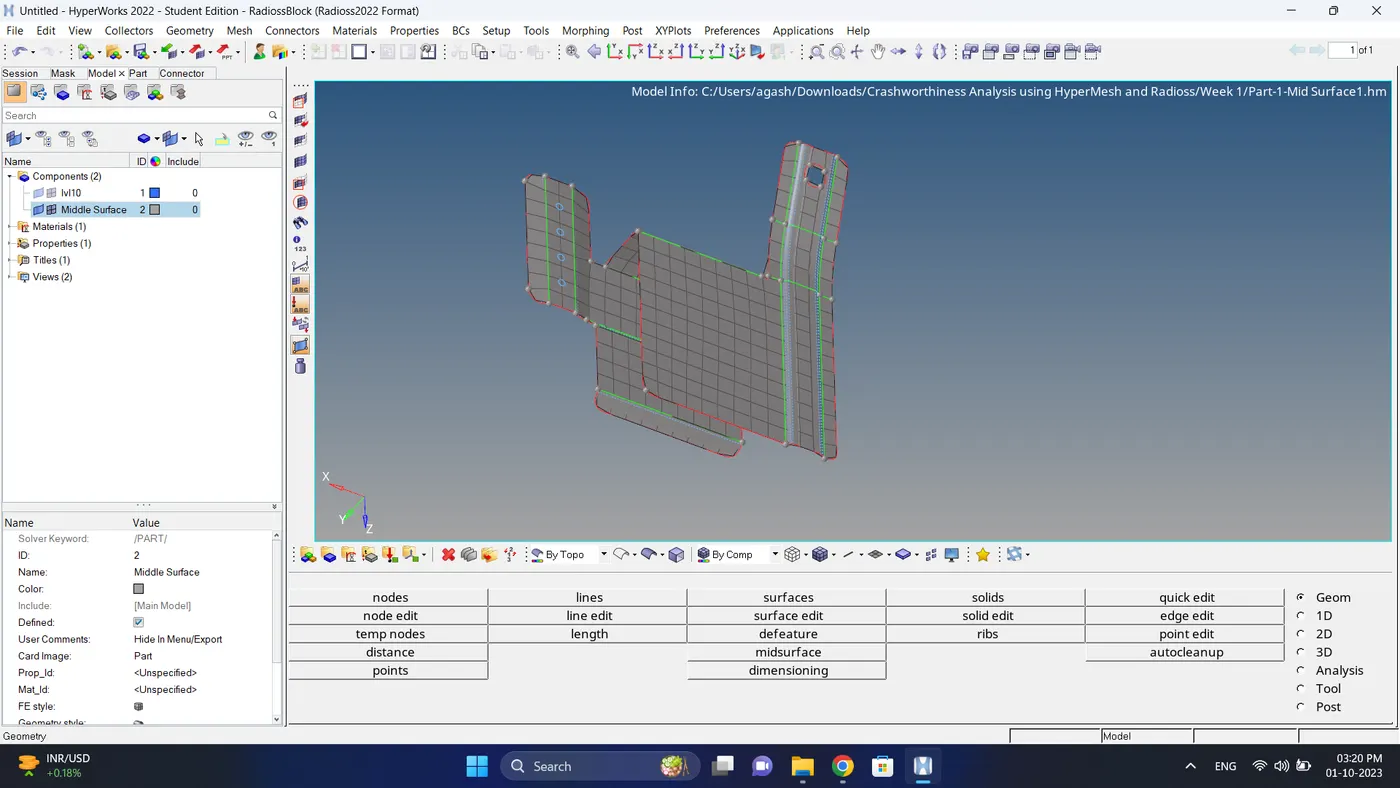
10. Input the quality criteria.
11. Check for the quality if there are element failure fix them.
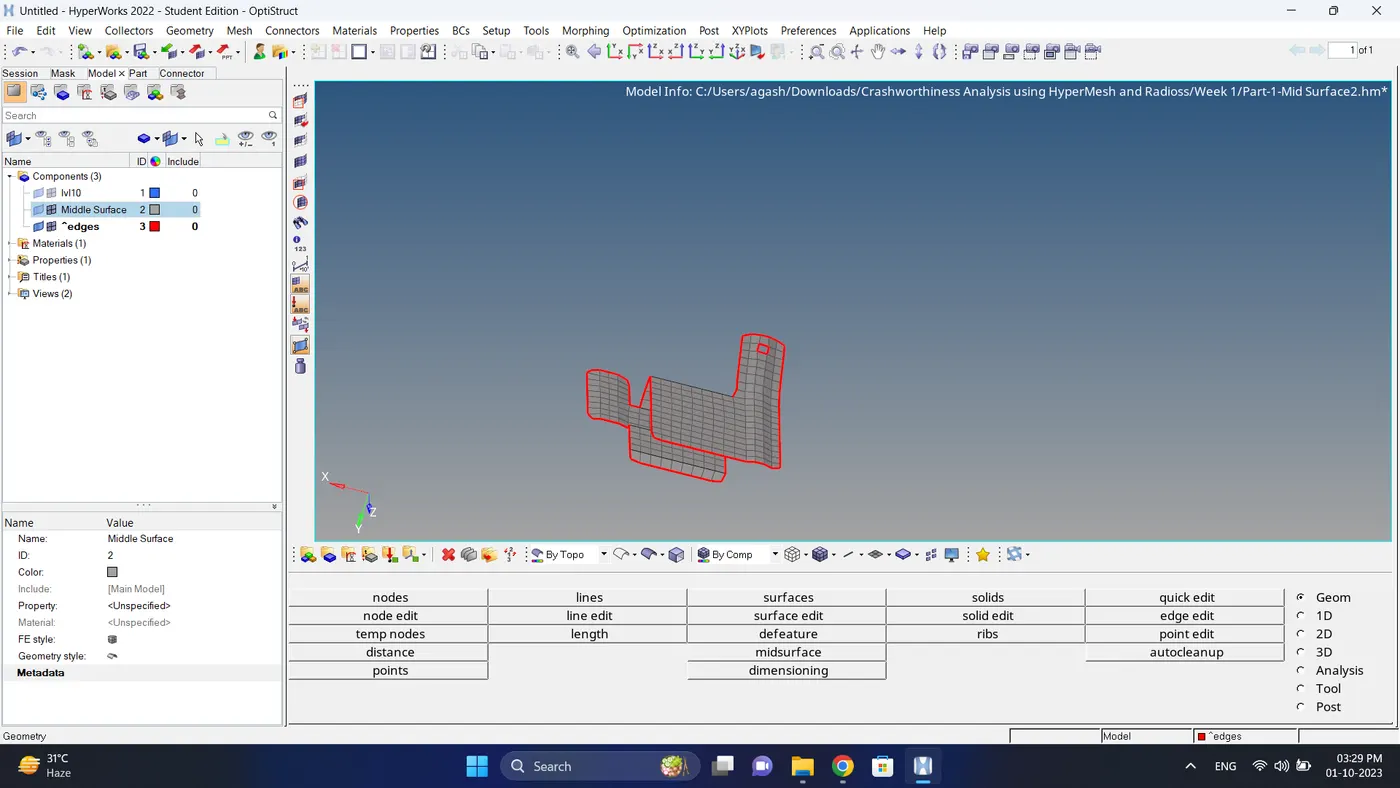
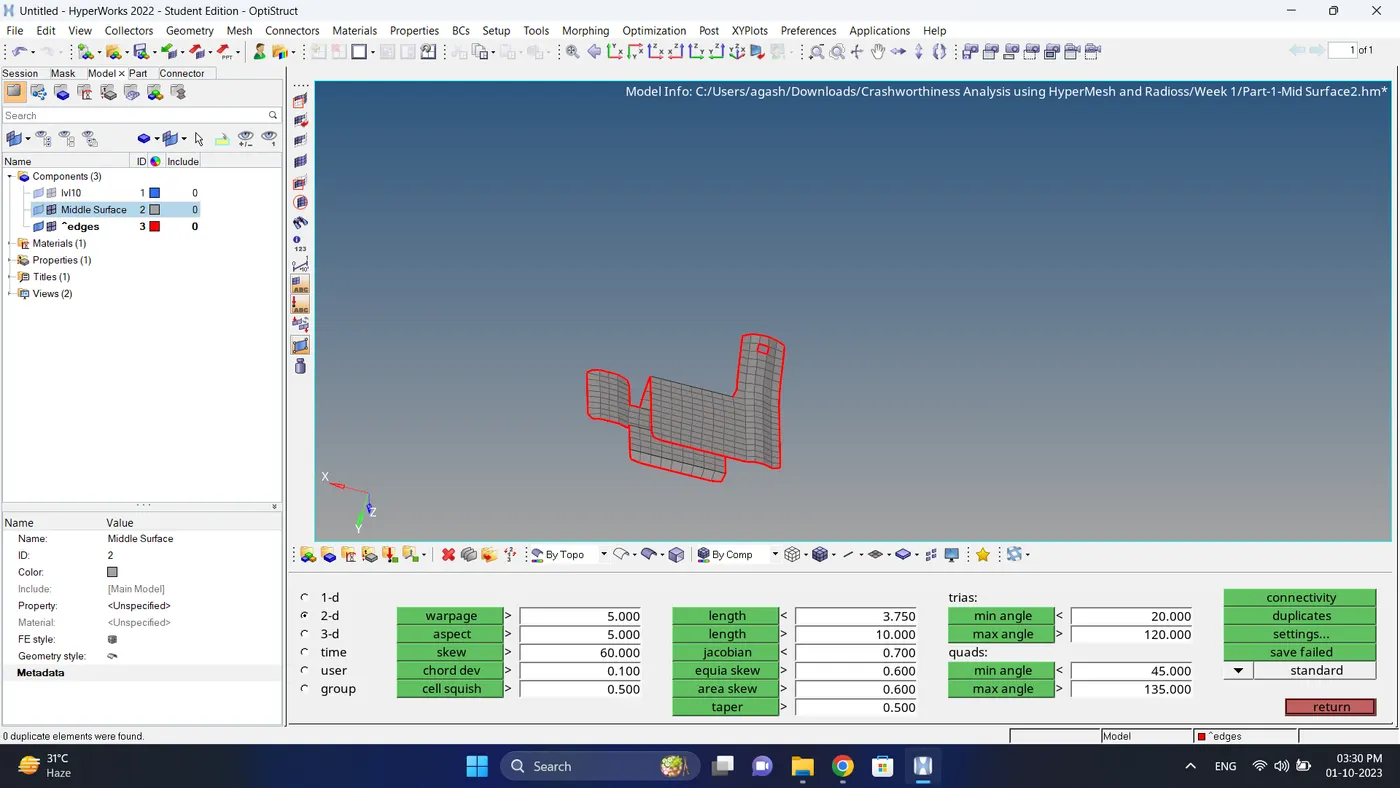
12. Do the final inspection of free edges, duplicate element and normals.
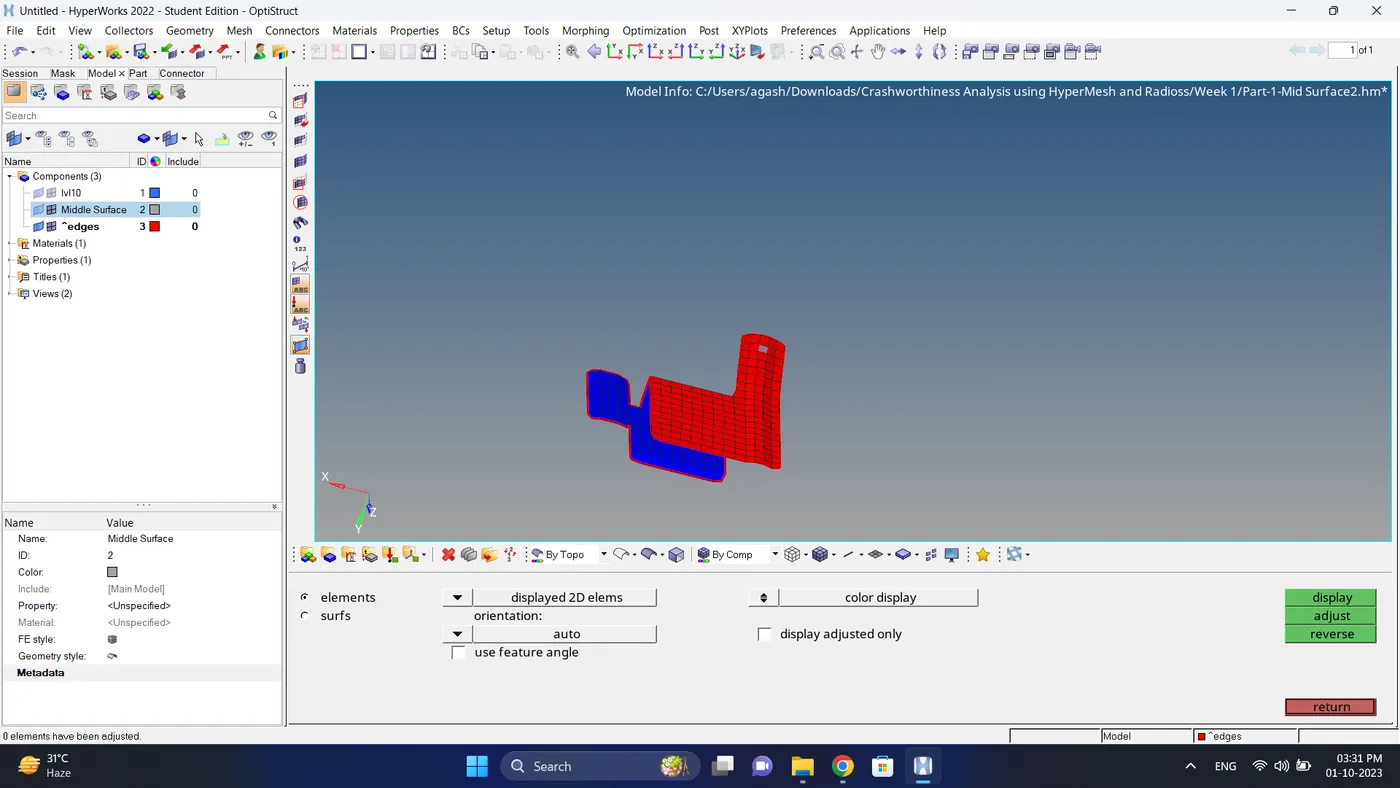
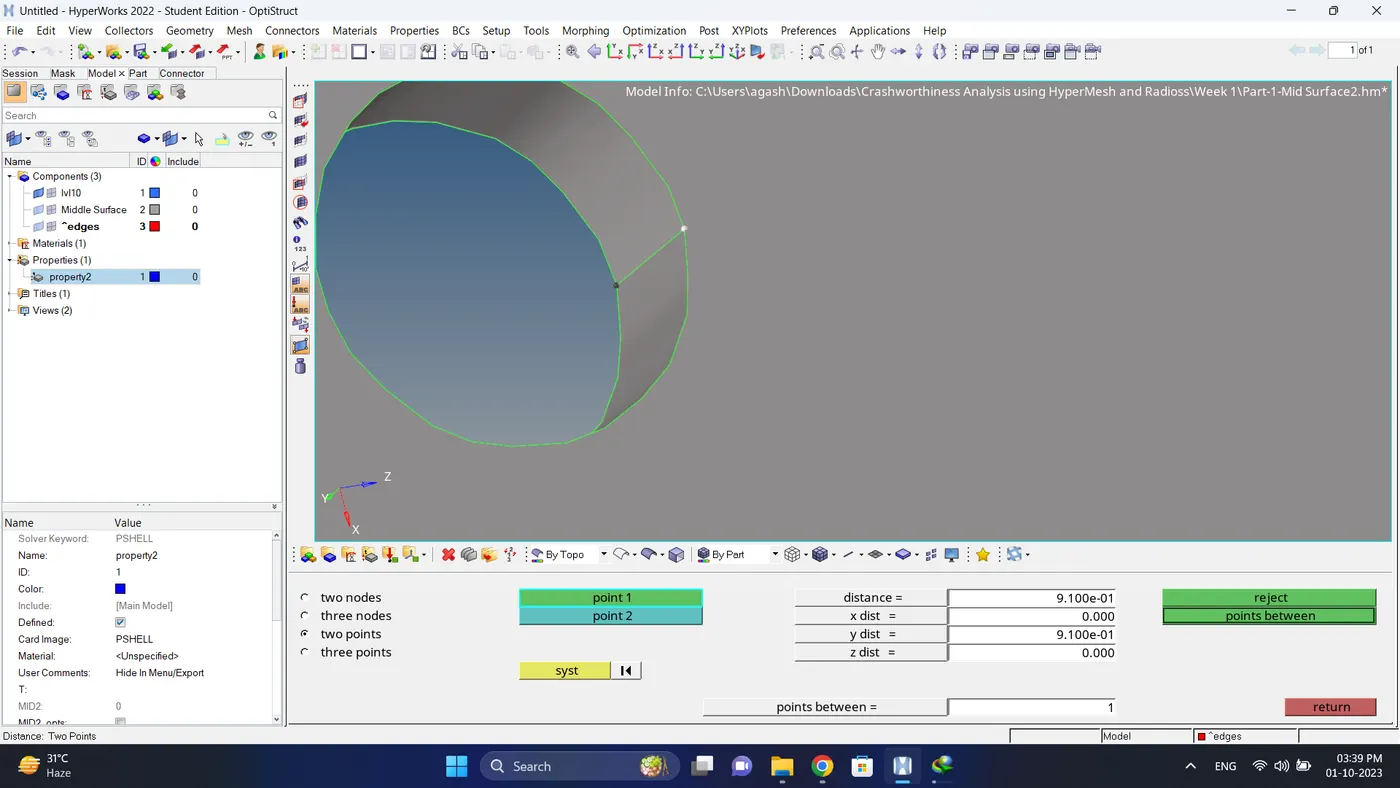
13. Measure a thickness, create a property and material card, assign it to middle surface.
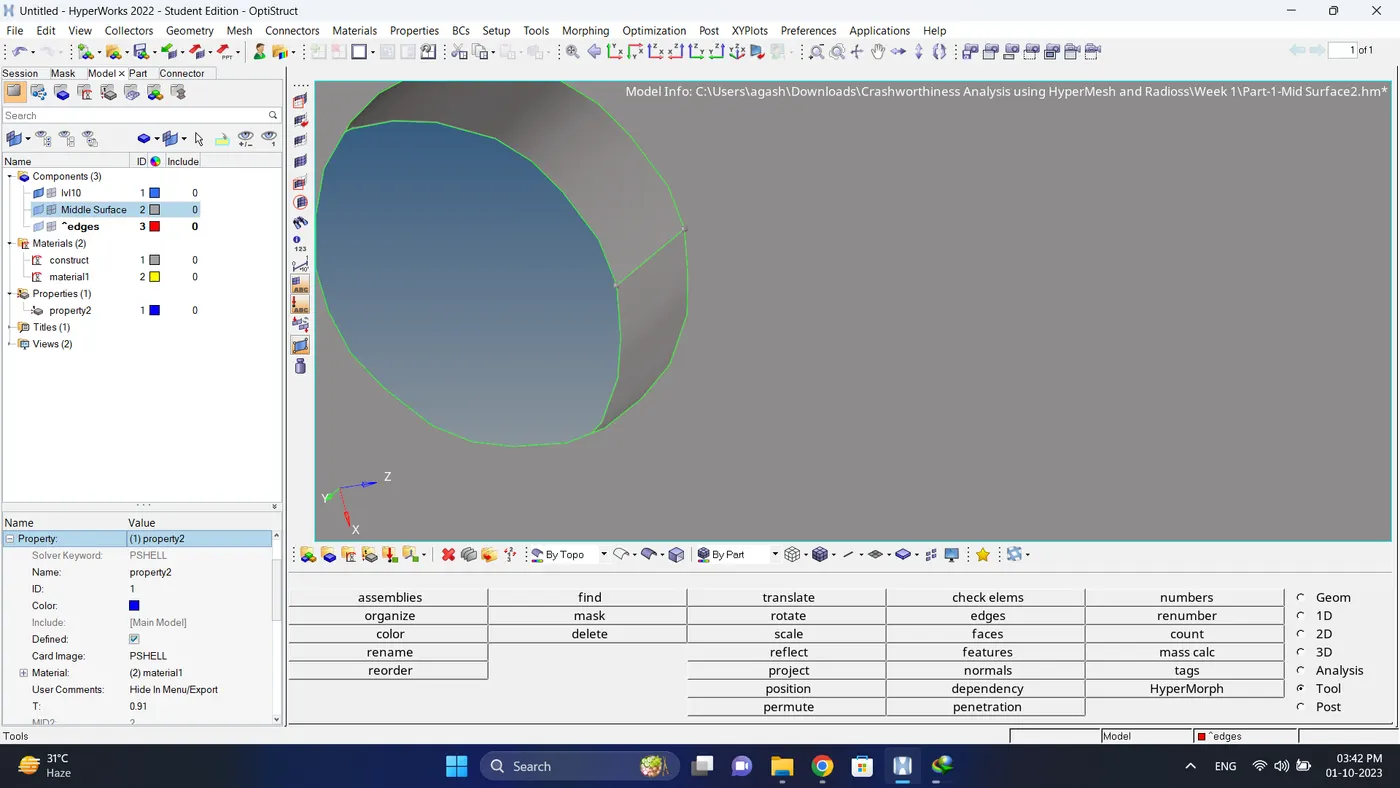
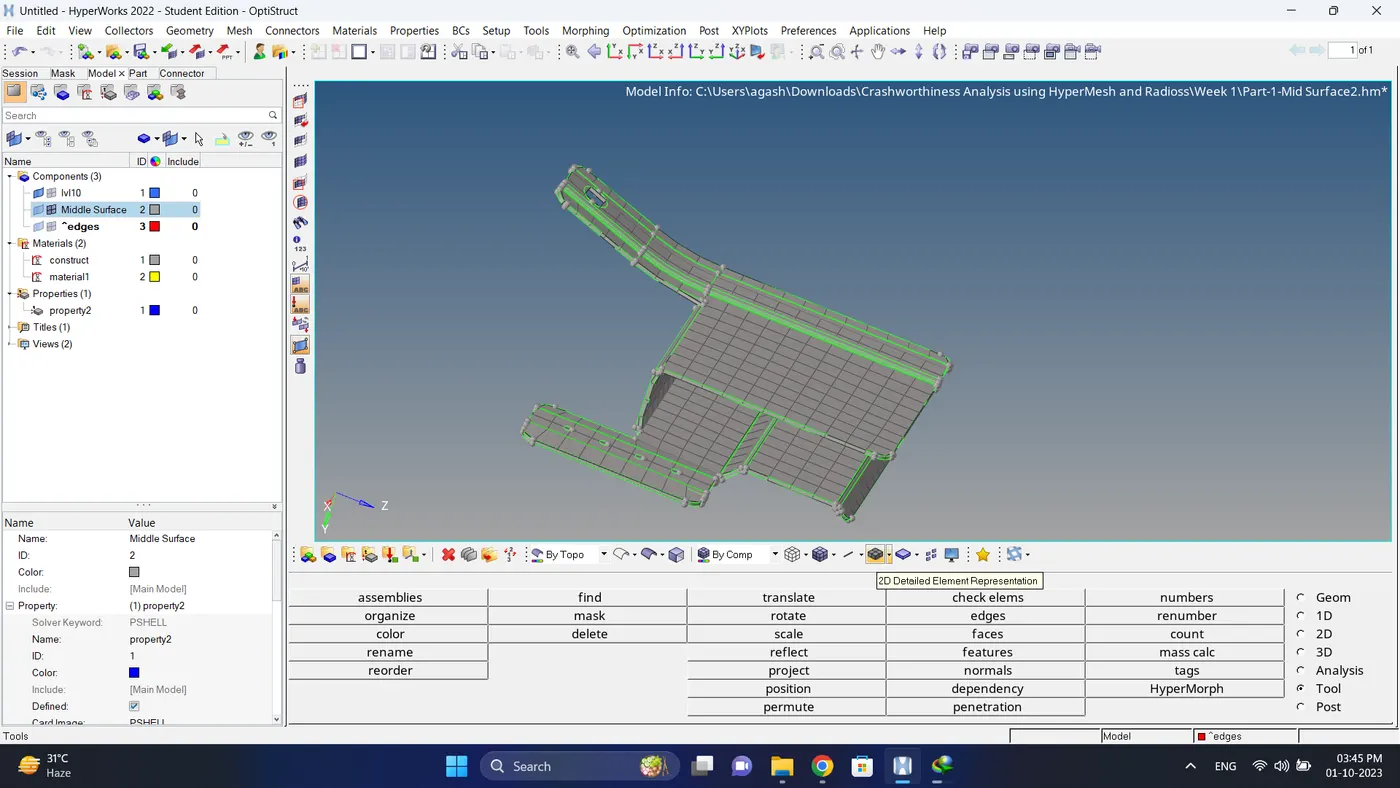
14. Change the 2d Traditional Element Representation to 2d Detailed element representation, do the final check and the model is complete.
Part 2.
1. Open the Model (Part 2).
2. Check the geometry.
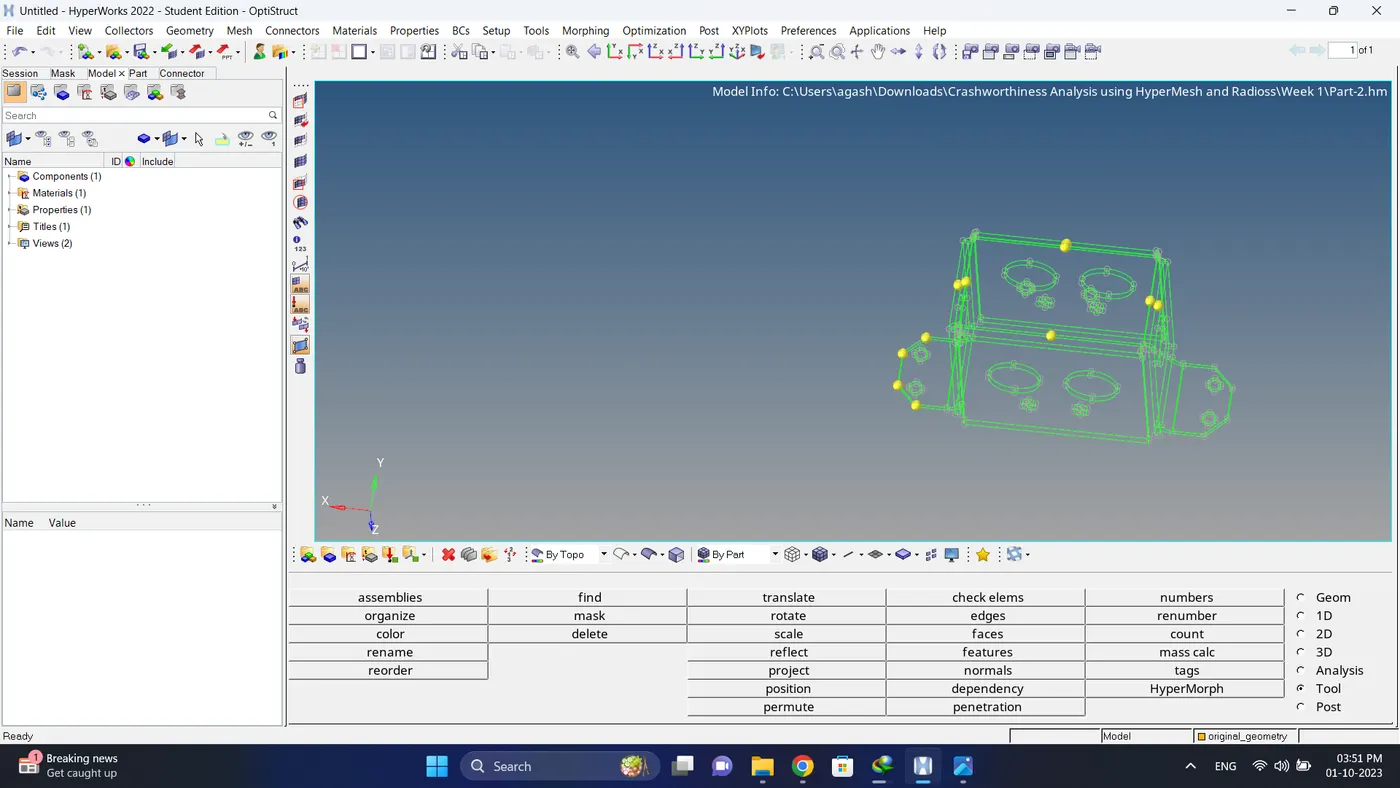
3. Create a midsurface using Geom - midsurface option.
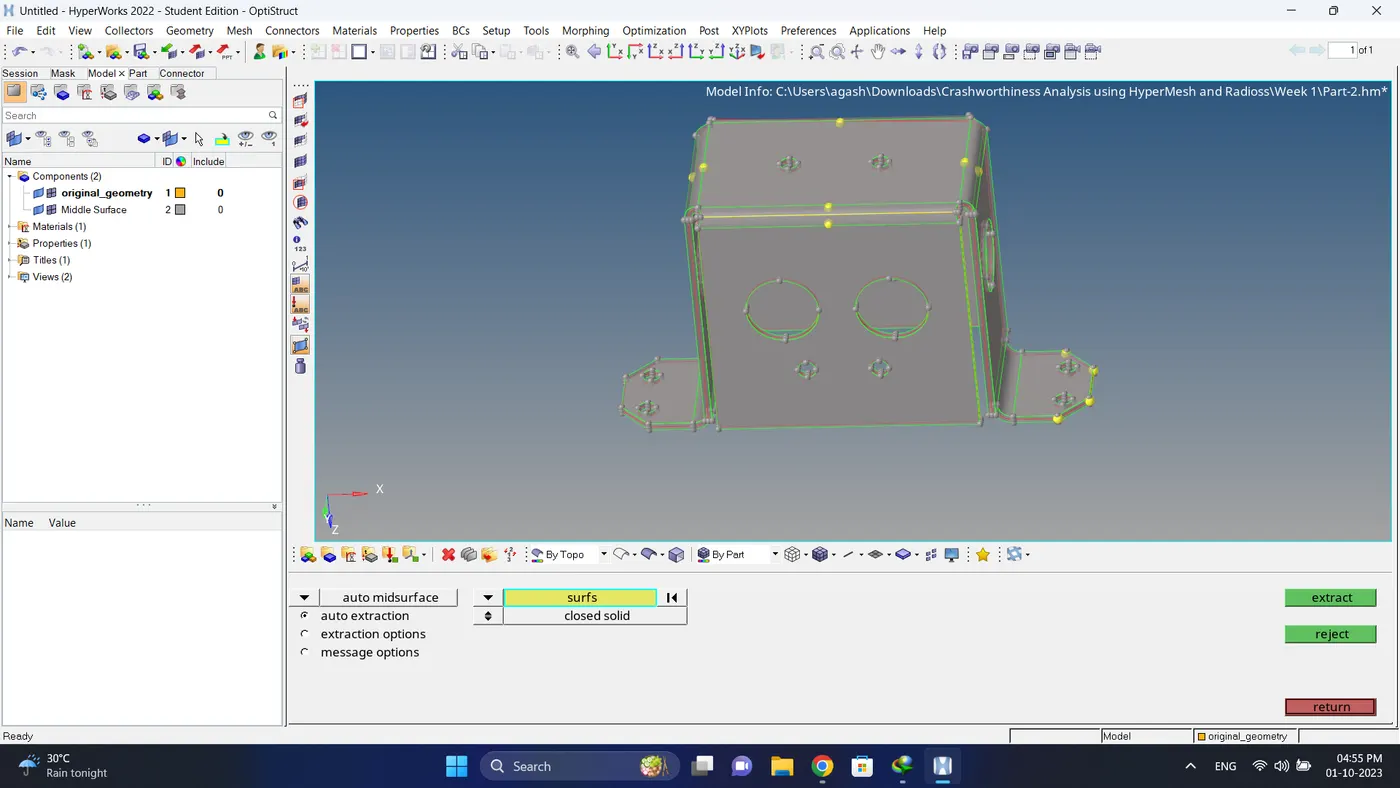
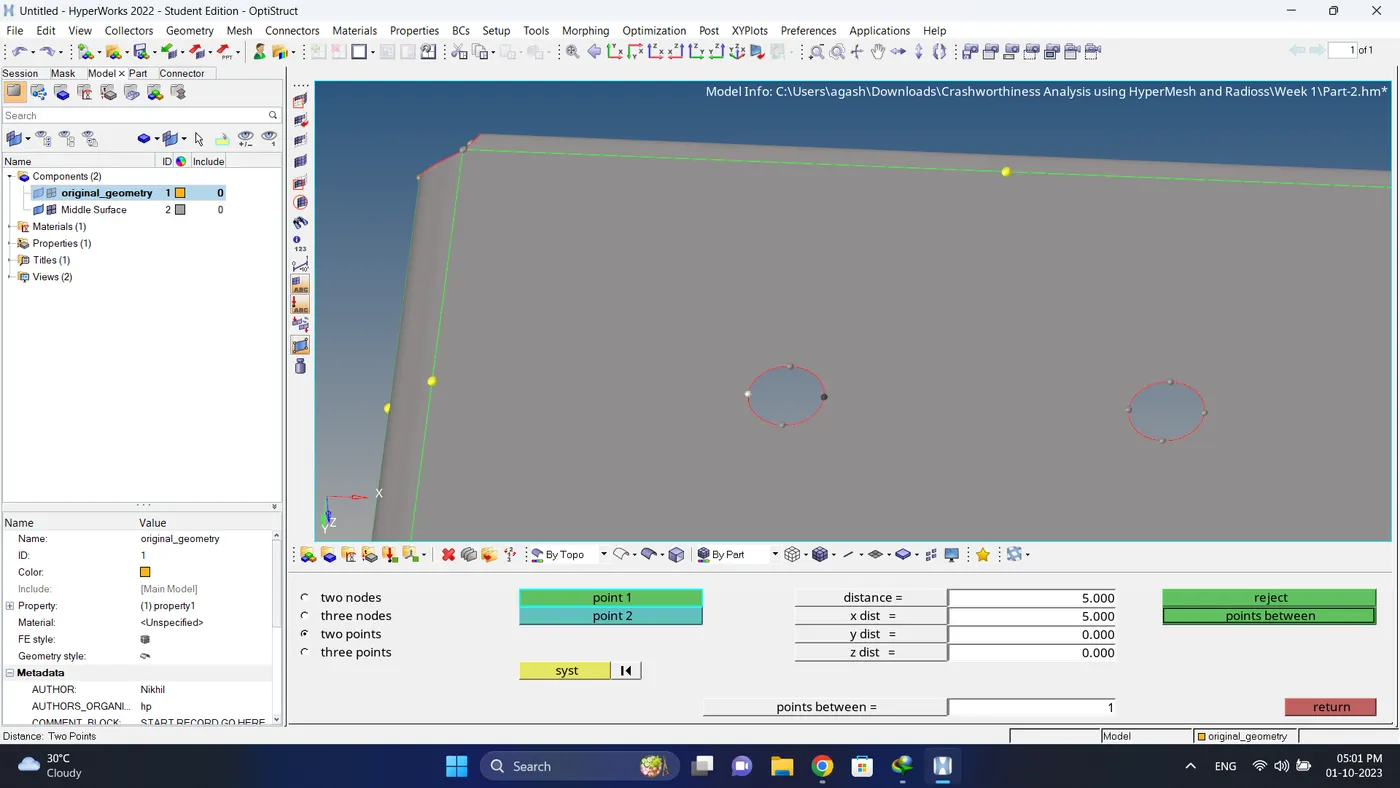
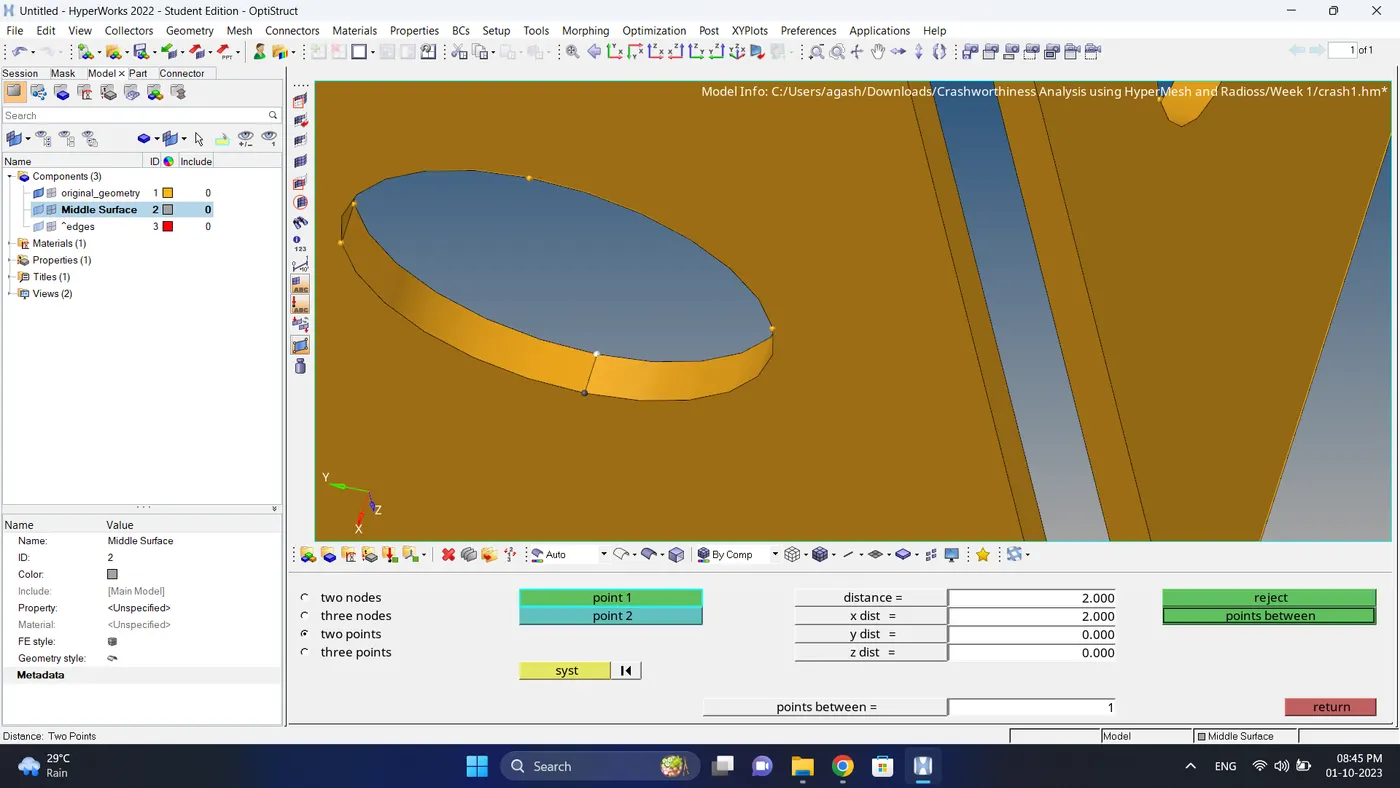
4. Measure the diameter of holes if holes diameter is less than 5mm then fill that hole and toggle to double con.
5. Mesh the model using 2d - automesh option.
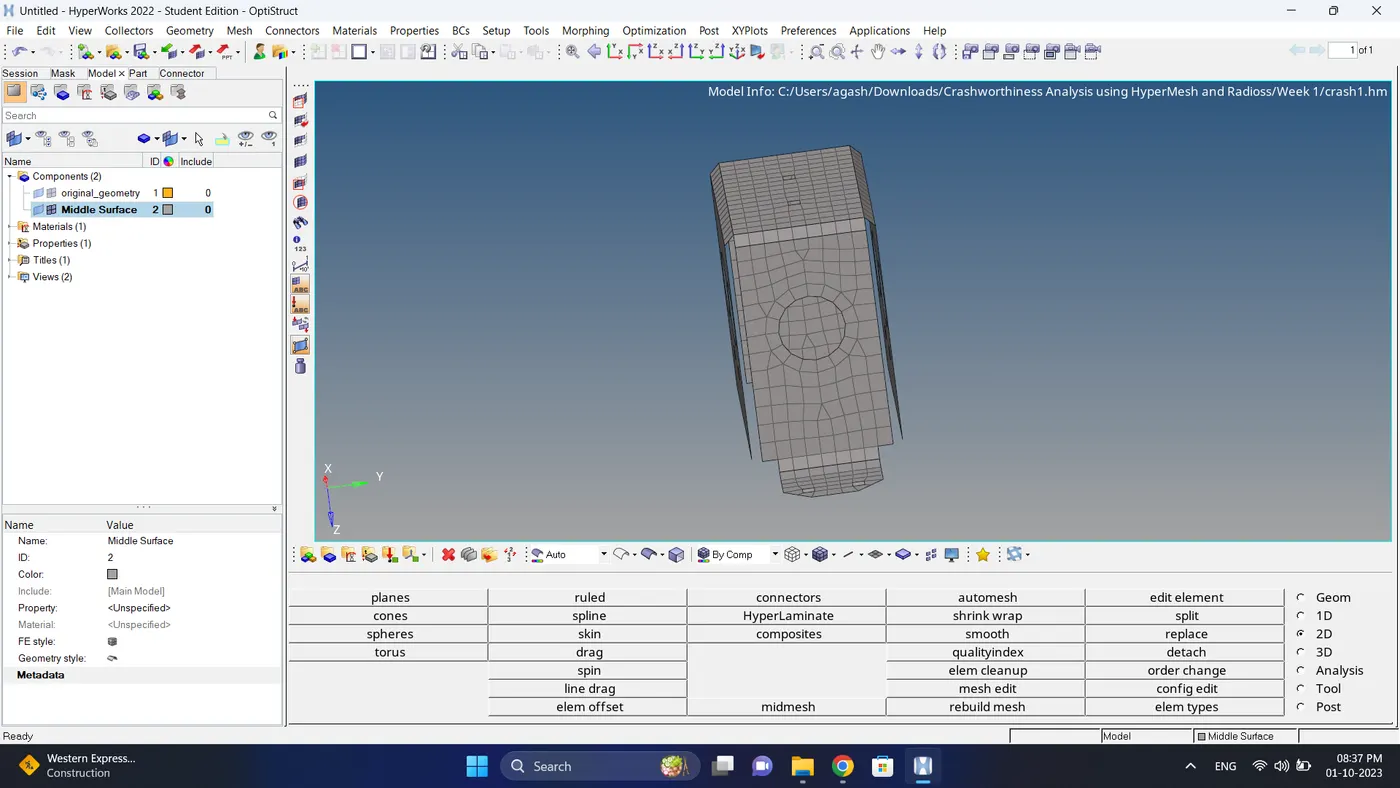
6. Input the quality criteria.
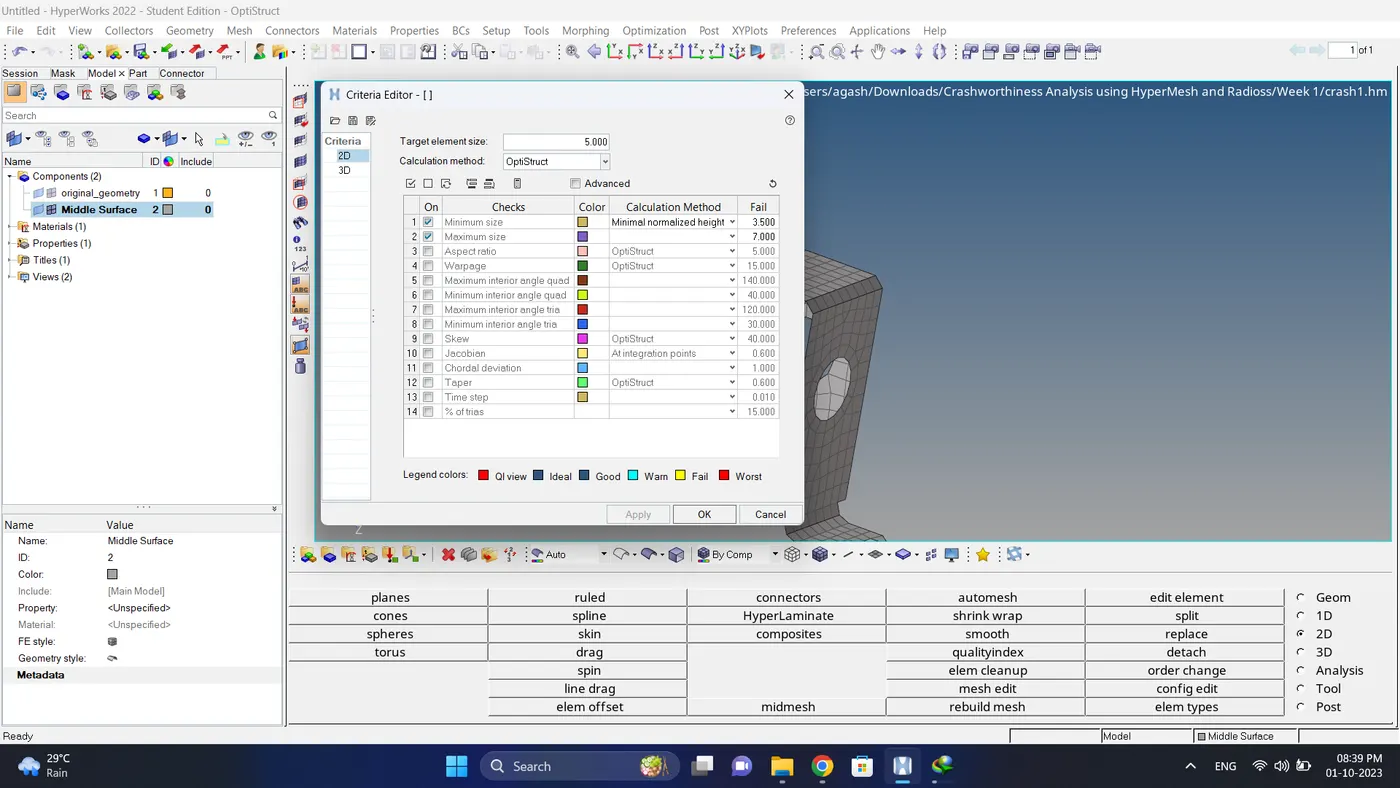
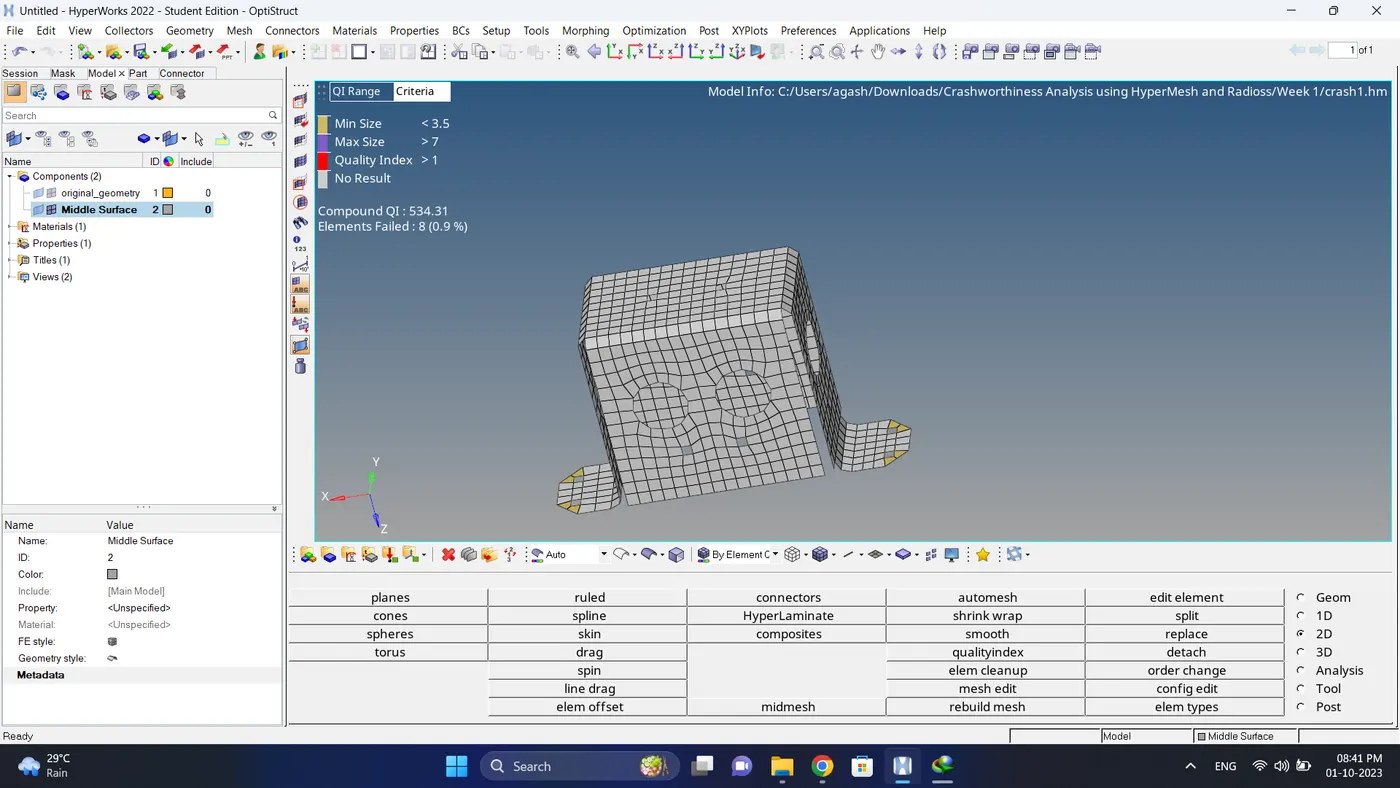
7. Check for the quality if there are element failure fix them.
Note: If the element are failing due to feature then leave that area that it is.
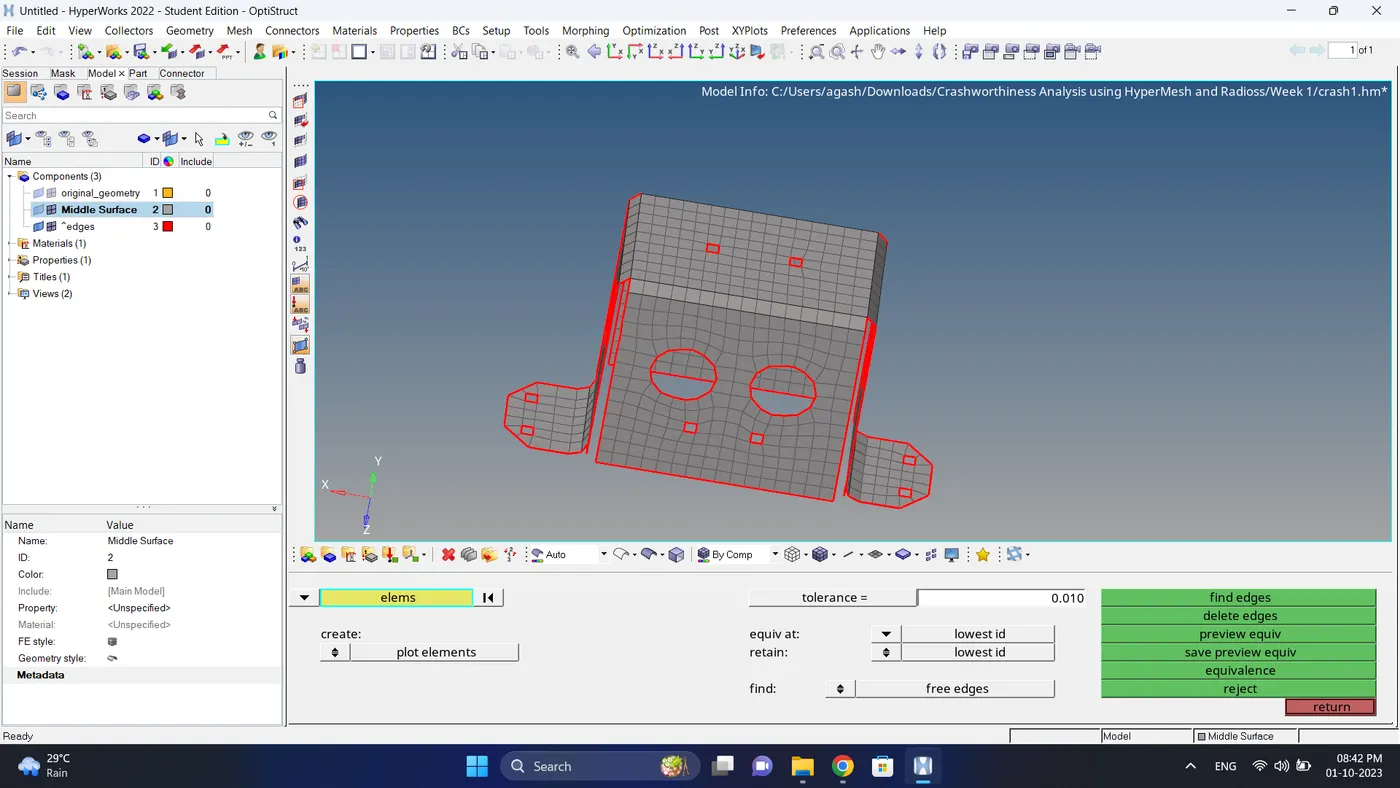
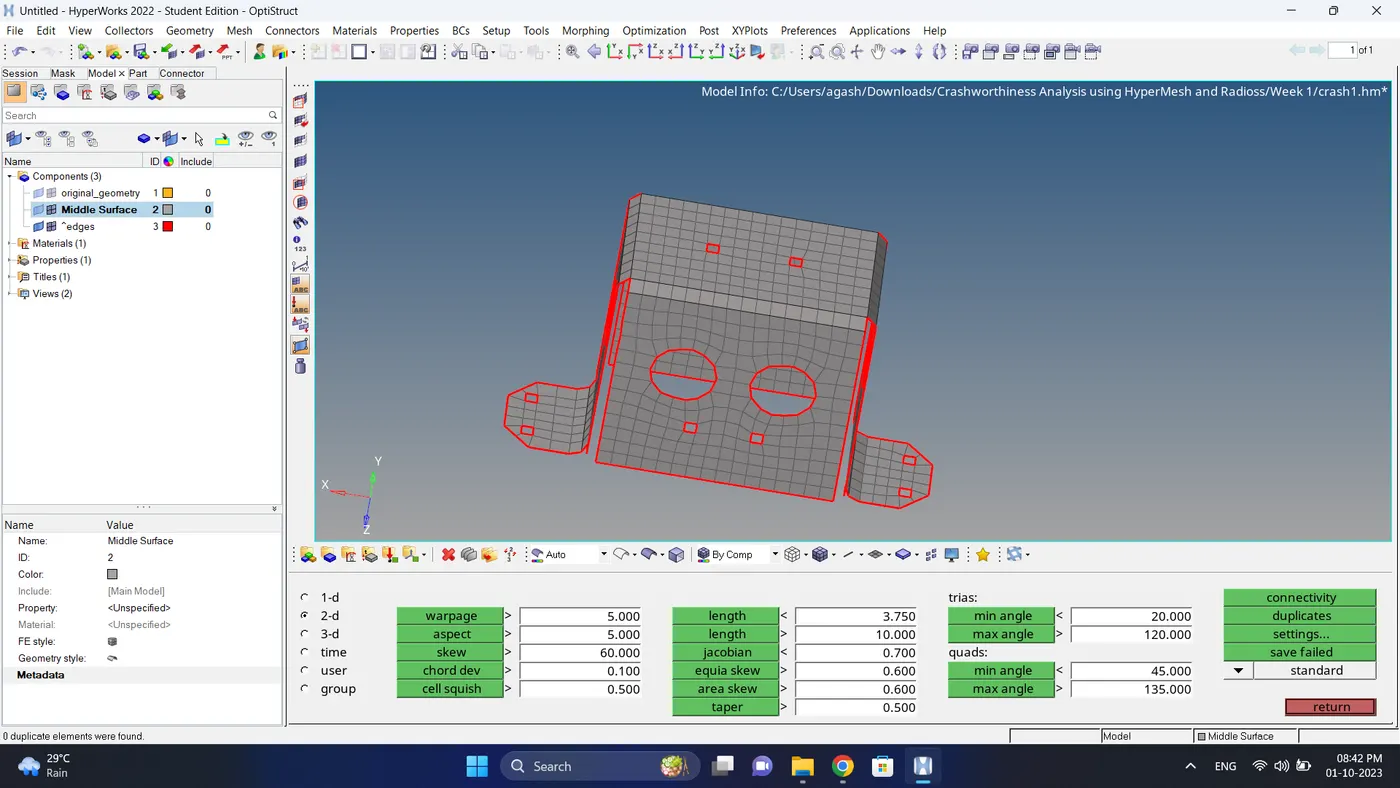
8. Do the final inspection of free edges, duplicate element and normals.
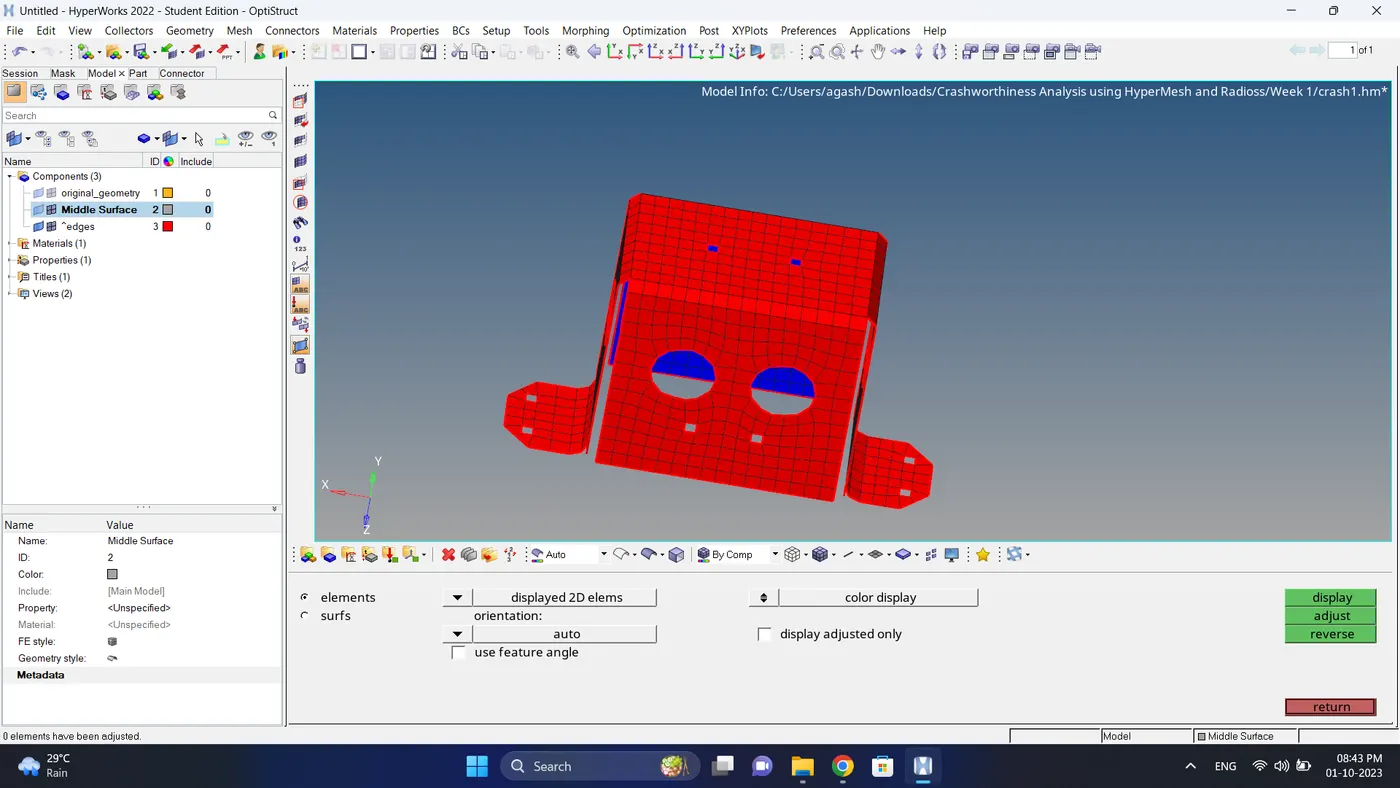
9. Measure a thickness, create a property and material card, assign it to middle surface.
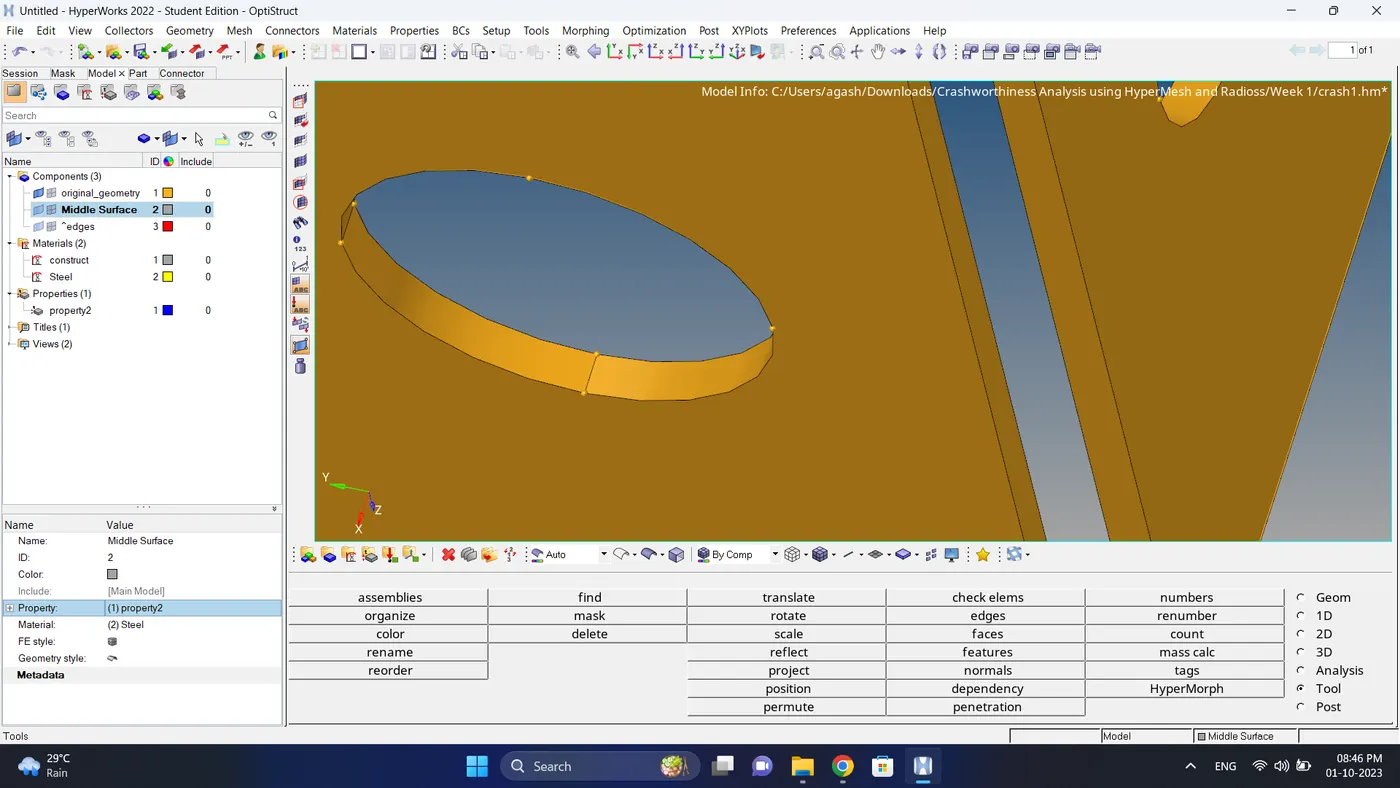
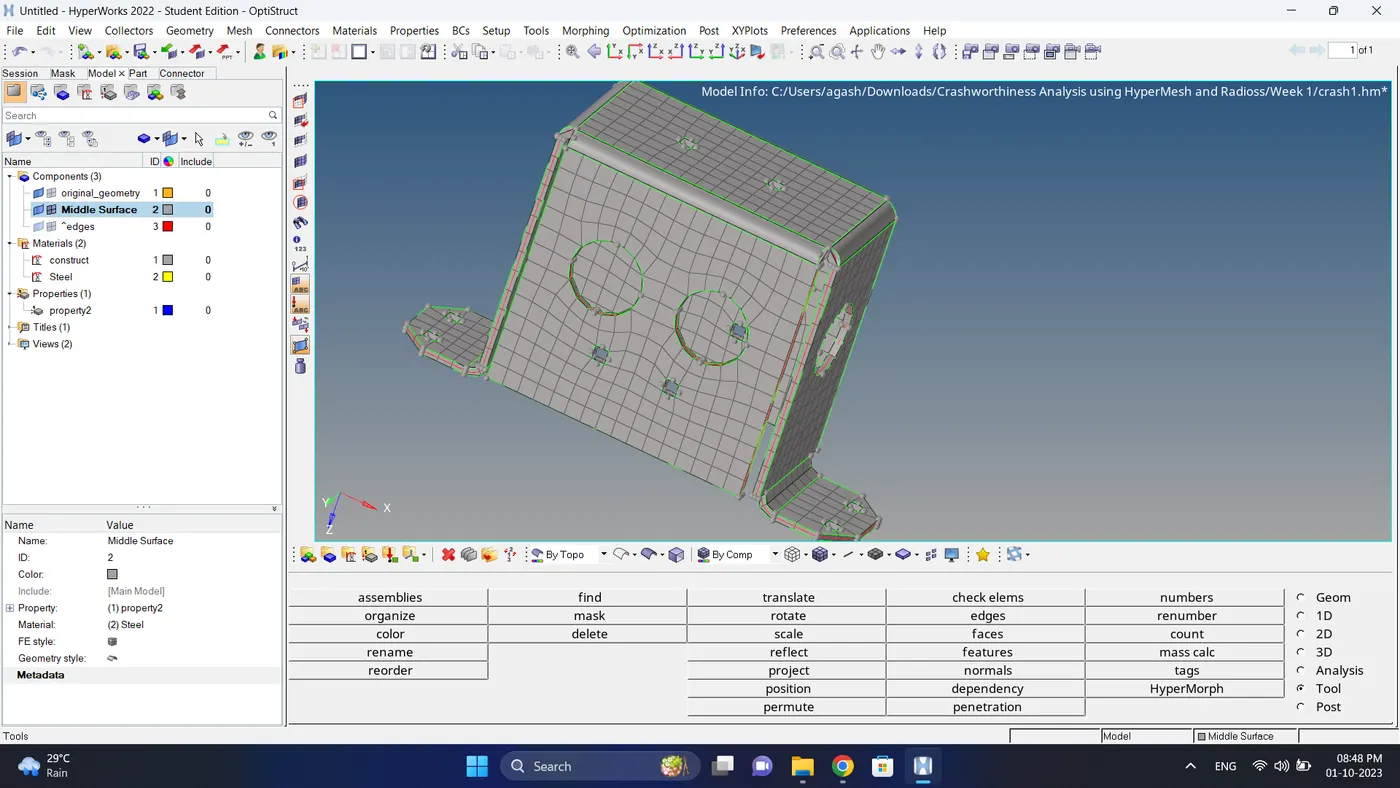
10. Change the 2d Traditional Element Representation to 2d Detailed element representation, do the final check and the model is complete.
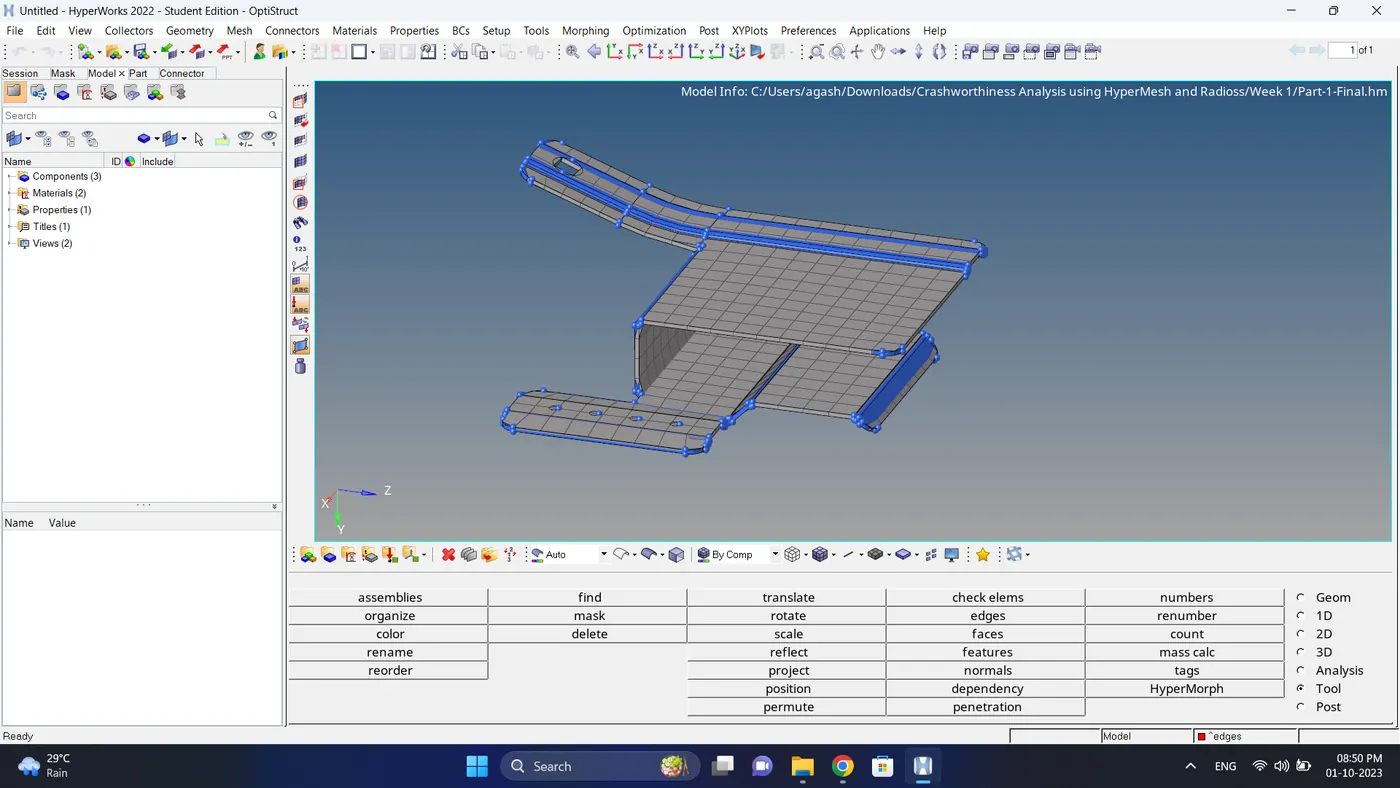
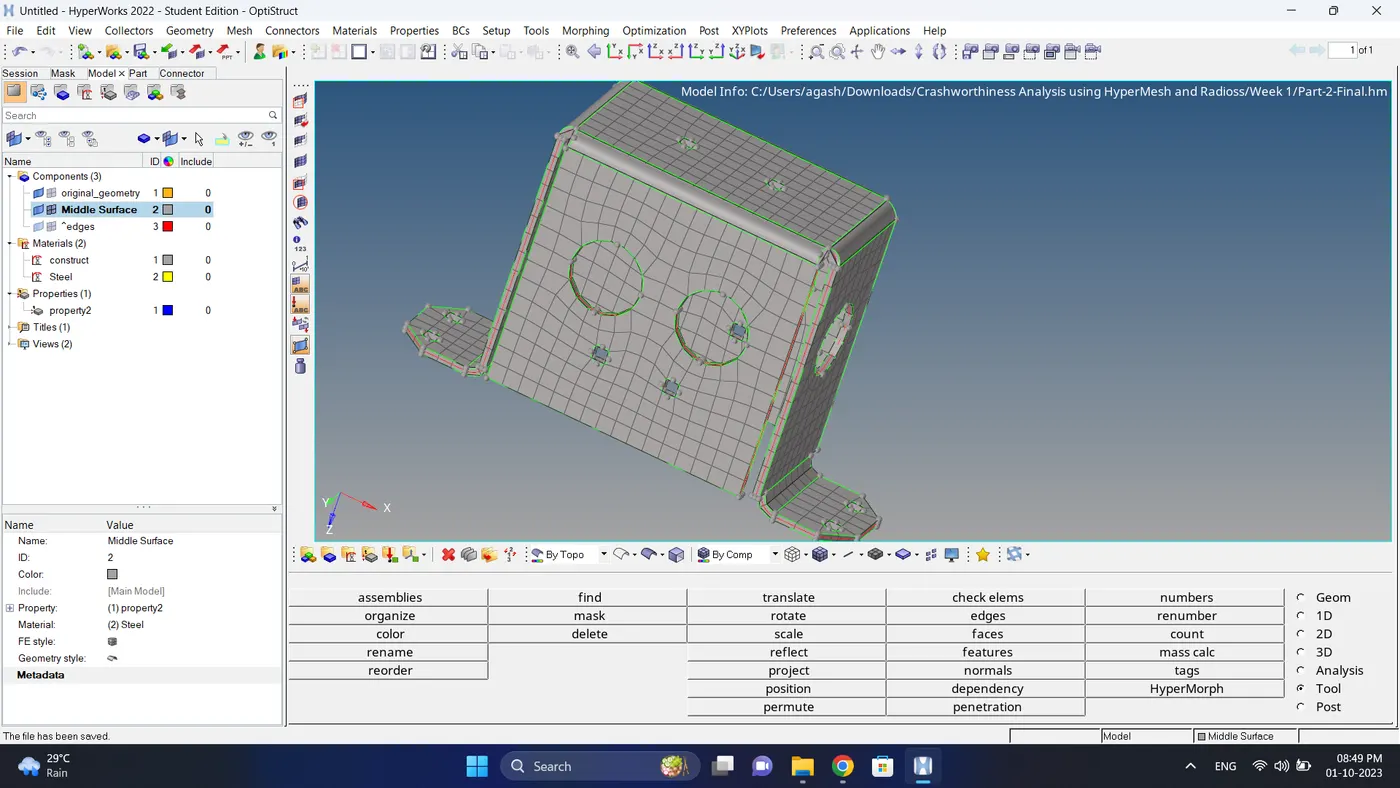
Final Cad Model Image:
Part 1
Part 2
Result and Conclusion:
2D Meshing of the models is done successfully as per the given Parameters.