Project 2_Analyze and Design the RC office building as per IS standard code in TEKLA STRUCTURAL DESIGNER
Analyze and Design the RC office building as per IS standard code in TEKLA STRUCTURAL DESIGNER
AIM :
To Analyze and Design the RC office building as per IS standard code in TEKLA STRUCTURAL DESIGNER
INTRODUCTION :
Reinforced concrete (RC), also called reinforced cement concrete (RCC) and ferroconcrete, is a composite material in which concrete's relatively low tensile strength and ductility are compensated for by the inclusion of reinforcement having higher tensile strength or ductility.
The reinforced concrete structure refers to the members, such as beams, boards, columns, roof trusses, consisting of concrete and steel bars. In these structures, the steel bars are enwrapped by concrete, but their mechanical properties will still lose due to the fire to destroy the whole structure.
PROCEDURE :
STEP :1
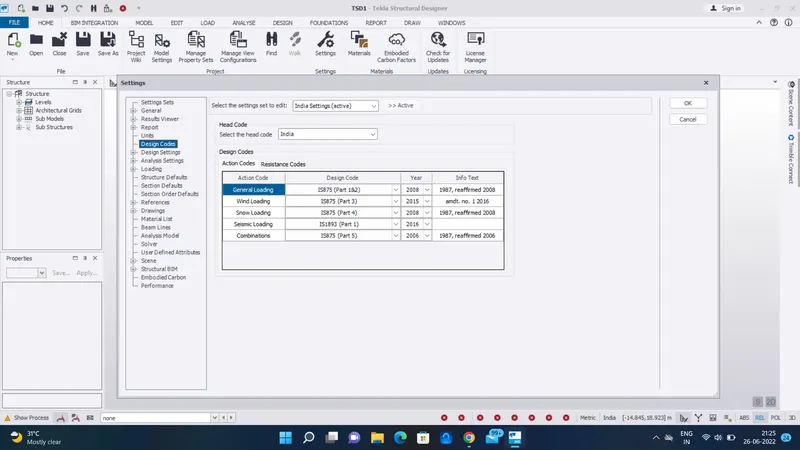
- Lets open the tekla software and create a new one
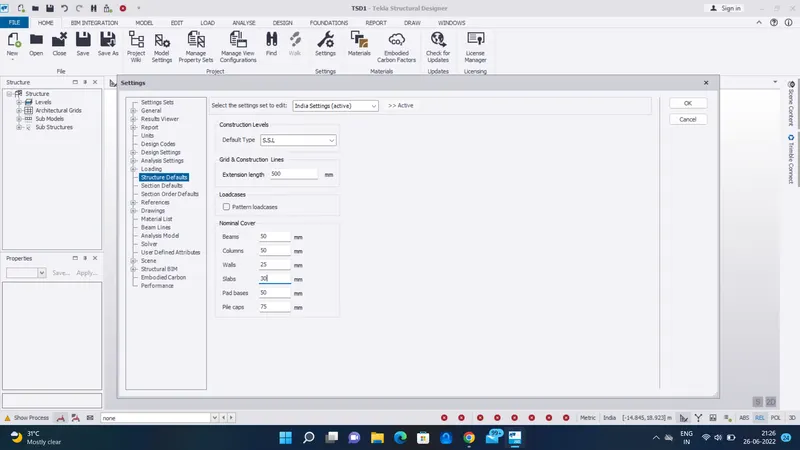
- Go the setting option and open the structural default
- First select the SSL and edit the nominal cover option
- Enter the given valuse on above question
- Beam - 30, Column - 50, Walls - 25, Slabs - 30, Pad bases - 50, Pile caps - 75
- Next change the default type TOF
- Enter the given valuse on above question
- Beam - 25, Column - 40, Walls - 25, Slabs - 25, Pad bases - 50, Pile caps - 75
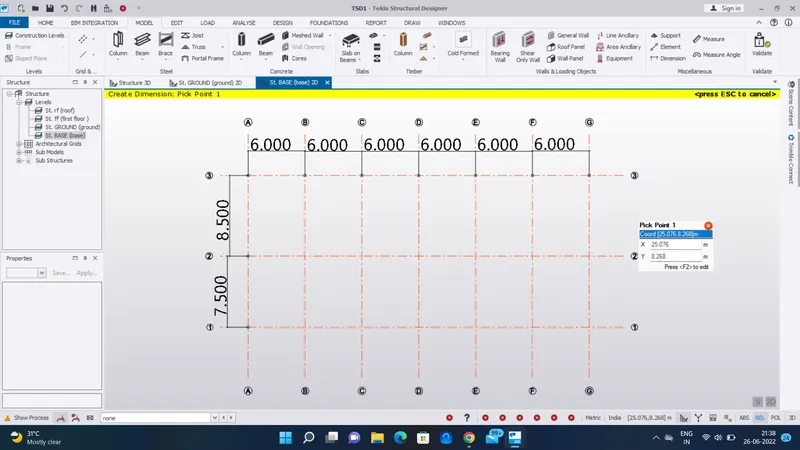
- Next we want to create the grid on the same previous created file
- Taken the given 2d plan file attachment
- Taken the dimension value on that Architech plan
- Next go to the model tab and select the grid
- select the grids and draw on the screen
- And use the quick parallel option to make other grids with correct dimensions
- And use the perpendicular option to place the grid in perpendicularlly
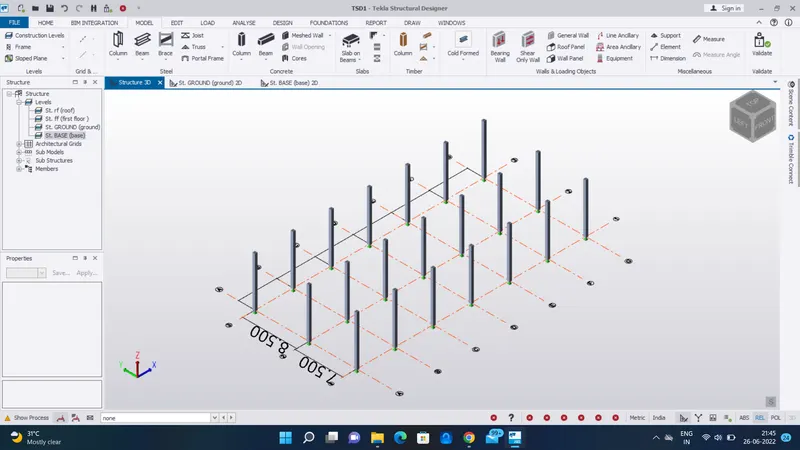
- The created grids are given below
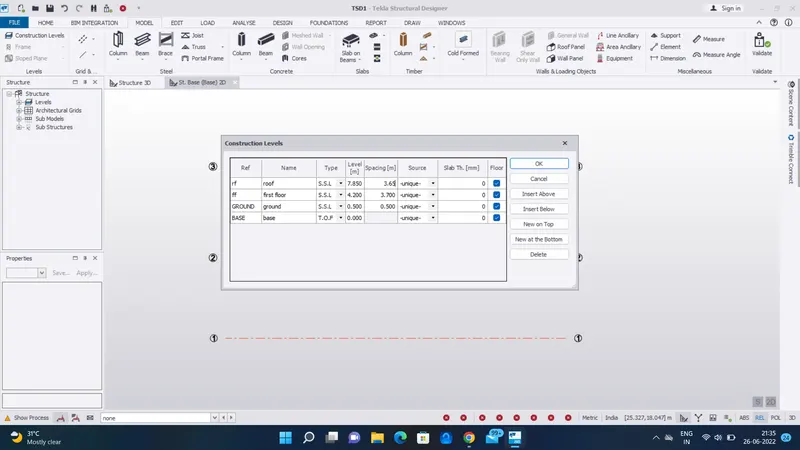
- Go to the model tab
- Go to the construction level option
- make the floors above and below as base, gf, ff, rf, parapet
- And given the dimension as per the architech plan provided
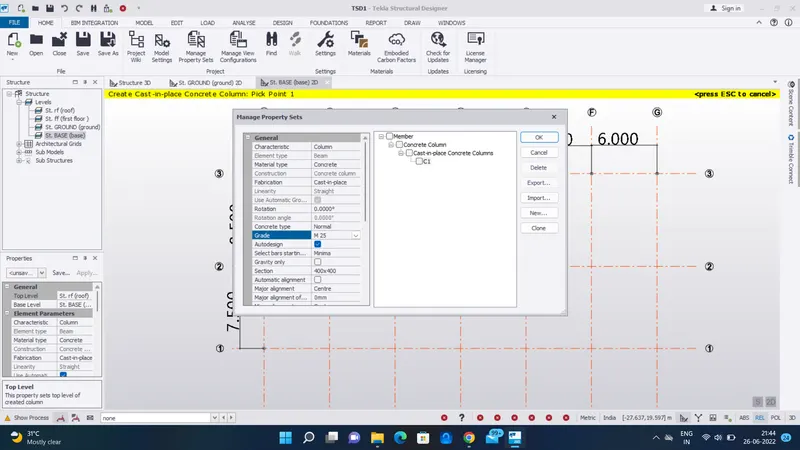
- Next go to the home tab and select the manage propertie sets
- And make a new concrete column and rename it CC1
STEP :2
- First go to the base floor
- select the CC1 on properties template
- In properties template set the base level to top level - base to ground floor
- Place the concrete column on the grids
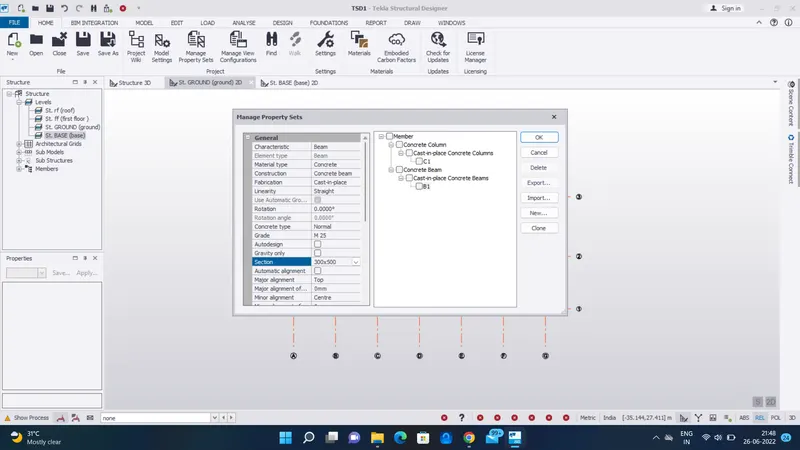
- Next we want create a concrete beam
- So go to home tab and select the manage properties sets
- Go to the ground floor
- Select the CB1 on properties template
- Place the concrete Beams on all Centre to centre column
- Here we want to change floor level and roof level unique (unique to gf)
- Its is completly copy the ground floor design to (ff and rf)
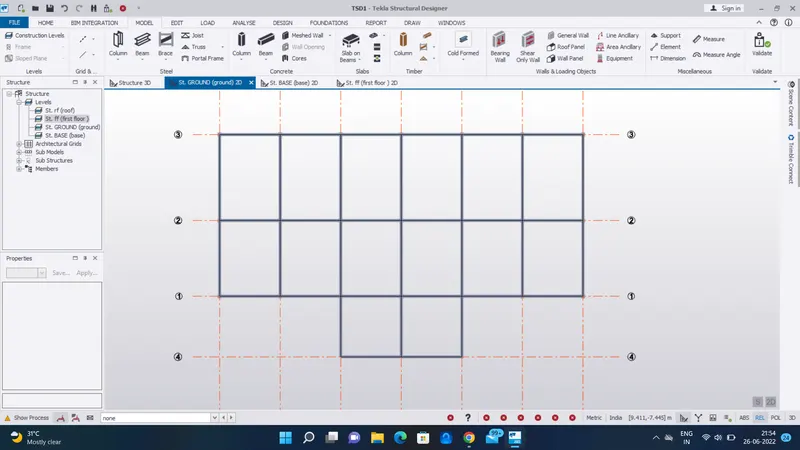
- Next we want to set the slab on the beam
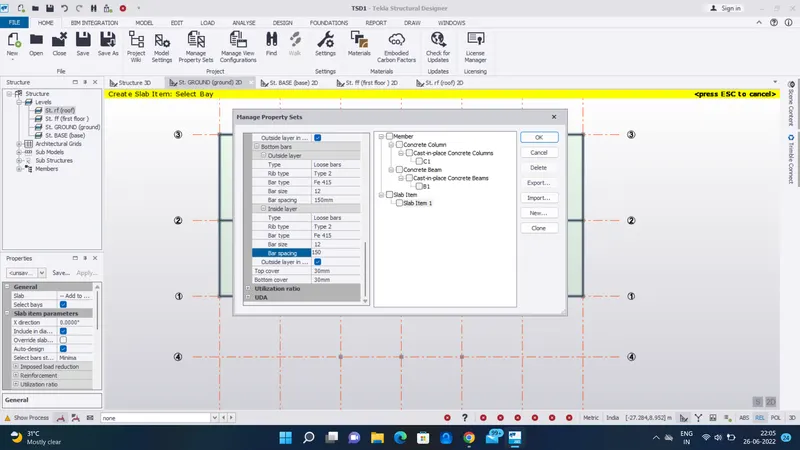
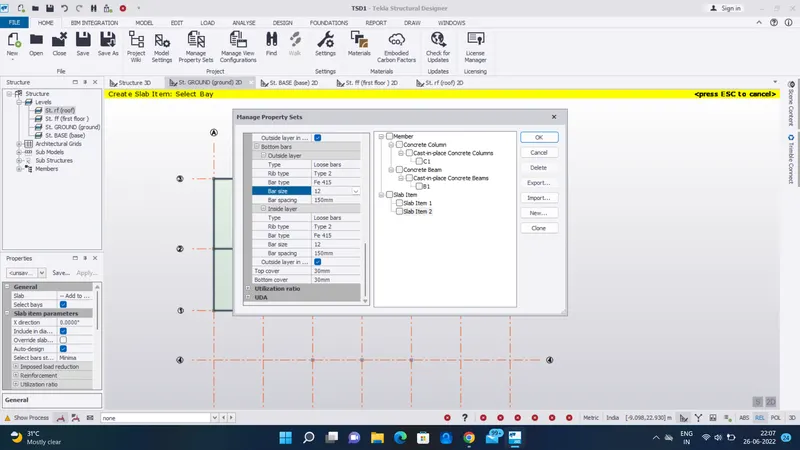
- So go to the manage properties set and select the new slab item and rename it (slab item 1)
- And modify the general setting
- Here we want to make two new slab
- one is one way slab and another one is two way slab
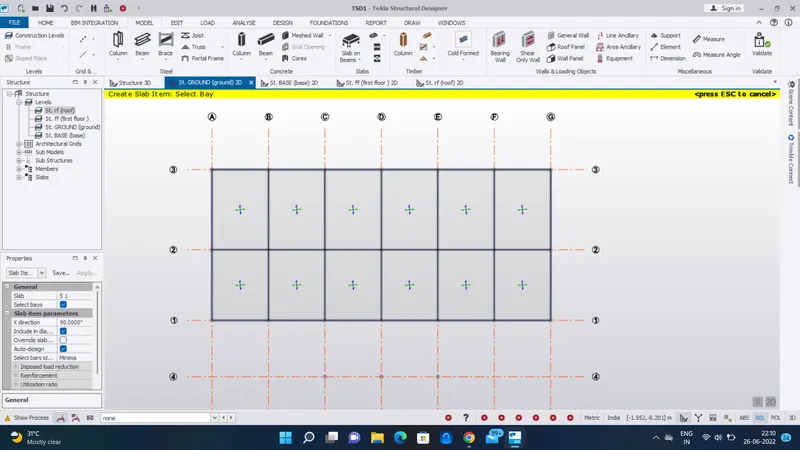
- Place the slab on ground floor and its automatically placed on the other floors
- here select the all slabs are two way slabs
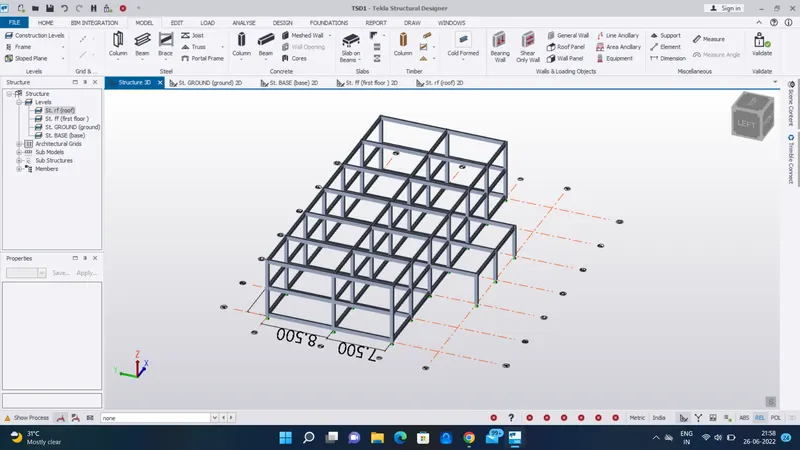
- Finally all the slabs are placed image as given below
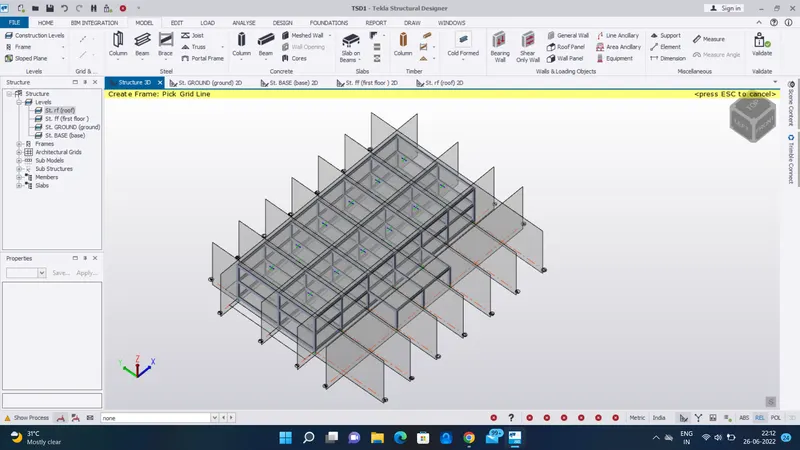
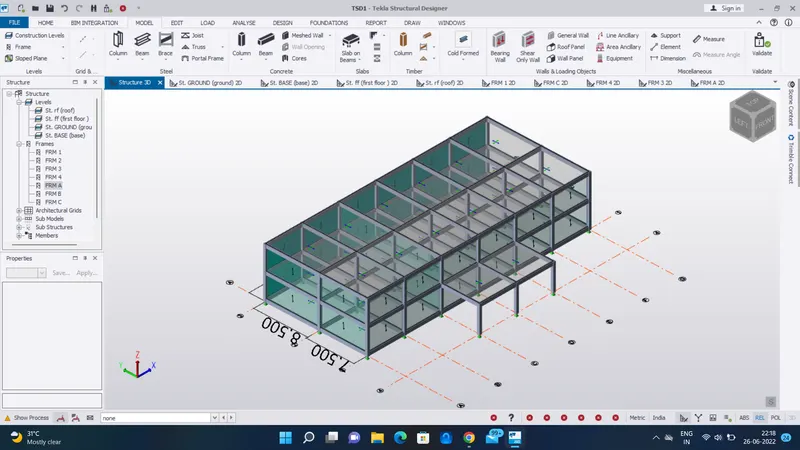
STEP :3
- First we want to create a load cases
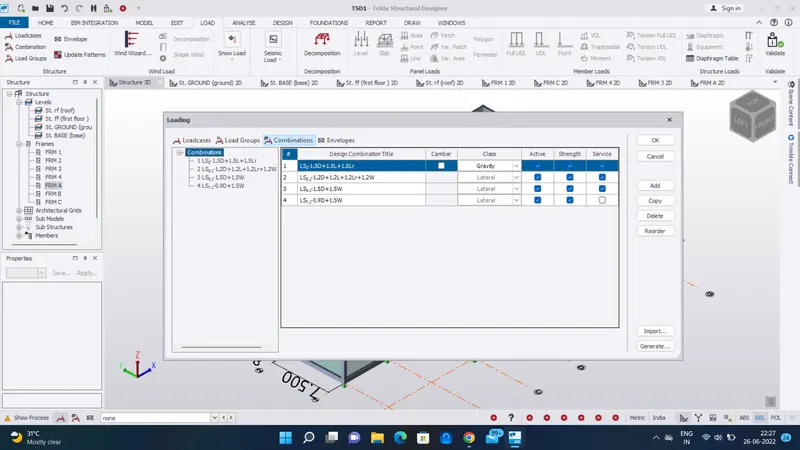
- Next we want to create a load combination with use of generate option
- Next we want to create a frame with use of frame option
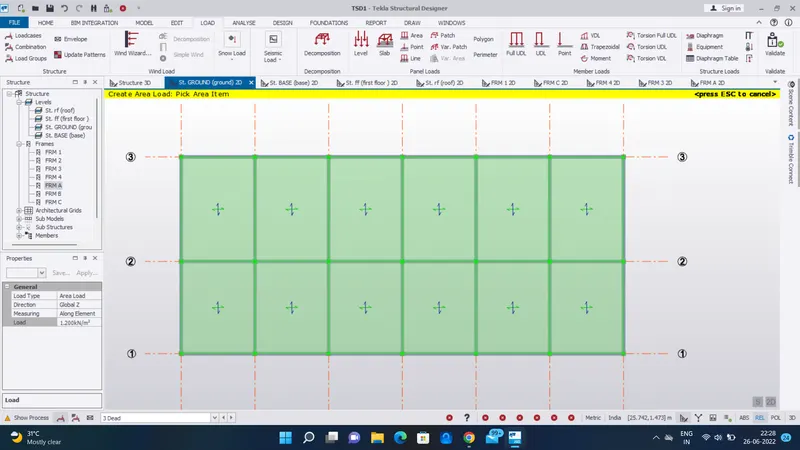
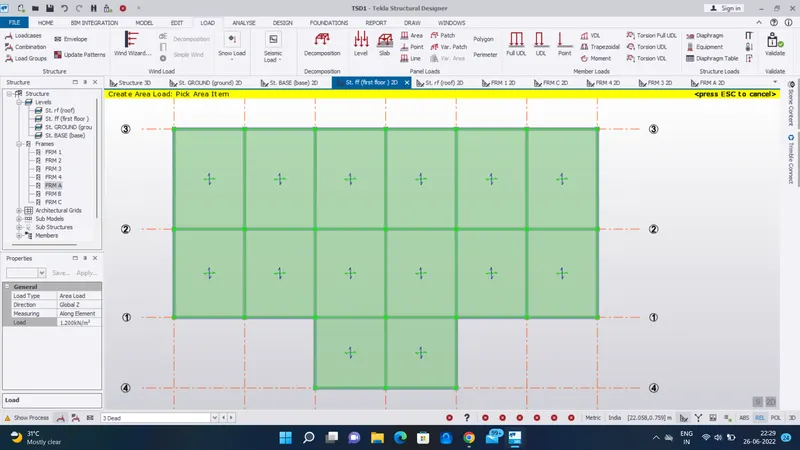
- Next select the dead load on bottom of the screen
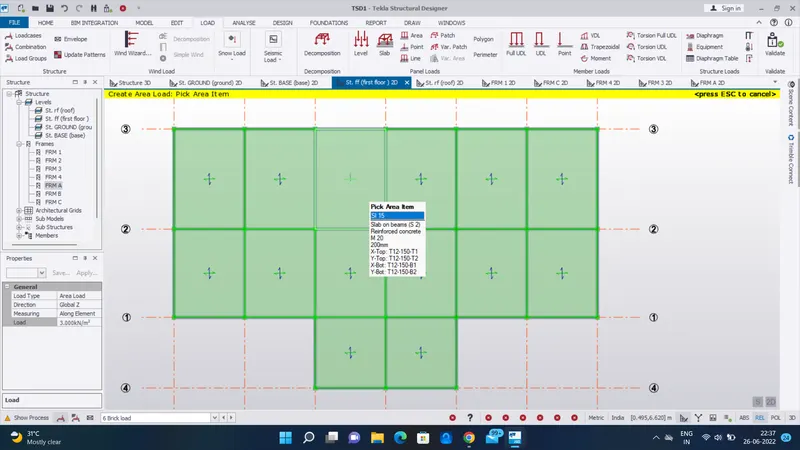
- And select the area load
- apply the dead load 1.2 Kn/m^2
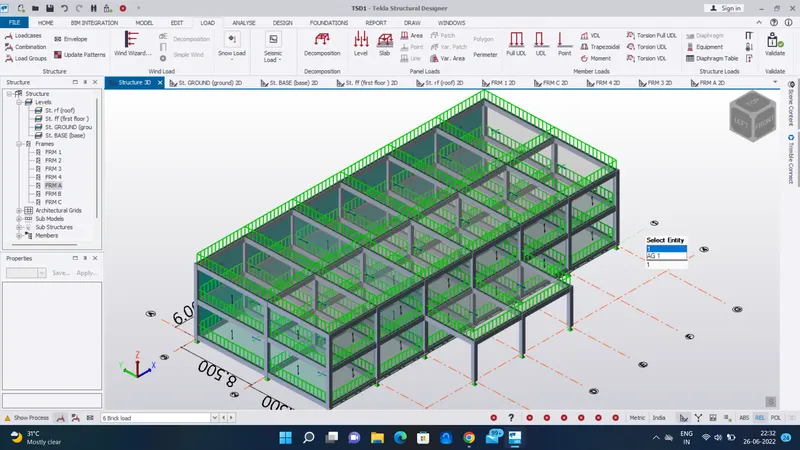
- Next we want to apply the brick wall load = 14.72 kN/m^2
- The applied load as been shown below
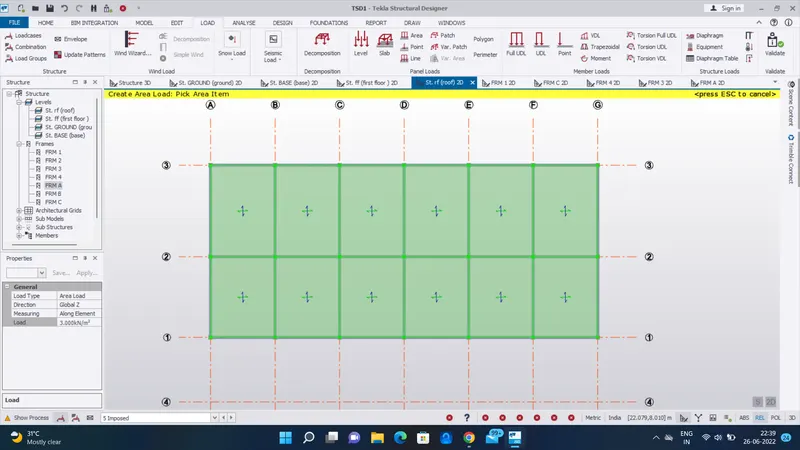
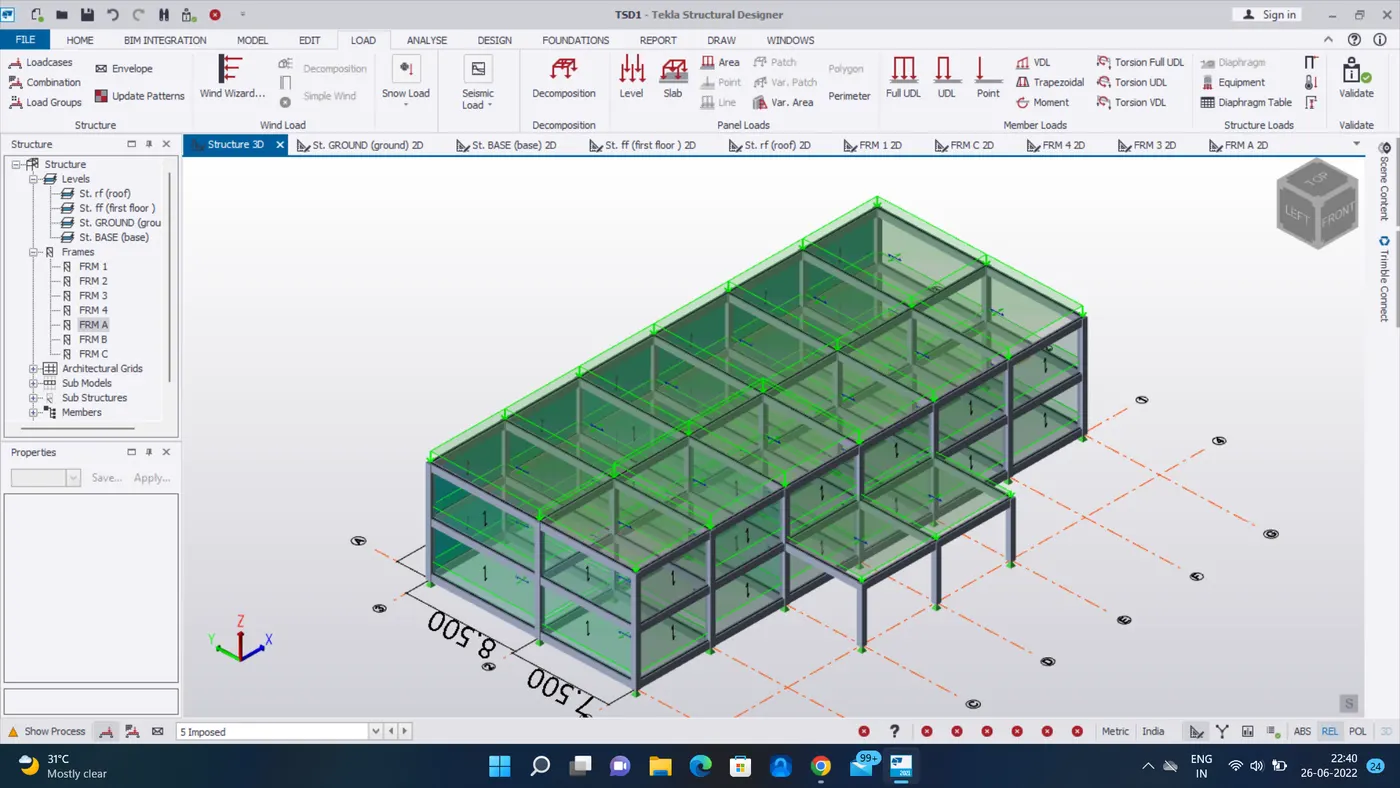
- Next we want to apply the imposed load
- Go select the imposed load on bottom of the screen
- As per the IS 875 rules the imposed load as been applied
- First go to the Area load under the modal tab
- Finally apply the load
Calculation of Dead load load :
finish loading
finish load=0.5 X 24=1.2kN/m2
Slab loading
slab load will be generated within the softwara
brickwall+cement plaster thickness 230mm
brickwall loading
GL-Ist floor-0.23X20X3.2=14.72kN/m8
same for 1st floor-roof level
Roof loading
roof level-(paraphet wall height is 900mm and thickness 155mm)=0.155X0.9X20=2.79kN/m^3
roofing load-finish floor-1.2kN/m2
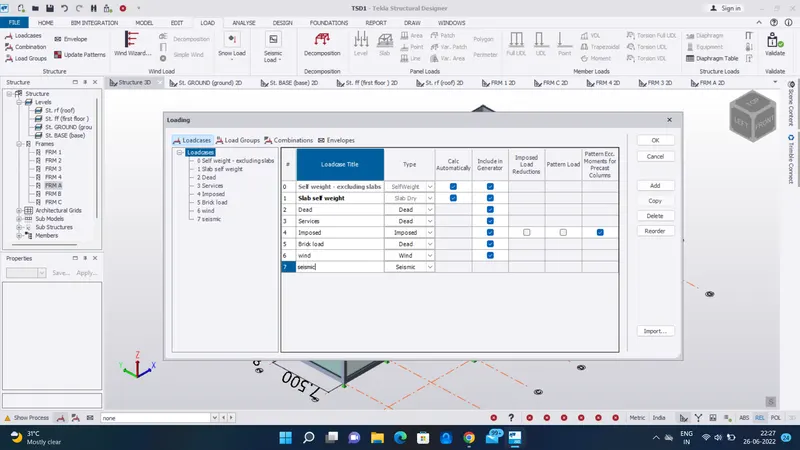
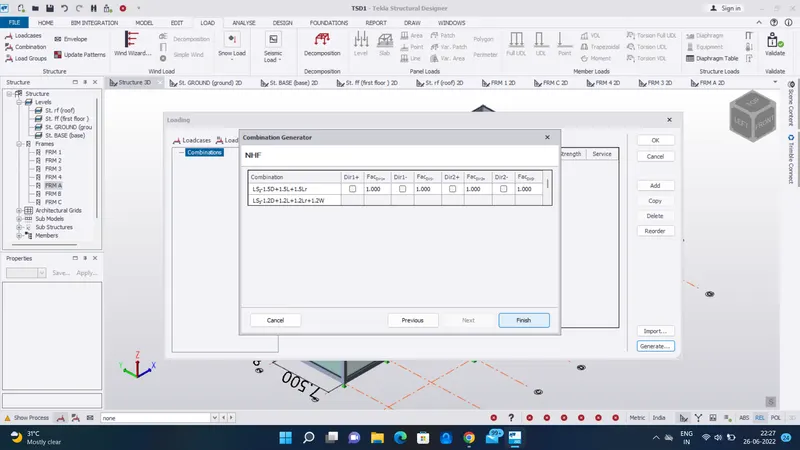
STEP :4
Calculation of Imposed load load :
AS per IS 875 - part 3,The given live loads are:
- office=3 KN/m^2
- reception=3 KN/m^2
- meeting room/conferece room-4 kN/m^3
- equipment room =10 KN/m^2
- Toilets=2 KN/m^2
- Store room= 5 KN/m^2
- Staircase =3=4 KN/m^2
- Lobby =3 KN/m^2
- Cooridor=4 KN/m^2
- Roof (accessible) =1.5 KN/m^2
STEP :5
- Go to the load tab
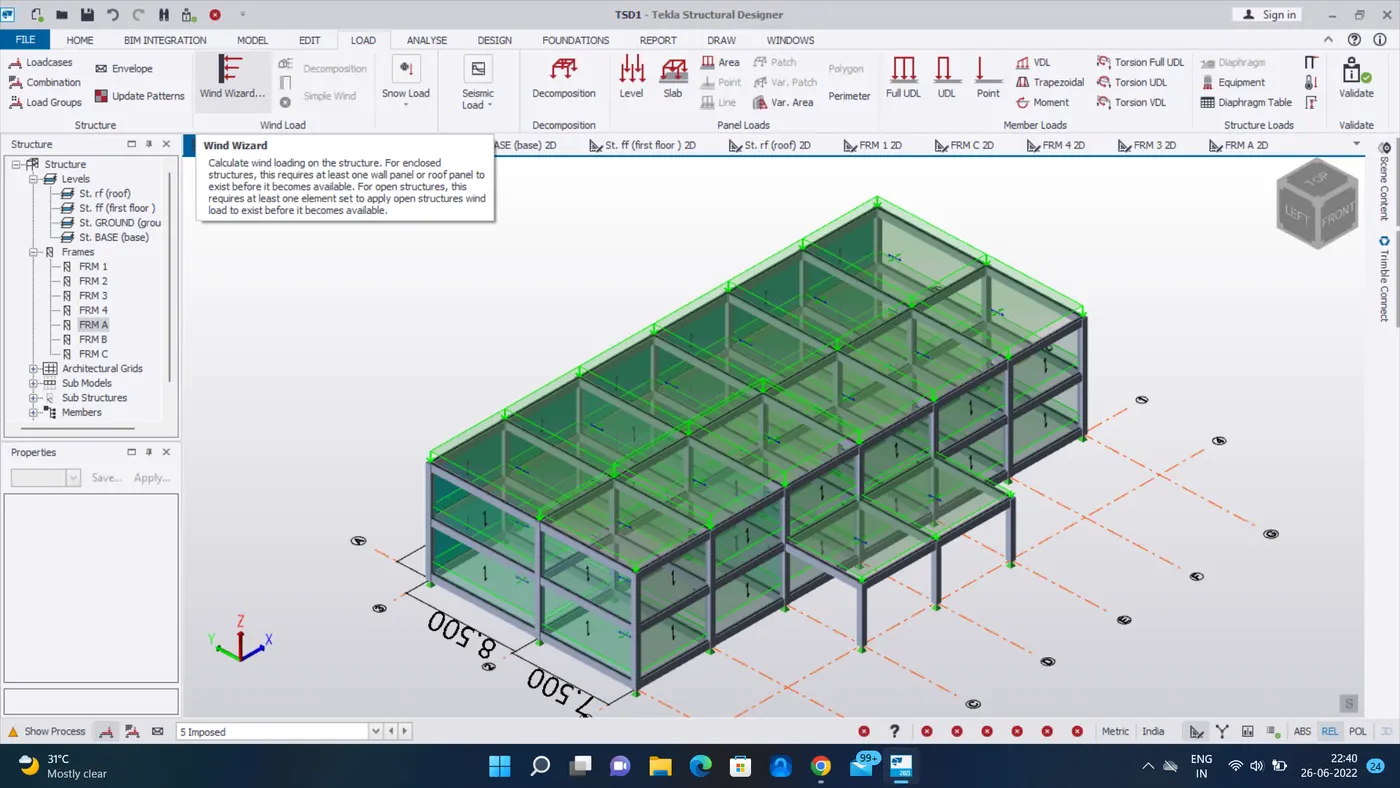
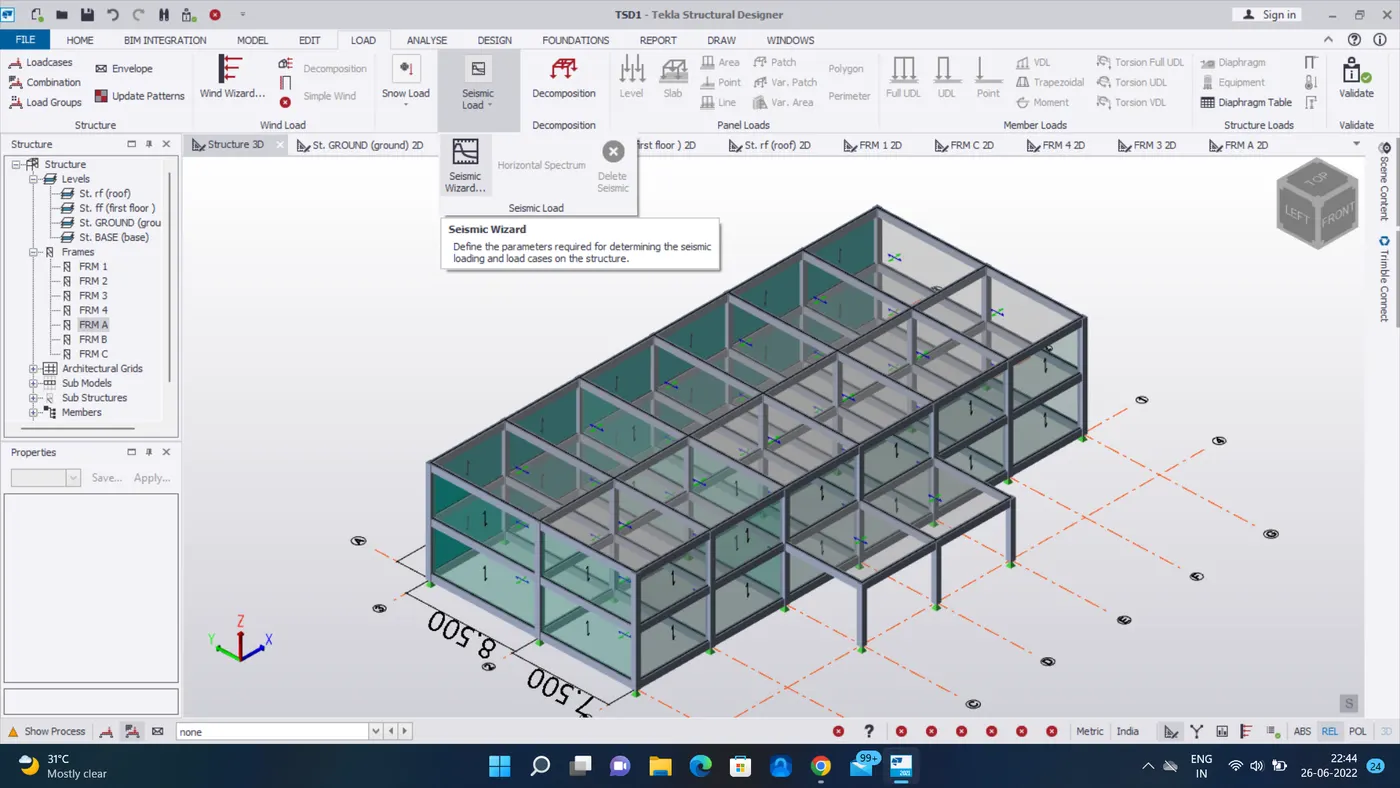
- select the seismic load and select the seismic wizard
- After open the seismic wizard the site specific spectra box as been opend
- select the code spectra and click next
- Next open the basic information box and once check and next
- And next automatically opened the structural irregularties box
- select the (use equalent lateral force procedure) under the analysis procedure to be used
- Fundamental period - Select the (RC MRF BUILDING) for both --> Next
- Seismic force resisting system - select (the moment frame system and rc building with omrf) for both --> Next
- Effective seismic weight --> export all load to right side --> Next
- Localization --> Next
- Initial parameters --> Replace only combination --> Next
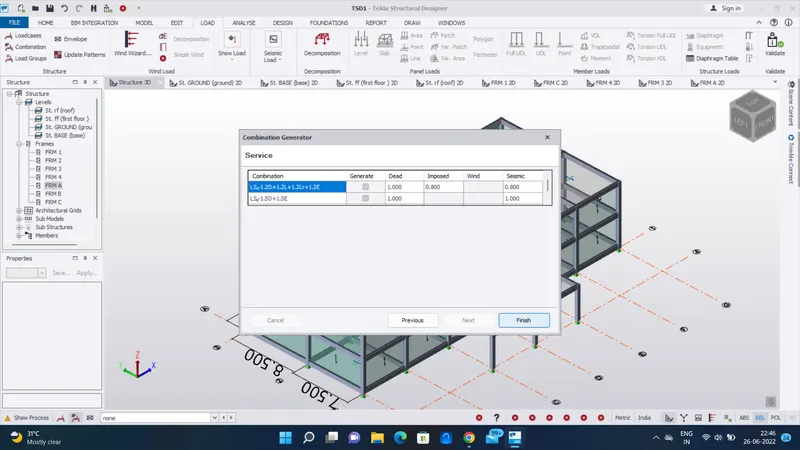
- Combination --> Next
- Service --> Finish
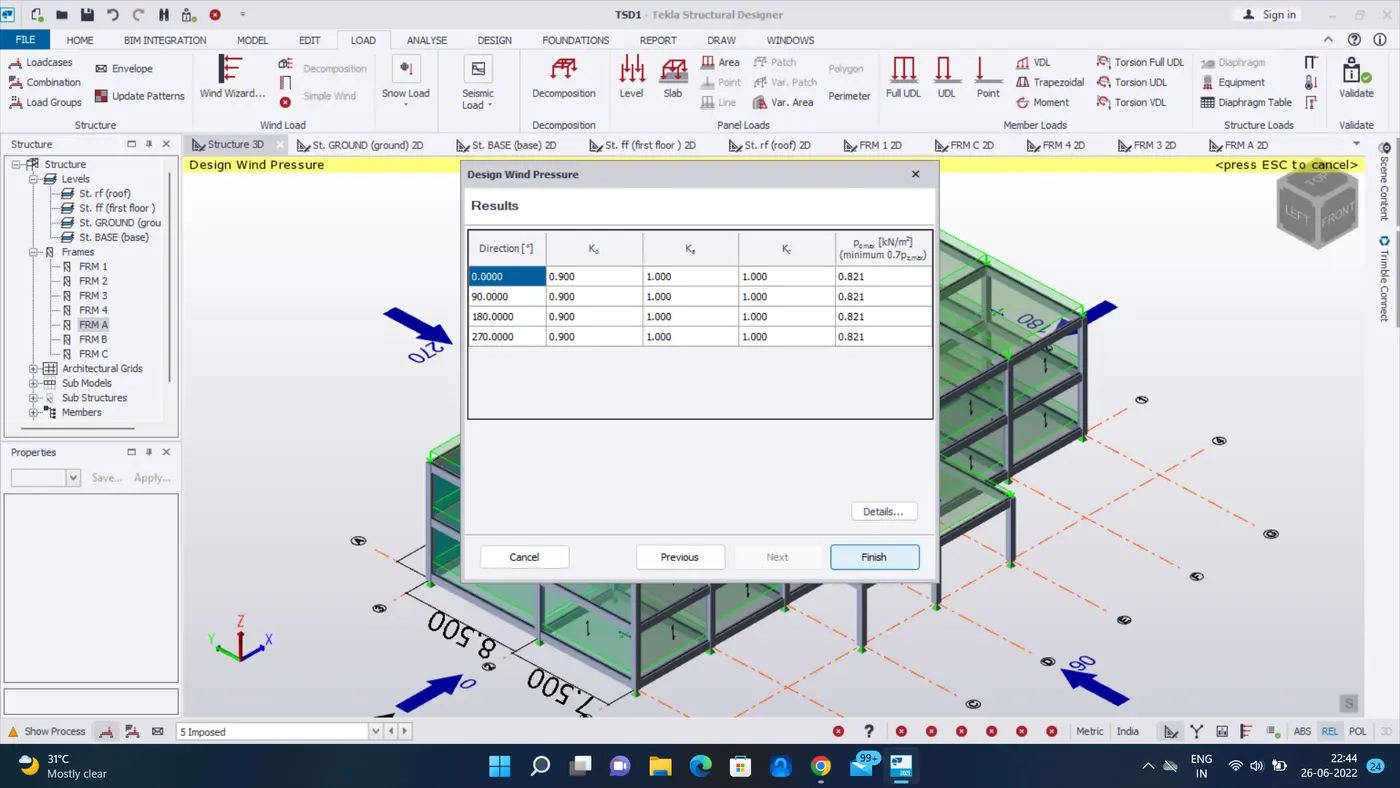
Calculation of wind load load :
- Basic wind speed = 50m/s
- Terrain category 2
- Total length of the building (l) = 19.225m
- Total width of the building (w) = 10.700m
- Total height of the building (h) = 16.8
- Class of the structure = Class A
- Life of the structure = 50 Years
- l/w = (19.225/10.700) = 1.79
- h/w = (16.8/10.7) = 1.5
STEP :1
EXTERNAL PRESSURE CO-EFFICIENT (Cpe)
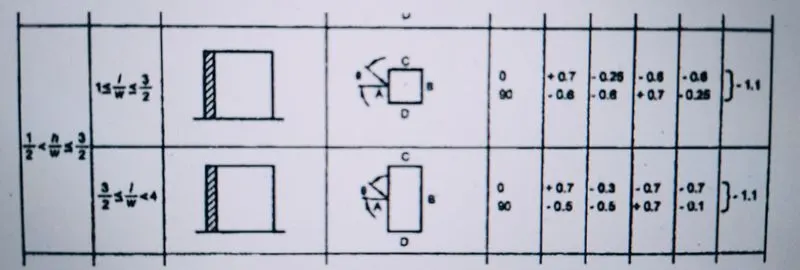
As per the IS 875 Part 3, Table 5
Building height ratio
Building height ratio = 1/2<h/w<3/2
= 0.5<1.5<1.5
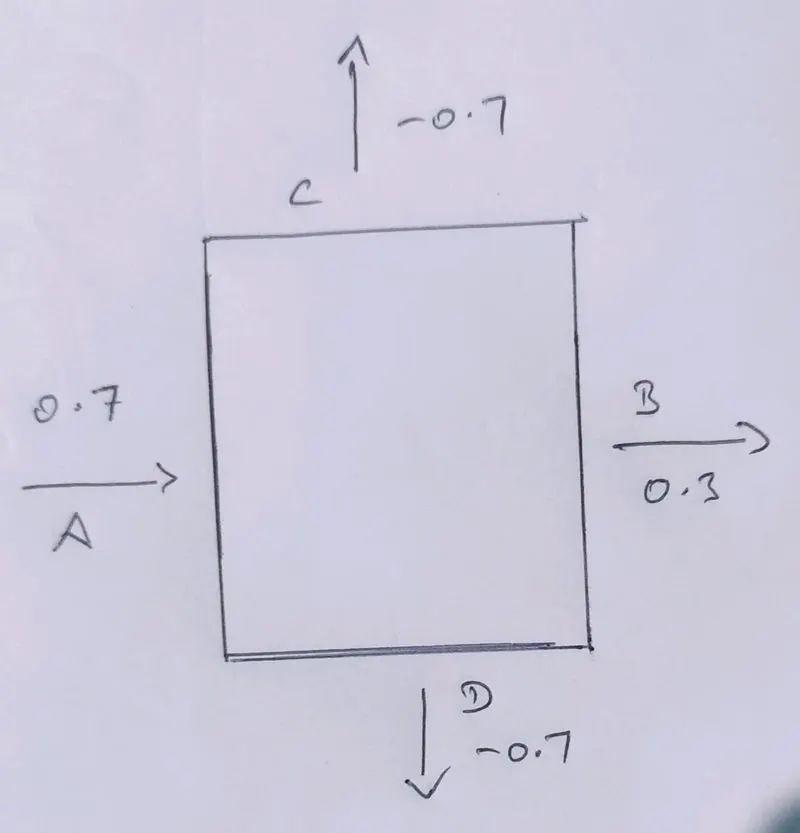
Therefore, the building plan ratio = 3/2 < l/w < 4
= 1.5 < 1.79 < 4
Hence the plan we choose is given below
STEP :2
Finding the Factors (k1, k2, k3, k4)
k1:
From Table 1 for the basic wind speed for 50 m/s,
Risk Coeffiecent, K1 = 1.0
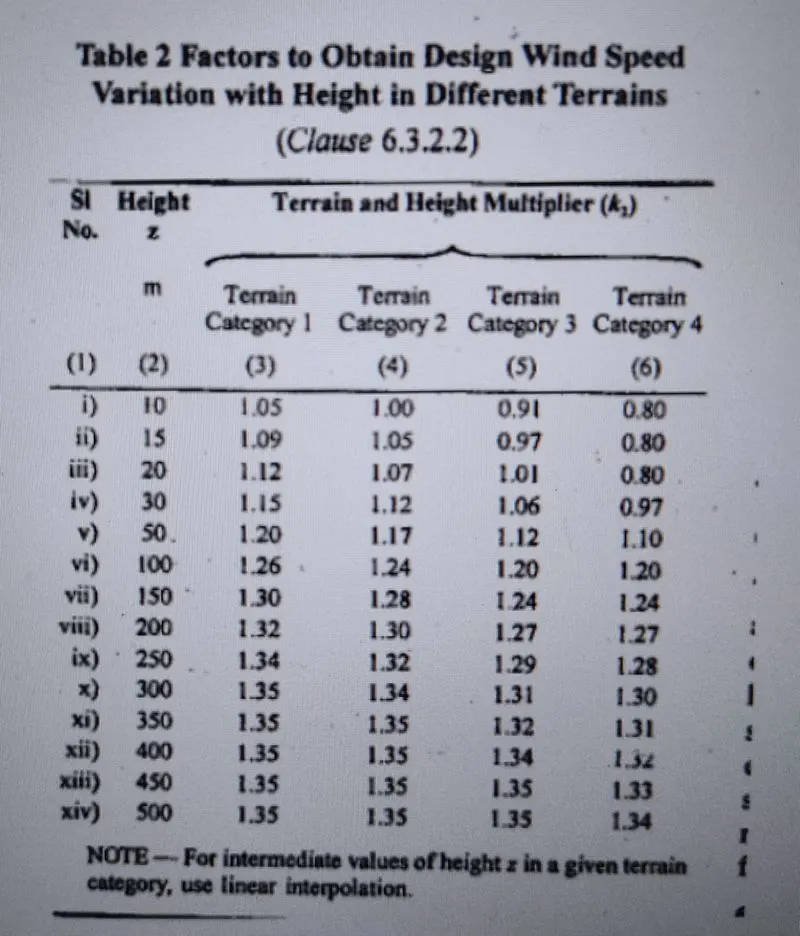
K2 :
From Table 2,
16.8m height = terrain category 2
20m height = 1.07
by using the interpolation method,
k2 = 1.05
K3:
Topography factor, k3 = 1 (from clause 6.3.3)
K4:
Importance factor K4 = 1 (from Clause 6.3.4)
STEP :3
Vz=Vb x k1 x k2 x k3 x k4
= 50x1x1.05x1x1
= 52.5 m/s
STEP :4
Pz = 0.6 Vz^2
= 0.6 x 52.5^2
= 1653.75 N/sq.m
= 1.653 kn/sq.m
STEP :5
Wind direction (up to roof level) Y-direction :
1.) Wind direction along y- direction (Face A):
-
Cpe + Cpi - Height of the building 16.8m 16.8m External pressure co-efficient Cpe 0.7 0.8 Internal pressure co-efficient Cpe 0.5 -0.5 Net pressure co-efficient Cp = Cpe - Cpi 0.2 1.2 Design wind pressure, Pz 1.984 1.98 Wind load on Wall (Cp x Cz) Kn/m^2 0.4 2.38 Factor loading (1.05) 0.42 2.5
2.) Wind direction along Y- direction (Face B):
-
Cpe + Cpi - Height of the building 16.8m 16.8m External pressure co-efficient Cpe -0.3 -0.3 Internal pressure co-efficient Cpe 0.5 -0.5 Net pressure co-efficient Cp = Cpe - Cpi -0.8 0.2 Design wind pressure, Pz 1.984 1.984 Wind load on Wall (Cp x Cz) Kn/m^2 -1.587 0.4 Factor loading (1.05) -1.667 0.42
3.) Wind direction along Y- direction (Face C&D):
-
Cpe + Cpi - Height of the building 16.8m 16.8m External pressure co-efficient Cpe -0.7 -0.7 Internal pressure co-efficient Cpe 0.5 -0.5 Net pressure co-efficient Cp = Cpe - Cpi -1.2 -0.2 Design wind pressure, Pz 1.984 1.984 Wind load on Wall (Cp x Cz) Kn/m^2 -2.38 0.4 Factor loading (1.05) -2.5 -0.42
Wind direction (up to roof level) X-direction :
1.) Wind direction along X- direction (Face A&B):
-
Cpe + Cpi - Height of the building 16.8m 16.8m External pressure co-efficient Cpe -0.5 -0.5 Internal pressure co-efficient Cpe 0.5 -0.5 Net pressure co-efficient Cp = Cpe - Cpi -1 0 Design wind pressure, Pz 1.984 1.98 Wind load on Wall (Cp x Cz) Kn/m^2 -1.984 0 Factor loading (1.05) -2.08 0
2.) Wind direction along X- direction (Face C):
-
Cpe + Cpi - Height of the building 16.8m 16.8m External pressure co-efficient Cpe 0.7 0.7 Internal pressure co-efficient Cpe 0.5 -0.5 Net pressure co-efficient Cp = Cpe - Cpi 0.2 1.2 Design wind pressure, Pz 1.984 1.984 Wind load on Wall (Cp x Cz) Kn/m^2 0.3896 2.38 Factor loading (1.05) 0.471 2.5
3.) Wind direction along X- direction (Face D):
-
Cpe + Cpi - Height of the building 16.8m 16.8m External pressure co-efficient Cpe -0.1 -0.1 Internal pressure co-efficient Cpe 0.5 -0.5 Net pressure co-efficient Cp = Cpe - Cpi -0.6 0.4 Design wind pressure, Pz 1.984 1.984 Wind load on Wall (Cp x Cz) Kn/m^2 -1.2 0.8 Factor loading (1.05) -1.26 -0.84
- Next go to the analysis tab and pick the setting option
- In there select 1st order non-linear and check once 100 and 0.01%
- And also check the concrete and general option once then click ok
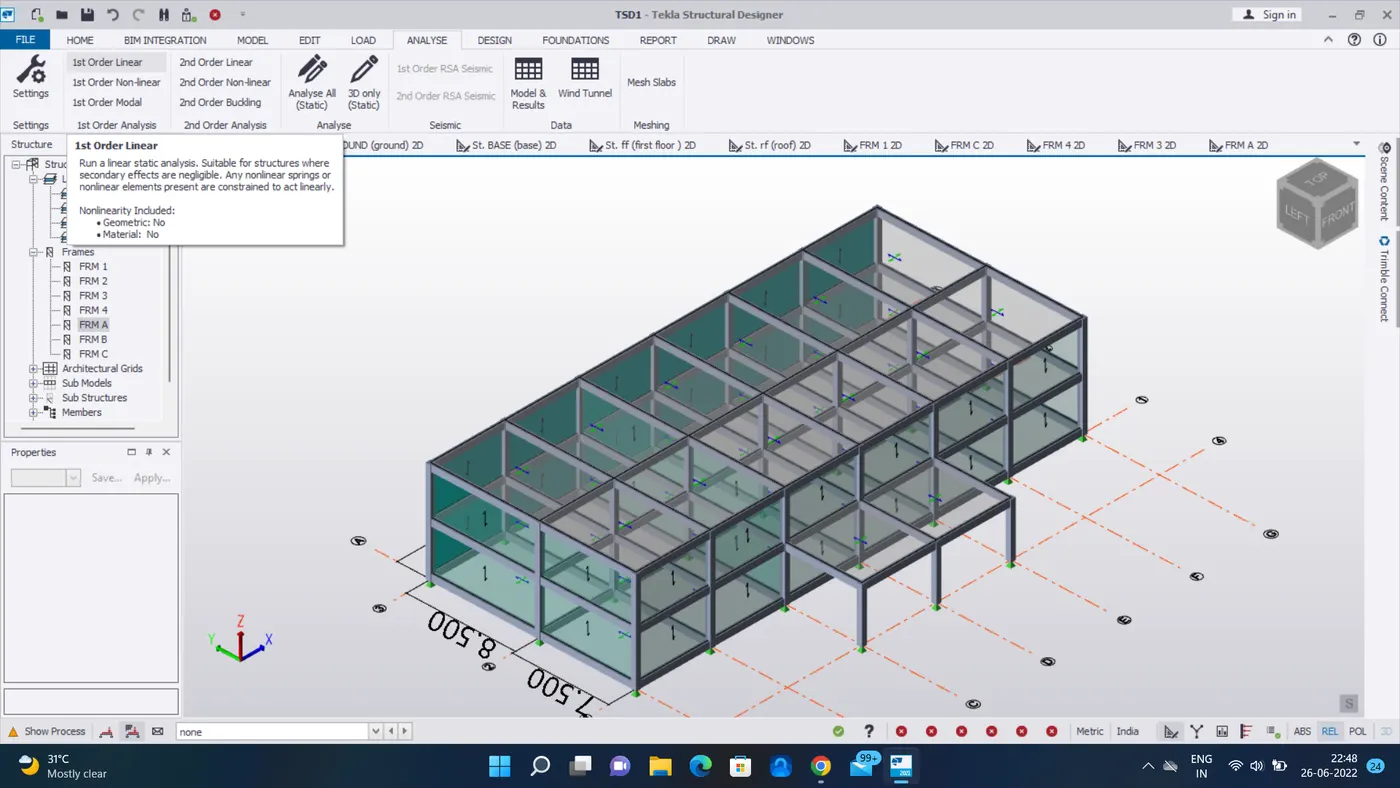
- finally pick the analysis option and select the 1st order linear
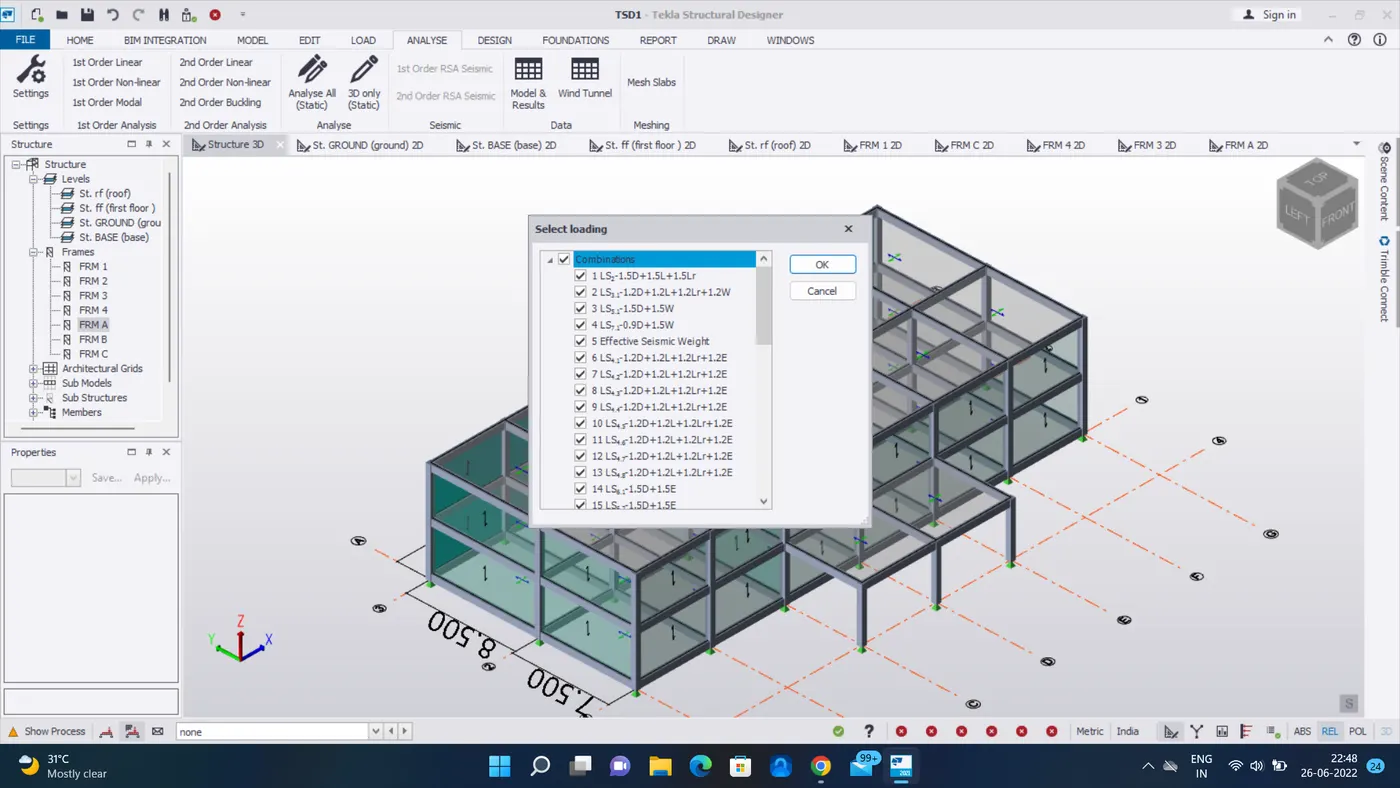
- select all combination and load cases option and then click ok
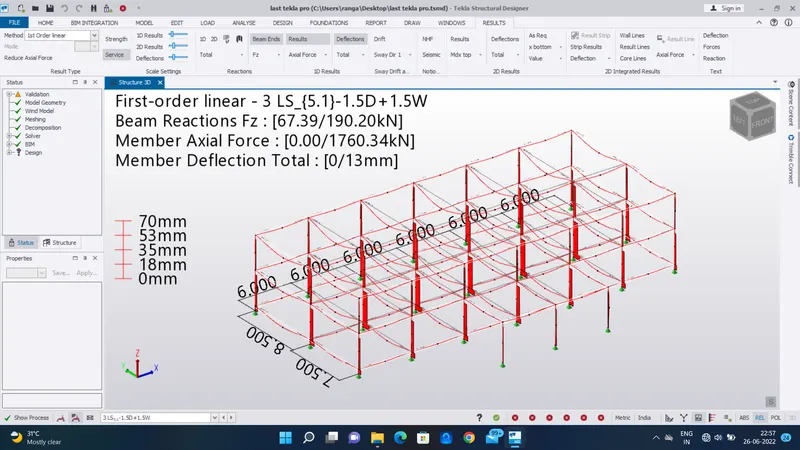
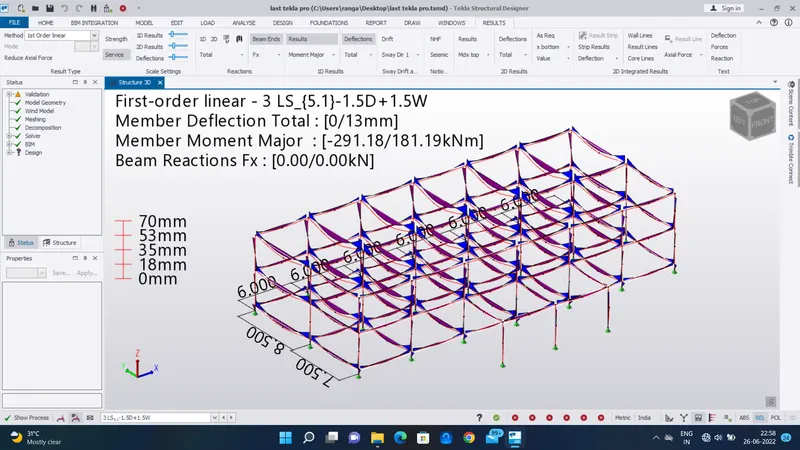
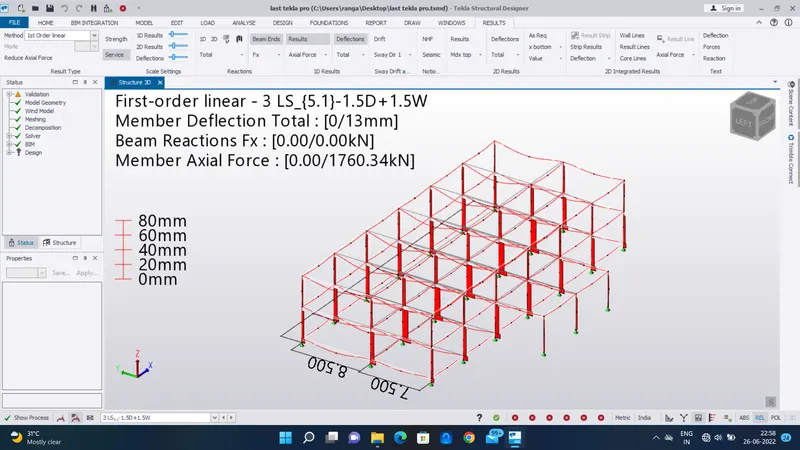
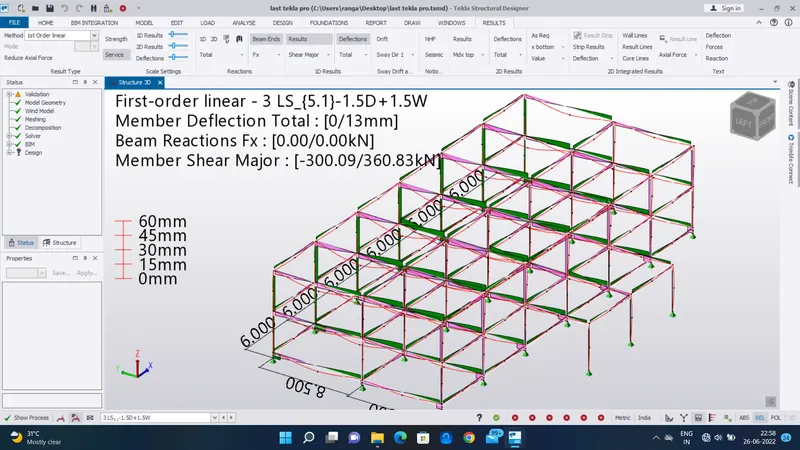
- Go to the ground floor and select the result tab
- And also select the deflection and select the load cases
- Then we want to check the moment major, shear major, and Axial force
STEP :6
DESIGN THE COLUMN :
- Open the tekla software and open previous file
- After analysis the model
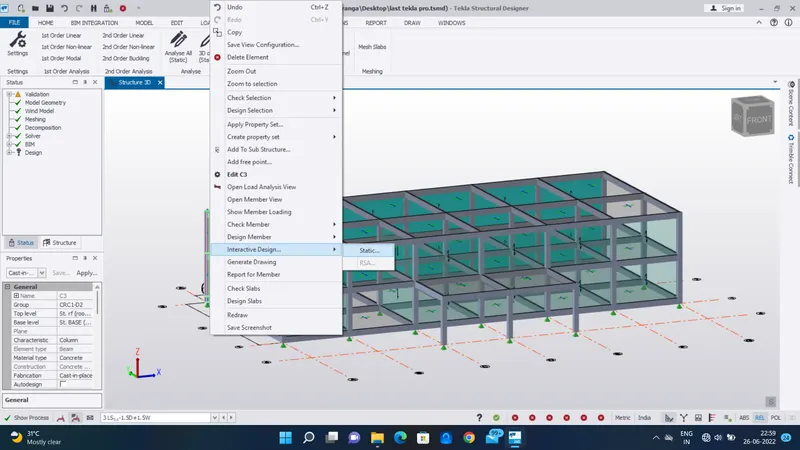
- Select the column and right click
- select the interactive design --> static
- First we want to check the errors
- And they have any errors shown
- first change the principle bar size and intermidetate bar size
- Again shows errors means just change the counts
- And again shows errors change the section size
- Repeat the same procedure for all the columns
- The procedure process image as been given below
DESIGN THE BEAM :
- Here we want to adjust the beam designs
- First go to the design setting under the design tab
- Go to the concrete --> Beam --> Top longitudinal bar --> select the (Bar 2)
- Select the beam and right click
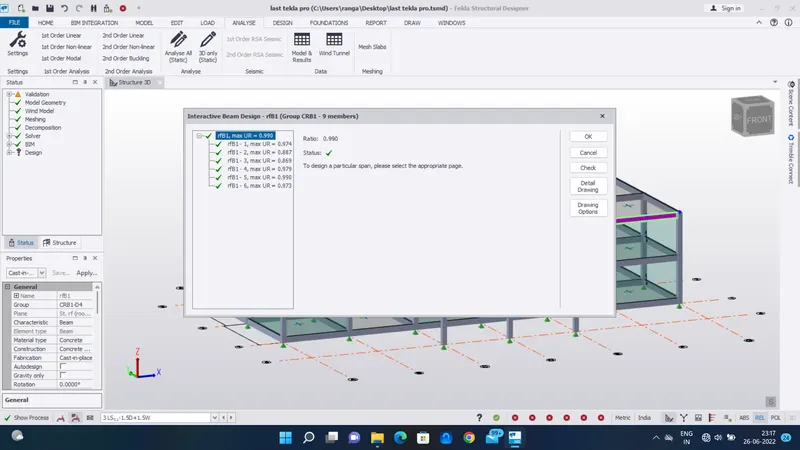
- select the interactive design --> static
- First we want to check the errors
- And they have any errors shown
- First adjust the size and count still the beam as been passed
- Repeat the same procedure for all the beams
- After finish all the beams we want select the status and we check the member are all passed
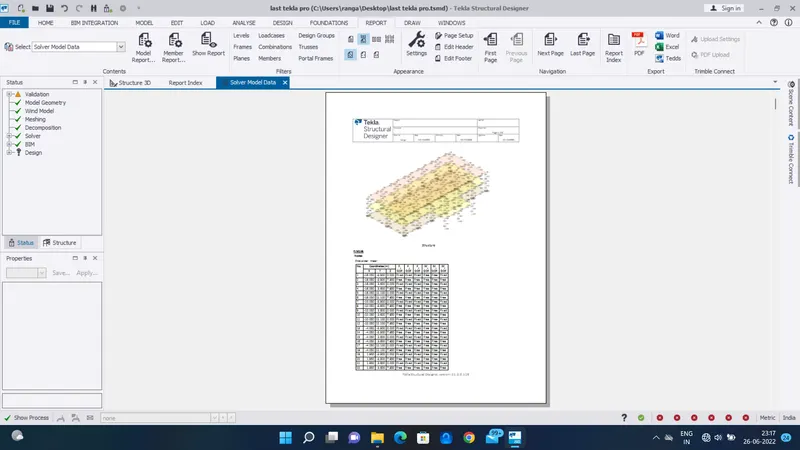
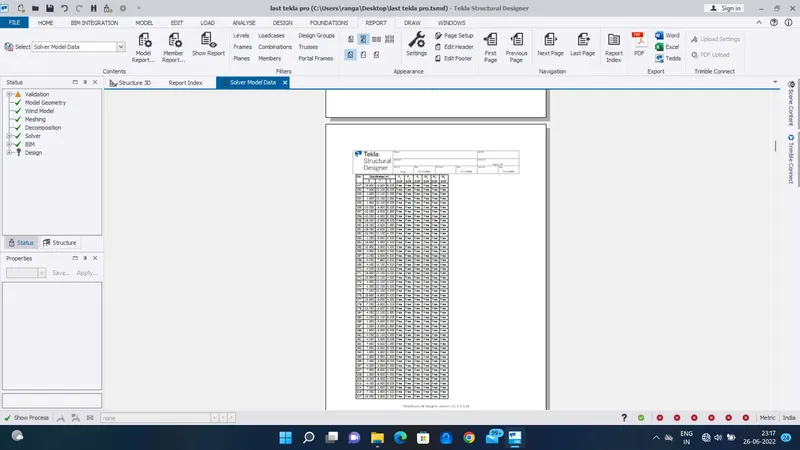
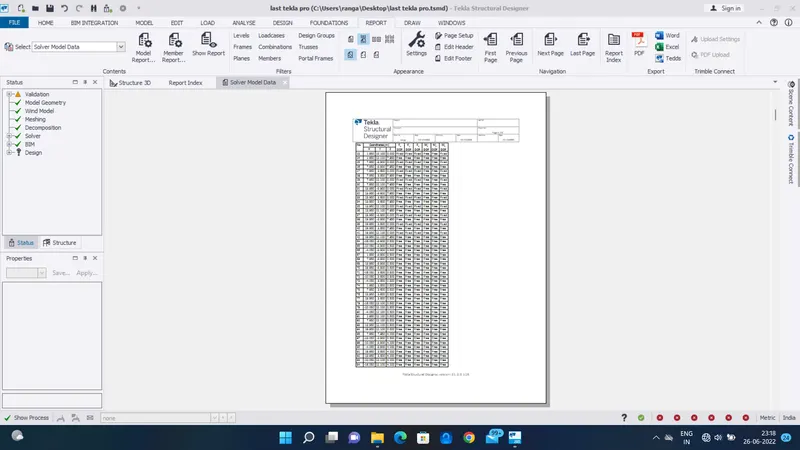
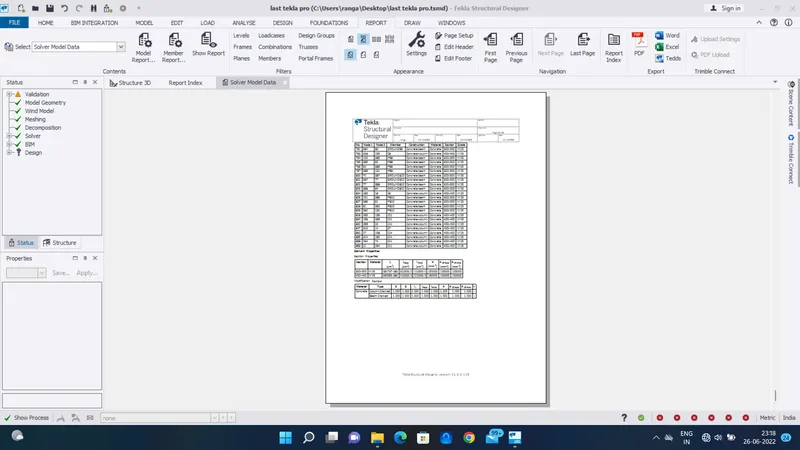
And finally the taken the report summary using report option
RESULT :
As per the question
To Analyze and Design the RC office building as per IS standard code in TEKLA STRUCTURAL DESIGNER as been completed sucessufully.