Hypermesh Challenge_8 - 3D meshing on the given component by different parameters
Hypermesh Challenge_8 - 3D meshing on the given component by different parameters
OBJECTIVE:
3D mesh on the Chassis component, Housing component, and crank component by different meshing methods.
Element Size: Min: 2mm, Max: 7mm, and Target Size: 5mm
Tet Collapse: 0.15
For the other two components: 6mm element size.
PROCEDURE:
Three components are there to work on 3D meshing on the chassis component, Housing component, and Crank component.
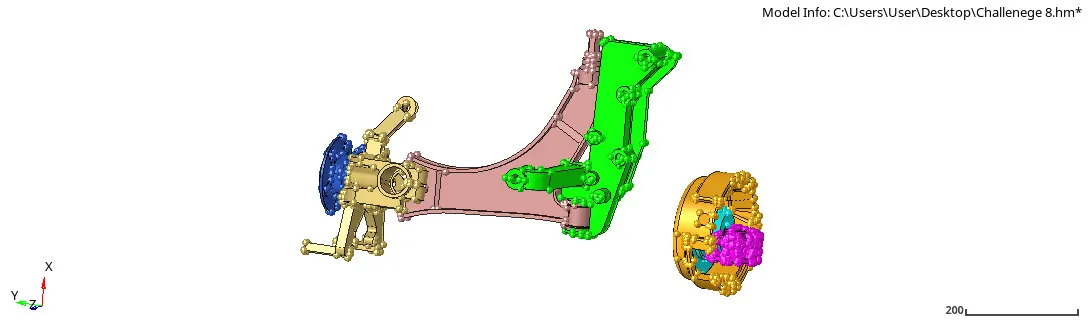
Fig 1: Chassis, Housing, and Crank component
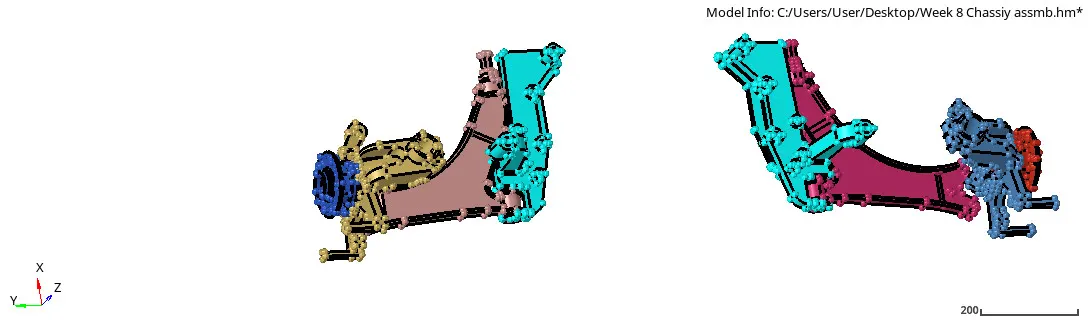
Fig 2: Chassis component
Chassis component 1:
First working on, the chassis component which has asymmetrical components so they can be reflected after 3D meshing, so those components are named differently to understand and organize in a different component.
Chassis component 1 is deleted with a solid part and then worked on topology cleanup for the 2D meshing.
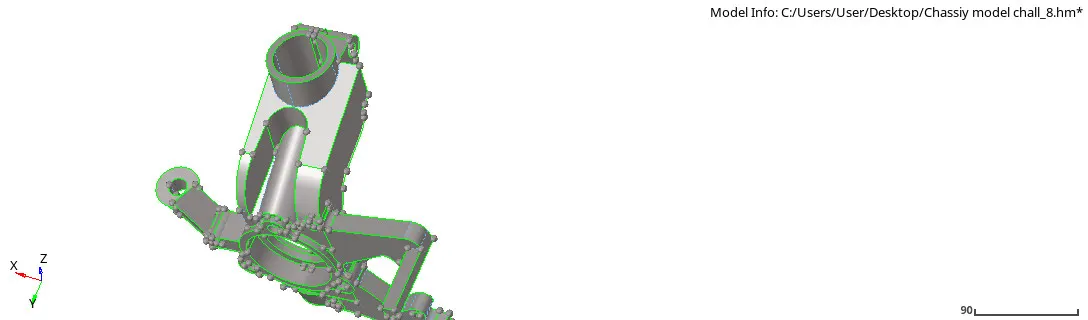
Fig 3: Geometry cleanup chassis comp 1
Toggling the shared edges with minimum surface size which can fail the elements. After topology cleanup doing the 2D mesh with element size 5mm and checking for the failed elements with minimum size and maximum size, where it fixed by placing the node or remesh the elements by saving the failed elements and the mask them to get better visualize and fixing them to zero errors.
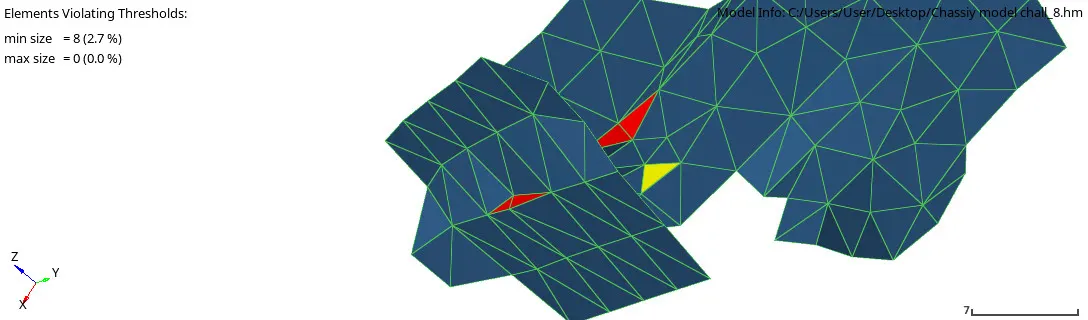
Fig 4: Place node min size element
Command: [ (2D mesh + Element size: 5mm + Only trias + mesh) for failed elements ( Tools + Check elements + Max length / Min Length + Saved Failed + Mask + retrieve + Reverse)]
Optimizing the element quality in 2D mesh moving more the 3D mesh, applying the mesh with the same aspect to achieve 3D mesh, 3D mesh checking for the yet collapse and they are fixed manually or else remesh the elements by giving appropriate tetra mesh parameters.
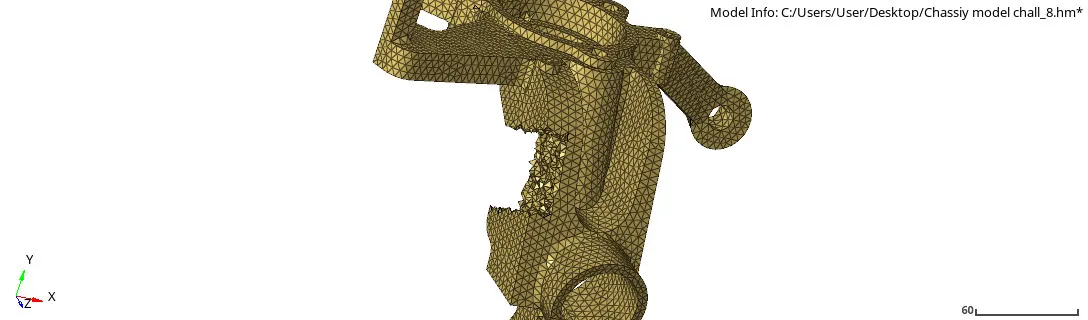
Fig 5: The 3D mesh of chassis comp 1
Command: [ (3D + Tetra mesh + selecting the 2D mesh + mesh) / Tet collapse fixing: ( Tetramesh parameters + Giving max and min size : 2mm / 7 mm + tick fill voids, fix mid nodes, smoothing + Tet collapse: 0.150 + tetra remesh)].
Achieved the tet collapse result at 0%.
Chassis component 2:
The component has the fillet with 0.5mm which definitely will fail so they are defeature and this component also has several teeth that have min surface size with are deleted by splitting the surface, masking the teeth, and then deleted it. after that, the surface is extended to completed the teeth deleted part, hence the geometry cleanup is done correctly on chassis component 2.
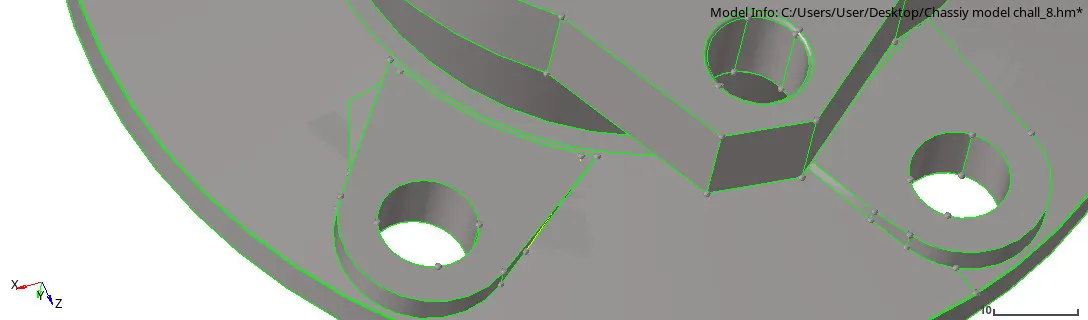
Fig 6: Fillet defeature chassis
Command: [ Defeature + Suf fillet + selecting the surface + max radius : 0.1mm and max radius : 8 mm]
Command: [ Quick edit + split surf node to node + mask (by face) + reverse + delete + surface edit + extend + extend over edges + lines to extend over + surf to extend over + extend].
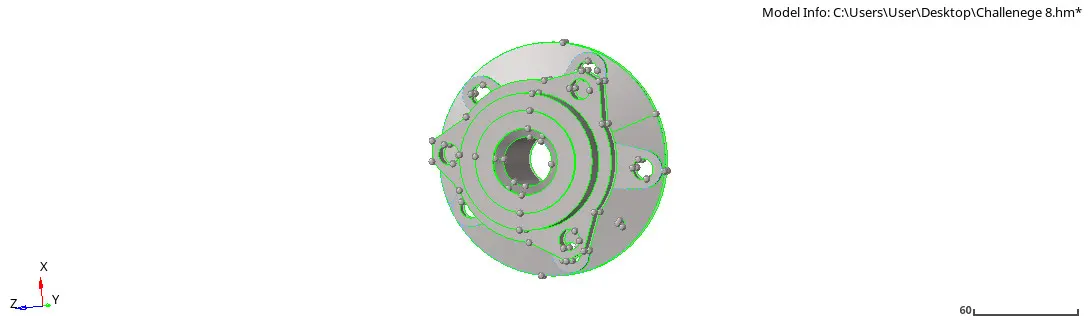
Fig 7: Geometry cleanup chassis comp 2
Doing the geometry cleanup and following the given aspect this component mesh with 2D elements and check for the elements failing and fixing them using the same command as used above to get better quality output.
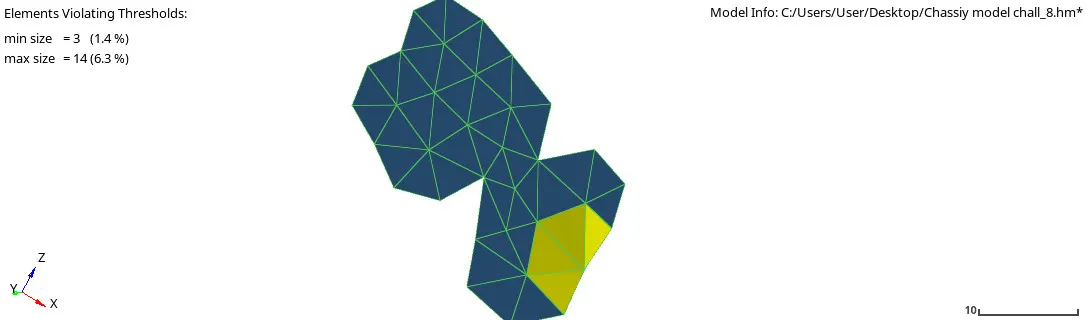
Fig 8: Remesh for quality result CC2
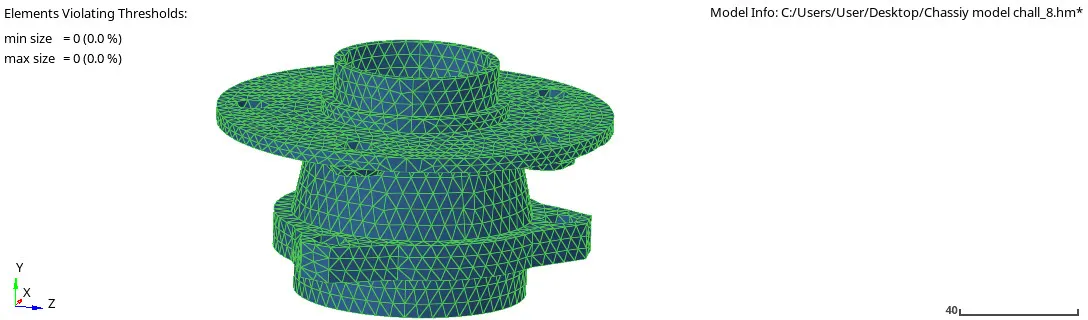
Fig 9: 2D mesh quality output CC2
Fixing the failed elements and this component meshed with 3D tetra mesh and optimized for 0% tet collapse.
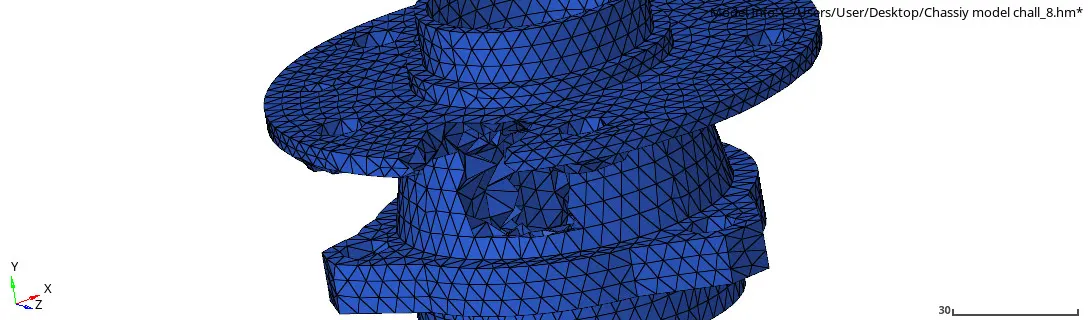
Fig 10: 3D tetra mesh CC2
Chassis component 3 and 4:
On chassis components 3 and 4 done geometry cleanup with the quick edit panel and toggled the lines which have minimum surface length.
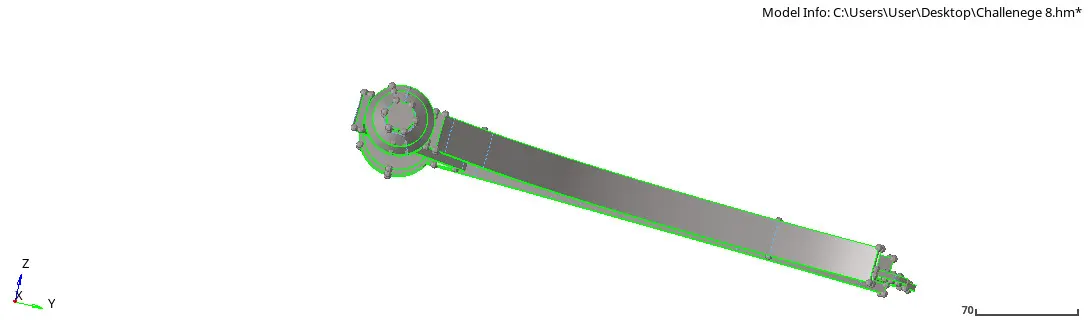
Fig 11: Geometry cleanup CC3
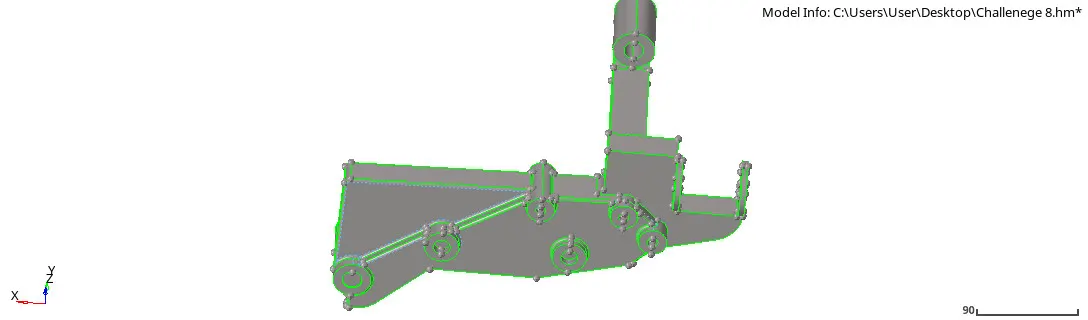
Fig 12: Chassis comp 4 geometry cleanup
Completing the topology cleanup on the above component is meshed with the same procedures first 2D mesh, checking for the fail element and fixing them to active quality result and then they mesh with 3D tetra meshing and finally checked for the test collapse at 0%, for this component overall using the same command and achieved result.
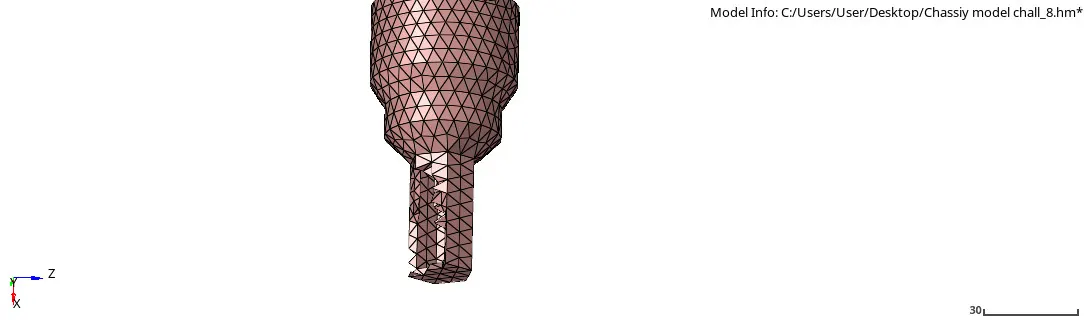
Fig 13: 3D Tetra mesh CC3
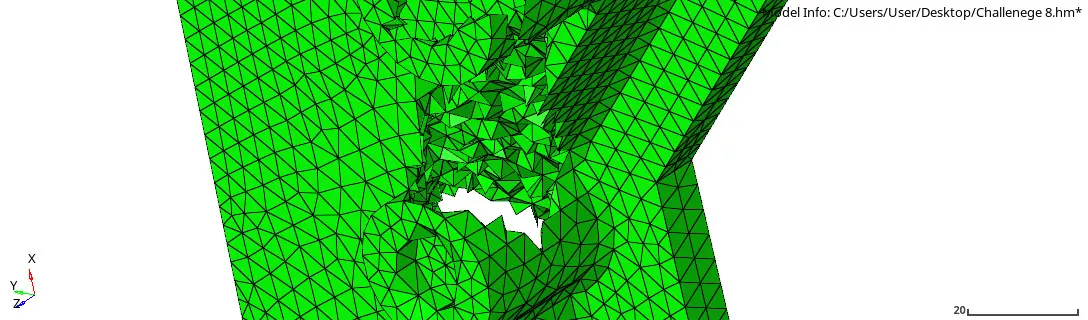
Fig 14: 3D mesh on chassis comp 4
Note: The elements of the asymmetrical components are not reflected to other components because the nodes are above 50,000 approx to 66,000 so for student version maximum nodes can be reached up to 1,00,000 only. So the asymmetrical components are deleted.
Housing Component
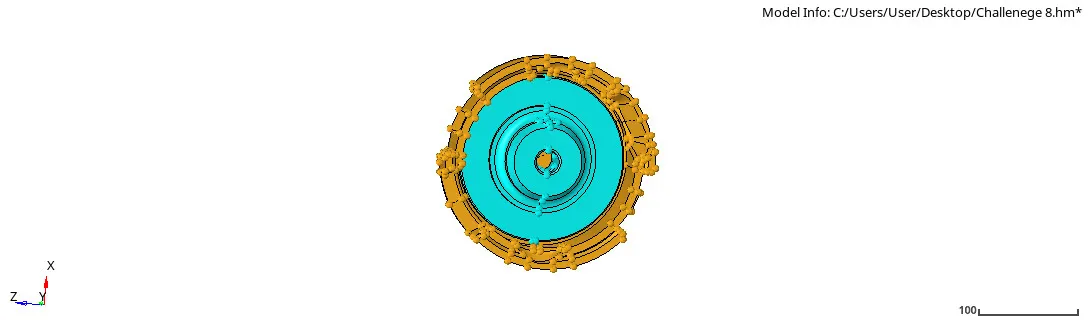
Fig 15: Housing component
The housing has two components Hub and cover, they have meshed with a completely different aspect, the hub is meshed with the 3D volume tetra with element size 6mm to achieve the tet collapse after meshing with volume tetra the tet collapse was found 0%.
Command: [3D + tetra mesh + volume tetra + select surf + 3D (tetras) + element size: 6mm + mesh].
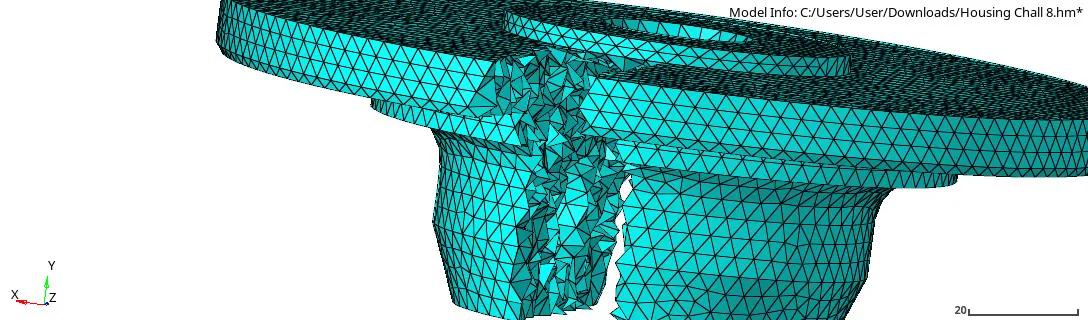
Fig 16: 3D mesh hub component
On the cover component first tried with volume tetra but the test collapse was not abe to fixed manually and also with remesh command so the cover component has meshed with the quick tetra mesh, after meshing with this command the failed tet collapse are remesh again using tetra remesh to achieve the tet collapse at 0%.
Command: [ View + Hypermesh + Utility + Geometry/ mesh + quick tetra mesh + selecting component + mesh size :6mm + min size: 2mm + mesh type trias only+ mesh].
This quick tetra mesh will do geometry cleanup automatically and mesh the component. Also, the mesh will create a separate component.
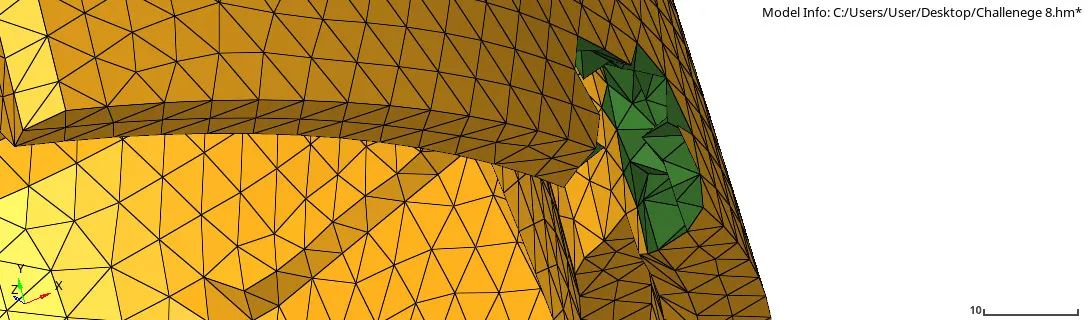
Fig 17: Cover 3D mesh
Crank Component
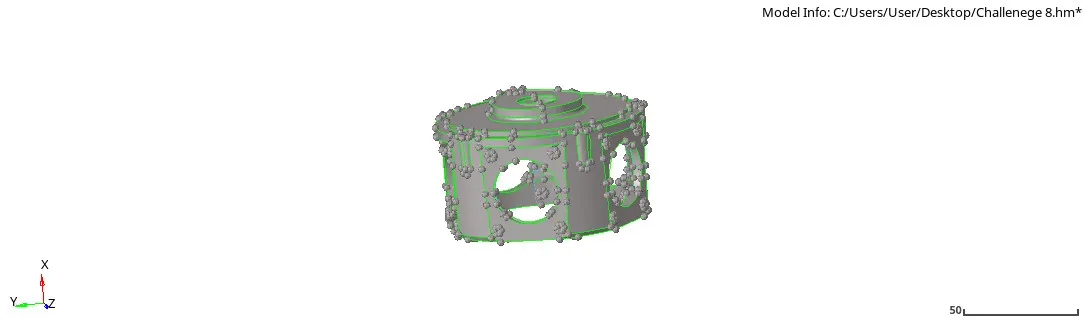
Fig 18: Crank Component
The crank component also tried with volume tetra but the test collapse was not abe to fixed manually and also with remesh command so the cover component has meshed with the quick tetra mesh, after meshing with this command the failed tet collapse are remesh again using tetra remesh to achieve the tet collapse at 0%.
Command: [ View + Hypermesh + Utility + Geometry/ mesh + quick tetra mesh + selecting component + mesh size :6mm + min size: 2mm + mesh type trias only+ mesh].
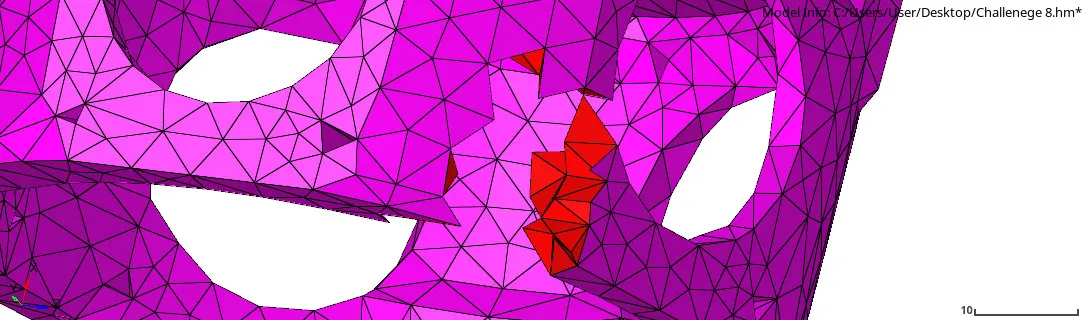
Fig 19: 3D mesh on crank component
RESULT /CONCLUSION :
The chassis component has meshed with 2D mesh and then they are converted to 3D mesh with quality check and fixing failed element by using an appropriate process they are achieved to 0% tet collapse whereas the housing and crank component is meshed with directly using volume tetra in 3D tetra mesh and quick tetra achieve which has optimized 0% tet collapse.