Hypermesh Challenge - 5
Week 5- Challenge: Clean up the geometry of the following component
OBJECTIVE: To do geometry clean up on the housing component and for the plastic component, with the extraction of midsurface for the plastic component.
PROCEDURE: Model 1: "Geometry Cleanup on the housing component".
- Import the 'stp file'.
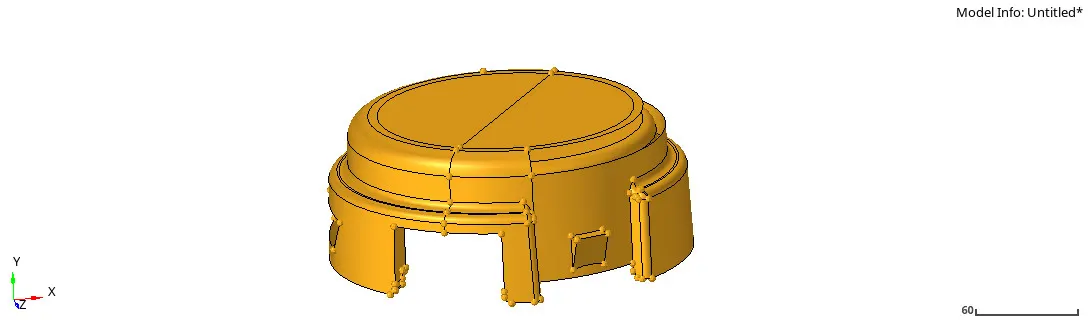
Fig 1: Housing component
- After getting the model for geometry cleanup or topology cleanup need to check for an ideal model, for that we have checked for any duplicate surfaces, missing surfaces, and free edges. In the given housing component there are not duplicate surfaces and also free edges found, but there is a missing surface a fillet, at four points.
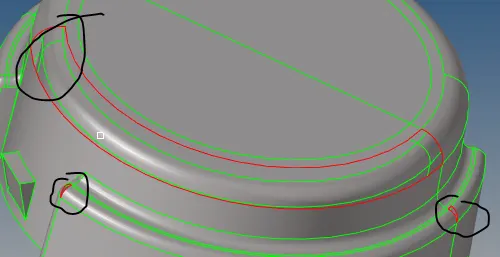
Fig 2:Missing fillet (1)
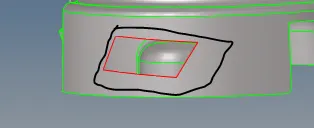
Fig 3:Missing fillet (2)
So now to fill those surfaces, command (Quick edit + filler surf), after filling the surfaces, we have done with the geometry cleanup basics on housing component to have a geometry cleanup component.
-------------------------------------------------------------------------------------------------------------------
Model 2: "Geometry Cleanup and midsurface extraction for the plastic component".
- Import STP file.
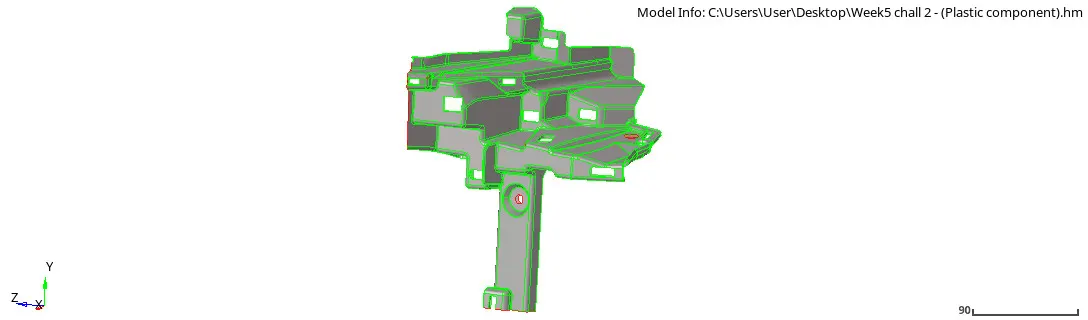
Fig 4: Plastic component
- View the component by Topology view, for the geometry cleanup, component has been check for any free edges, duplicates, and missing surfaces, In plastic component, there is free edges and missing surfaces.
- Also, we check in the component that there are three deform surfaces, so to get fix the deform surfaces in the component, command " quick edit + toggle + tolerance (0.5 min to 1 max).
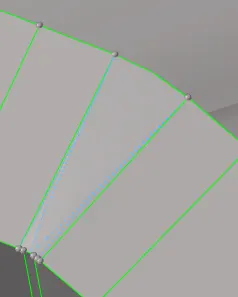
Fig 5: Deform surfaces
- After fixing free edges, deform surfaces, and toggle lines in the parent component, now it is extracted by it's midsurface for geometry cleanup. Command: Midusurface + auto extraction + select surfaces +extract.
Note: Midsurface extraction options are tried on the various option and finally decided on "skin offset".
- Now, midsurface is ready for manual geometry cleanup, as extracting the midsurface from parent geometry their many errors in the component.
- Fixing the points that are mixed by surfaces, through the procedure first select and delete the surfaces and then select and trim the cross surfaces and getting trimmed, finally select the surfaces and delete it to have proper geometry in the component.
- Also, these mixed surfaces are at three points in the component.
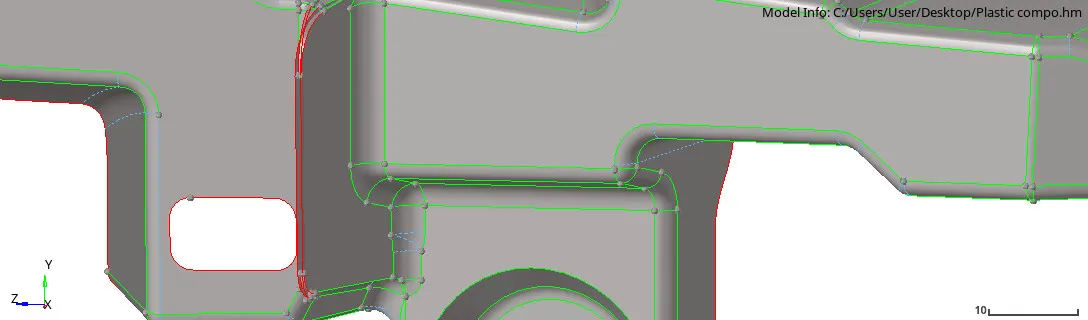
Fig 6: Delete, trim and delete surfaces
- After fixing those areas by the following command, we have done proper geometry clean on those surfaces.
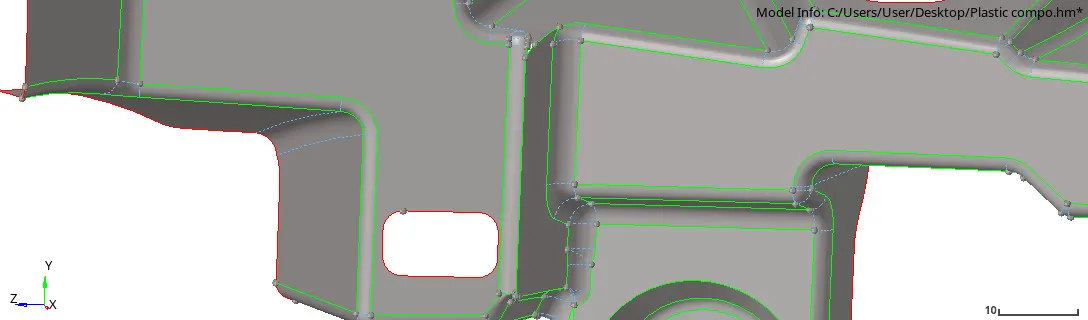
Fig 7: After trim and delete
- So we have fixed those three surfaces in the component to the optimized proper geometry cleanup.
- Now, to have correct geometry at the points on each section of the component, hare are been replace the points by command " quick edit + selecting the point + retain those points with other points" so the line will merge at correct joining to get proper geometry.
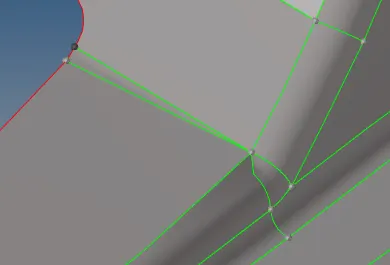
Fig 8: Replace points
- After replacing the points taking correct measures, by following appropriate command, now to fix toggle lines, and toggle edge.
- Toggle the lines because they are shared edges (green lines) should be at connecting the surface not in the middle of the fillet so these lines should be suppressed at fillet surface and at unnecessary points.
- For toggle, the lines follow the same command as we have taken for the parent geometry, command "Quick edit + toggle lines + select the lines + tolerance (0.5 unit)"
- And the same process will follow for toggle at the edge.
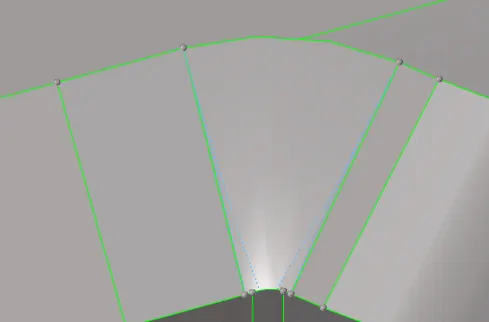
Fig 9: Toggle lines
- At unnecessary connecting points and edges, the lines are suppressed to have correct geometry at the edges.
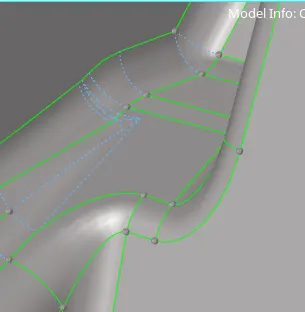
Fig 10: Toggle edges
- Completing all toggle the lines at the fillets, toggle the edges at necessary surfaces, and also courting the mixed surface to have correct geometry the plastic complete is ready after manual geometry cleanup.
CONCLUSION:
The challenge was to have an idea about the manual geometry cleanup, that manual will have fewer errors in the component before and after midsurface, to have correct geometry for further meshing process.
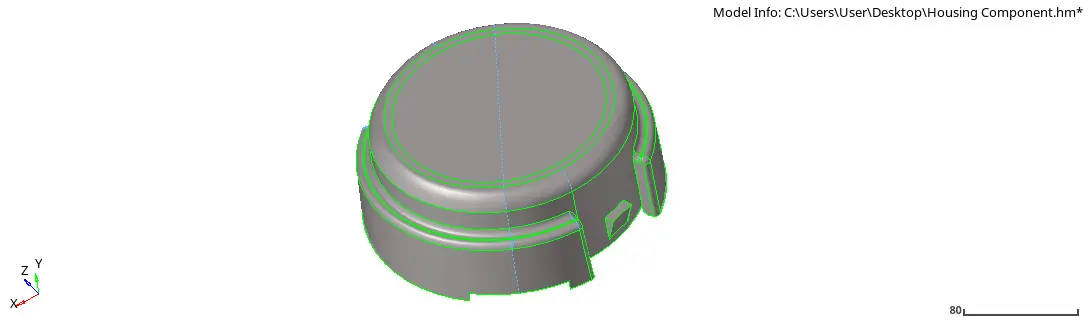
Fig 11: Geometry cleanup housing component
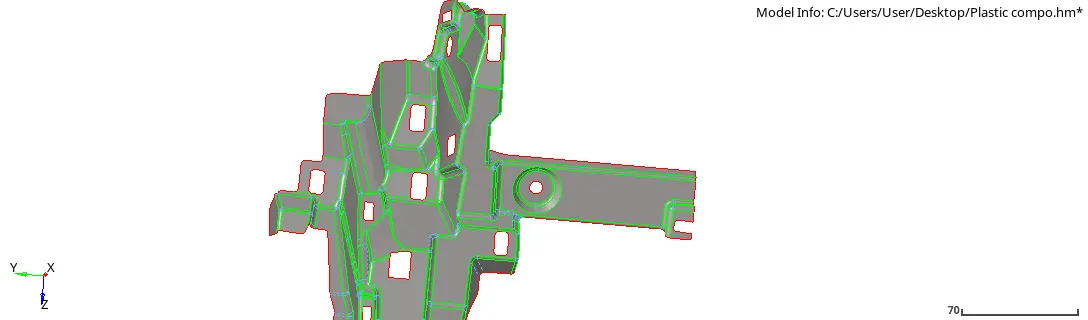
Fig 12: Final geometry cleanup of plastic component