ANSA Week 4 Challenge
AIM
To extract the manual midsurface of the Bottle Cap and then mesh the component with given quality parameters and assign thickness.
OBJECTIVE
The bottle Cap component is given with various thicknesses in threads, teeth, and ribs. Taking manual mid surface with different procedures and meshing the component with 1mm target element size and mentioned quality parameters.
| S.No | Quality Criteria | Value |
| 1 | Target/Average Length | 1 |
| 2 | Minimum Length | 0.5 |
| 3 | Maximum Length | 3 |
| 4 | Aspect | 3 |
| 5 | Warpage | 15 |
| 6 | Skewness | 45 |
| 7 | Jacobian | 0.7 |
| 8 | Minimum Quad Angle | 45 |
| 9 | Maximum Quad Angle | 135 |
| 10 | Minimum Tria Angle | 30 |
| 11 | Maximum Tria Angle | 120 |
| 12 | Tria Percentage | 15 |
Considering the quality parameters, ensuring the element meets the quality criteria for fine mesh flow.
PROCEDURE
Bottle Cap model is given for the mid surfacing and meshing the component.
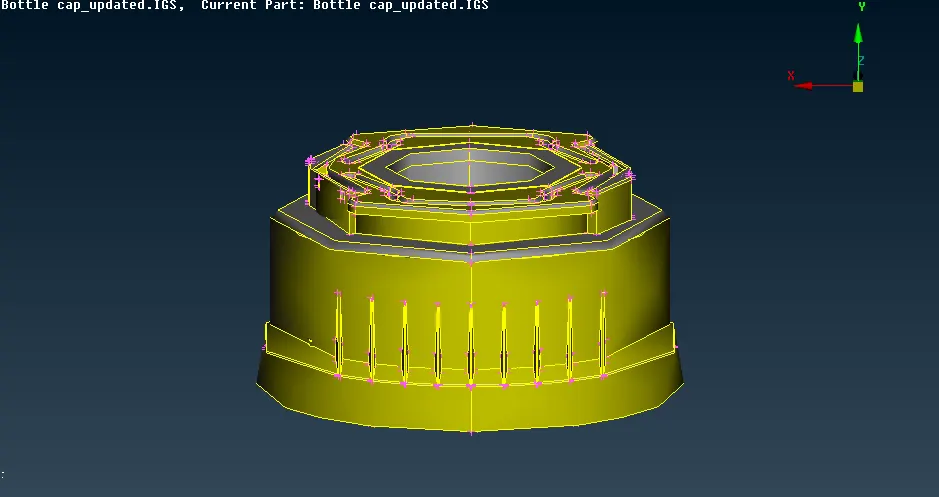
Fig 1: Bottle Cap
Checking the geometry with errors such as triple, single cons, cracks, etc. And those errors are fixed with the Auto fix option. And changing the length by perimeter and macros with 1mm size which is equivalent to 1mm element target size.
MID SURFACE
The Extraction for this component tried on both process Auto and Manual mid surface. On auto mid surface because of ribs, teeth, and threads, it doesn't work correctly and did not extract properly. So, worked on the Manual mid surface.
To extract such component there are several ways to get the mid surface, such as offset option, middle option on the other hand the curves can be created to create the surface for small surfaces, teeth, threads.
First, extract the top mid surface of the bottle which is connected with inside ribs. the inside ribs are extracted by the middle option in the faces by selecting the faces from both sides and then it is extended with base surface.
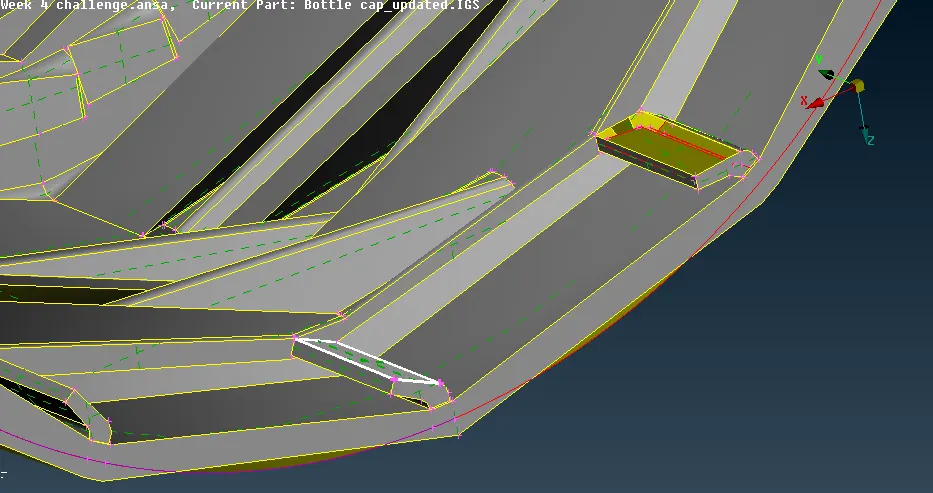
Fig 2: Mid-surface of inside ribs
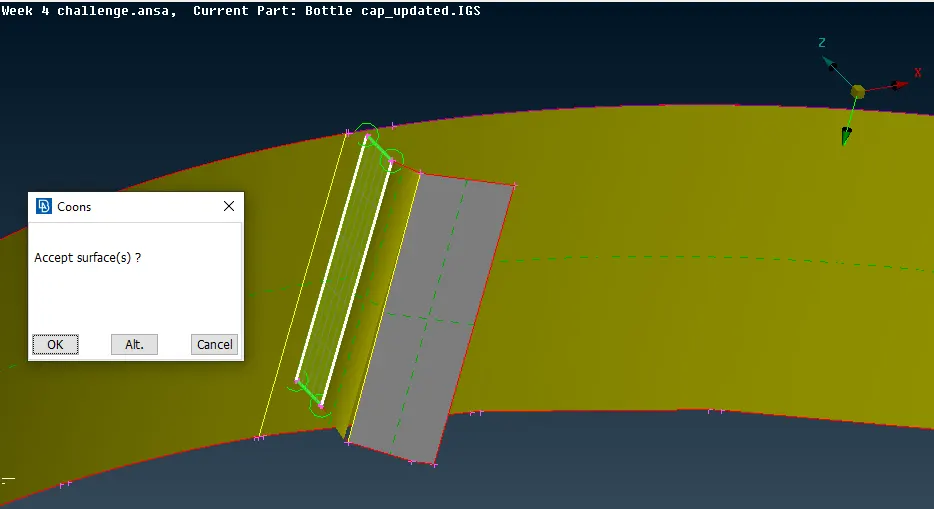
Fig 3: Extend Ribs
Taking the mid surface for the below Face which is attached to ribs, the mid surface has hole because parent geometry attachment of the ribs, those surfaces are filled with new existing surfaces. The outside, mid surface, the process for outside ribs are similar by taking the middle surface and the extend or Intersect option to attach the ribs to the face.
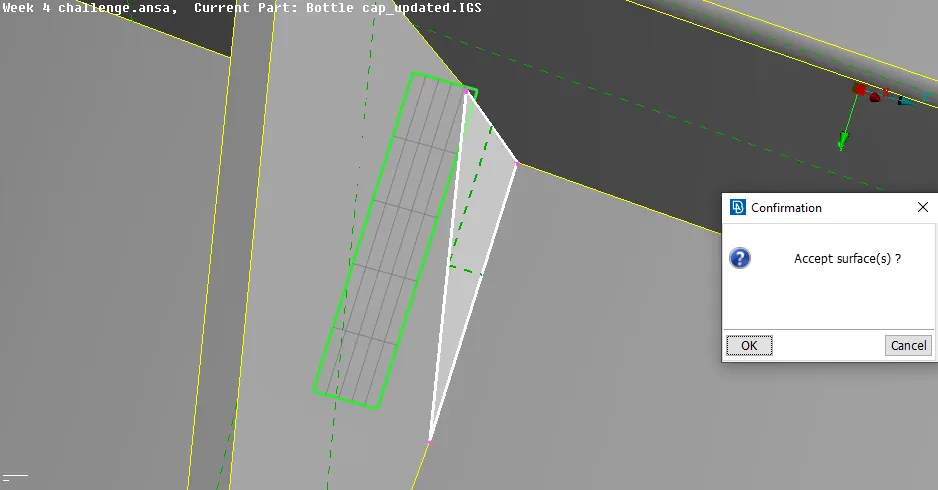
Fig 3: Mid-surf of outside ribs
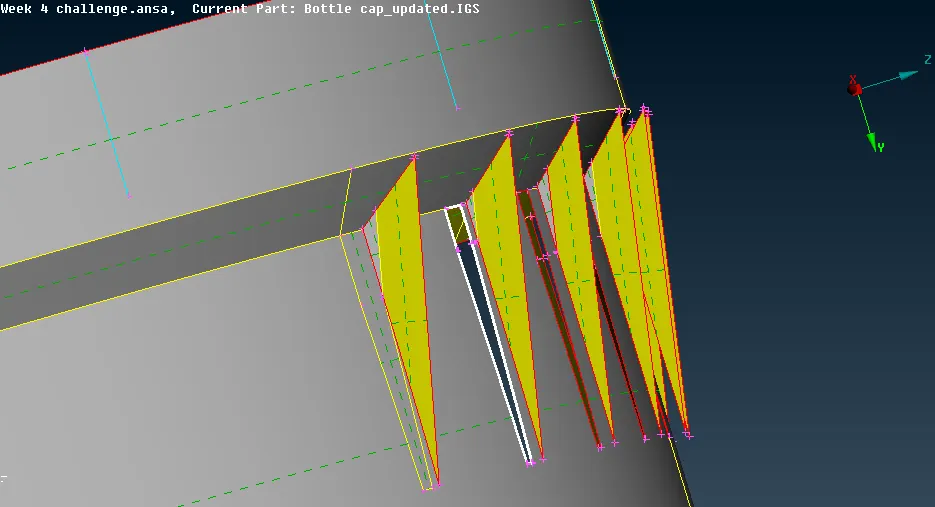
Fig 4: Fill up holes
Taking out the ribs, Mid surface for threads having a different procedure, for threads first creating the curves in the middle by selecting the 1st group of cons and then selecting the 2nd group of cons after extracting the, after creating the curves, those curves are projected on the face. After projecting the curve selecting the cons for the middle surface of the threads.
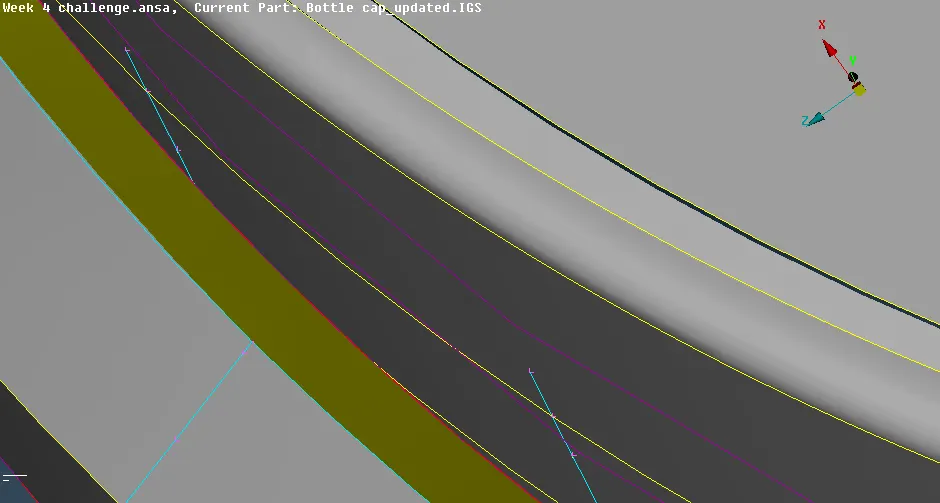
Fig 5: Middle curve
Then, selecting the cons of the face and curve of the surface to create a new surface, after creating the new surface, the middle surface for the thread is extracted. 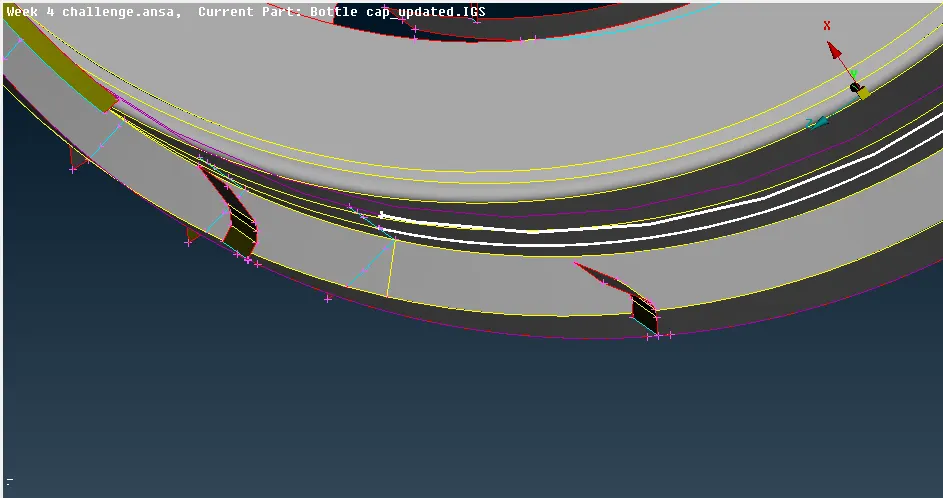
Fig 6: Creating surface
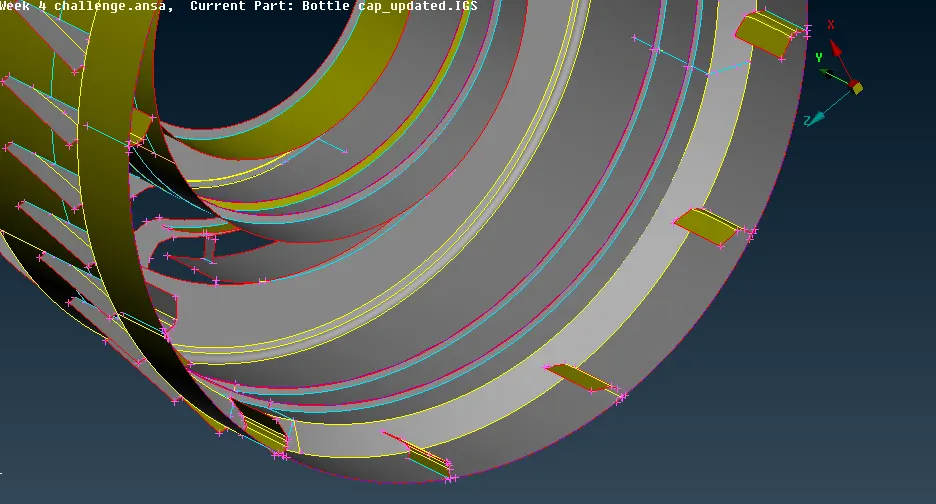
Fig 7: Threads Mid surface
At the bottom of the cap, the surface has a linear thickness with 1.61mm by selecting the middle option the surface has been extracted with the middle surface ith extracting the small notches that have been extended with both face and opposite to it.
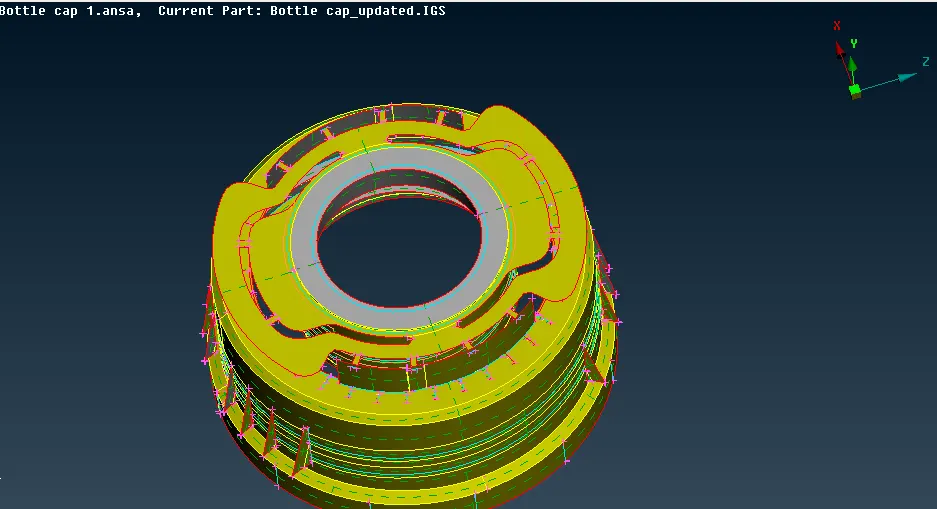
Fig 8: Bottom Mid surface
After getting the mid surface of all faces, ribs, and threads the teeth have been extracted from the geometry as selecting on the first side with middle curve option and then opposite and side cons projected to the middle surface of the bottle cap, after completing the following process the new surface is created with selecting the cons and achieved with teeth middle surface.
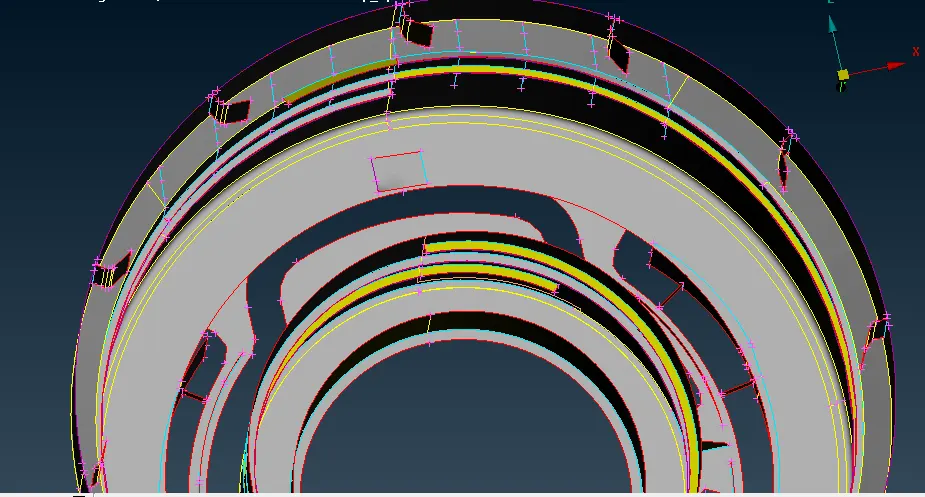
Fig 9: Teeth mid surface
Number of teeth in the parent geometry is 36, so taking the individual mid surface of each is time-consuming, to save the work and time, the COG points are created by selecting two circles and then with help of COG point teeth are transformed at an angle of 10 by copying an entity of a taken mid surface of teeth and then selecting a single point at x-axis and other at dx axis. After getting copies of each they are extended to the bottom face.
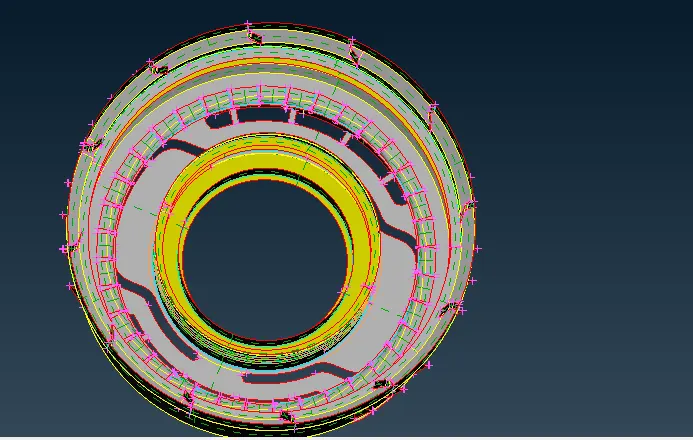
Fig 10: Transform and extend teeth
MESHING
The element size for this component is taken 1mm which given in the perimeter and macros in the mesh as 1 and then the component has meshed with the BEST option. The mesh is started with the upper face of the bottle cap and then the inner ribs which have some trias that are reconstructed and then the smooth option having optimized the proper mesh flow.
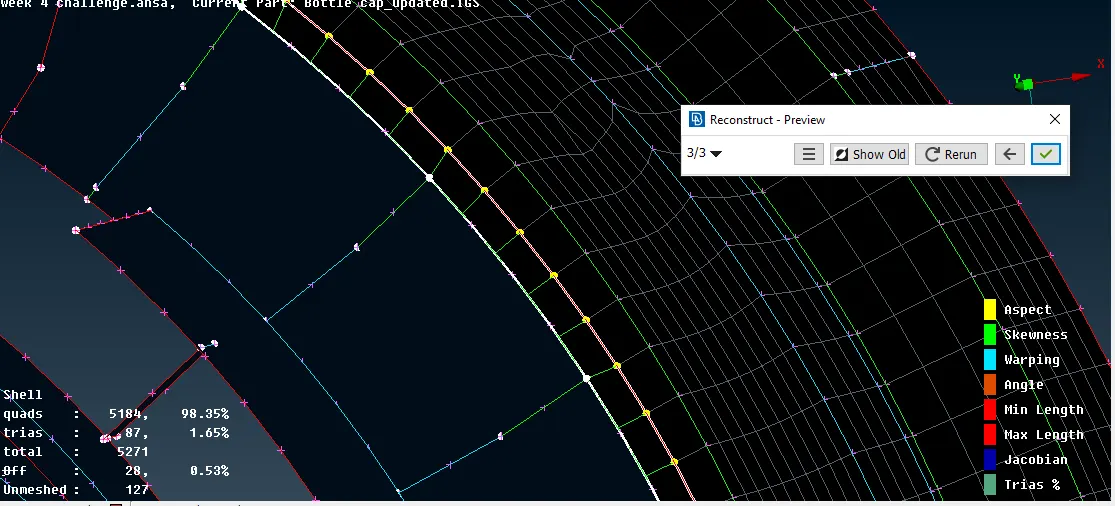
Fig 11: Construct
The outer ribs are cut with the required minimum size element length, so the element should not be failed for the required size, some of the elements were failing for jacobian they are fixed by the moving the elements and the warpage elements are fixed by giving moving coordinates to the element.
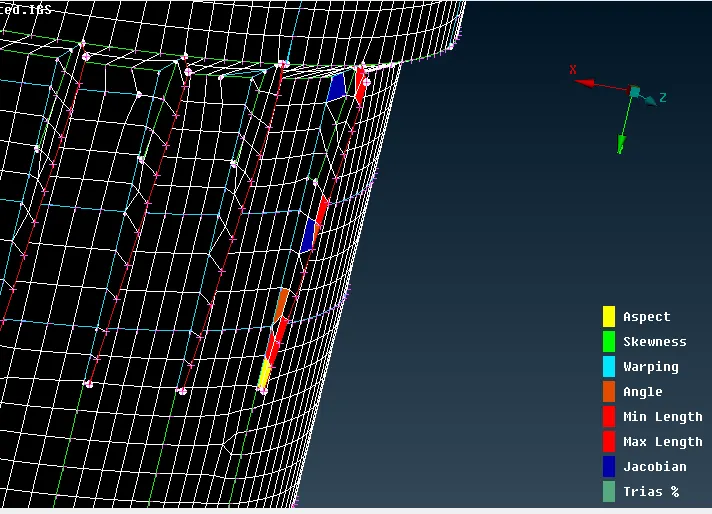
Fig 12: Mesh on outer ribs
The teeth are slightly cut because the teeth were close to the surface edge and it was failing for many elements to avoid and fix the quality elements, teeth side part is cut 0.50mm size and then meshed to achieve proper mesh flow.
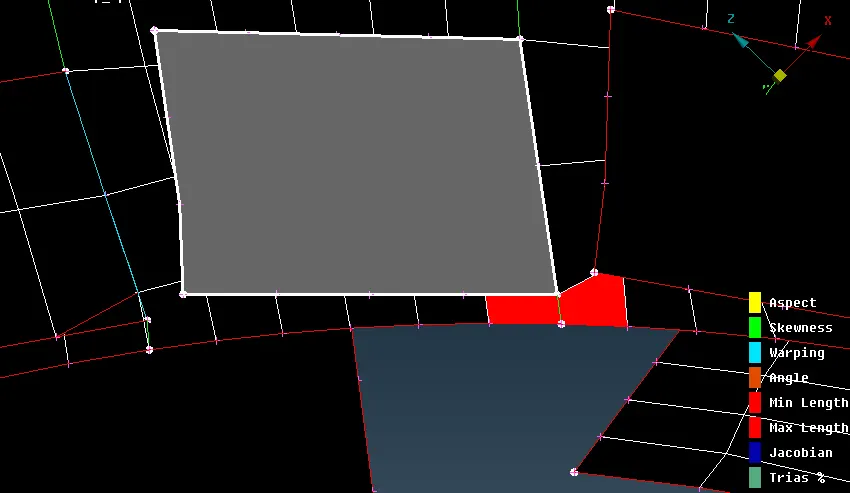
Fig 13: Mesh on teeth
The trias which are opposite facing they are fixed my splitting the trias and they are joined to obtain the quad elements, so they splitting option helped to get trias into quad elements.
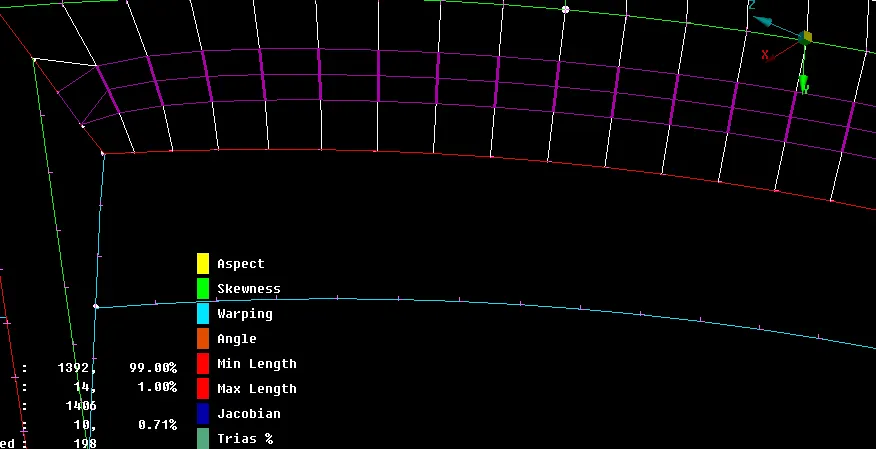
Fig 14: Converting tria into quads
The trias which are at the edge they are fixed by the pasting the trias.
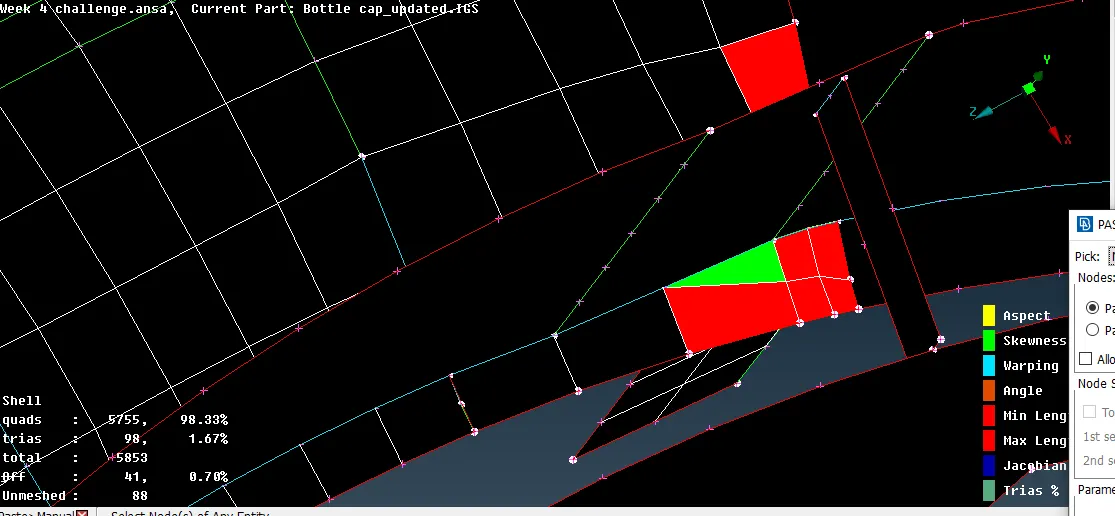
Fig 15: Pasting trias
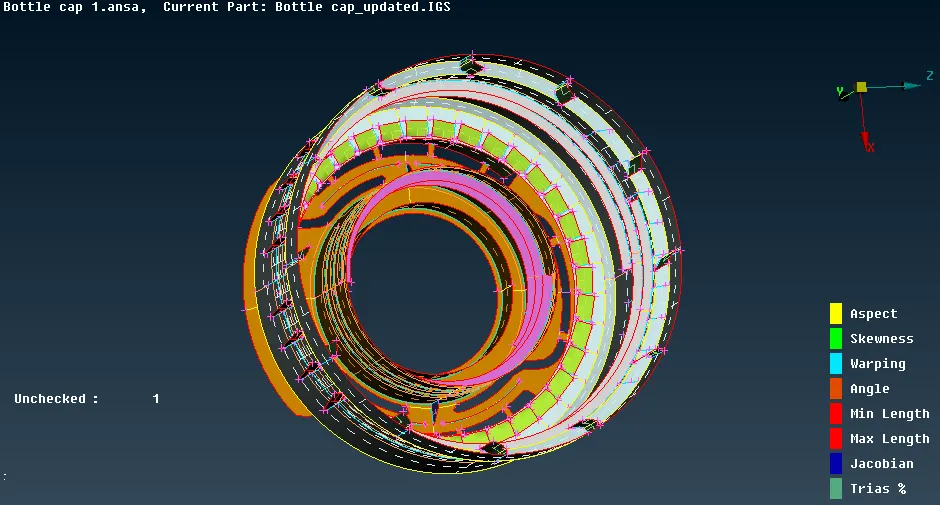
After completing the mesh and fixing the elements the component is given with the particular property as the bottle cap has a different thickness to each part such as outer ribs, inner ribs, there's, teeth, and some common surfaces, so they are assigned to thickness as per parent component.
RESULT
The bottle cap component has varying surfaces, so to mesh on this component is critical and getting the fail element with high possibility but to obtain a quality result and fix the element fail issue, some of the elements are not capturing the feature geometry line because to get a quality result. Overall the components are achieved with quality output.
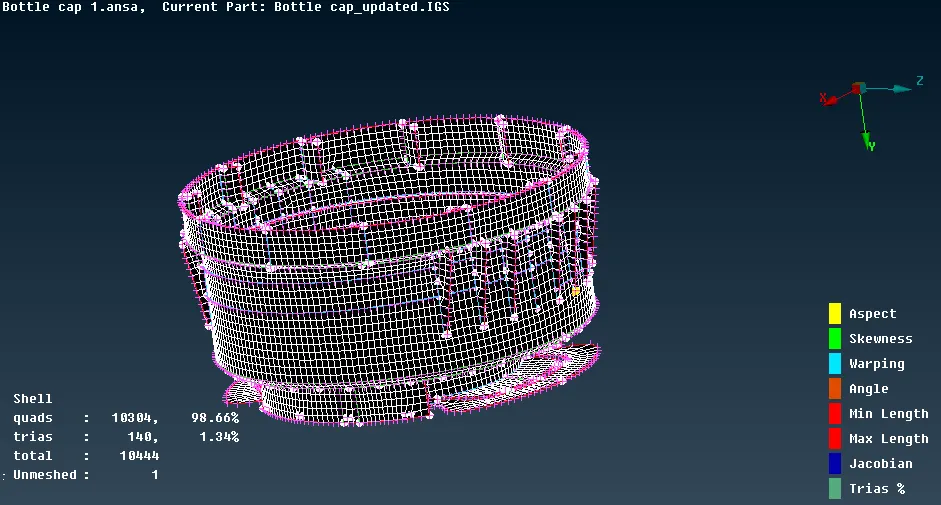
Fig 16: Quality output
CONCLUSION
The bottle cap component has a varying thickness in threads, a different type of ribs, small hatch and varying faces the mid surface for this component done with a different option, taking it manually and mesh for this component with small elements size but they are fixed with reconstructing and smooth option and achieved with quality option.