Creating a Floor plan, Footing detail and Isometric view using AutoCad
AIM: To create footing detail of C1
Introduction: Autocad is a software used to create 2D and 3D plans for civil engineering works.
Procedure:
- AutoCad software is opened, new file is opened and then dimensions are set.
- In the second step rect option is tyed in command or rectangle from the ribbon is selected.
- Then, the dimensions are given in the command line specified below.
- First a point is selected on the screen, then dimenions option is selected after that length 0.9 is specified then, the width of 0.25 is specified.
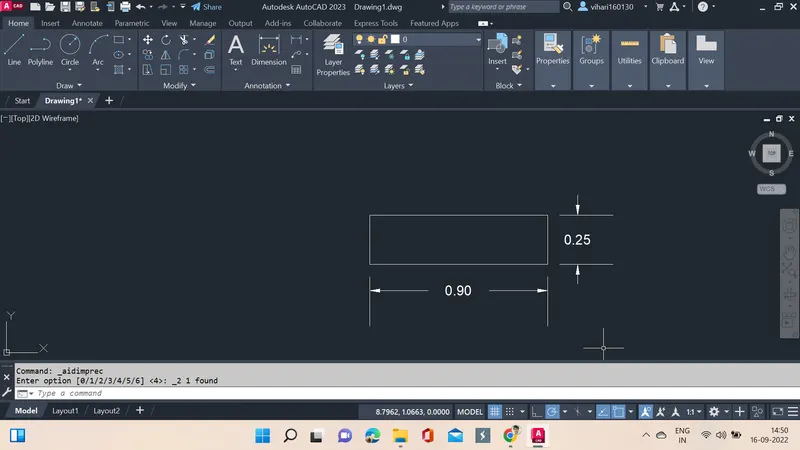
- L in the command box or line is selected from the ribbon.
- Then at point one corner of the rect the line is selected and then @0.20,0 is drawn.
- Then @0, 0.40 is speciifed in the command line.
- Now @0.05,0 is specified
- now @0,0.40 is specified
- now @.05,0 is specified
- now @0,.60 is specified
- now @.30, 0 is specified.
- then @0, -.60 is specified.
- then @.05, 0 is specified.
- then @0, -0.40 is specified.
- then @.05, 0 is specified.
- then @0, -0.40 is specified.
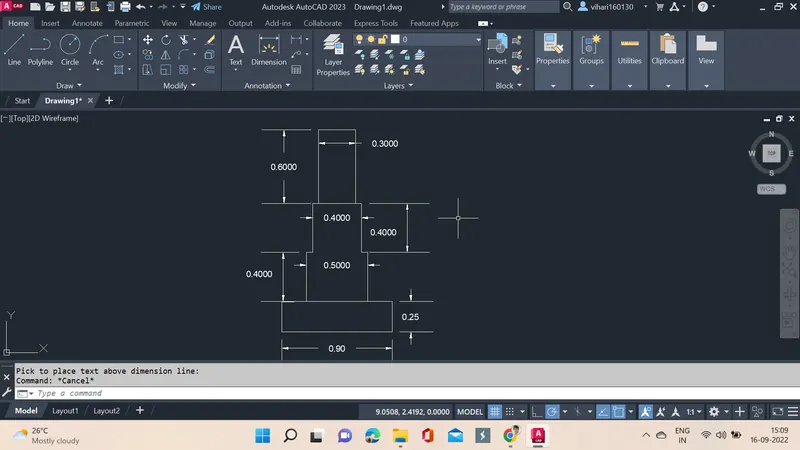
- using the line command first point is specified on the above footing.
- using @0, .05 specified in the dialoge box.
- next @.3, 0 specified.
- next point is used to @0, -0.05.
- next on top of it a point is specified as starting and then line is drawn @0,1.
- then next point is given as @0.30,0.
- and now this rectangle is enclosed using C or specified point as @0,-1.
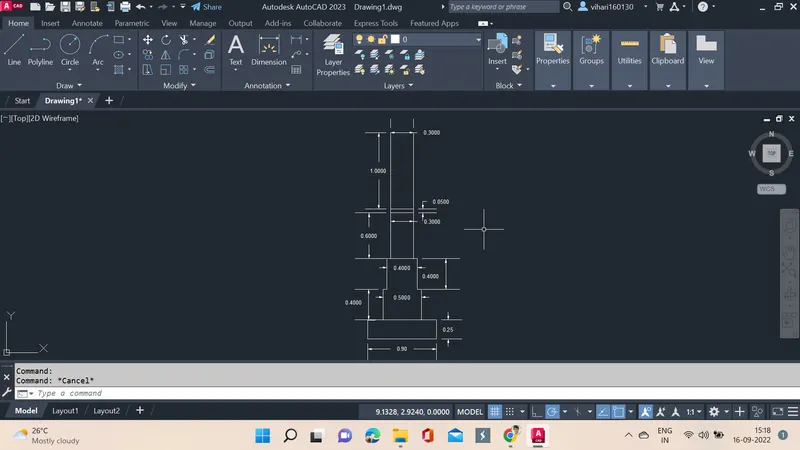
- L command is selected.
- now @ -1.15,0 is typed and entered, line is drwn.
- now @0, -.15 is specified in the command box.
- Now @1.15, 0 is specified and closed the rectangle left side to the footing.
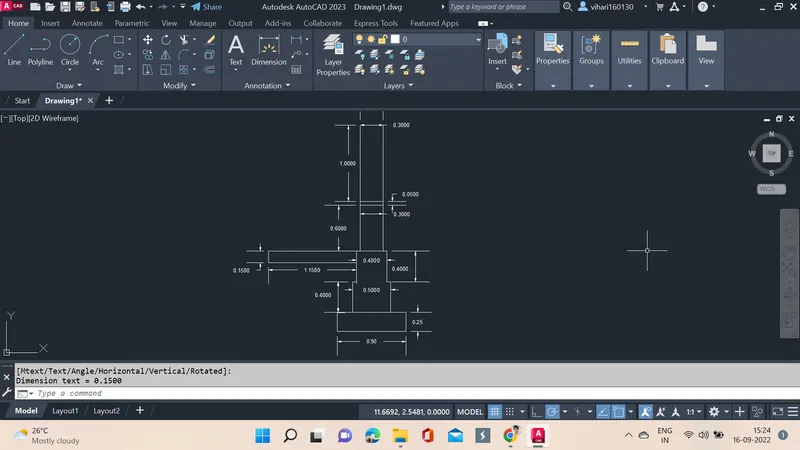
- L is entered in the command box.
- The point is selected on the point corner.
- now @.30,0 is specified.
- now @0,.15 is specified.
- now @.30,0 is specified.
- now @0,.15 is specified.
- now @.30,0 is specified.
- now @0,.15 is specified.
- now @.30,0 is specified.
- using dim in ribbon or typing dimensions are specified.
- using Mtext name is written down of the footing.
- Final output is kept in the result.
Results: C1 footing is drawn using autocad.
AIM: To create isolated footing C2.
Introduction: Autocad is a software used to create 2D and 3D plans for civil engineering works.
Procedure:
- AutoCad software is opened, new file is opened and then dimensions are set.
- In the second step rect is types in the command and then dimensions is selected.
- Now the length 1 is given and width is specified as 0.4.
- and the rectangle is placed on the screen.
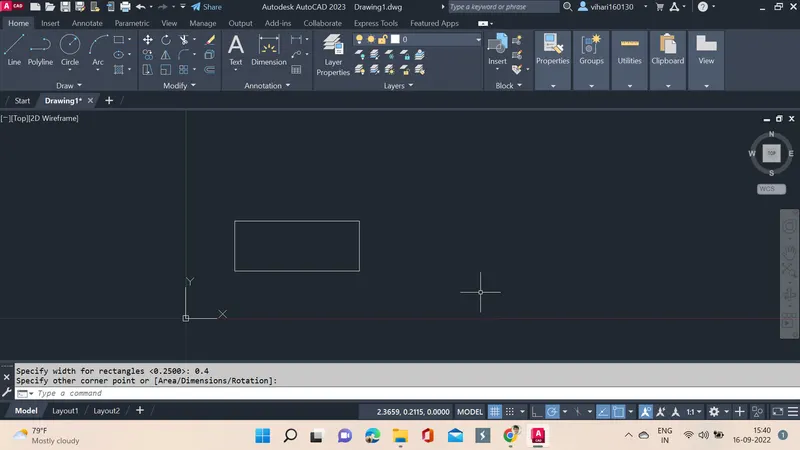
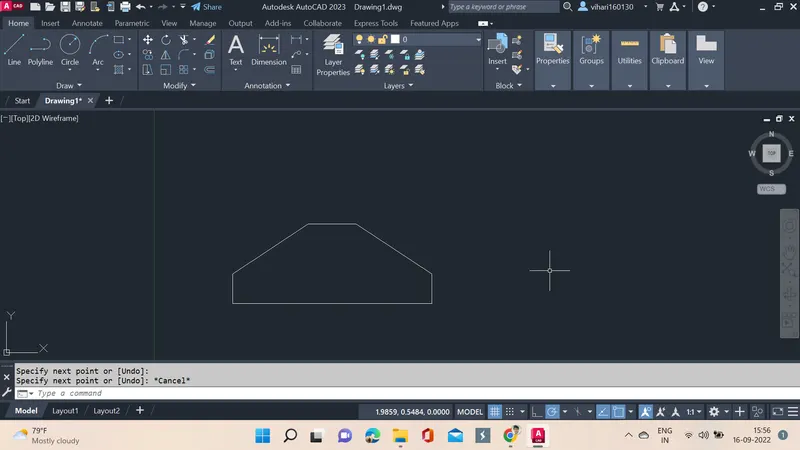
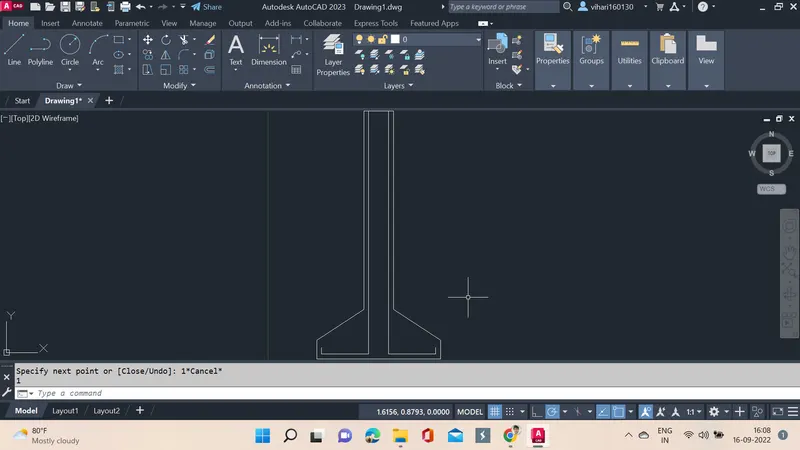
now the rectangle is to be cut into the footing shape so chamfer tool is used by selected from ribbon or typed as cha and then enter is pressed. first chamfer distance is given as 0.25, then the second chamfer distance is given as 0.38, the lines are selected and same is repeated on opposite side.
L command is given in the command box and then start point is selected, next @0, 1.60 point is specified and line is drawn, then the next point is @0.24,0 is specified, next point of @0,-1.60 is specified.
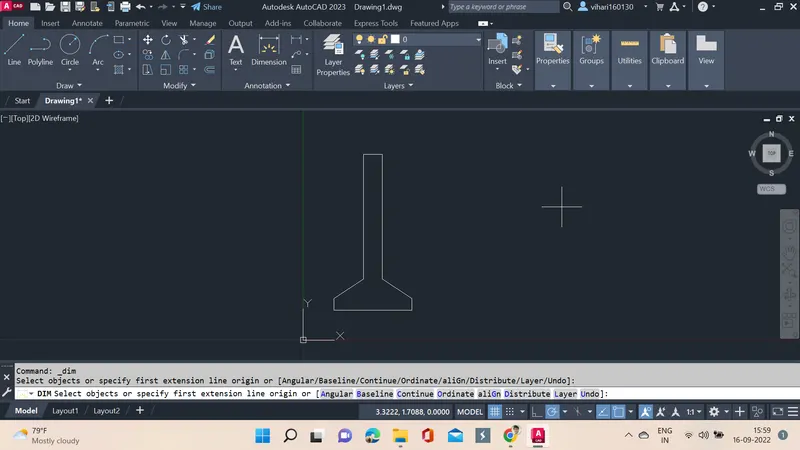
L command is given, the starting point is selected, then the point @0.04,0 is specified and drawn then, @0, -1.96 is specified and drawn, next @0.-38,0 is specified and drawn, then @0,0.04 is given. the same process is done to draw the reinforcement in the right side as, opposite side and then @-0.04,0 is specified, then next point is @0, -1.96 is specified and drawm, next point is @0.38,0 and then to complete @0,0.04 is drawn.
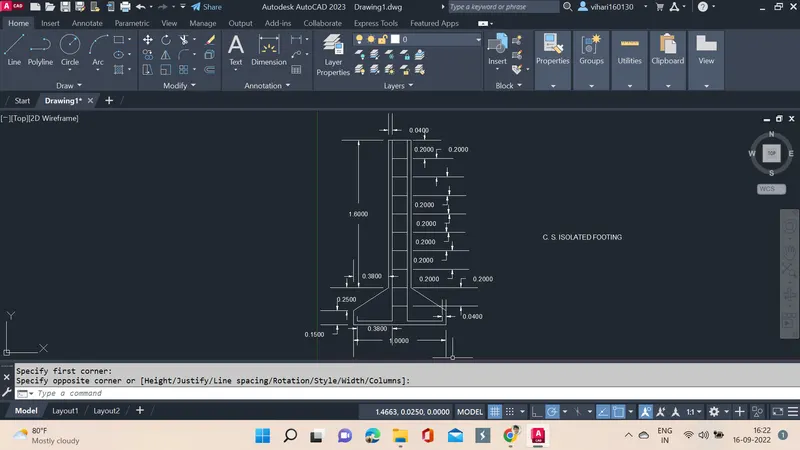
 Line command is selected or L is typed in the command box and then entered. A point is selected on the top of the rectangle and a point @0,-0.20 is specified and drawn. After creating this all the spaces are of same distance this can be copied and then first specification will be the line drawn after than second line is placed at 0.40 that is adding 0.20+0.20 like that till down the lines are placed, then in the final step using dim command all the dimensions are specified and the title of the footing is placed using mtext.
Results: C2 isolated footing is drawn using cad.
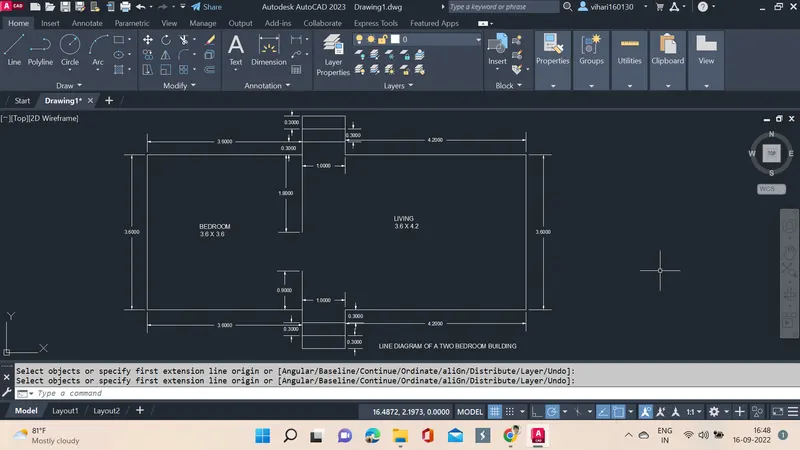
AIM: To create a line diagram of a two bedroom building
Introduction: Autocad is a software used to create 2D and 3D plans for civil engineering works.
Procedure:
- AutoCad software is opened, new file is opened and then dimensions are set.
- In the second step line is selected from the above or L is typed in the command box and enter is clicked.
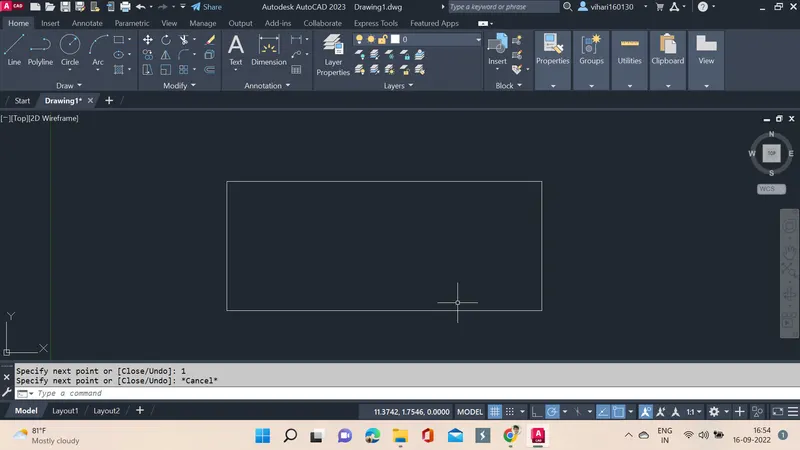
- now the point is selected and then first point is given as @-3.6,0 then it is drawn next point is given as @0, 3.6 is specified, then next point is specified as @3.6,0. After that @1,0 is specified, next point is given as @4.2,0 and it is drawn then next point is @0, -3.6 is specified.
- next point is specified as @-4.2,0 and in the last step @-1,0 is specified and a rectangle is formed.
Now the steps are drawn on both sides of the diagram first in the top the line 1 is copied and placed at 0.30 distance for 3 times. and the 1 which is on the daigram is erased. same process is repeated in the bottom. To copy co command is used then objects are selected and then the base point is selected and placed accordingly.
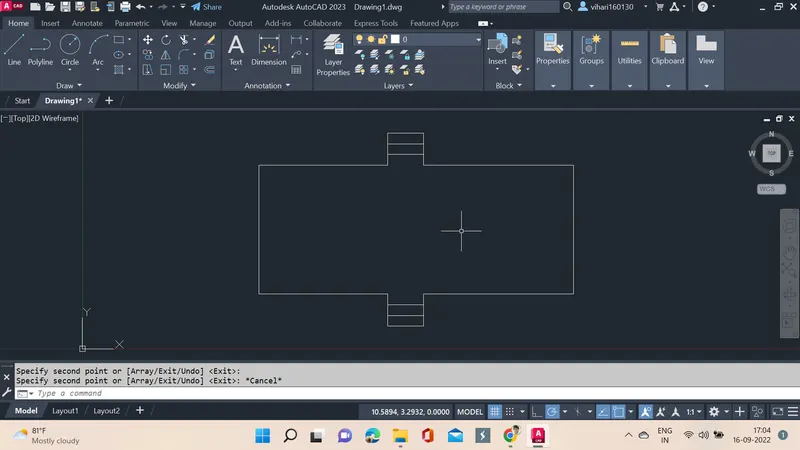
In the last step the lines 1.8 is drawn by L entering and then specifying the point on the top then @0.-1.8 is specified. Next point is specified at the bottom and then @0, 0.9 is specified and line is drawn. After this is done the dim is used to give the dimensions. MTEXT is used to give the names.
Results: C3 Two bedroom building line is drawn successfully using Cad.
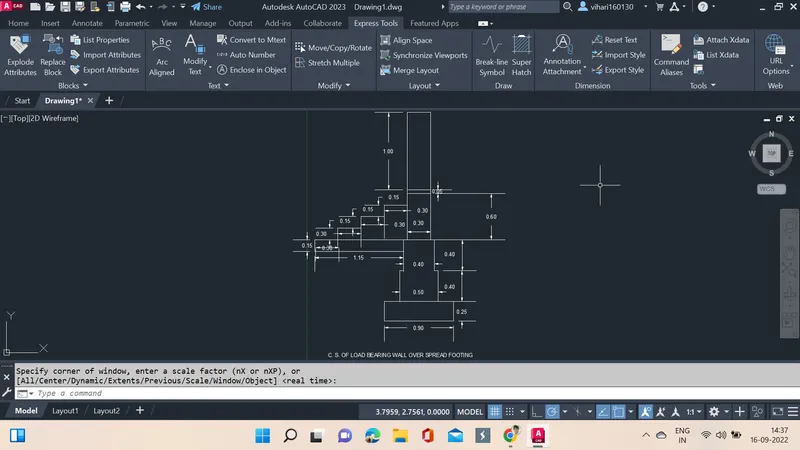
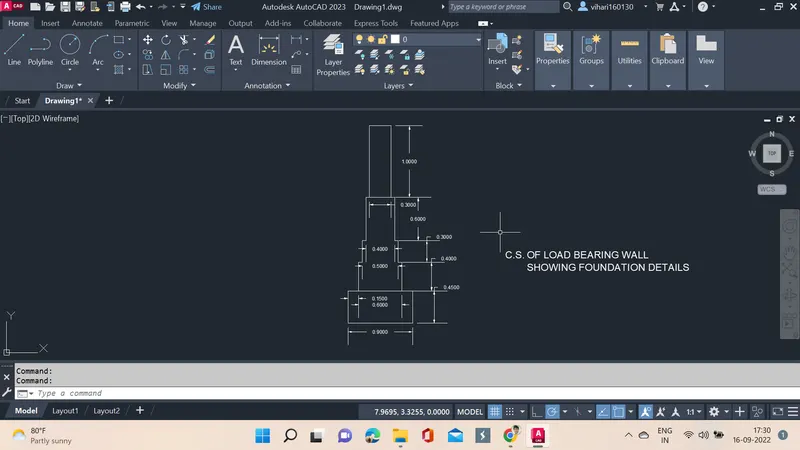
AIM: To create a load bearing wall showing foundation details
Introduction: Autocad is a software used to create 2D and 3D plans for civil engineering works.
Procedure:
- AutoCad software is opened, new file is opened and then dimensions are set.
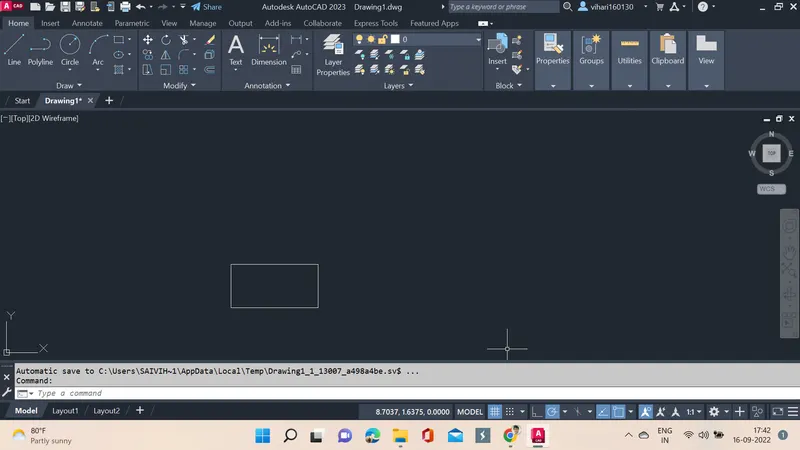
- In the second step rec command is used/ rectangle is selected then a point is selected and then dimesions of the rectangle are given.
- length of the rectangle is 0.9 and width of the rectangle is 0.45.
after that the line command is used to draw the rest of the upper section, then the line is drawn from selecting a point at a corner then @0.15, 0 is drawn after that next point is specified as @0,0.40, then next point is specified as @0.05,0, next point specified is @0, 0.30, next point is specified @0.05,0, then next point is specified @0,0.60, then next point is specified @0.05,0, then a line is drawn using @0,1, then specified point is drawn at @0.30,0, then specified point is @0,-1, then next point is @0.05,0 specified, the next point is specified @0, -0.60, then next point is @0.05,0 specified, the next point is specified @0, -0.30, then next point is @0.05,0 specified, the next point is specified @0, -0.40,
The dimensions of the drawing are specified using dim and finally mtext is used to write the name of the drawing.
Results: C4 Load bearing wall showing foundation details are drawn using CAD.
AIM: To create isometric view of steps
Introduction: Autocad is a software used to create 2D and 3D plans for civil engineering works.
Procedure:
- AutoCad software is opened, new file is opened and then dimensions are set.
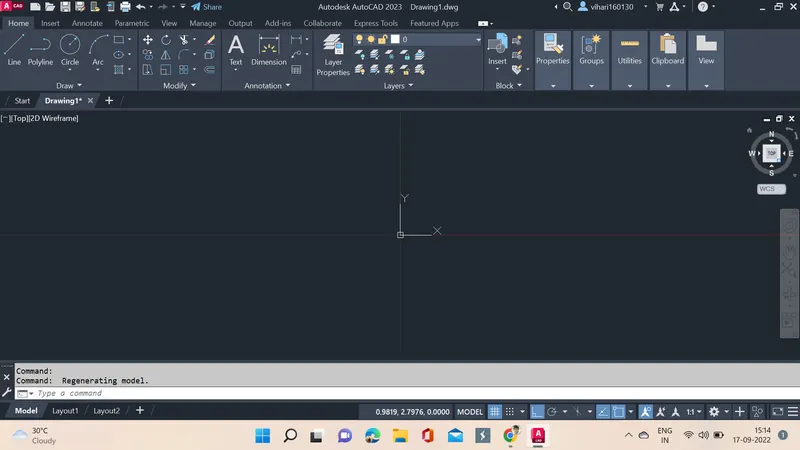
- Now select on the view and then select isometric view.
- now the screen turns into isometric view.
- now L is entered in the command box and enter is clicked.
- now a point is specified on the plane, now a line is drawn 1.0.
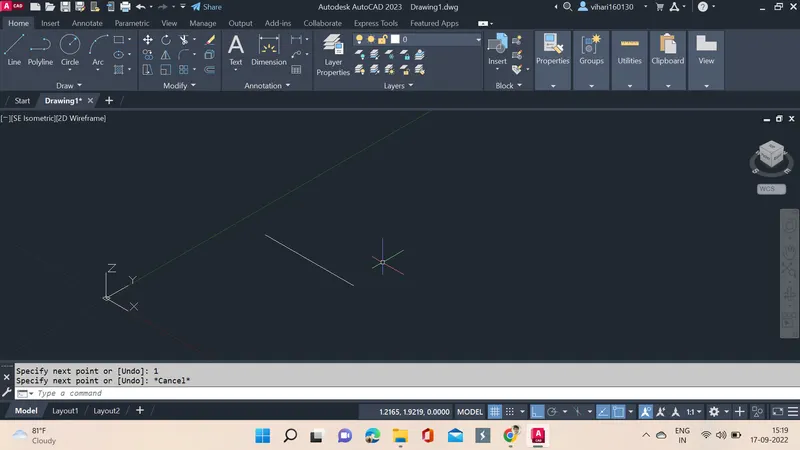
- now 0.15 is used a line is drawn, then 0.30 is specified and line is drawn.
- now 1 is used to drawn a line.
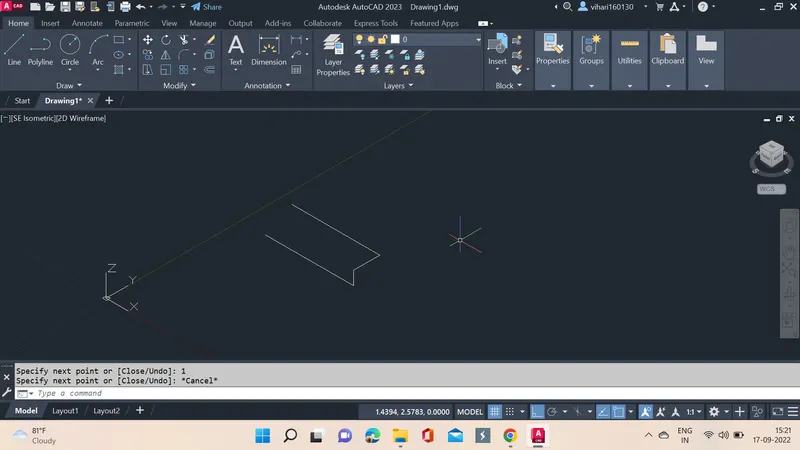
- in the next step 0.3 is specified and line is drawn then 0.15 is specified and a line is drawn joining the first point.
- a line of 1 is drawn and step is completed.
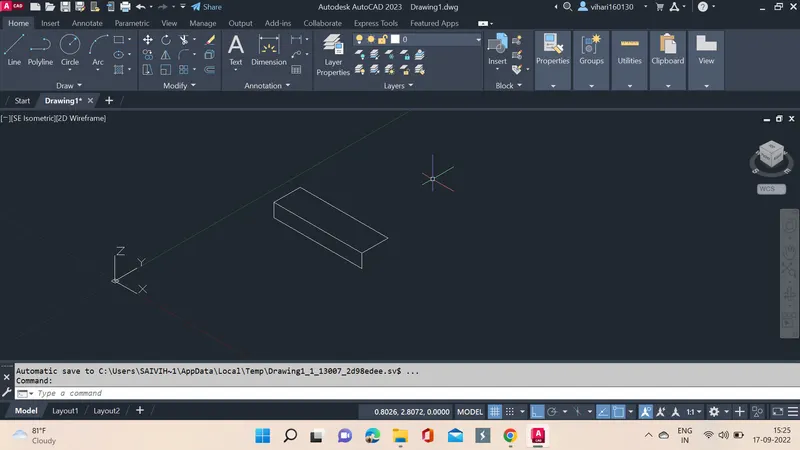
- now co is copy is used and selected then base point is used and other steps are created.
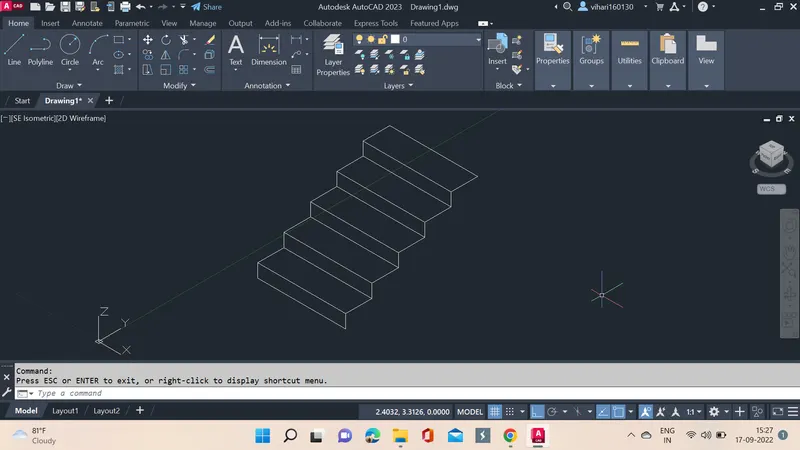
- no from base 0.3 is drawn and top 0.15 is drawn and then both odf them are joined.
- hence completes the isometric view of steps.
- now dim are used to give dimensions of the steps.
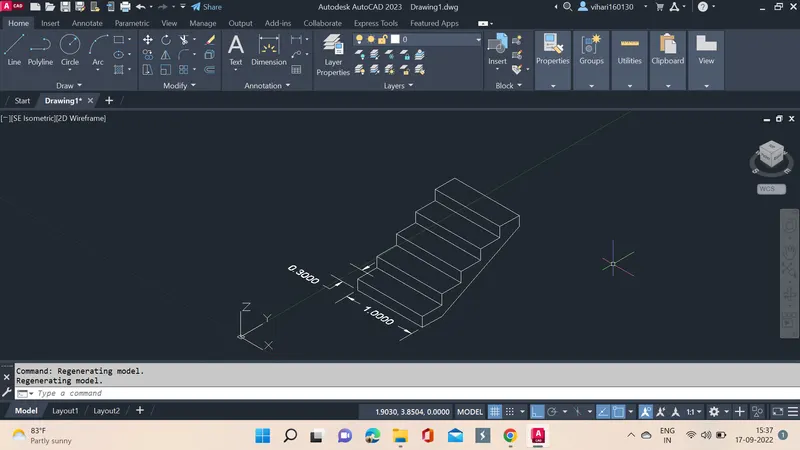
Results: Creation of isometric view of steps using cad is completed successfully.
AIM: To create isometric view of gable wall
Introduction: Autocad is a software used to create 2D and 3D plans for civil engineering works.
Procedure:
- AutoCad software is opened, new file is opened and then dimensions are set.
- Now select on the view and then select isometric view.
- now the screen turns into isometric view.
- now L is entered in the command box and enter is clicked.
- now a point is selected then 1 is entered and drawn.
- next line of 2.42 was drawn in upward direction.
- next again 1 is given and line is drawn perpendicular to 2.42.
- next line is given by 2.42 in the downward direction perpendicular to 1.
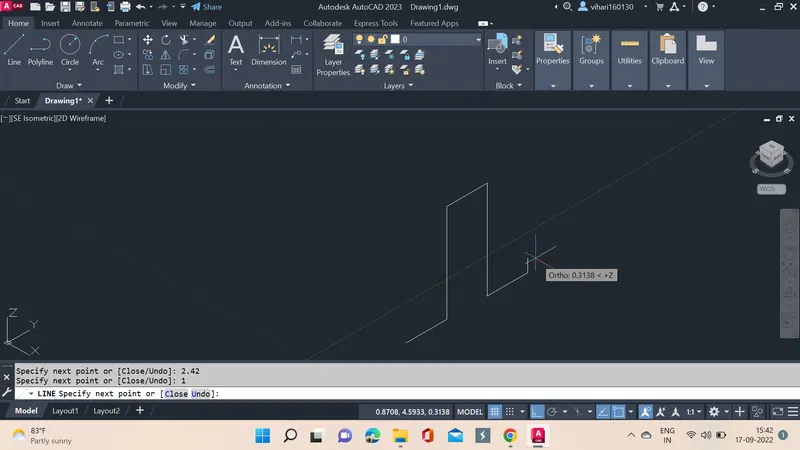
- now a line of 3 is drawn upwards, then next point is specified as 0.3 and drawn.
- in the next step a line is selected from right end and 3 is drawn upwards.
- 0.3 is specified and then line is drawn and 3 is drawn and closed in the downside.
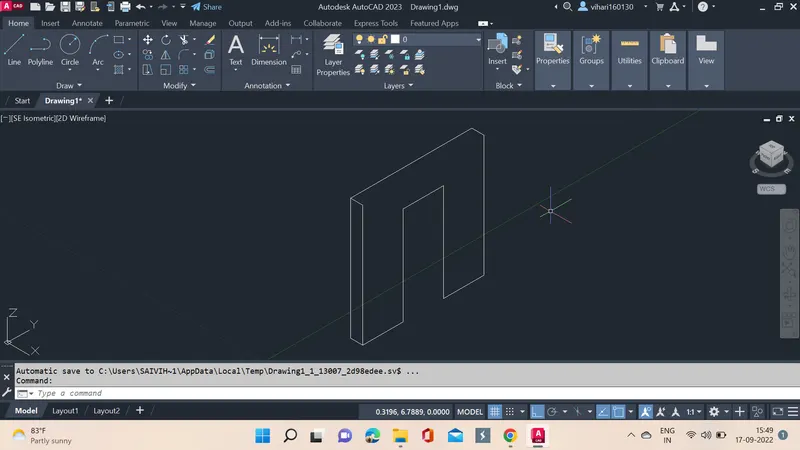
- now a 0.5 line is drawn and then 3.25 is drawn.
- now lines are drawn used to join and form arches.
- after the arch is created the lines drawn prior to them are erased.
- using dim the dimensions are specified.
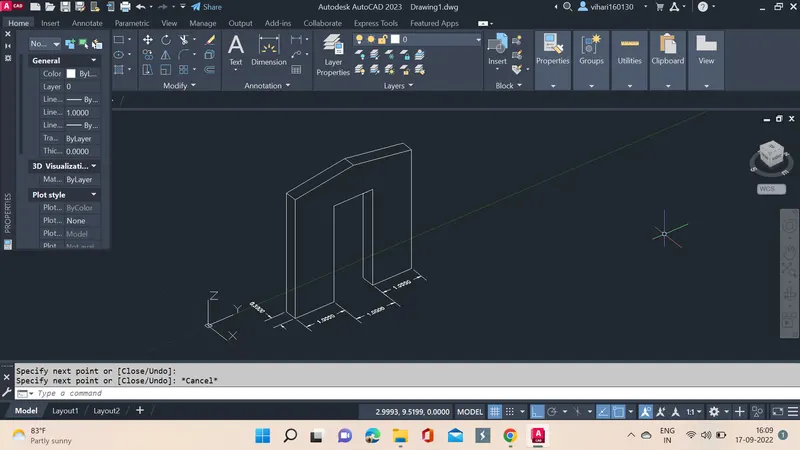
Results: Creation of isometric view of gable wall using cad is completed successfully.