Project 2_Design & Analysis of a Hostel building at Guwahati, Assam
AIM: In this project, participants will get to experience the entire design process from modelling, analysis, design, and preparation of construction drawings. The architectural drawings of a G+3 RCC building is provided. The following information on the building is to be used:
- Location – Guwahati, Assam
- Function – Hostel block in an academic institute
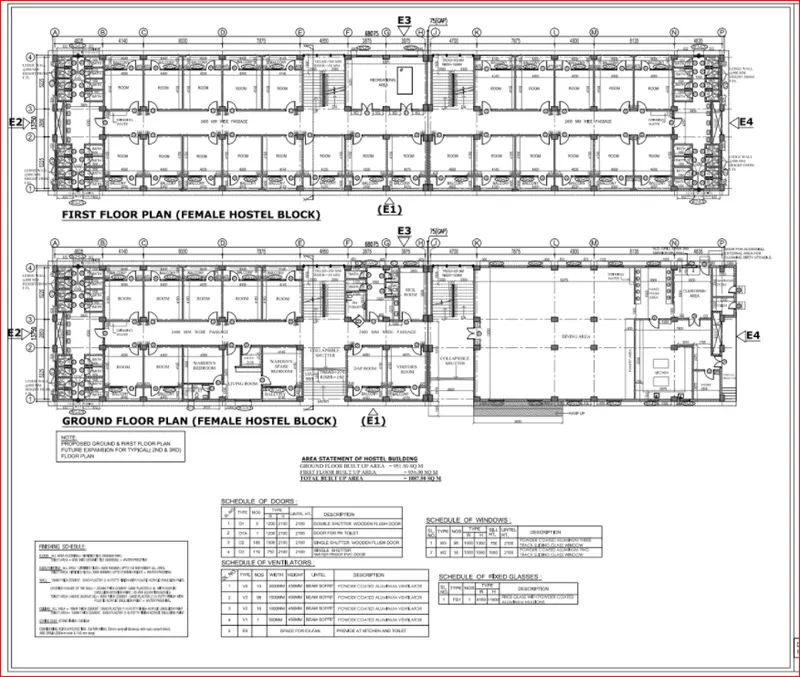
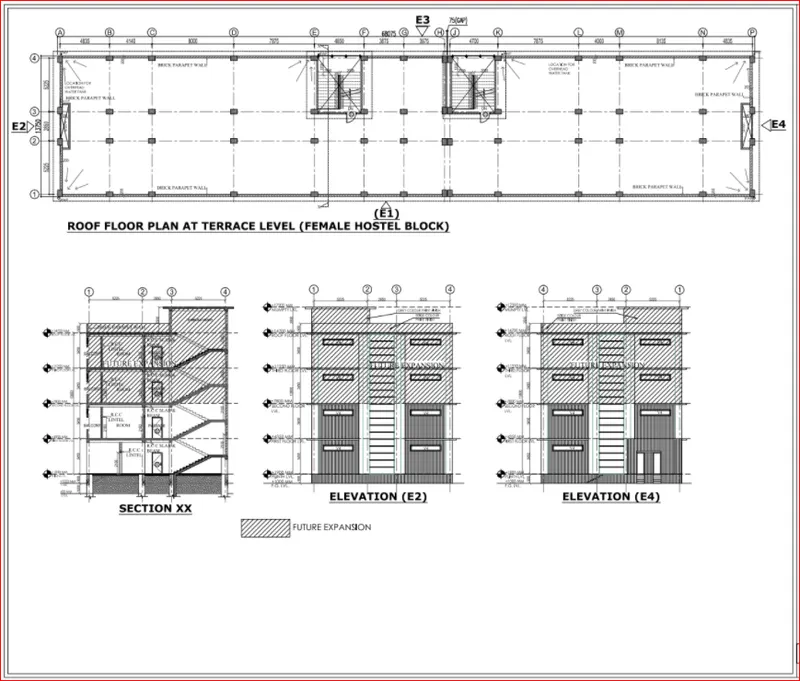
The walls will be made of AAC blocks. Other loadings are to be calculated as per the architectural drawings.
The buildings rests on type 3 soil. Piles of length 10 meters and 500 mm diameter with a load-carrying capacity of 280 KN is to be used.
The ground floor level will be at a height of 2 meters above the existing site level to avoid floodwater enter the building.
M25 grade of concrete with Fe500 for longitudinal reinforcement and Fe 415 for shear reinforcement is to be used.
The following design IS codes will be required for reference:
- IS 875 part 1
- IS 875 part 2
- IS 13920
- IS 1893
- IS 2911 part 2
- IS 456
- SP 34
Students will have to produce the following:
- Etabs model for the two blocks on either side of the expansion gap
- Foundation details illustrating the pile & pile cap reinforcement
- Tie beam details connecting the pile caps
- Column reinforcement
- Framing plan for typical floor
- Beam reinforcements for ground floor
INTRODUCTION: ETABS is an engineering software product that caters to multi-story building analysis and design. Modeling tools and templates, code-based load prescriptions, analysis methods and solution techniques, all coordinate with the grid-like geometry unique to this class of structure.
PROCEDURE:
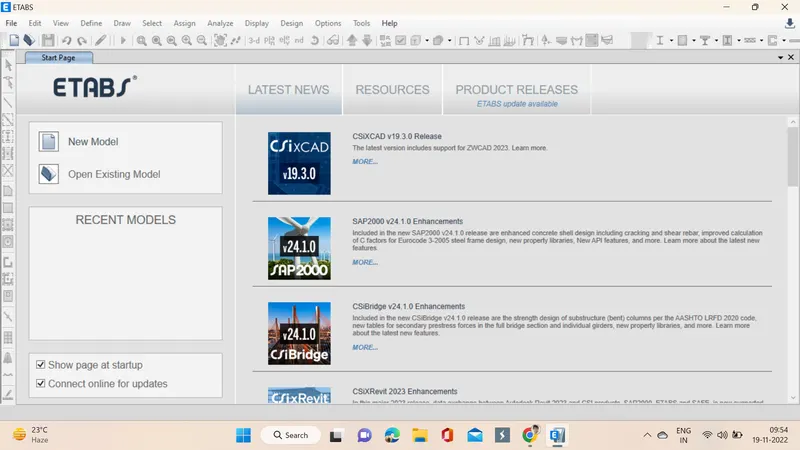
1. Open the ETABS softwar by double click on that icon, sofware interface opens as shown below.
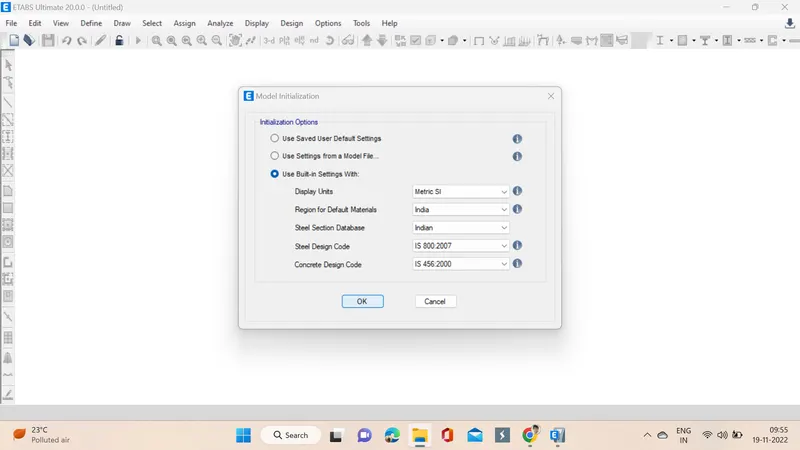
2. The very next step is to assign settings like codes used and units, then ok is clicked.
3. Now another tab pops up in which custom gird spacing is selected and edit grid data is opened. First select the custom grid and change the grid as per the plan given.
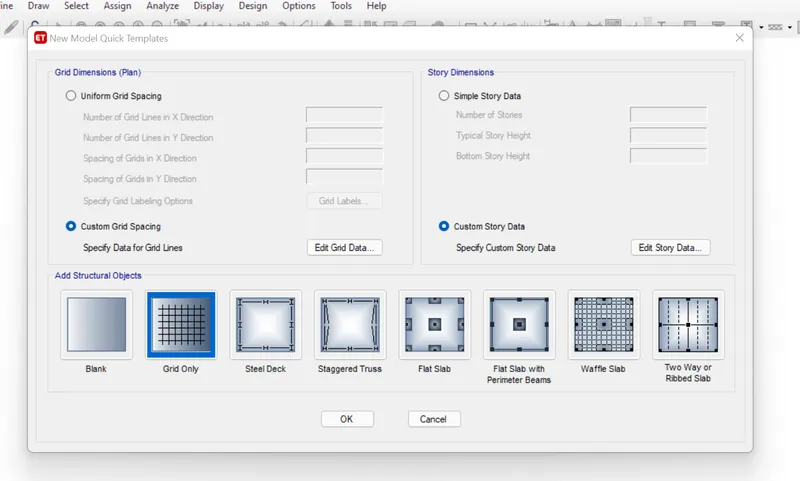
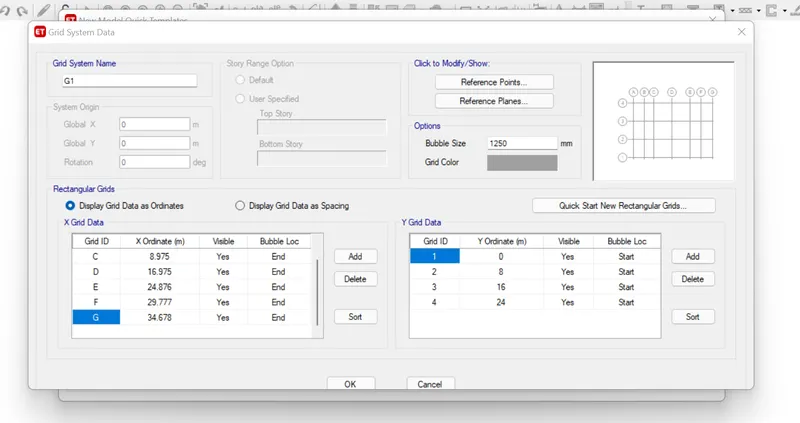
4. Next step we click on edit story data and then we change story 1 as Ground floor and then we specify the height as 3.5 and change the names of stories accordingly, next we right click to add the next stories as challenge G+3 we select 1 more in no of stories to be added since already 3 stories are present. Finally, Ground floor, Story 1, Story 2, Story 3 and roof are added.
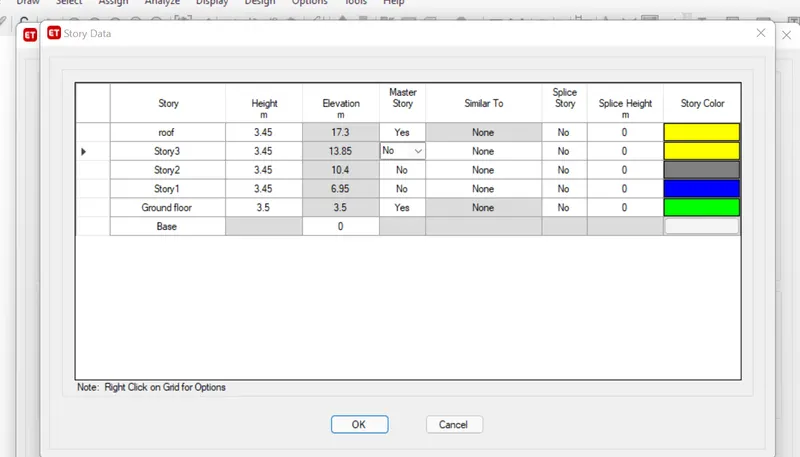
5. So, successfully G+3 stories added as per the challenge.
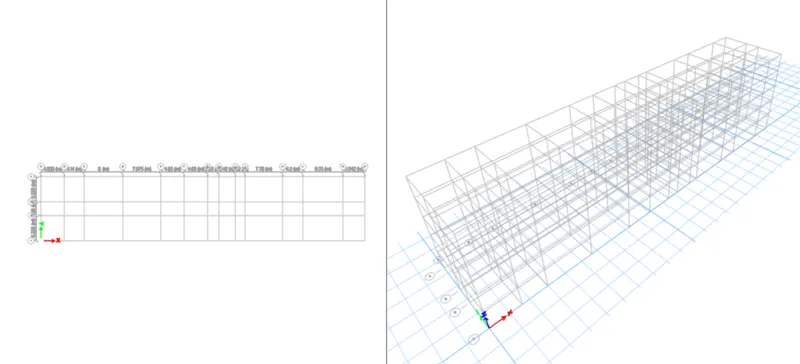
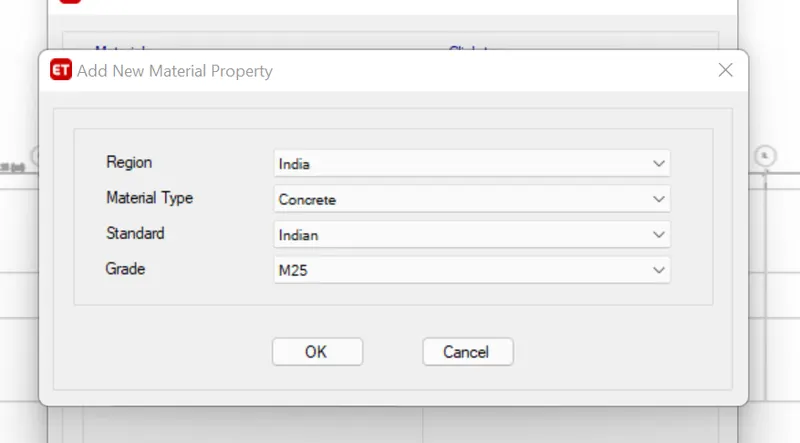
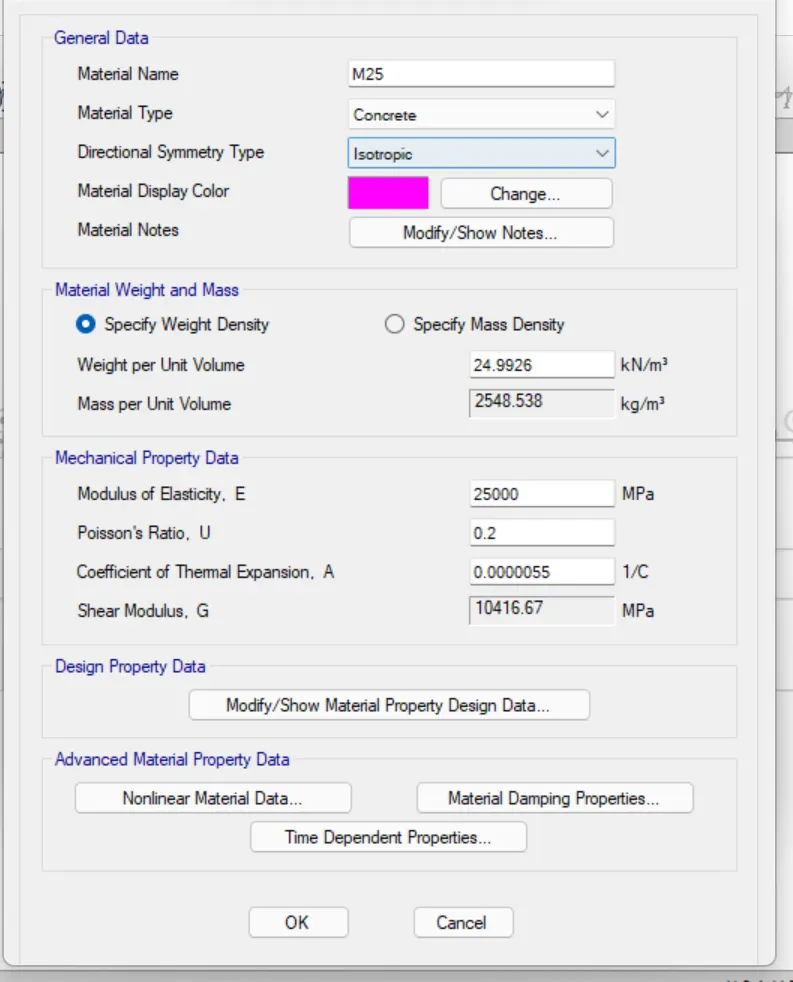
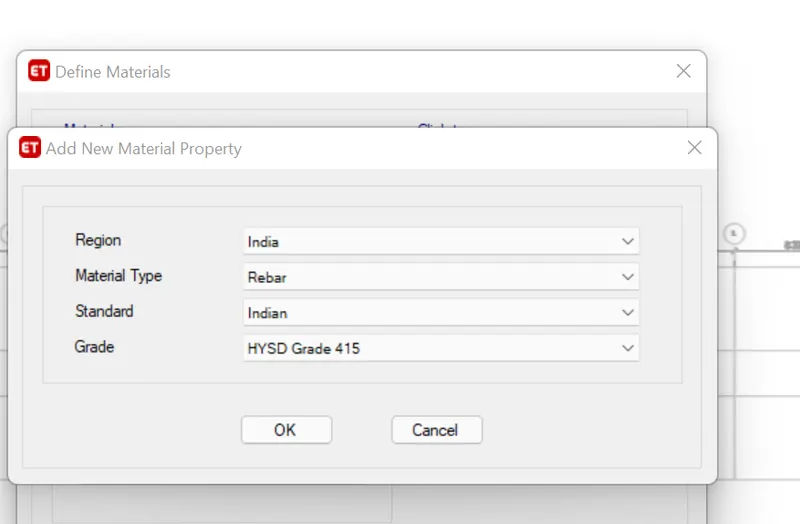
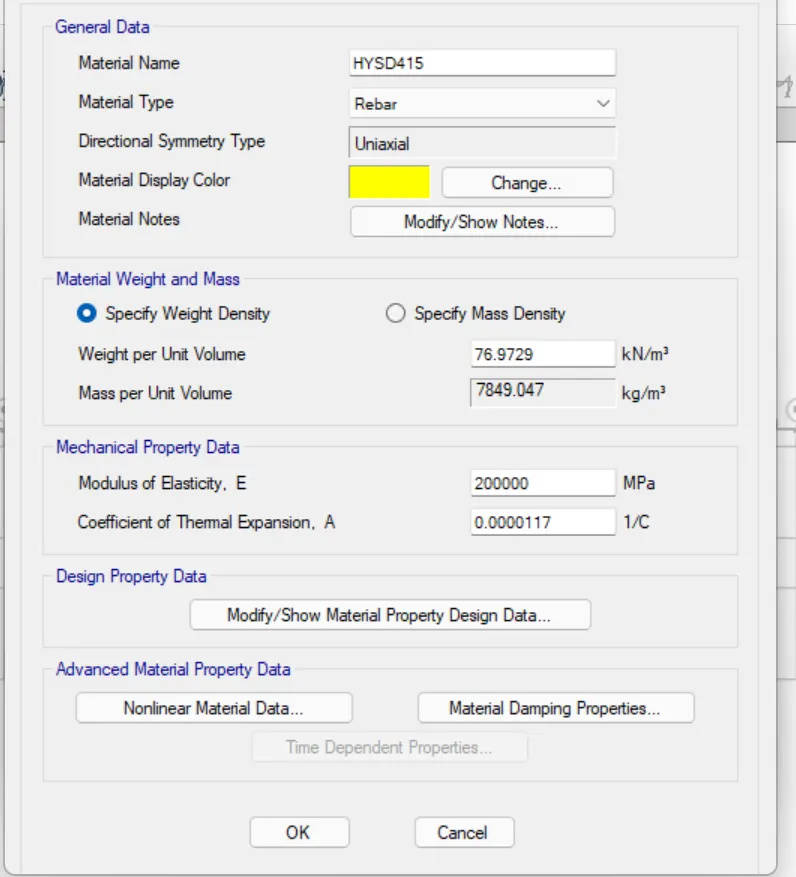
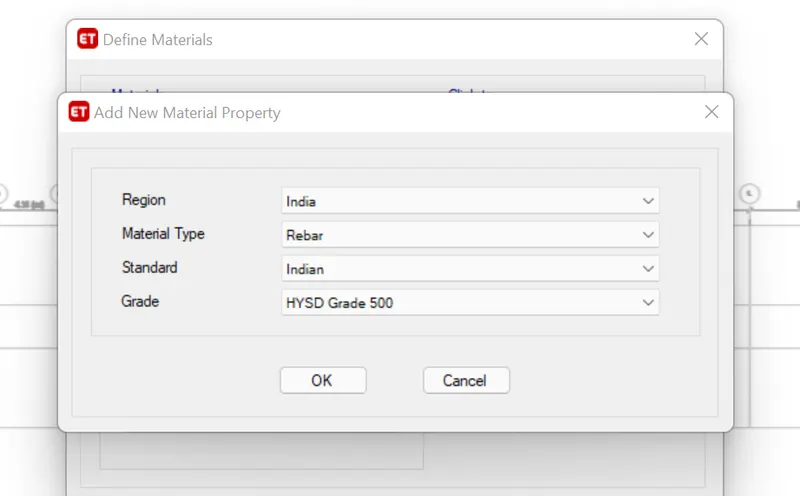
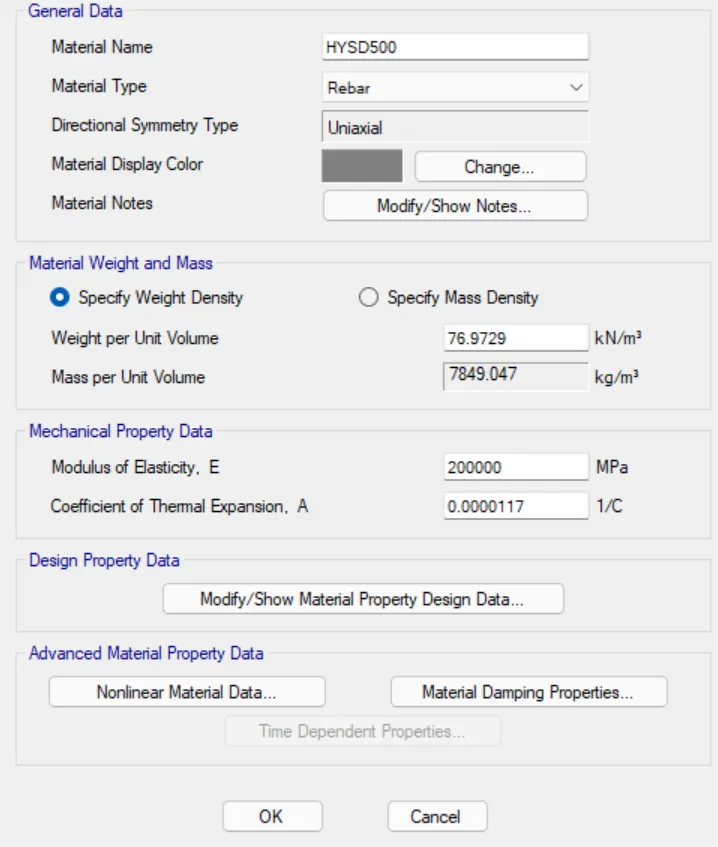
6. Go to define materials option, select material properties, in that concrete of M25 and reinforcement of HYSD415 & HYSD500 are added.
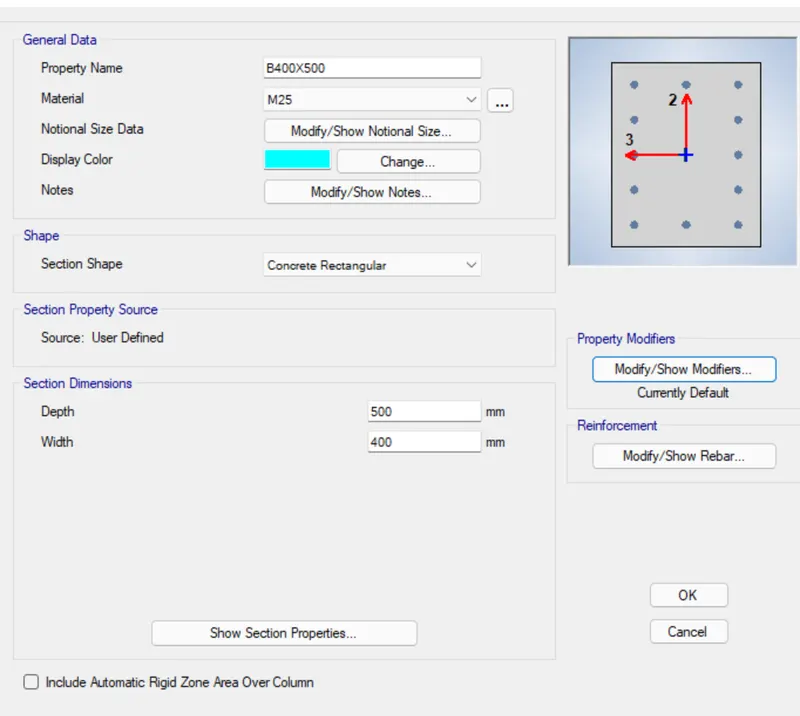
7. We need assign beams, columns, slabs for that go to define option select frame sections. Beams as per the schedule is titled and dimensions are also specified, in the section properties beam is selected and material is specified.
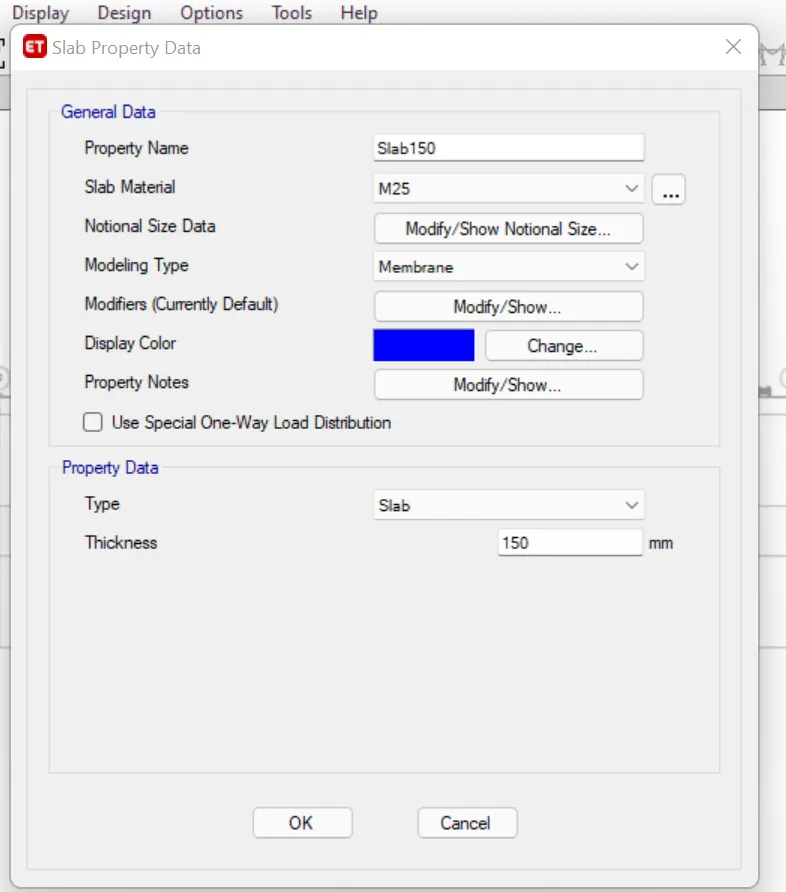
8. Next step we go through the define material and then select slab sections a window pops up in which we specify the properties of the slab and it is attached to the membrane. Slab of 150mm is created with concrete M25 and STR Slab of 200m thickness with concrete M25.
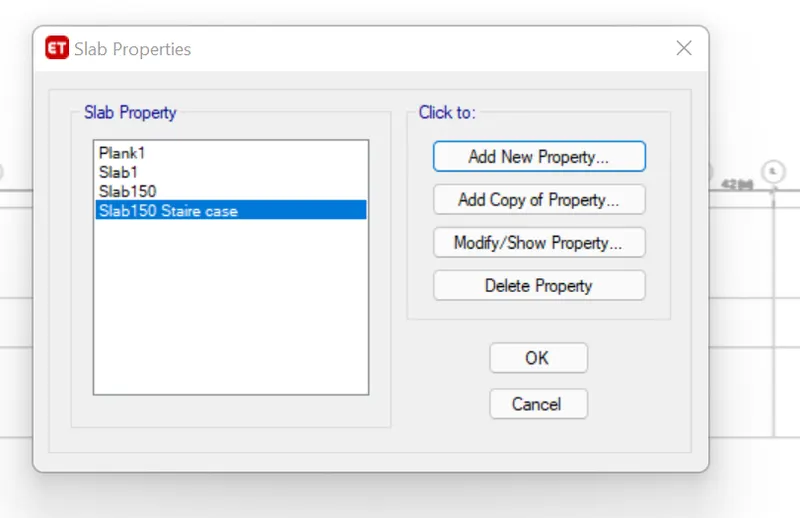
9. Now the beams, columns and slabs are placed by selecting quick draw beams, quick draw columns and quick draw slab, we need to select the specified slab and then drop them in the stories.
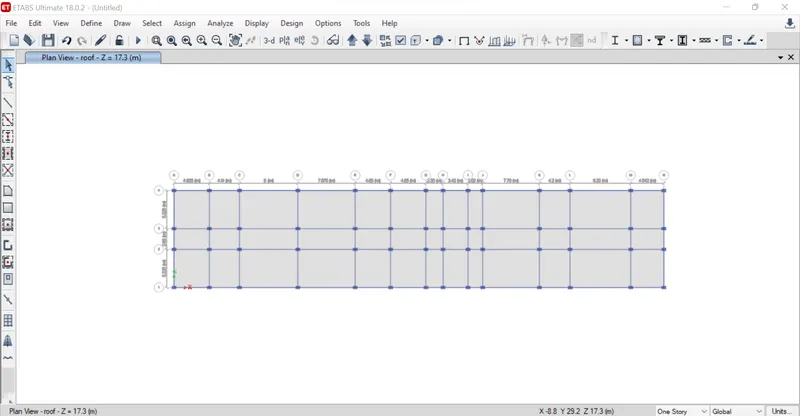
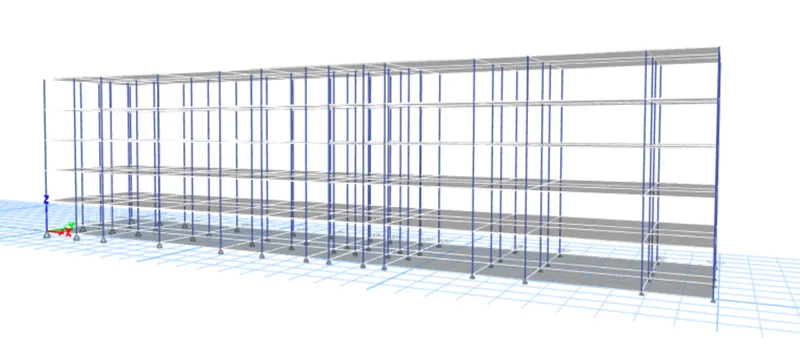
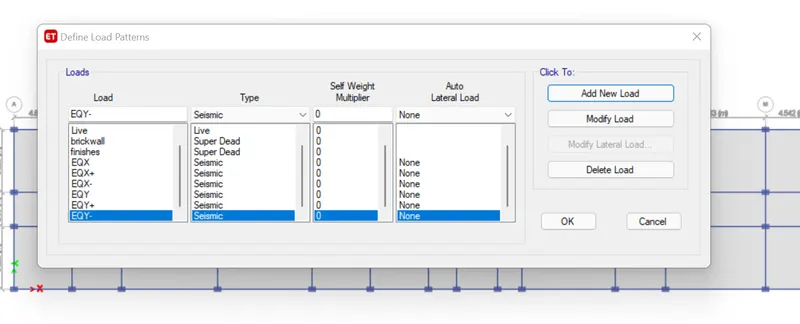
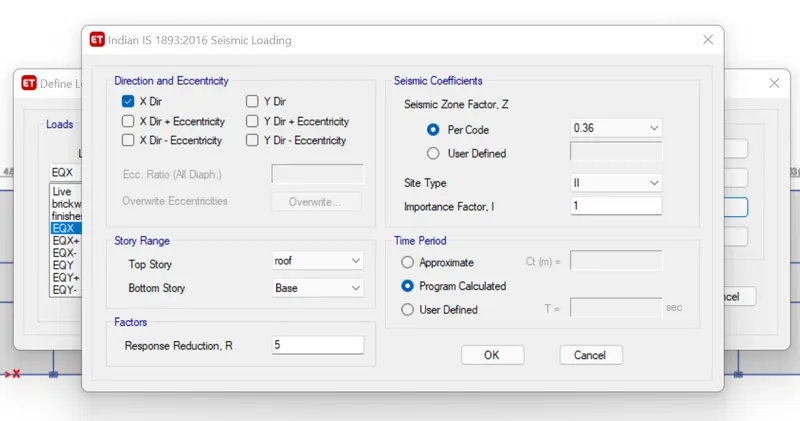
10. Now define the Load patterns for that click on the define tab and click on load patterns. Mention IS codes of respective loads.
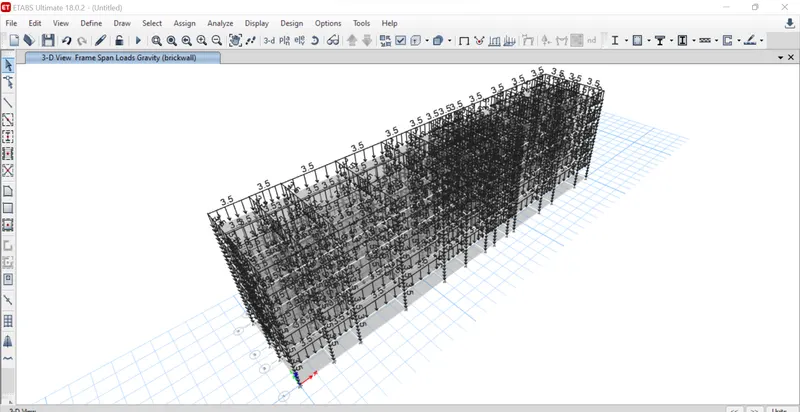
11. After loading the section properties we need add load casses.that requrie are mentioned below. Now, we need to assign these loads. For live load take the value as 2kN/m² with reference to IS875:part 2. Take Brickwall load as 3.5kN/m. Floor finishes as 1.5kN/m²
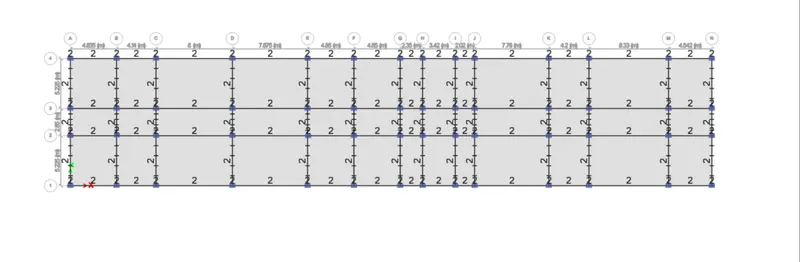
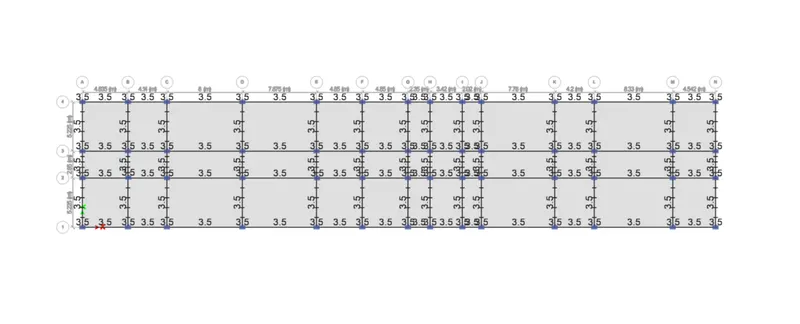
12. Now mass source is added by selecting mass source from define option, loads and values are specified and then ok is clicked to add.
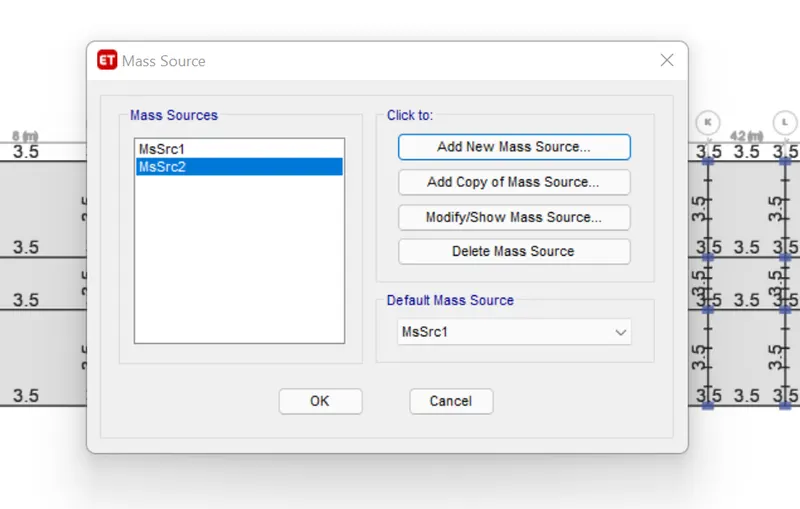
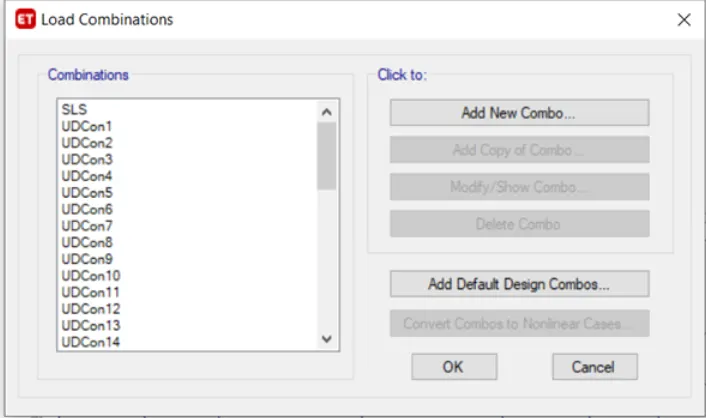
13. Now load cases are added or not checked by clicking on load cases, next load combinations are specified by selecting frame design user defined in load combinations.
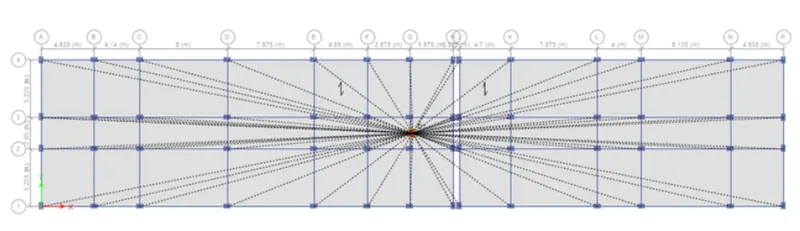
14. Again slabs are selected this time to assign diaphragms and then D1 is assigned so that the centre of mass will be calculated automatically.
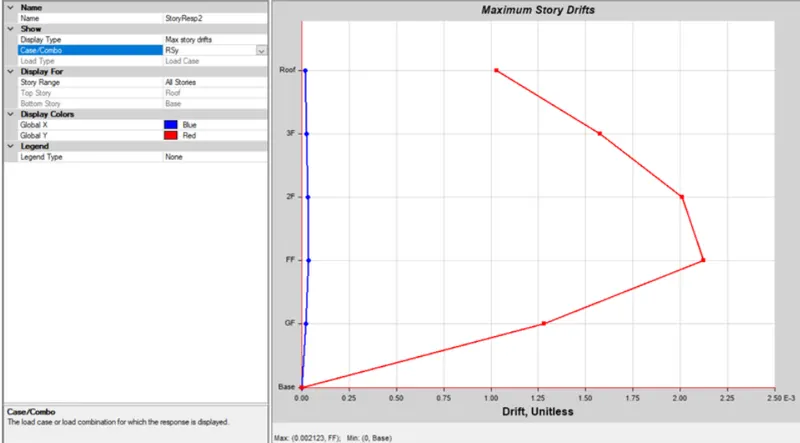
15. Analysis is runned successfully. Max Story Drifts are observed.
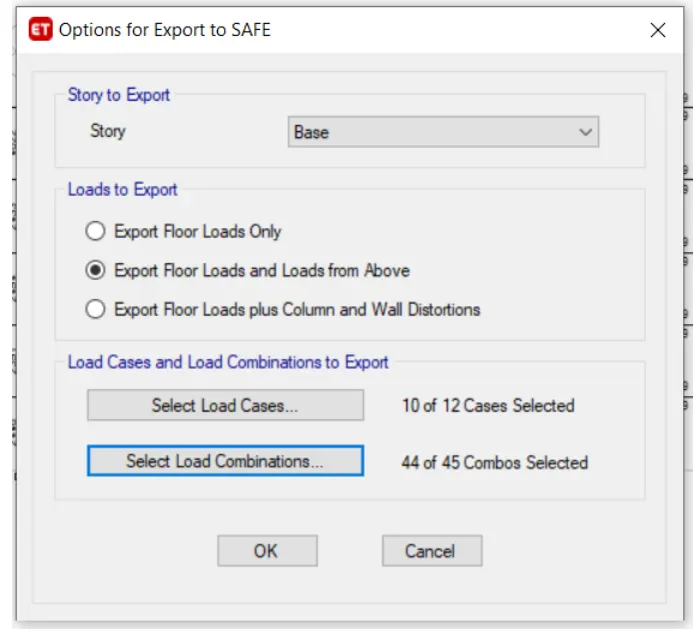
16. After completion of design we need to export the base reactions and load conditions in f2k formate for footing design using safe software. Now we have to import the f2k file into safe software to import the all reactions and loads.
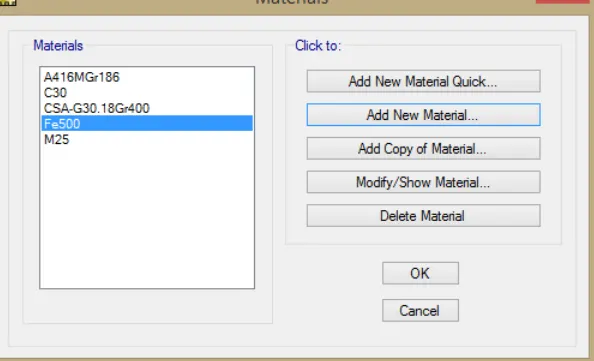
17. Now go to Define -> Material properties and define the materials for the design M25 grade of concrete and HYSD500 rebar.
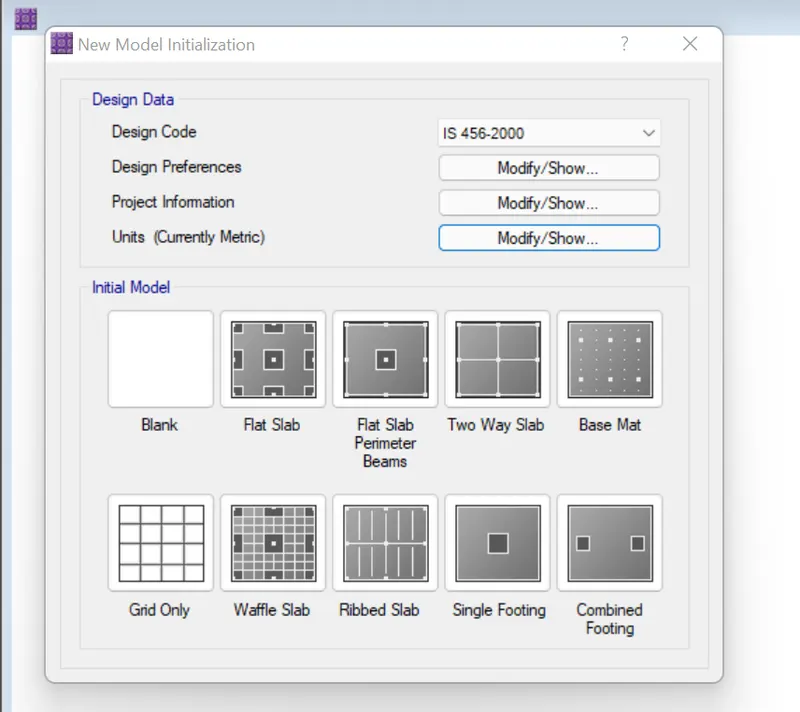
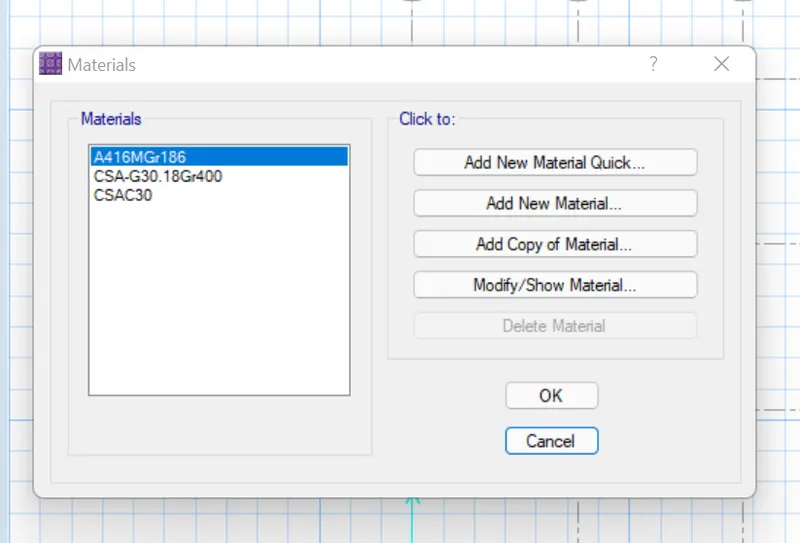
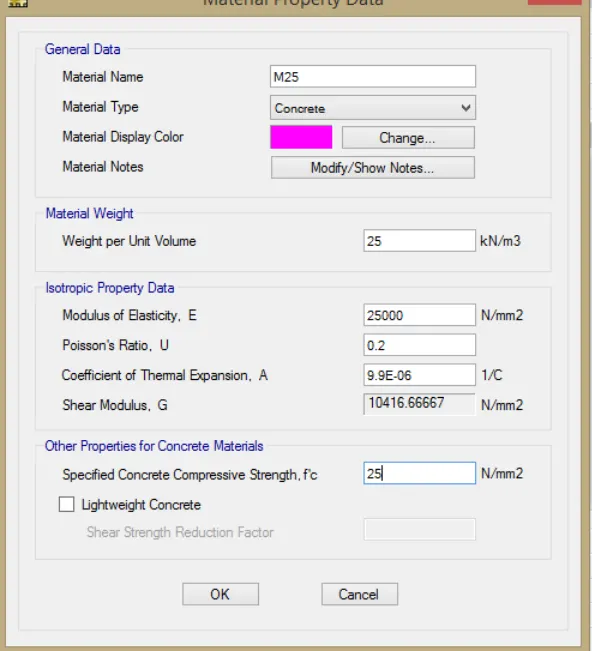
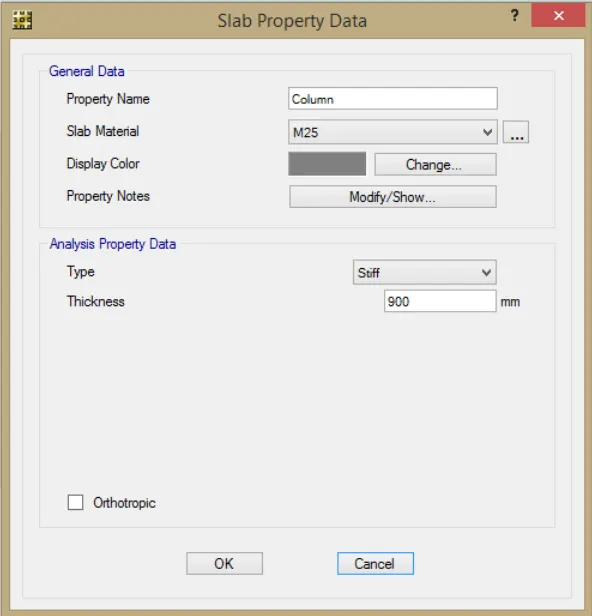
18. Now go to Define -> Section properties -> Slab sections and define stiff slab of 900mm of M25 grade concrete.
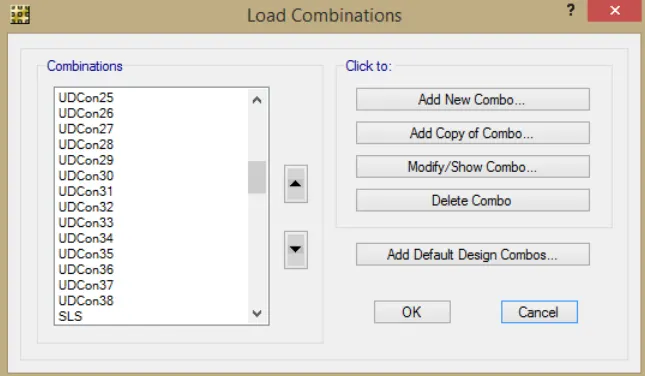
19. Define Load patterns. Load combinations are added.
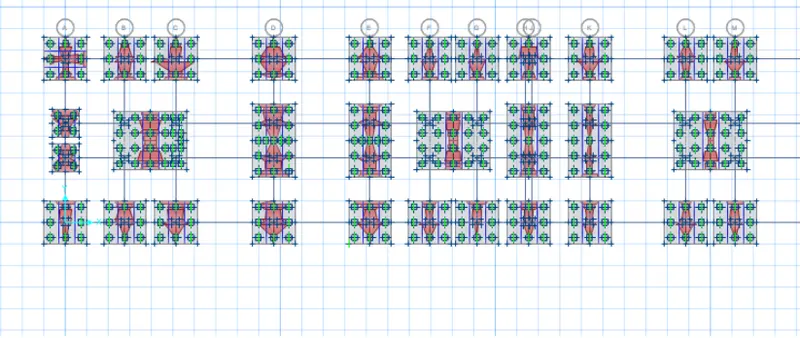
20. Go to Design -> Concrete Slab/Beam Design -> View/Revise preferences.
RESULT: A G+3 hostel building in Guwahati is done modelling, runned analysis of the construction drawing as specified is done using ETABS & SAFE software.