Creating various 3D Models like Furniture, Footing, Girder, Column drop with panel and Gable Wall in AutoCad
AIM: To create a 3D Furniture element as shown in the Figure.
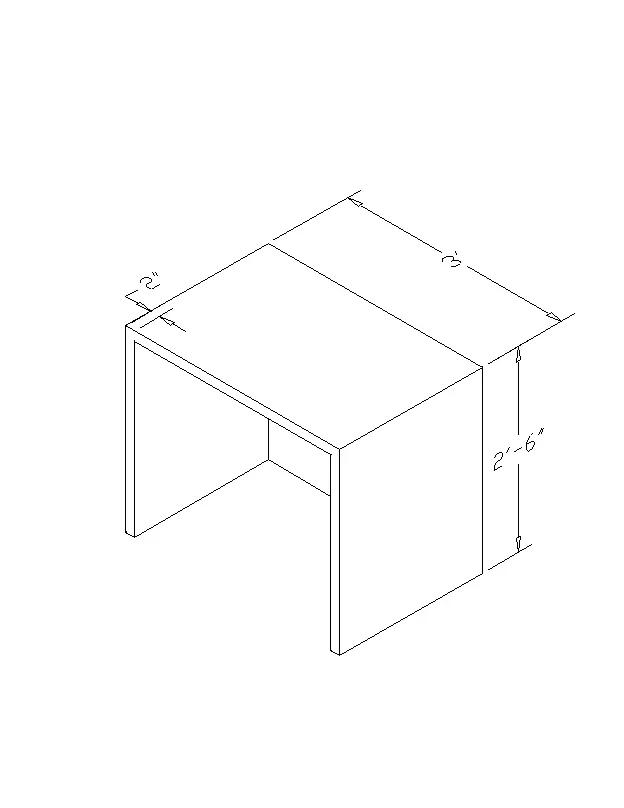
INTRODUCTION: Autocad is a software well designed for drawing 2D and 3D plans for the strutcure designs.
PROCEDURE:
1. CAD software is opened and new file is created.
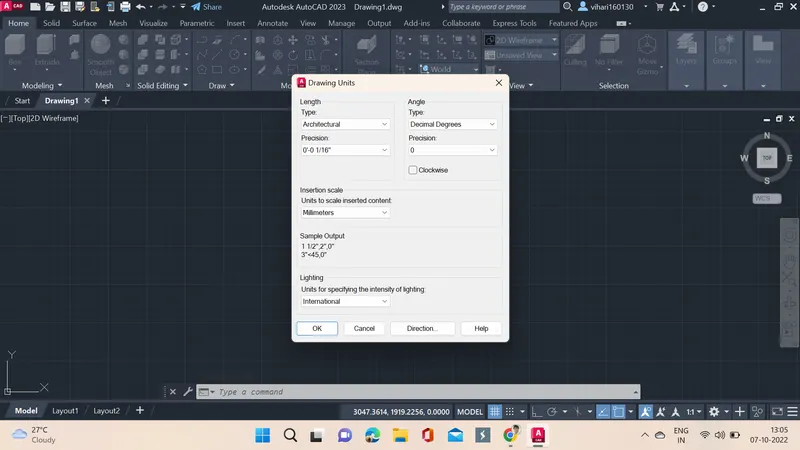
2. UN units command is used to specify the units.
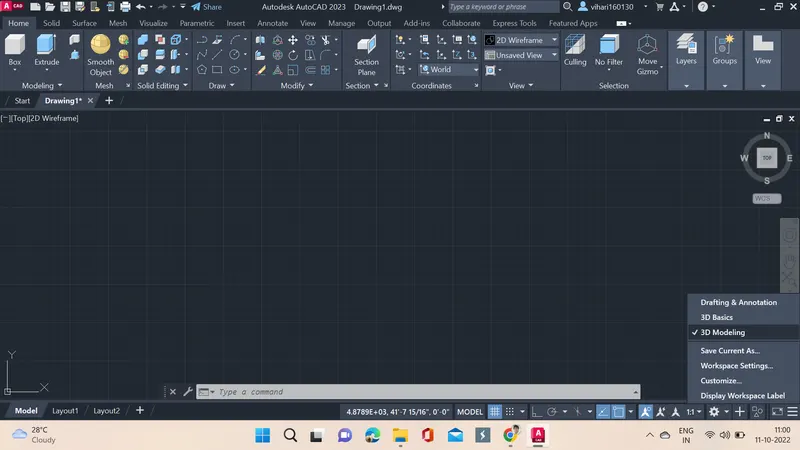
3. From settings 3D modeling is selected.
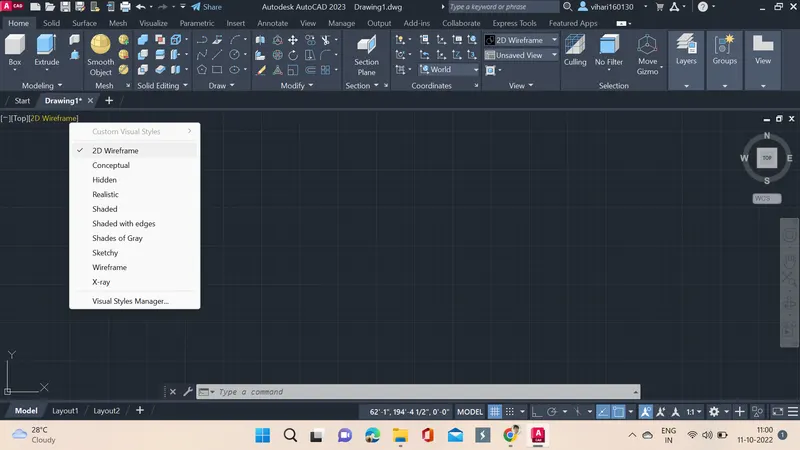
4. From visual style we select 2D wireframe.
5. Line command is used and a point is specified and drawn.
6. Line specified as @0,0,2'-6" and enter to draw the line.
7. Line specified as @0,3',0 and enter to draw the line.
8. Line specified as @0,0,-2'-6" and enter to draw the line.
9. Line specified as @0,-2",0 and enter to draw the line.
10. Line specified as @0,0,2'-4" and enter to draw the line.
11. Line specified as @0,-3',0 and enter to draw the line.
12. Line specified as @0,0,-2'-4", and enter to draw the line.
13. Line specified as @0,-2",0 and enter to draw the line.
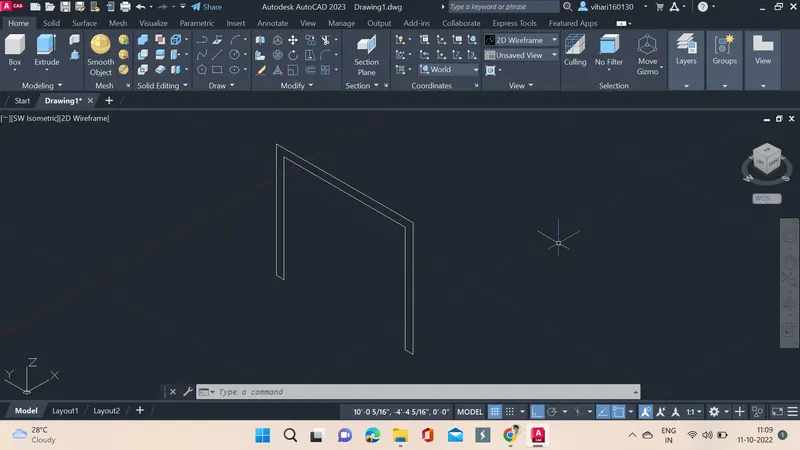
14. REC command is used and one point is selected on the top and dimensions is selected.
15. Length of the rectangle is given as 2'2", and the width is given as 3' and rectangle is drawn.
16. 3DFACE command is used and then rest rectangles as per the figure are made.
17. HIDE command is used to hide the inner parts.
18. DIMLIN command is used and dimensions are specified.
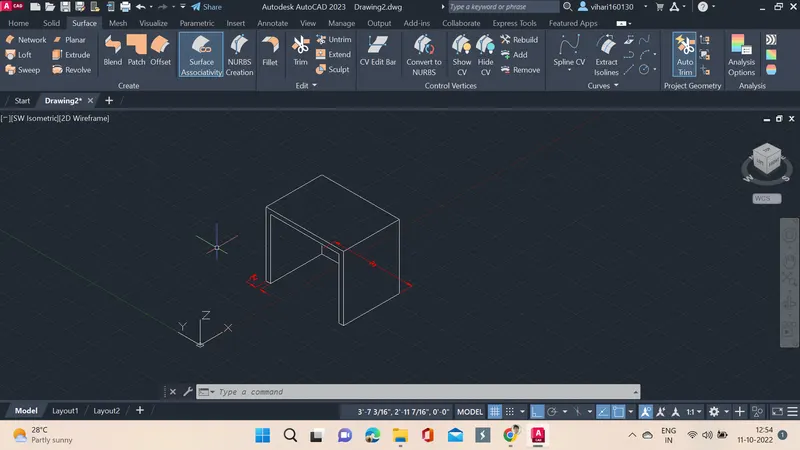
RESULTS: A 3D furniture element is drawn using Autocad software.
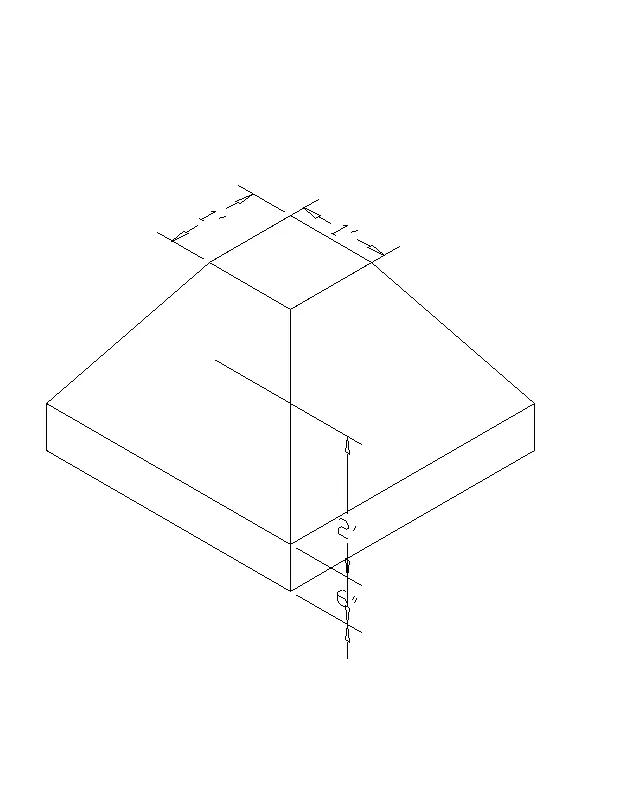
AIM: To create the 3d Model of an Isolated footing as shown in Figure.
INTRODUCTION: Autocad is a software well designed for drawing 2D and 3D plans for the strutcure designs.
PROCEDURE:
1. CAD software is opened and new file is created.
2. UN units command is used to specify the units.
3. From settings 3D modeling is selected.
4. From visual style we select 2D wireframe.
5. Line command is used and a point is specified and a square of size 1' is drawn.
6. Type Region and press enter, and select the square created to convert it.

7. Click on Extrude option in home tab and then select the object and click on Tampe and depth as 2".
8. Type Region and press enter, and select the tampered rectangle created to convert it into a region.
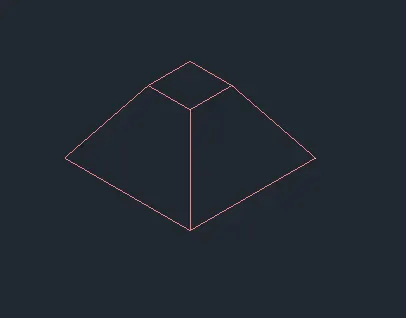
9. Now extrude the rectangle at a depth of about 6".
10. The visual style control was changed to hidden.

11. DIMLIN is used and dimensions are specified.
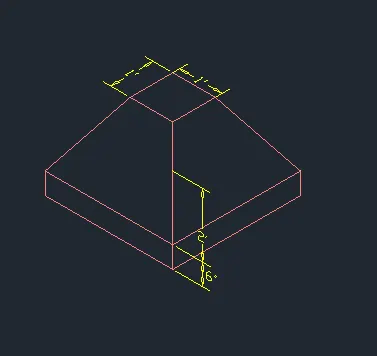
RESULTS: A 3D Model of an Isolated footing is drawn using Autocad software.
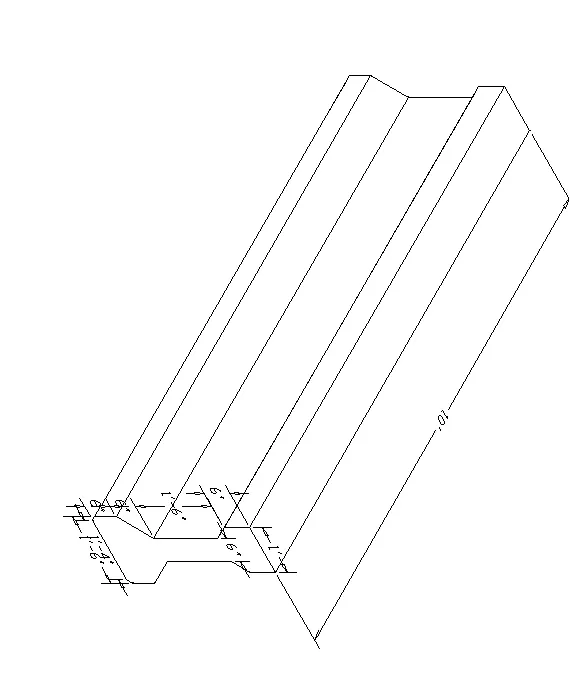
AIM: To create the 3D view of the AASTHO Type Girder.
INTRODUCTION: Autocad is a software well designed for drawing 2D and 3D plans for the strutcure designs.
PROCEDURE:
1. CAD software is opened and new file is created.
2. UN units command is used to specify the units.
3. From settings 3D modeling is selected.
4. From visual style we select 2D wireframe.
5. Line command is used and a point is specified and drawn.
6. DIMLIN command is used to specify the dimensions of the girder.
7. The dimensions layer was made hidden after this process.
9. Region command is used and the Aastho type girder was created to convert it into a region.
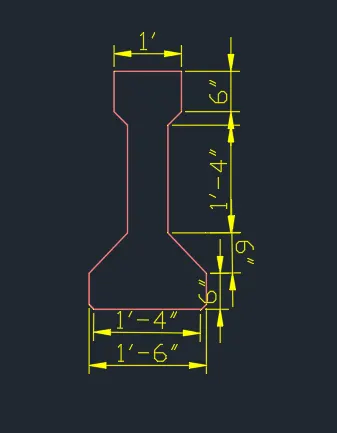
10. Now extrude is used to extrude the Aastho type girder at a height of about 10".
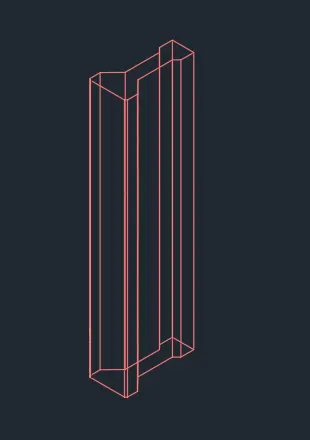
11. The visual style control was changed to hidden
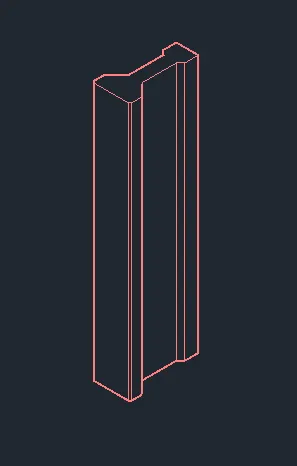
12. The visual style control was changed to shaded with edges to obtain this figure given.
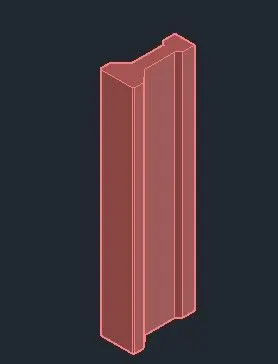
RESULTS: A 3D view of the AASTHO Type Girder is drawn using Autocad software.
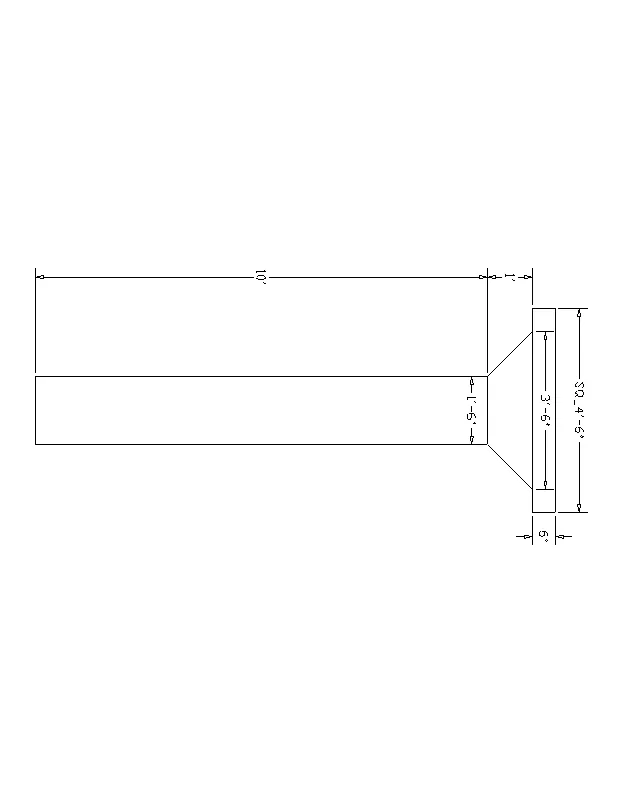
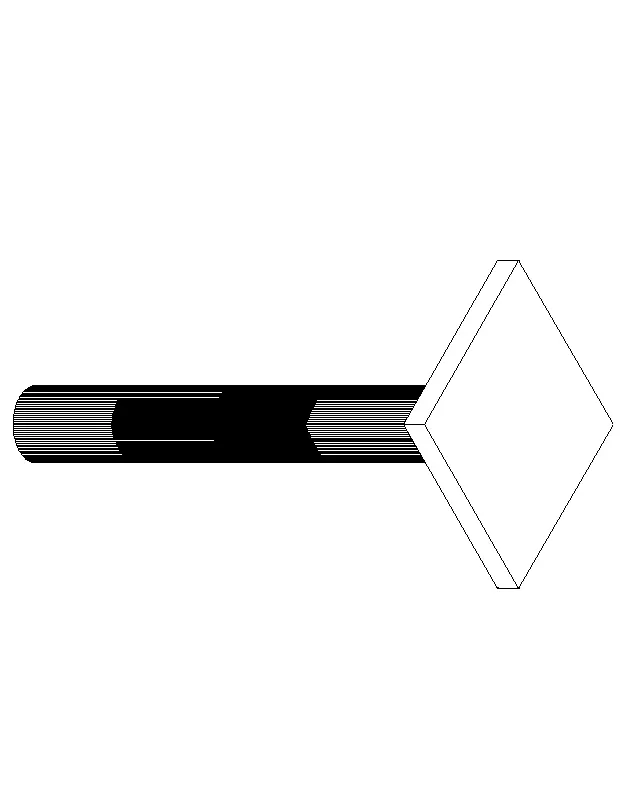
AIM: To create a 3d Model of a drop column with panel as shown in section and isometric view.
INTRODUCTION: Autocad is a software well designed for drawing 2D and 3D plans for the strutcure designs.
PROCEDURE:
1. CAD software is opened and new file is created.
2. UN units command is used to specify the units.
3. From settings 3D modeling is selected.
4. From visual style we select 2D wireframe.
5. Line command is used and a point is specified and a square of the size 4'-6" is drawn.
6. Region command is used and select the square created to convert it.

7. Click on Extrude option in home tab and then select the square and height is specified as 2".
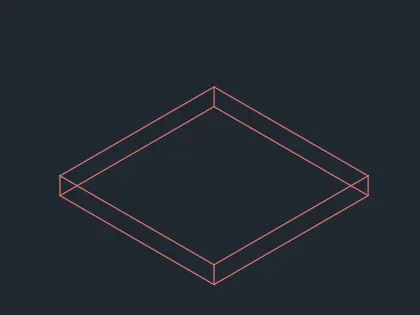
8. Hide command is used to hide the portions of the surface
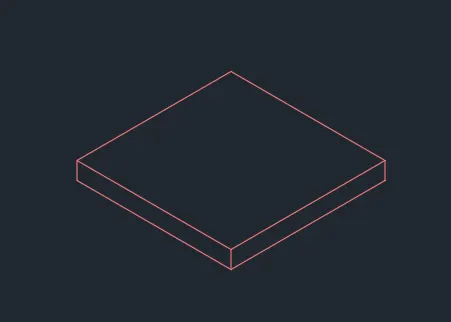
9. Circle command is used to draw the circle of diameter 3'-6" at the centre position of the rectangle.
10. Region command is used and select the circle created to convert it.
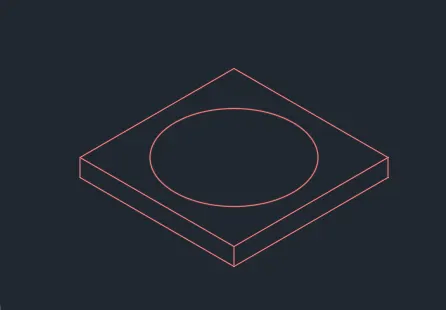
11. Click on Extrude option in home tab and then select the circle and click on Tamper, select the angle as 45 and and height as 2".
12. Now explode the tampered circle and convert the top circle into a region.
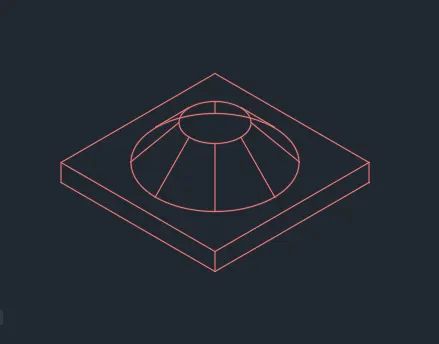
13. Click on Extrude option in home tab and then select the circle and at a height of 10'
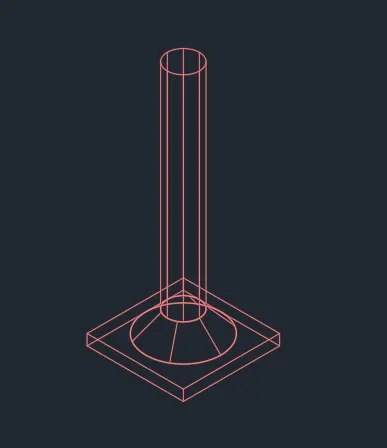
14. The visual style control was changed to hidden
15. The visual style control was changed to shaded with edges to obtain this view as per the given figure.
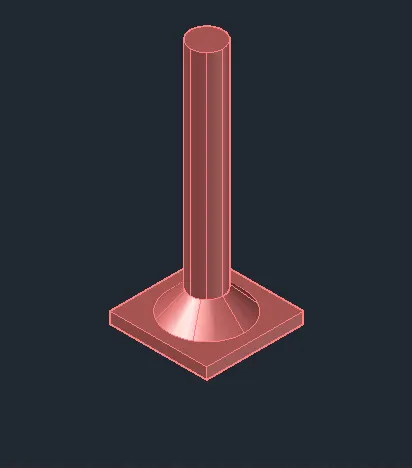
RESULTS: A 3D model of drop column with panel is drawn using Autocad software.
AIM: To create the 3d model of a wall as shown in Figure. Consider wall thickness as 9”.
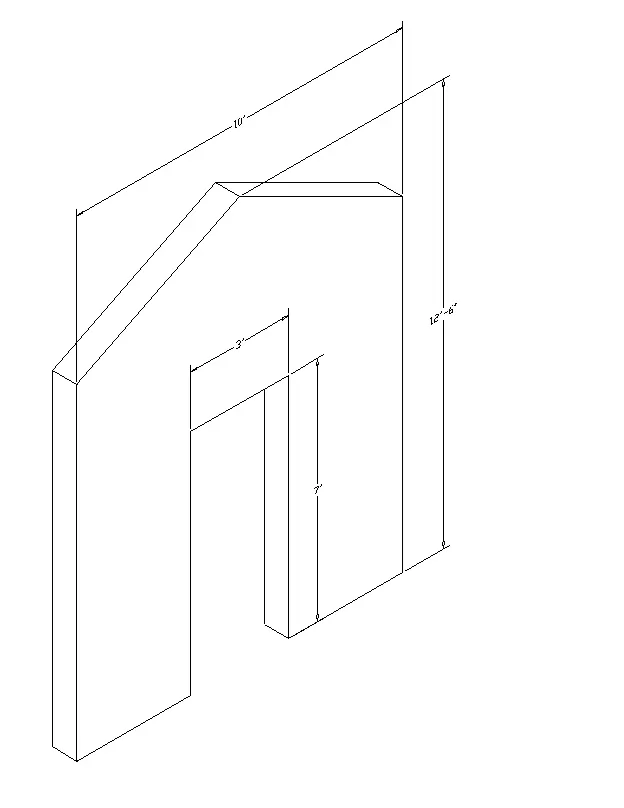
INTRODUCTION: Autocad is a software well designed for drawing 2D and 3D plans for the strutcure designs.
PROCEDURE:
1. CAD software is opened and new file is created.
2. UN units command is used to specify the units.
3. From settings 3D modeling is selected.
4. From visual style we select 2D wireframe.
5. Line command is used and a point is specified and drawn.
6. Extrude is used and then extrucded the existing drawing.
7. next hide command is used and hidden back lines.
8. DIMLIN is used to specify the dimensions.
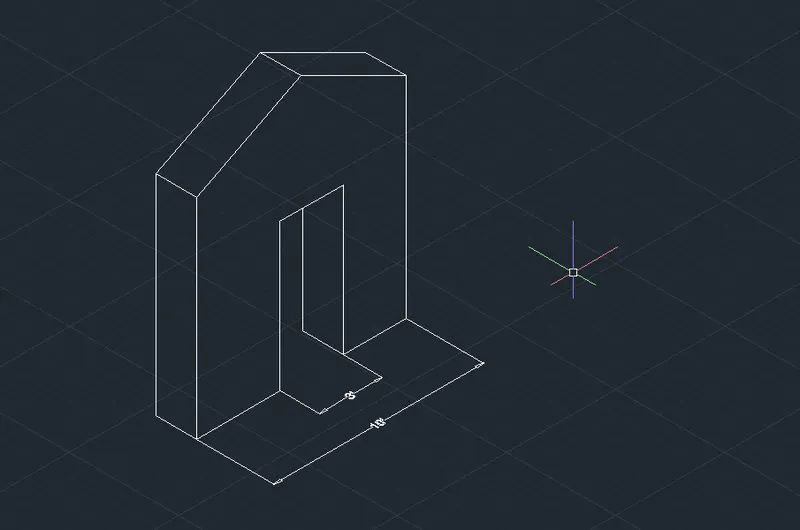
RESULTS: A 3D model of wall is drawn using Autocad software.