Usage of Collaborate tool in REVIT
Usage of Collaborate tool in REVIT
1) AIM: Open an architectural template. Using the Manage tab set project base point and project shared coordinates for the project
Introduction: set project base point and shared coordinate for the collaborate project
Procedure:
step 1) open architectural templet
open revit software
then open new project
and select architectural templet and press ok
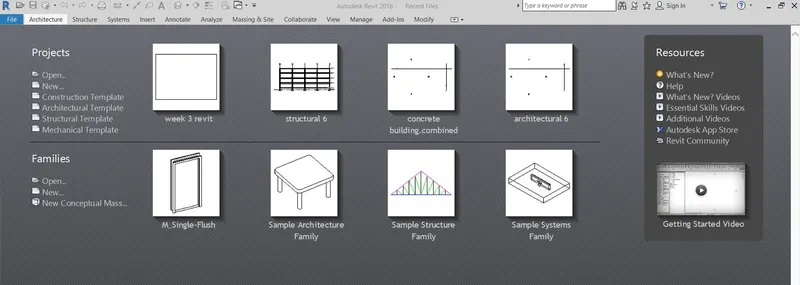
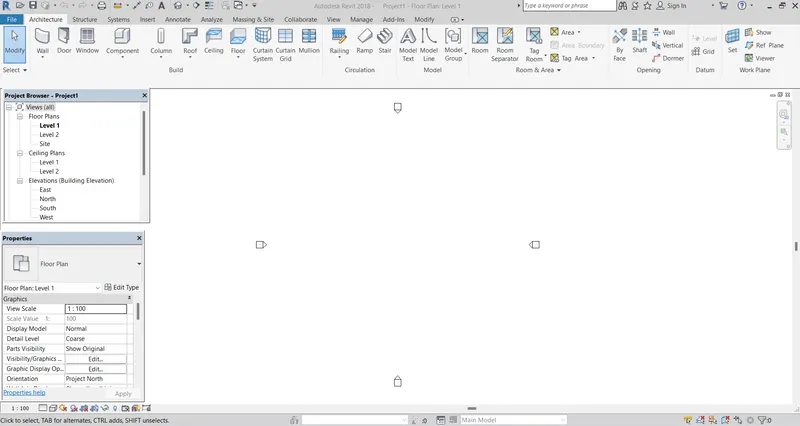
step 2) open architectural tab
and click on grid for draw
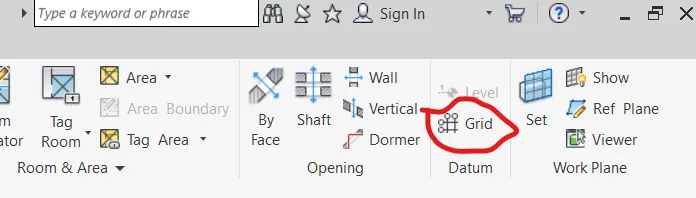
then draw a one horizontal and verticle grid
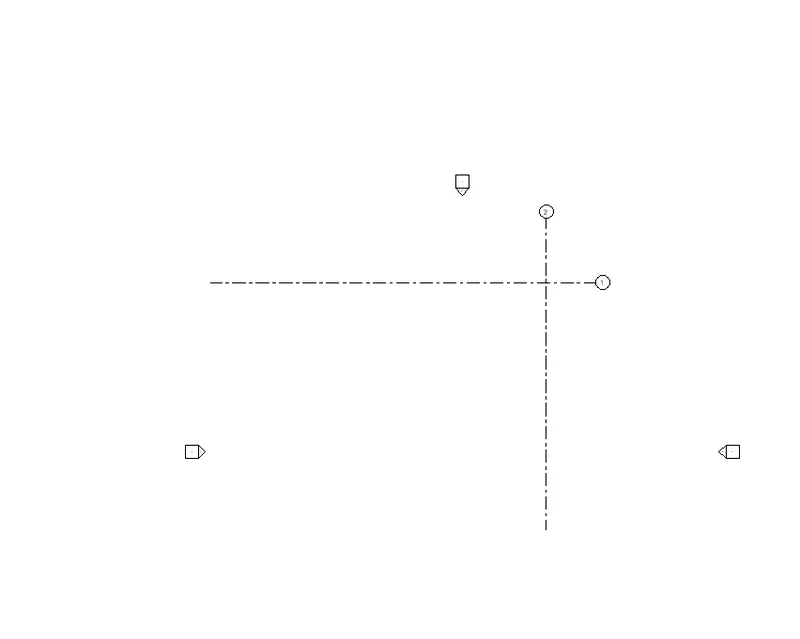
step 3) specify coordinates point
go to manage tab
click on coordinates in project location
and select specify coordinate option from that
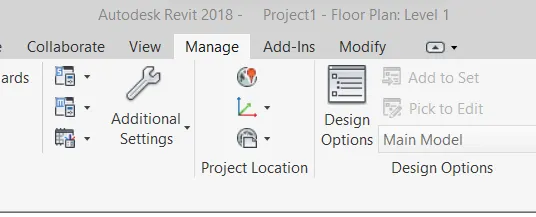
step 4) specify coordinates point
then click the junction of two grids
and set 0.0 on east/west box
and click ok
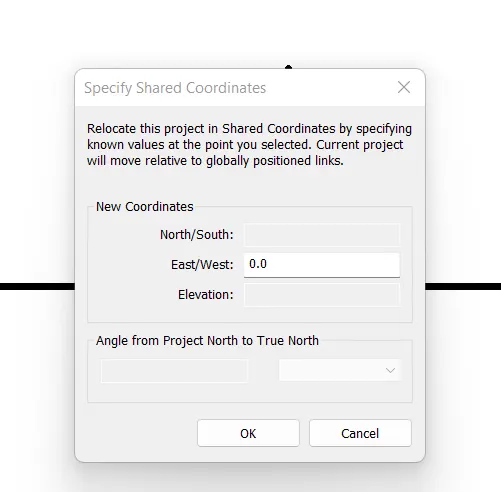
step 5) set project base point
type VG for visibility/graphic setting
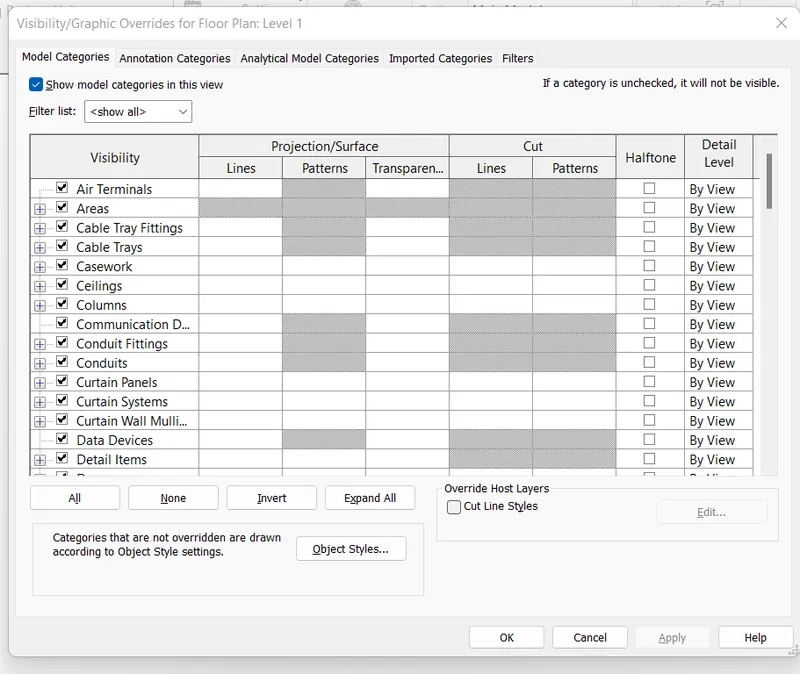
then scroll down and expand site
then click on project base point option
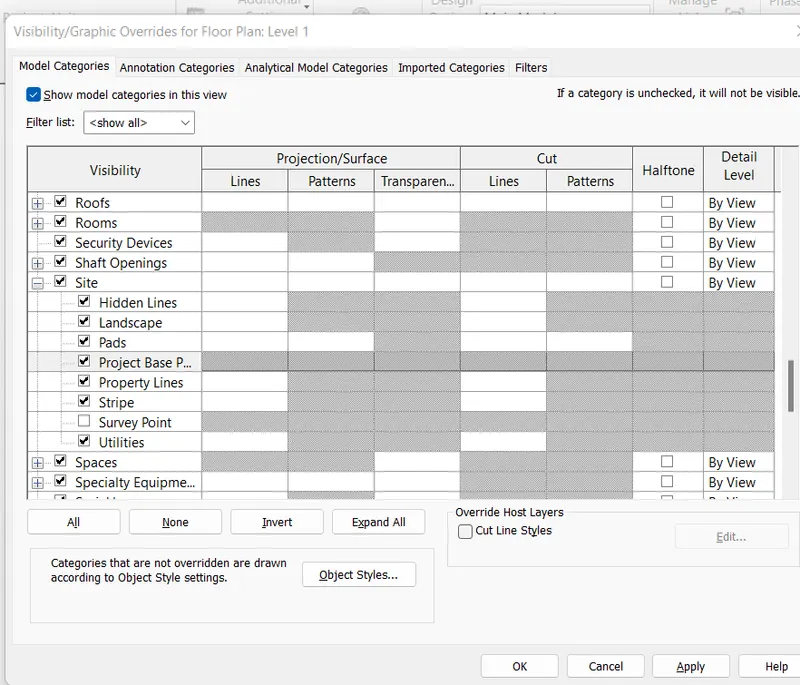
then the base point is apperance on screen
now move it on junction point
and insert 0,0 for all east ns etc for all
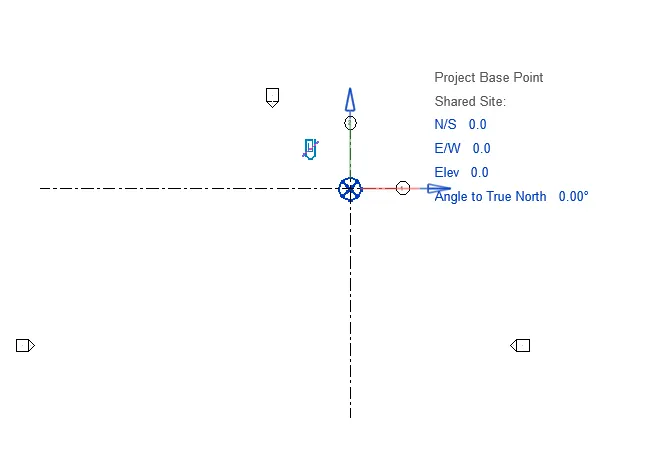
Result: we set set project base point and project shared coordinates for the architectural project
2) AIM: Open another new file but with a structural template. Using the manage tab set project parameters the same as the architectural model. Copy the parameters from the architectural model to the structural template or enter the parameters manually into the structural mode.
Introduction: create grid and set project base point for work in collaborate
Procedure:
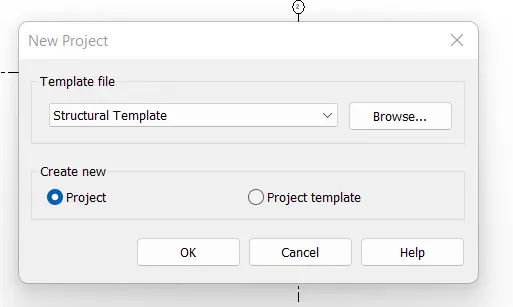
step 1) open structural templet
open revit software
then open new project
and select structural templet and press ok
step 2) open structural tab
and click on grid for draw
then draw a one horizontal and verticle grid
step 3) specify coordinates point
go to manage tab
click on coordinates in project location
and select specify coordinate option from that
step 4) specify coordinates point
then click the junction of two grids
and set 0.0 on east/west box
and click ok
step 5) set project base point
type VG for visibility/graphic setting
then scroll down and expand site
then click on project base point option
then the base point is apperance on screen
now move it on junction point
and insert 0,0 for all east ns etc for all
Result: we set set project base point and project shared coordinates for the project
3)AIM: Re-open the architectural model. Using the tools under the Collaborate tab make the architectural model a central model (enabling simultaneous working on the model)
Introduction: central model for work in simultameously or work on team
Procedure:
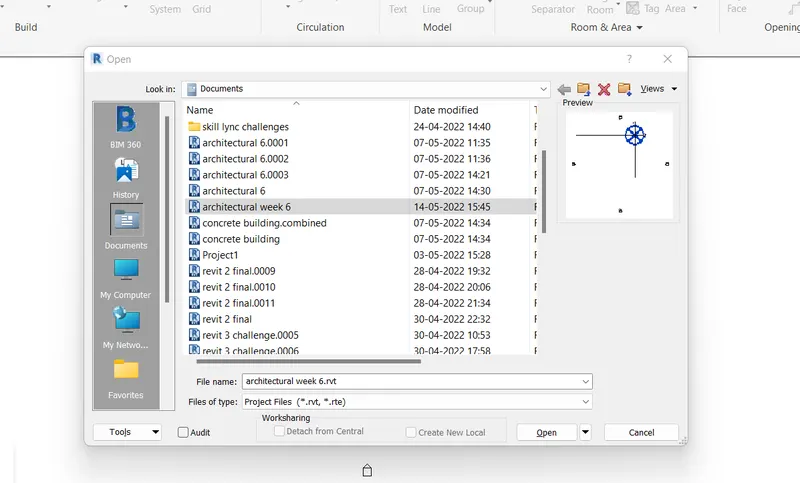
step1) open the architectural model
go to file menu in architectural
then go to open tab and open the architectural week 6 project
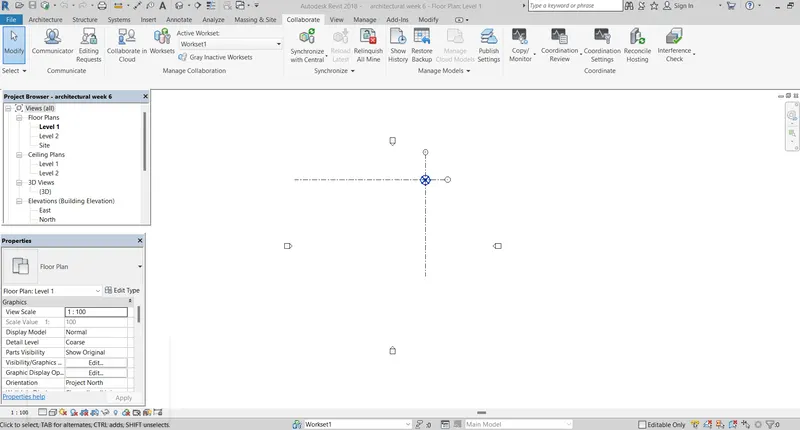
step 2) Using the tools under the Collaborate tab make the architectural model a central model
go to collaborate menu
in that we have option called as collaborate just click it
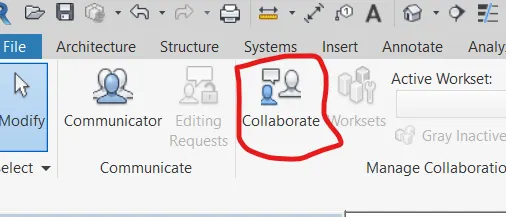
step 3) in collaborate tab we have two option
just click on collaborate within network and press ok
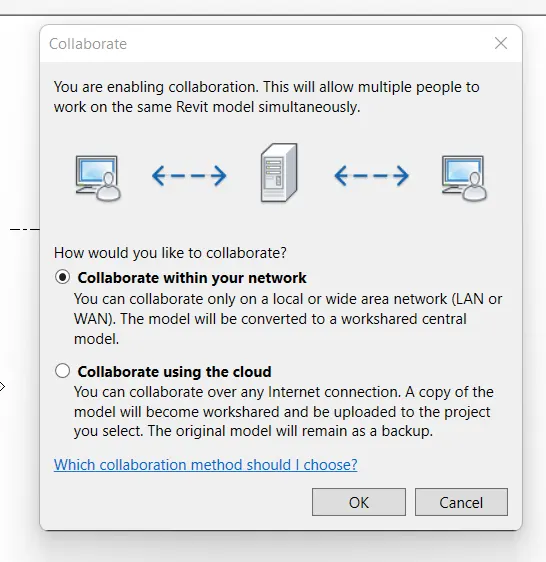
step 4) once it collaborator
just click on save button
then they sayes save file as central model
and press yes
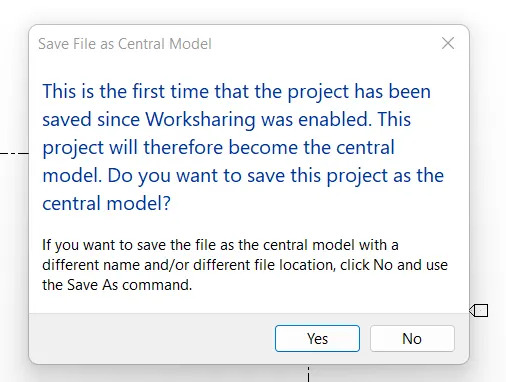
Result: successfully done collaboration as central model
4) AIM: Create the Grids Longitudinal and Transverse pattern for the project similar to the task done in Week 2
Introduction: make grid for refrance for our work
Procedure:
step 1) just open a architectural templet which will already save as central model
step 2) grid
click grid under the architectural tab
and and set pick line option from modify/place grid
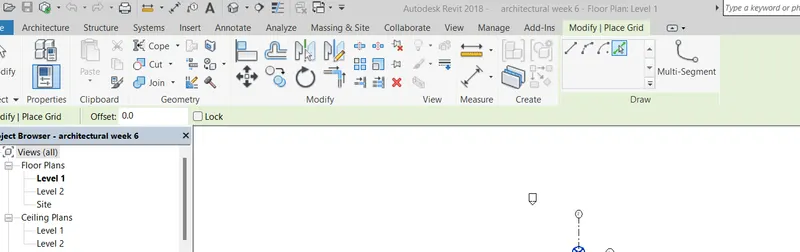
step 3) draw a longitudinal grid
by settiing 2000mm offset and select longitudinal existing grid
and draw on left side
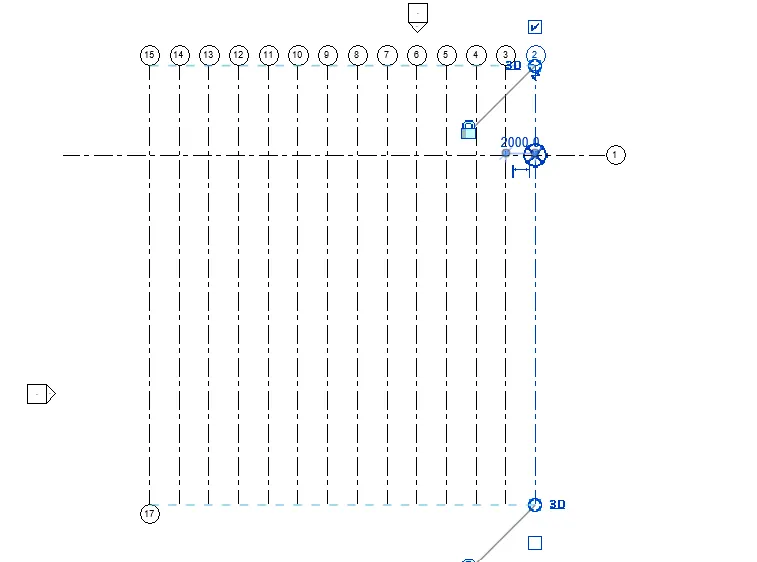
step 4) draw a transverse grid
by settiing 2000mm offset and select longitudinal existing grid
and draw on left side
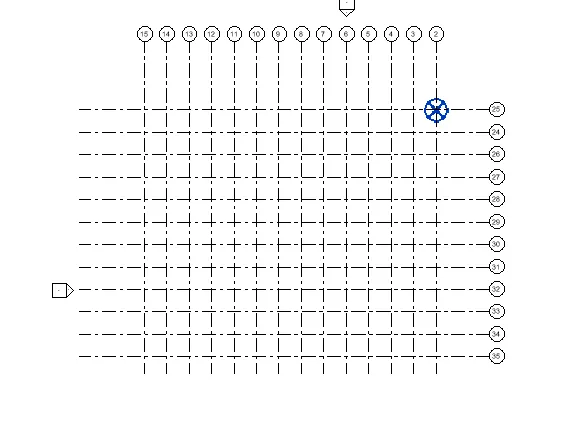
Result: we create transeverse and longitudinal grid under the architectural tab
5) AIM: Synchronize the changes from the local copy to the central file of the architectural model.
Introduction: synchronze file for change work to our central file
Procedure:
step 1) open the architectural tab
which we created in last lecture
step 2) Synchronize the changes
go to collaborate tab
and drop down the synchronize with central option
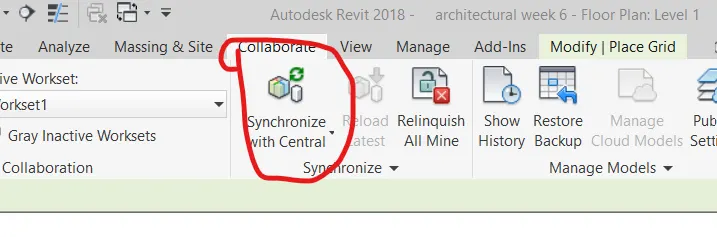
step 3) in that click on synchronize and modify setting
and press ok
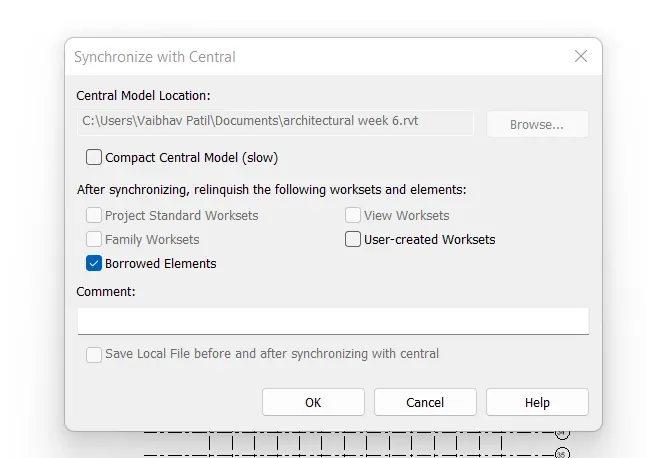
Result: our syncronize change with local to central file is done successfully
6) AIM: Open the structural model and use the collaborate tools to save the model as a central file.
Introduction: central file for work in team and work simultaneously
Procedure:
step 1) open the structural model
oprn the revit software and open the structural week 6 project file
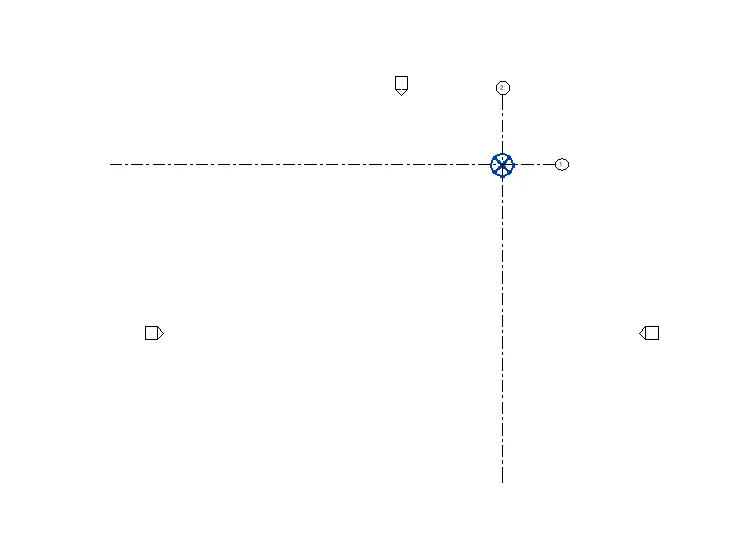
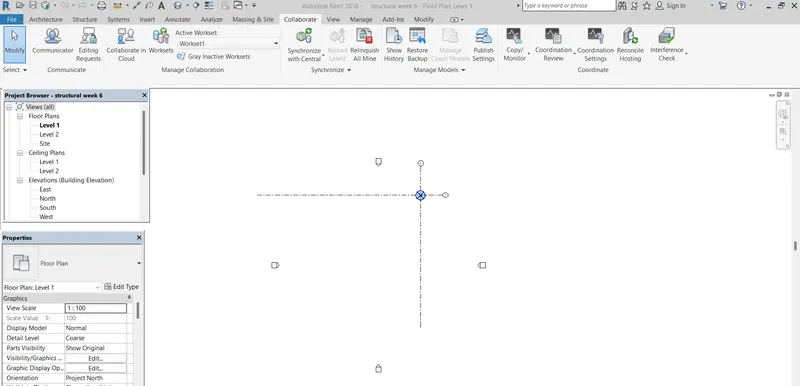
step 2) Using the tools under the Collaborate tab make the structural model a central model
go to collaborate menu
in that we have option called as collaborate just click it
step 3) in collaborate tab we have two option
just click on collaborate within network and press ok
step 4) once it collaborator
just click on save button
then they sayes save file as central model
and press yes
Result: our structural project successfully done collaboration as central model
7) AIM: Under the Collaborate tab, select the grids and levels from the architectural model, and using Copy Monitor try to copy the grids to the structural model. See what happens when the copy monitored grid is moved around in the structural mode
Introduction: copy monitor under manage link for copying model one file to another
Procedure:
step 1) open a structural model which will already created as central model
step 2) now go to insert tab
and click on link revit
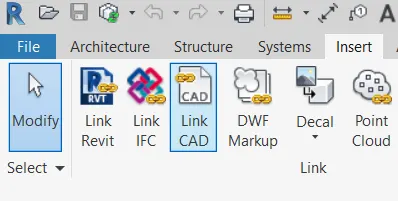
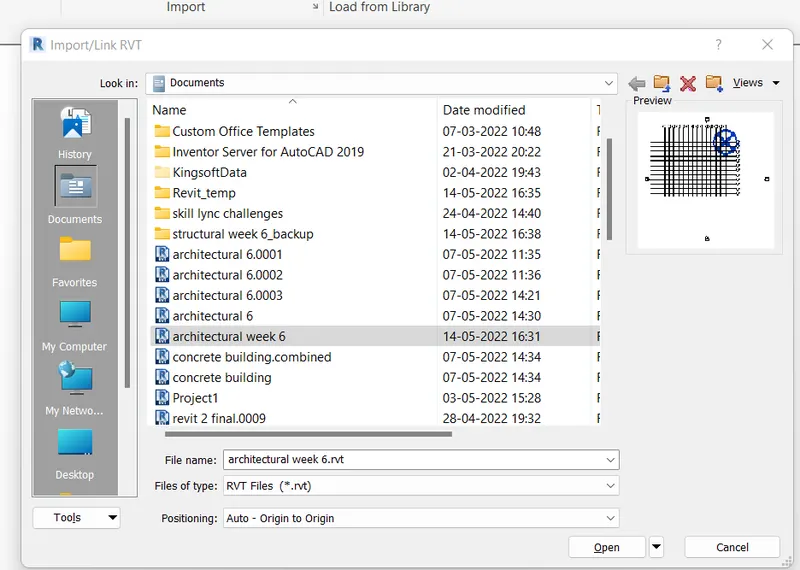
and click on architectural week 6 for link architectectural to structural
press open
step 3) copy monitor
from collaborate tab
choose copy monitor from coordinate menu

step 4) select link
after copy monitor
and select link of grid
and choose copy option
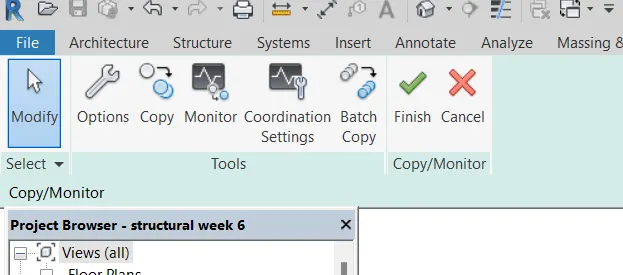
step 5) and after copy
then tick multiple option
and select and finish it
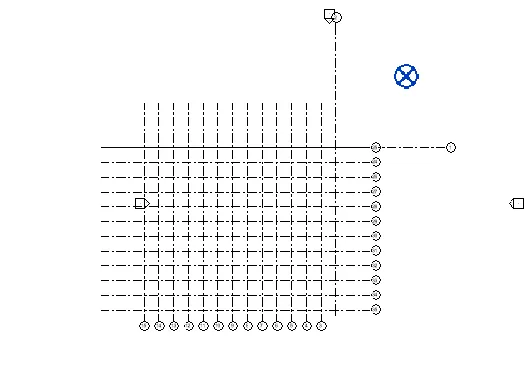
result: using copy monitored copy architectural grid to structural grid
8) AIM: Create another new file with a construction template. Save the new file as a central model. This file will include both architectural and structural model. Under the manage tab, Click manage links to link both architectural and structural files. Save the file and close all the files.
Introduction: open new construction templet file and link architectural and structural file for work combined
Procedure:
step 1) open revit software
and click on new
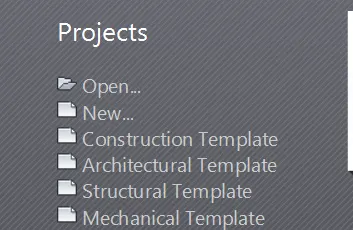
and choose construction templet
and press ok
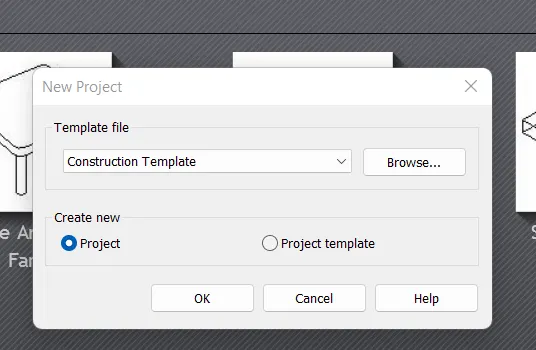
step 2) save the file as central model file
go to collaborate tab
and click on collaborate option
and continue with collaborate within your network
and press ok
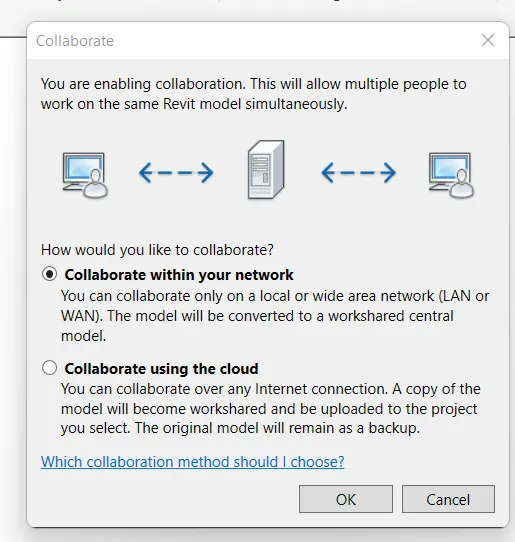
step 3) once it collaborator
just click on save button
then they sayes save file as central model
and press yes
step 4) now link architectural and structural templet
go to insert tab
and click on link revit option
and choose architectural week 6 and structural week 6
and open it
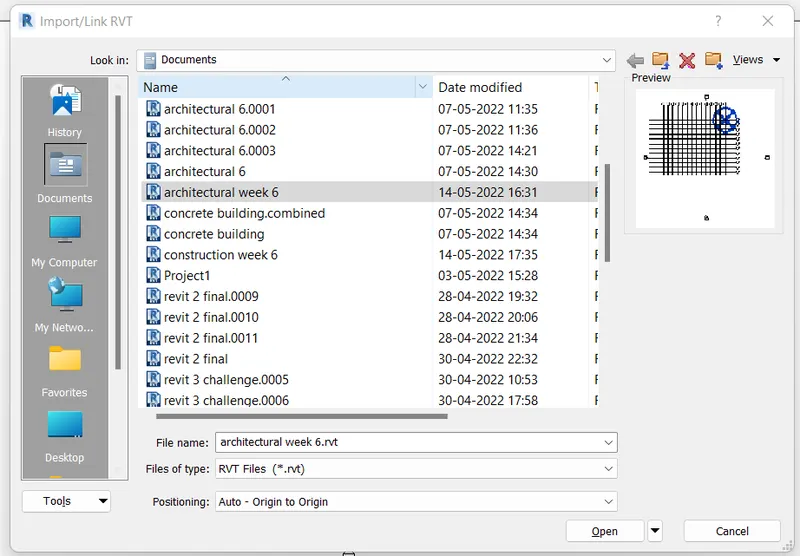
step 5) our structural and archtectural file is link with construction temlet
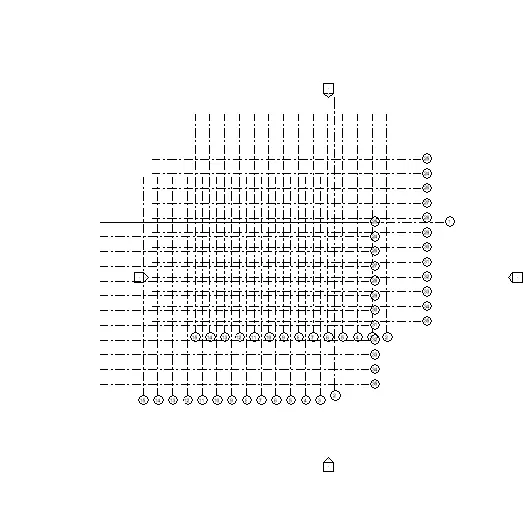
Result: link file to construction templet is done successfully
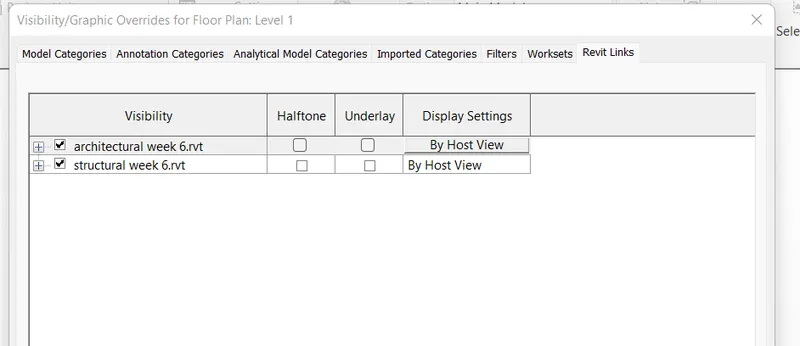
9) AIM: Are the grids from structural and architectural model matching in the construction template created? If yes the model is set up for project 2. If not work on the shared parameters and linking options under Manage links
Introduction: save the file as project 2 and collaborate the link projects for match work
Procedure:
step 1) our architectural templet and structural templet are not link each other
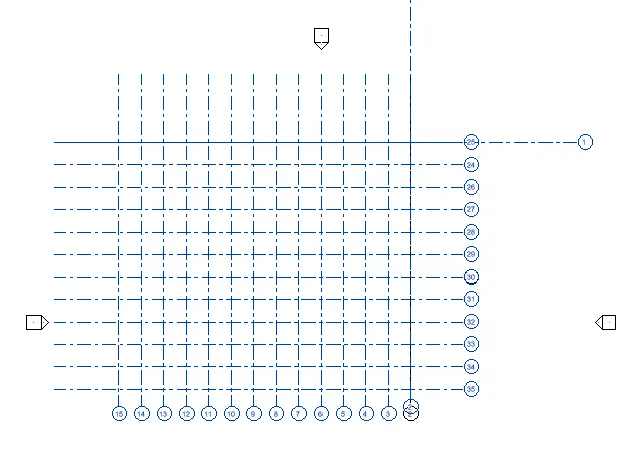
step 2) so match both templet using shared coordinate option
like project base point and specify coordinate
step 3) save preoject 2
go to file menu
click on save as option
and choose project and save as project 2
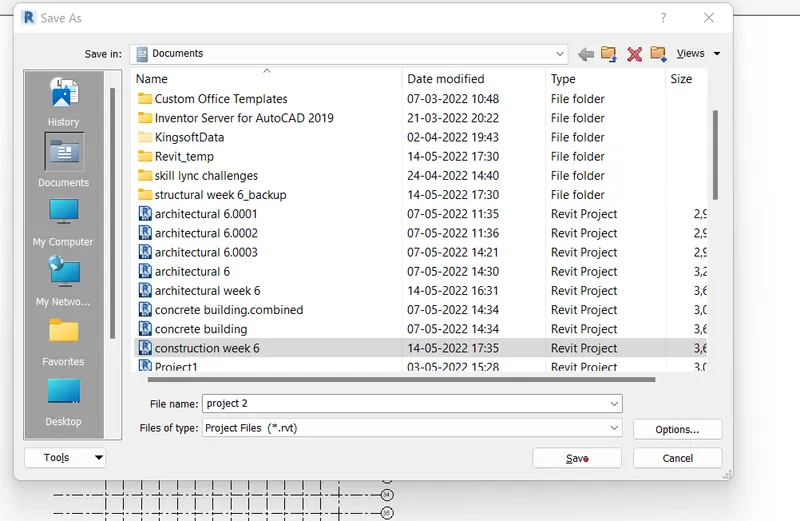
result : link model collied/collabora each other and save as project 2 is done successfull
10) AIM: List a flow chart of a project tree set up in terms of Construction model, Architecture & Structure model, in this exercise and understand how many people can work on the same project using Revit simultaneously
Construction Model
Architectural Model Structural model
modelling walls modelling column
modelling window modelling beam
modelling doors modelling florring
assign materials modelling structural floors
modelling architectural flooring modelling labs
modelling architectural roofings and cellings modelling trees system
enable to provide geographic condition of modelling connections
modelling staircase structural models in general develops the entire
framework of a structure
they can many peopele are work simulataneously on a project using collaborate option
also dependes on type of work and team