Week 9-Creation of 1D Connectors Challenge
- Aim: Create connector and Attach the various parts of the given model.
- Objectives:
- To perform the connection as per the requirement.
- Implement the connections and do the mesh correction.
- Method:
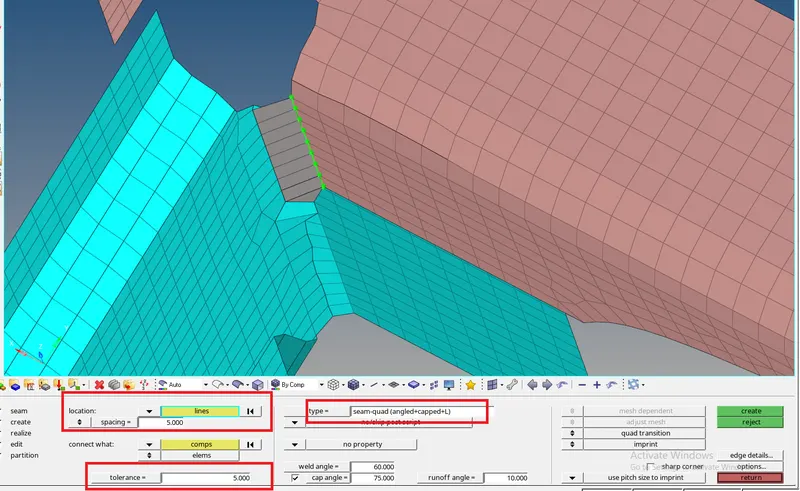
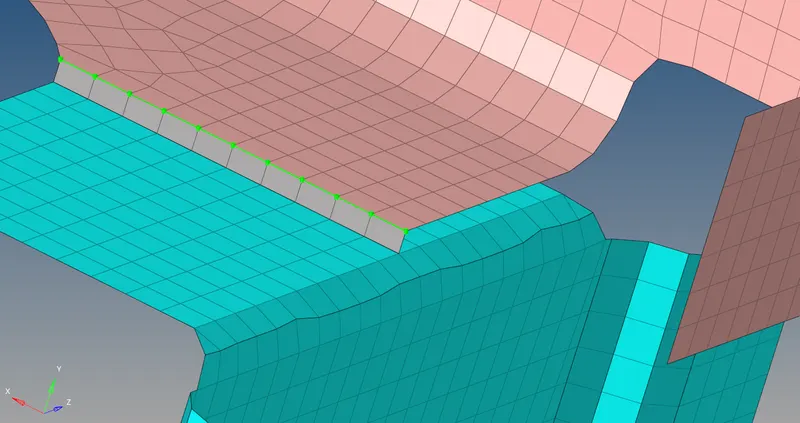
- 1. Right_Rail_2 & Front_truss_1:- Seam-Quad(angled+capped+L)
- The procedure to implement the mesh is shown below.
- To create the connection go to 1D connections -> select the type of connection you want -> select the line -> give the spacing & tolerance -> Select the type of connection -> create.
- The steps are highlighted in a red box.
|
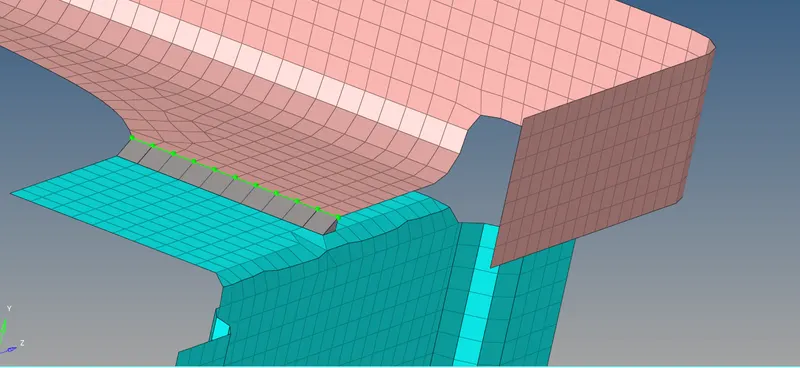
After implementing the connection it can be seen that the mesh over which the connection is implemented got disturbed and it is necessary to remove this irregularity. |
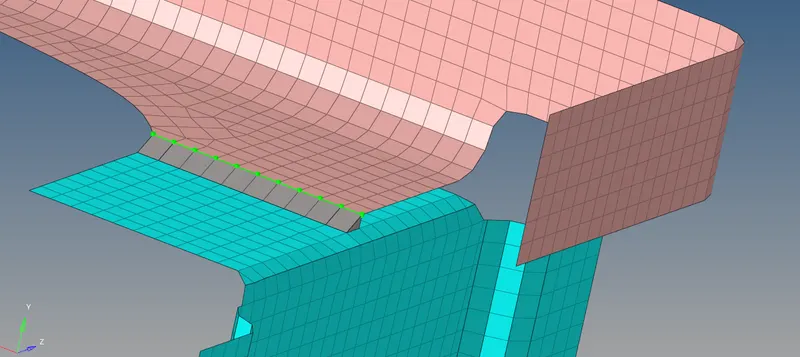
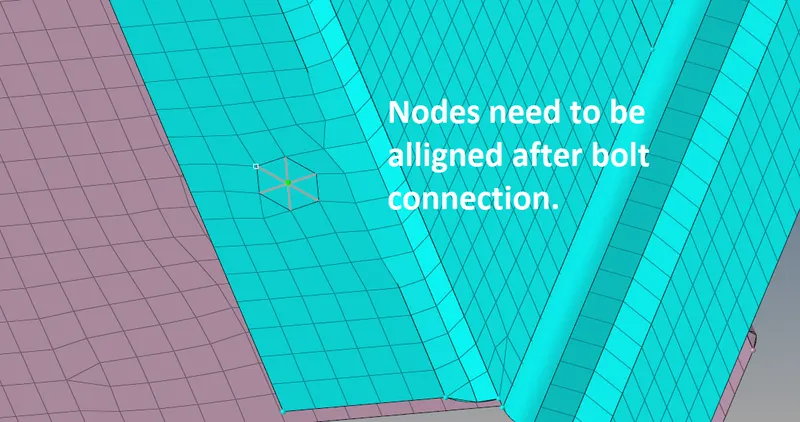
It can be seen that the irregularities are removed. Here it is necessary to align the nodes and mesh the area as per requirement. |
|
Left_Rail_2 & Front_truss_1:- Quad elements. Also. allignment has to be done. |
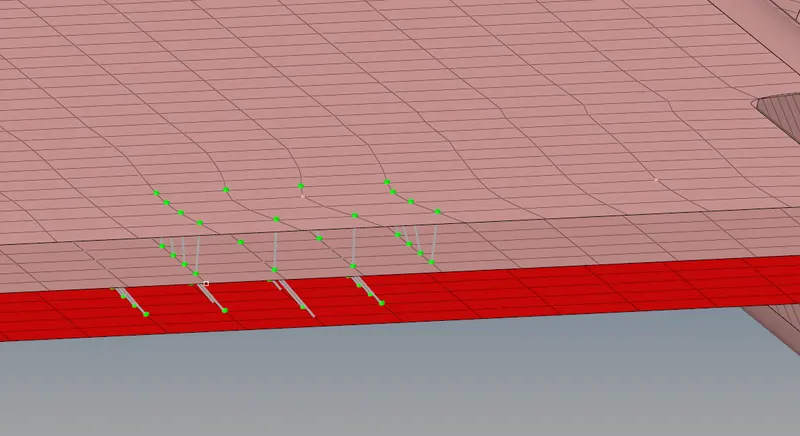
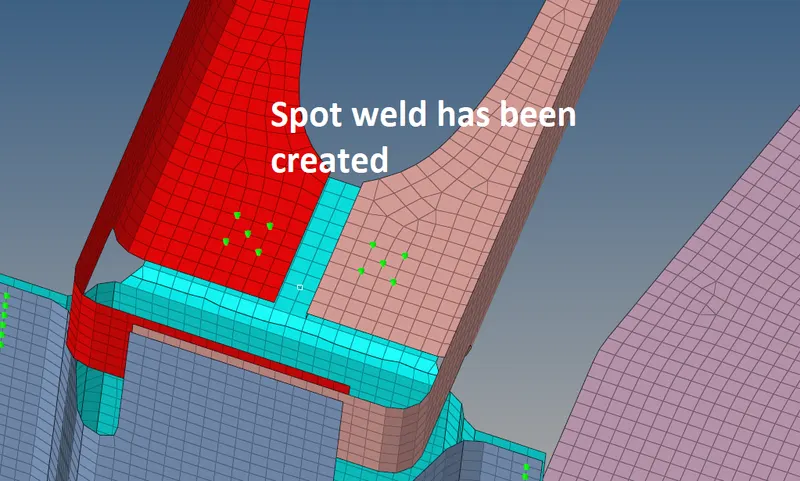
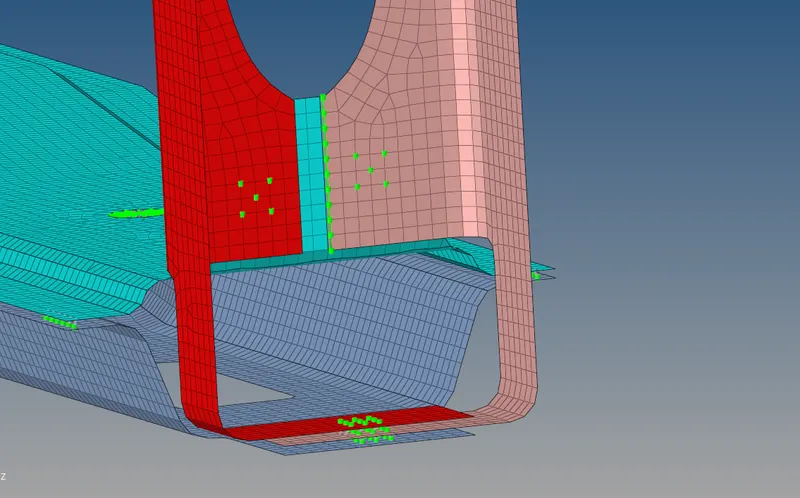
Front_truss_2, Front_truss_1 & Right_Rail_1:- Spot weld with 3 Layers and 5 mm Diameter. As per the requirement, the connections has been implemented. First, the nodes need to be selected then the components on which the connection will be implemented and tolerance values need to be given. |
|
Rear_truss_2 & Right_Rail_2:- Bolt Connector |
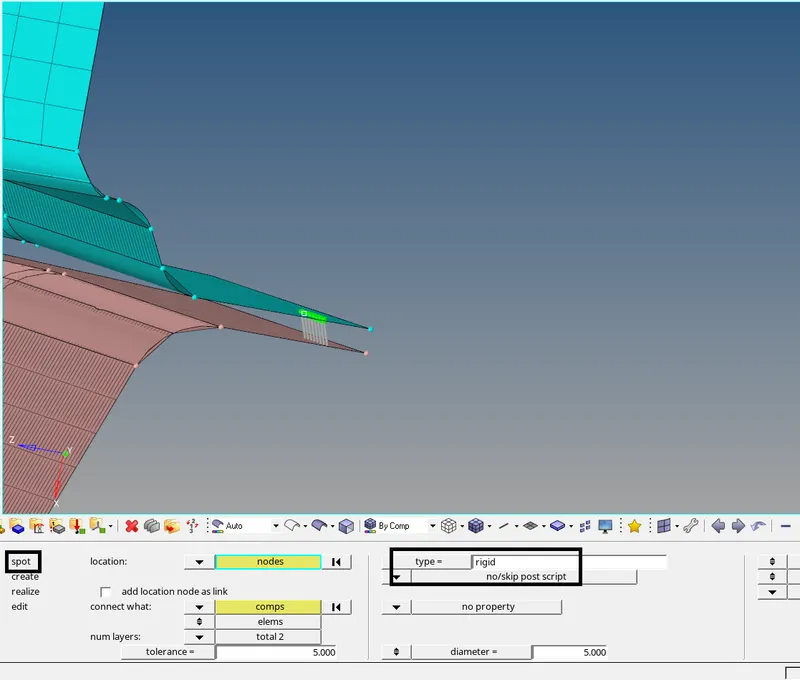
Right_Rail_1 & Right_Rail_2:- Spot-weld with Rigid Elements |
|
Left_Rail_1 & Left_Rail_2:- Spot-weld with Spring Elements |
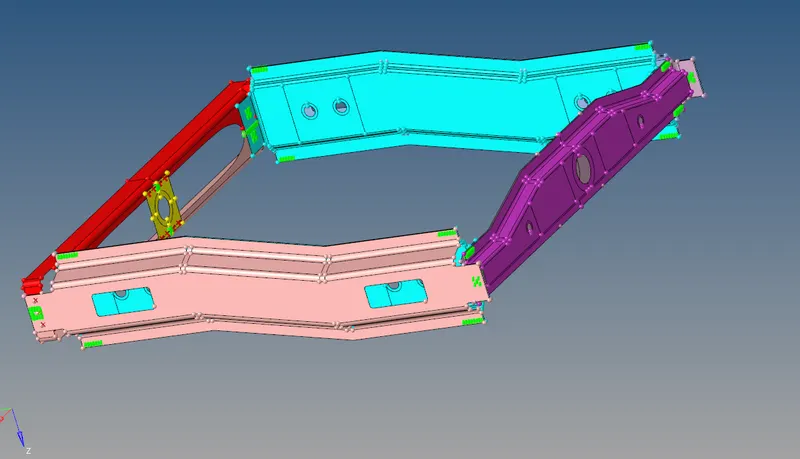
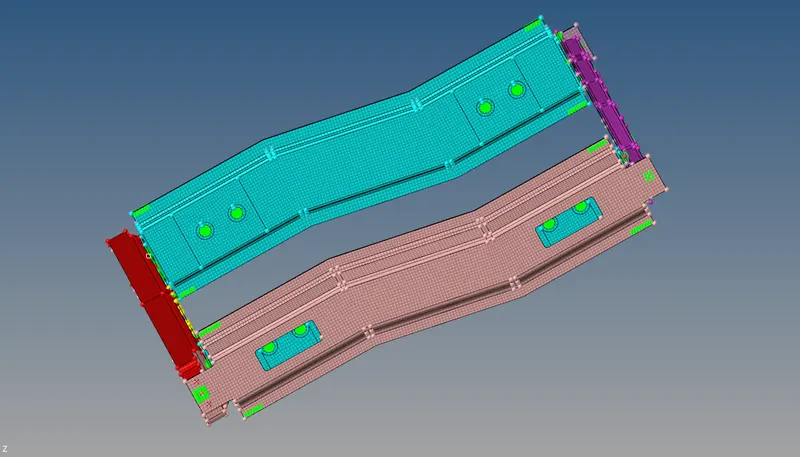
For the rest of the components, the connection is created as per the suitable way. It can be seen that at most of the places spot weld and seam weld can be implemented. |
 |
|
- Learning outcomes:
- Types of Connection and their implementation.
- Quality improvement after the mesh has been implemented.
- Selecting appropriate connection as per the requirement.