Week 9 - Attachment Feature Creation - Challenge 2
DOG HOUSE CREATION FOR DOOR TRIM :-
Aim-
Create the Dog House for the Door Trim on Class B Surface considering the design rules. Consider the thickness of the part to be 2.5 mm.
Dog House-
Purpose-
- SHINK MARKS- Dog house helps to avoid shink marks. If a thick screw boss or rib needed backside of class A, then it will create shink marks. To solve this dog house creates a thin cross-section according to design standerds on adjoint of Class B Surface and on the top of it any engineering feature could be mounted.
- LONG LENGTH- We can also solve the length factor using a dog house. If we need a screw boss above 60MM of Class B Surface, then we can not simply design a screw boss of that length, because of its less strength. For that case we have to create a dog house first. Then we can create screw boss on top of that.
- PERPENDICULER AXIS- If we need a engineering feature of perpendiculer axis of tooling axis, then we have to create a dog house and inside that we can create screw boss or other engineering feature.
Design Criteria-
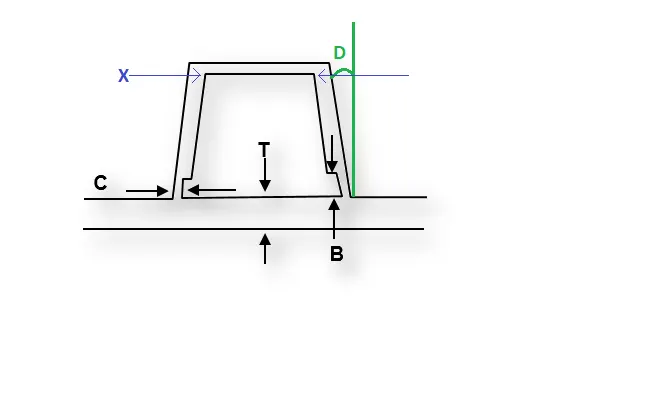
- "C" is where the doghouse contacts the backside of the surface. C`<=`40% of T
- The height of intersection of the part wall "B" should be between 3.0 – 6.0MM.
- Minimum width for dog house "X" is 12MM.
- Minimum draft for dog house is `1.5^circ` to die draw.
Given Class A Surface-
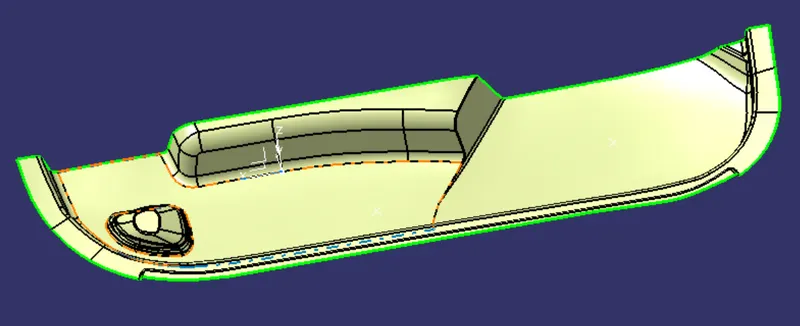
Class B Surface-
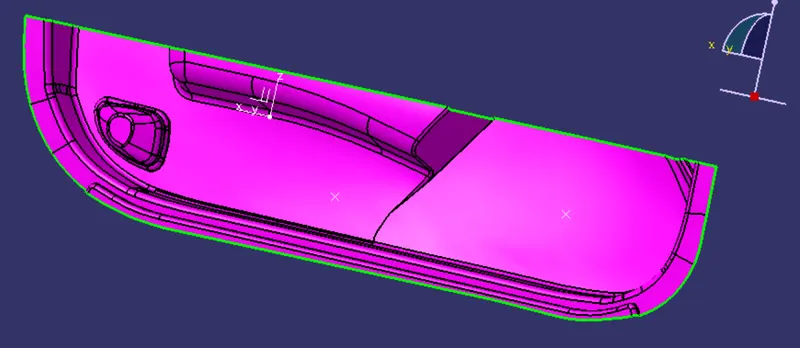
To create class B surface offset the class A with proper direction and distance. Here distance is the thickness of the component. As no given thickness is provided, so we are asuming the thickness value is 2.5MM. Reasult after offseting-
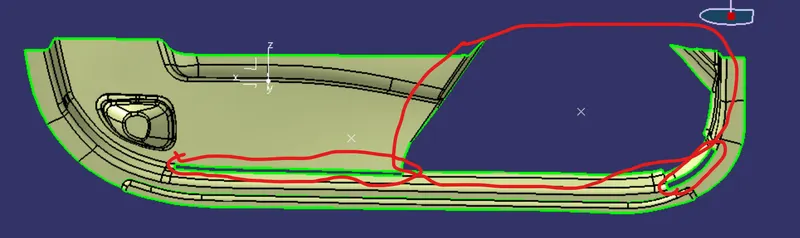
Perticulerly the marked area of the surface not offseted properly. So we will fill that area and the final surface is class B surface.
Class C Surface-
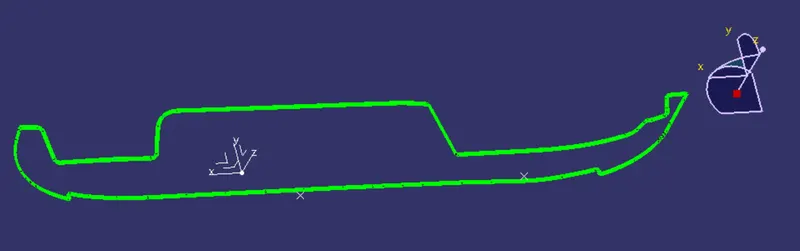
To create class C surface create boundary using class A surface boundary with 'Boundary' command in 5 parts. And use 'Sweep' command to create a surface that is in 90 deg. angle with class A surface. The reasulyent surface will be the class C surface.
Final Closed Surface-
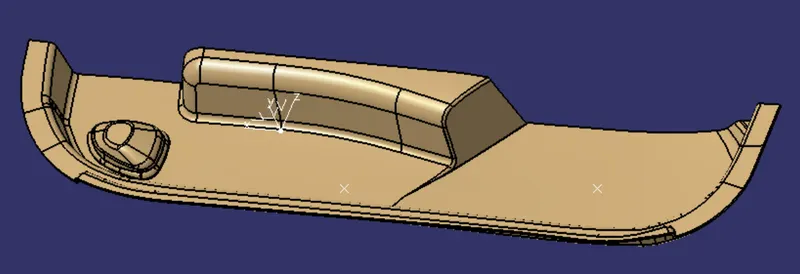
Class C surface trimmed with class B surface properly and joined with class A.
Solid body-
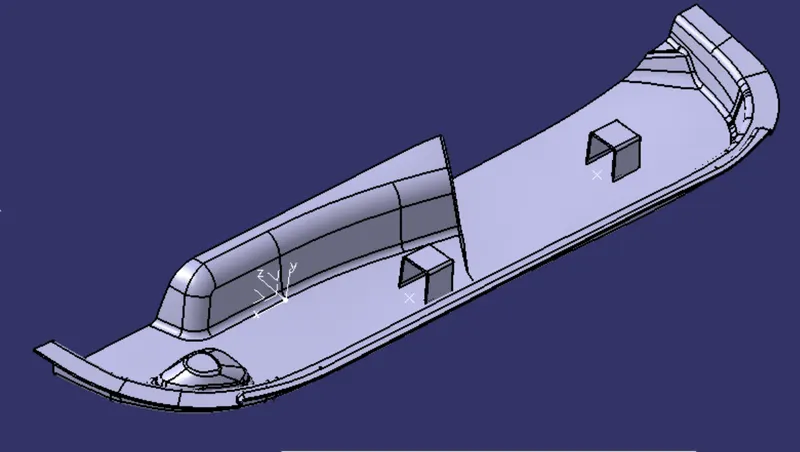
Using 'Closed Surface' command of Part Workbench we have to make make the body solid.
Dog House Creation-
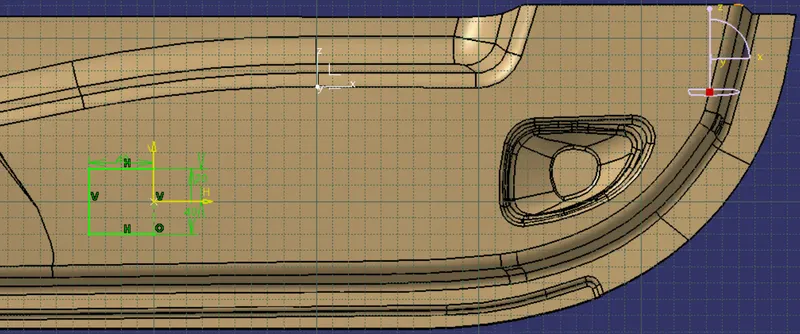
To create a dog house, first we have to chose the location and create a plane there to make the sketch(must be positioned) of it. create a square with one side construction element(open side of dog house). Make sure all sketches are iso-constrained.
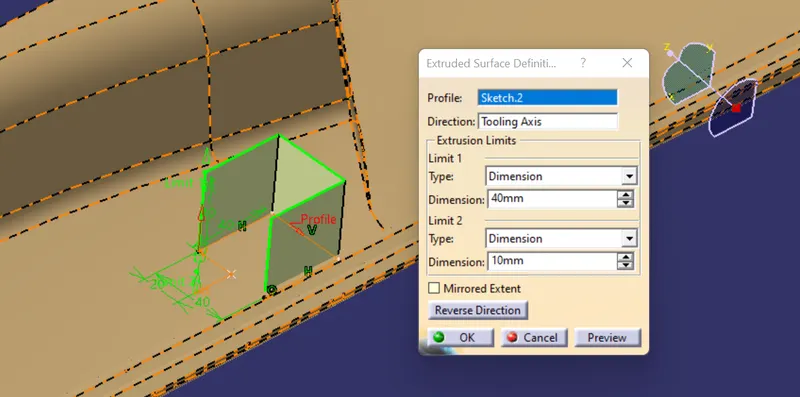
Then extrude that sketch along tooling axis. Here we have extruded 40MM. Make sure that extruded that sketch along downward witrh some MM to avoid any gap inbetween class B surface and dog house doen side. After that close the top with 'Multi section surface' command.
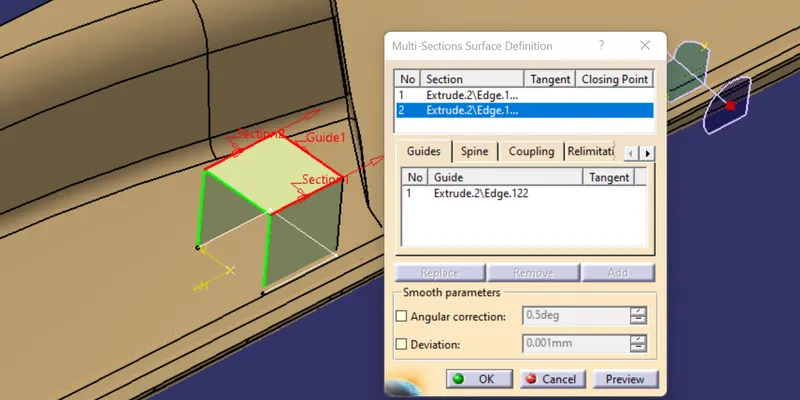
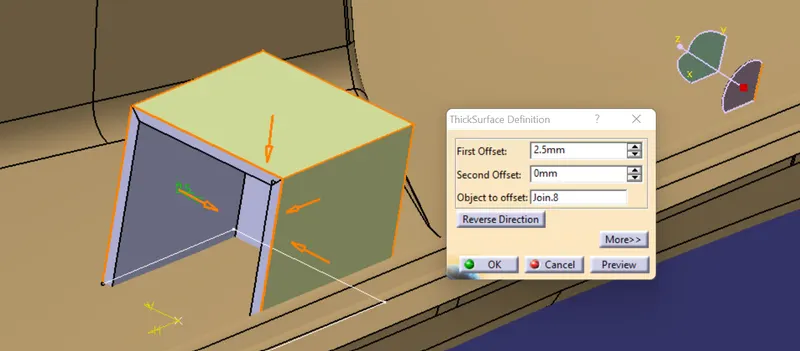
Next we ahve to make solid the dog house usimg 'thick surface' command. here we will thicken the part of 2.5MM.
Now we will give draft of `1.6^circ` to all outer surfaces to cleare the draft analysis along tooling direction.
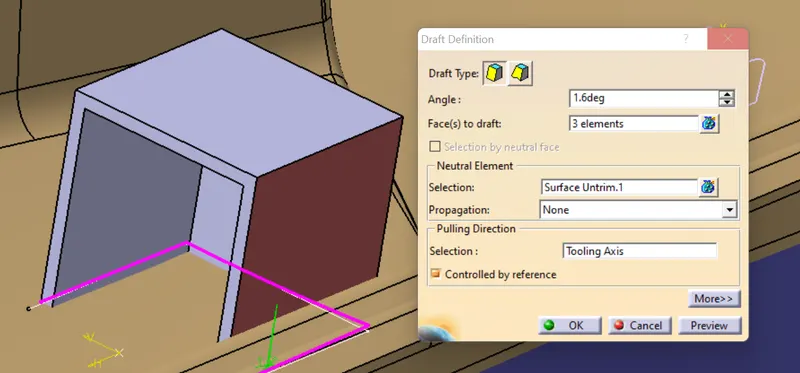
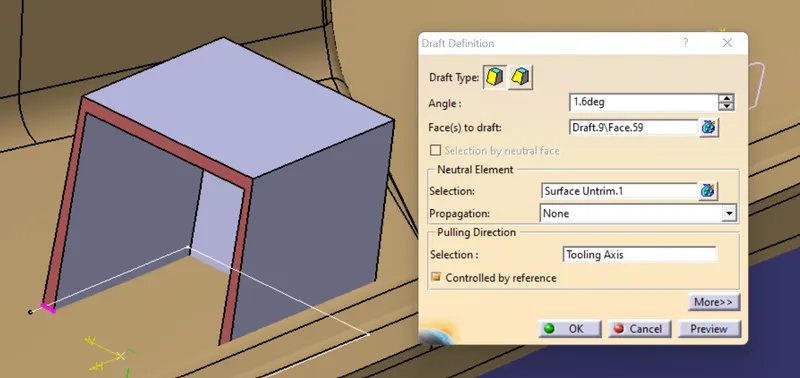
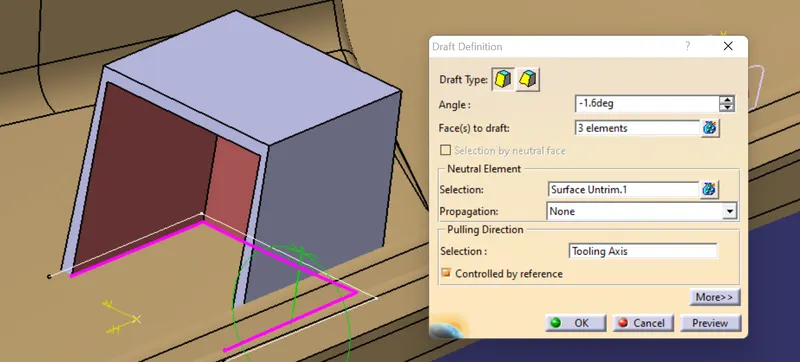
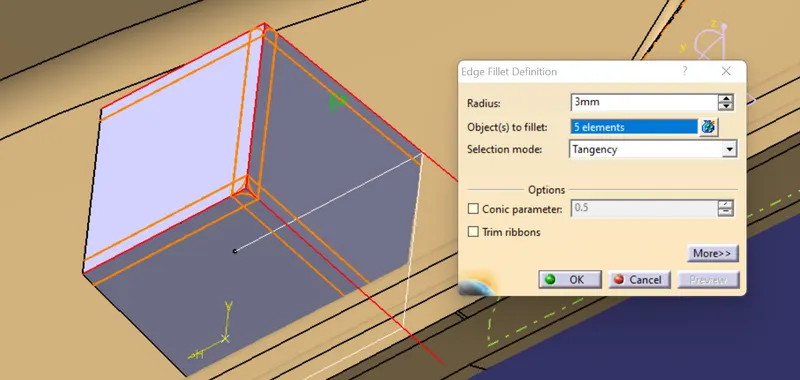
Next we will give all 5 edges a fillet of 3MM.
Now dog house will cleare the draft angle of 1.5degree along tooling axis. But will not cleare the inside. So a seperate side core will be used to make the inside of dog house properly. For that we have to create a side core tooling axis, that will be along the perpendiculer direction of inside back wall. In this model the direction will be along posivtive X direction.
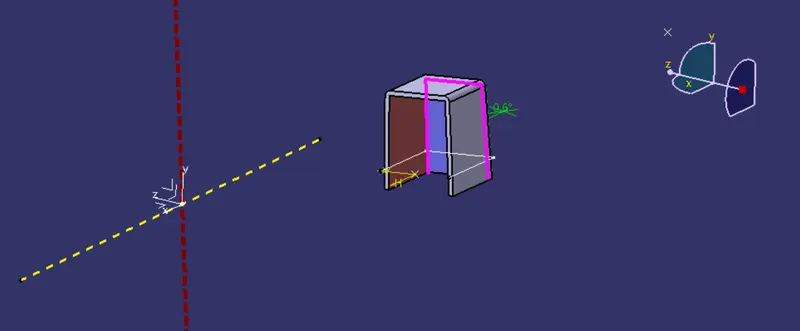
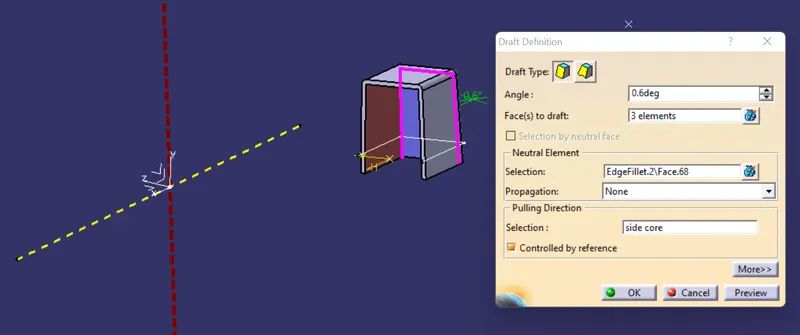
Now we will give draft of minimum 0.5degree of all inside wall using inside back wall as nutral axis.
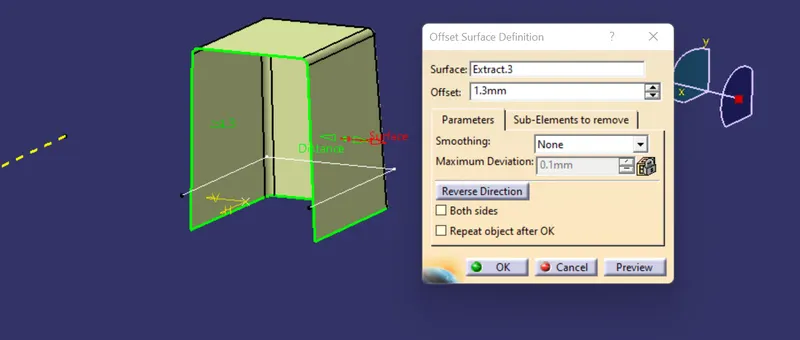
Now we have to create the crossection part attached with class B surface. To create that part first we will extract all the inside surfaces and offset that by 1.3MM outward to make the wall thickness 40% of base thickness, that is (40% X 2.5MM)= 1.2MM. Next we will extract inside top wall and extrapolet that by some MM and offset that downward by some mm to make crossection height inbetween 3 to 6MM.
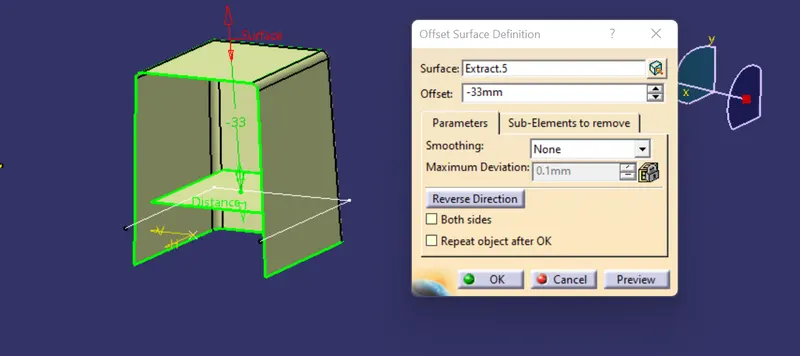
Now we will both offseted surfaces and split dog house solid with that trimed surface.
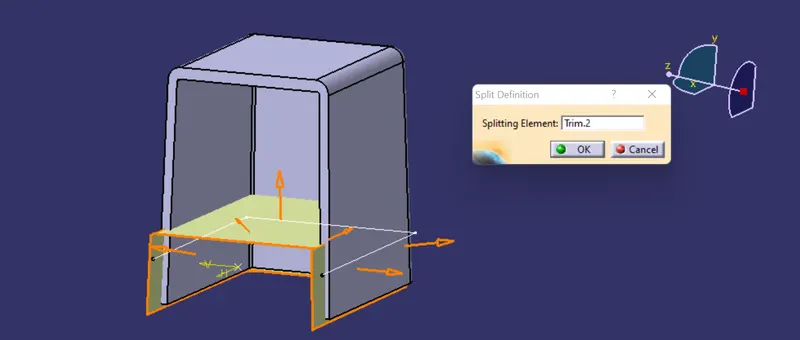
after split the solid we will give fillet to all required edges of 0.5MM and have to 'union trim' with main solid body.
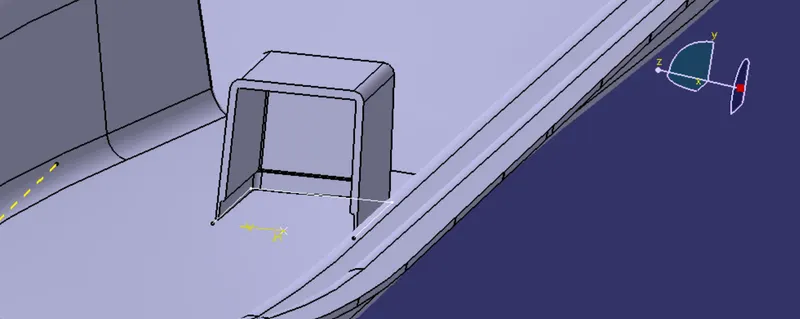
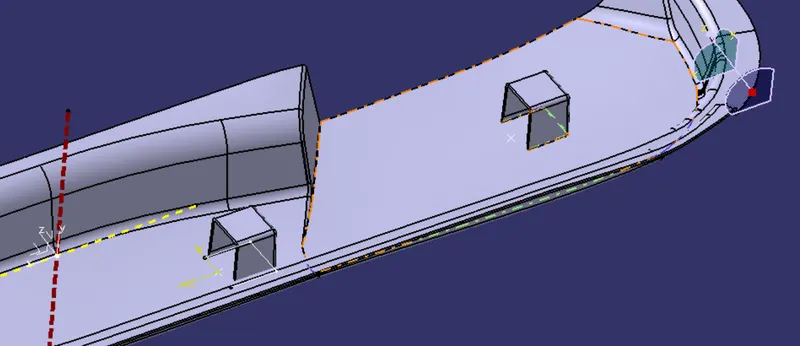
To create another dog house we will copy the first dog house and will 'special pest' that. Then transtlate that to certain area.
Draft Analysis-
Tooling Axis-
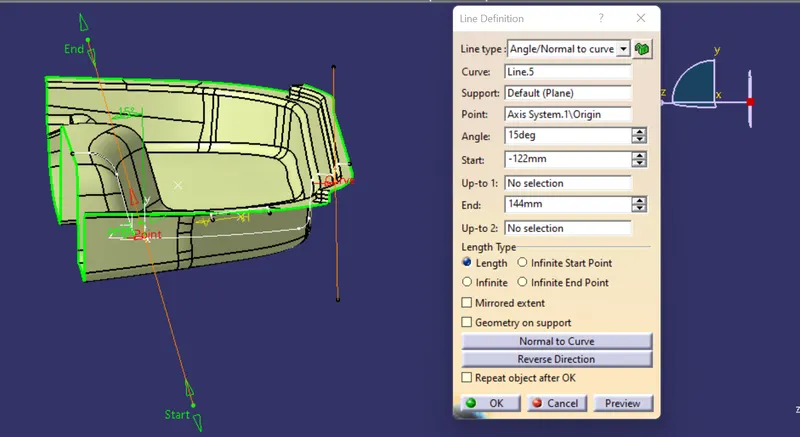
To create the tooling axis concerned planes and surfaces have to consider. Create lines along concerned surfaces and make bisected line. If required create angled line. And make final bisected line with all surfaces bisected lines. That will be the final tooling axis.
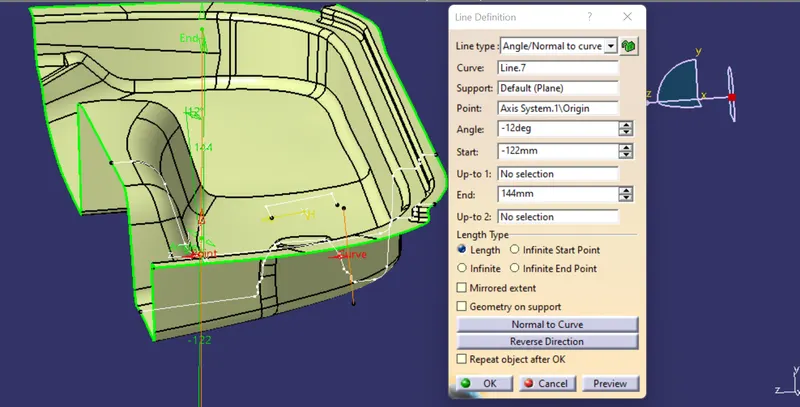
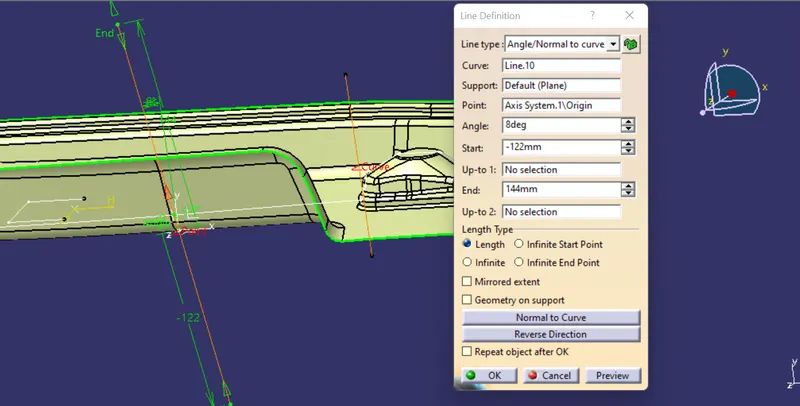
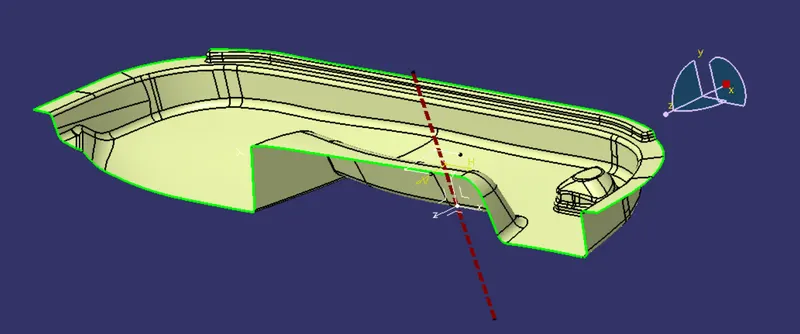
Class A Surface Draft Analysis-
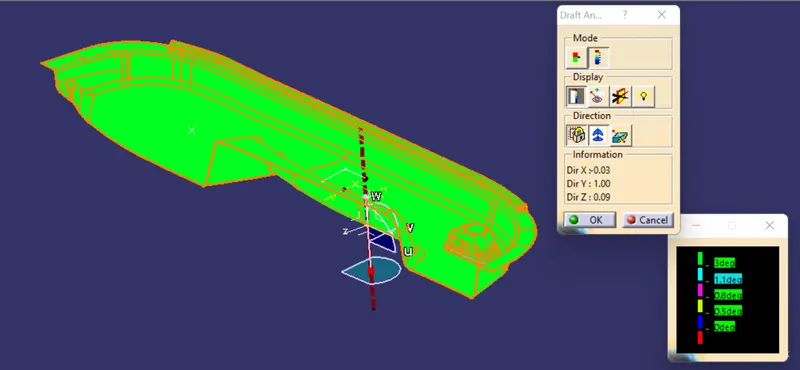
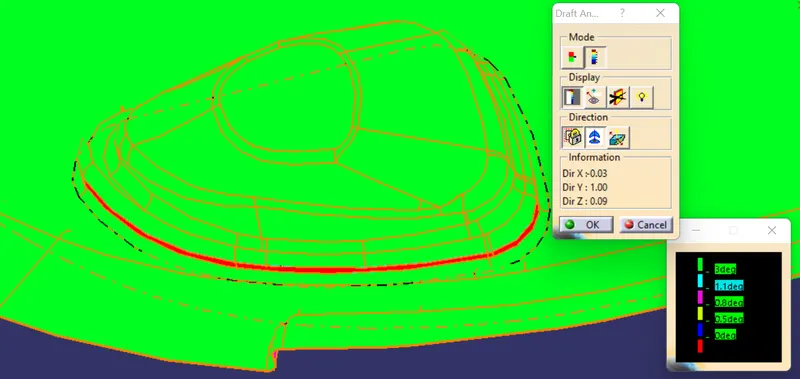
Except that perticuler small surface all other surfaces are clearing the draft analysis. So for that we have to inform the esthetic surface modeling team to make correction to that perticuler surface.
Solid Body Draft Analysis-
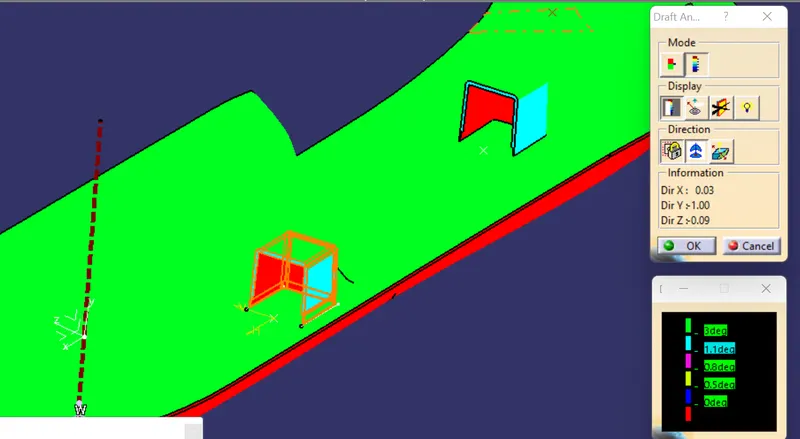
So we can see that the solid body is also clearing the draft analysis including dog house.
Side Core Draft Analysis-
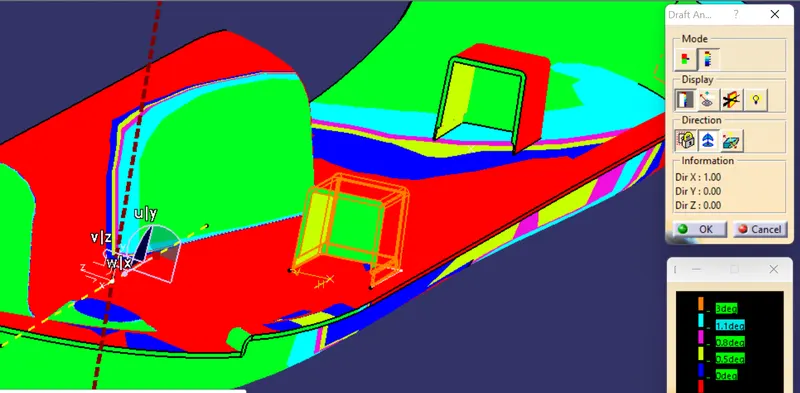
So the side core surfaces of dog house are also clearing the draft angle of 0.5degree.
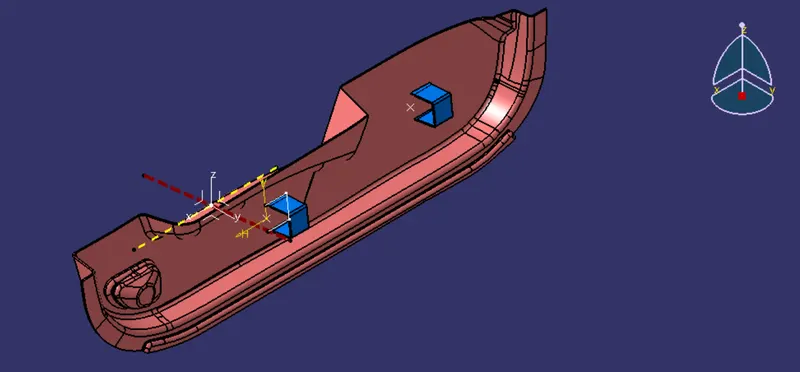
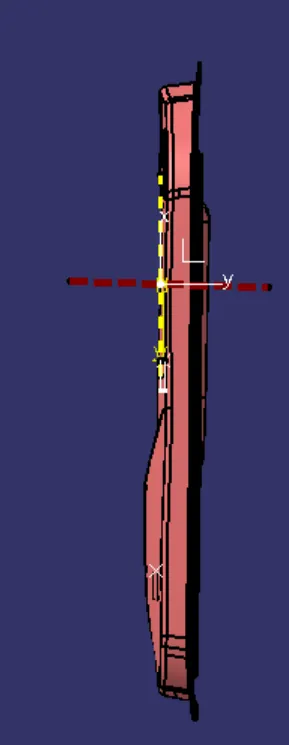
Views of Final Model-
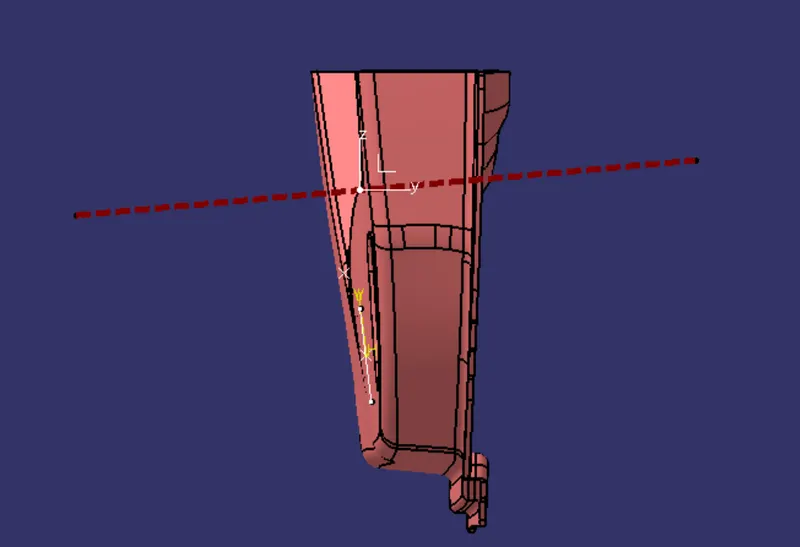
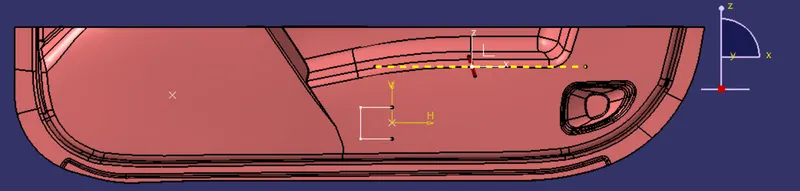
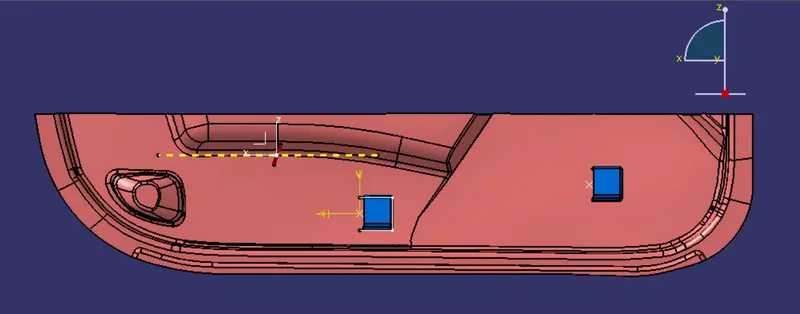
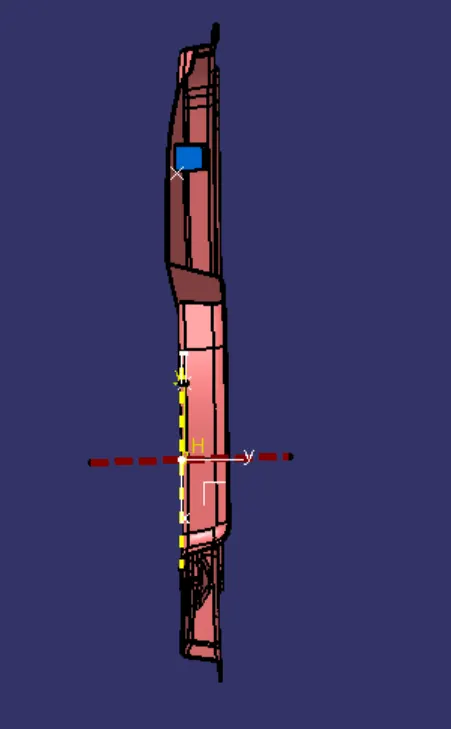
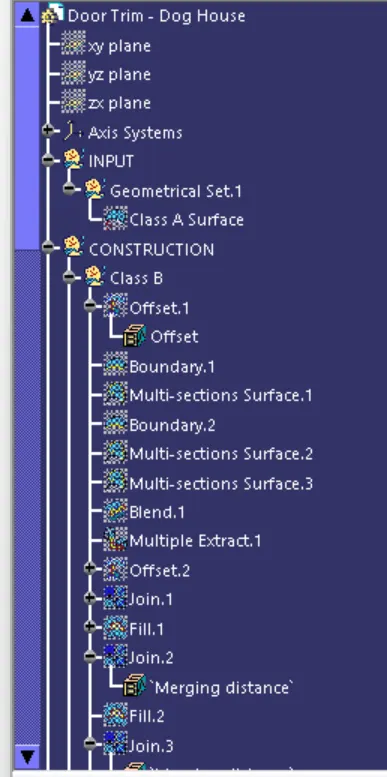
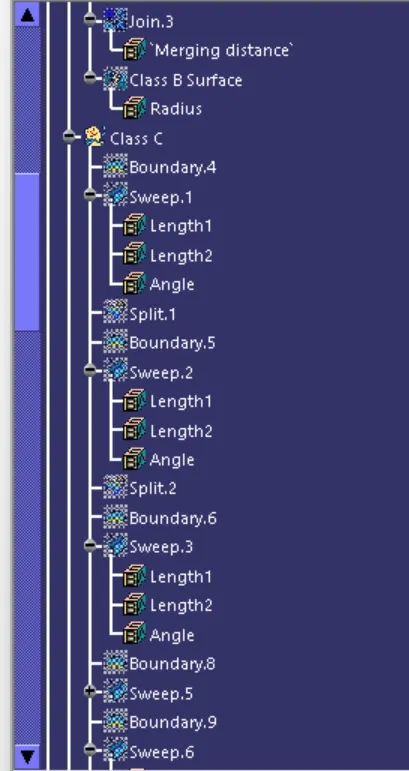
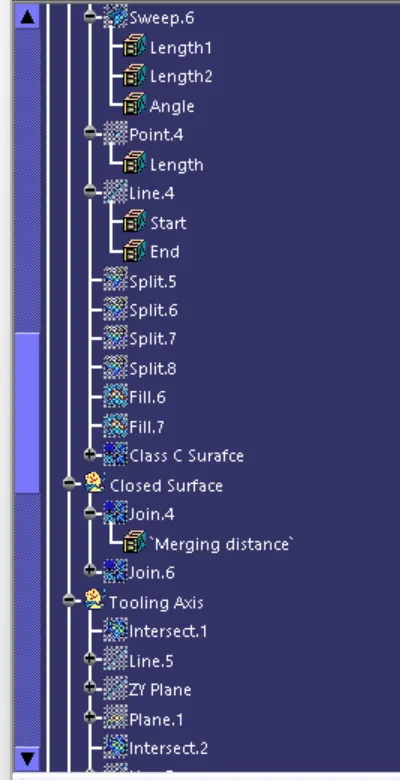
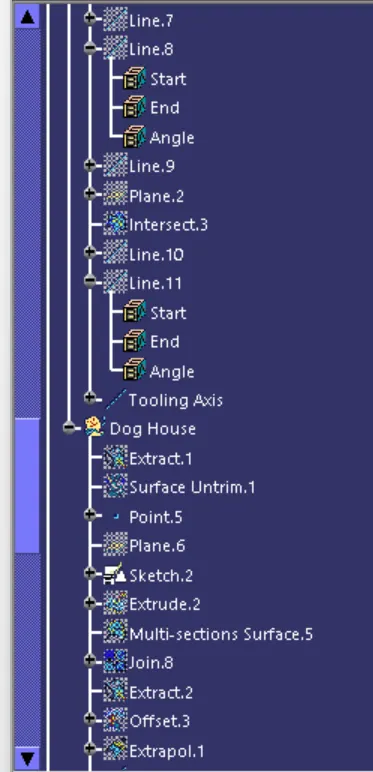
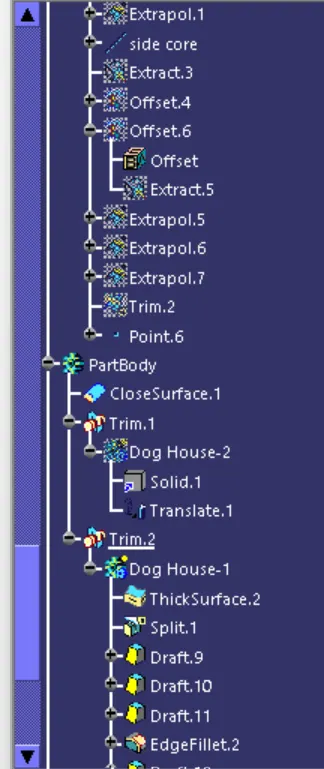
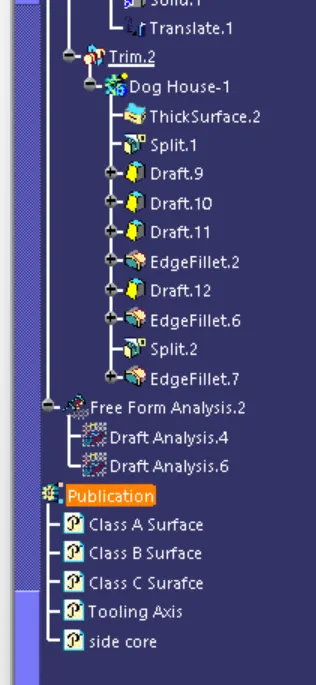
Tree structure of geometrical sets-
Publications-