Fender Design Challenge
FRONT FENDER DESIGN:
Introduction-
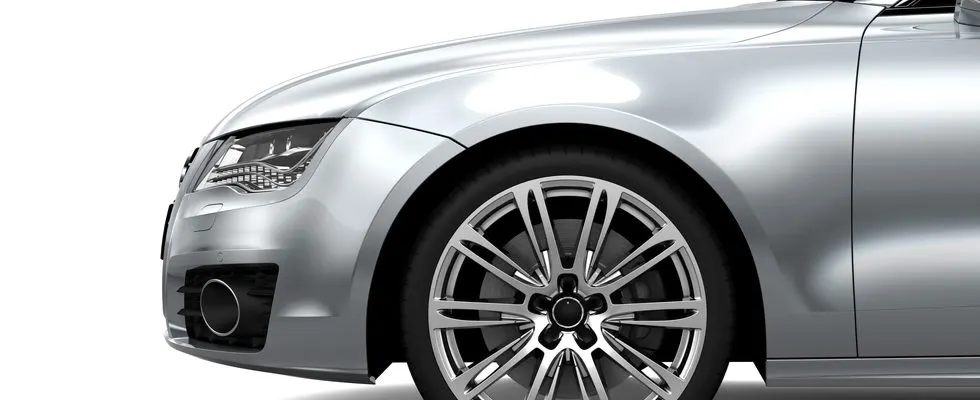
Fender is a front outer side member of a car which covers the wheel side. Fender purpose is to prevent sand, mud, rocks, liquids and other particles. The major role of the fender is to avoid the chipping inside the engine compartment. During the motion the wheel picks a sand mud and small stone particles and throws it inside the car and these fenders will be helpful in preventing them by hitting inside the engine compartment and car body. These fenders will have a plastic part which lies on wheel arch area. The fender plays a major role to avoid problems for pedestrian also. Fender are typically rigid and can be damaged by contact with the road surface. It is often also called as Mudguard.
Types Of Fender-
In respect to mounting position, two types of fender are there
- Front Fender
- Rear Fender
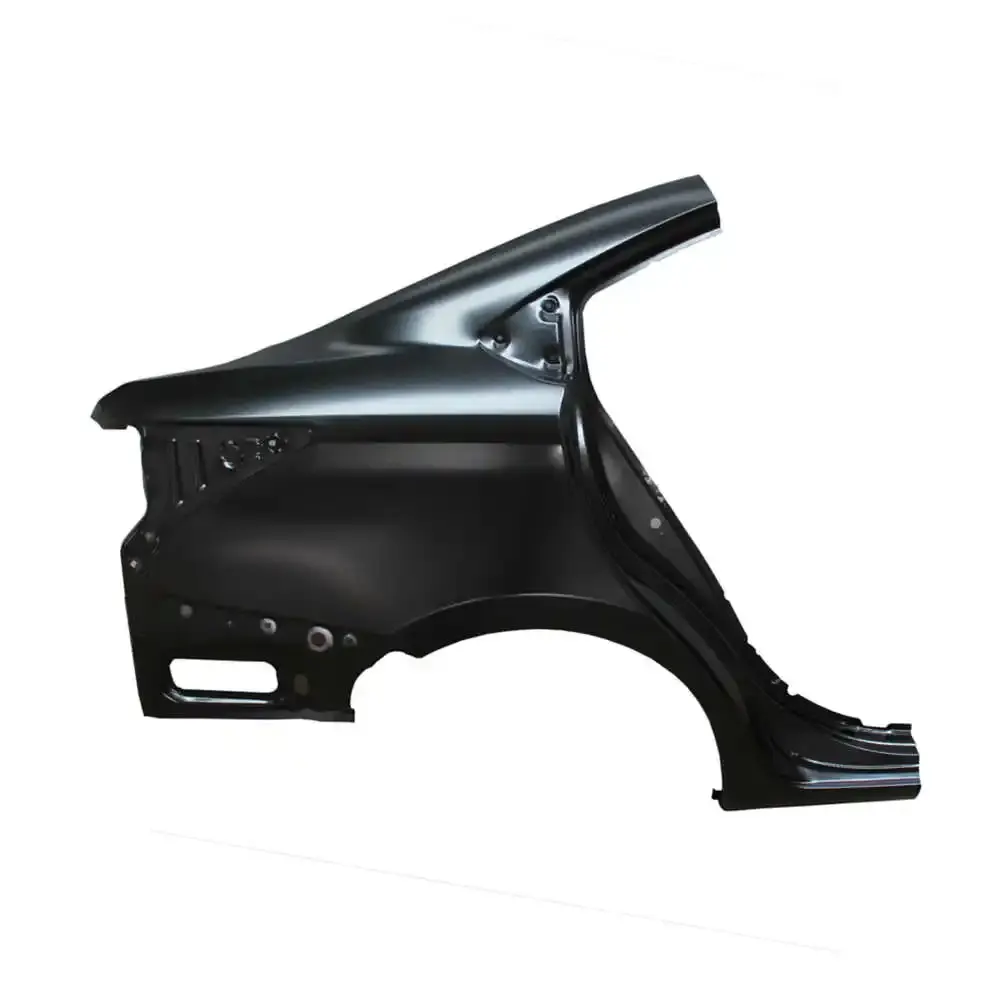
In respect to design, two types of fender are there
- Full Bumper Type
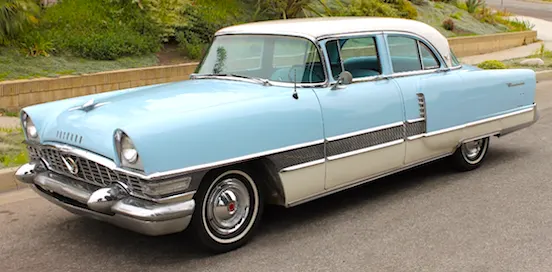
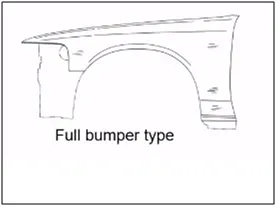
- Half Bumper Type
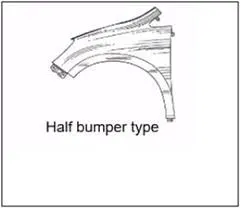
Importance of Fender-
- Car fenders limit the exposure of your car’s body and engine to external elements that are harmful.
- Fenders flares are attached to ensure that both the body and engine have minimal contact with corrosive elements.
- Car fenders provide safety to the driver and the passengers at the time of accidents or collisions. They are manufactured in a way to provide bend during front and side collisions.
- Car fenders are designed to avoid wind resistance and make your car more aerodynamic.
- Car fenders enhance the overall look of your car. Fender flares are available in distinctive designs in the market. Mostly you find universal fender flares, but you can get customized cars fenders to fit your car wheels.
Design Criteria-
Generally 5 number of mounting areas are there-
- Bumper mounting
- Sill mounting
- A-piller mountong
- Drip mounting
- Baffle mounting
2 more mounting areas may be there- 1)Body mounting, 2)Cowl mounting. Everything will depend on car design and modification. In our project we will have only above 5 mounting areas.
we have to also consider some factors-
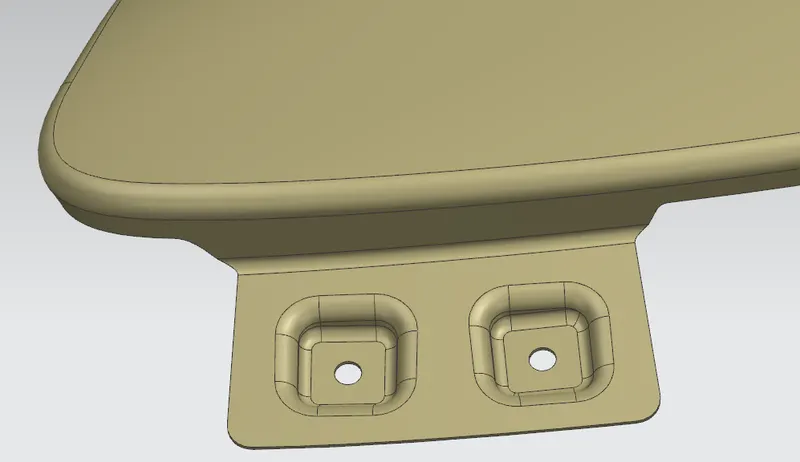
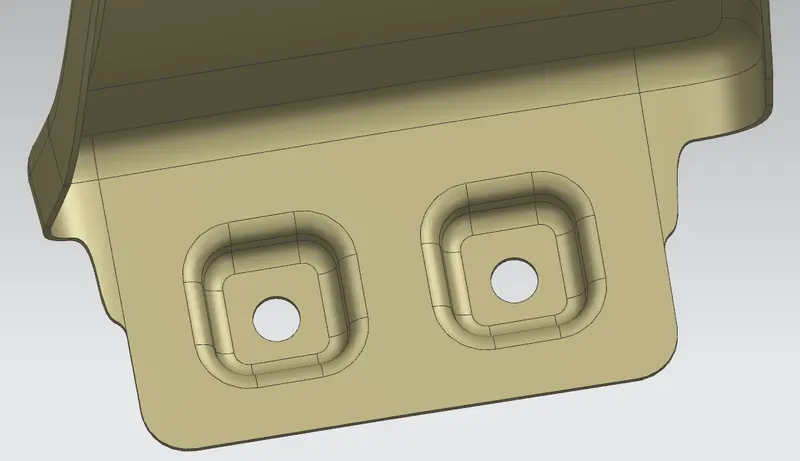
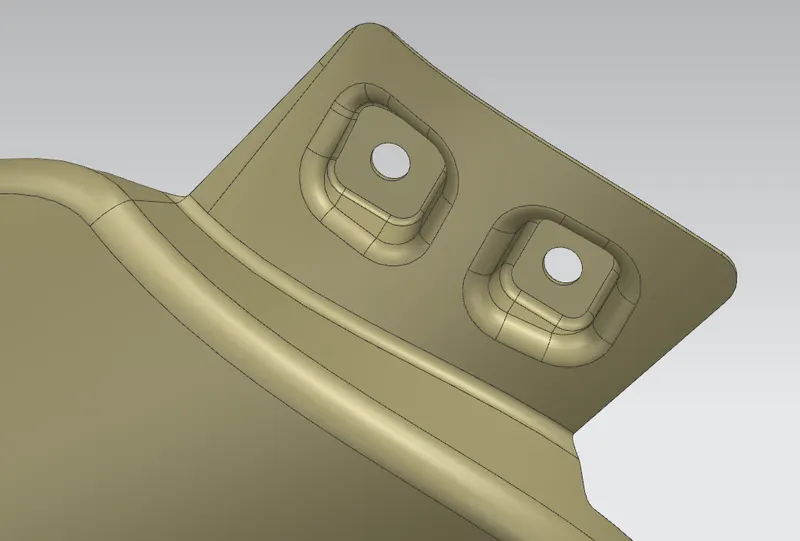
- Embosses must be provided in some mounting areas to increase the strength.
- Smooth curves have to designe for easy manufacturing of panel.
- Ribs will be provided to drip mount area to give structual support and extra strengh.
- Have to maintain extra 5mm around the fastner holes for proper placing of fastner and accessories.
- All fillets should maintain 2 or 3mm radius in most regions.
- Thickness of fender is 0.75mm.
- End cap of all embosses must be flat.
Master section-
Skin Data-
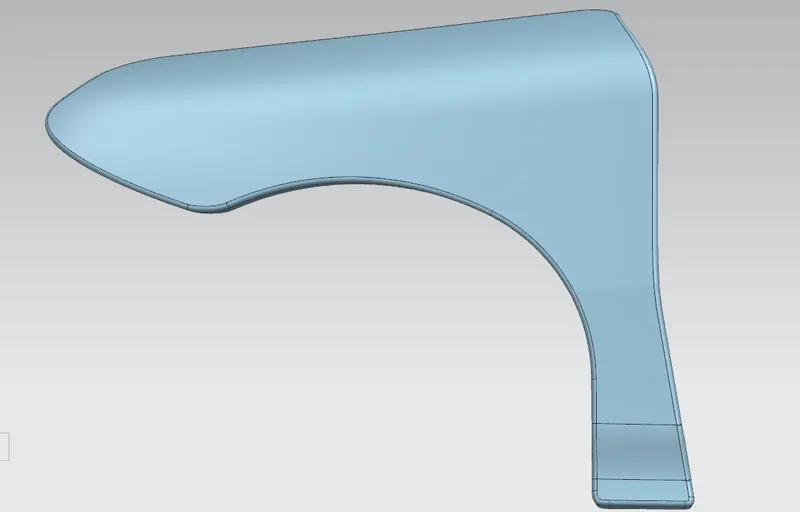
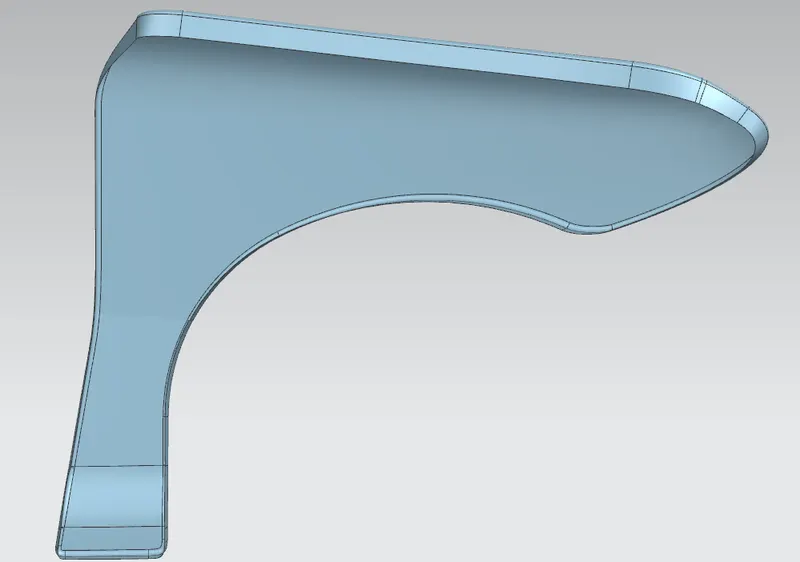
DRIP MOUNTING AREA-
It is the area through which the Fender is attached to engine housing through fasteners. There shold be some consideration followed to design the drip area, from back side of the fender there should be 200mm clearence for cowl mounting area and from the front there should be 150mm clearence for the head lamp housing unit. Embosses are provided to increase strength, corners of the flanges are smoothen to ease of the production. Uniform wall thickness of 0.75mm. To make invisible all the engine components from out side, inetial angle is 3 degree and after that 5 degree of angle fillowing a lengthof 8 mm. As per master section depth of drip area will be less or equal to 40 mm.
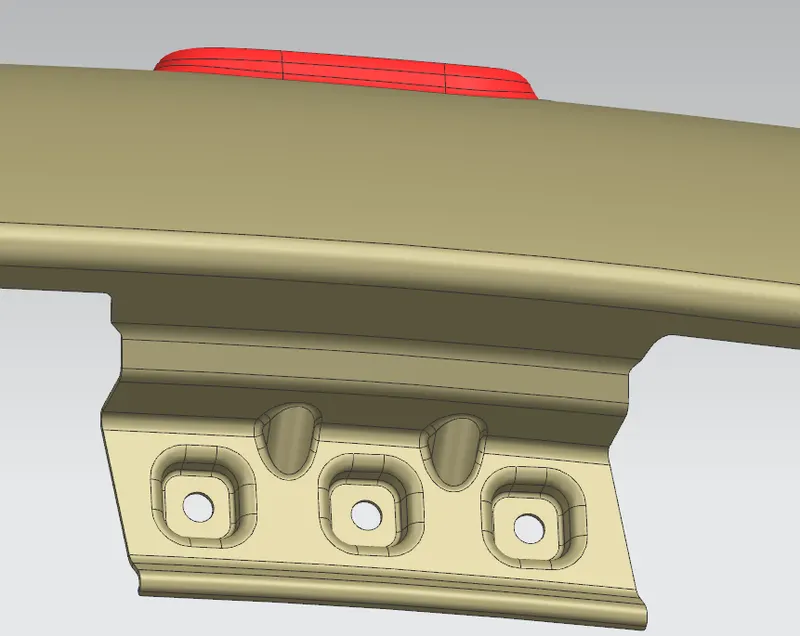
BUMPER MOUNTING AREA-
In this region car bumper mounted with fender part. In the time of collision a large amount of force will be transferred through this mounting region. So it have that much rigidity.
BAFFLE MOUNTING AREA-
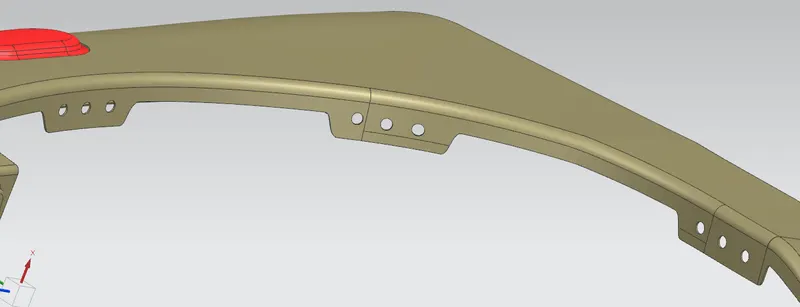
In this wheel arch section plastic baffle mounted with fender part. No emboss are needed for this area, because baffle mounting done with push pins. So pin holes are created there without emboss.
SILL MOUNTING AREA-
In this area car door sill part mounted with fender. Here proper embossing is needed for fastner mounting area.
A-PILLAR MOUNTING AREA-
Through this mounting fender is connected with A-Pillar of the car. Here also proper embossing needed for fastner. This mounting will be covered with side view mirrors.
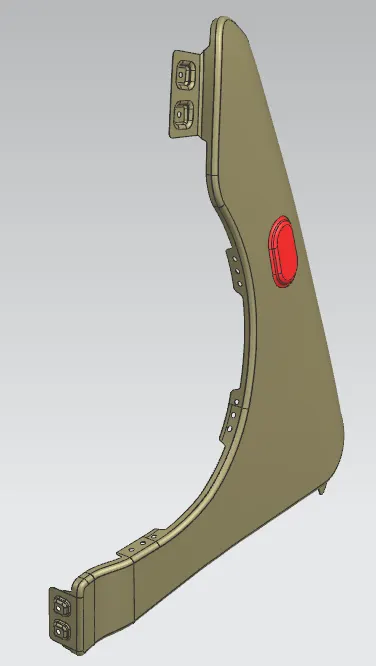
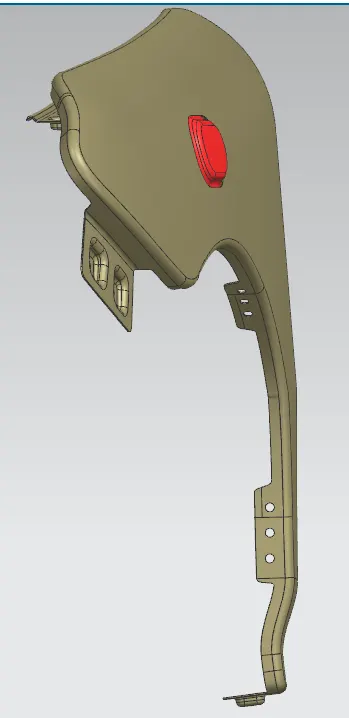
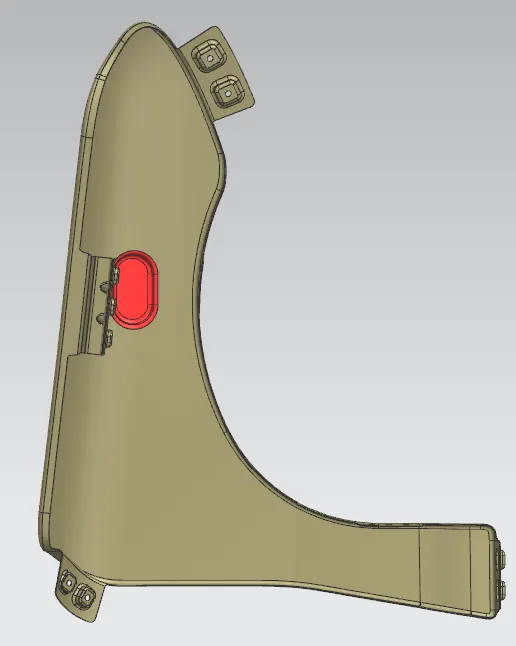
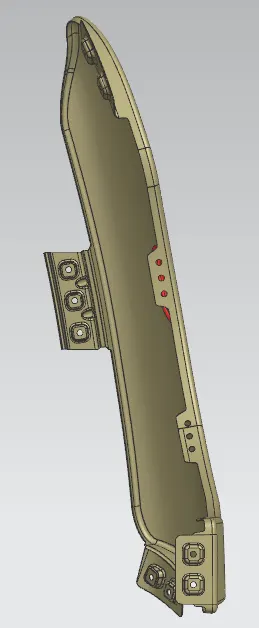
Some views of this project are given below-
Isometric View:
Top View:
Left Side View:
Front View:
Right Side View:
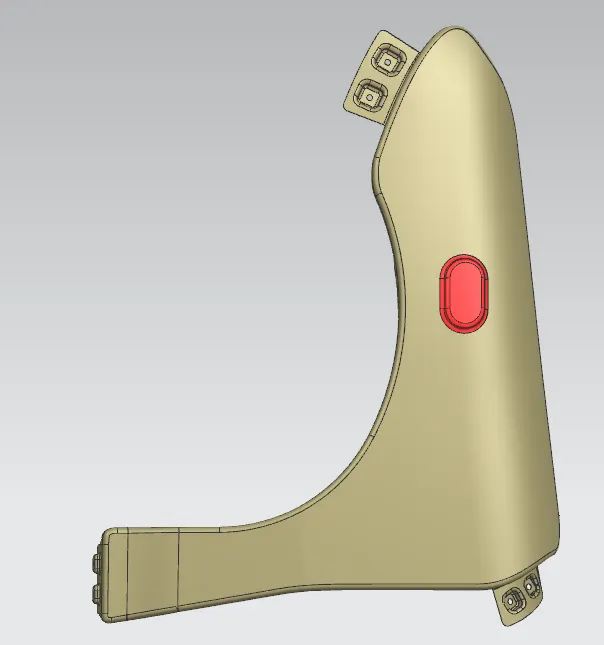
Bottom View:
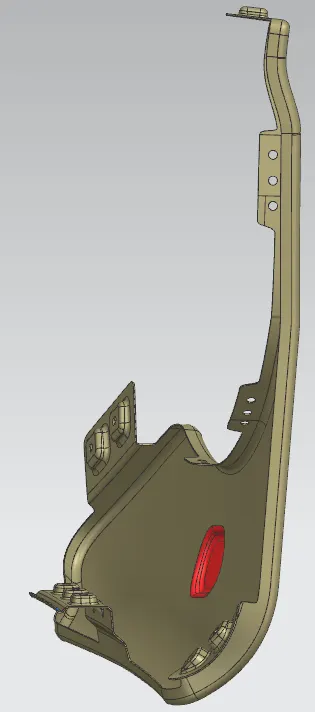
Rear View:
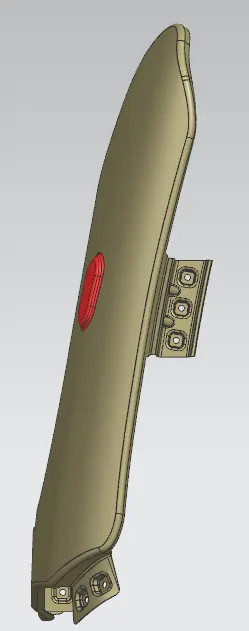
We have added a indicator here that is red in color.
Model files-
https://drive.google.com/file/d/1RL15saWclf4yYjH0lANdURiC6LtQ9dgD/view?usp=sharing
https://drive.google.com/file/d/1QkfT7l-LC9MJqtE6dYZDf0wFE2nGjSRQ/view?usp=sharing