Week 8 - Challenge 2 - Switch Bezel Design
SWITCH BEZEL DESIGN :-
Aim-
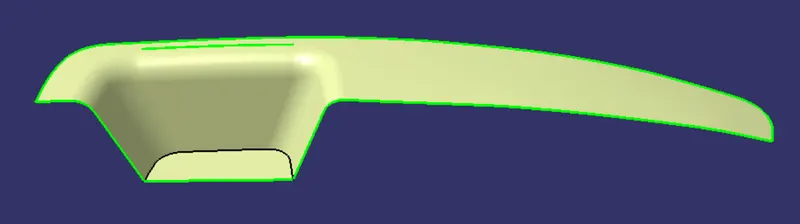
Create the Switch Bezel Plastic component through the given Class-A surface. To begin with, the tooling axis for the given Class-A Surface should be created meeting the requirements of the draft angle and at the end perform the Draft analysis on the model. Thickness of the component is 2.5 mm.
Given Class A Surface-
Tooling Axis-
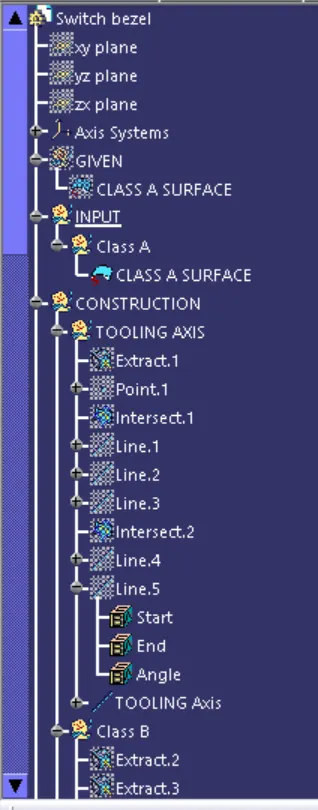
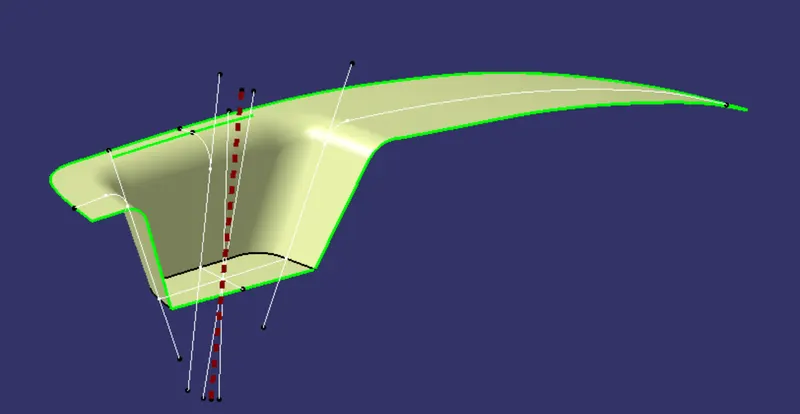
Create a intersection along Y direction. then create two line along side wall. After that create a bisecting line using that two line.
Create another intersection along X direction. then create a line along that one wall. After that create a line of 4 deg. with that line.
Then using previus bisecting line of Y axis and angled line of X axis, create another bisecting line and tht will be the tooling axis.
Class B Surface-
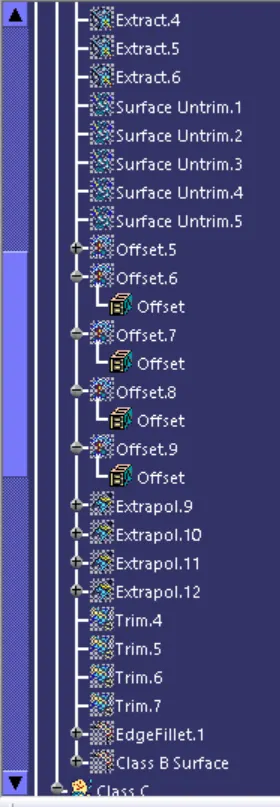
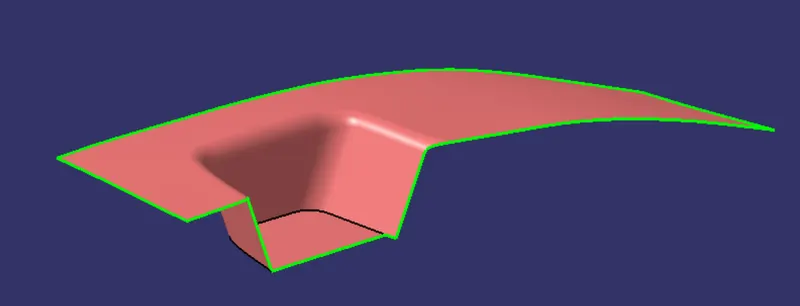
Class B usually the surface where all engineering aspects and support creations are done. The B surface Creation is performed using surface operations in CATIA which is an offset from Class A with dimension proportional to the thickness of the part. In Switch bezel the B surface is offset 2.5mm from the input which is the thickness of the part. The B surface is an extrapolated surface compared to A surface and forms the bottom skin of the part.
Class C Surface-
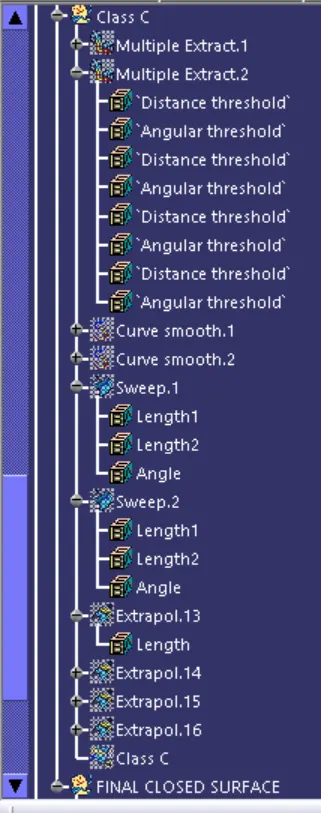
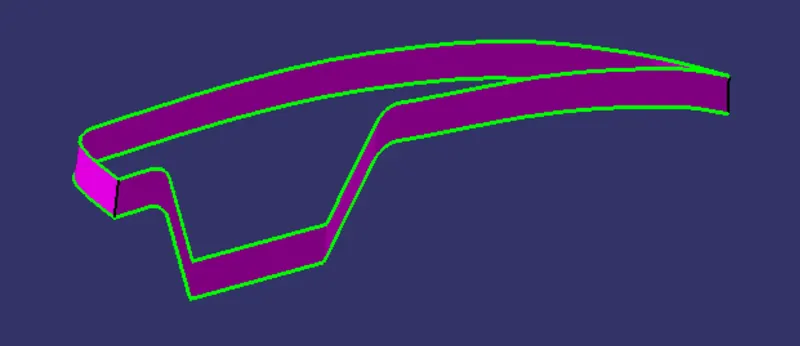
C surface which is an intermediate surface between A and B and is used to give the closed surface appearance to the design. The C Surface is swept using the profile as boundary line of Class A which is the Guide curve with a subtype along draft direction. The Direction of the sweep is the tooling direction formed earlier. The draft angle for the sweep operation is provided which is 3 Degree and surface is swept for length above the thickness of the specified part. The C surface is refined using smooth Curve options to remove the complexity and patches along the swept surface. Finally the Class A and Class C surfaces are joined together and connexity of surfaces should be less than 0.003mm and the surfaces are merged.
Closed Body Creation-
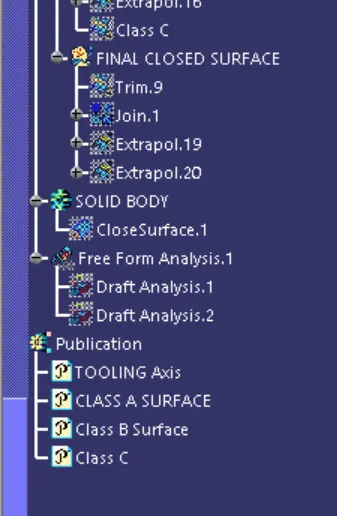
All 3 surface are trimed properly and joined togather. Check if there is any open edge, then close that. After that using 'Closed Surface' command make tht solid. And ensure closed body formed in a part body.
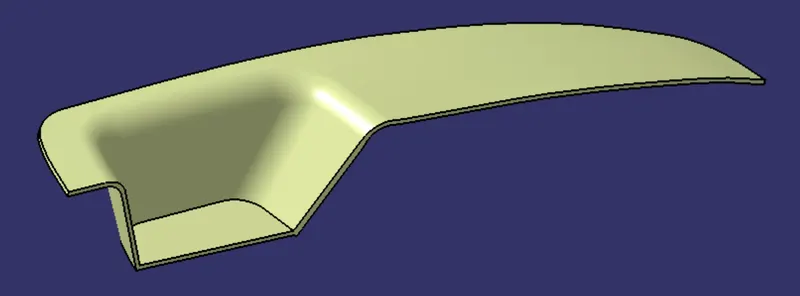
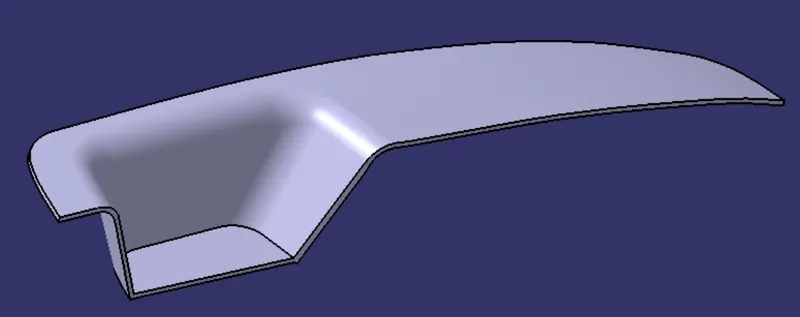
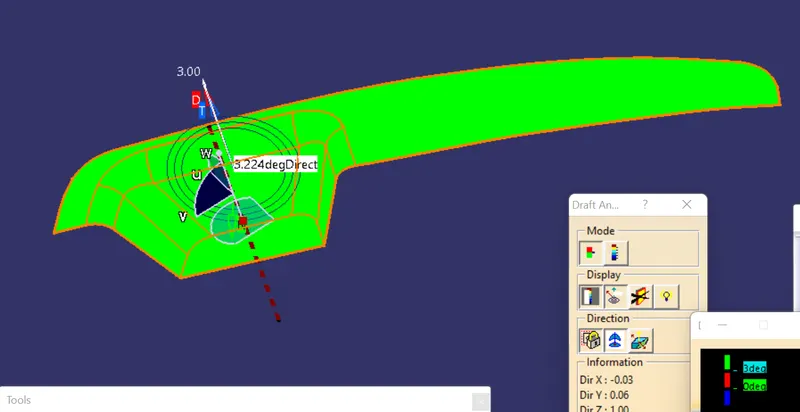
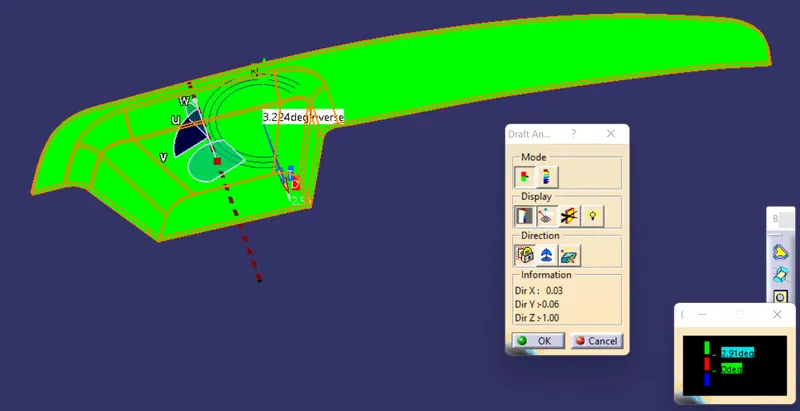
Draft Analysis- The part created has to be changed to material mode in display frame. Then by enabling compass definition the axis system is pan along the direction of the part and aligned in line with the tooling direction. Lock Direction is applied that fixes the compass and then the mode dialog box is formed by snapping at any point on the part. The Color Codes are classified and Draft Angle are applied. Then the Running point analysis is used to hover around the part to analyze the permissible draft angles and the analysis is saved.
Class A Surface-
Solid Body-
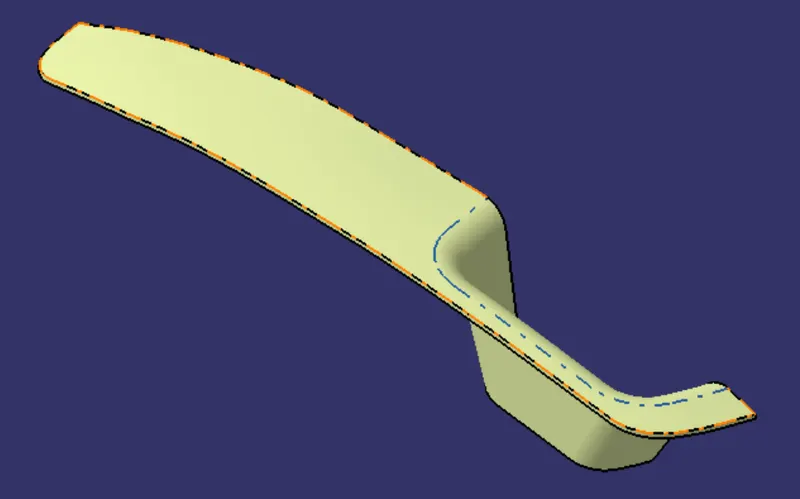
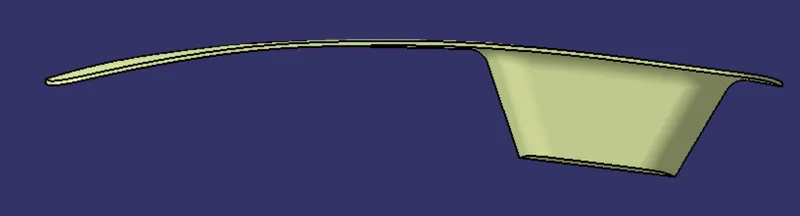
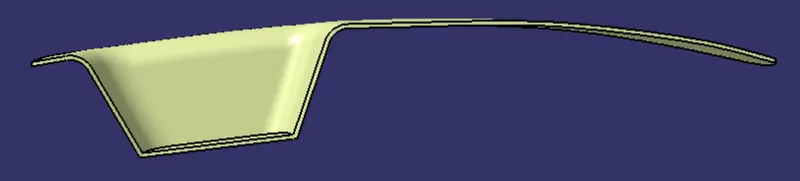
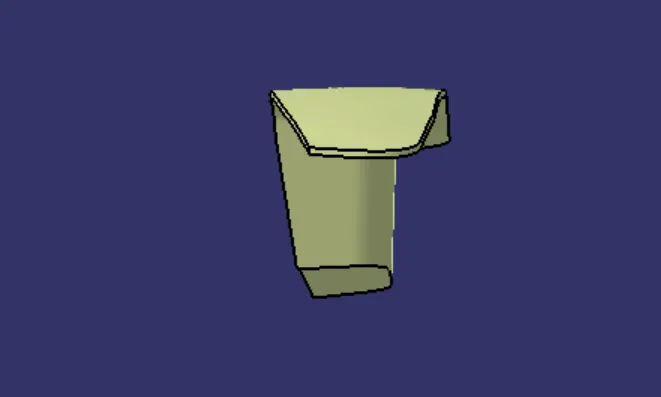
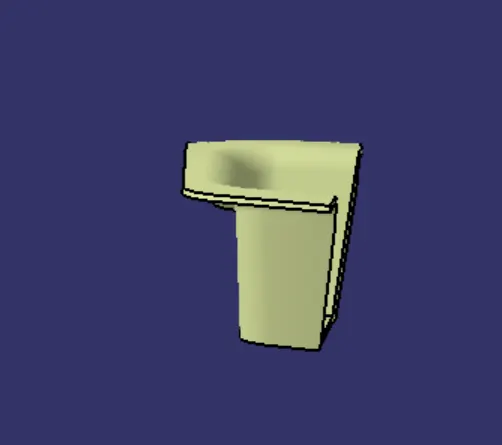
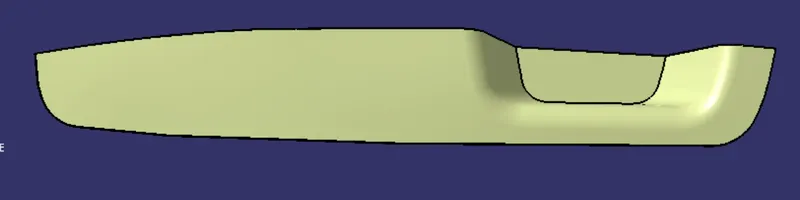
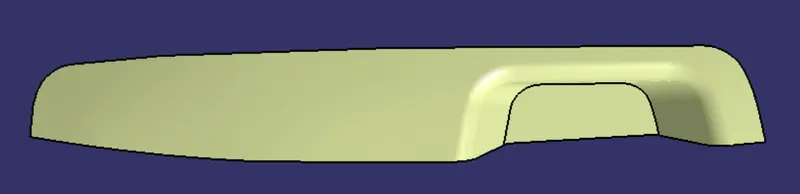
Views of final model-
Publications:
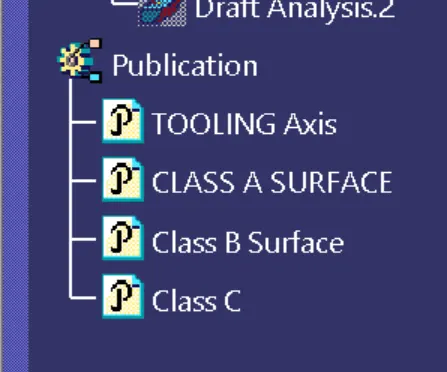
Tree Structure of Geometrical Sets-