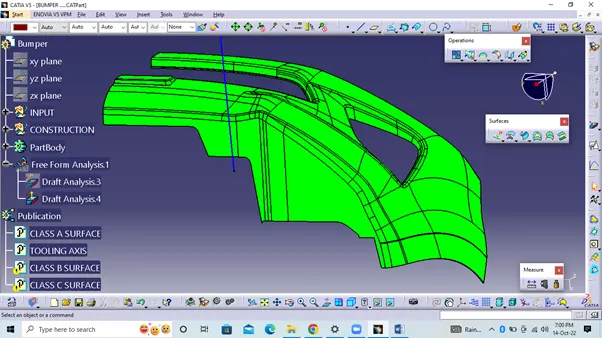
Week 8 - Challenge 4 - Bumper
Tooling axis-
The tooling axis of the product tells us the direction of movement where the part is being produced effectively.
There are Some advantages if we follow the effective tooling axis like
The side cores and other things can be reduced.
The tooling axis is not restricted to a particular direction. It can be produced in that direction where the product can be produced easily.
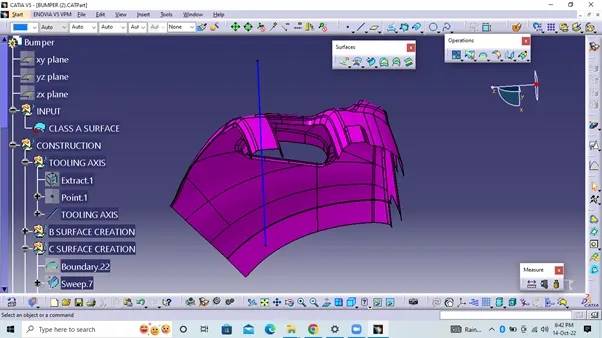
Draft analysis- The Draft analysis is performed based on colour ranges identifying zones on the analyzed element where the deviation from the draft direction at any point, corresponds to specified values. Here I am taking the draft angle 0 to 3 degree.
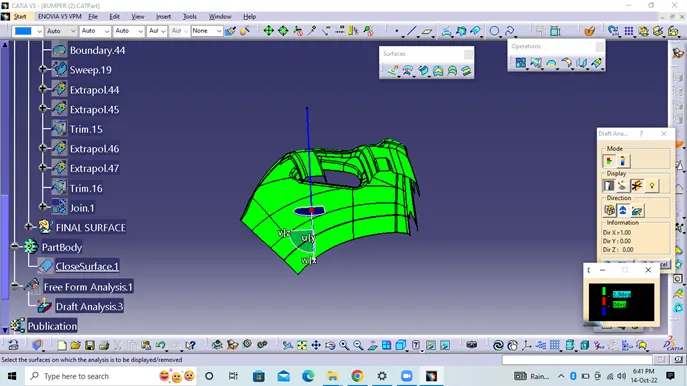
For perform the draft analysis we need to create a Tooling axis and the part should be in the material mode. Then after we will open the draft analysis tool from analysis toolbar. After that we will click on the compass and will keep on the tooling axis and lock it by click on the lock command. And we click on the part then we can see the analysis by blowing the colour in part. I have some result here which is given below.
Class B Surface:-
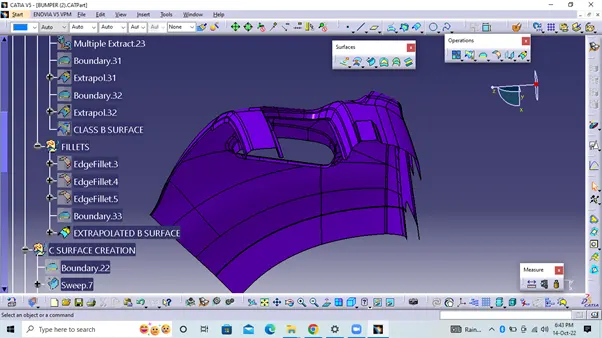
We divided the whole model into base, side walls, inner side walls and outer flange and worked on them one by one
We follow the same procedure everywhere, i.e. extract, clip, extrapolate, crop and offset.First the base, then the side walls. To avoid confusion, we clipped the two together to make one. Fillet was also given.
Class C Surface:-
In this model, unlike the previous models, we used a parallel axis of the tool. That's why we can't use the "with drag direction" option under sweep.
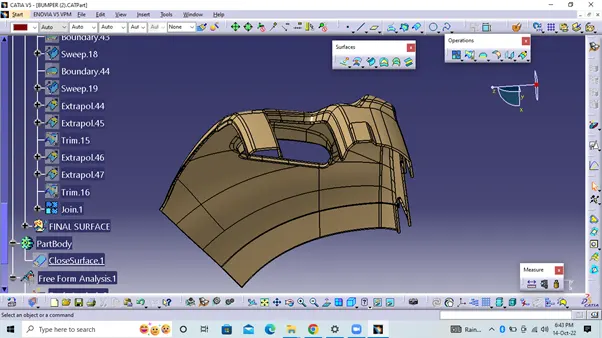
Close Surface:-
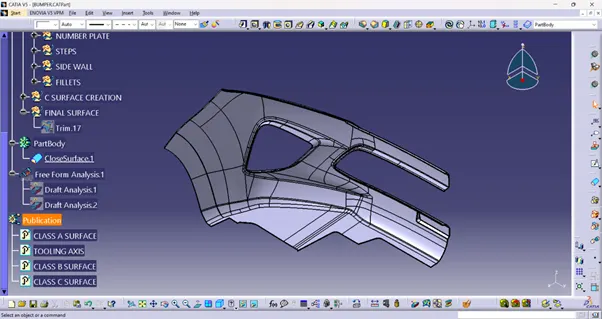
FRONT VIEW-
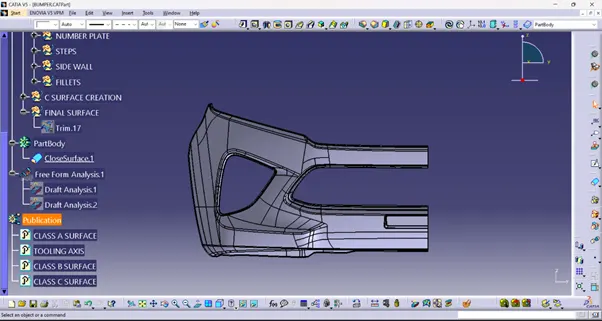
SIDE VIEW-
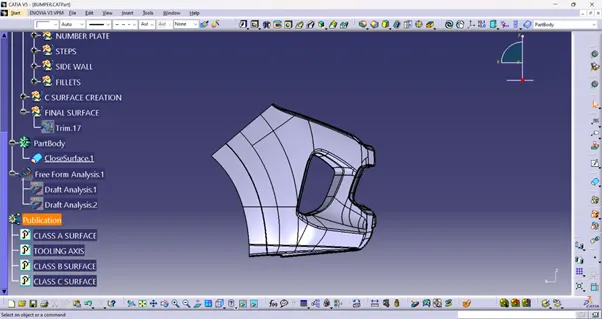
TOP VIEW-
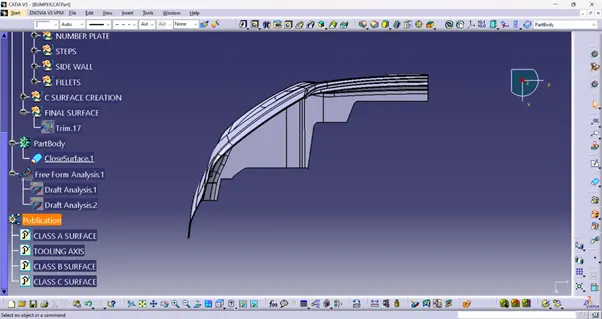
Close Surface Draft Analysis:-