Project 1 - 2D meshing on the instrumental Panel
Aim :
For the given component, check for the geometrical errors and mesh with the given element Quality criteria. After meshing the component the thickness has to be assigned.
Write a detailed report on your meshing process and also mention which method you used to extract the mid-surface along with the reason.
|
S.No |
Quality Criteria |
Value |
|
1 |
Target/Average length |
4 |
|
2 |
Minimum Length |
2 |
|
3 |
Maximum Length |
6 |
|
4 |
Aspect |
3 |
|
5 |
Warpage |
15 |
|
6 |
Skewness |
45 |
|
7 |
Jacobian |
0.7 |
|
8 |
Minimum Quad Angle |
45 |
|
9 |
Maximum Quad Angle |
135 |
|
10 |
Minimum Tria Angle |
30 |
|
11 |
Maximum Tria Angle |
120 |
|
10 |
Tria Percentage |
15 |
Solution:
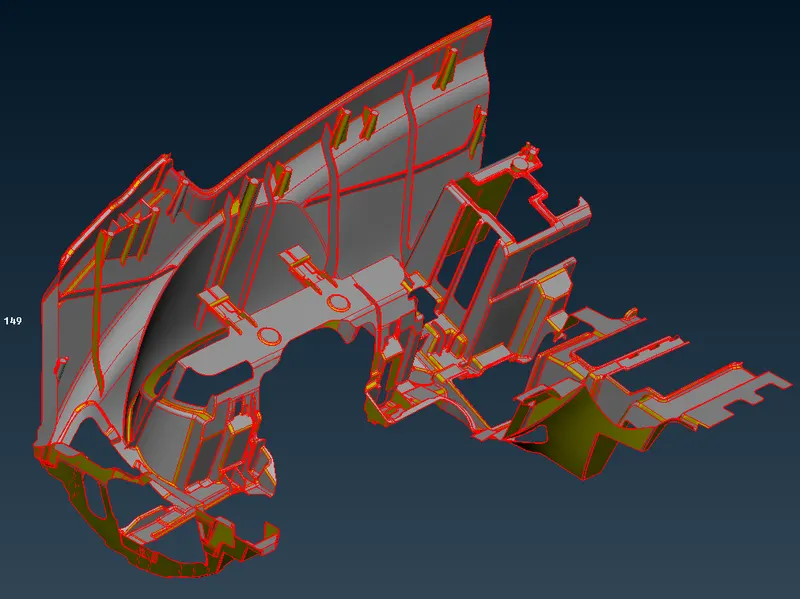
We have the following part :
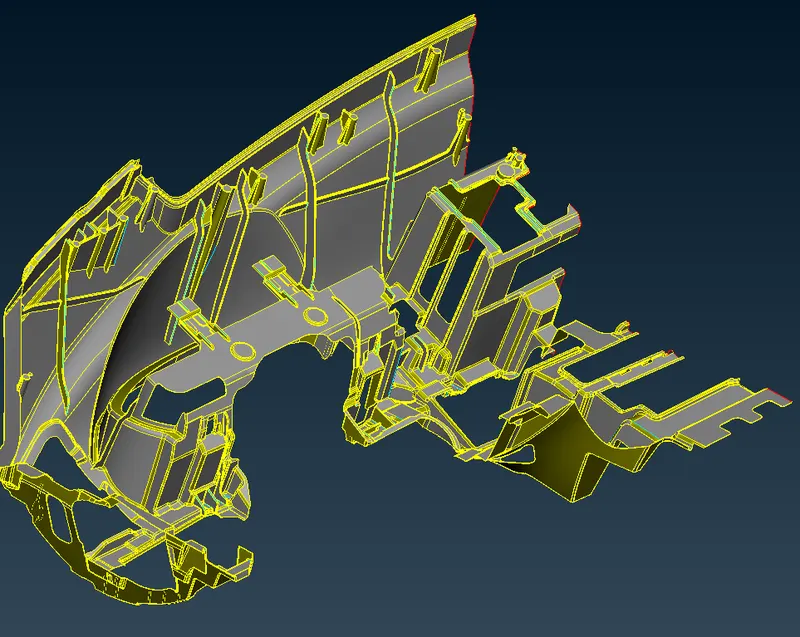
Now after using topo we get :
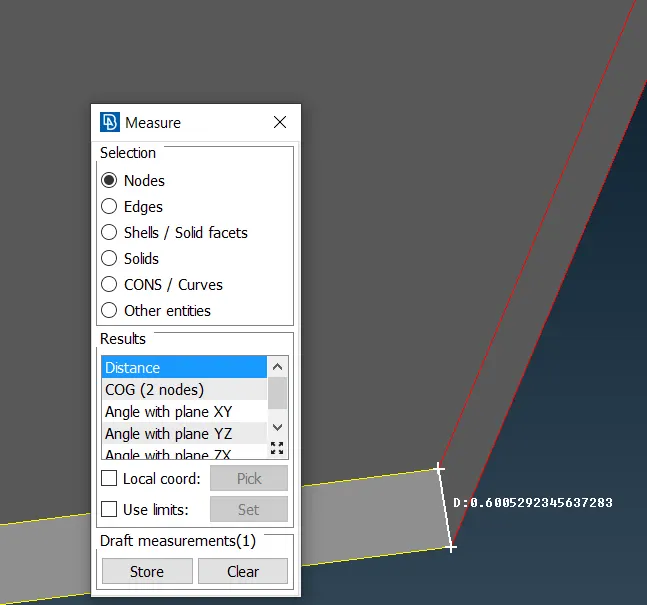
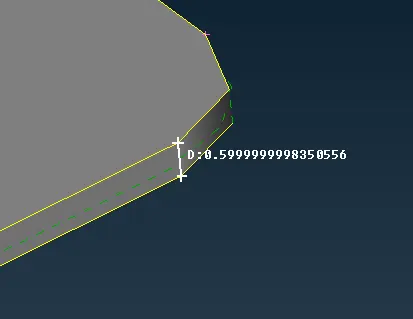
We will measure the thickness:
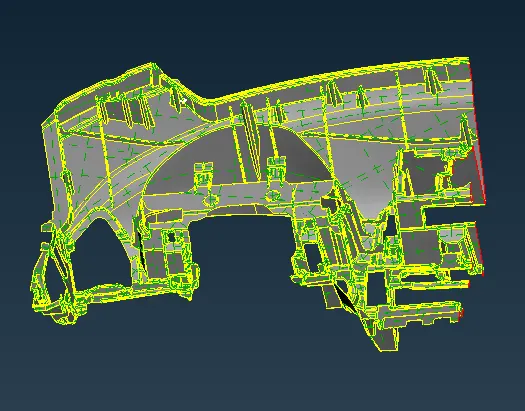
Now we will do geometry check :
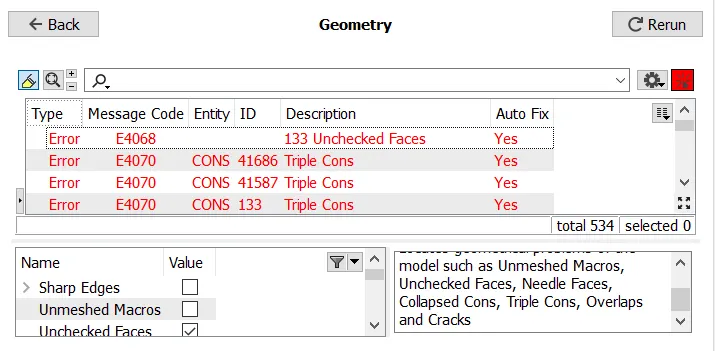
After fixing it we get :
Now we will check the thickness :
Hence we will create the mid surface :
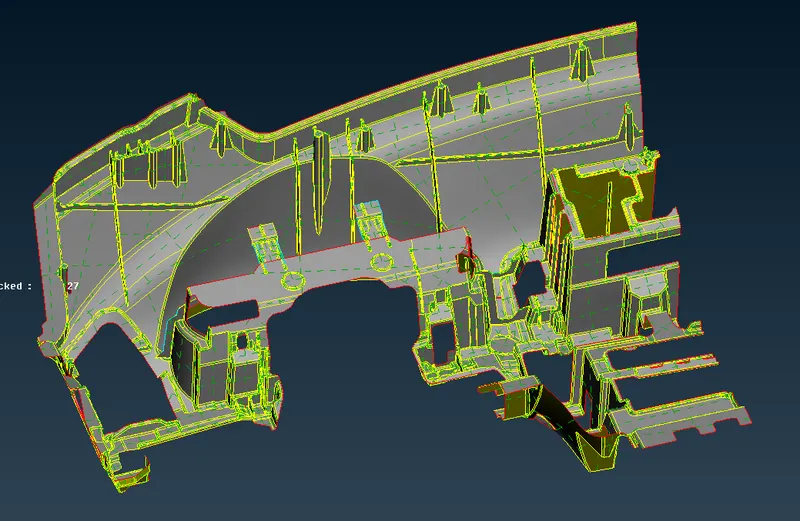
We have used offset command rather than skin offset and casting as it lead to better mid surface generation , using other methods would lead to a mid surface which would create a lot of bad surfaces , hence offset surface is the best method .
Now we will do defeaturing :
After using dach command we have defeatured all fillets as shown below :
Now we will set the element length as shown below :
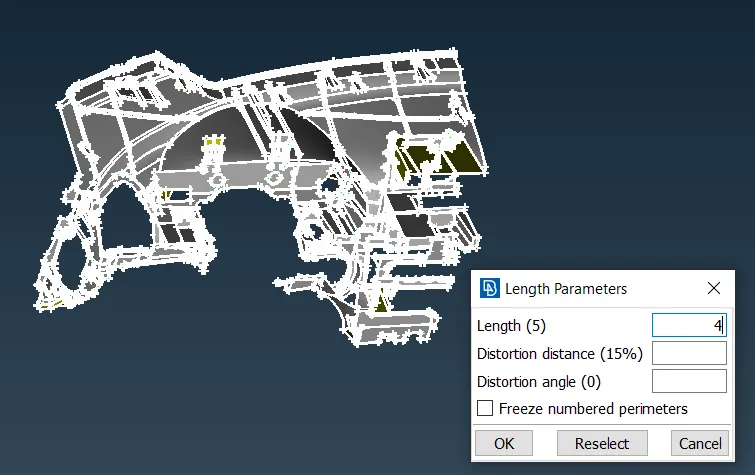
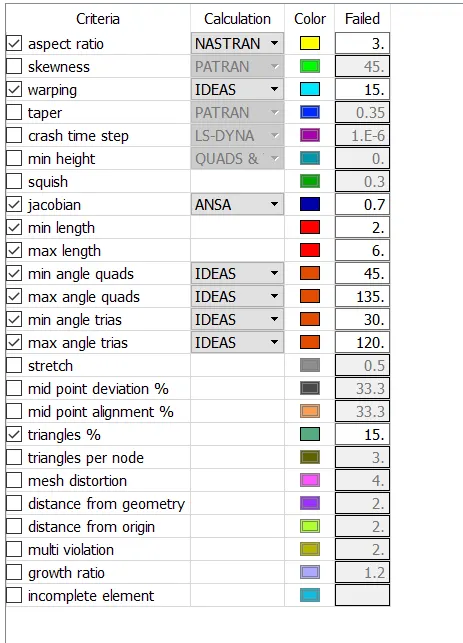
Now we will set the element quality criteria :
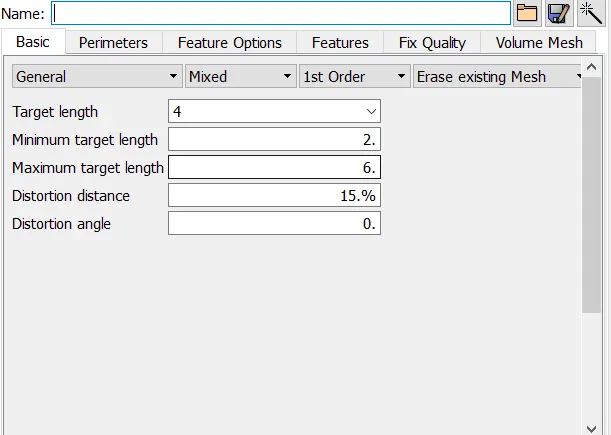
We have put the quality criteria as shown :
Before we have to clean up few surfaces as shown :
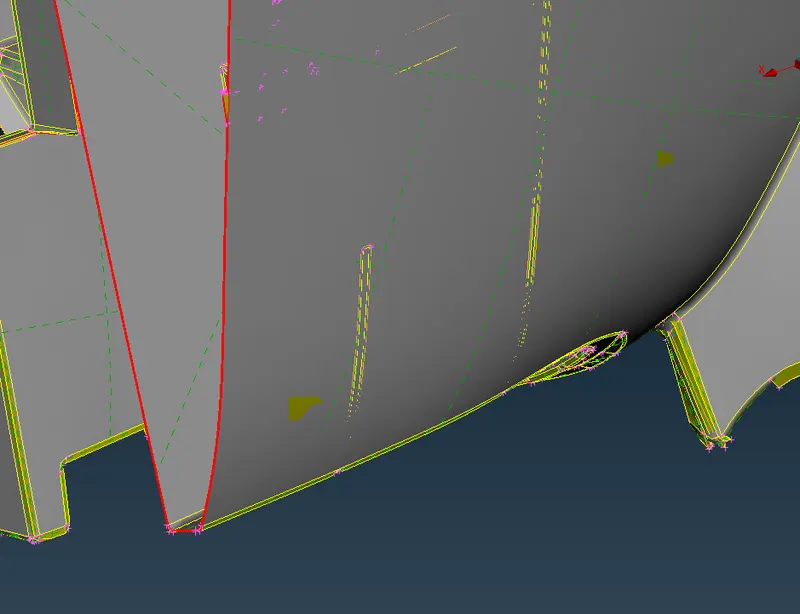
As you can see the from the original component there is not gap in the surface but during the creation of mid surface :
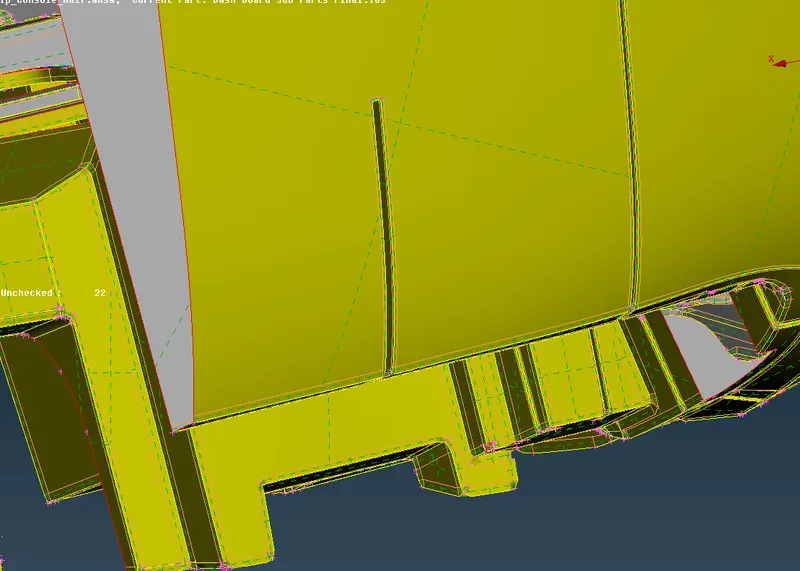
If we look at the positive side of the middle surface we get the :
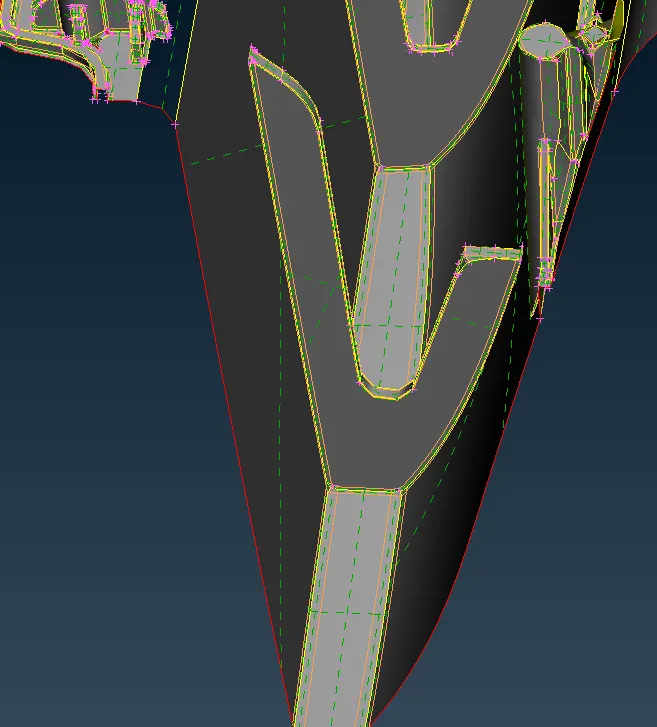
Now we have used middle surface and deleted the unwanted faces as shown below :
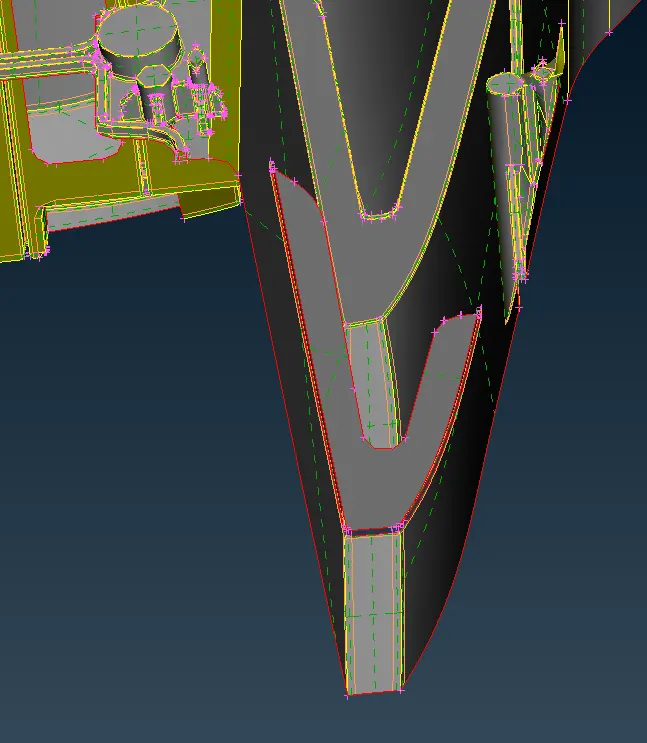
We will repeat the same for all the faces .
After using middle surface command and filling the gaps by using the new face command we get the following :
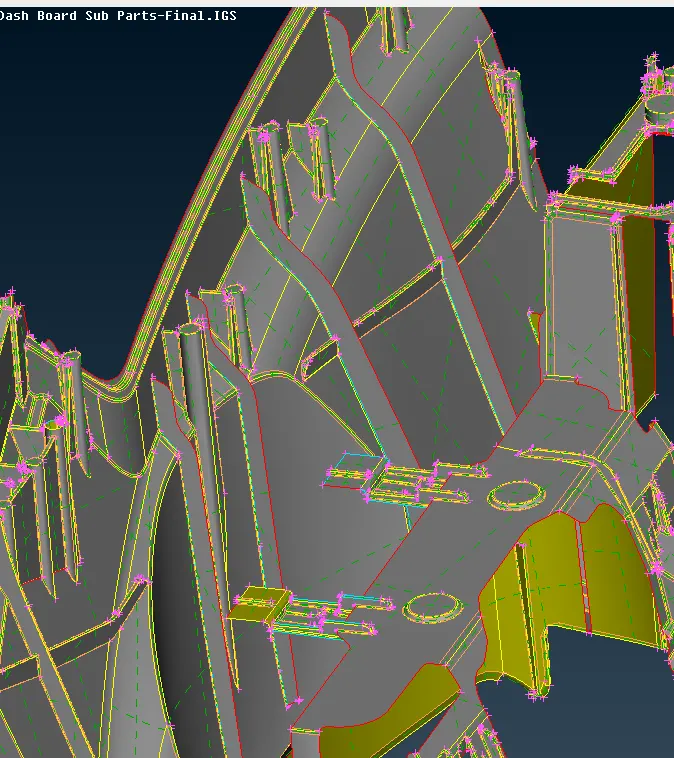
Now we will get the middle surface of the following :
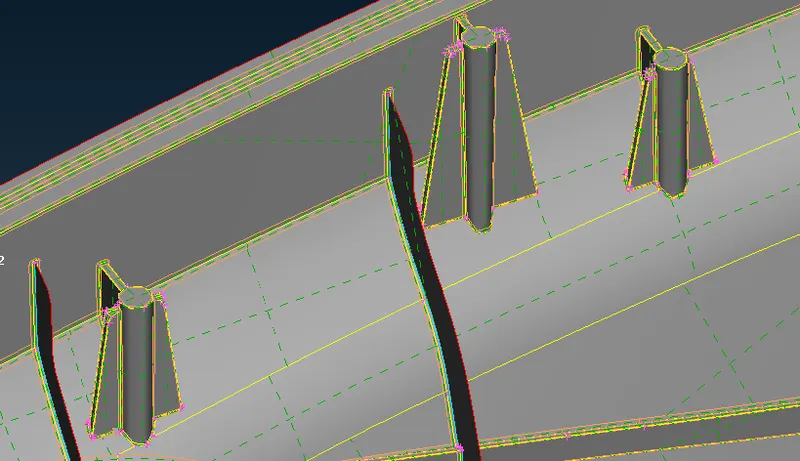
Using middle surface command :
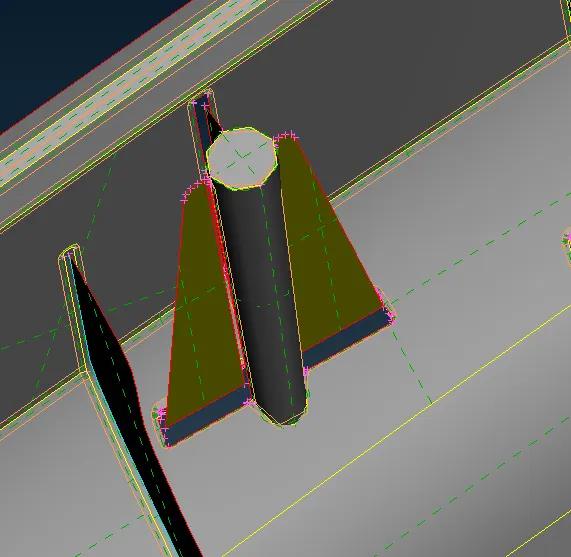
Now the middle circular section will cause bad mesh hence we will have to remove it :
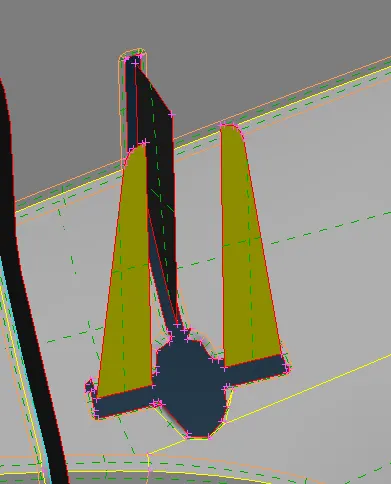
The gaps will be filled using the new face command as shown below :
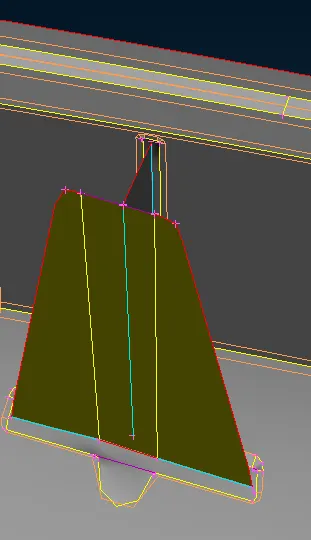
We have used curves and extend command as shown to create these kinds of ribs.
Now we will be heading for the meshing :
We will mesh all the surfaces in one go and later on clean the areas which are failing meshing quality:
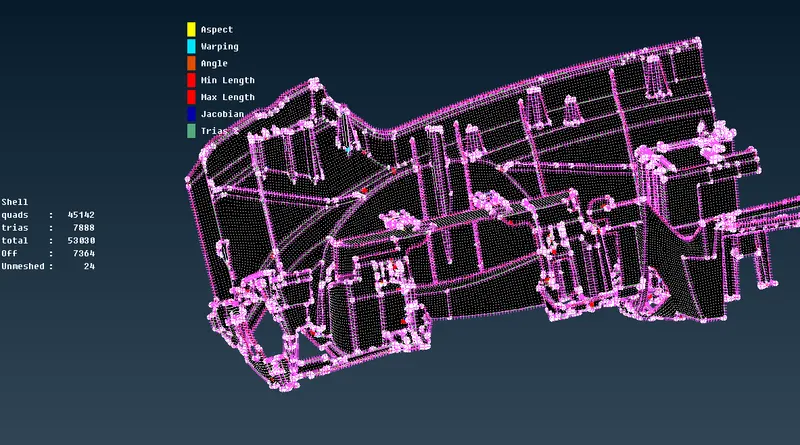
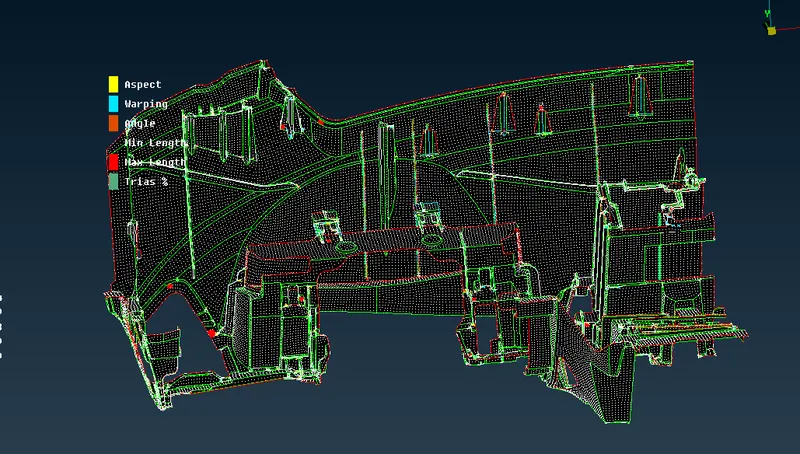
After mesh clean up we get the following :
Conclusion :
Therefore we have meshed the given component and the mesh cleanup
Link for model :
https://drive.google.com/file/d/1DwCedFDx4qiOqZAt1p_ITJSMR2jS392J/view?usp=sharing