Week - 8 - Morphing
OBJECTIVE :
To practice and learn Morphing techniques and get familiarize with it.
What is Morphing ?
Morphing is the process of modifying the design of a model which doesn't demands any numerical input and can be done like a free hand sketch. If the modified design is found feasible then the design department can work on it in full fledge and bring out the changes in the component.
Types of morphing
Domain (Box) Morphing :
Domain or Box Morphing is preformed via boxes that are created around a particular part or assembly. The movement of the Morphing boxes control points defines the morphing operations on the entities inside the Morph box. This type of Morphing can be applied to both FE and Geometry based models.
Direct Morphing :
Direct morphing feature gives the user the ability to efficiently modify a part locally without having to create Morphing boxes and control point associated with it. This method is extremely useful in creating local modifications on single parts.
Geometric Morphing :
This is the ‘one – of – a kind’ tool for CAD geometry morphing. This pioneering concept allows the user to utilize the inventory of all the familiar FE morphing functions to perform equivalent operations in a CAD environment on geometric entities.
Practical aspects of Morphing and examples :
The morphing techniques can be used to:
1. Create shape parameters ( change length, angle, thickness etc)
2. Change the design to a new known design ( shape of the component )
3. Change existing model to the shape predicted by CAE solution
Examples of morphed components :
1. The Honda Car manufacturers by the time they were selling their Hatchback car Brio in the market, they've observed the entry of compact sedans in the Indian market and so decided to launch a new compact sedan based on Brio. So they've retained the engine and several parts of Brio and then morphed the chassis by adding boot space and made the new compact sedan Honda Amaze.
2. The largest selling car manufacturer in India Maruti Suzuki had done the same with their prime selling Hatchback Maruti suzuki Swift and made the Swift Dzire just by morphing the already available design to launch a compact sedan in the market.
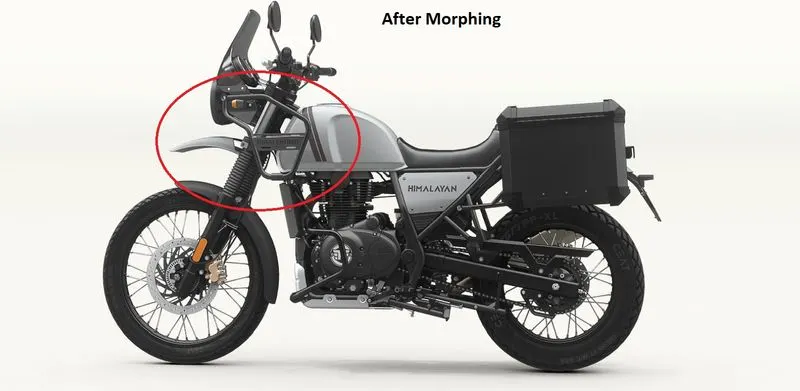
3. Incase of Two wheelers, The Royal Enfield Himalayan which had several concerns about the jerry can mount stands which made the riders to have a cramped leg space while riding since it was very long which hits the knees of tall riders and so they've morphed and updated the design of jerry cans as per their existing customer feedback. Here, the already available frame has been morphed and shortened to solve the concern.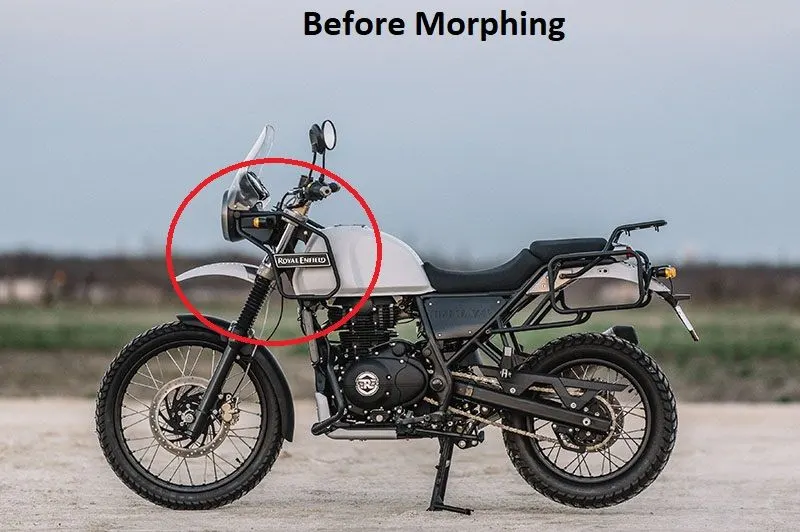
For Morphing the Given component :
PROCEDURE :
1. Firstly, Open up the given component and check for any geometrical errors, Use Checks > Geometry >> Fix to fix any errors. Use Topo option. Once the component is found to be free from any errors, then we can proceed with the Morphing. Here is the given component :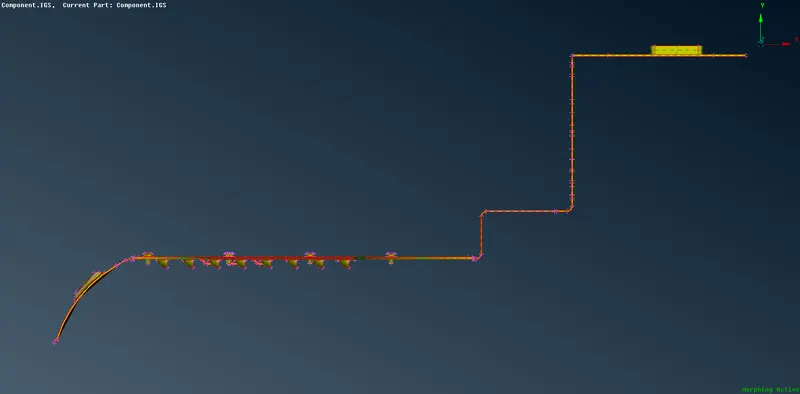
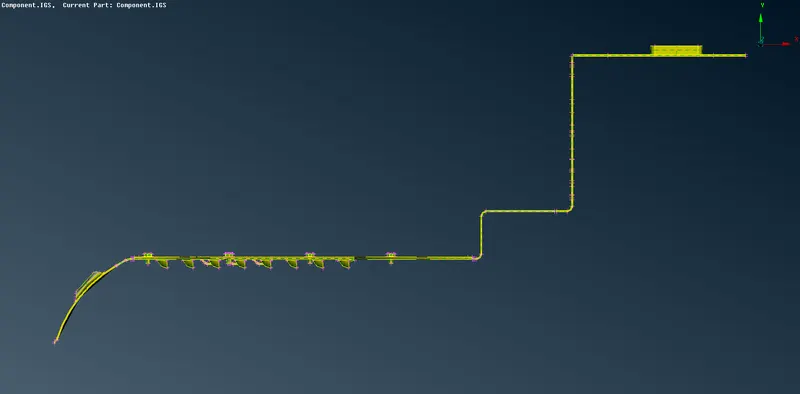
2. Now, go to Morphing deck and you can see a lot of option there to use to morph the given component. The morphing is generally done by creating Morph Boxes which has control point in their edges which is used to handle the movement of the component with respect to local or global co-ordinates.
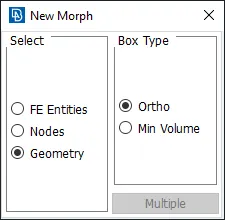
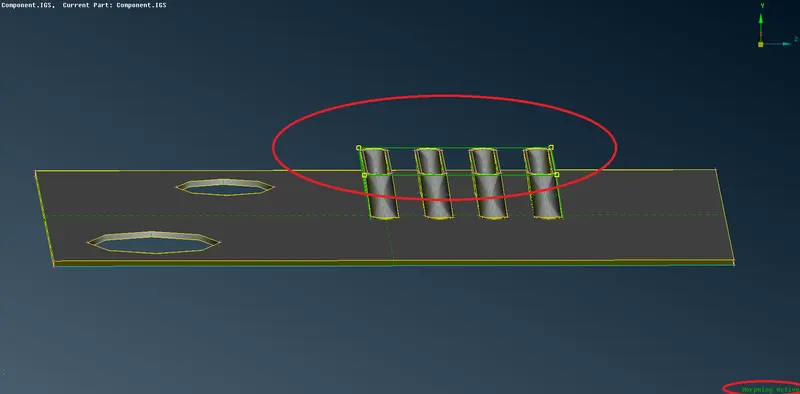
To create the morph box go to Morphing ( Morphing active will appear at the right bottom of drawing area once we go to Morphin deck ) >> Boxes >> New >> Ortho >> Geometry >> Select the entity and click ok to create the morph box which is green in color.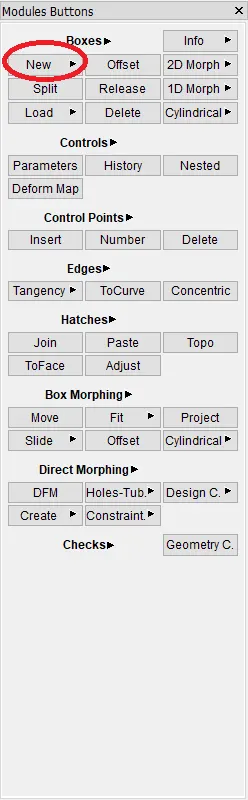
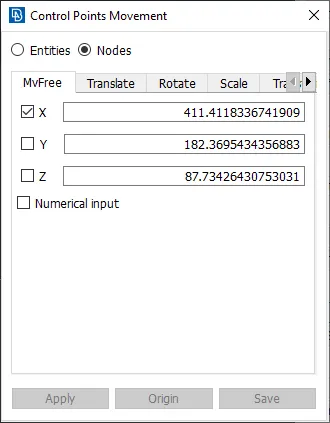
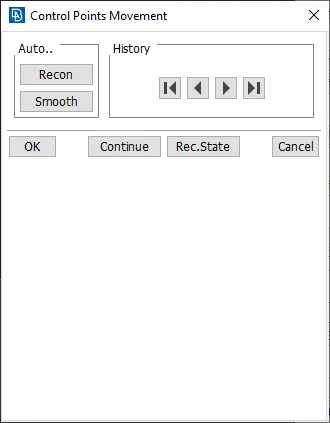
3. Now, to morph the geometry, we can use the control points in the edges of morph box to move the geometry either by manual inputs or freely. Go to Morphing >> Box Morphing >> Move >> Select the control grids >> Right click to create local co-ordinates, Click middle mouse button and then move the box in required direction with the control grids, this can morph the geometry accordingly. Once the control points are moved, click middle mouse button to fix and morph the geometry.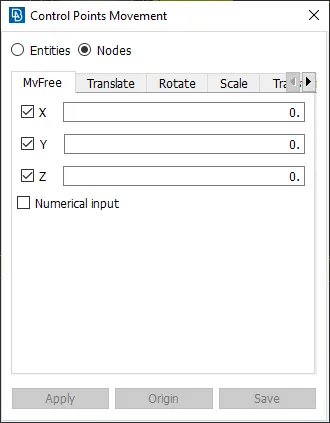
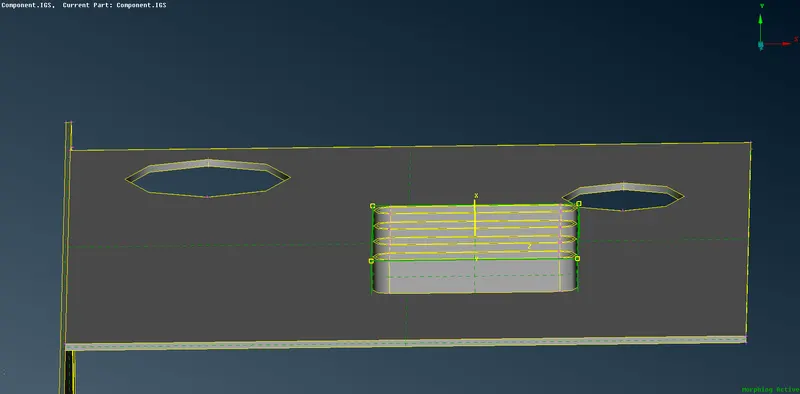
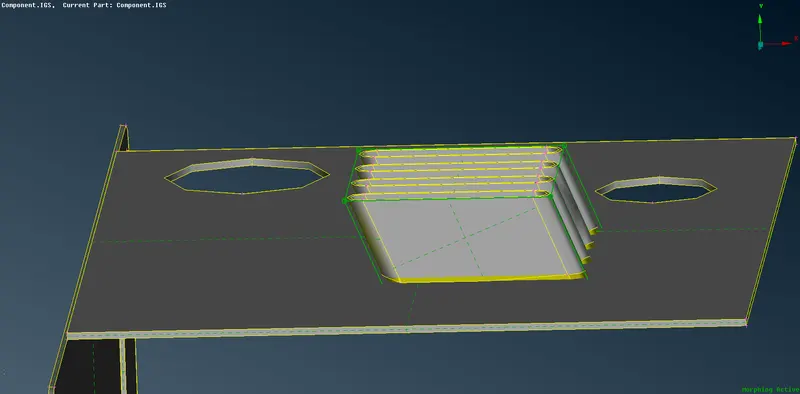
4. We can also split the morph box at any direction such that they can be used to morph the geometry exactly at some point. For this go to Morphing >> Boxes >> Split >> User >> Click on already available morph box at desired place. Then the morph box would be split at the specified place which has the control points to morph the respective part of the model.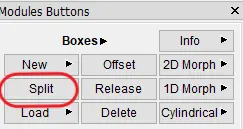
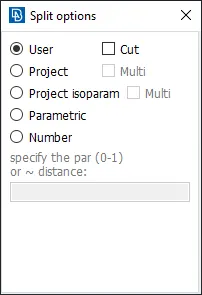
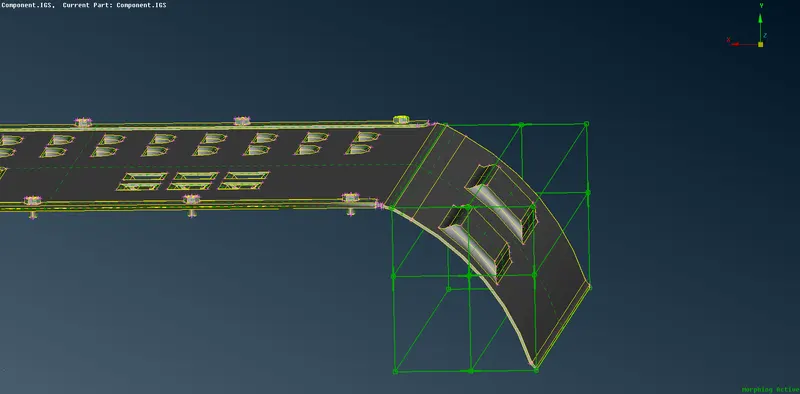
Now, similarly all the parts which are to be morphed are selected to create morph box and the control points of those boxes would give the control to morph the geometry into required shapes.
Also, the morphing can be done to the FE model wherein once the model is morphed and then the FE can be reconstructed to get the proper mesh flow and passing all the quality criteria.
If the morphed model is found feasible in the CAE then it is passed on to the Design team and then the component design can be changed in the CAD level to give a revised and new design.
Before Morph :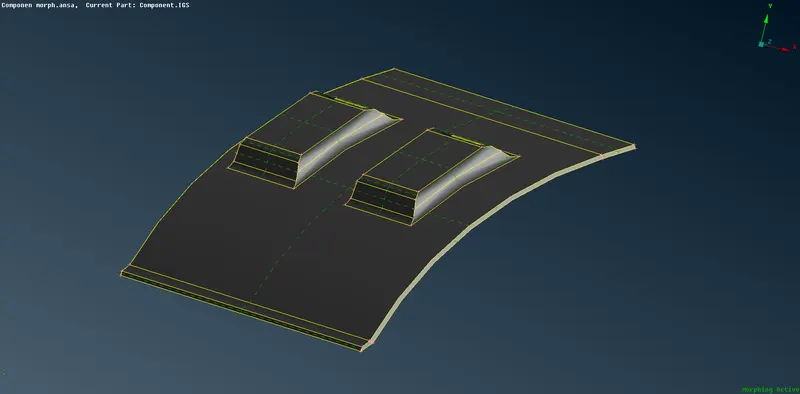
After Morph :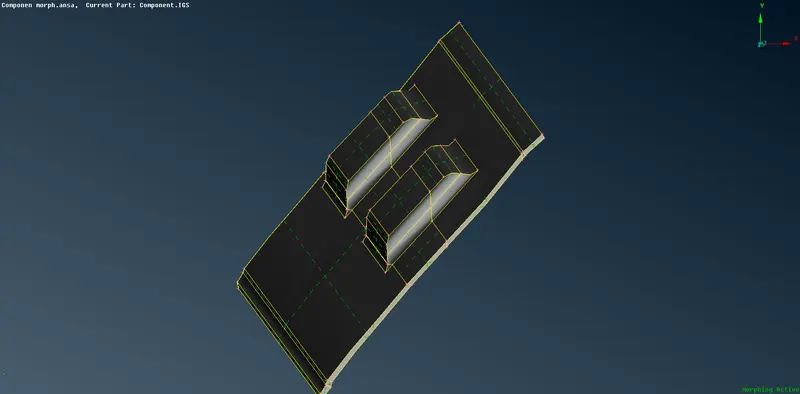
Before morphing :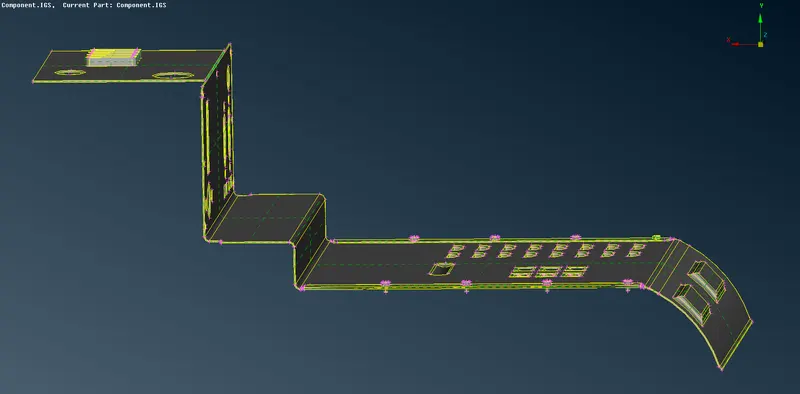
After Morphing :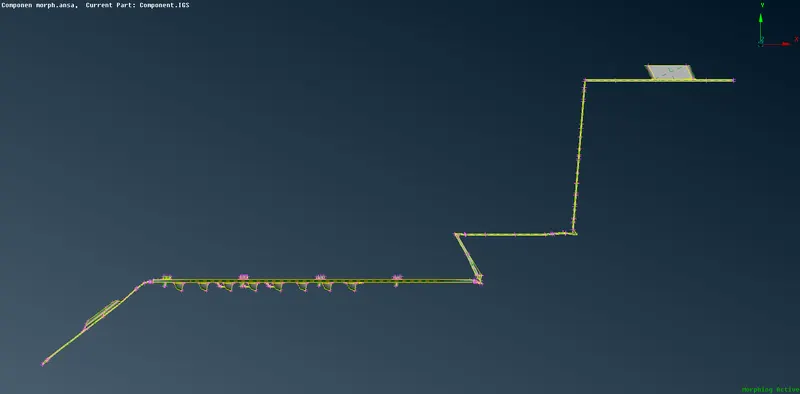
Similarly, the other model has been morphed to increase the size of the dog house and the ribs accordingly by using Box morphing and split box morphing respectively.
Before Morphing :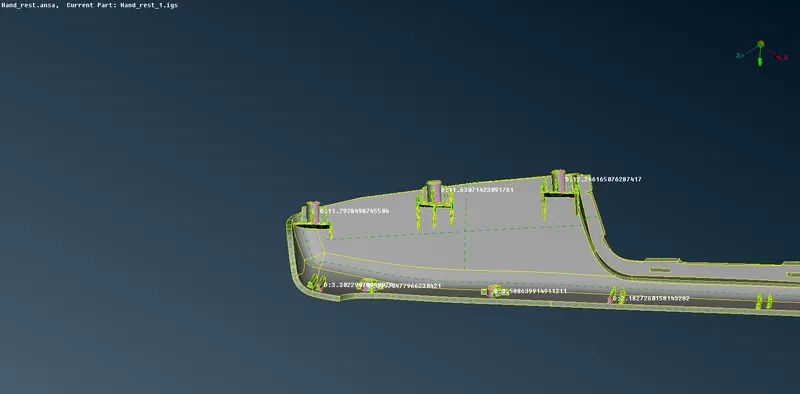
After Morphing :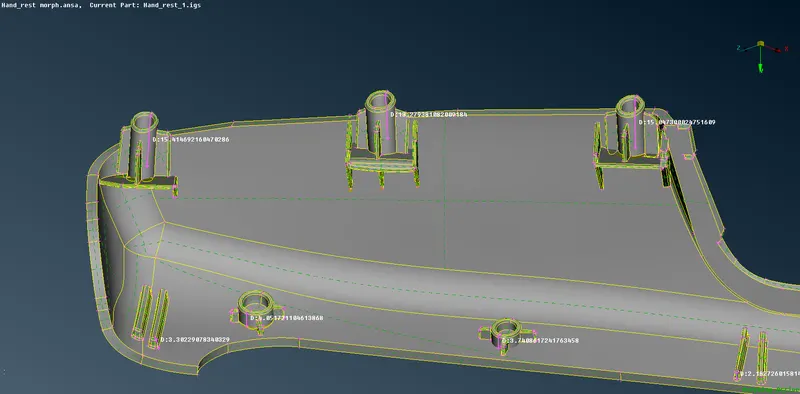
RESULT :
Thus, the given components have been morphed and the basics of morphing technique has been explained.
INFERENCE :
Morphing and its type has been learnt.
Basics of morphing techniques has been learnt.
Realtime examples of Morphing in Automotive Industry has been discussed.