Week 6 - Creating connection for Rear door
OBJECTIVE :
The given component of Rear door FE model has to be provided with appropriate connections with Rigid elements, spot welds, Bush elements etc at the required parts respectively.
PROCEDURE :
1. Firstly, Open the given file in the ANSA window and observe the component clearly and check for any errors in it.
2. The given rear door model has only the FE geometry. The geometry is free from any errors however the whole geometry is set under a default Property ID.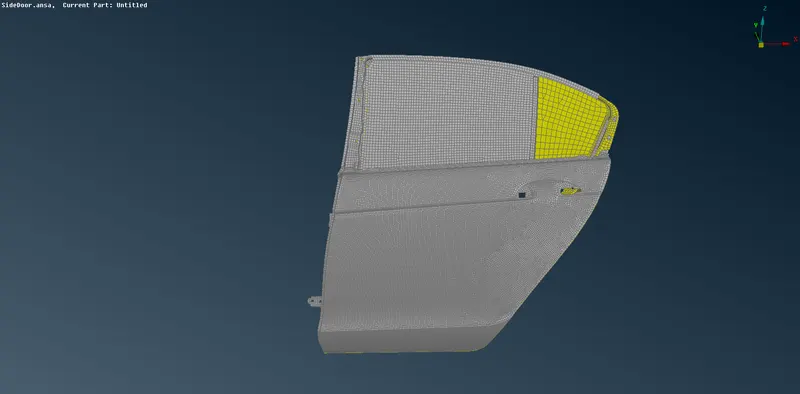
3. Now, seperate PID has to be created for all the parts of the rear door so as to get a clear idea about how the parts are linked to each other.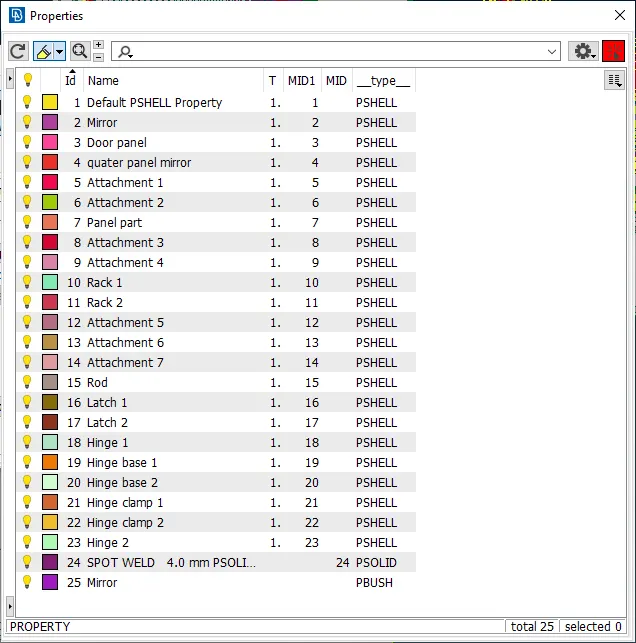
4. Now, the connections are to be made in respective places with required method of connectors like bolt, spot welds, bush elements etc.
To create the Bolt connection there are two methods, wherein we can use any method to create the bolt connection however the significance of the two is that one is cluster rigid connection (no bolt stem) and the other one is Bolt connection (with bolt stem). The bolt connection with the bolt stem is used at places where there are three parts to be joined wherein the one end has the bolt head and the other one has the fastener nut.
Now, to create the Bolt connection, Firstly we need to create the COG of the points, so go to points >> On COG >> Select the edge nodes ( As loop) >> Click create and then COG would be created.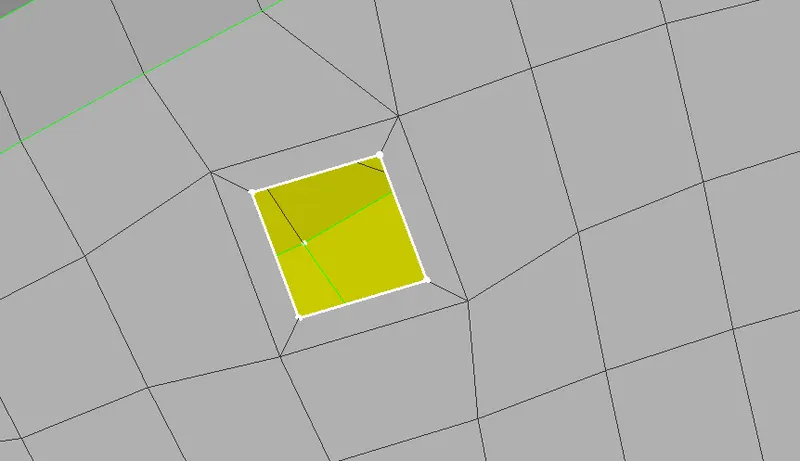
Once the COG point is created, the Point should be converted into Bolt. For that go to Convert >> 3D points >> Bolt and then the selected COG point would be converted into Bolt connection. For realization, go to Connection Manager >> select the connector >> Enter the details like ( parts to be connected as P1, P2 etc), Search distance, DOF ( all dof for rigid connection) and click apply and realize to create the bolt connection.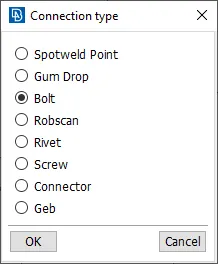
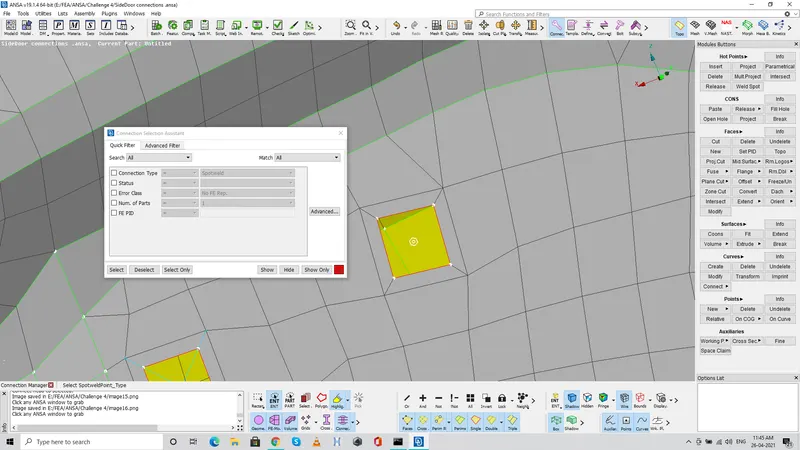
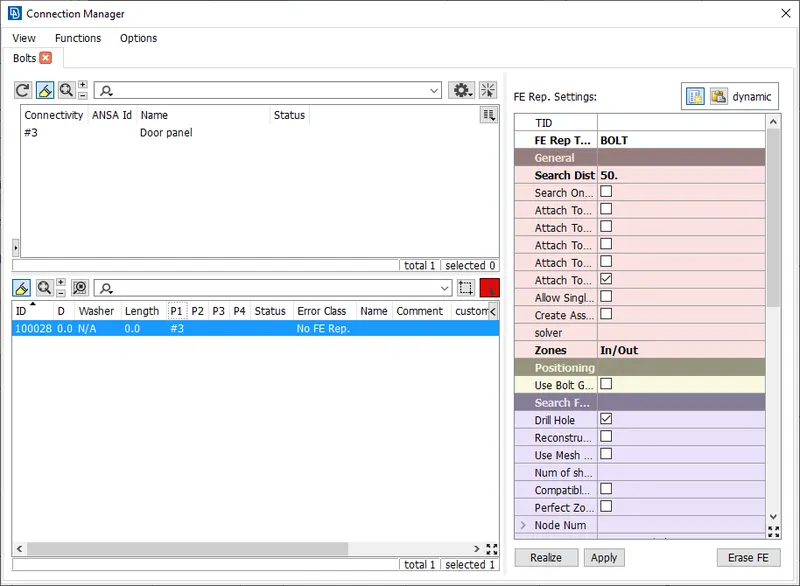
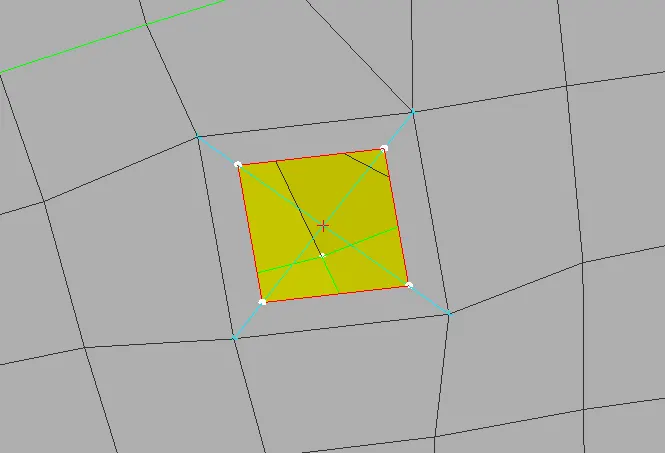
5. The other method for the creation of bolt is through cluster rigid connections. Go to Nastran deck >> Elements > RBE 2 >> Many nodes >> select the edge nodes to be connected >> Click ok to create the rigid cluster connection.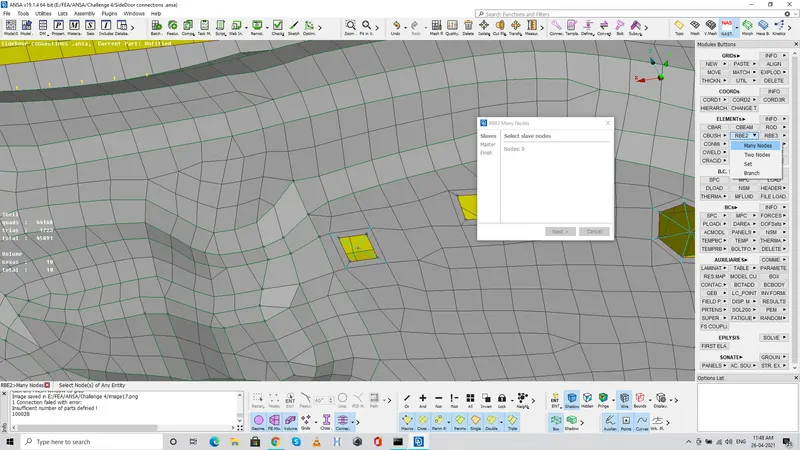
SPOT WELD:
Now, for the creation of spot weld wherein required, similar to the bolt, firstly the COG point is created. Once the COG point is created then the point is converted as Spot weld
Then, the spot weld point needs to be realized, for that go to connection manager and select the spot weld point which has been created.
then, the FE type is selected as RBE - HEXA - RBE and then search details, parts to be welded are selected. Most importantly, the RBE pinflags are kept as 123456 and then proceed to apply and realize to create the spot weld connection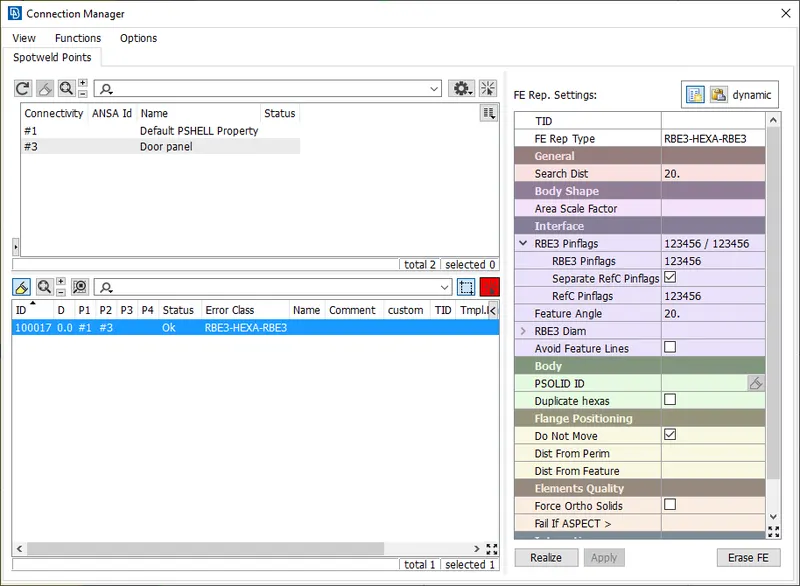
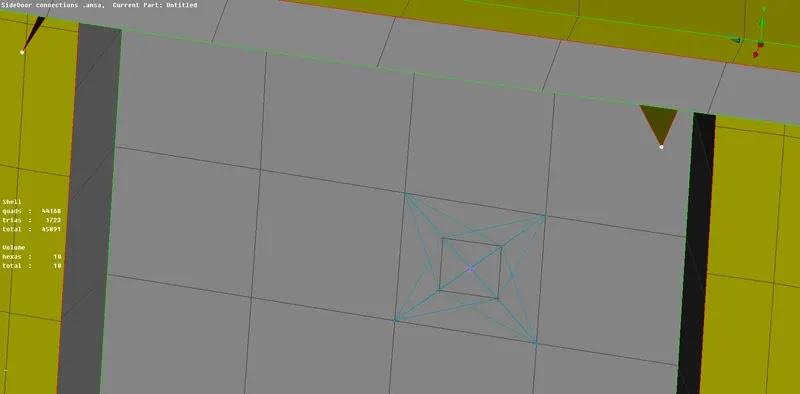
For Door Handle :
For the door handle, we need to provide mass to the center point of the door handle connection, Firstly, the door handle's either side is to be connected with RBE 2 rigids. Go to Nastran deck >> Elements >> RBE2 >> Many nodes >> select the nodes and click ok to create the cluster rigid connection on the either sides of the door handle. Once it is done, the centre of both the side should be connected with same option to create the master element for the RBE 2 clusters. 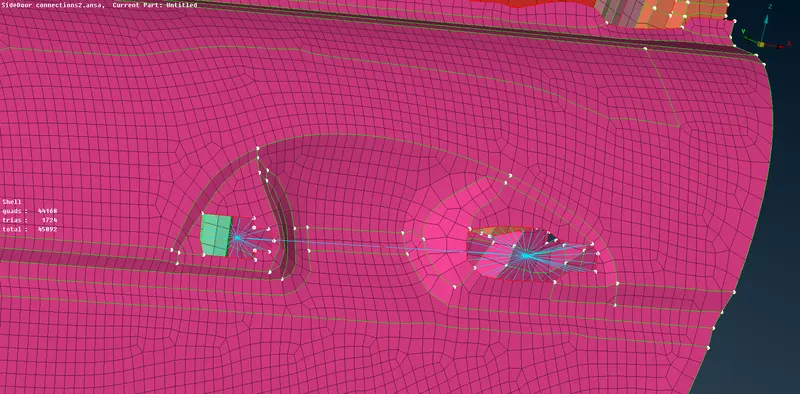
Now, once the center node is created, go to Nastran deck >> Elements >> CONMi>>CONM2>> Nodes >> select the center node and provide the mass value (M) in tonnes. Here the mass of door handle is assumed as 100grams. On convertion it is 1e-4 tonnes and so it has to be entered in the M column to apply mass to the door handle.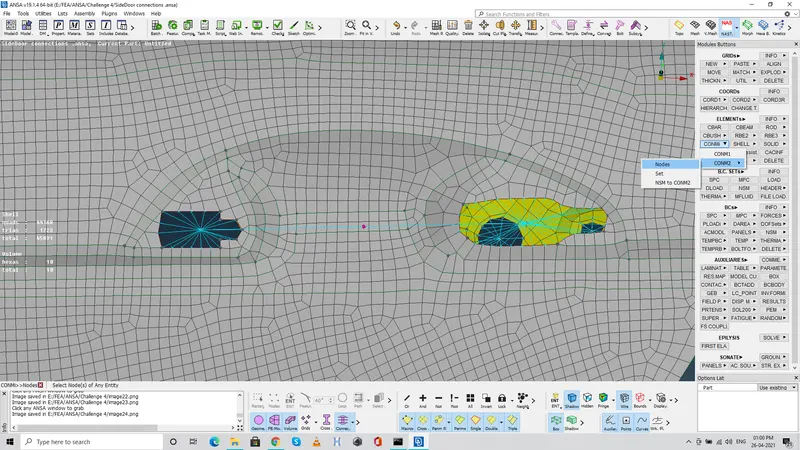
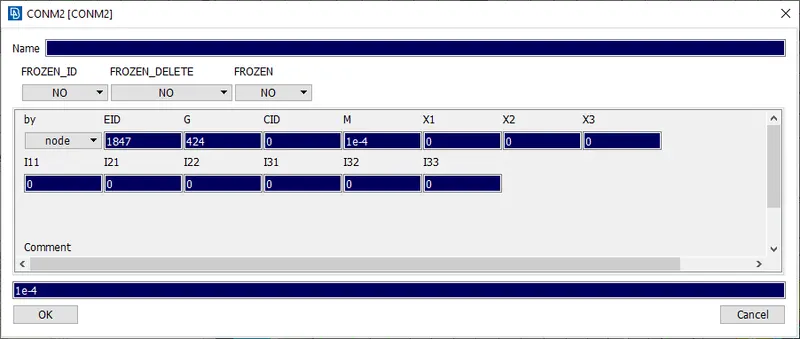
Now, the mass has been applied to the door handle respectively.
For Mirrors :
The mirror has two parts in which the moving mirror is joined to the mechanism which slides up and down between the door panel and the side quarter panel mirror which is immovable.
For the mirrors, they outline of the mirror has to be created as curves. Go to Mesh >> Perimeter >> Feat 2 curve >> Select the perimeters of the mirror and create the curves. Once the curve is created, go to Convert curves as spot weld line, ( select each and every line seperately) to avoid creation of whole curve as one spot weld line. Once the spot weld line is created, for the moving mirror, the spot line should be attached on the one side with the mechanism so we need to duplicate the base line alone by the transform >> copy option. The rest can be fixed to the panel.
While the side quarter panel mirror needs to be fixed on both sides to the door panel since it is not in motion.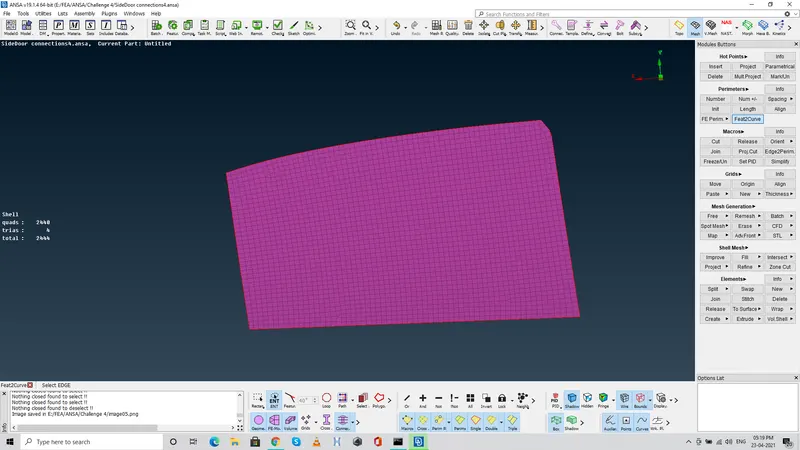
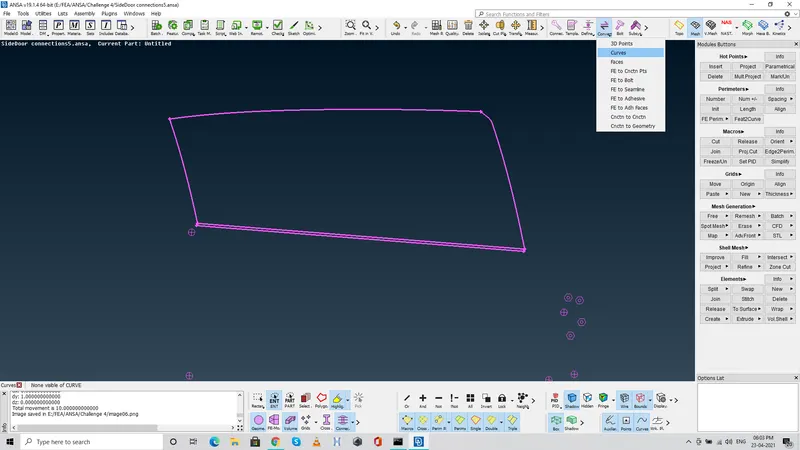
Now, once the spot line is created, go to the connection manager >> select the spot line >> In this case the FE type is RBE2 - CBUSH - RBE2 and then the spacing (S) between the CBush has to be provided ( desired value) and the P1, P2, P3 has to be selected carefully since the mirror is attached to the mechanism and also the weather strips holds them the sliding motion. Now, We need to create PBUSH ID for the elements which are to be created and there would be 6 stiffness values which are userdefined and would be provided to us. It is important to click on Keep all branches to create the CBush elements successfully.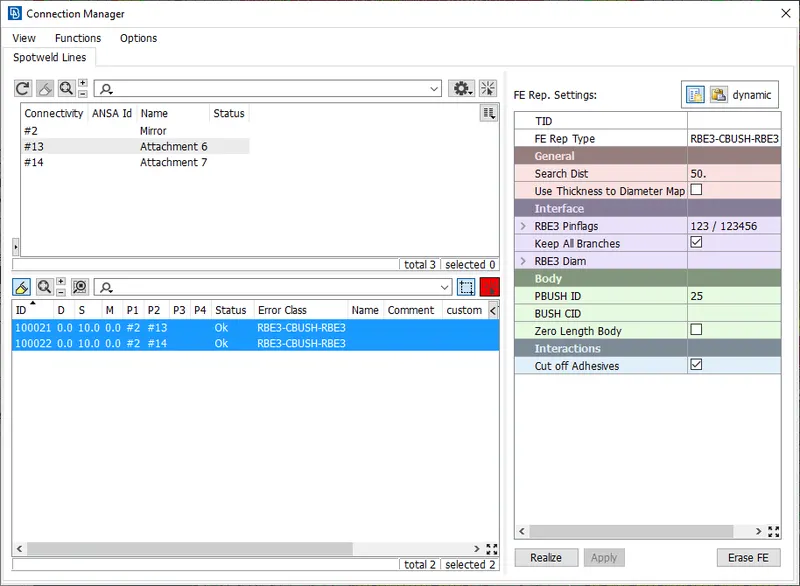
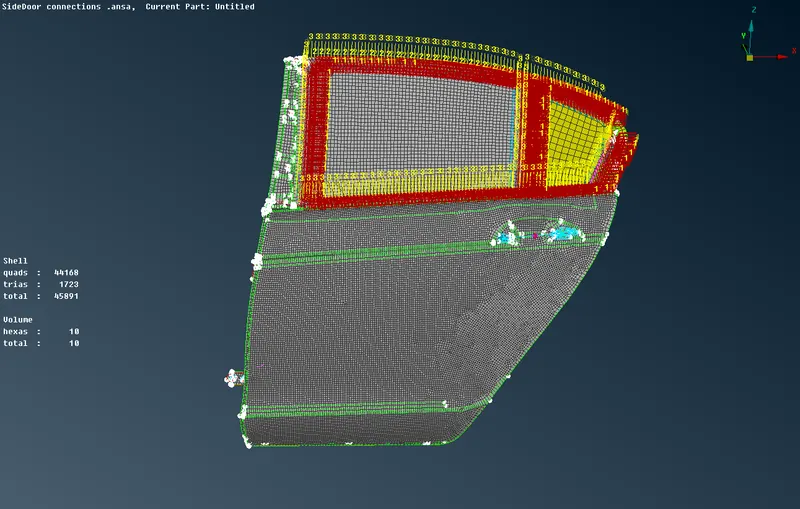
Thus, the CBUSH elements have been deployed for the connection of mirrors to the door panel. Also, the CBUSH elements orientation is with vector which is not aligned to the global coordinates so we need to modify them to the Cordinates. Now in database we can seperately view the CBUSH elements, select them all and right click and modify. In modification select orient >> With Cord >> CID >> 0 (desired ID if CID is created seperately) and click ok to modify the orientation of the CBUSH elements with respect to the global coordinates.
RESULT:
Thus, the door panel has been deployed with suitable connectors at the required places and all the connections have been realised properly.
INFERENCE :
RBE2 cluster rigid connection
Bolt connection
Spot weld connection
COG point creation
Usage of Feat 2 curve
Usage of convertion of 3d points and curves
Usage of spot weld line
Creation of PBUSH ID and CBUSH elements
Assigning Mass for the Door handle using CONMi
These are the significant learnings from this exercise.