Hood design-Week 2
Aim:
- To create a Hood with Outer and Inner panel along with Hinges and Stricker on it.
Description:
- What is meant By hood?
1) Hood is a cover which act as safe guard for the engine and components located near by engine,The other name of hood is Bonnet, now in this generation hood plays a major role in cars,Upcoming cars have good surface finish of hoods along with support bar and gives a good front look to the car.
2) One of the factor consider for making the hood is NVH,To have a comfort ride we need to reduce the NVH,so designing the hood should resist the NVH as much as possbile.
- What is Meant by NVH?
NVH is known as Noise,Vibration,Harshness created on the vechicle during the running stages.A vehicle which as lesser value of NVH is good and will have very comfort riding.Mostly the engine will create a noise so to reduce the vibration sound the hood is designed with panels,sealents,etc.
- Why do we need Hood/Bonnet?
Hood is neccessary in car,it will protect the engine as well as its purpose is to provide access to the engine for repair and maintenance.In the Hood there will be containing more number of parts like Wiper jet,Support Hinge, Wirings, etc. Typically the hoods are made up of steels.


Fig 1.1) Normal Hood Fig1.2) Hood with Vents
- Process Involved for creating the Hood:
1. Hemming:
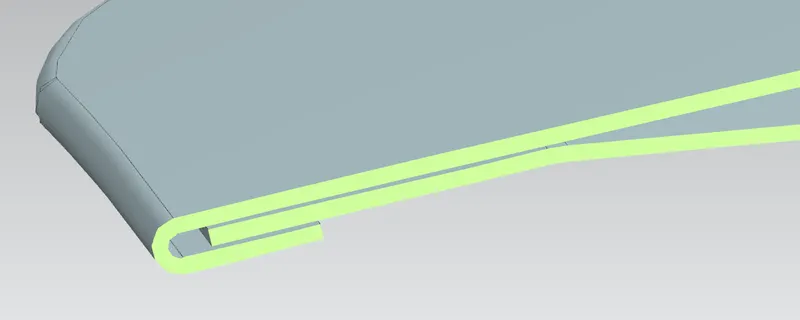
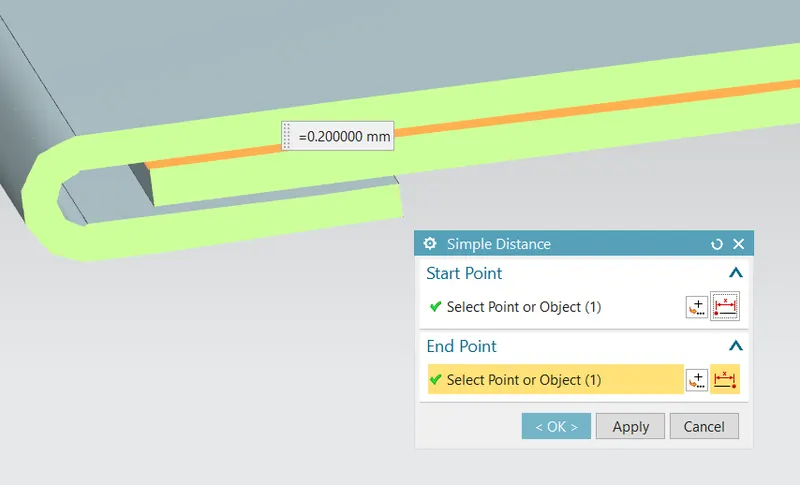
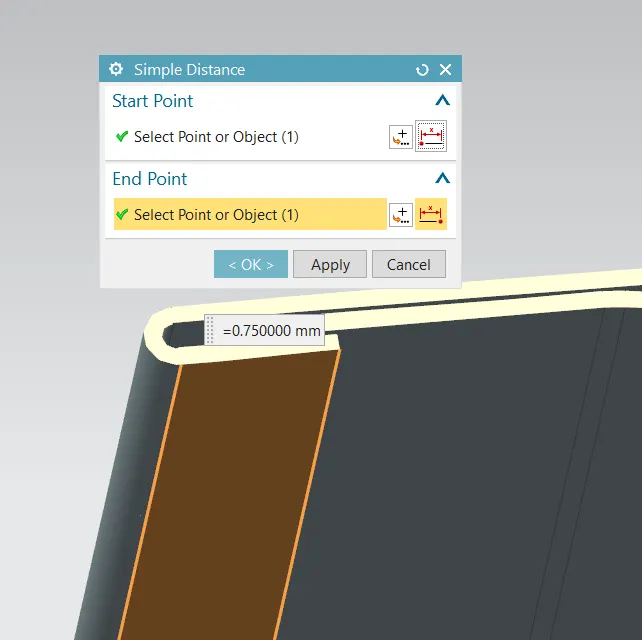
It is a forming operation which join the outer and inner panel together by bending/folding into certain parameters, so by doing this process it can achieve a tight fit on the panel.The Below fig shows the Hemming process.
For more Visual Information check it here:https://www.youtube.com/watch?v=8iOoeNe6BT8
2. Deep Drawing:
Deep Drawing is a sheetmetal forming process where it punch the sheetmetal to certain depth and formed into the desired shape,The below fig shows the deep drawing process.It is drawn through a die to reduce its diameter and increase its length.
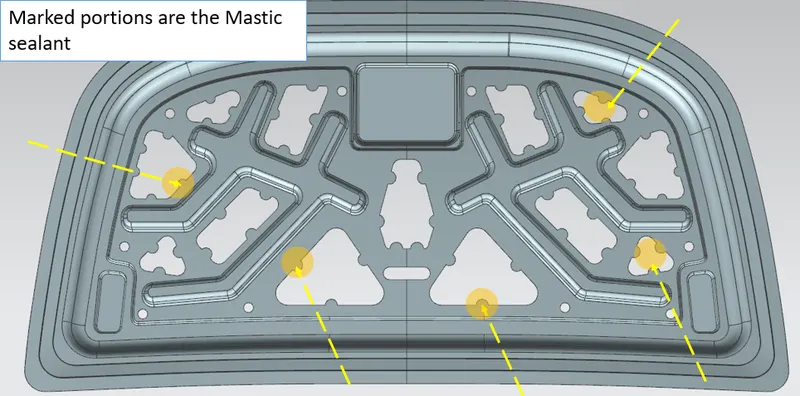
3.Mastic Sealant:
This is a type of sealant used to reduce the NVH,These sealent will be covering up to 80mm diameter.
4. Latch trajectory:
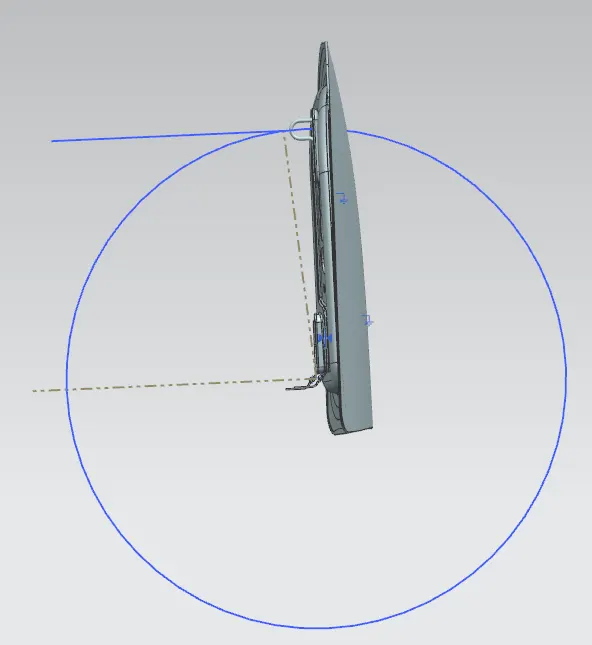
It is a calculation done on the stiker part were the hood opening and closing axis is drawn.For opening and closing the hood the latch should be in a proper axis so that it fixs and locks into the latch lock ,For creating the axis we use the latch trajectory.
5. Emboss:
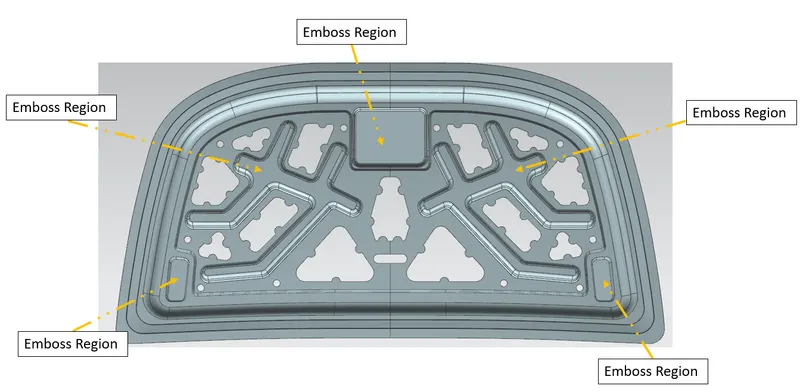
It is a sheetmetal stamping process,a high pressure is applied to a workpiece to change its surface. Depending on the shape the emboss is created the below fig shows the emboss process.
Tools Used:
- Line
- Point
- Datum plane
- Emboss
- Offset surface
- Projection curve
- Edge Blend
- Face Blend
- Trim Sheet
- Thickness
- Mirror Geometry
Parts used on Hood:
- Outer panel
- Inner Panel
- Latch set
- Hinges
Procedure:
Designing an Inner panel:
- Import the hood panel into the Nx-Cad software and change the name on the feature tree for easy references.
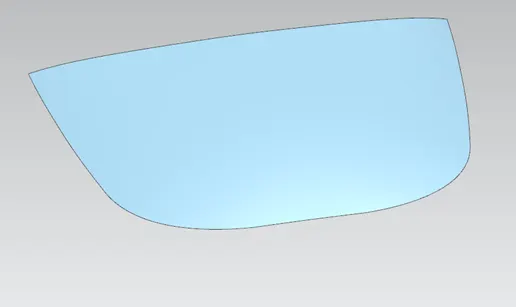
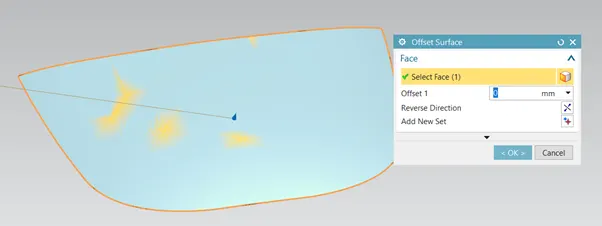
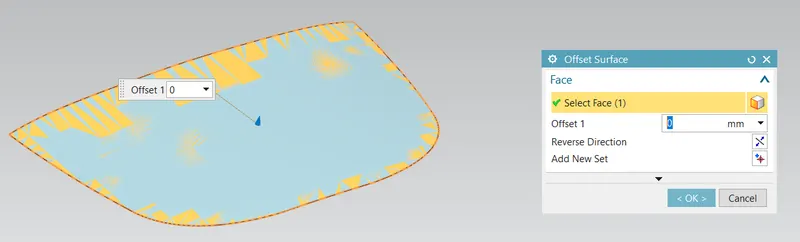
- Offset the panel into 0mm so that will get a copy of the panel and can be used for creating the inner panel.
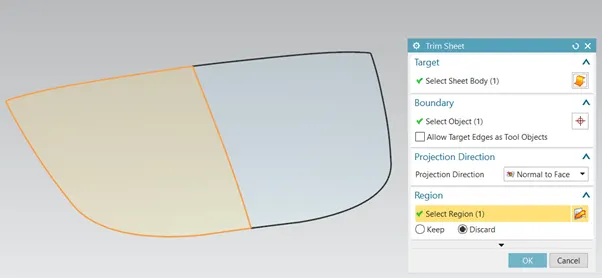
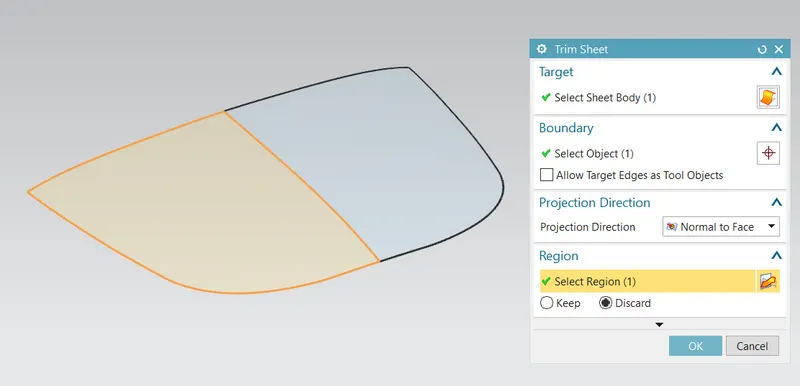
- Trim the sheet into half the part so that It will be easy and reduce the time consumption of the model.
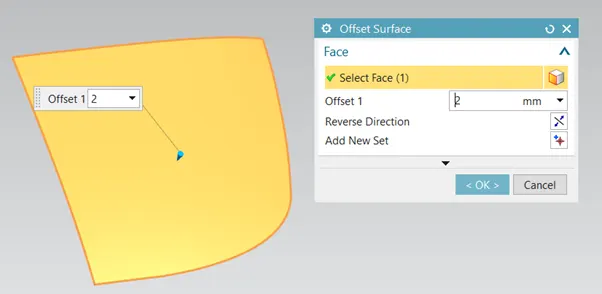
- Then offset the trimmed sheet to the value of 2mm downwards.
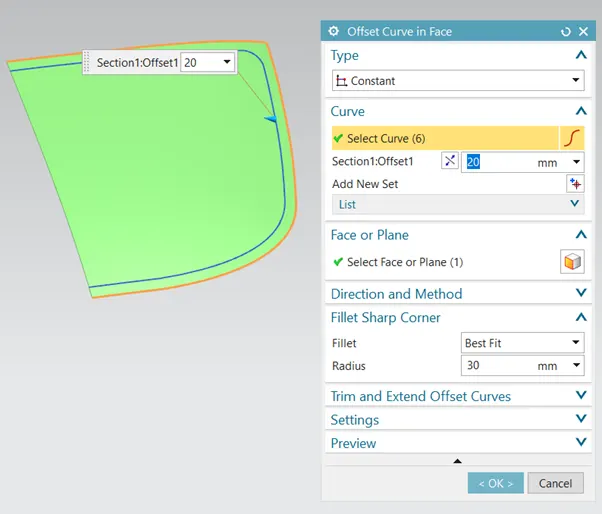
- Offset the curve on the edge of the sheet to the value of 20mm and trim the offset curve.
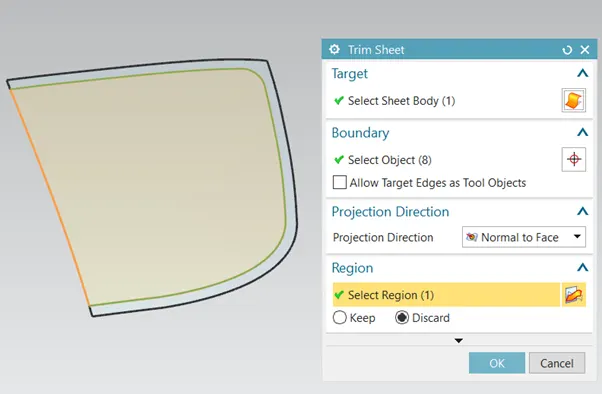
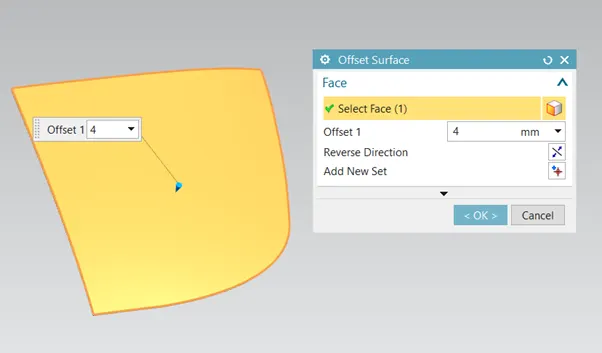
- Then offset the sheet to the value of 4mm from the main half trim sheet. Then offset the curve to the value of 35mm.
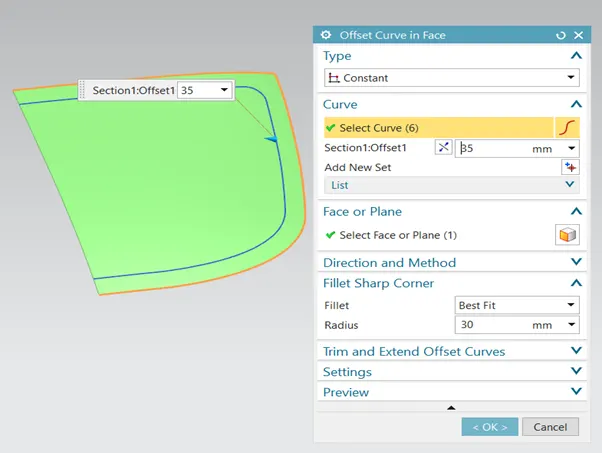
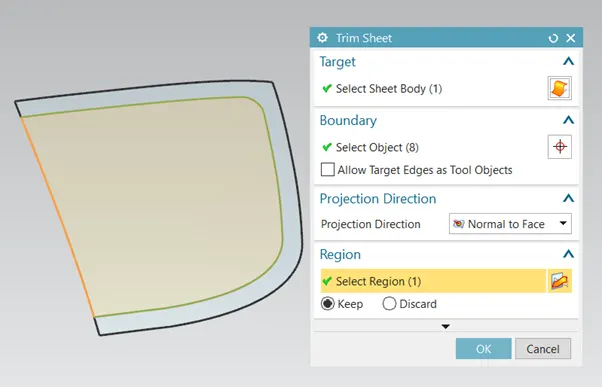
- Trim the offset curve using the trim sheet option and select the required region.
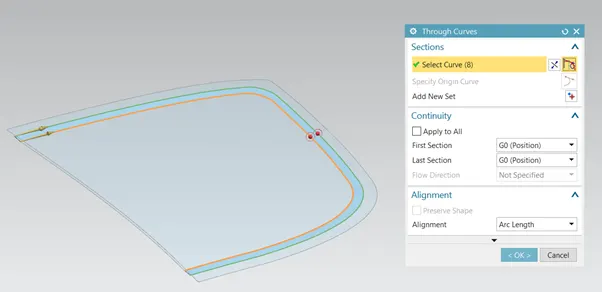
- Join the two offset curves by through curve option.
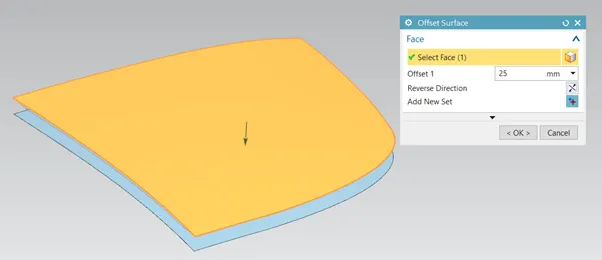
- Offset the sheet to 25mm from the main sheet and offset the curve to the value of 55mm on the edge of the sheet.
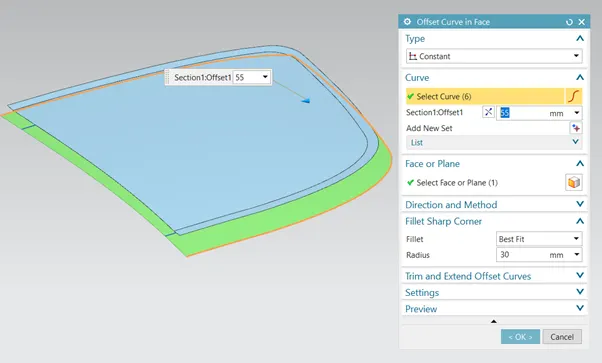
- Trim the sheet which is been offset and select the required region to keep on it.
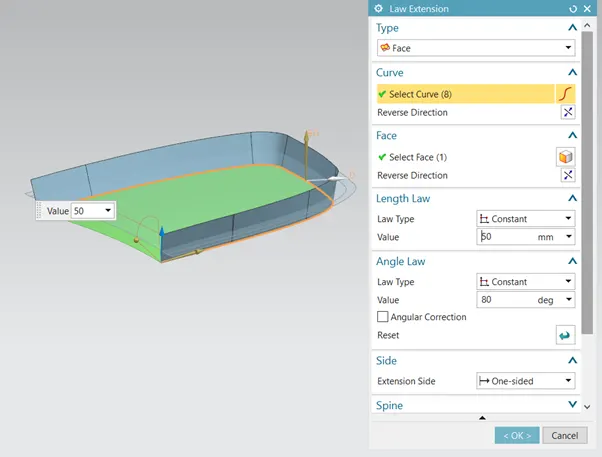
- Then with the boundry of the bottom sheet the law extension is created with the certain values and joins the top panels too.
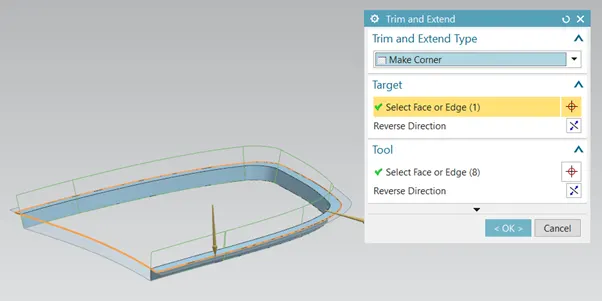
- Trim and extend the sheet to join the two sheets into one sheet by using the trim and extend sheet option.
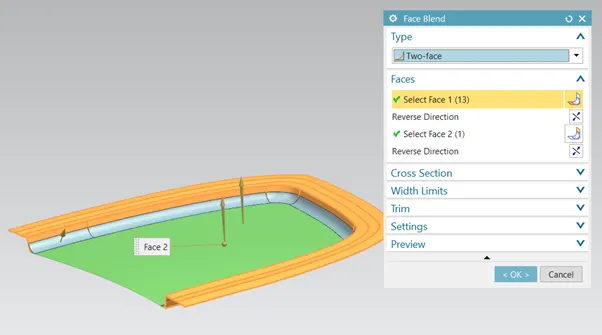
- Blend the region step by step using the face blend option so that it creates a smooth curvature on the corners.
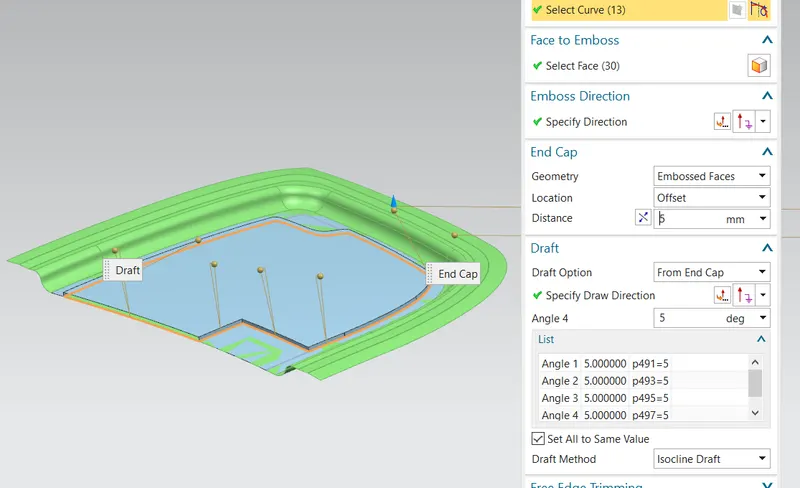
- Create a emboss by sketching on the face of the sheet and emboss it to a certain value and add edge blend to have a smooth curvature on the edges.
- Draw a sketch on the face of sheet and project it to the sheet using project curve option and emboss the sketch to certain values.
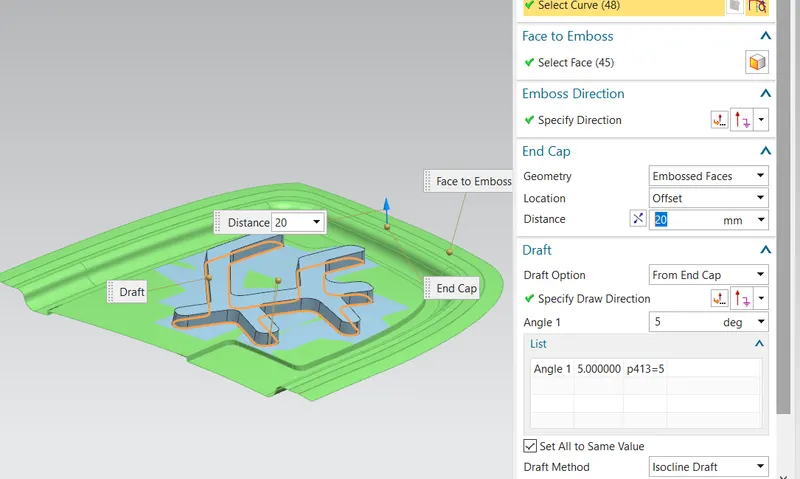
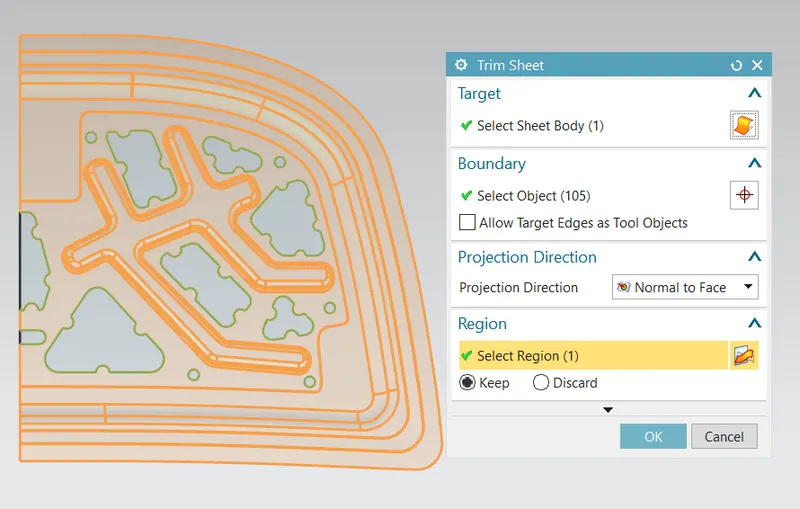
- Sketch on the face of the sheet and project it to the sheet for creating the masticc sealant and reducing the weightage of the sheet and trim the sketch using trim sheet option.
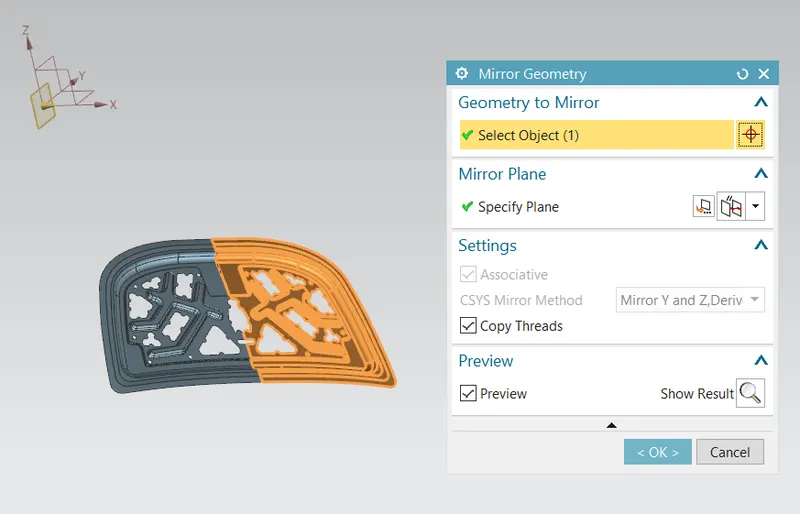
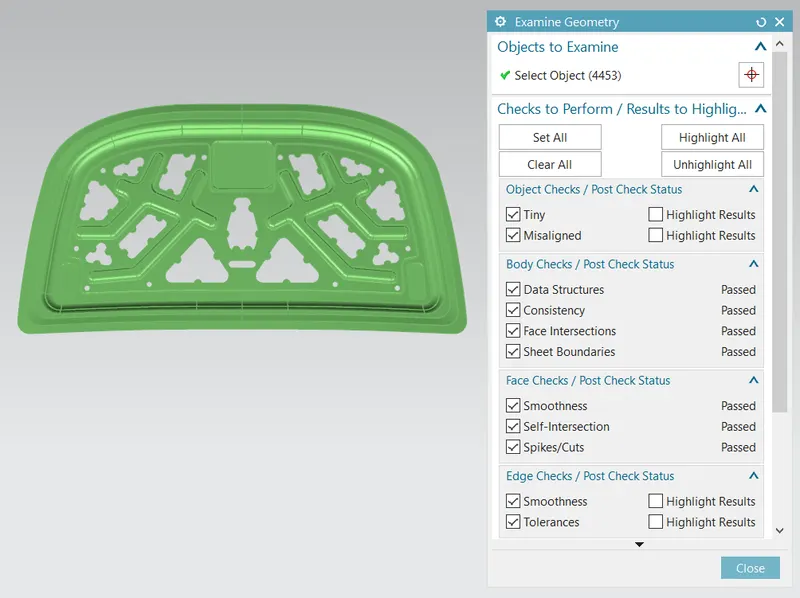
- Mirror the geometry and check that the sheets are perfectly joined using examine geomtry.
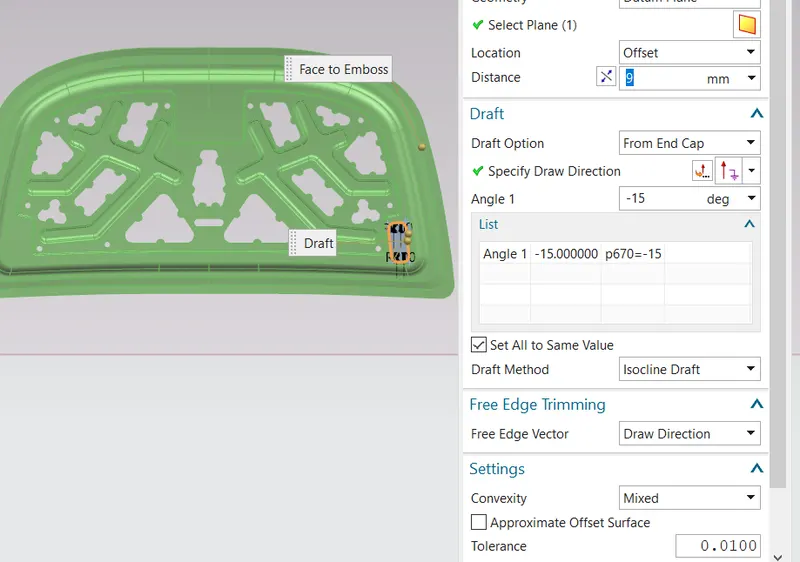
- Create an emboss for the hinge assembly and mirror geometry it.
- Finally add edge blend on the corners and thicken it to the value of 0.75mm
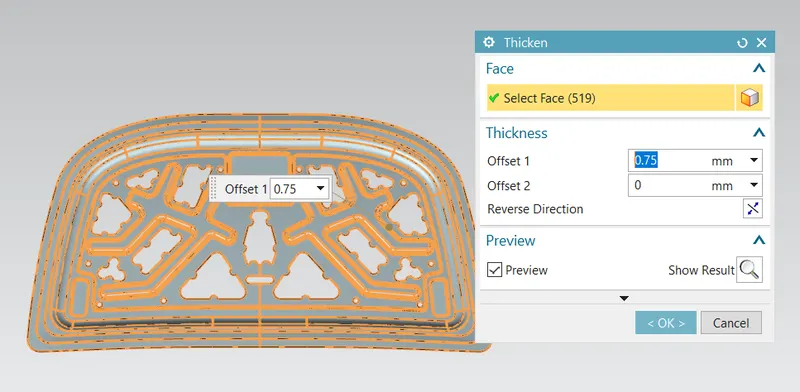
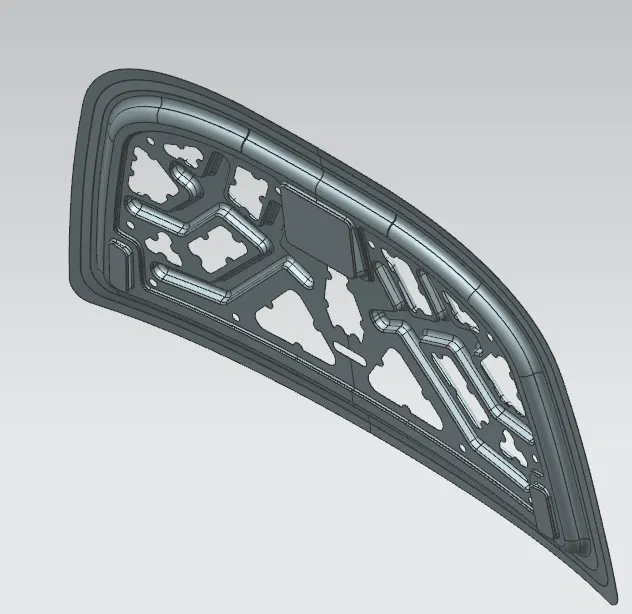
Views of Inner panel:
Front view:
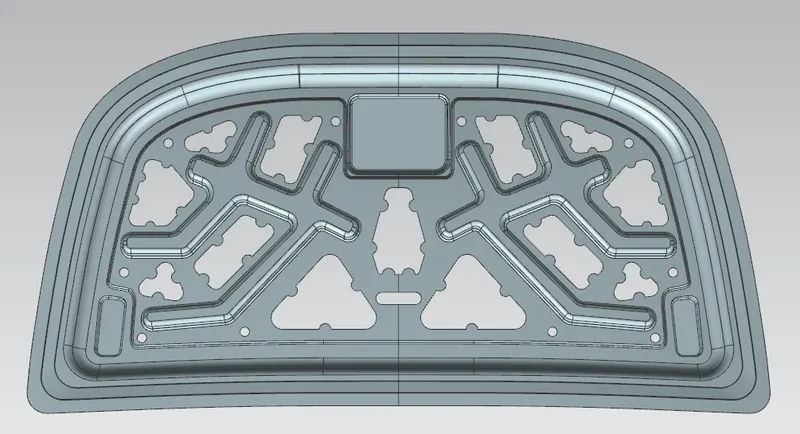
Top View:
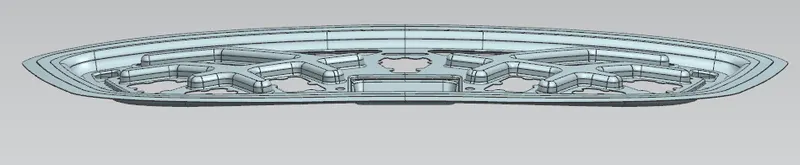
Side View:
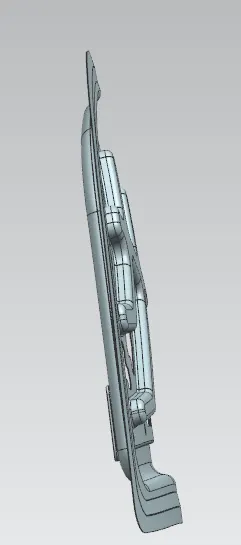
Isometric View:
Designing an Outer Panel:
- Offset the main sheet into 0mm for working purpose,and trim the half of the sheet and select the region to keep or discard.
- Offset the surface into the value of 0.3mm and create a offfset curve of 0.5mm on the edges.
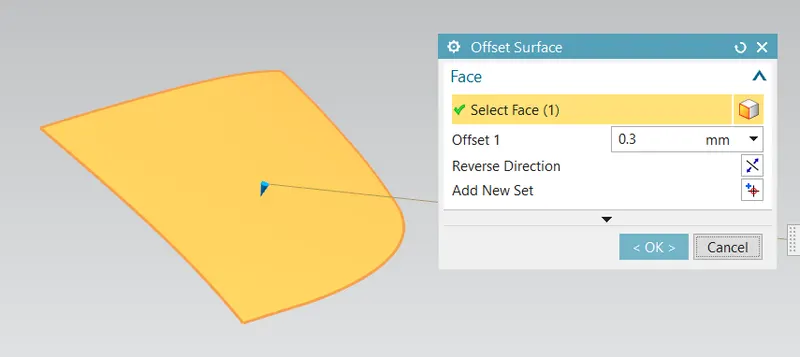
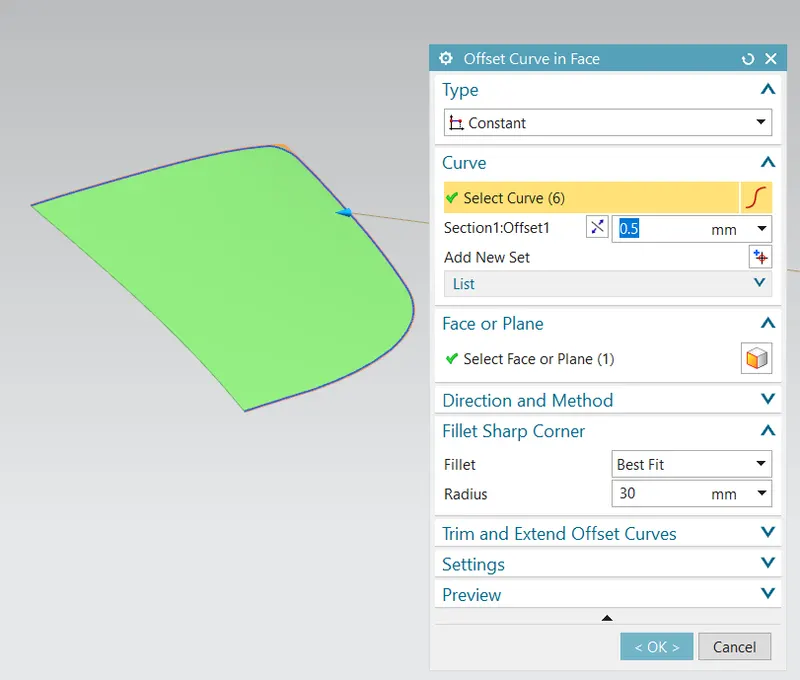
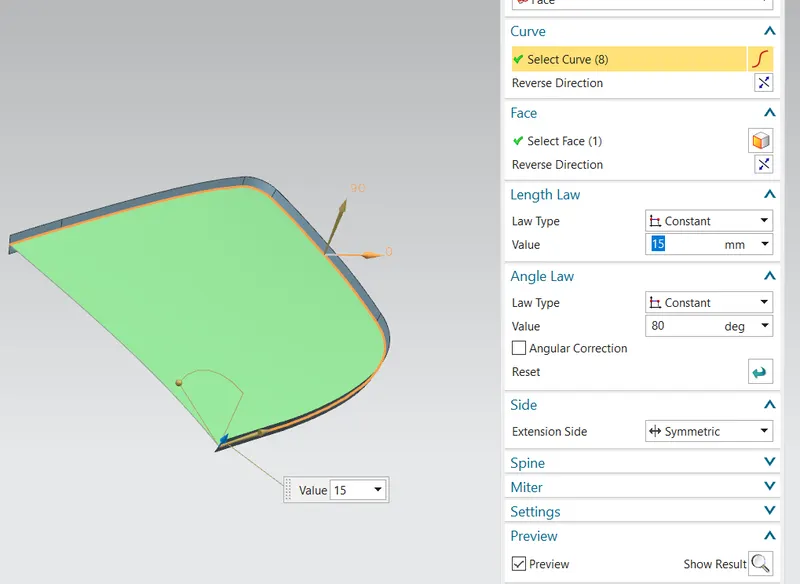
- Create a law extension on the curve and join the two sheets on it.
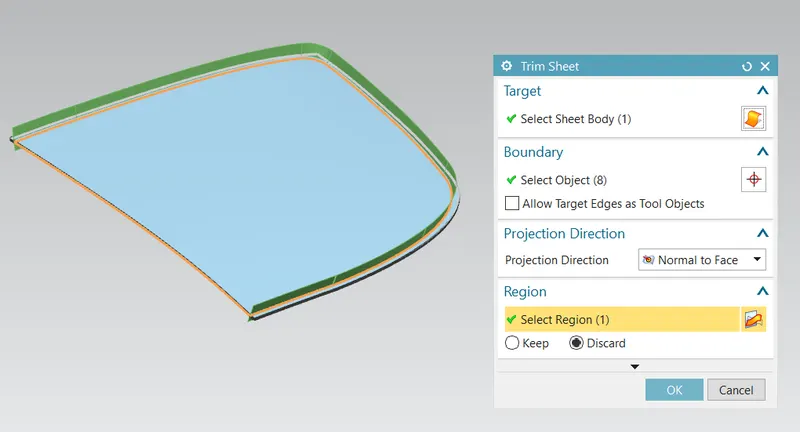
- Trim the sheet on the inside portion which is not required for the hemming process.
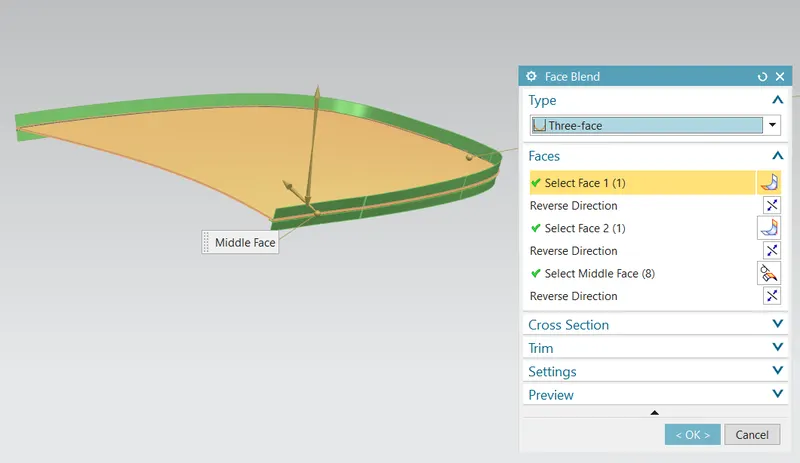
- Select a face blend 3 face option to achieve the hemming process.
- Offset the curve on the edge of the sheet to 0.5mm and trim it off to get the rear relief on the edge of the sheets.
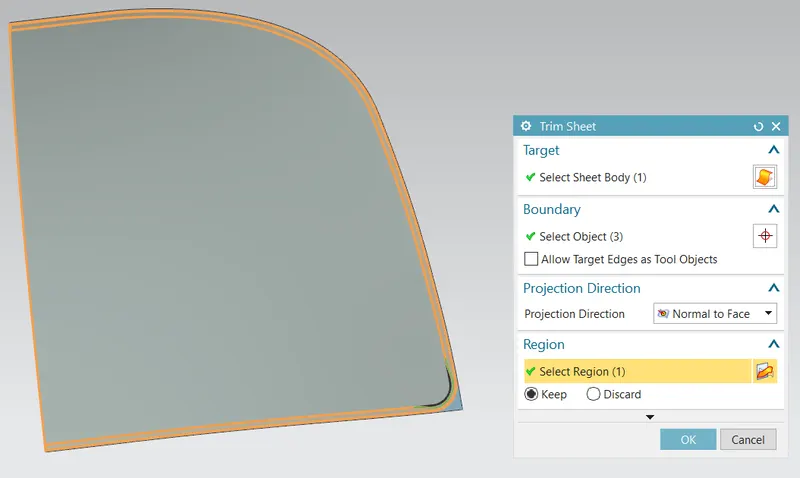
- Trim of the small curvature on the panel to create the front relief on the top of the sheet.
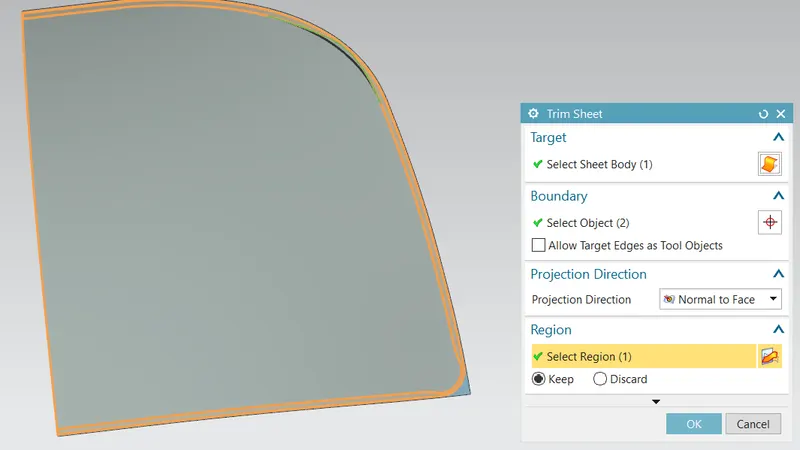
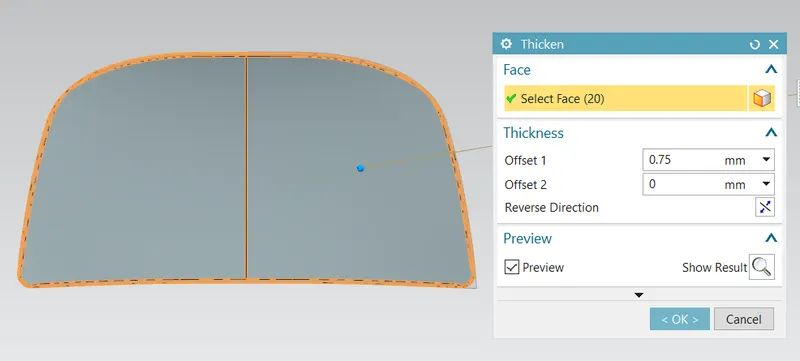
- Mirror the geometry and use the thicken command to make the sheets solid of value 0.75mm.
Views:
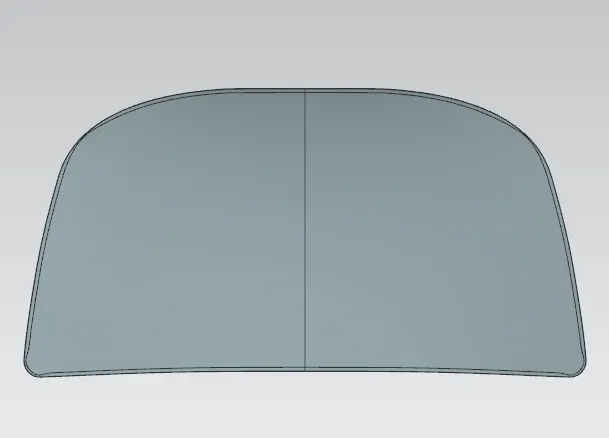
Front View:
Top View:

Side View:
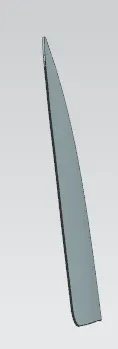
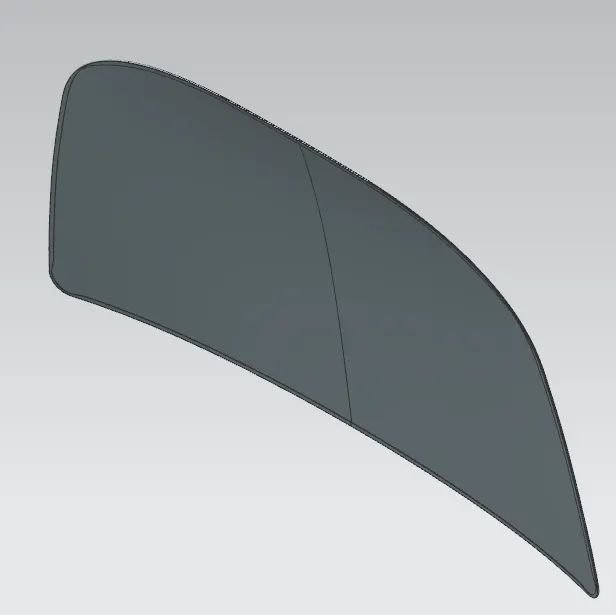
Isometric View:
Assembly:
- Insert all the parts and add them with the proper geometric assemble constraints.
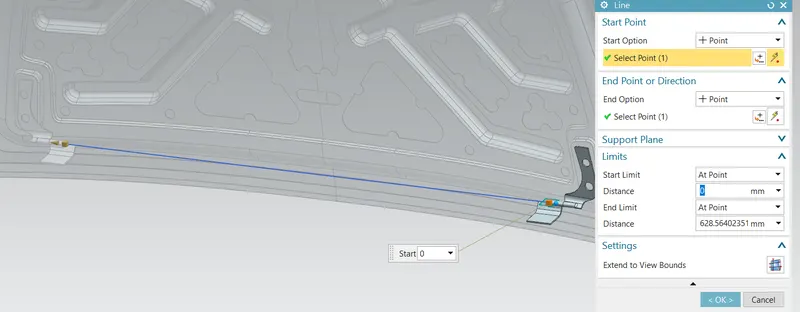
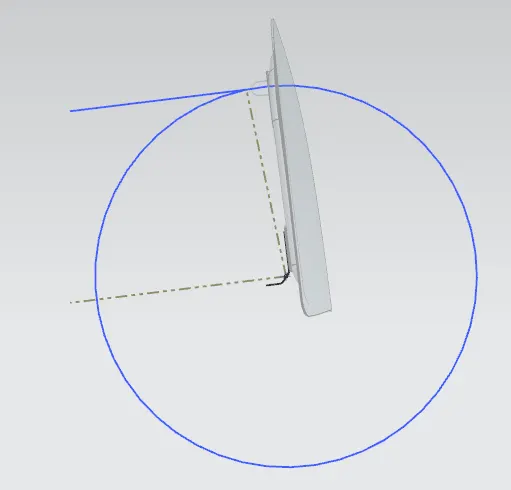
- Create a latch trajectory so that the hood can closes and opens in the particular axis.
- To create a axis select the points on the two hinges respectively and join the points by line option.
- Then W.r.t the axis create a datum plane on the centre of the axis and draw a circle which represents the latch axis.
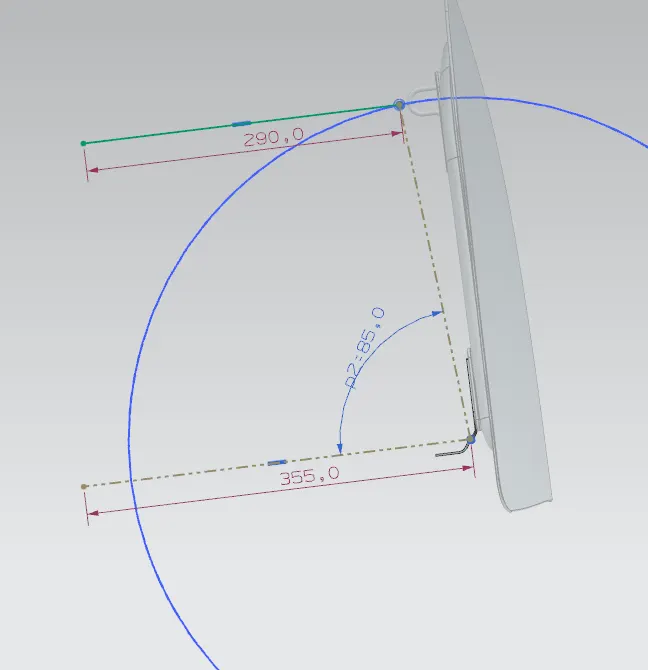
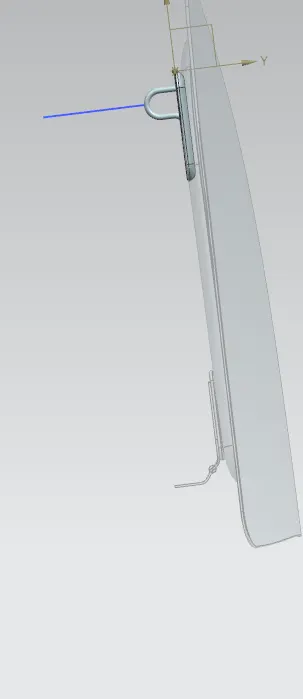
- Join the hinge assembly and latch (Striker) to the hood by using touch allign option.
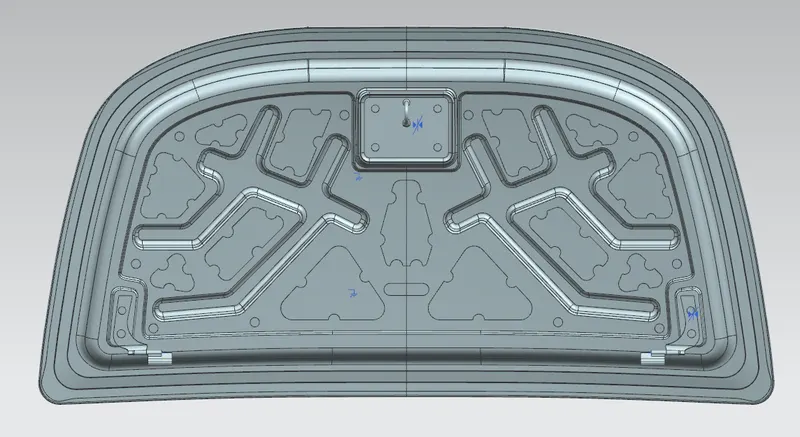
Views:
Front View:
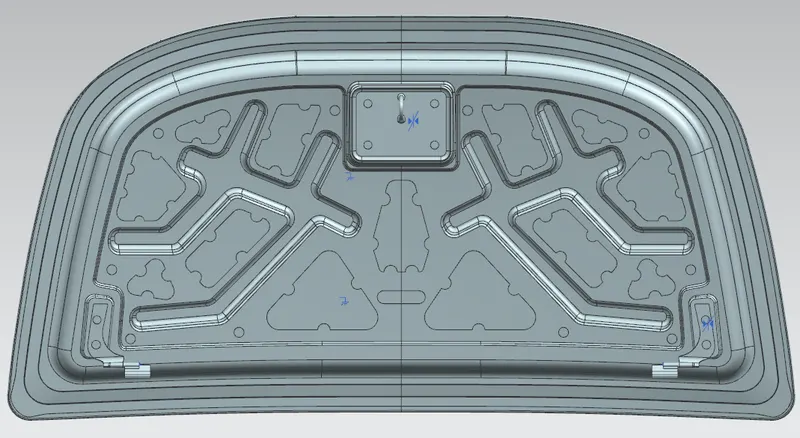
Top View:
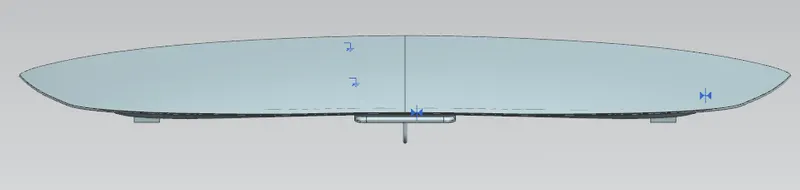
Side View:
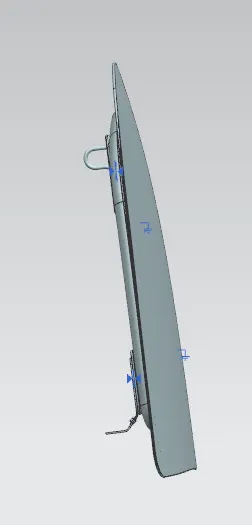
Isometric View:
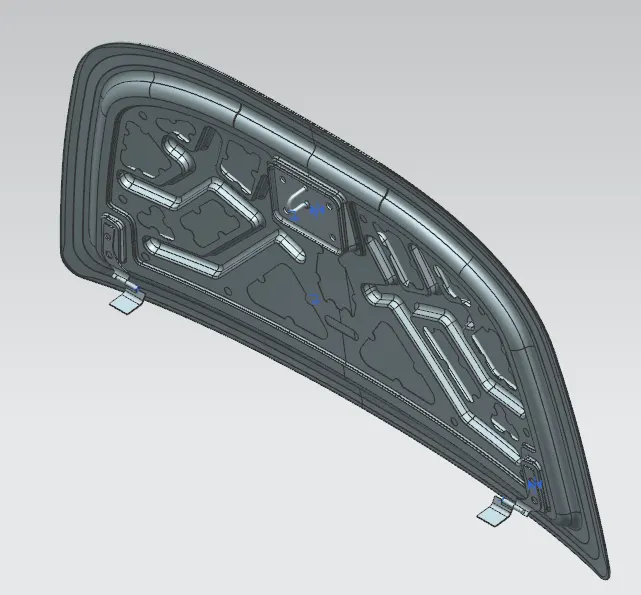
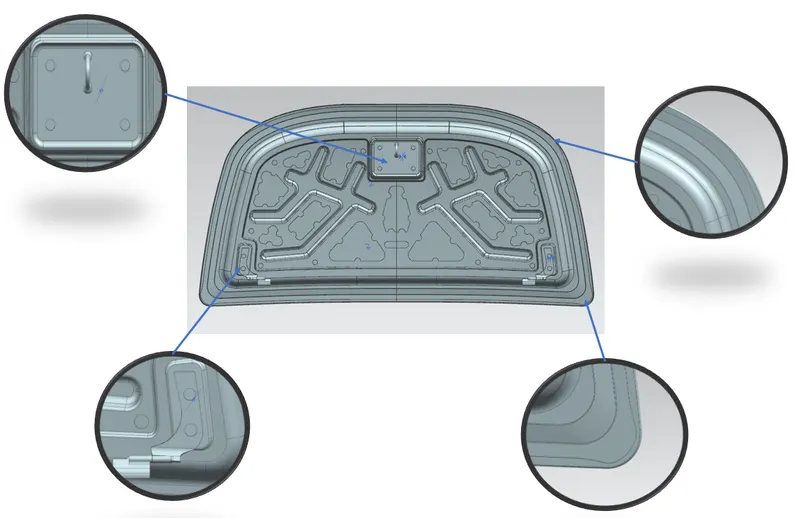
Conclusion:
- The hood panel is designed by Outer and inner panel along with latch and hinge assembly on it.
- The Hemming and sheet metal drawing process is also learned.