Creating Conceptual mass in REVIT and Creation of Sinusoidal curve and a Parametric stadium using Dynamo
1)
Aim: Using Dynamo, create a set of sinusoidal points and create a curve and create a surface out of the curve.
With the help of the Dynamo, we can work with enhanced BIM capabilities in Revit. Dynamo and Revit together can be utilized to
model and analyze complex geometries, automate repetitive processes, minimize human error, and export data to Excel files and other file types not typically supported by Revit. Dynamo can make the design process more efficient, with an intuitive interface and many pre-made scripting libraries available as well.
Procedure:
Step 1: Open a new architectural template and open dynamo using the manage tab.
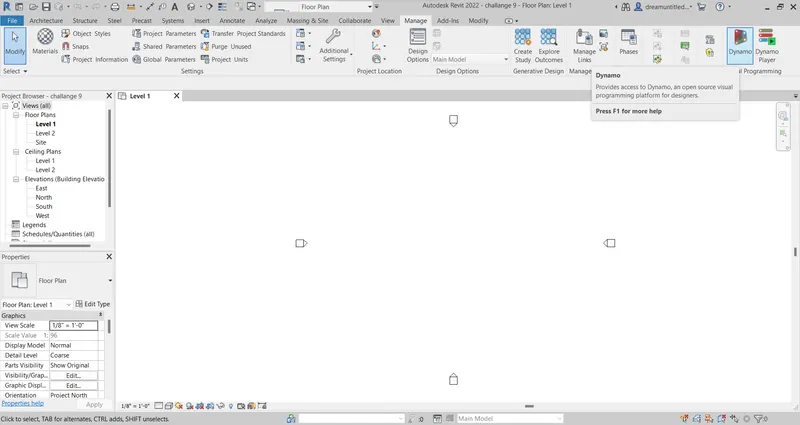
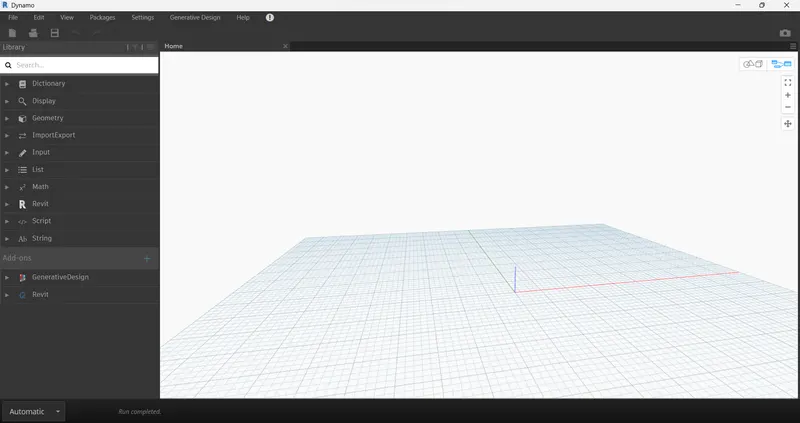
Step 2: Now create code blocks and use functions like range, points by coordinates, and sine function creates the sinusoidal pattern.
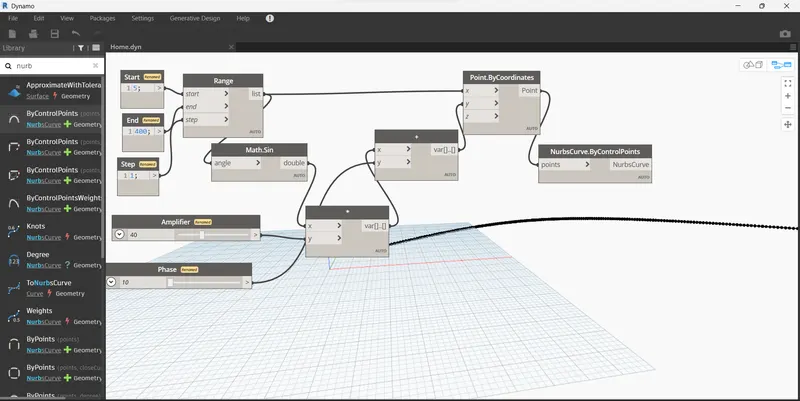
Similarly copy all code blocks and create three sinusoidal curves.
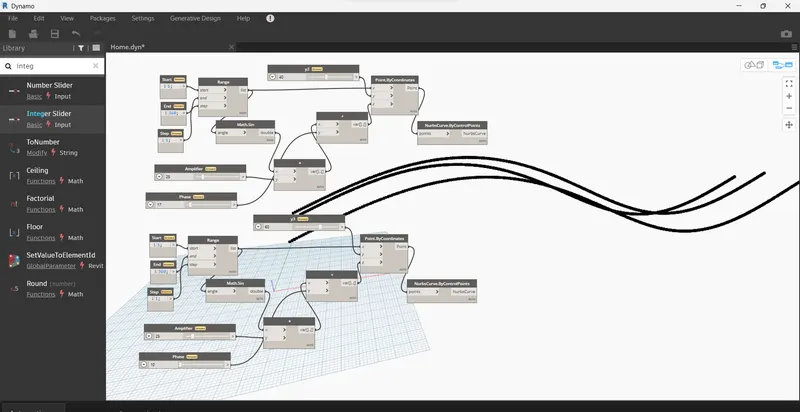
Step 3: now create a new list containing cross-sectional points of all three sinusoidal curves. Using surface by loft create the surface.
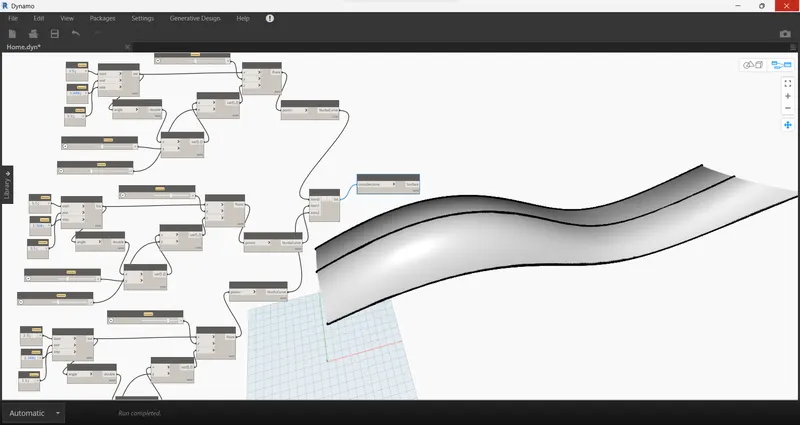
Result: Sinusoidal curves are created and using these curves a sinusoidal surface is generated.
2)
Aim: To create a conceptual layout of floor plan in dynamo . Using the tools available in dynamo link the lines to appropriate model elements in Revit by choosing the wall types and wall parameters. Make use of the sliders to slide through the height of the wall and length of the wall.
Procedure:
Step 1: Open an architectural template and using the manage tab open Dynamo.
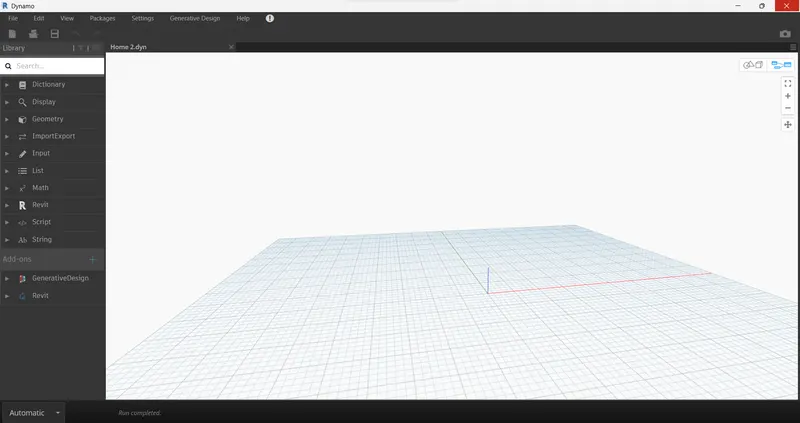
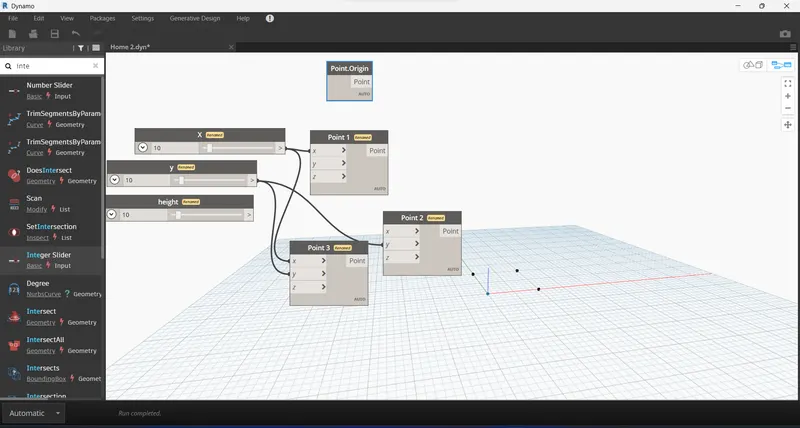
Step 2: Create 4 base points for floor layout. Add sliders for x, y, and z values for parametric adjustment. Also, join them by line function linebystartpointendpoint.
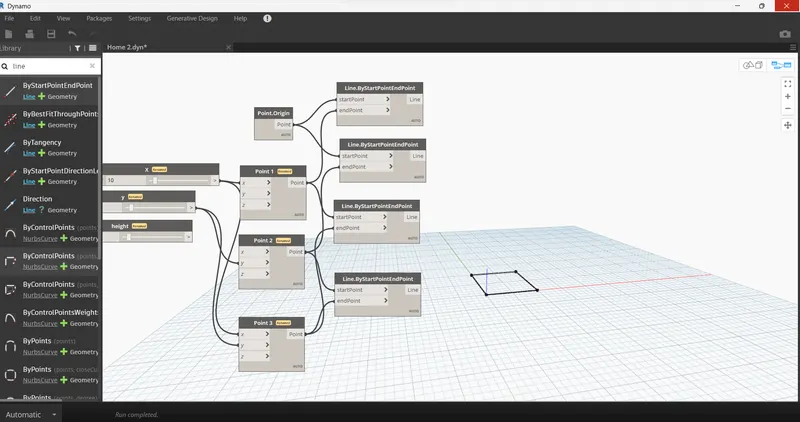
Step 3: Create a list using these lines and using wall ByCurvesAndHeight create wall surfaces. Add necessary parameters required.
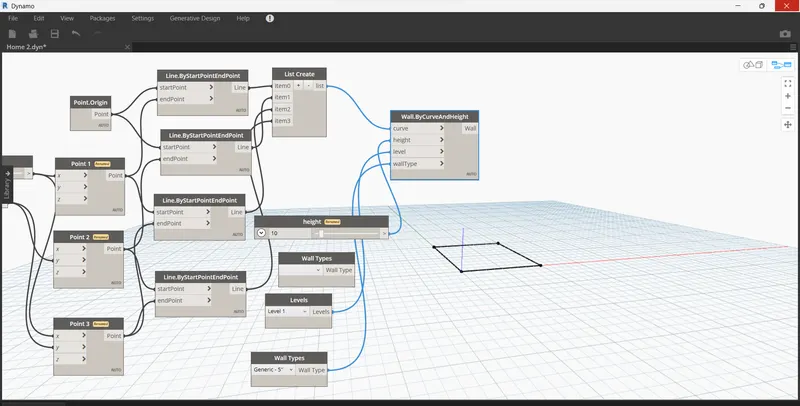
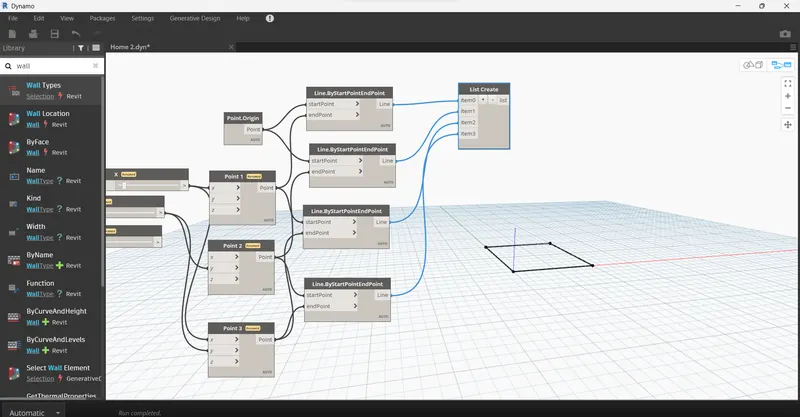
Changes will be reflected in the Revit workplace, adjust the height slider to vary the height of the building.
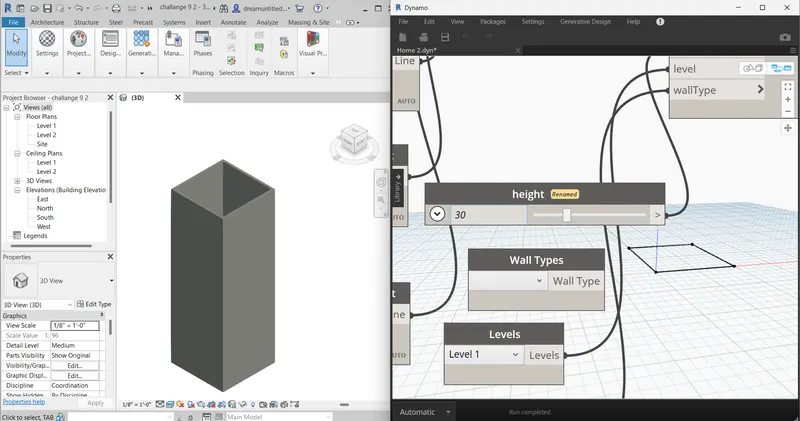
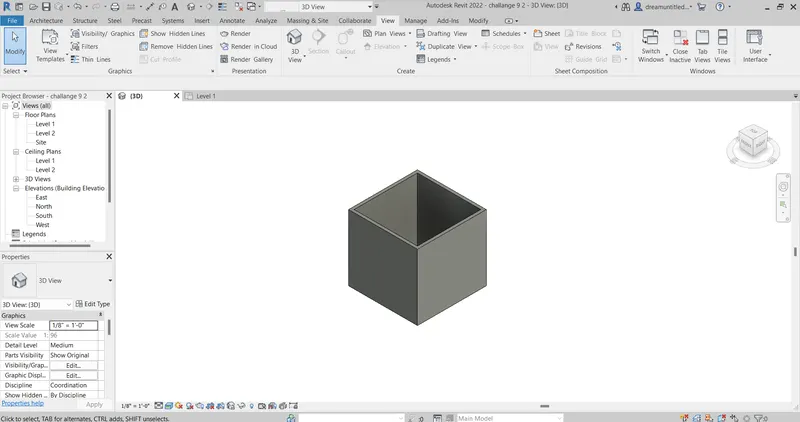
Result: In Revit, workspace changes will be reflected.
3)
Aim: To create an array of model elements in Revit. Use dynamo to vary the properties of model elements by using the slider or code block.
Procedure:
Step 1: Open Revit and create an array of columns using the Architectural tab.
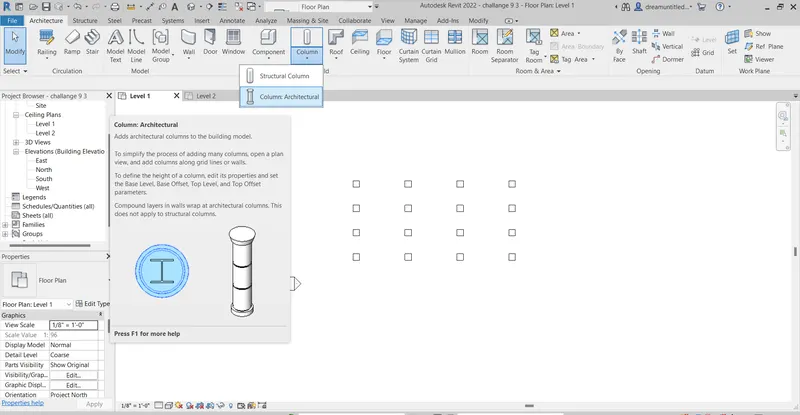
Step 2: Now go to the Manage tab and open Dynamo. Now search for Select Model Element. Also create a slider for rotation (degrees) and add a code block for Set Rotation.
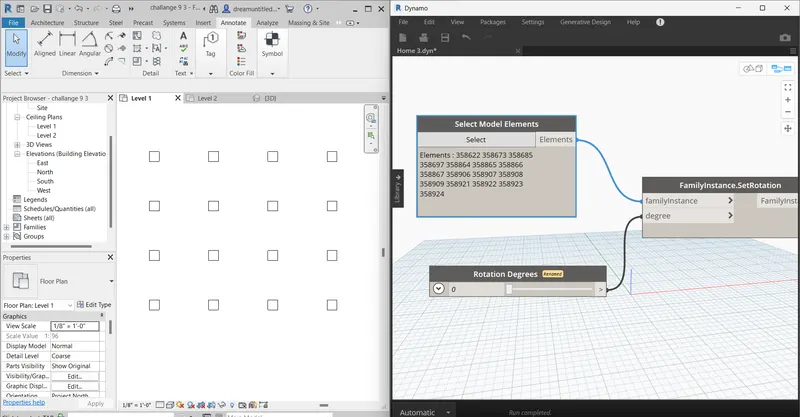
Step 3: Now use the slider to rotate all elements.
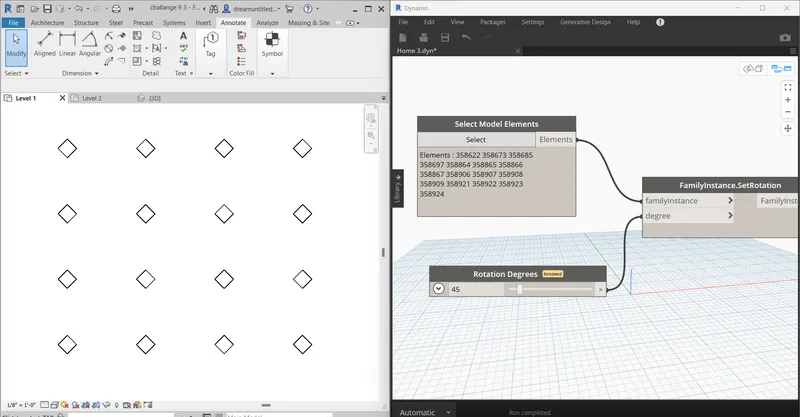
Result: properties of the elements are varied using Dynamo.
5)
Aim: To create a conceptual mass in Revit and develop a parametric column by dividing the surfaces and apply the concepts similar to used in parametric walkway modelling. Use triangular bent or square shaped panels to add finish to the parametric column.
Procedure:
Step 1: Open Revit and select New under Family and choose conceptual mass template.
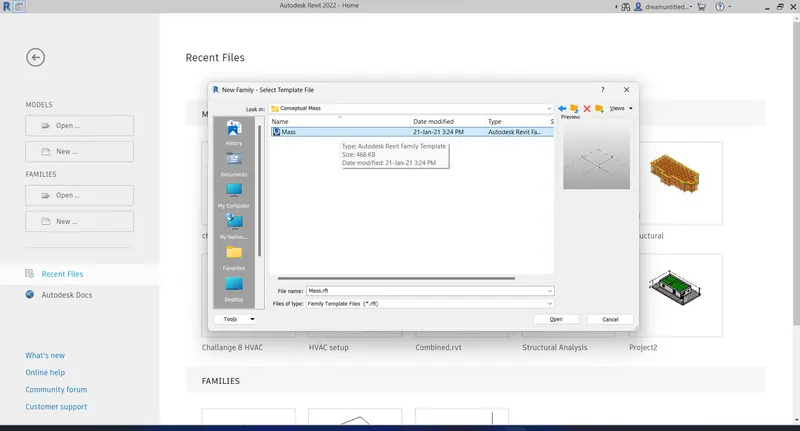
Step 2: Create different levels and draw a reference plane at each level.
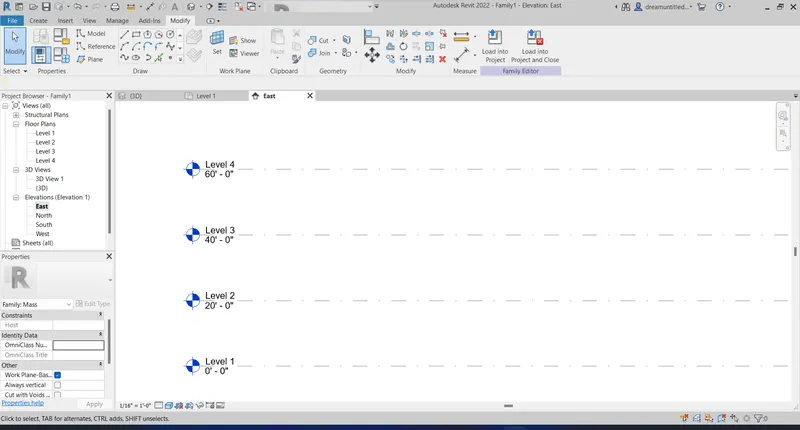
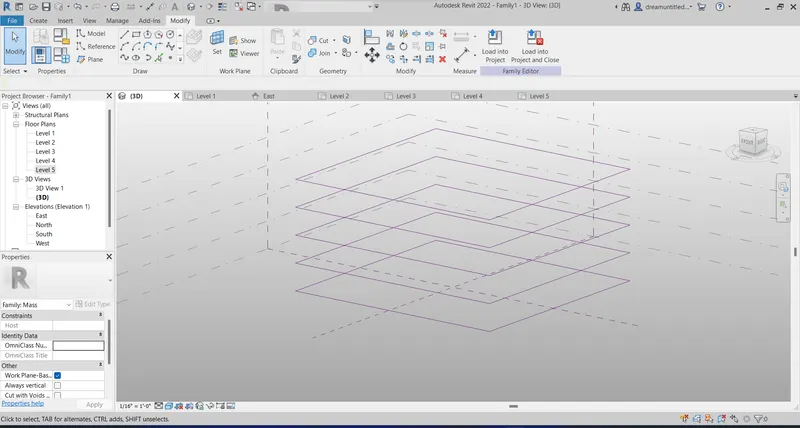
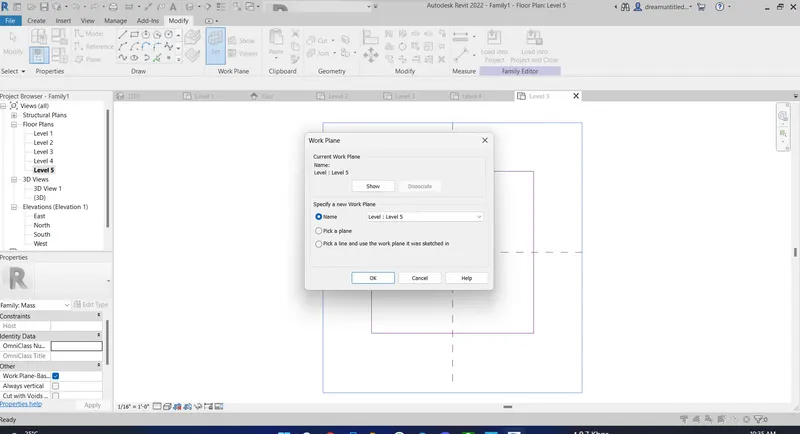
Step 3: Now set the plane at each level. Draw polygon at each level
Step 4: Now select all polygons and click on create form.
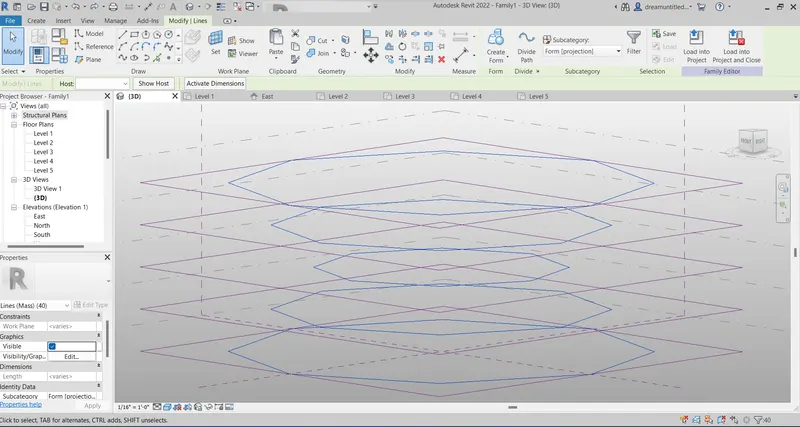
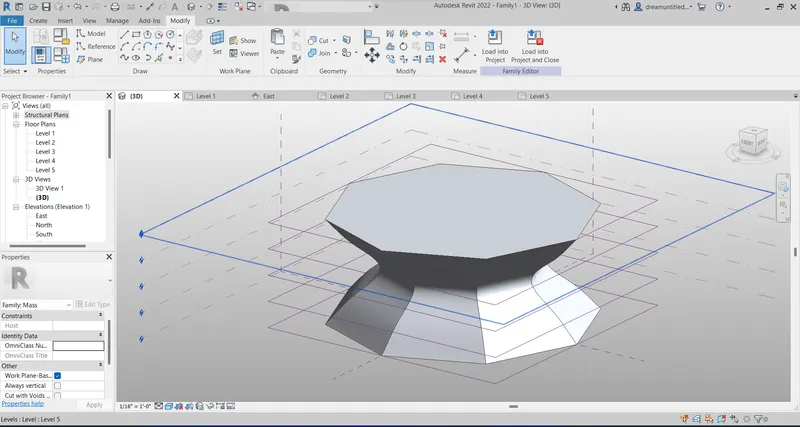
Adjust the level height.
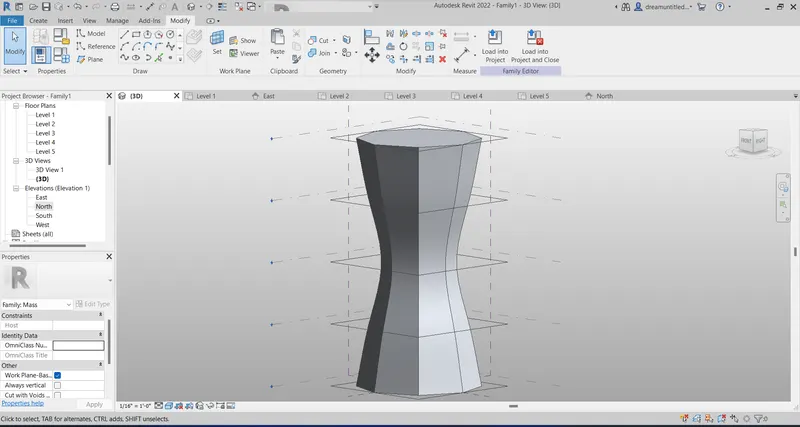
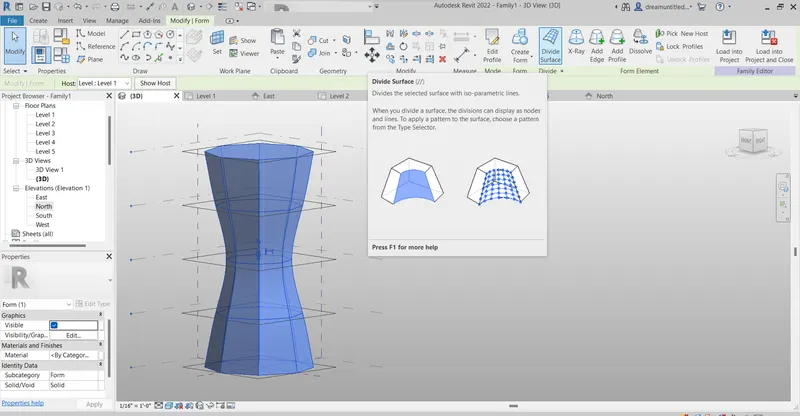
Step 5: Now select the form and click on Divide surface. As there is no pattern selected so select triangular bent.
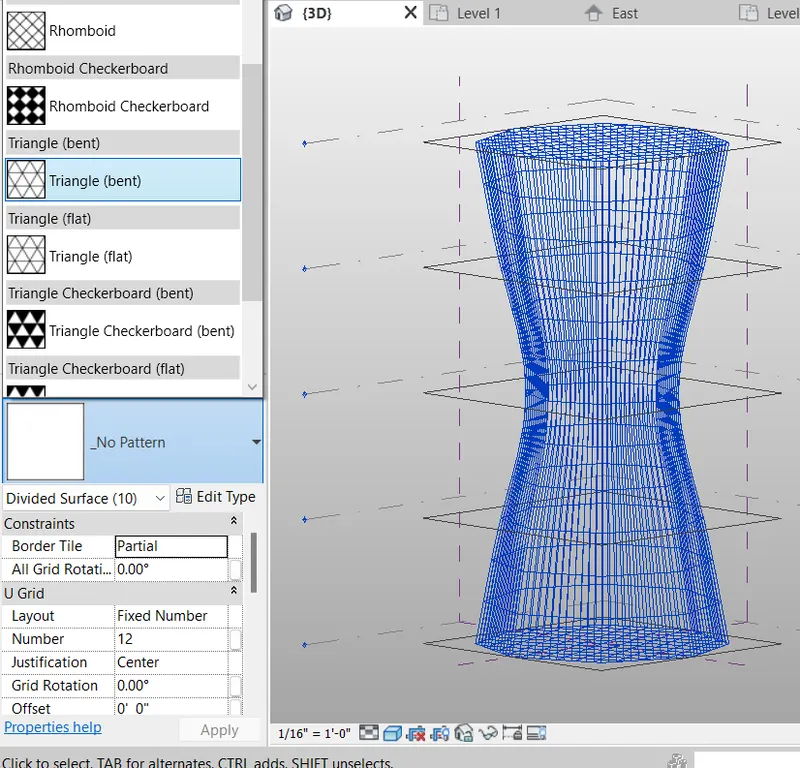
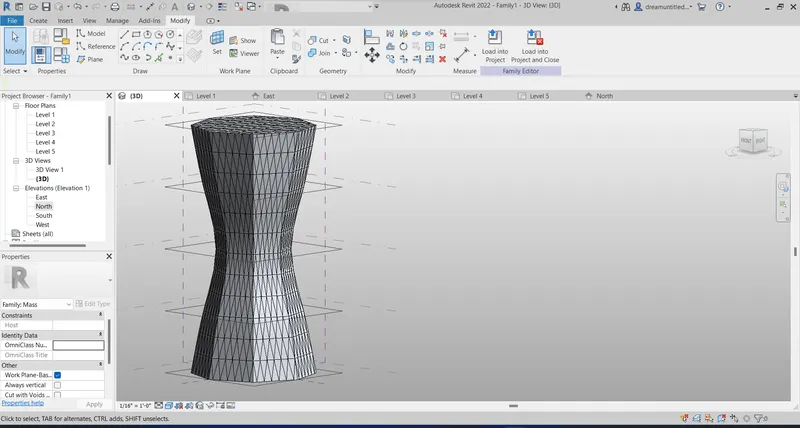
Step 6: Now choose any face of the column and adjust U V grids for better finishing.
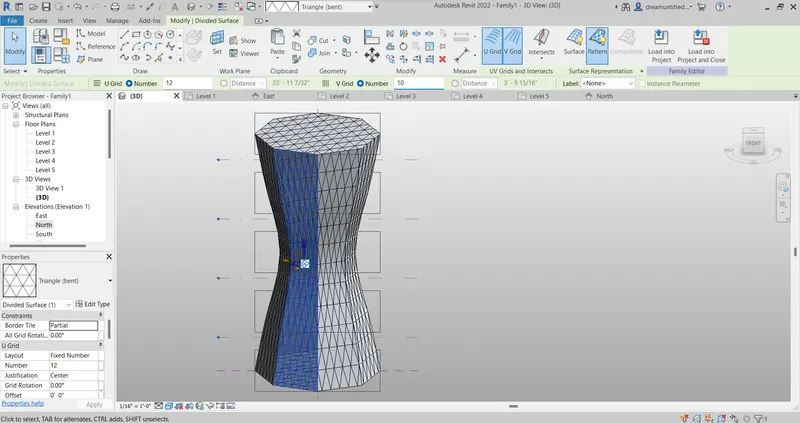
Result: Parametric column is modeled using conceptual mass.
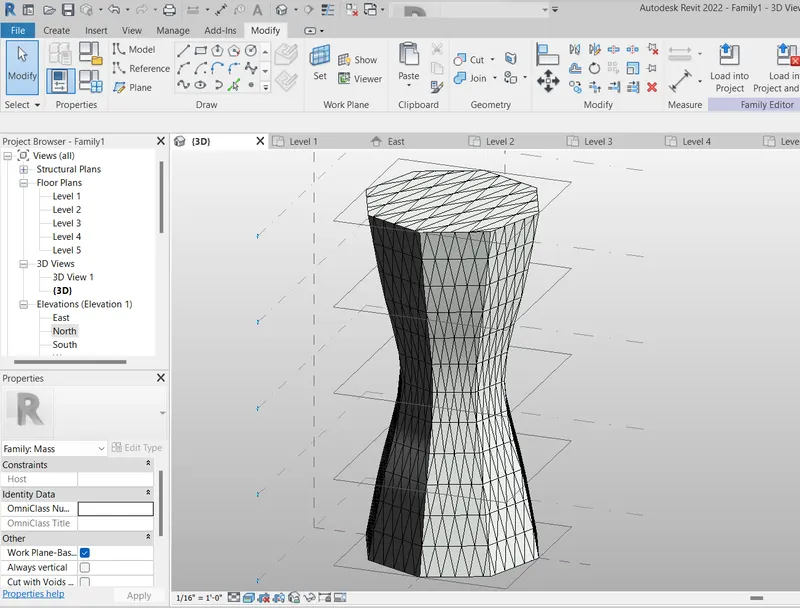
5)
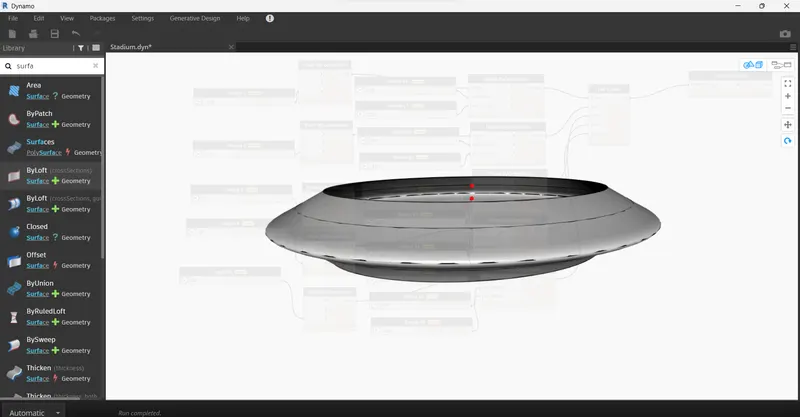
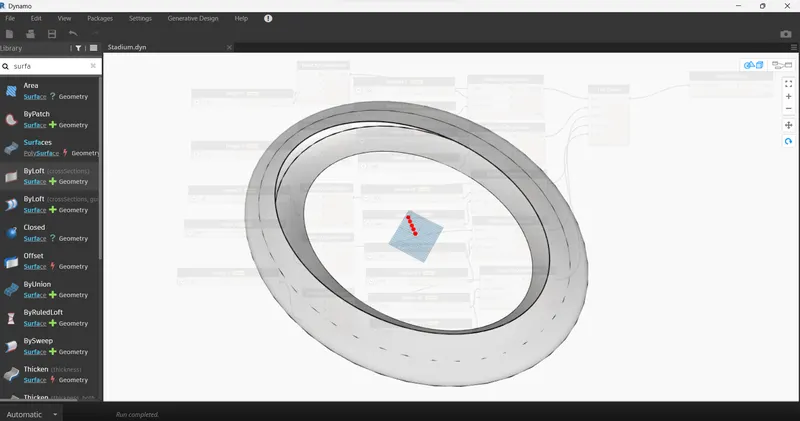
Aim: To Use Dynamo to work on developing a Parametric Stadium.
Procedure:
Step 1: Open a new architectural project and launch Dynamo.
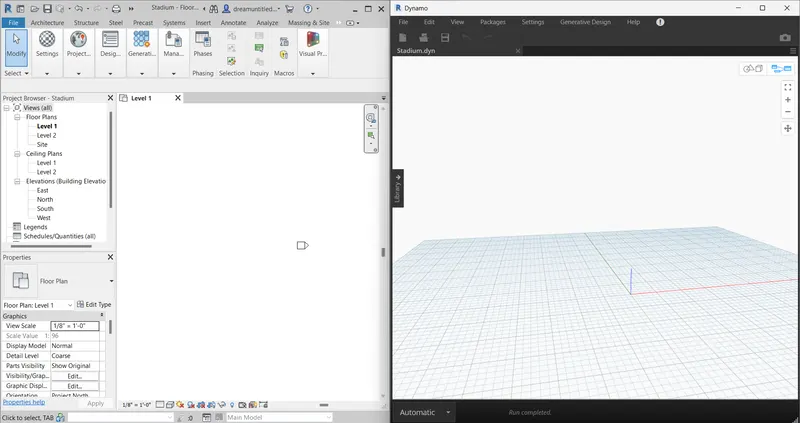
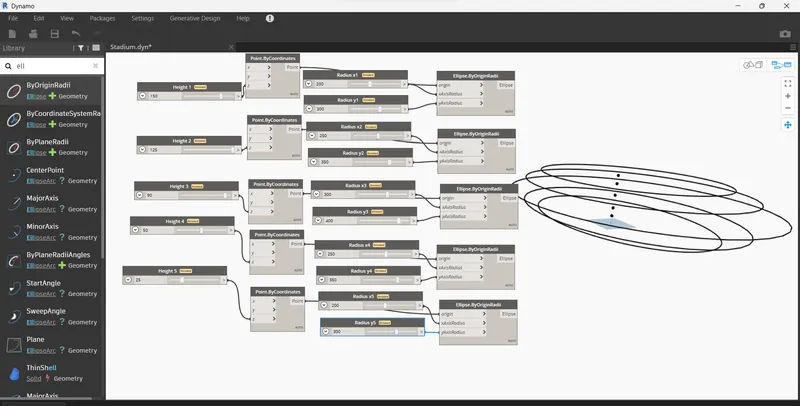
Step 2: Using integer slider and points by coordinate create parameters like radius and height. Using ellipse create stadium boundaries at various levels.
Step 3: Using list add all ellipse to list and using command By loft create surface.
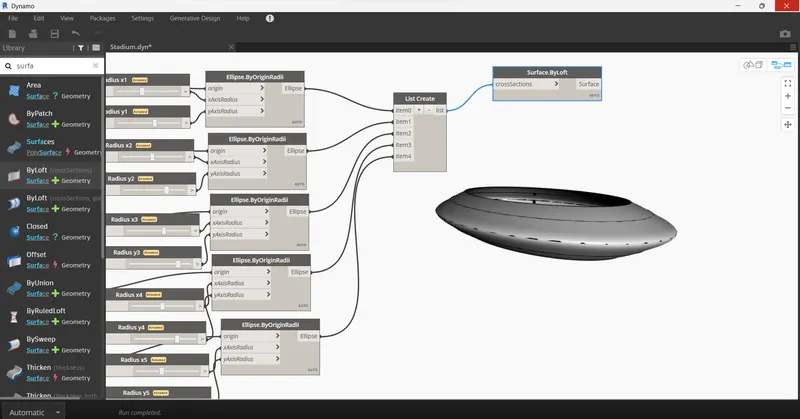
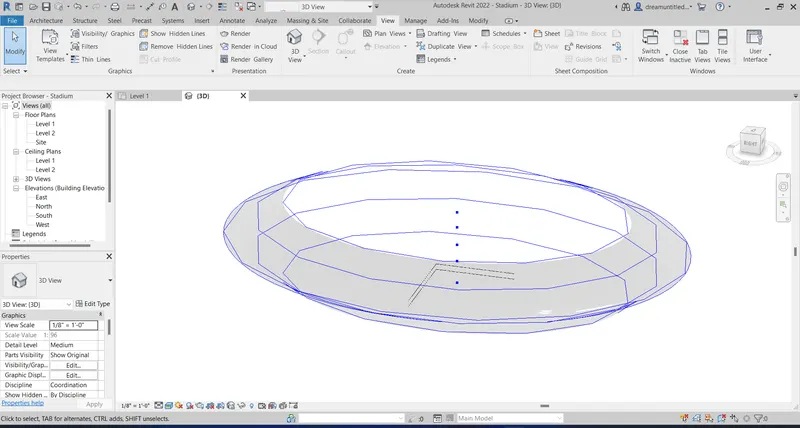
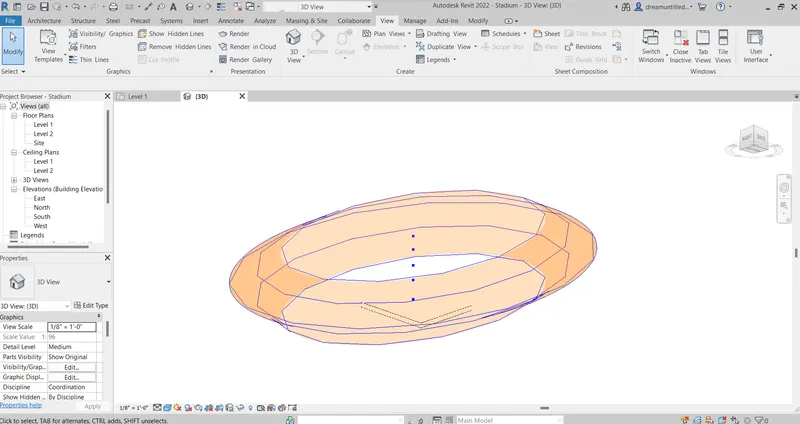
Result: Parametric stadium is created using Dynamo. The same is reflected in Revit's workplace.