Creating Levels, Grids, Layout and model elements for a residential unit using REVIT
1) BIM stands for Building Information Modeling that is a concept or a process used by Modeling tools such as Revit.
Features of BIM:
- Coordination: Autodesk Revit provides a collaborative environment that helps in coordinating with several other components and communicating with other designers or modelers. Coordinating with other persons helps in the progress of the project
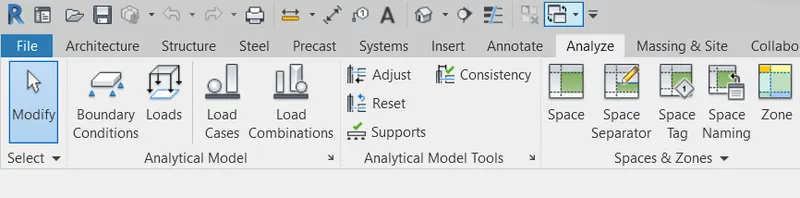
- Computation: Autodesk Revit also provides features for computation such as Analytical models for different boundary conditions, Support analysis, Reports and Schedules, Energy optimization, Route analysis, Structural Analysis. etc.

Benefits of BIM over 2D CAD tools:
- Any Changes in a view or part of the Revit project get reflected in all plans and views. Unlike 2D CAD tools, there is no need to make modifications in every view. It is Real-time Modeling that minimizes the time for making changes repeatedly.
- BIM allows us to make electrical systems and mechanical systems simultaneously.
2) Concept of Categories, Families, Elements, Instances in Revit
- Categories are the predefined properties in Revit such as Doors, Windows, Floor, We can also create a new category of an element by defining its properties. A group of elements having the same properties can be classified under a category.
- Families are groups of elements in categories that have similar types of properties. For example, the Door is a Category but in the Door category, there are different Families like Single-Flush which has different elements.
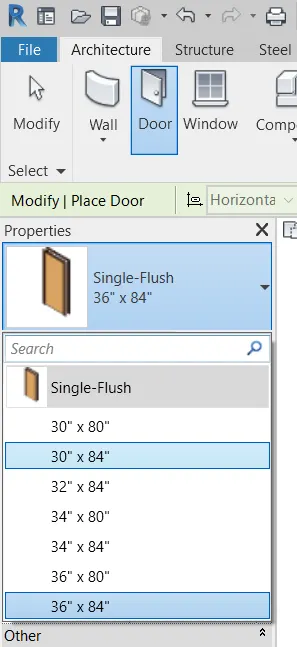
- Elements are the components that are used to represent some structures or things.
- Instances are the components that are not present in a family or category. They are manually created by the user and inserted into the project.
3)
Objectives: Open a project file with architectural template. Save the file with appropriate name. Set up the project units to Imperial / Metric based on your convenience of modelling. Complete the project information under Manage tab. Set up the maximum backups for project files to 3.
Step 1: Launch Revit Software
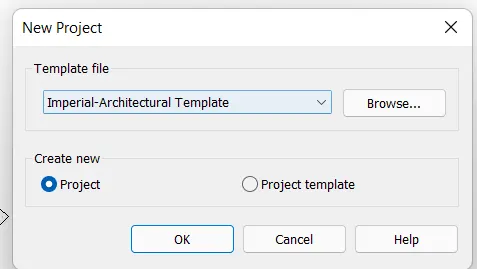
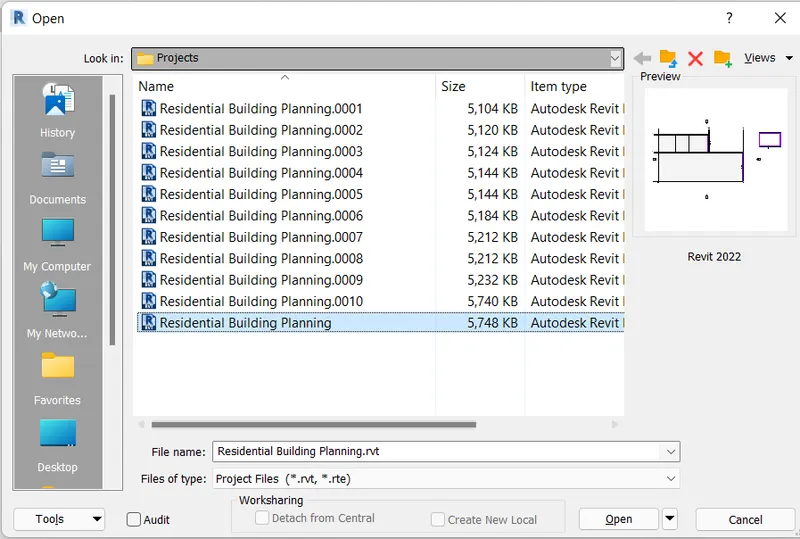
Step 2: Open a project file with architectural template. Choose units to imperial or metric Now save the file with appropriate name. Save it with a Suitable name.
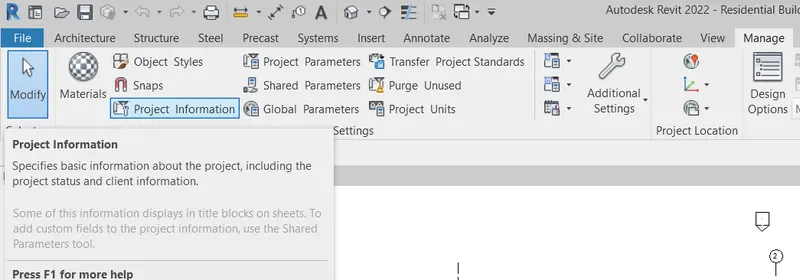
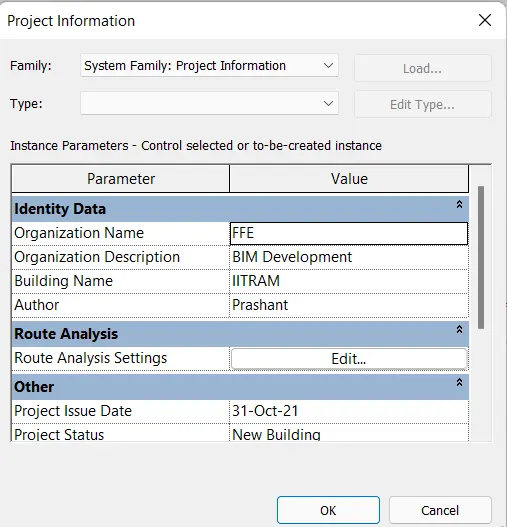
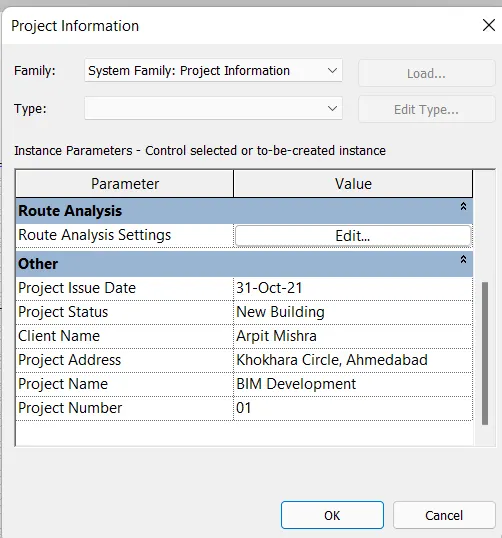
Step 3: Click on manage and choose project information. Fill in the relevant details regarding the project and Click on OK.
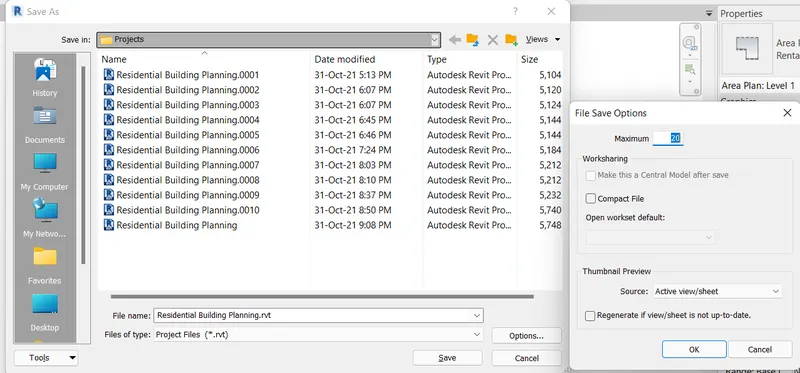
Step 4: From File Menu click on Save As then click on the options and specify the maximum number of backup copies. We can also save a project by Ctrl + S key.
4)
Levels are finite planes that help to define project context or boundary. For example, ground floor, first floor, etc are levels in Revit.
Grid is an annotation tool consisting of grid lines that help to create reference or framework for the design of the project.
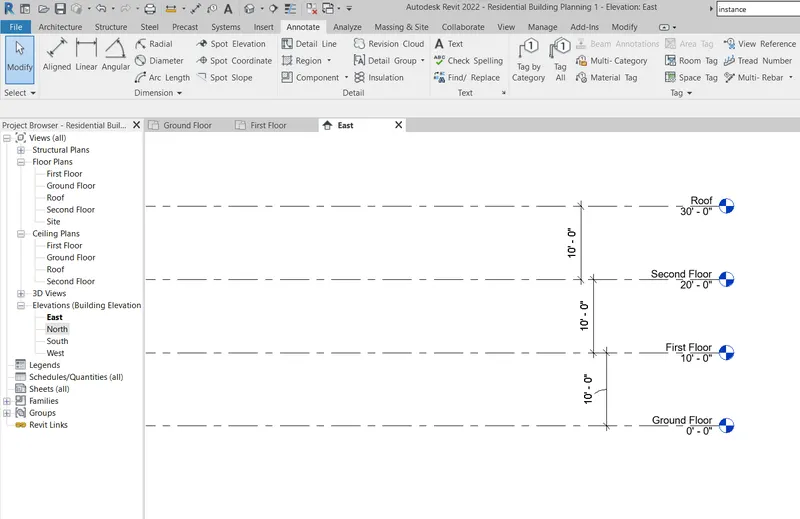
Objective: Create the following Levels: ( Convert to metric equivalents if metric is your units)
- Ground Floor @ 0’
- First Floor @ 10’
- Second Floor @ 20’
- Roof @ 30’
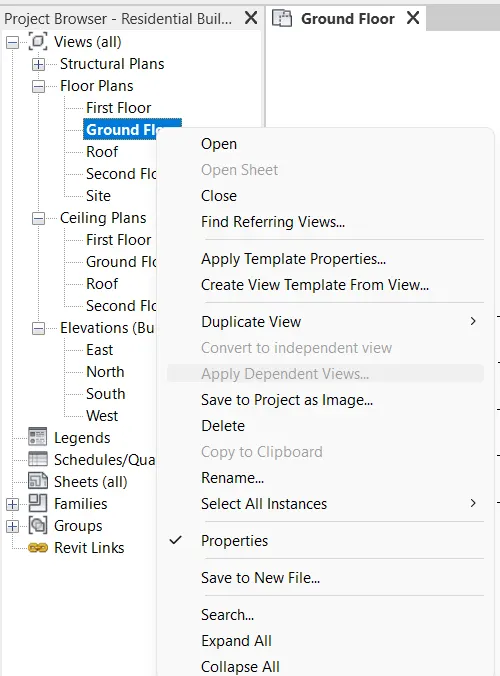
Step 1: Open a project file and rename levels shown in project browser.
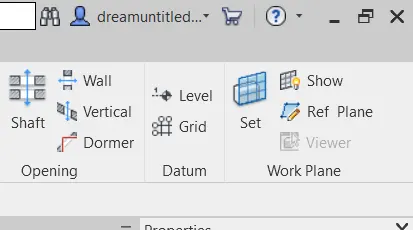
Step 2: Insert New Level from level tool in Architectural tab
Step 3: Open any elevation view from the project browser and adjust the relative position of the levels.
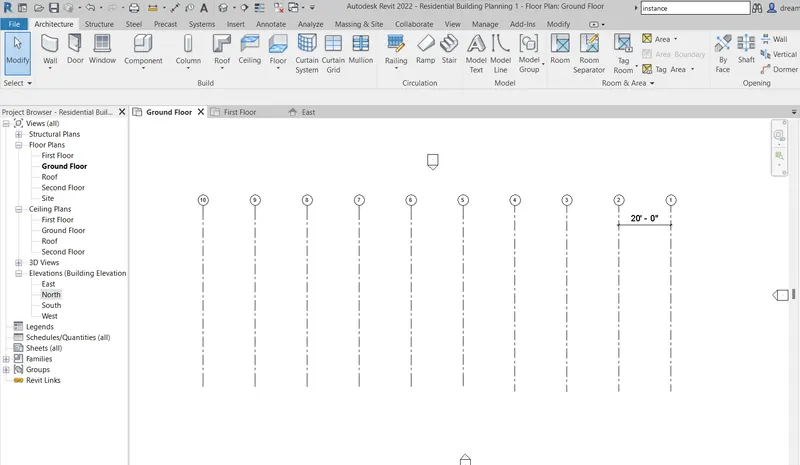
Step 4: Open any level for example Ground floor. From Architecture choose Grid.

Step 5: Start drawing longitudinal grids having a spacing of 20' and name them 1 to 10.
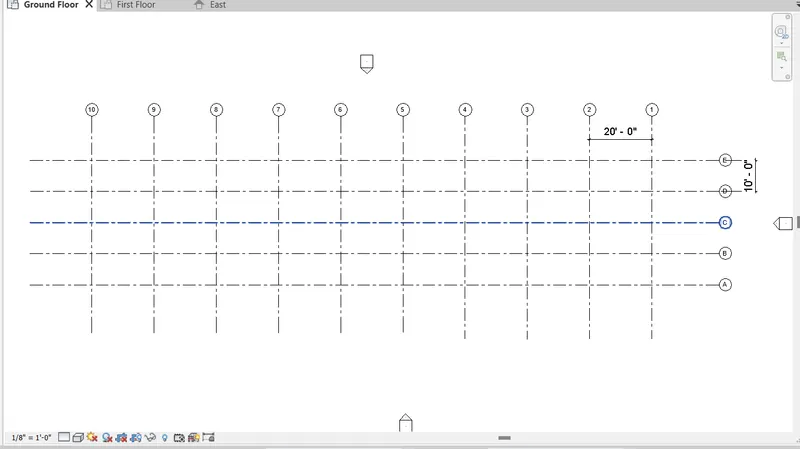
Similarly, Start drawing transverse grids having a spacing of 10' and name them A to E.
5)
Objectives: To create a conceptual layout of the residential unit (3D Modeling).
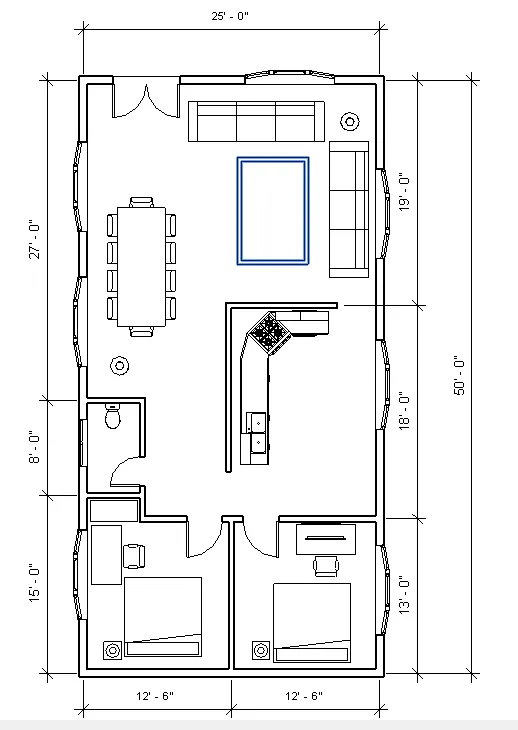
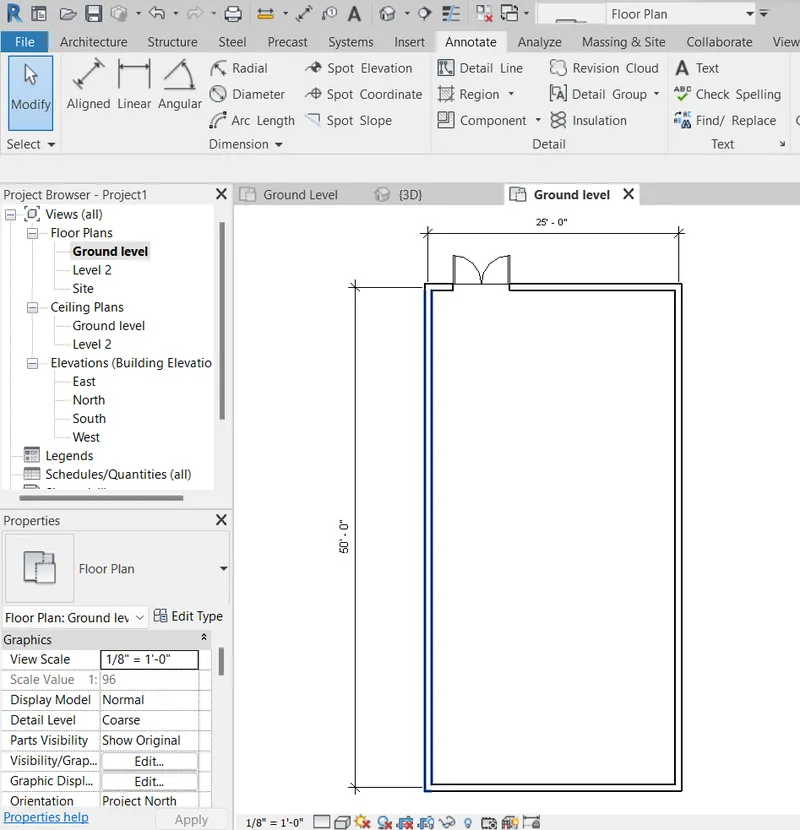
Step 1: Choose the dimensions and area of the plot or building. I have chosen an Area of 1250 sq ft of dimensions 25 ft x 50 ft. Open revit architectural project and plot this area and outlines with wall on ground level.
Objective: In the layout created draft the level of details you are planning to include – Dimensions of room, components you plan to add in the residential unit.
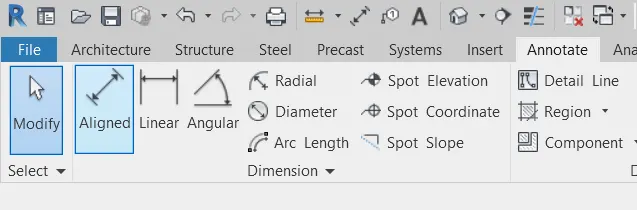
Step1: Start dividing area for rooms, kitchen, washroom, and hall, etc. Froom Annote toolbar marks dimensions of all rooms.
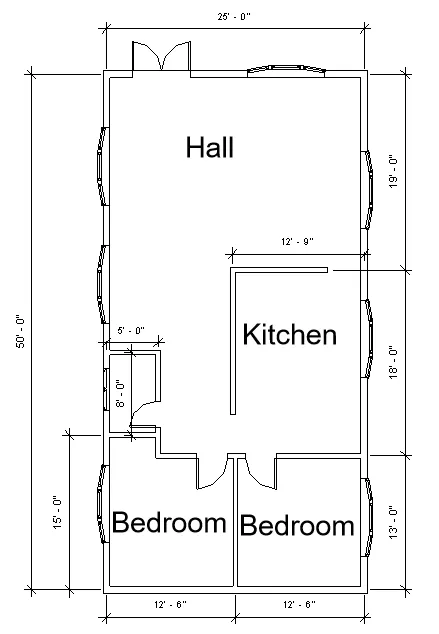
Step 2: Using Tag Area also denotes their area.
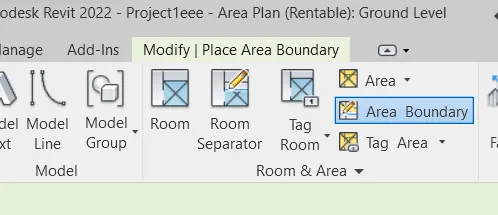
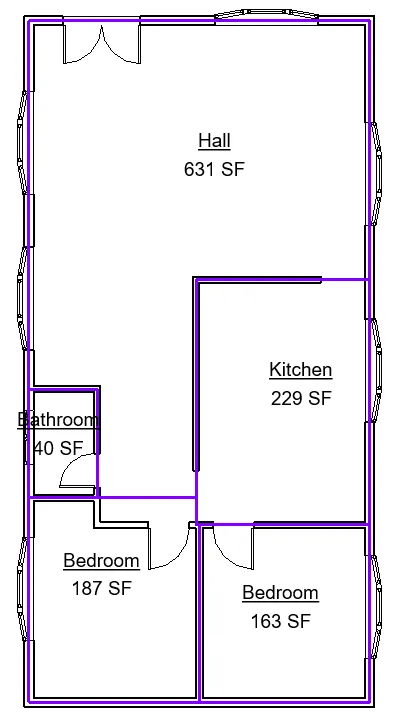
7)
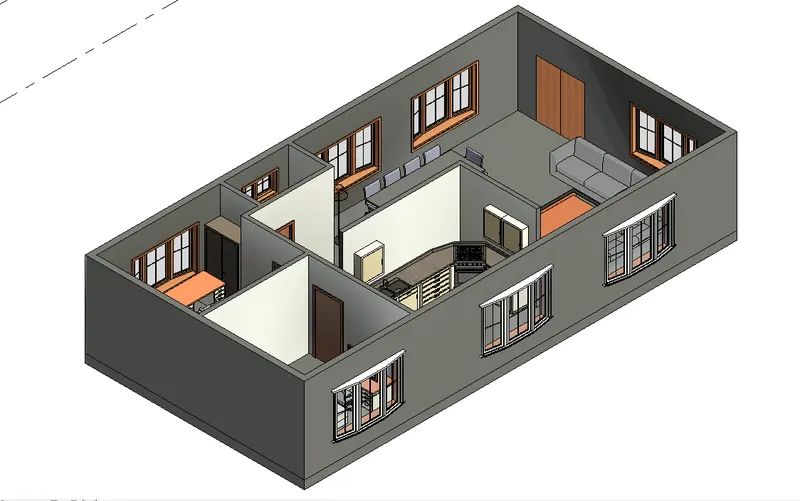
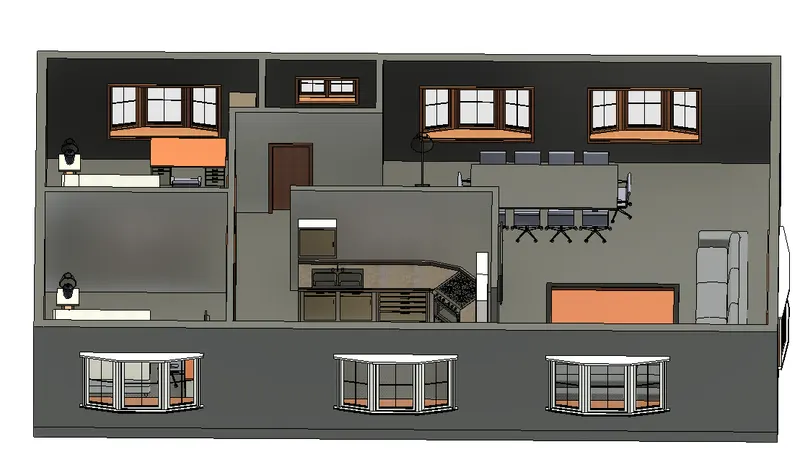
Objective: To dentify the residential model elements such as Door, Windows, Tables, Chair, Couch, Bed, Lamps from the library and insert them to the model.
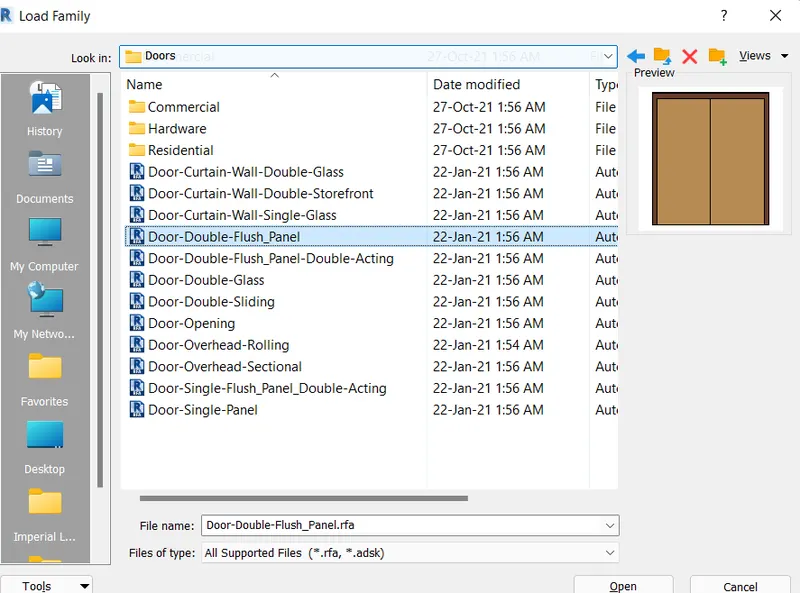
Step 1: From the Insert menu click on Load family.
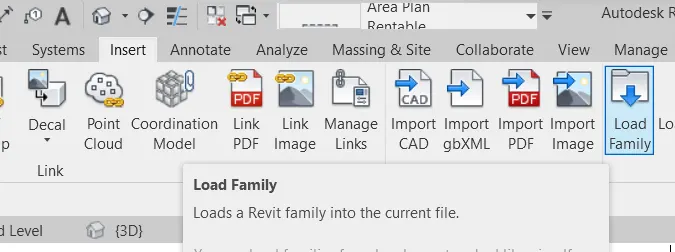
Step 2: Load the components or elements you want to add in the project.