Introduction to REVIT concepts
1)
Objectives: To create a new project (Structural / Architectural / Construction template ) and giving a suitable name.
Step 1: Launch Revit Software
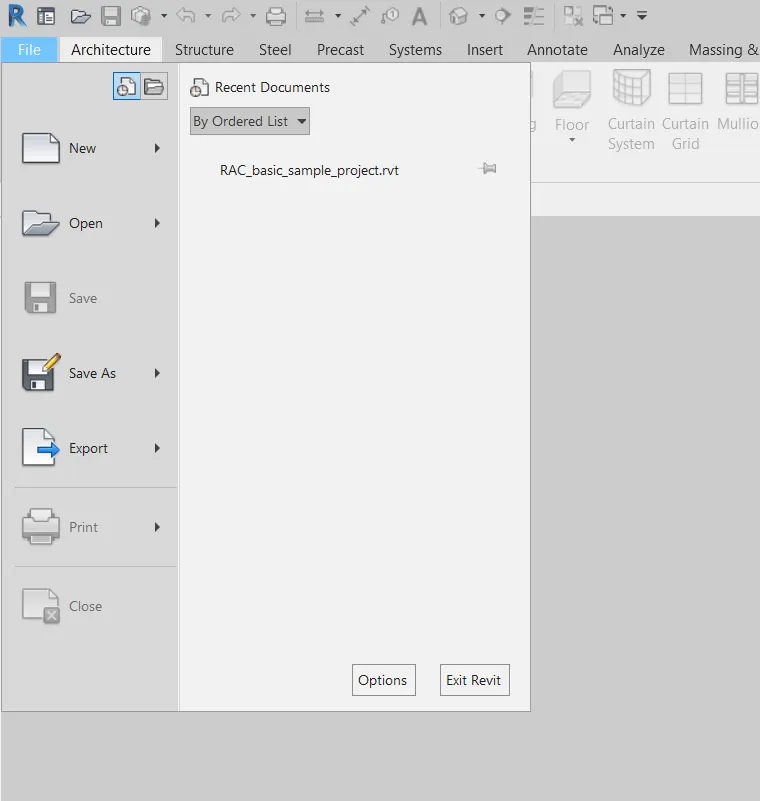
Step 2: Click on the File menu
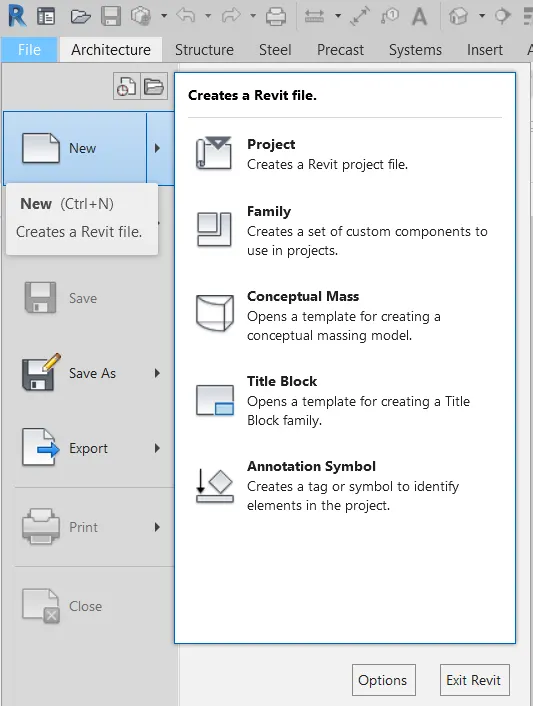
Step 3: Click on the New and select project.
Step 4: A box will appear with different templates of the project.
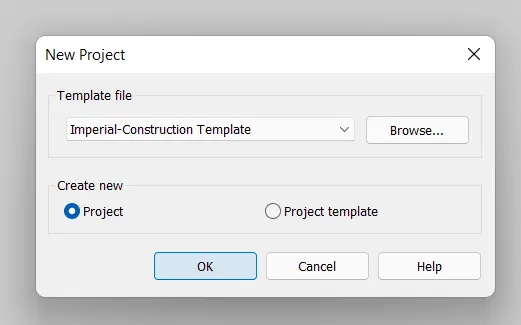
Step 5: Choose the appropriate template and click on OK.
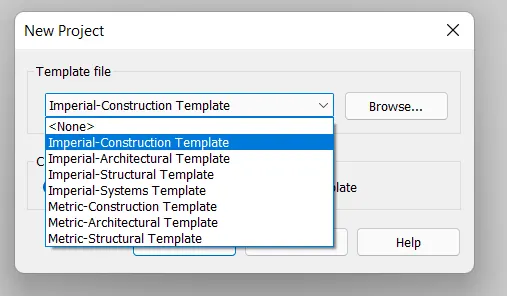
Step 6: A new project will be created.
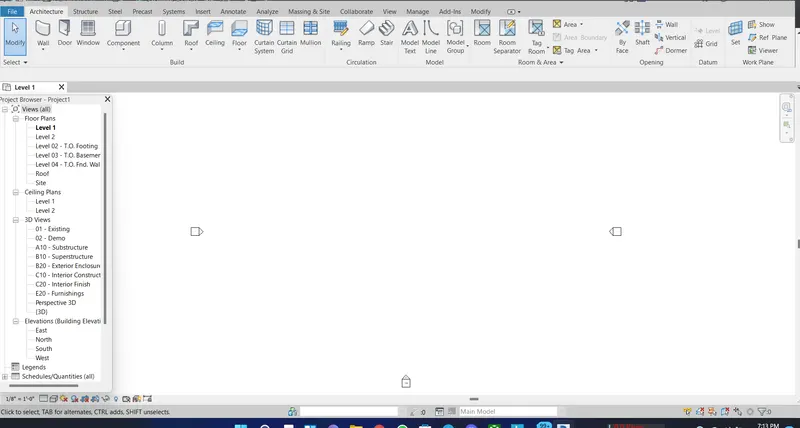
Step 7: Now save this project and give it a name.
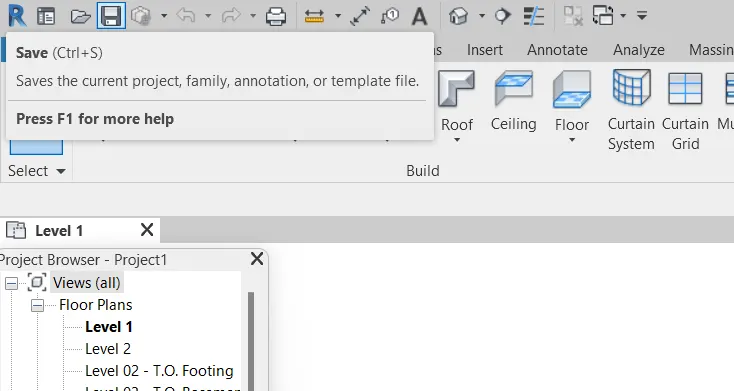
Click on the icon shown in the image or type Ctrl + S to save project.
Step 8: Specify saving location and given appropriate name to file.
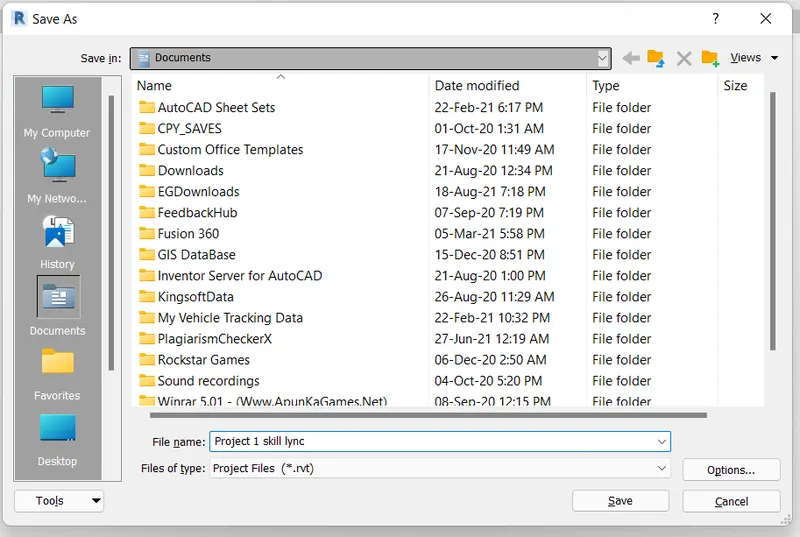
2)
Objectives: To save the new project file. Close and open using icons from file toolbar
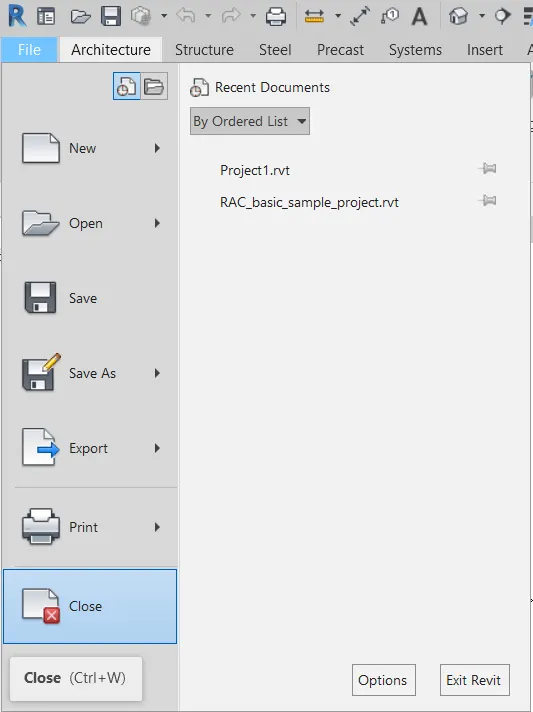
Step 1: Click on the File menu
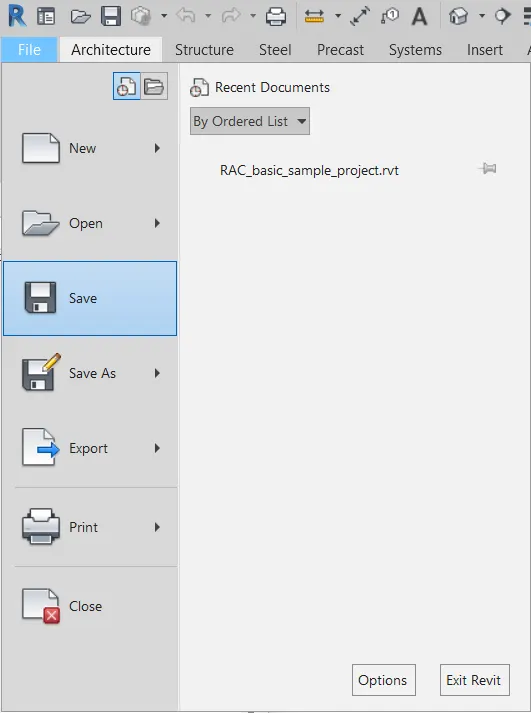
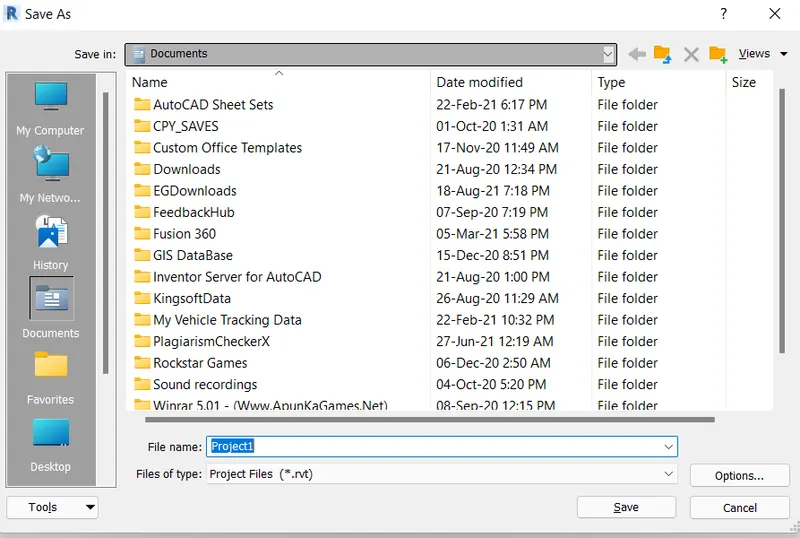
Step 2: Click on the Save. Specify saving location and give an appropriate name and save the project.
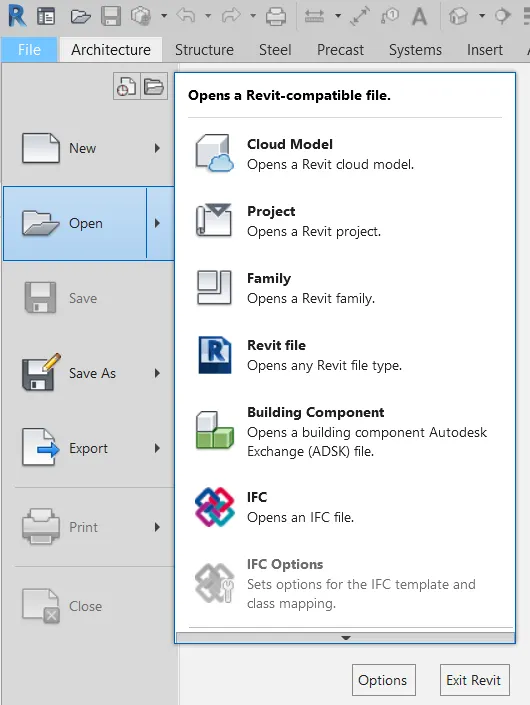
Step 3: From file menu choose Open to open project.
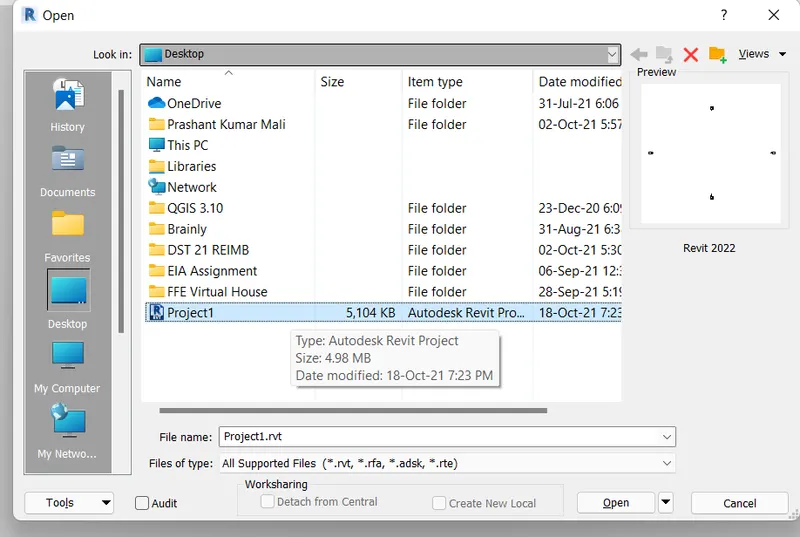
Specify saving location and open file.
Step 4: From the file menu click on close to close the project.
3)
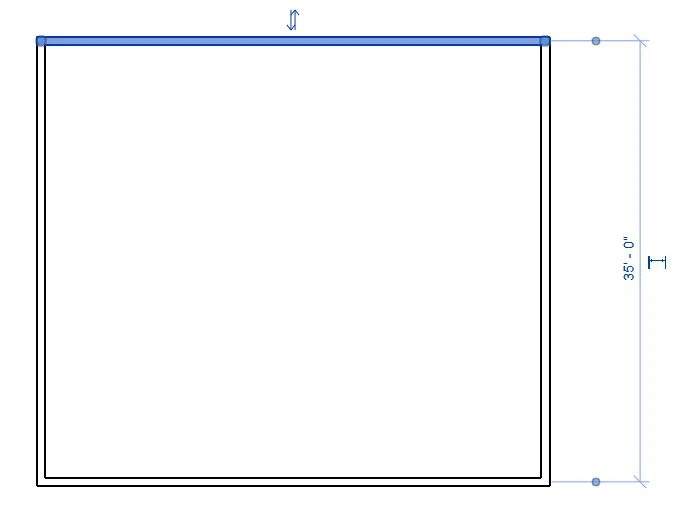
Objectives: To create a rectangular layout of walls of about 40’-0” X 35’-0”
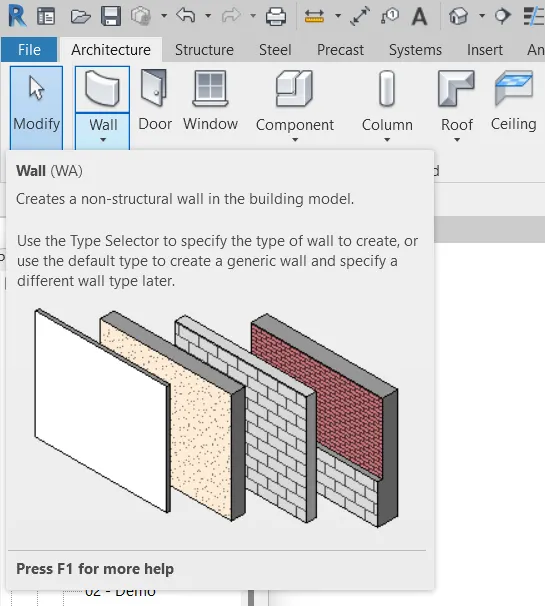
Step 1: Open an architecture or structure project file. From the architecture toolbar select the icon of the wall.
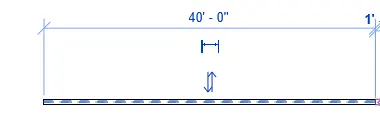
Step 2: From a point start creating a horizontal wall of length 40’-0”.
create a perpendicular wall of 35'-0" in a similar way.
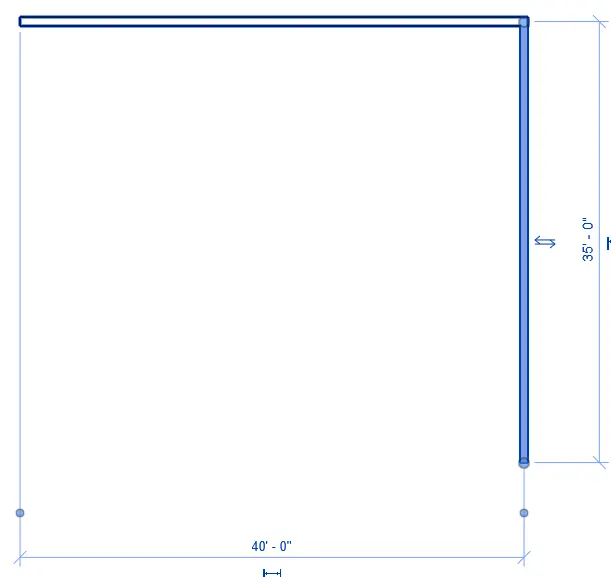
Complete rectangular wall in a similar way.
4)
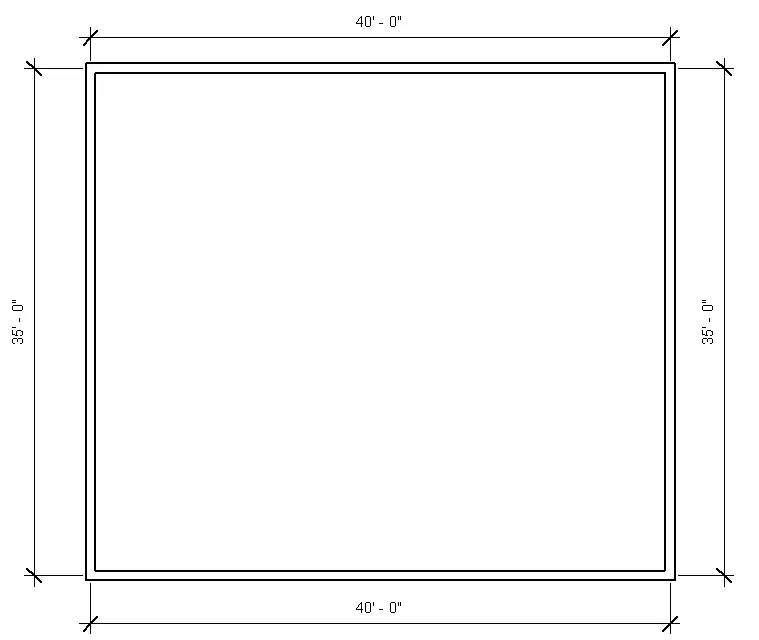
Objectives: To add dimensions to layout using annotate toolbar.
Step 1: Open a file having some layout. (let's open the previous rectangular file.)
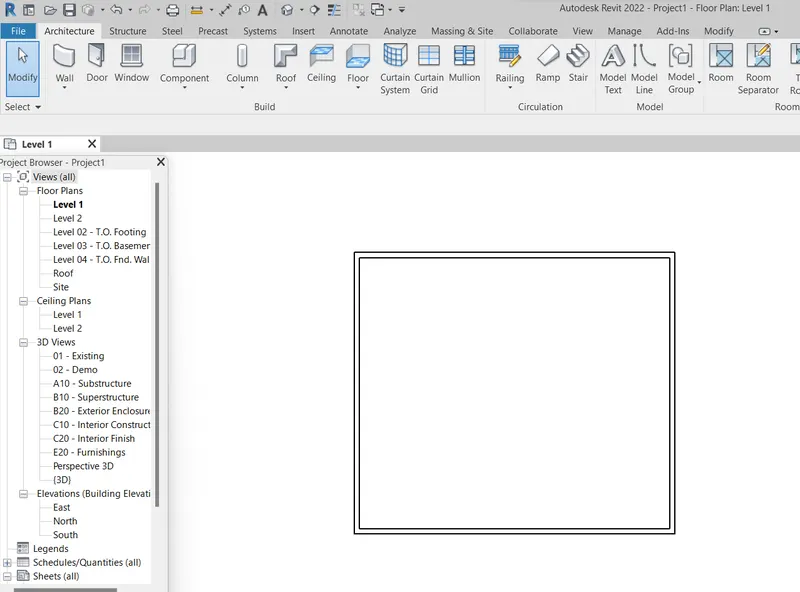
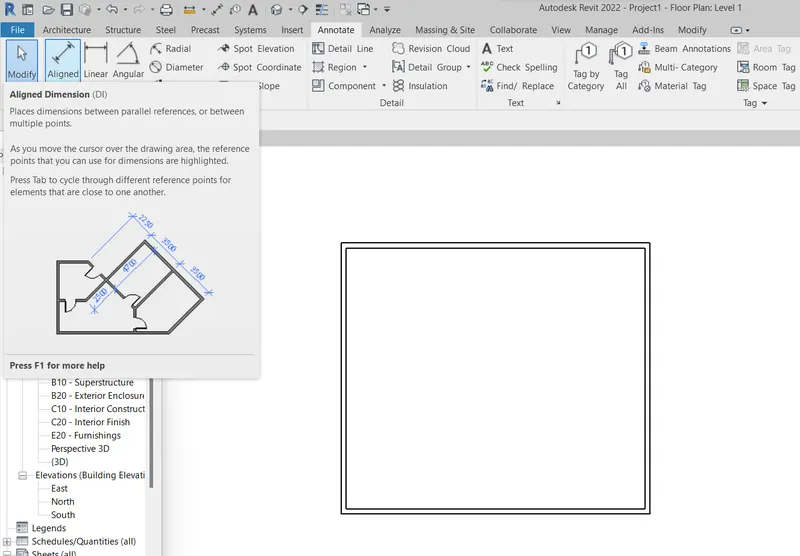
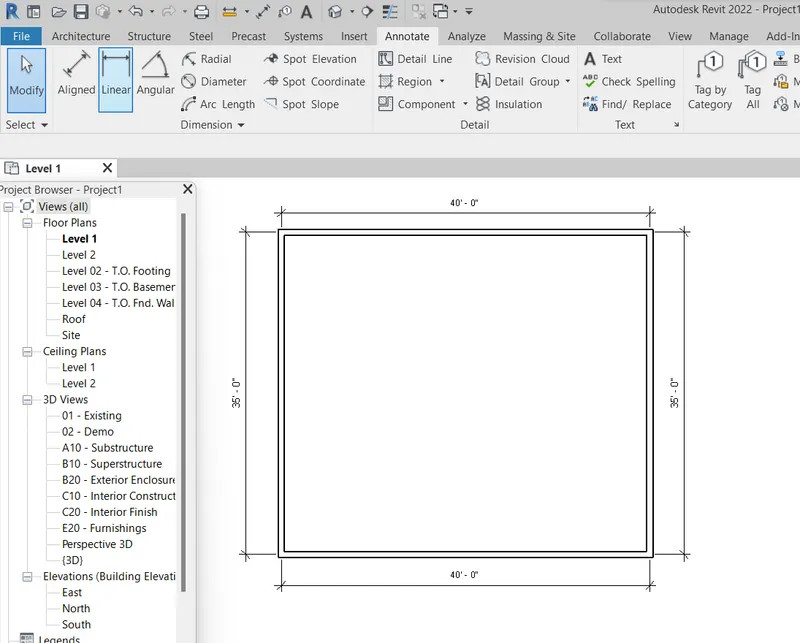
Step 2: From Annotate tool select the Aligned dimension.
Step 3: From one corner of the layout start dimensioning the wall.
5)
Objectives: To switch to different wall types using properties browser.
Step 1: Open a file having some layout of walls.
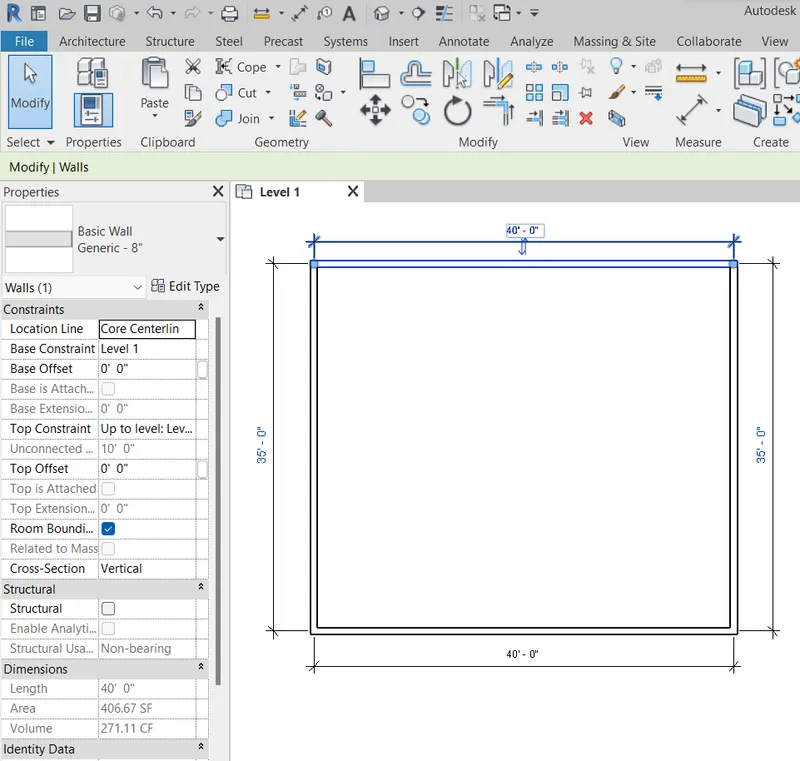
Step 2: Open the properties browser and select one wall.
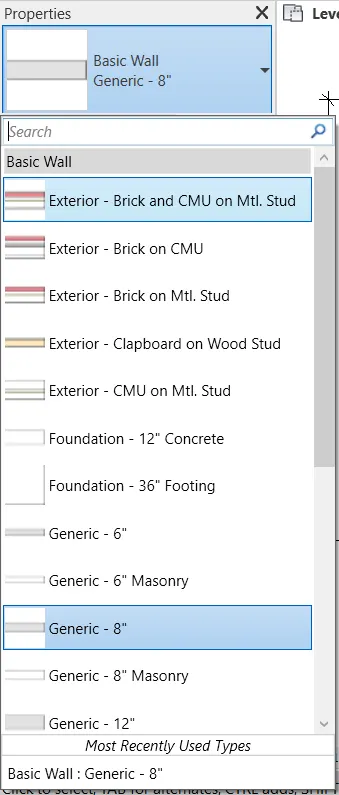
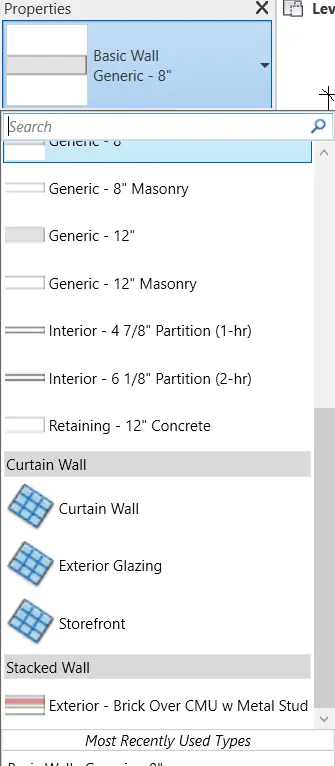
Step 3: Click on the basic wall and select the type of wall.
6)
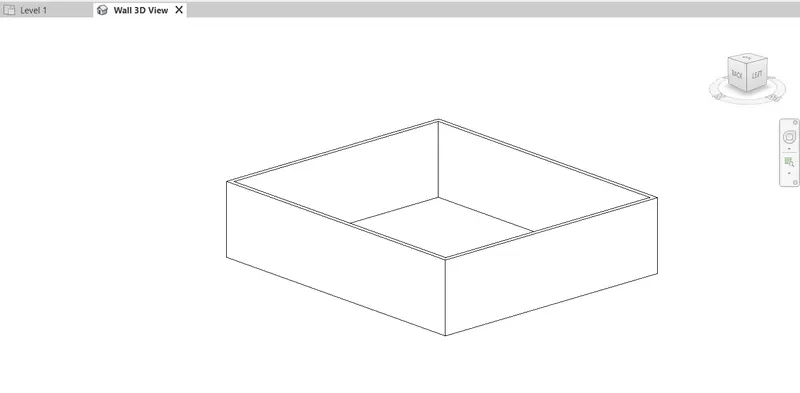
Objectives: To create a 3D view from the view toolbar and save the view with the appropriate name.
Step 1: Open a file having some layout.
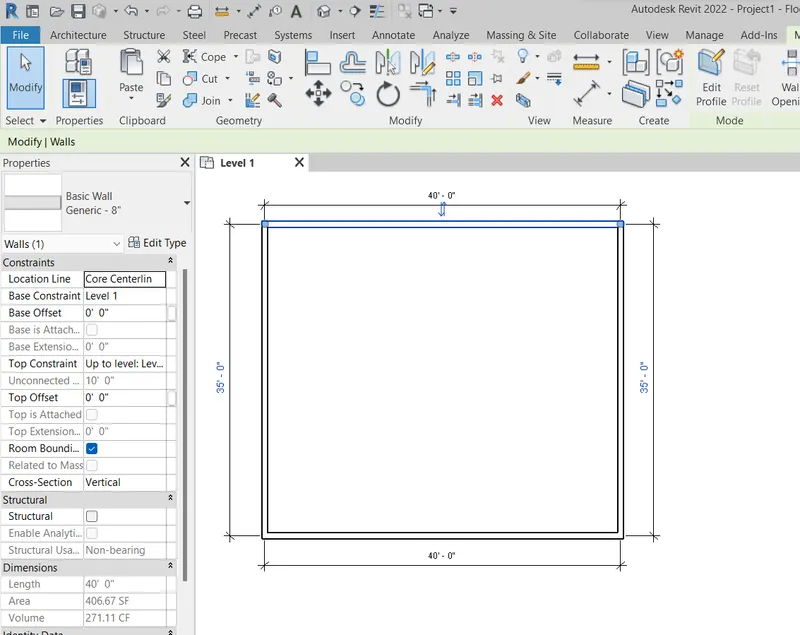
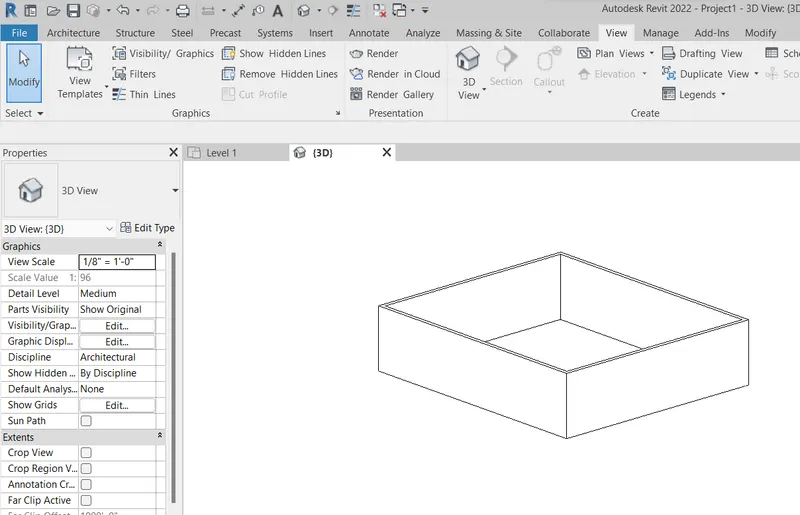
Step 2: From the toolbar click on view and then select 3D View.
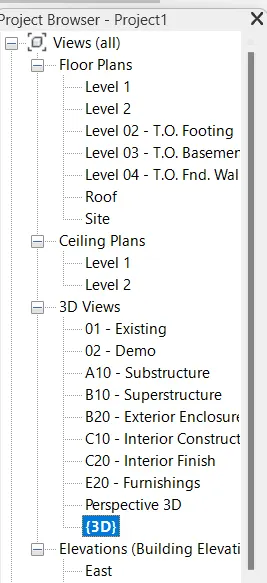
Step 3: From the project browser right click on any vies and rename view.
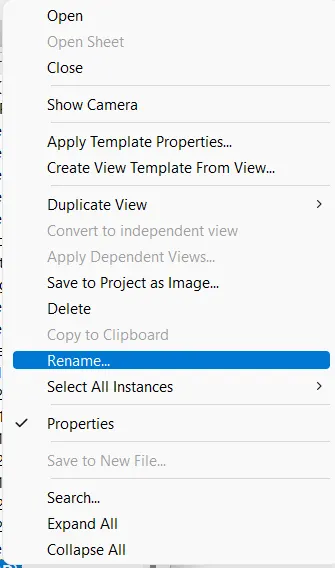
Step 4: Rename View and Click OK.
7)
Objectives: To Navigate through the 3D model using the view cube. Orbit/pan through the model layout created
Step 1: Open a file having 3D view.
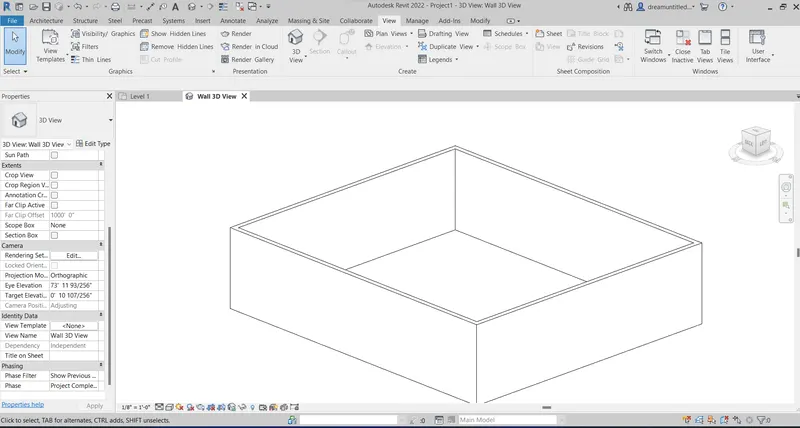
Step 2: Click on the cube in the right upper corner to switch between different views.
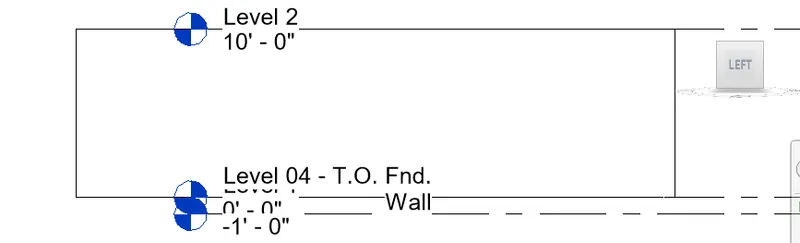
- Left View:
- Right View:
- Front View:
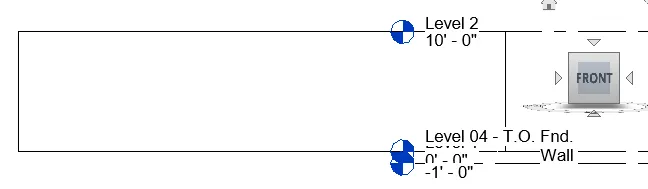
- Top View:
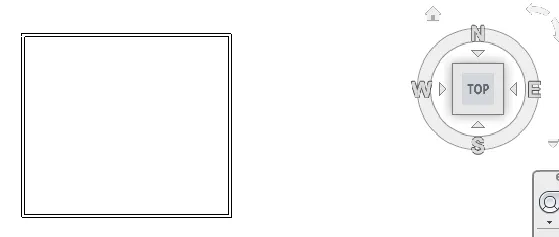
- Orthographic View:
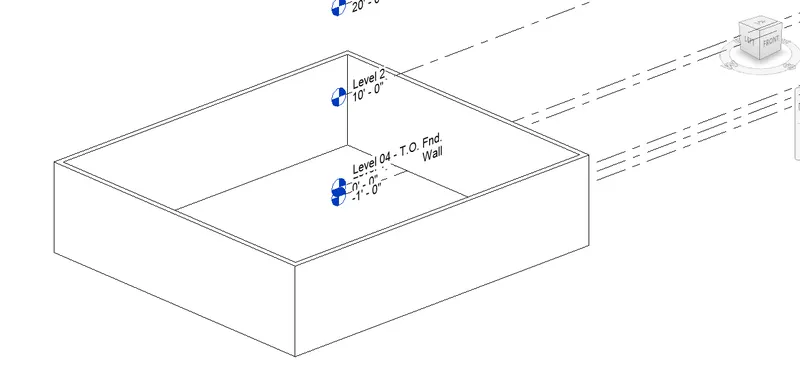
Step 3: Orbit and Pan using modal layout created.
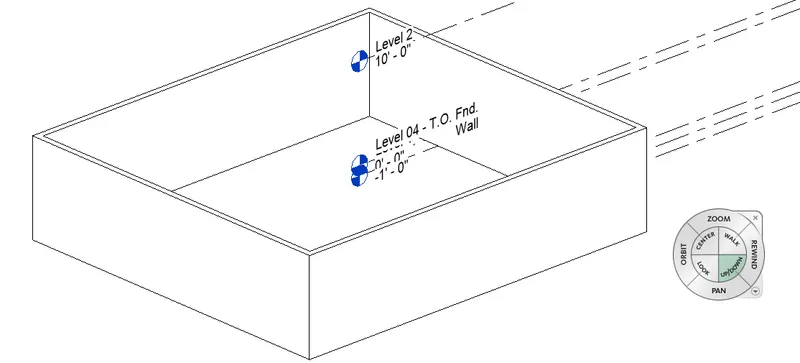
8)
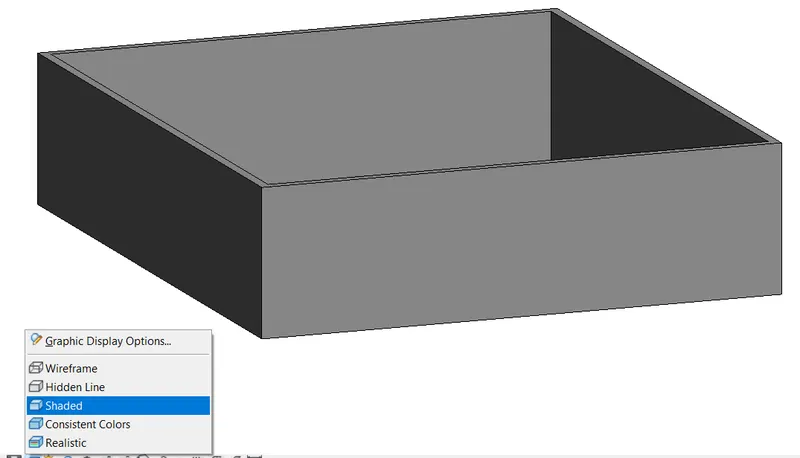
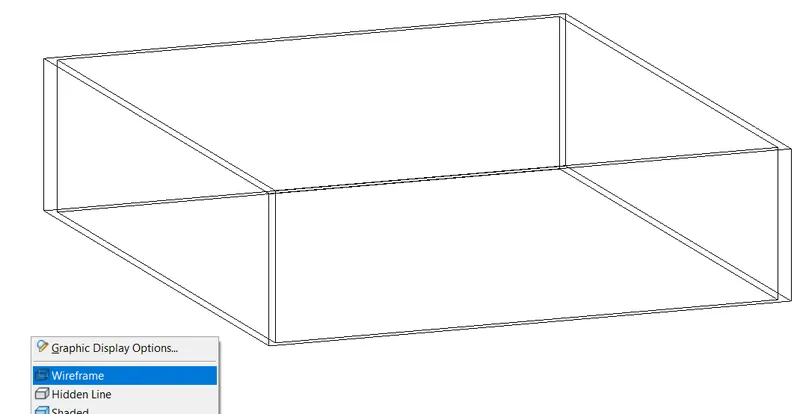
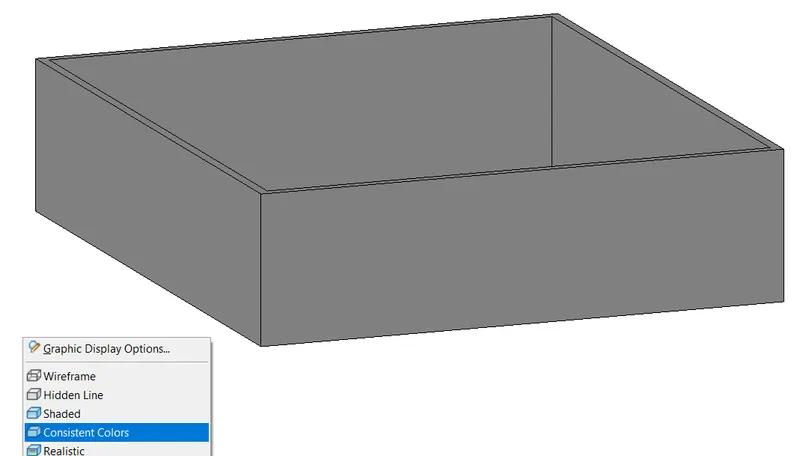
Objectives: To use the visibility settings option below to switch model to shaded, realistic, hidden lines options
Step 1: Open a 3D view project file.
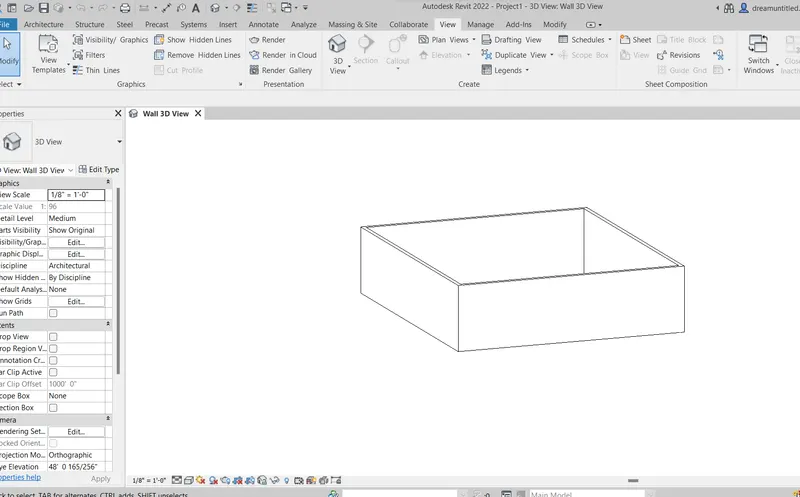
Step 2: From the bottom toolbar select Visual style.

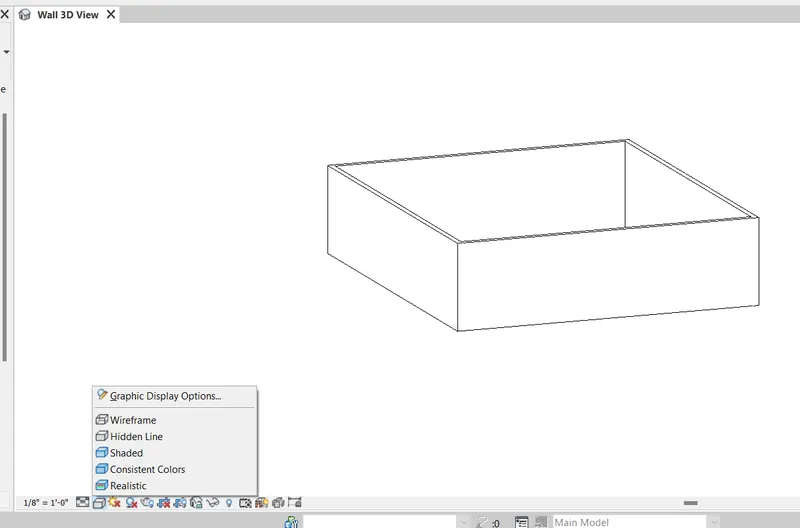
Step 3: Switch to the different styles accordingly.
9)
Objectives: To turn the sun path on and off to view shadings in the layout created.
Step 1: Open a project file.
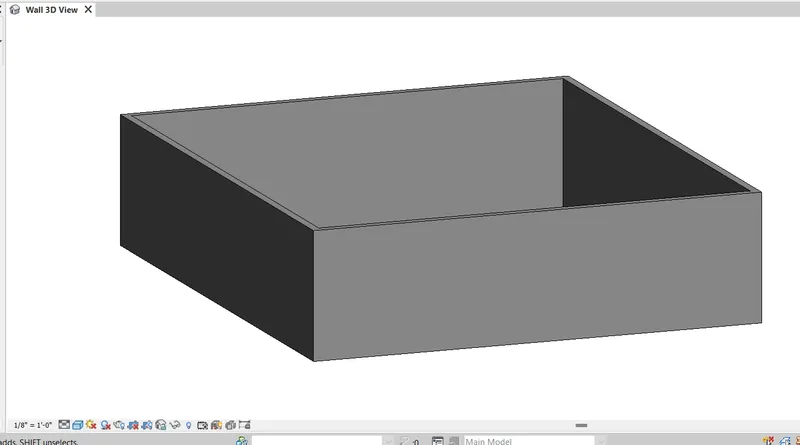
Step 2: From bottom toolbar turn sun path on.
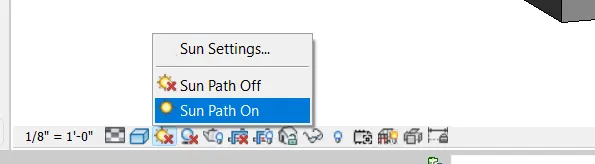
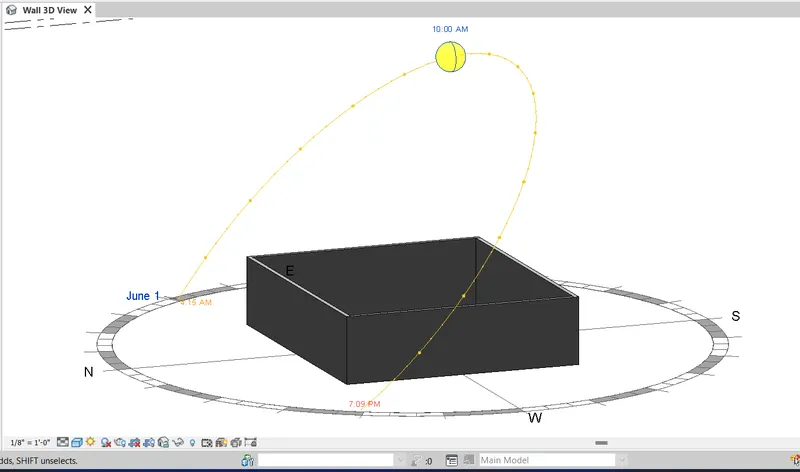
Step 3: Turn off sun path.
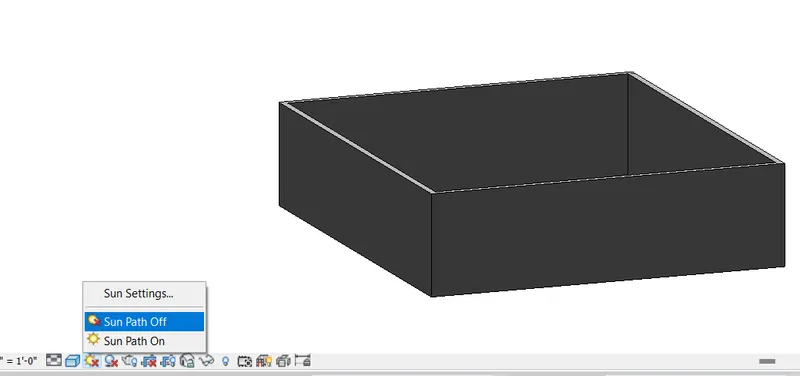
10)
Objectives: To use the Manage toolbar to enter project settings, project name, and project issue date.
Step 1: Open a project file.
Step 2: Click on Manage from toolbar and select project information.
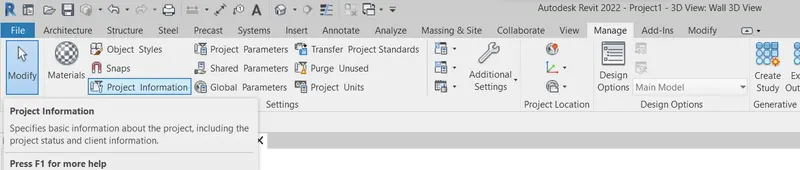
Enter data here.
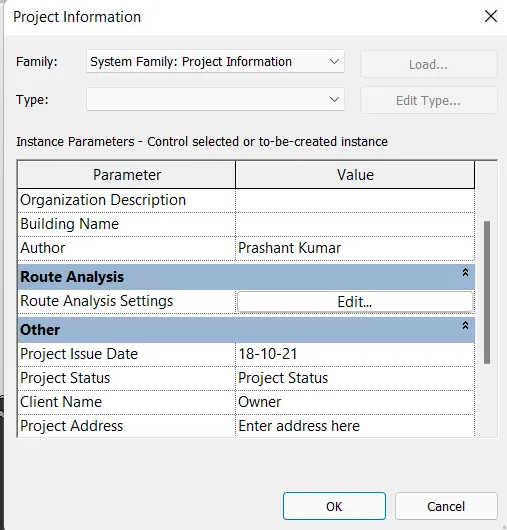
11) Analyze is a tab in the toolbar of Revit. It is used to check various structure parameters and boundary conditions for load analysis of components.
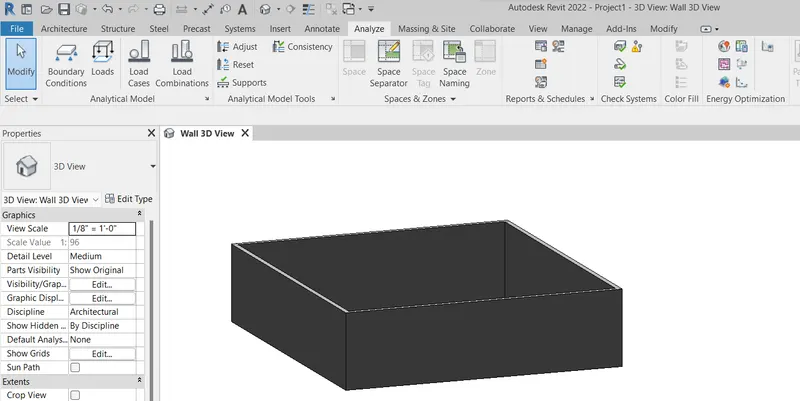
Using Analyze tool we can stimulate real-life load constraints into the model and can determine components' capacities and limits at a large scale. It will reduce our time and efforts.
12) Links that are supported by Revit are Revit, IFC, CAD Formats, DWF Markups, Point Clouds, Topography, PDF, and Images. These links help to work on the different types of projects simultaneously.
13) Collaborate Tab help in different parts of a single project at a time. we can keep monitoring different worksheets and add collaborators to work simultaneously. It will increase efficiency.
