Usage of Navigation tool , Timeliner and Clash Detection test using Naviswork
1)
Aim: Use the Architecture/ Structure Project file developed by you in weeks 6 to 8. Export the Revit architecture and structure model to the Navisworks Cache file following the export settings discussed in class.
Procedure:
Step 1: Open the Architectural project and go to its 3D view. Using Export select NWC formate and export the file.
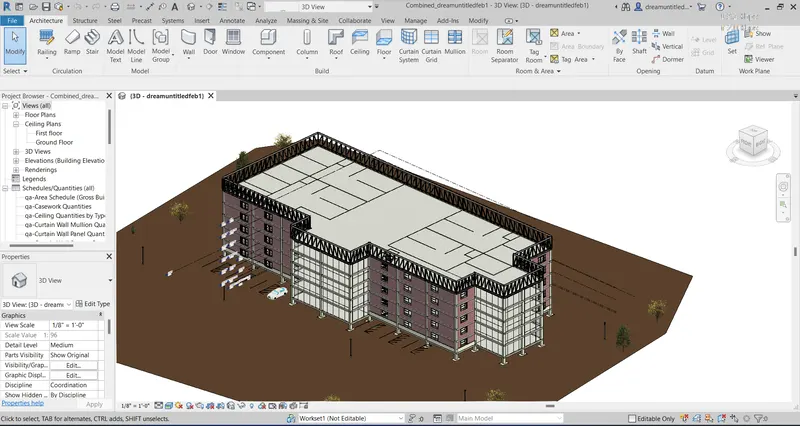
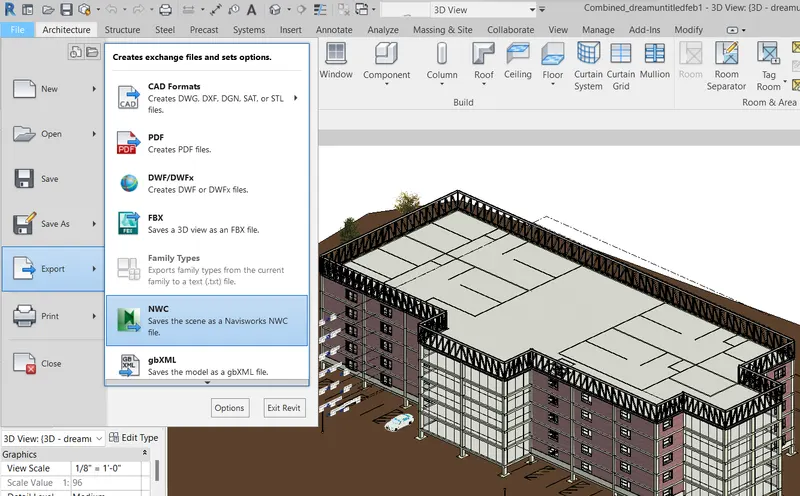
Step 2: Save it appropriate location and select export settings.
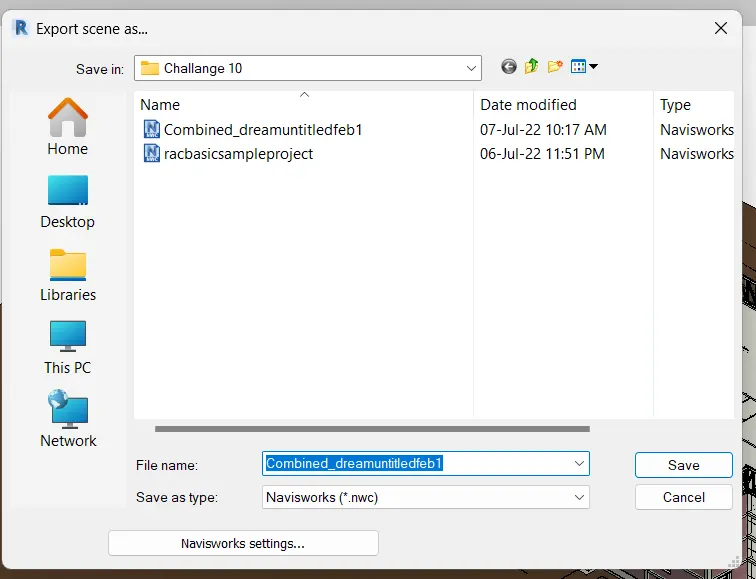
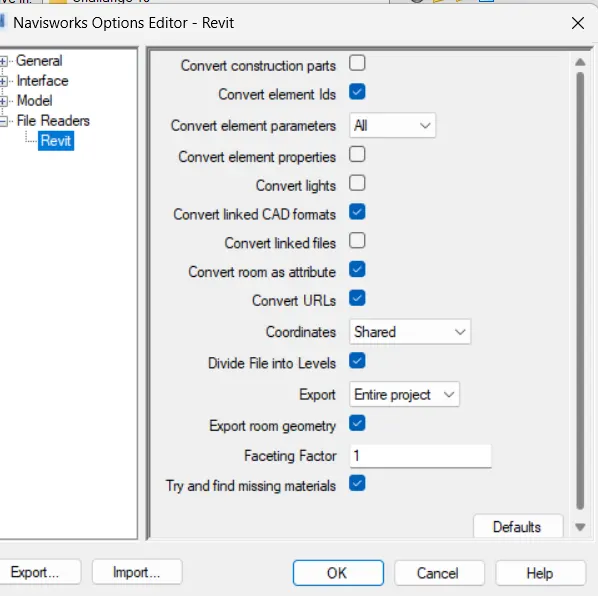
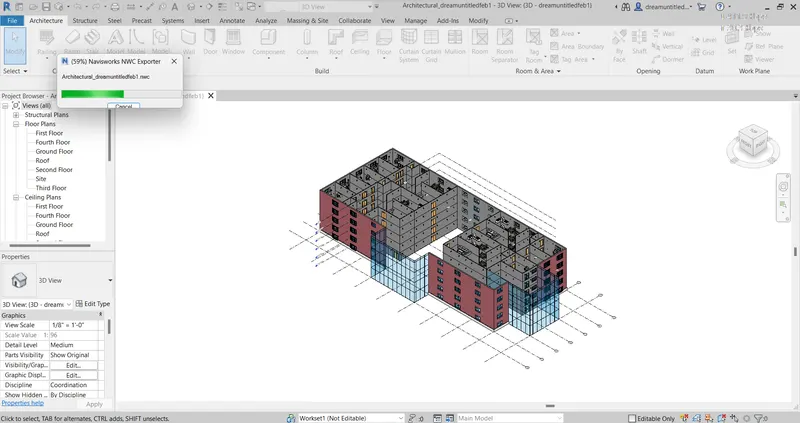
Result: Click on Save, and the project will be exported to Naviswork.
2)
Aim: To use Navigate Tool to walk around the model and walk through the rooms created and record your moving as animation in your Navisworks file.
Procedure:
Step 1: Open Autodesk Navisworks and click on append and open the file exported.
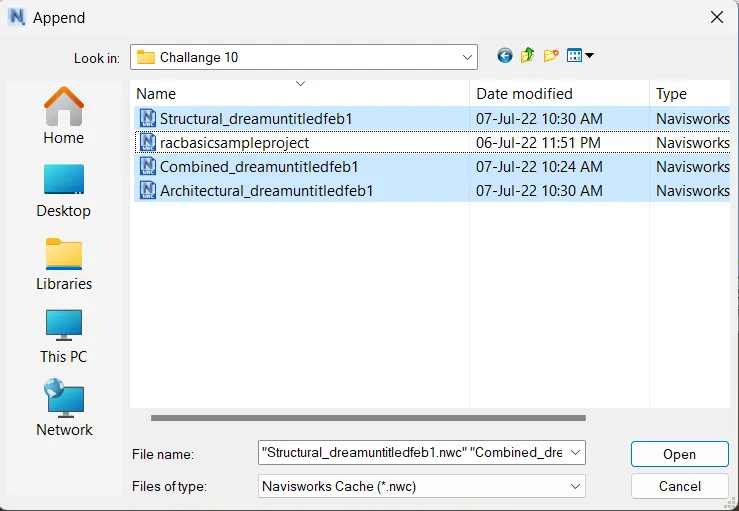
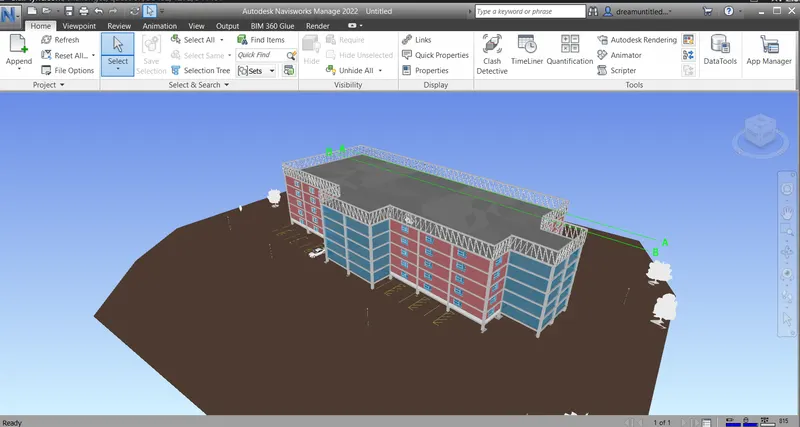
Step 2: Now save viewpoints.
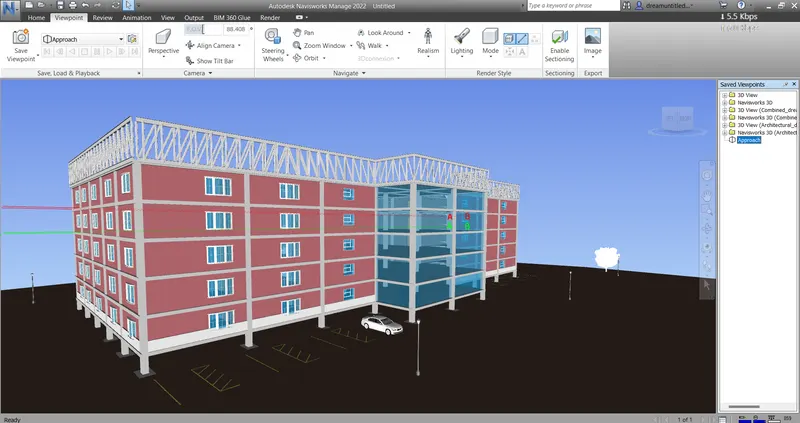
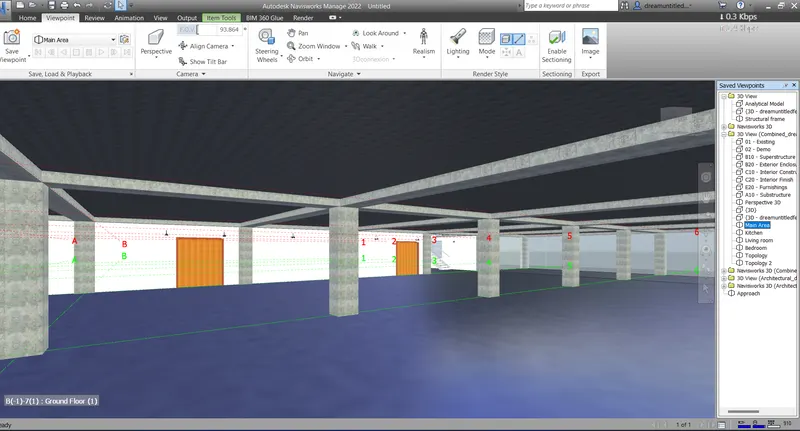
Step 3: Now select Record and click on Walk to the walkthrough in rooms created. Walk through multiple Rooms. And click stop.
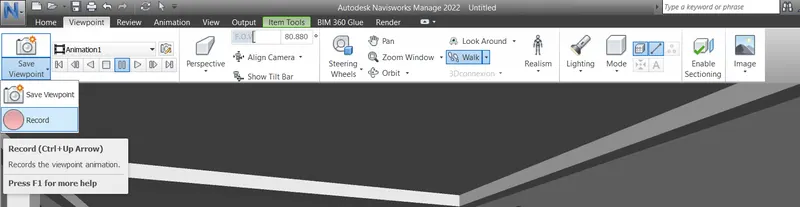
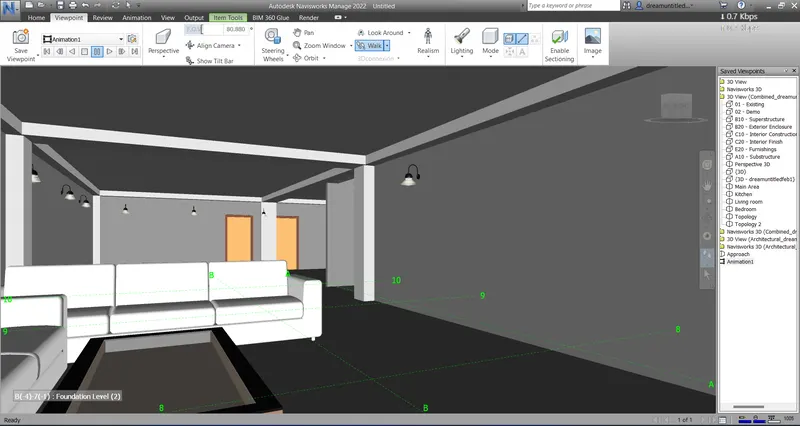
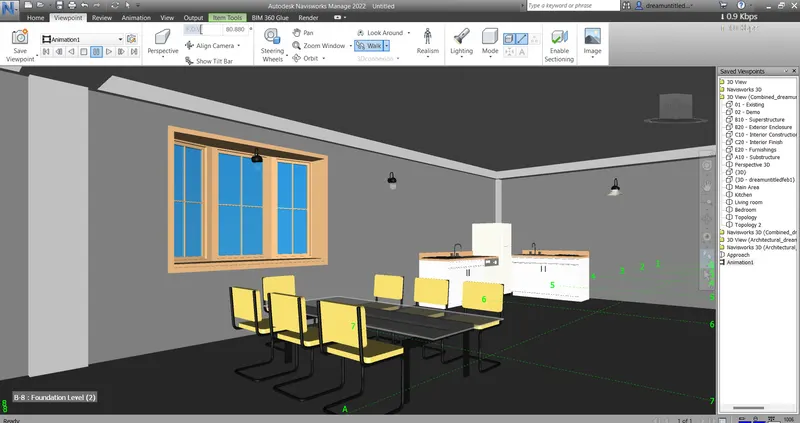
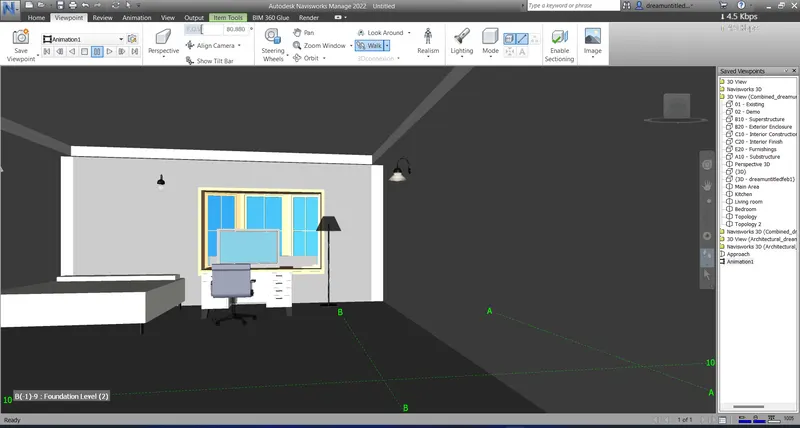
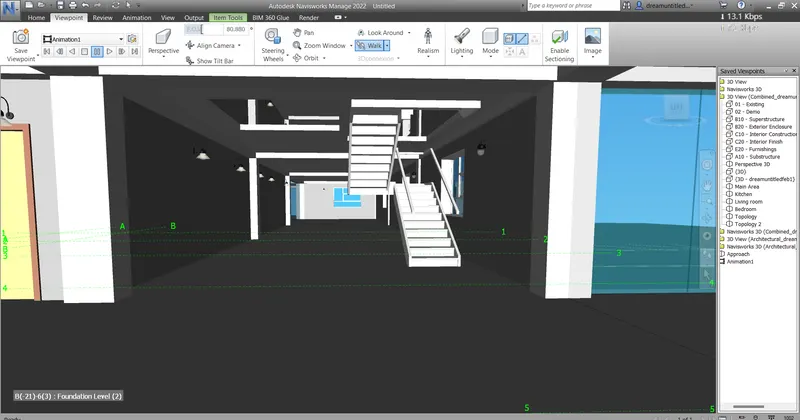
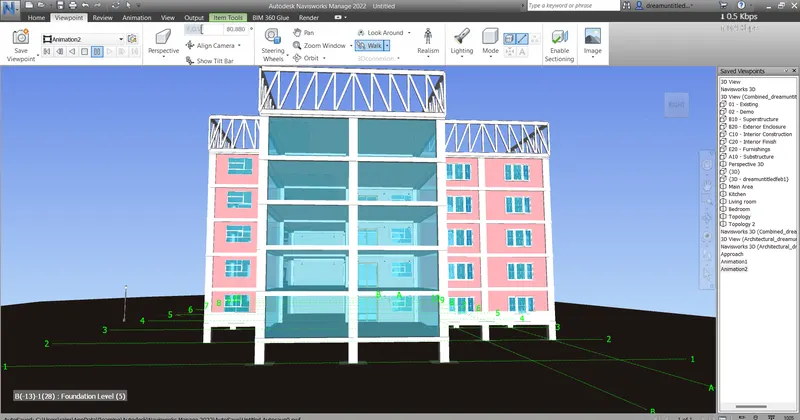
Result: Animation is created by recording the walk.
3)
Aim: To use Navigate tool to use Realism feature to walk through the model and record your moving as animation in the Navisworks file.
Procedure:
Step 1: Open the exported project and create animation using record option and also choose realism while walk.
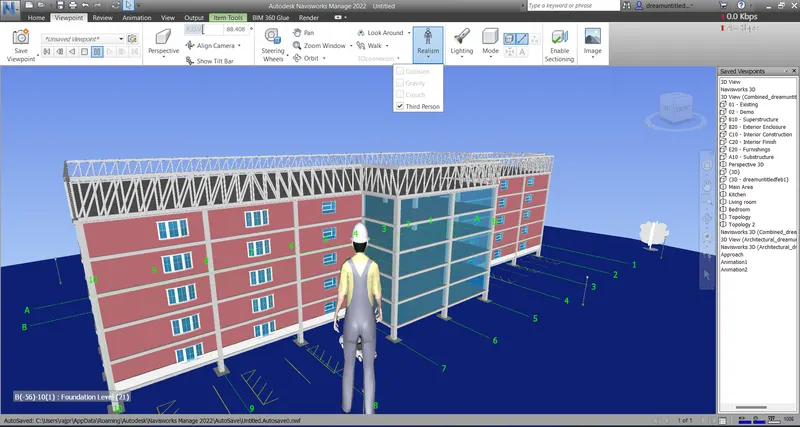
Step 2: Now record the animation and walk-in rooms created.
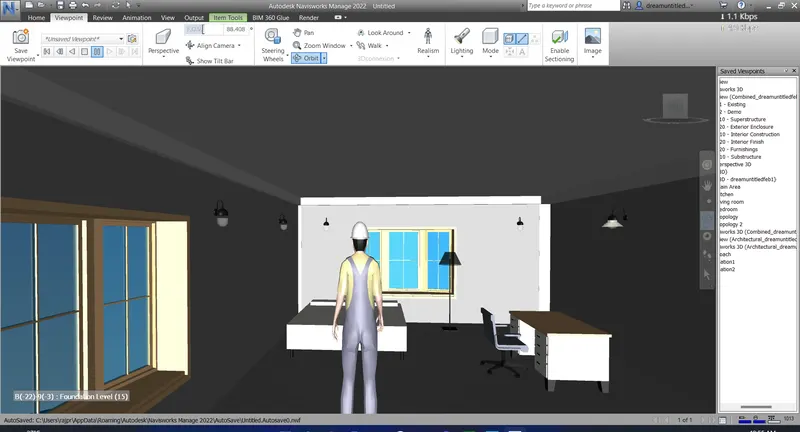
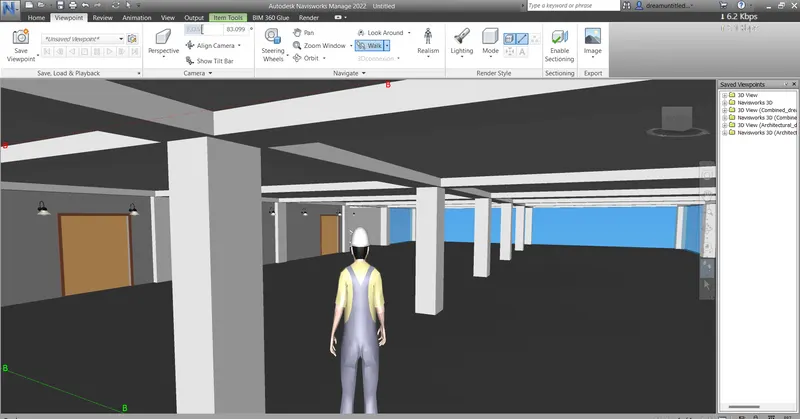
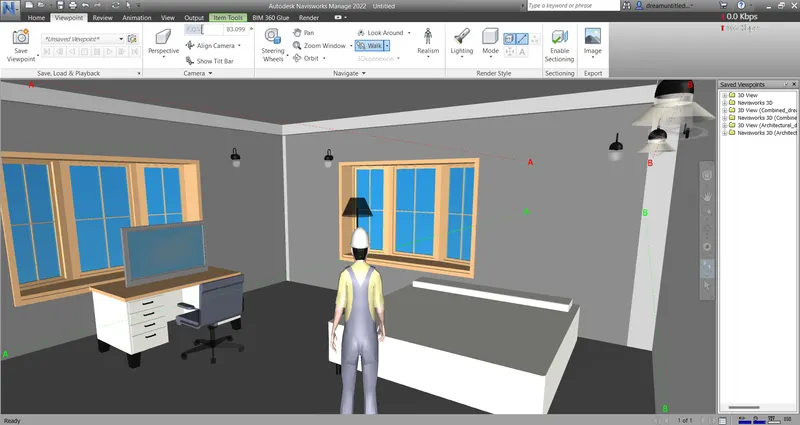
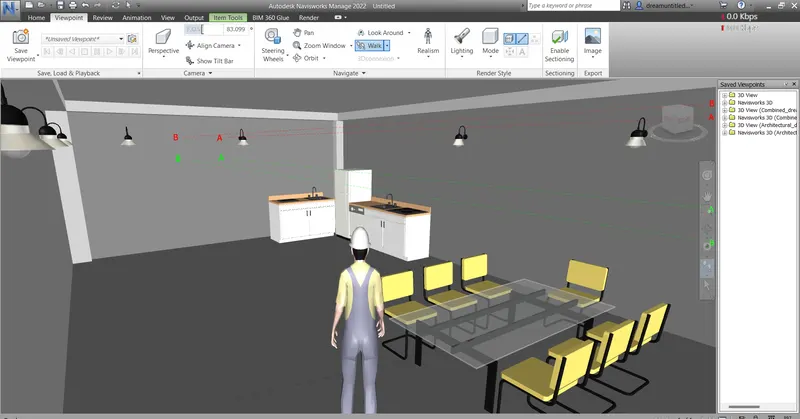
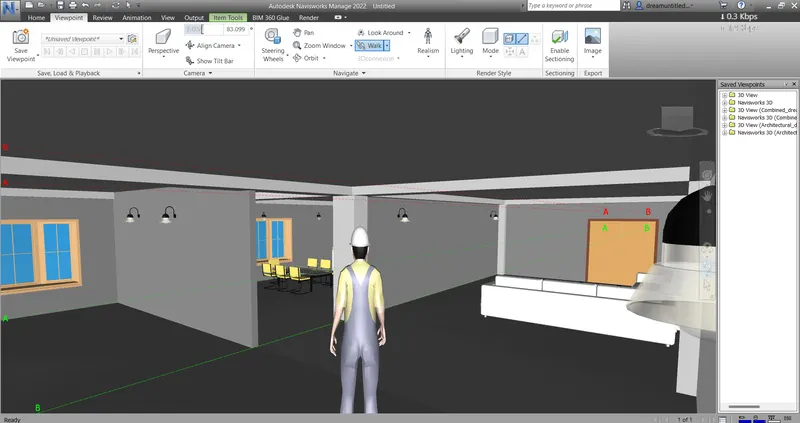
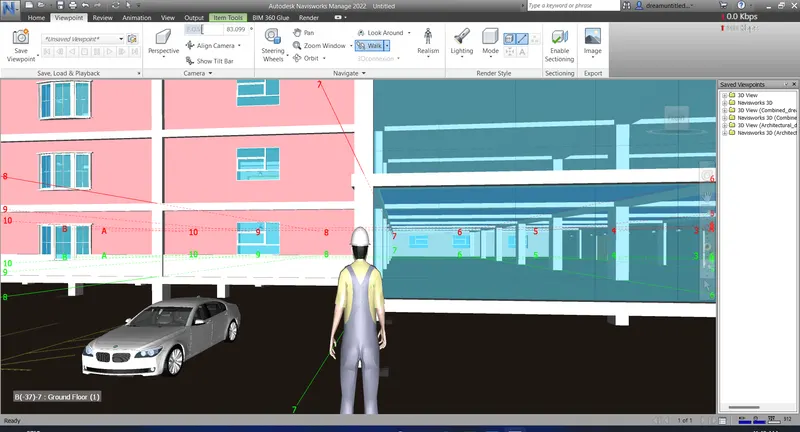
Result: Realism feature added to the project for animation and walk.
4)
Aim: Embed both architecture and structure *.nwc file to your Navisworks file. Create a clash detection test between the two models.
Procedure:
Step 1: Open the exported file and append all files in Naviswork Manage.
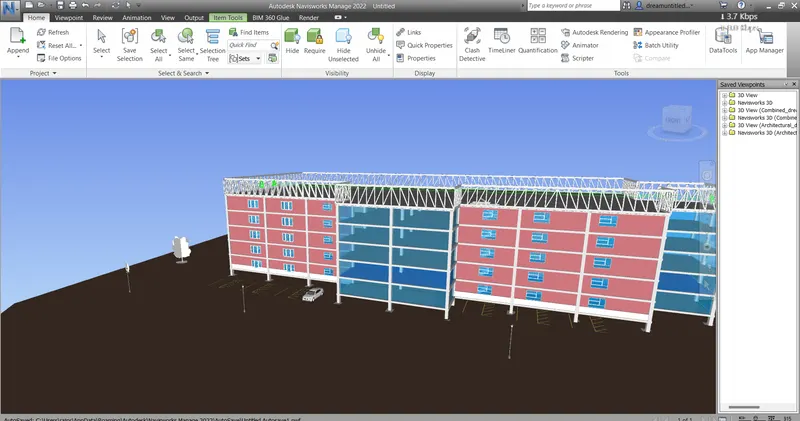
Step 2: Select Clash Detection from Home Tab.
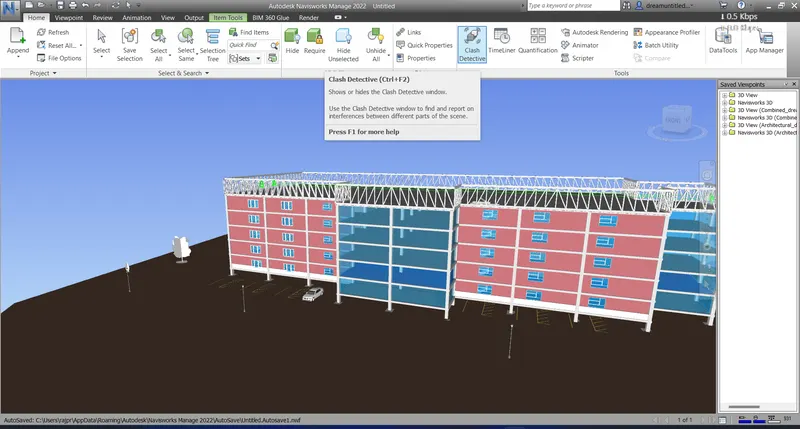
Step 3: Two box will pop up. click on Add test and select 2 models in which clash to be detected. Run test and study the clash.
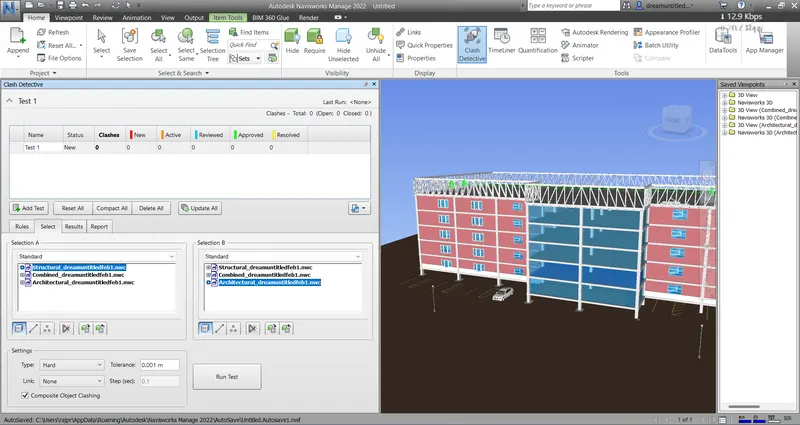
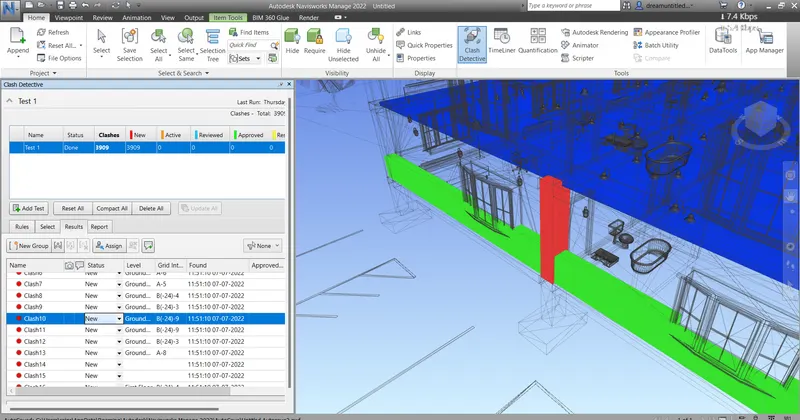
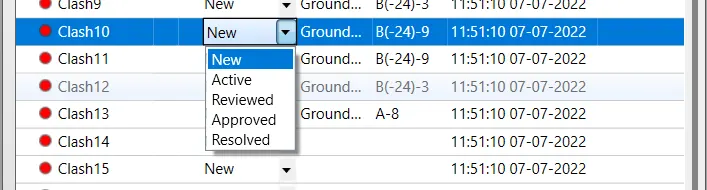
Step 4: We can review the clash and export the report.
 .
.
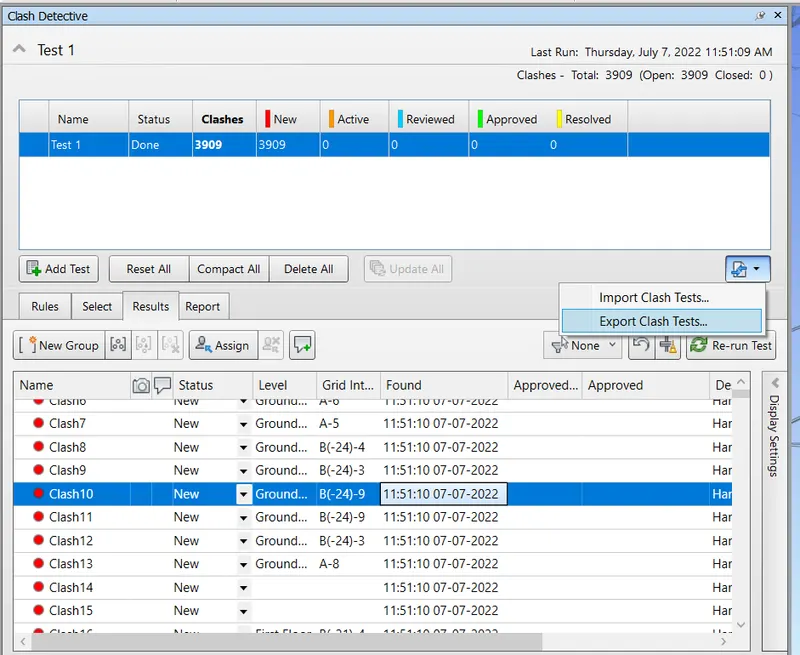
Result: Clash detection tests are run and clashes are reviewed and exported to XML files.
5)
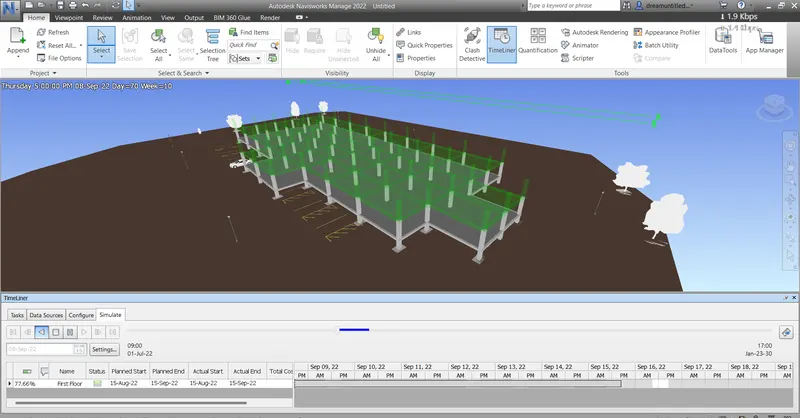
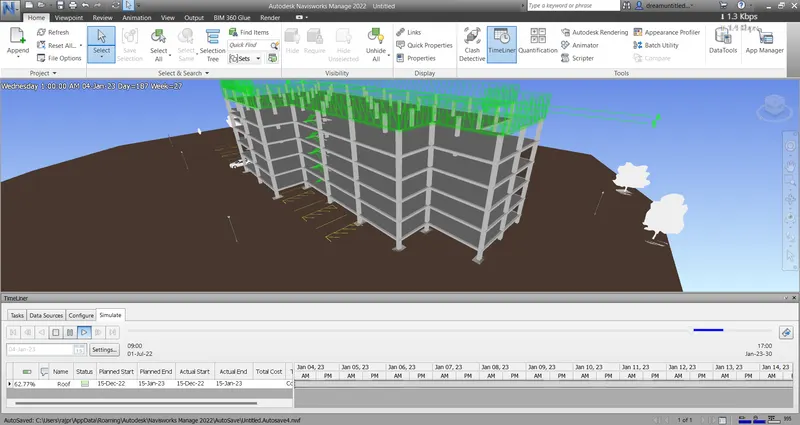
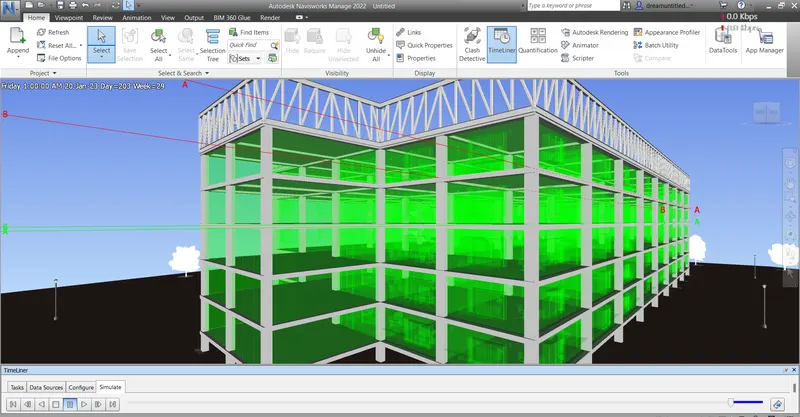
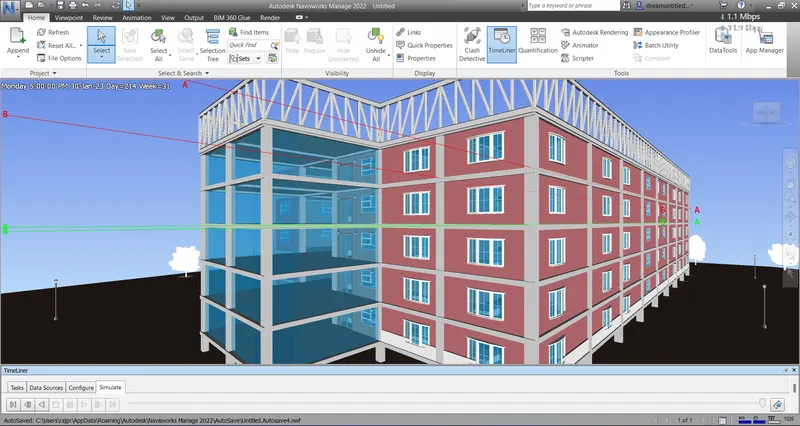
Aim: Using the Timeliner feature in Navisworks prepare a schedule for the project developed in week 6 to 8 by adding reasonable assumptions for task start date and end date and simulate the task completion as a visual simulation. Record it and save the timeline simulation to Navisworks file
Procedure:
Step 1: Open the Naviswork Manage and import the projects.
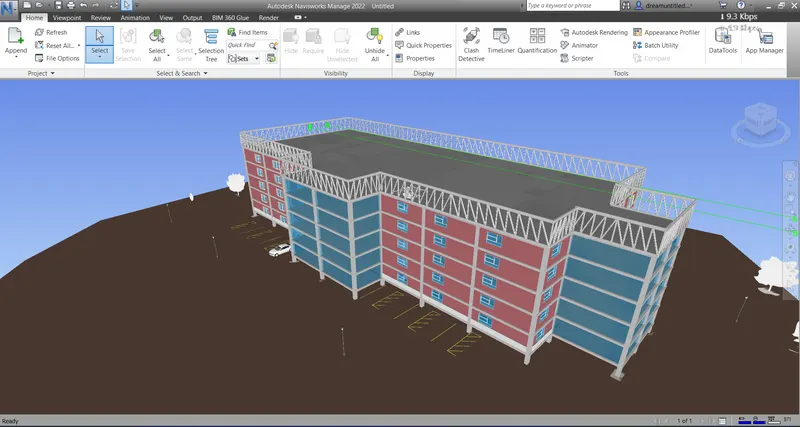
Step 2: From the Home tab select the Timeliner option. Click on Selection Tree.
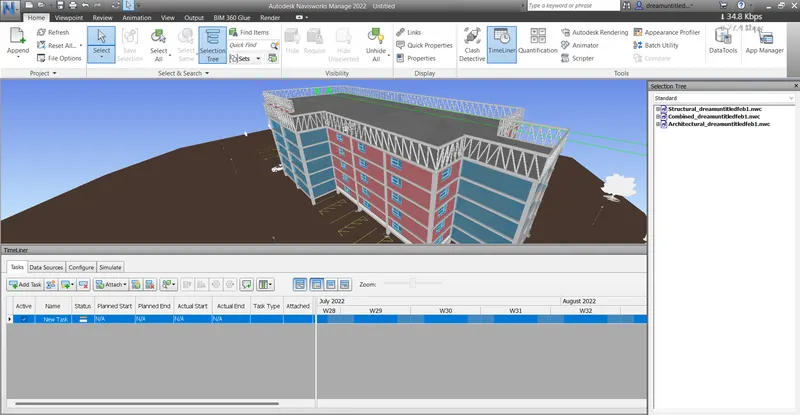
Step 3: Using the Selection tree add tasks in the Timeliner.
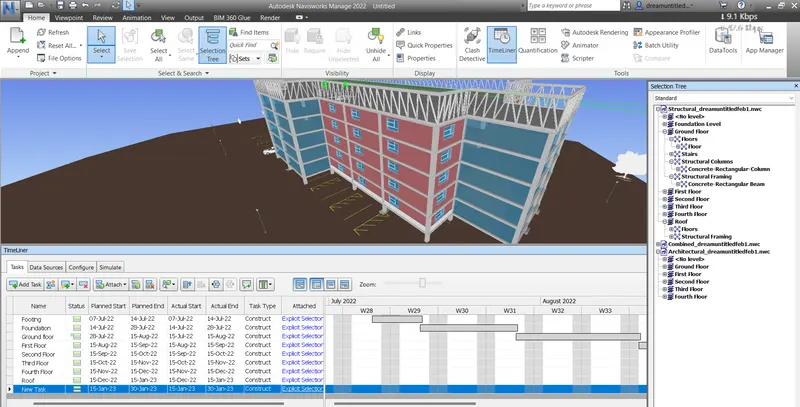
Step 4: Now click on simulate. A simulation will play according to the timeline.
Step 5: Save the file and export the schedule.
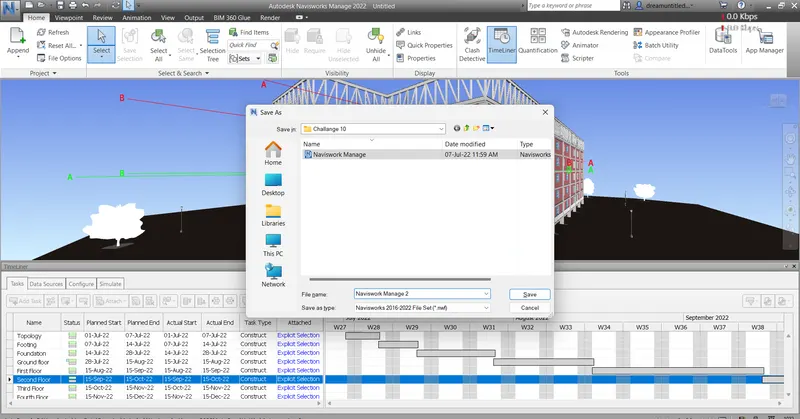
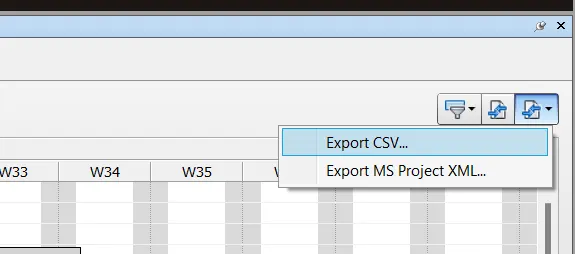
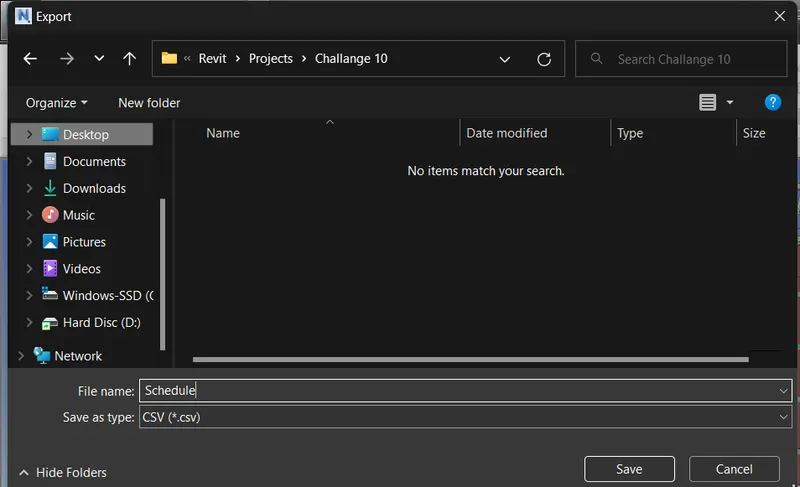
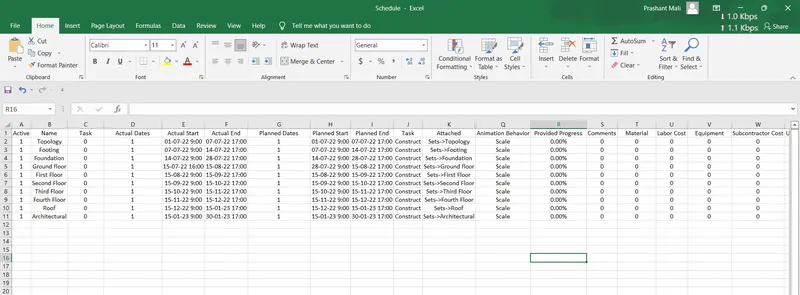
Result: Using Naviswork Manage, a simulation of activities is generated via Timeliner and the schedule is exported to CSV file