2D MESHING OF BOTTLE CAP USING ANSA
2D MESHING OF BOTTLE CAP USING ANSA
AIM:
To create a mesh for the bottle cap according to the given quality criteria by using ANSA .
PROCEDURE:
STEP 1:
Geometry Cleanup.
STEP 2:
Midsurface Extraction.
STEP 3:
Meshing.
STEP 4:
Assinging new PID.
GIVEN QUALITY CRITERIA:
| S.NO | Quality criteria | Value |
| 1 | Target/average length | 1 |
| 2 | Minimum length | 0.5 |
| 3 | Maximum length | 3 |
| 4 | Aspect | 3 |
| 5 | Warpage | 15 |
| 6 | Skewness | 45 |
| 7 | Jacobian | 0.7 |
| 8 | Minimum Quad Angle | 45 |
| 9 | Maximum Quad Angle | 135 |
| 10 | Minimum Tria Angle | 30 |
| 11 | Maximum Tria Angle | 120 |
| 12 | Tria Percentage | 15 |
STEP 1:
Geometry Cleanup
In this we need to do geometry cleanup for the given model for that first we need to import the Bottle cap into ANSA then we need to check the geometry weather the errors are their are not
Suppose if error's are their we need to check and fix it by Auto Fix or Manual method .
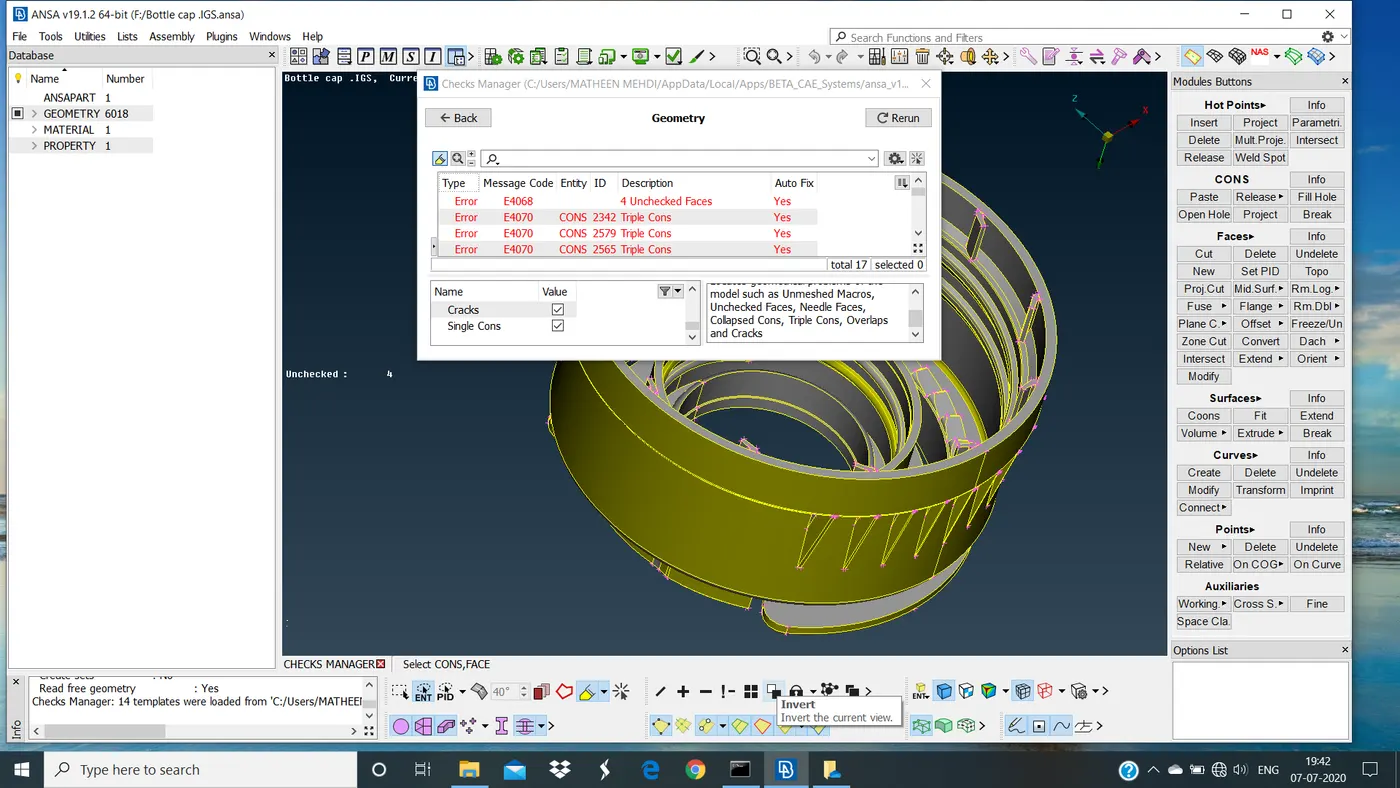
Here we can fix manually by using Release con's , Topo etc .
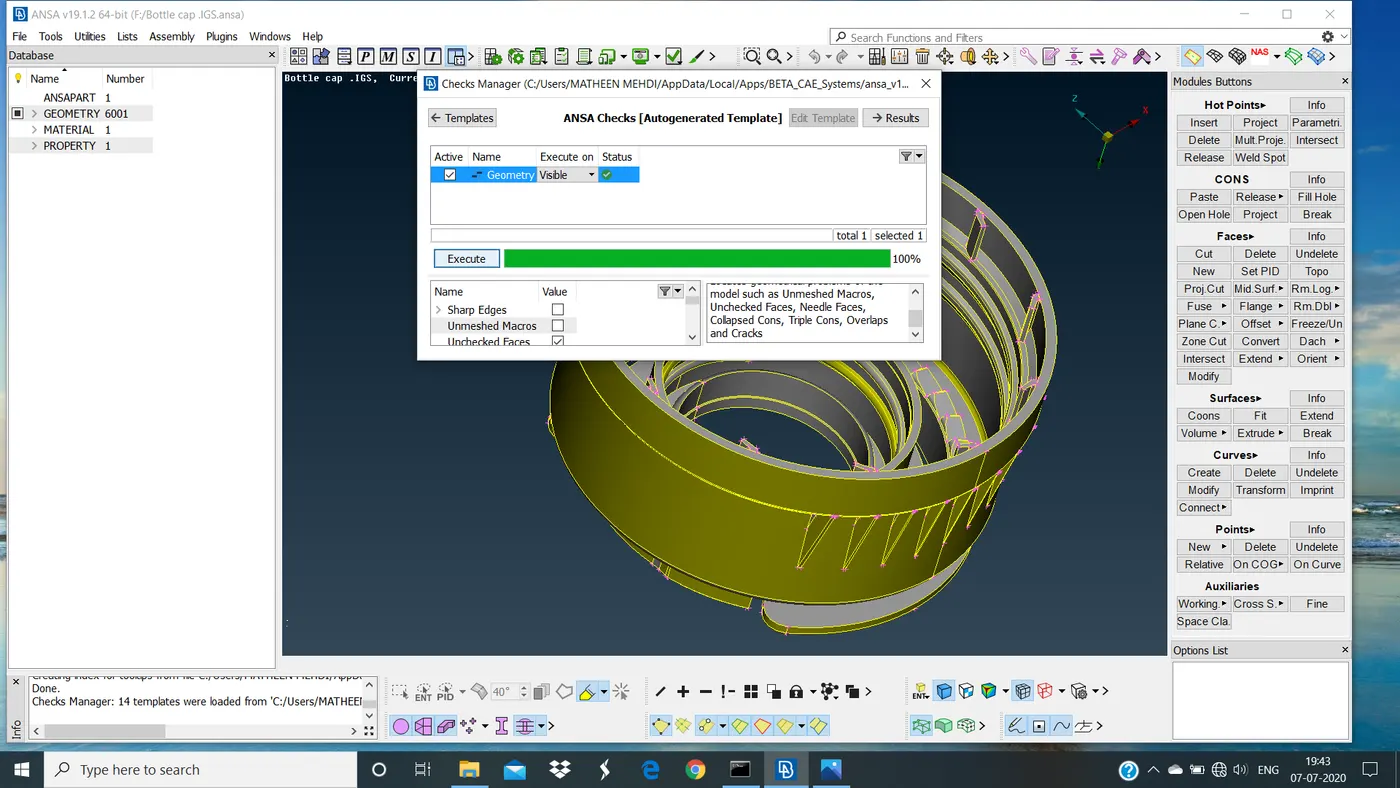
Error's are Fixed .
STEP 2:
Mid surface Extraction.
Here mid surface of all parts of bottle cap are extracted separately.
Here Auto mid will not use because its a plastic component it can't be extract mid surface at single step.
Here are some tools that we use to extract a mid surface of bottle cap i.e offset,extend,project con's, middle under faces, middle under curves etc.
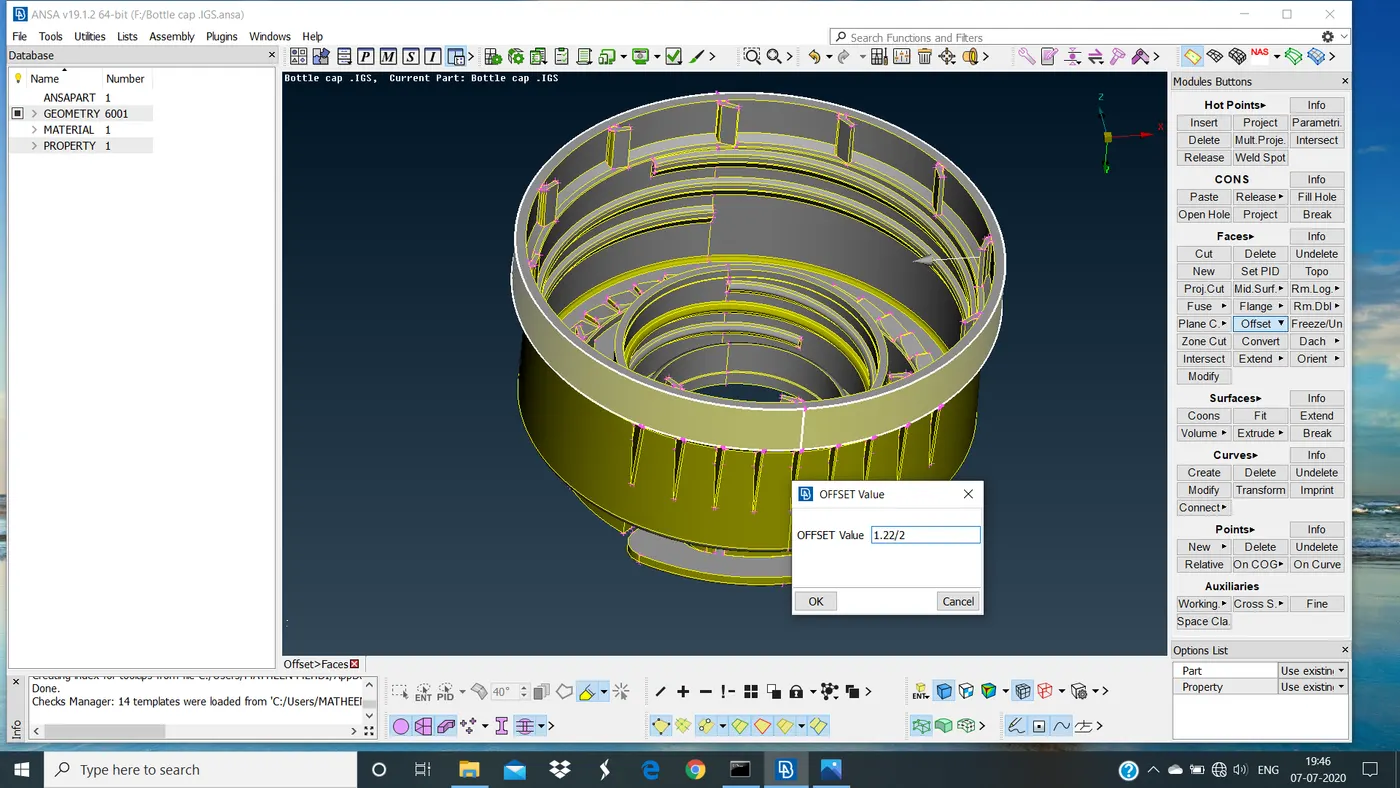
Select offset command from the faces module is used to extract mid surface of each parts.
The faces to be extracted by the thickness of each parts.
Extend command is used for Rib's to extend the midsurface of Rib's to mid surface of main body.
After extending Rib's to body, Blue line will appear i.e Nothing but triple con's due to attachment of three or more face's.
OFFSET COMMAND
MID SURFACE
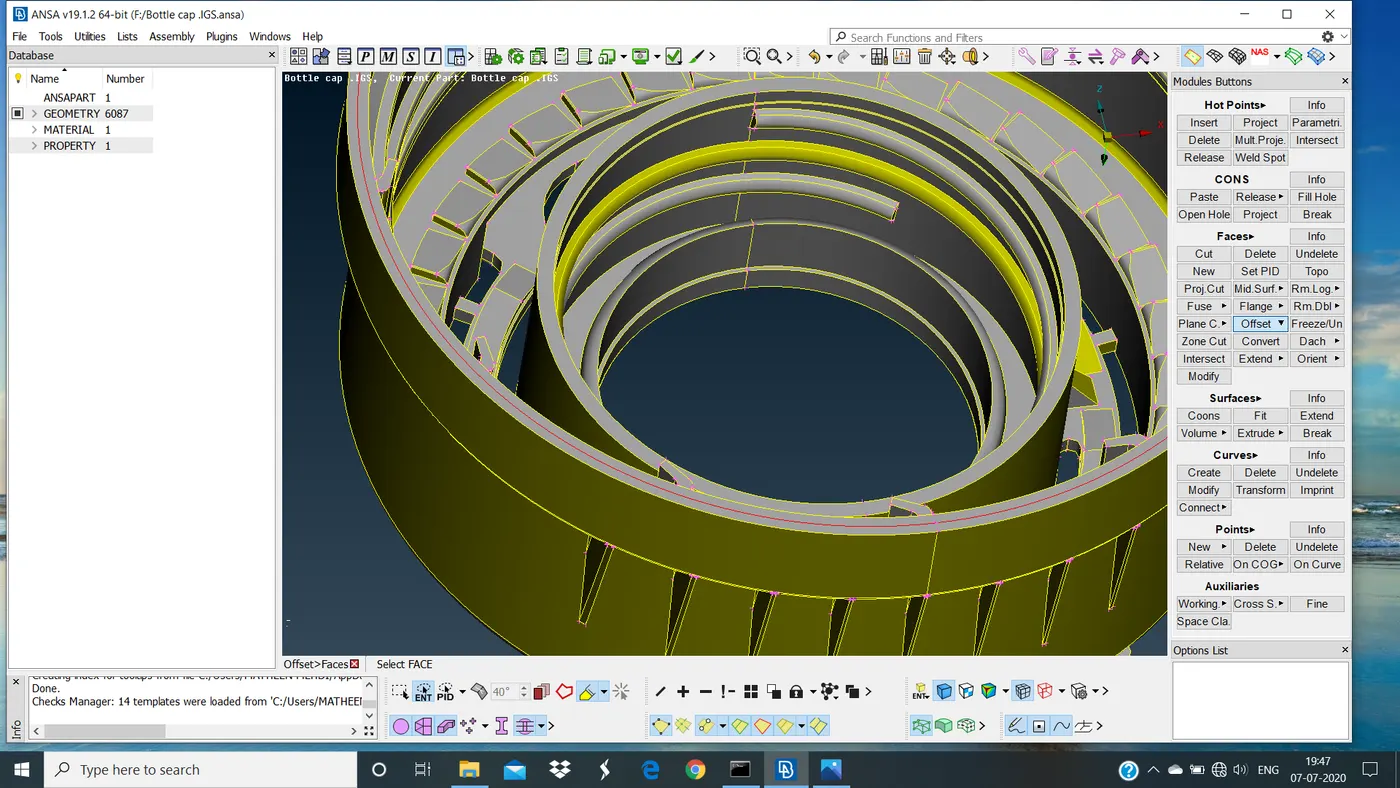
Inner Rib using middle command under curves
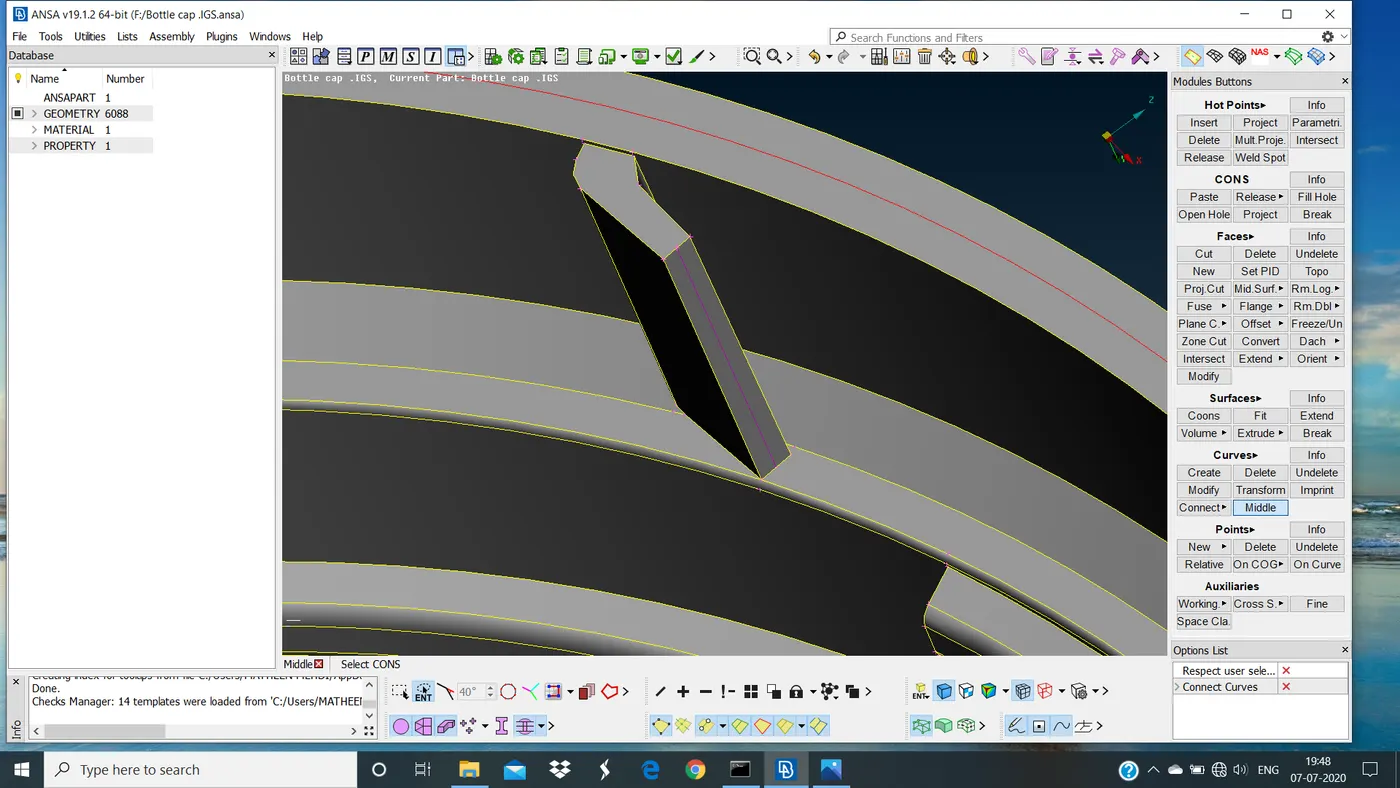
MID SURFACE of Inner Rib
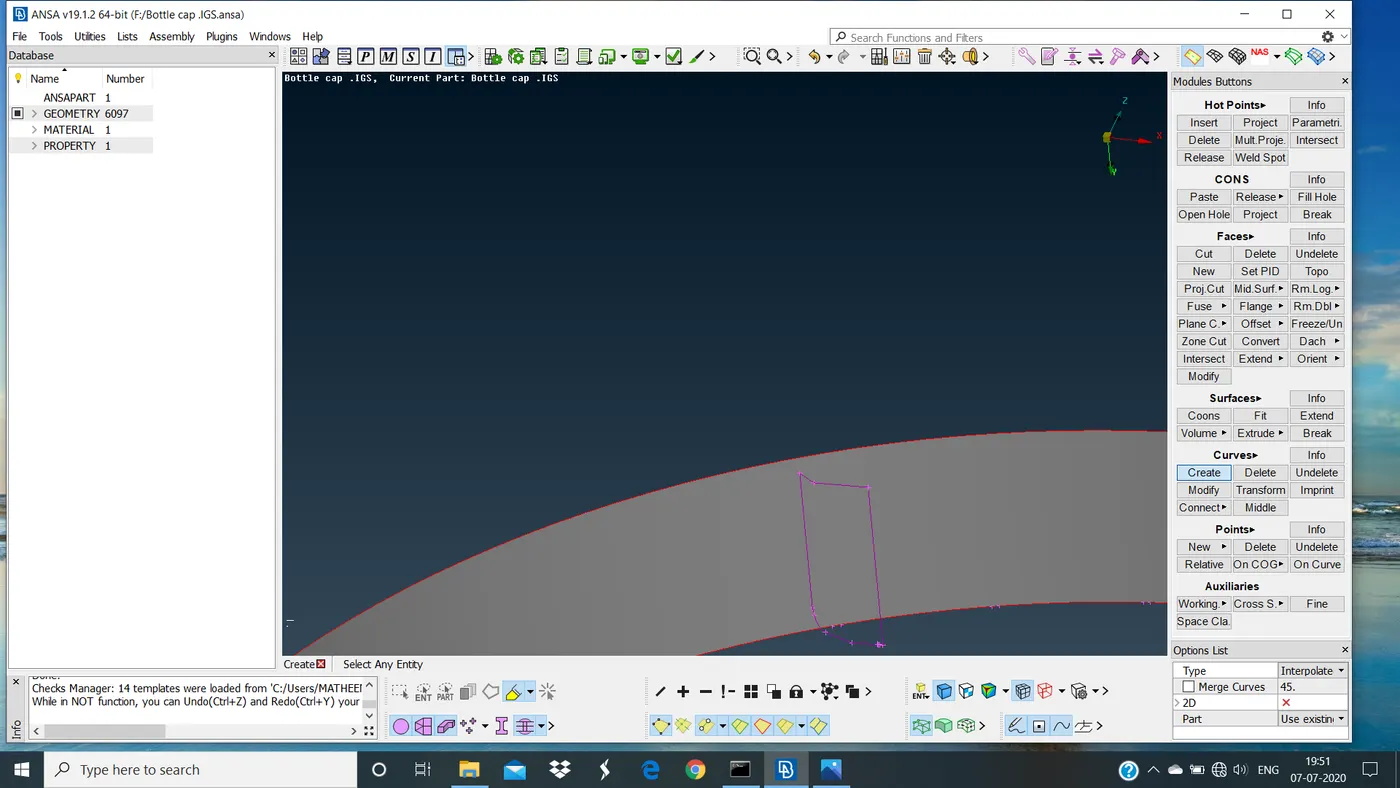
MID SURFACE of THREAD using middle command under curves and clicking multiple time fine command under Auxillaries .
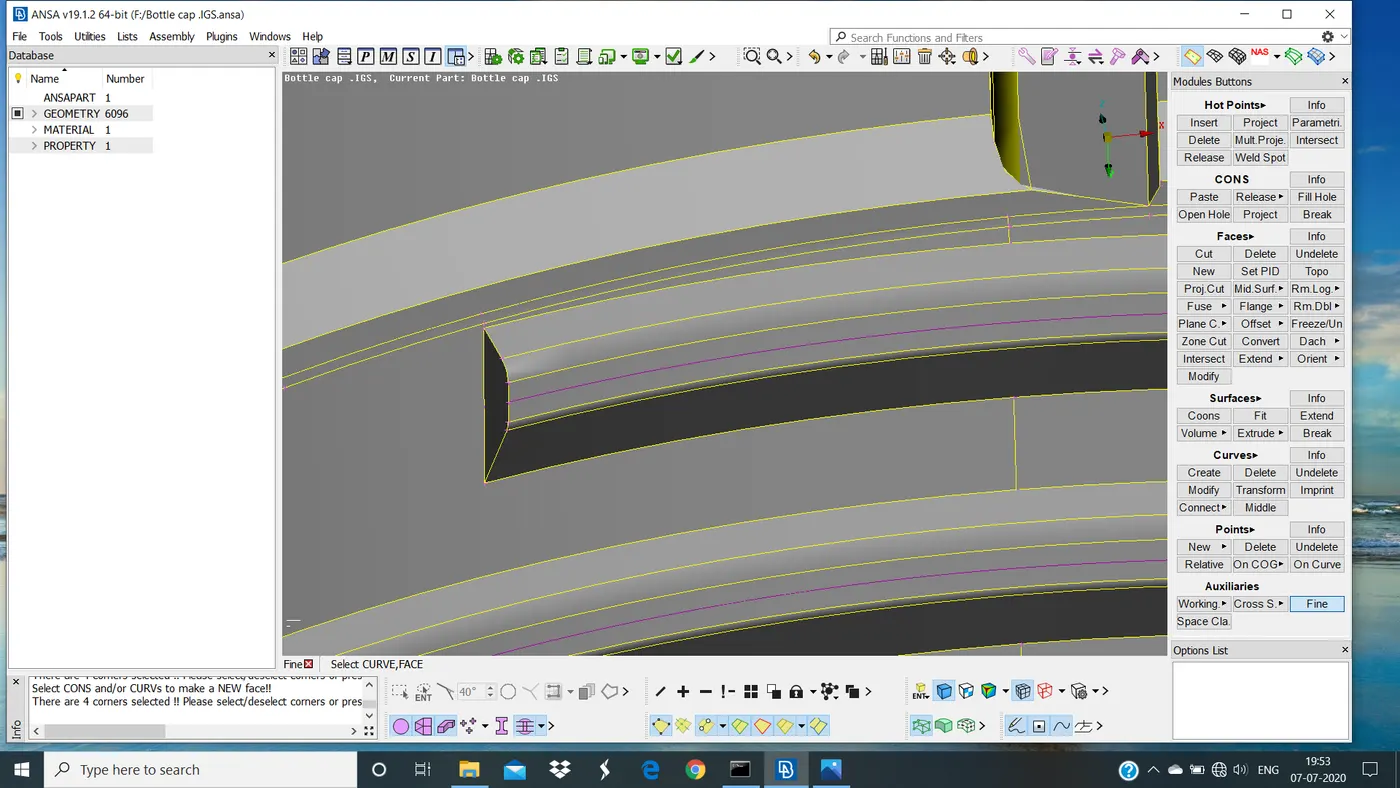
MID SURFACE of Outter Rib's
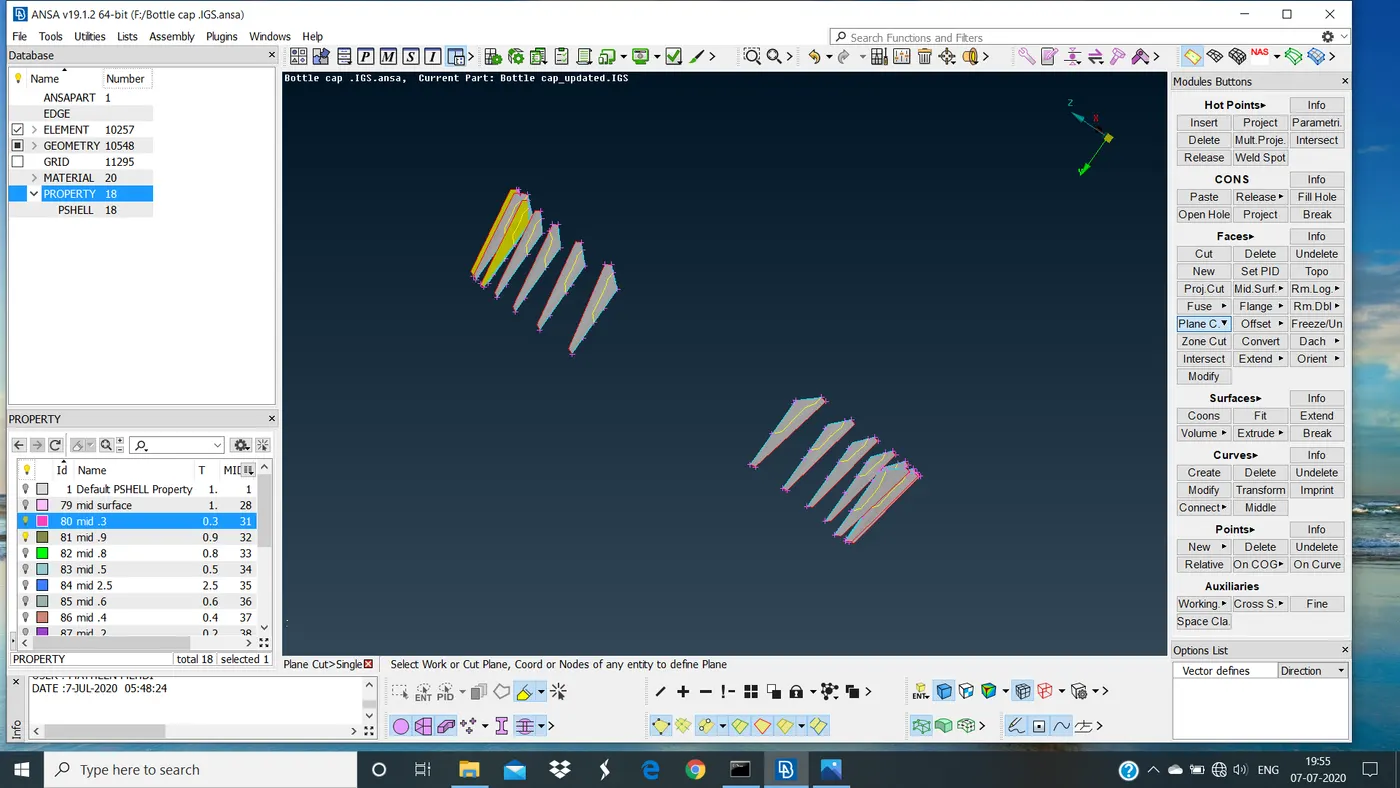
MID SURFACE of Inner Rib's
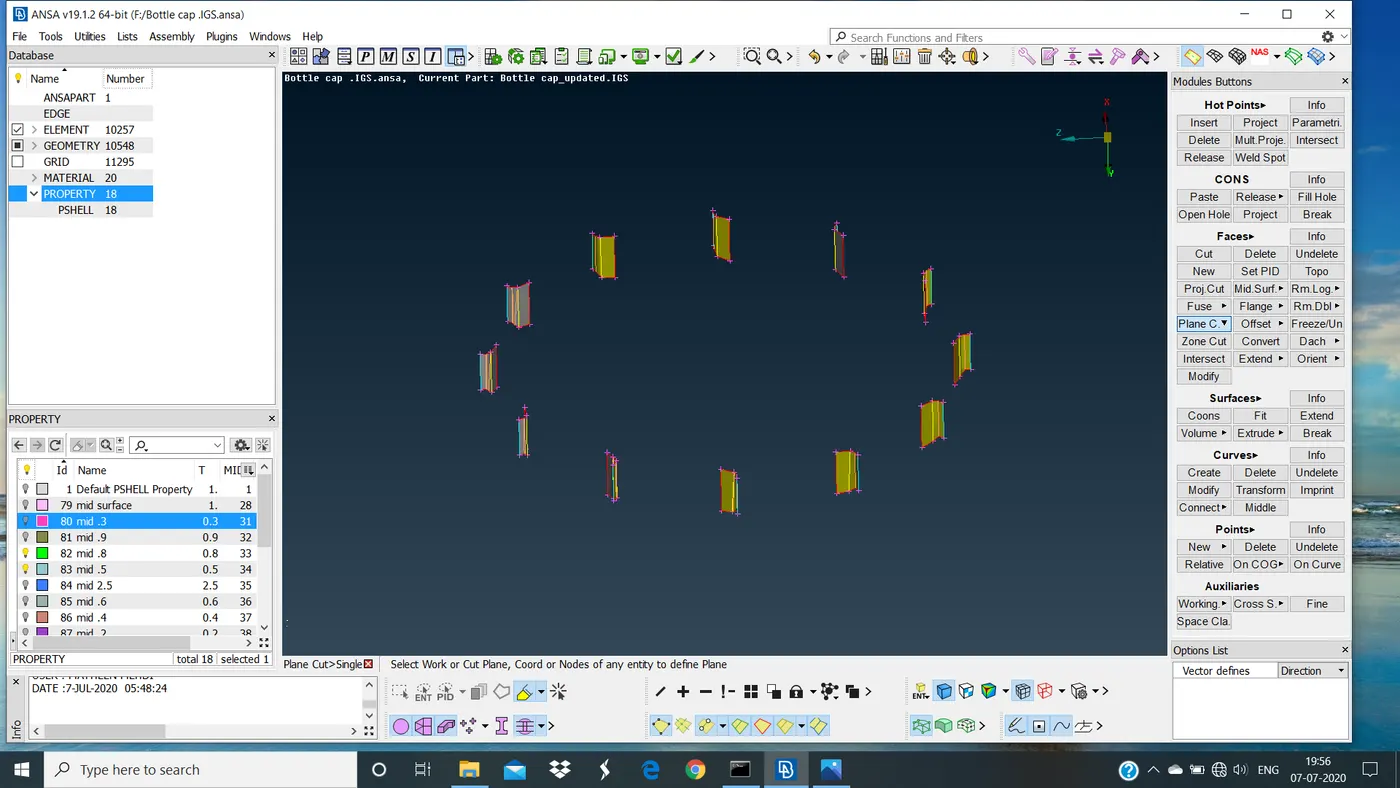
MID SURFACE of Bottom Rib's
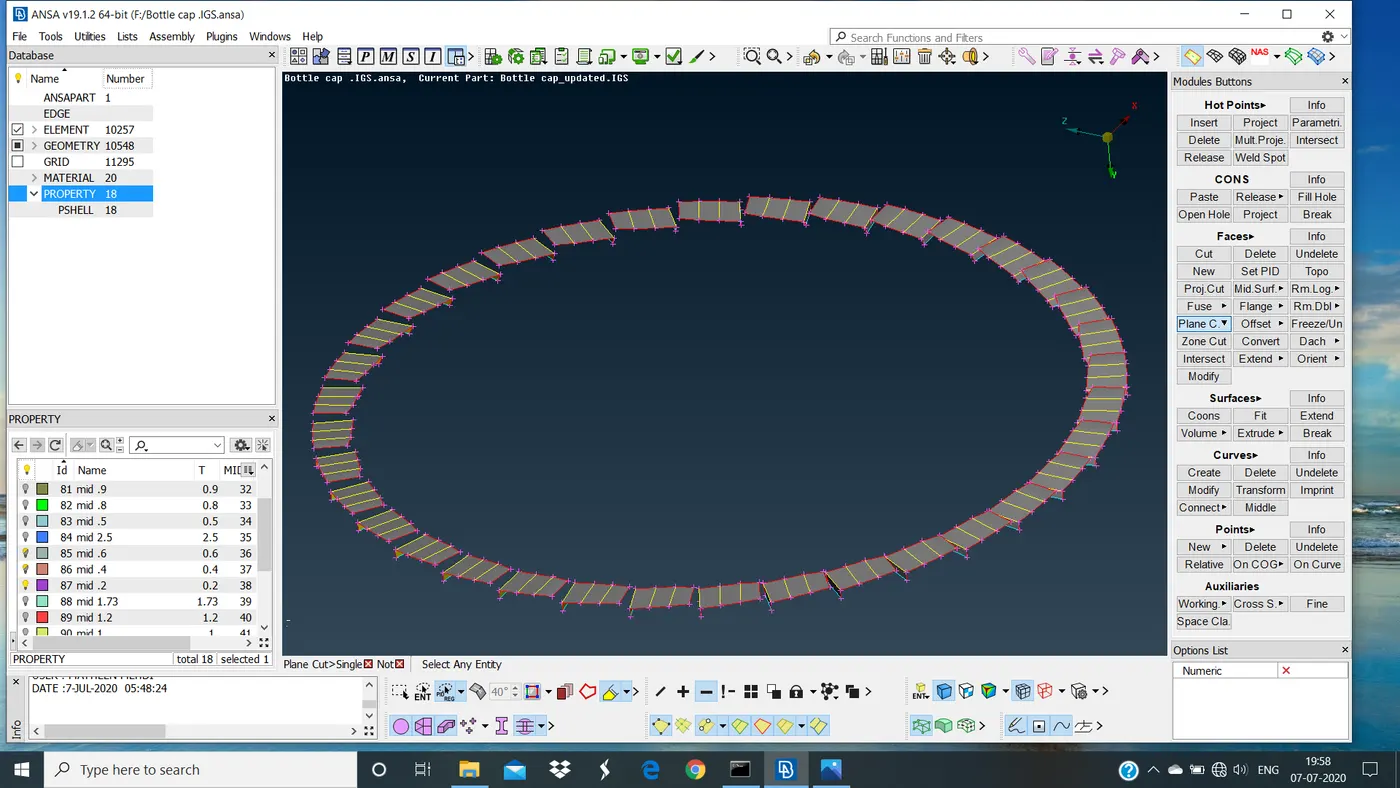
MID SURFACE of THREAD
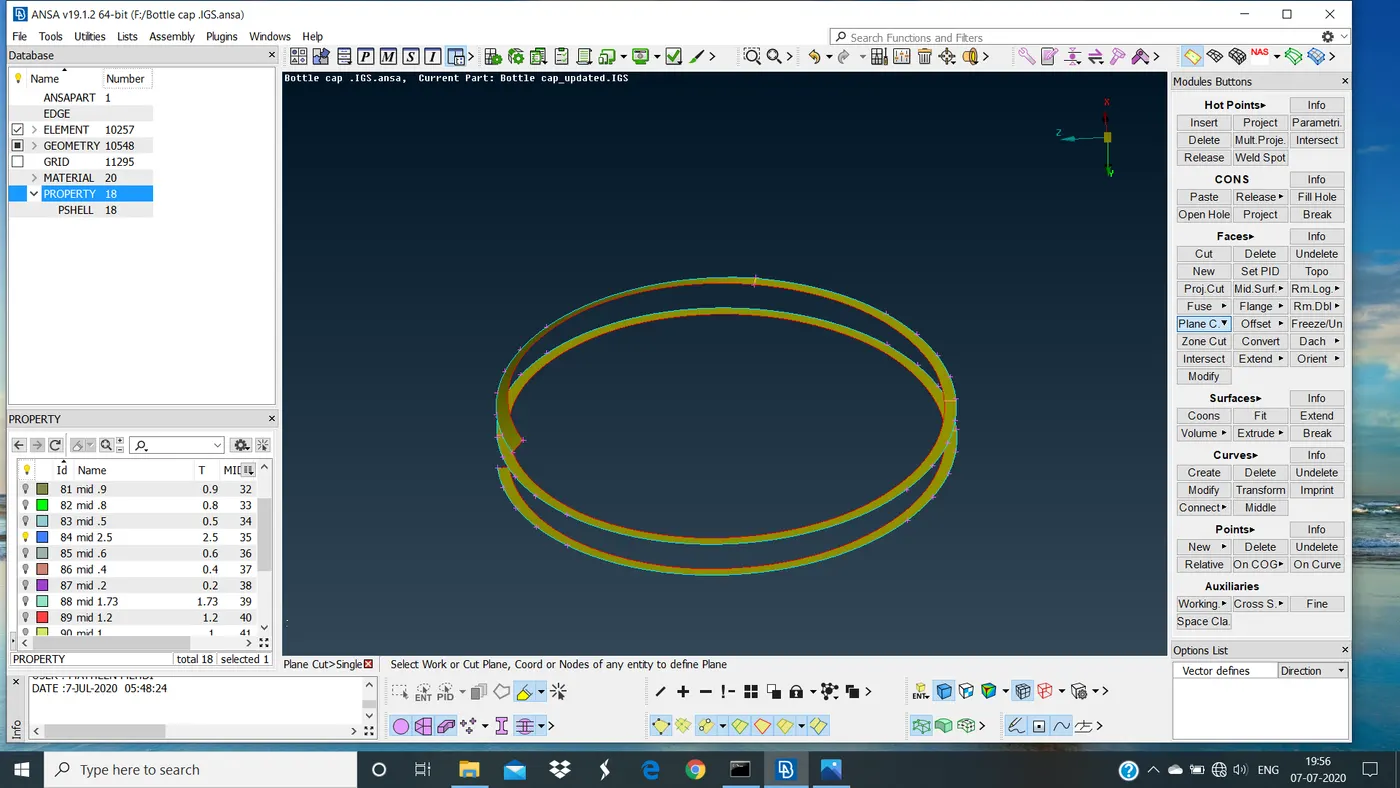
MID SURFACE OF BOTTLE CAP
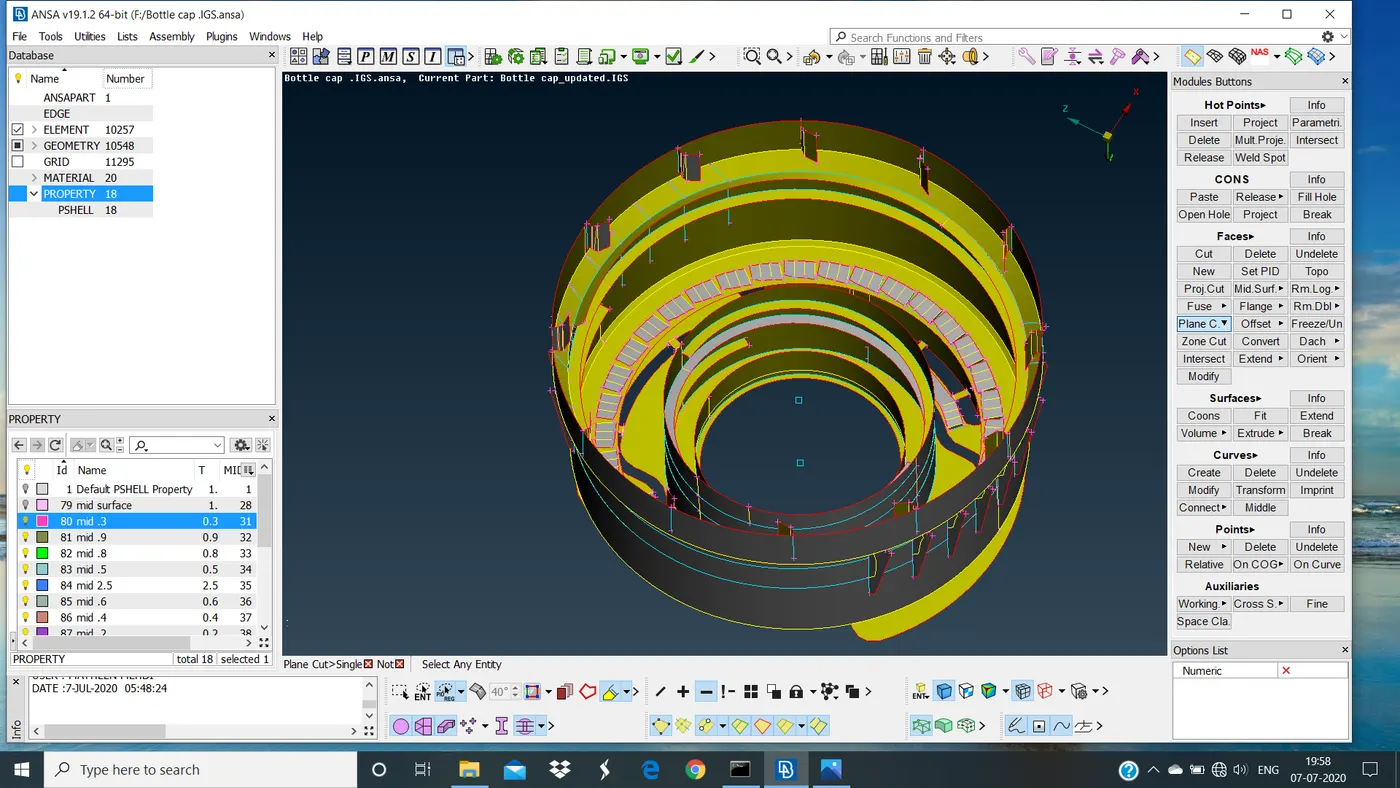
STEP 3:
MESHING
Before going to mesh assign mesh parameter and quality criteria as per the given criteria .
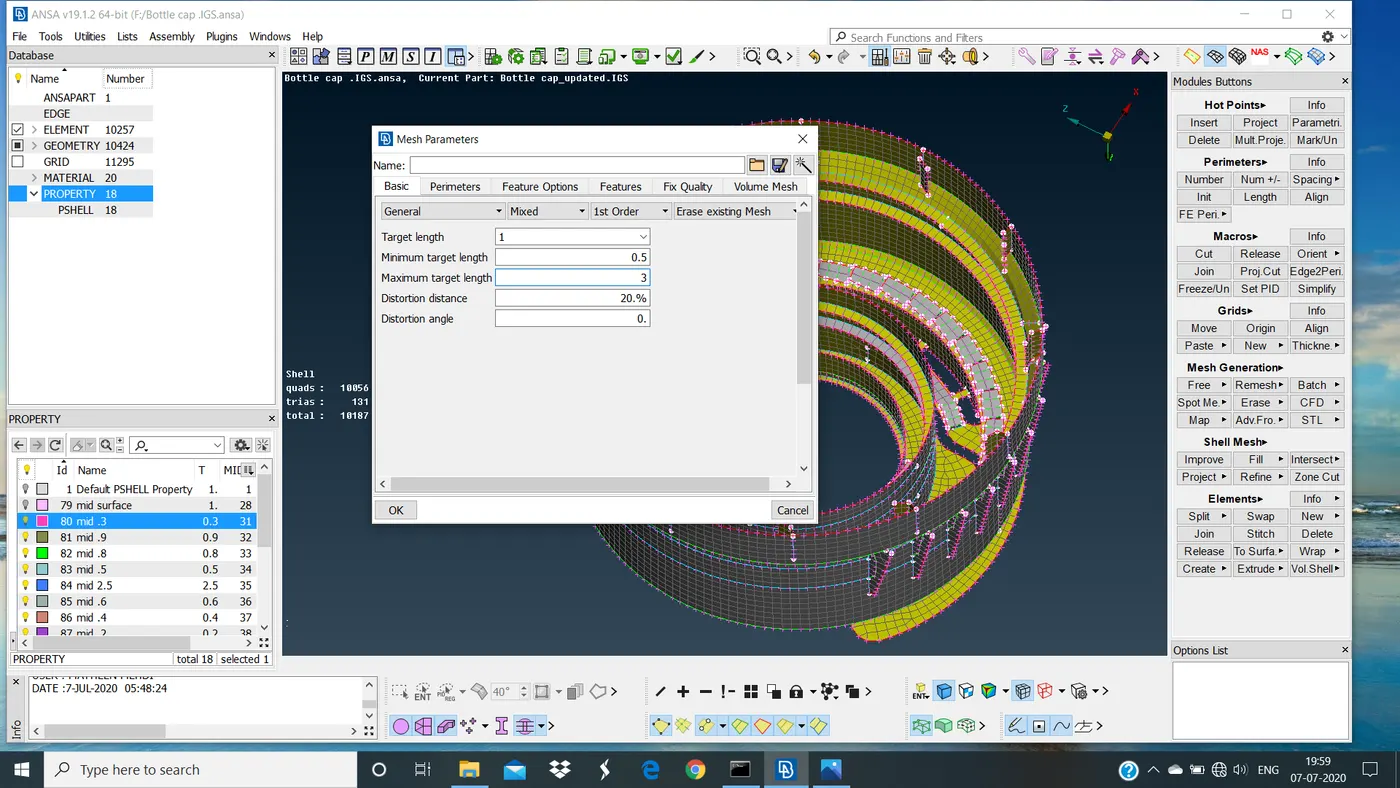
Quality criteria
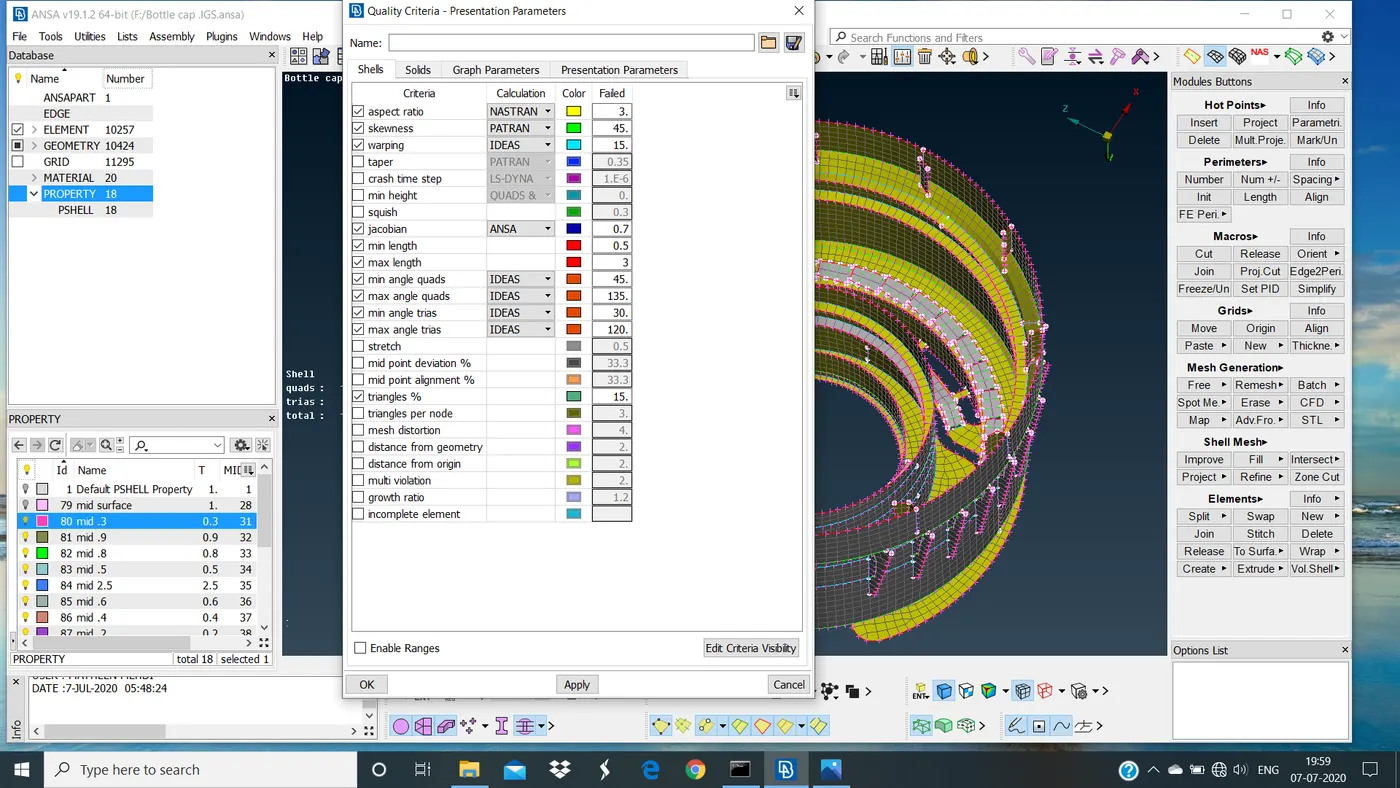
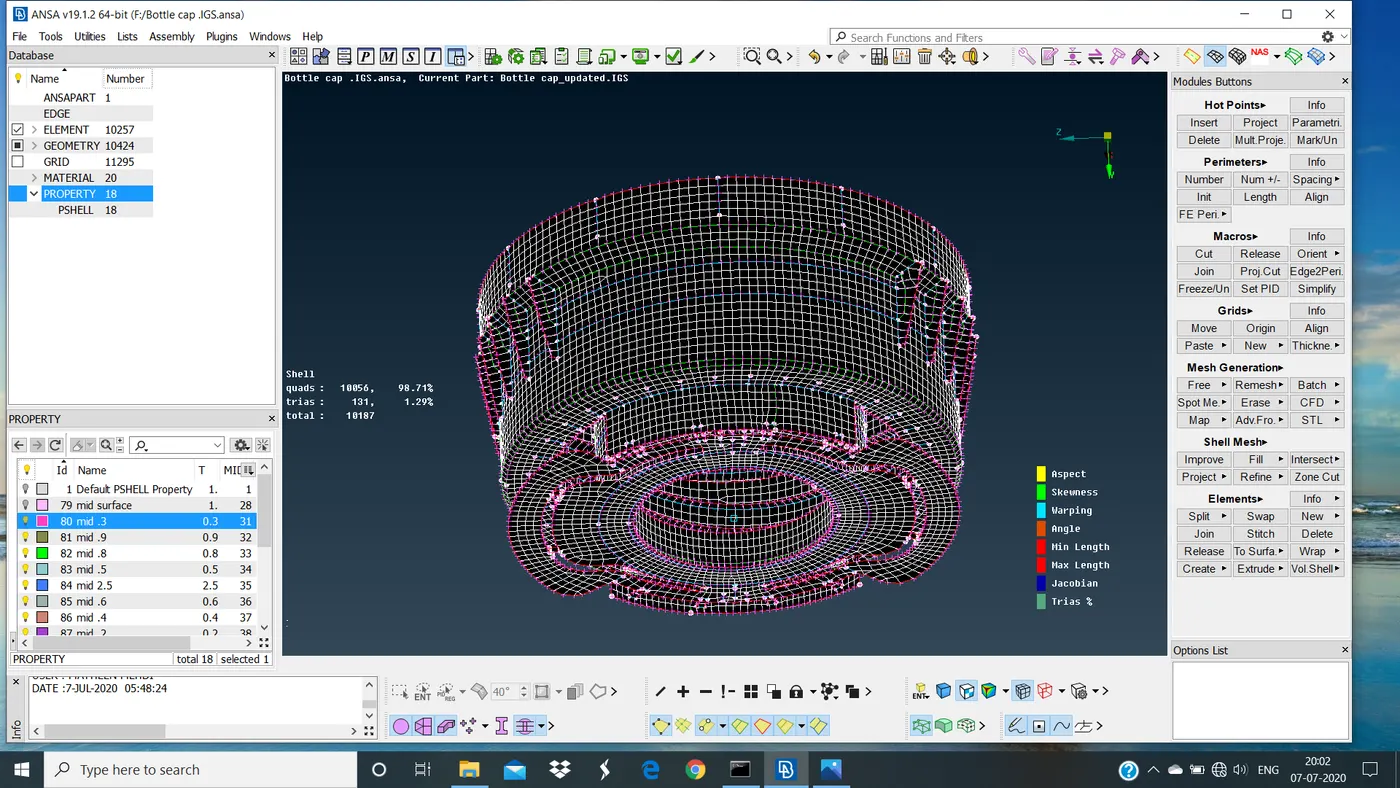
Do mesh with BEST mesh command this will give best mesh flow, now create a mesh and element type is choosen as MIXED .
Reduced tria's and rotating quad's by using Split, swap, smooth, Reconstruction, project cute etc .
Using this commands we can reduced tria's and rotating quad's.
Each part is separately meshed as per the given quality criteria.
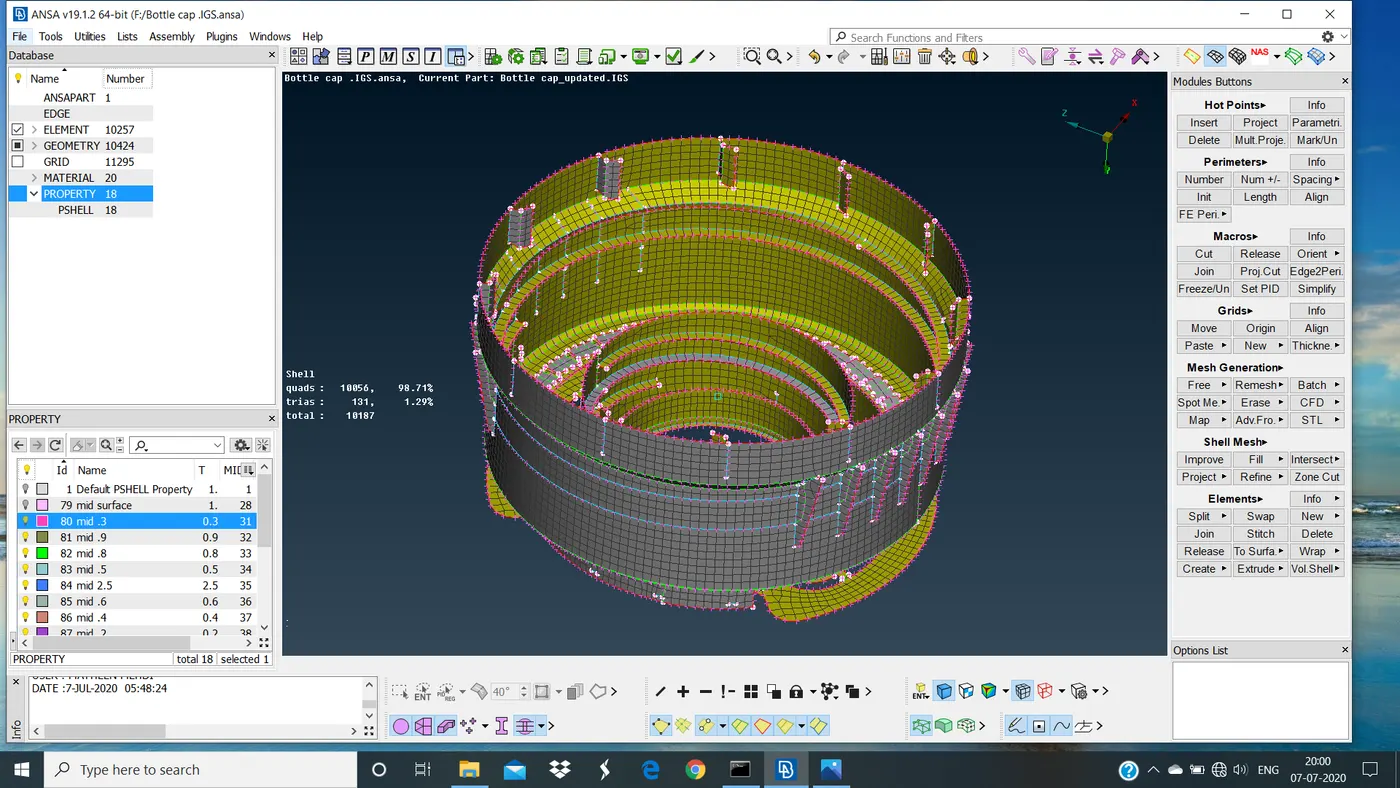
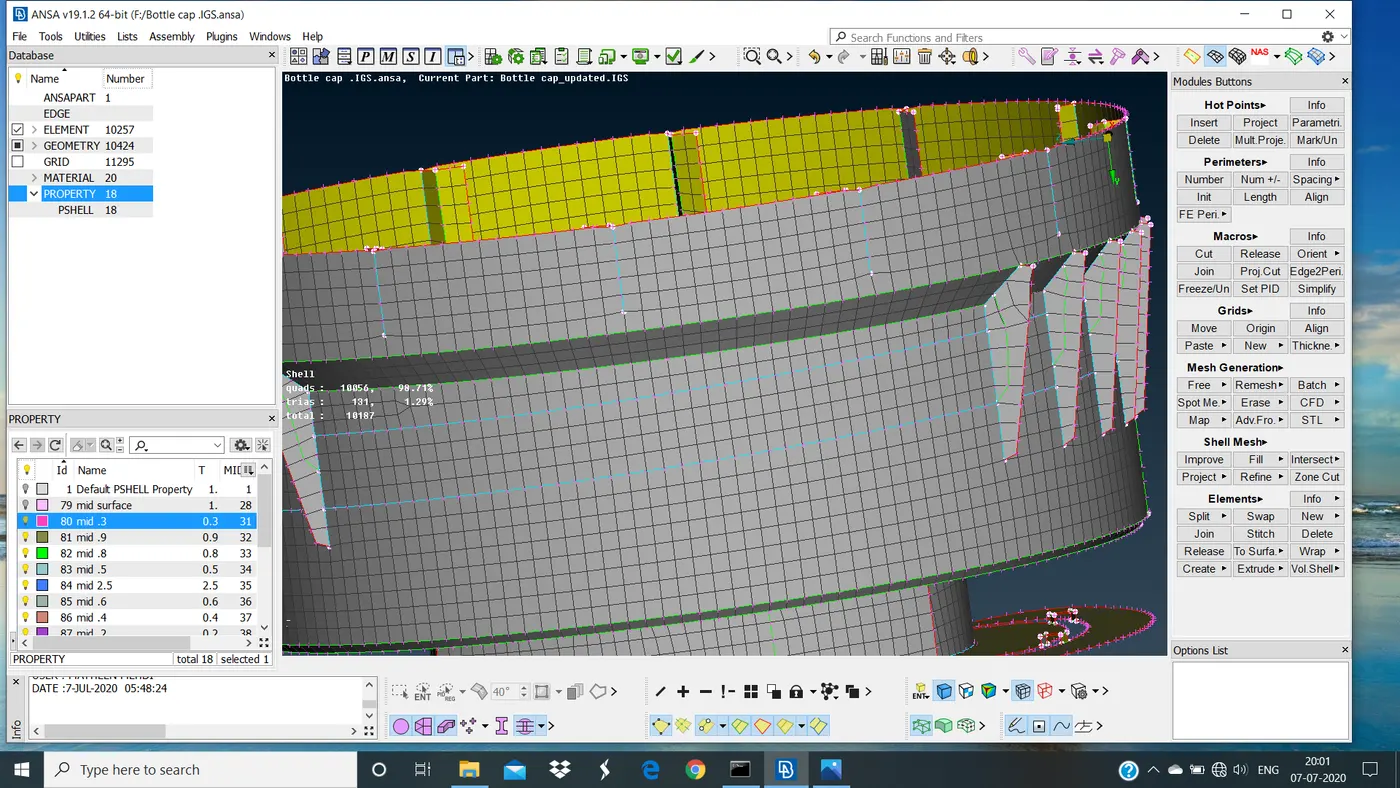
NO OFF ELEMENT's
STEP 4:
ASSINGING NEW PID's
After meshing is done.
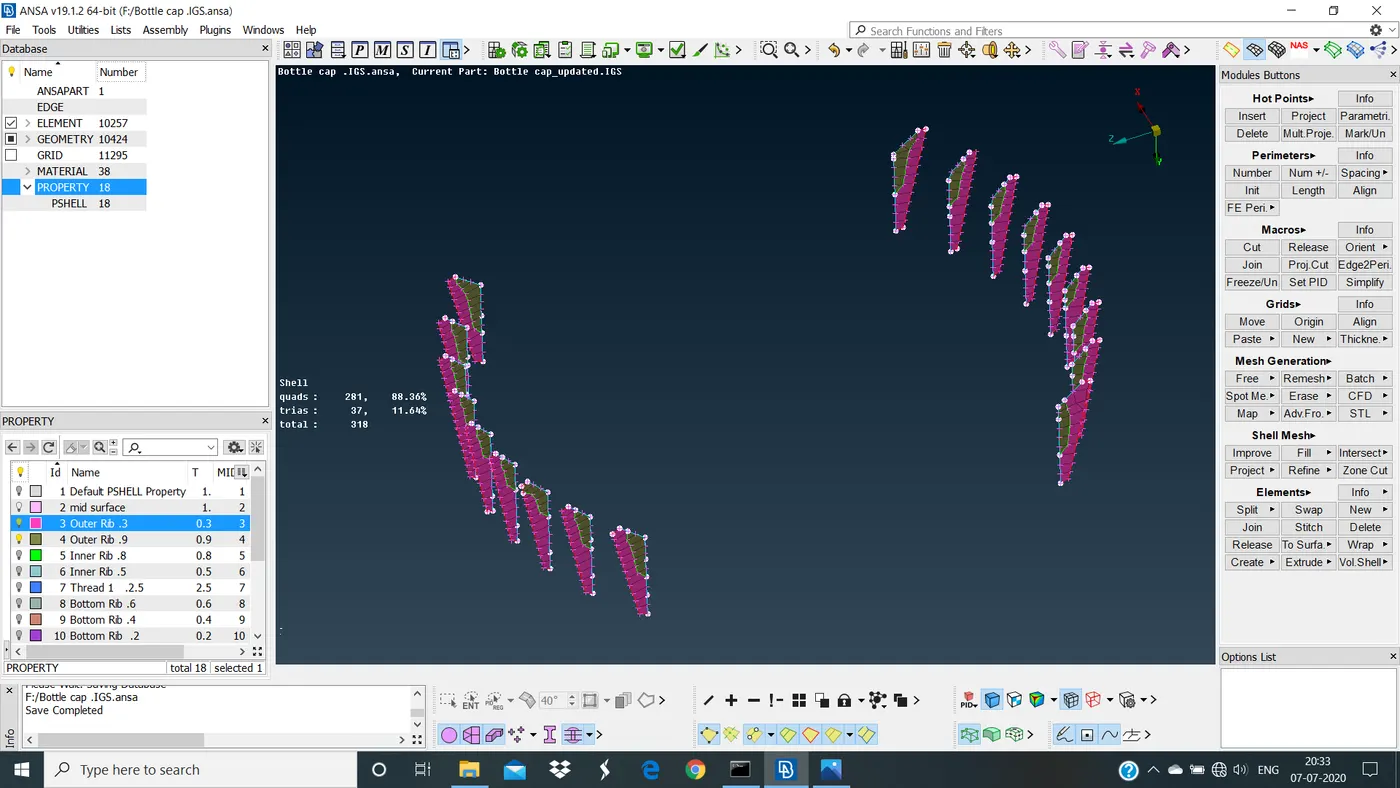
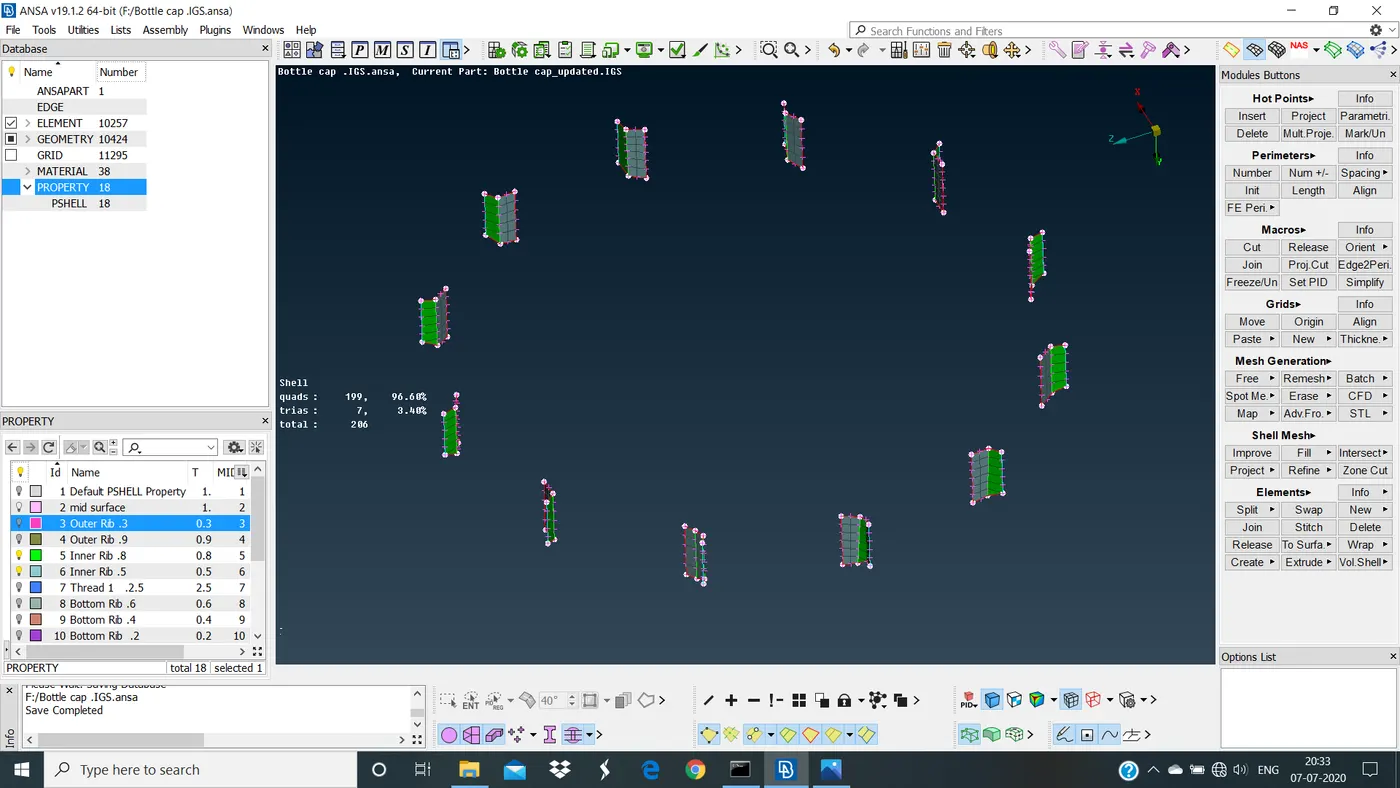
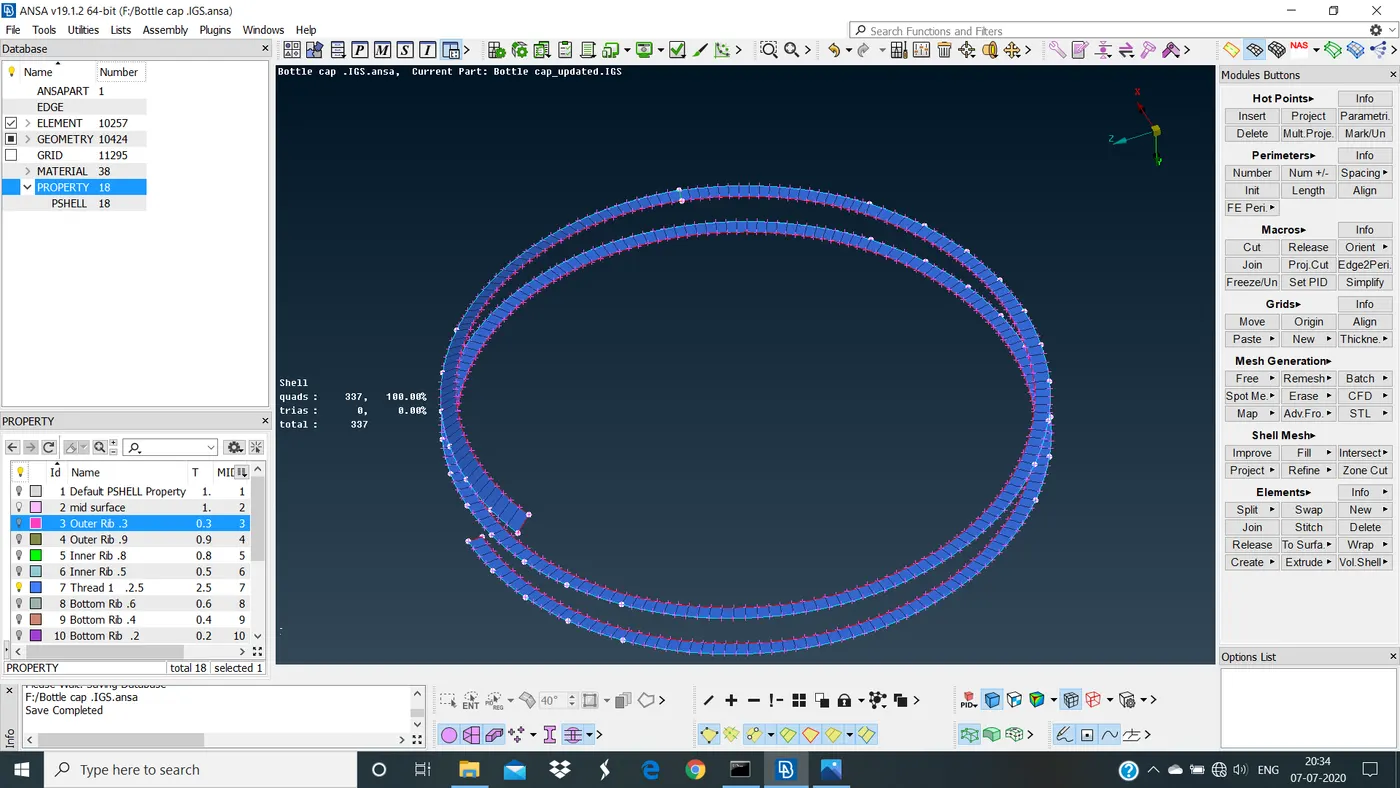
Assign each and every component of bottle cap as per the thickness.
For assigning PID's goto mesh mode Set PID under Macros.
Now select the component to assign create new PID as per the proper thickness.
The thickness of each part are entered and thier type is choosen as PSHELL.
OUTTER RIB's
INNER RIB's
THREAD
BOTTOM RIB's
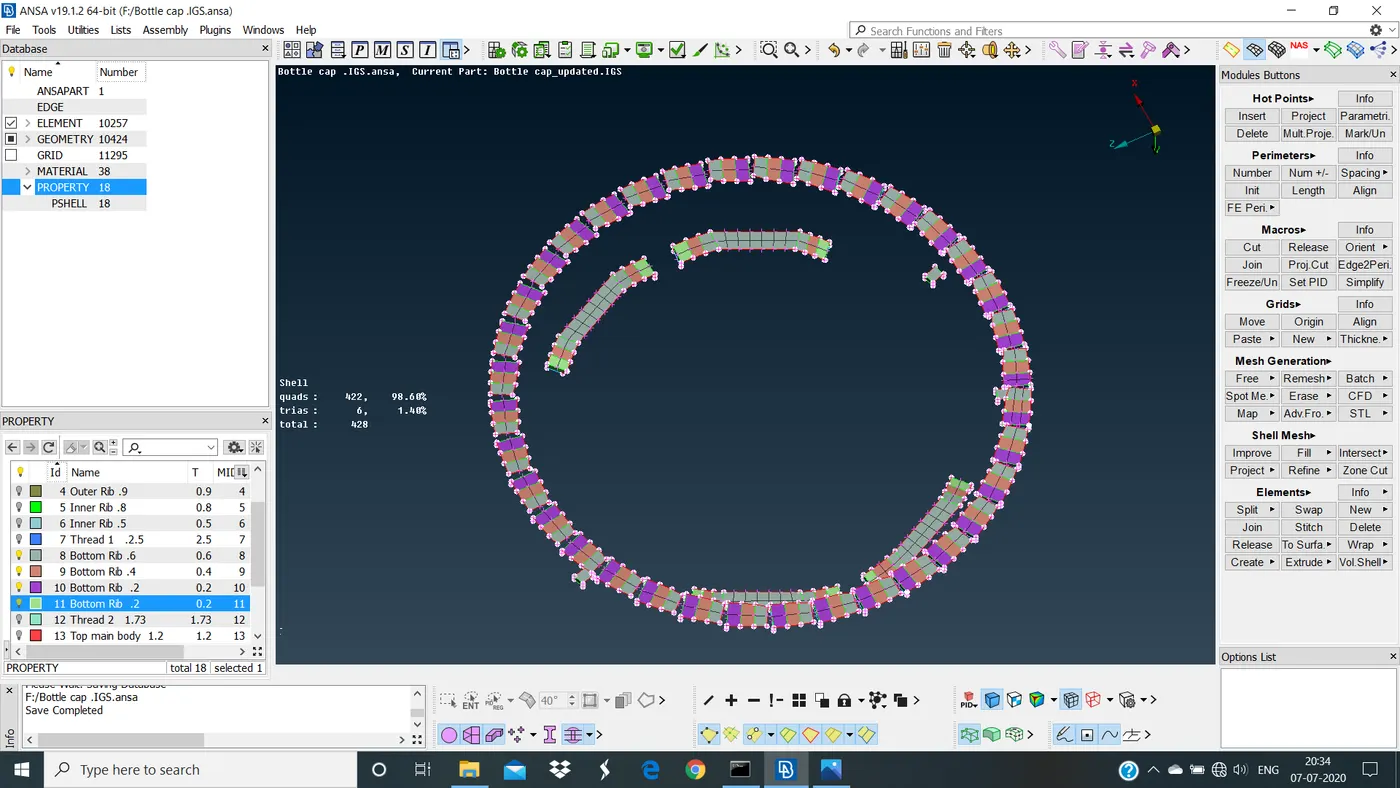
BOTTLE CAP
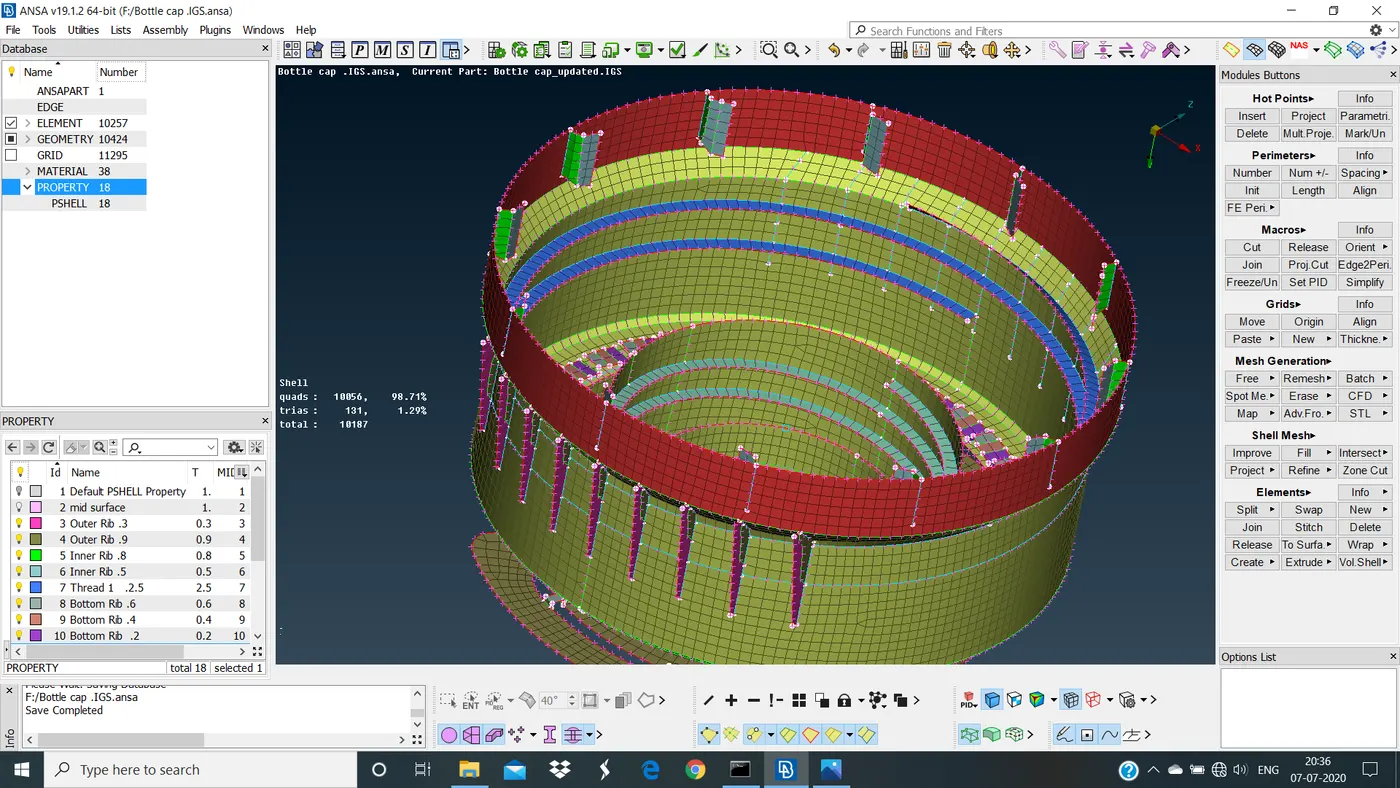
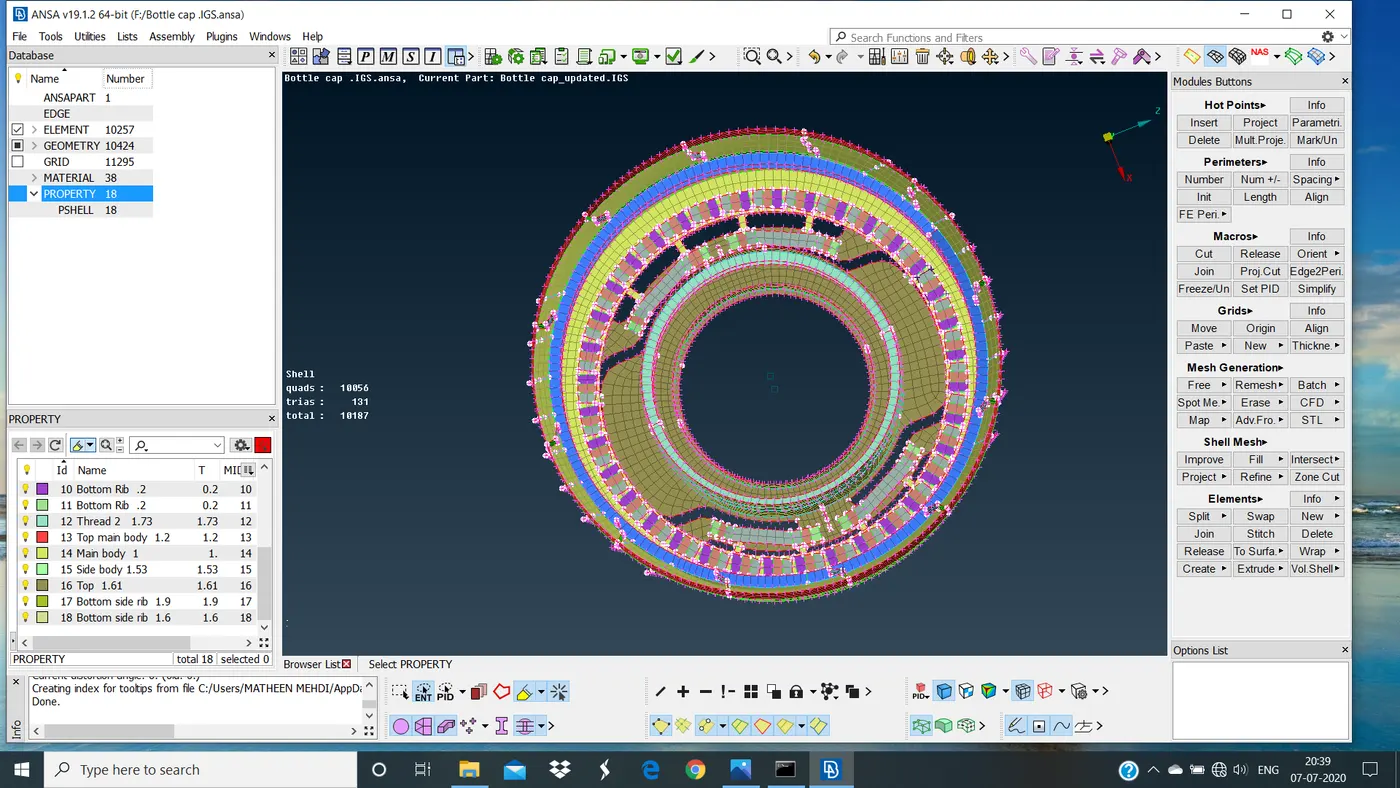
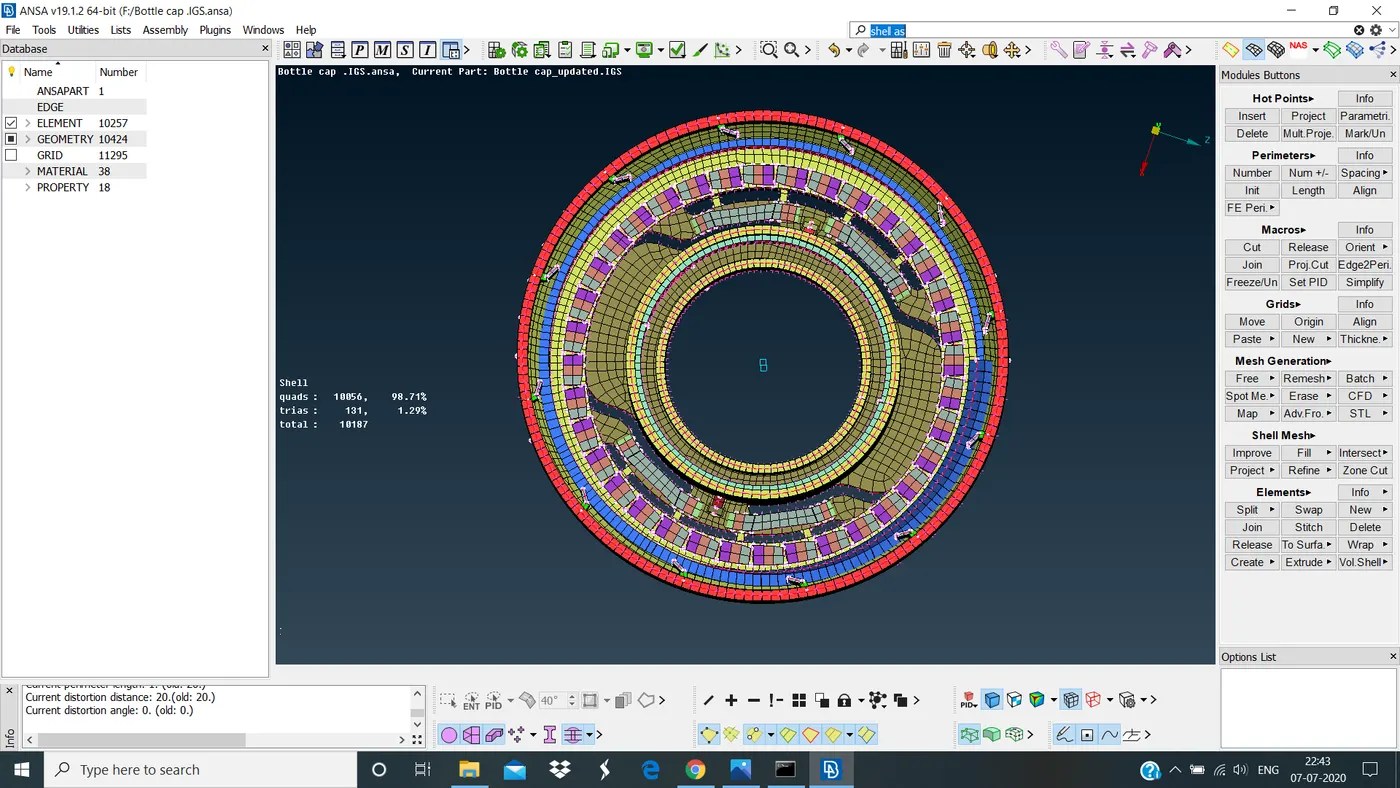
RESULT : All part's are sucessfully meshed as per the given quality criteria .
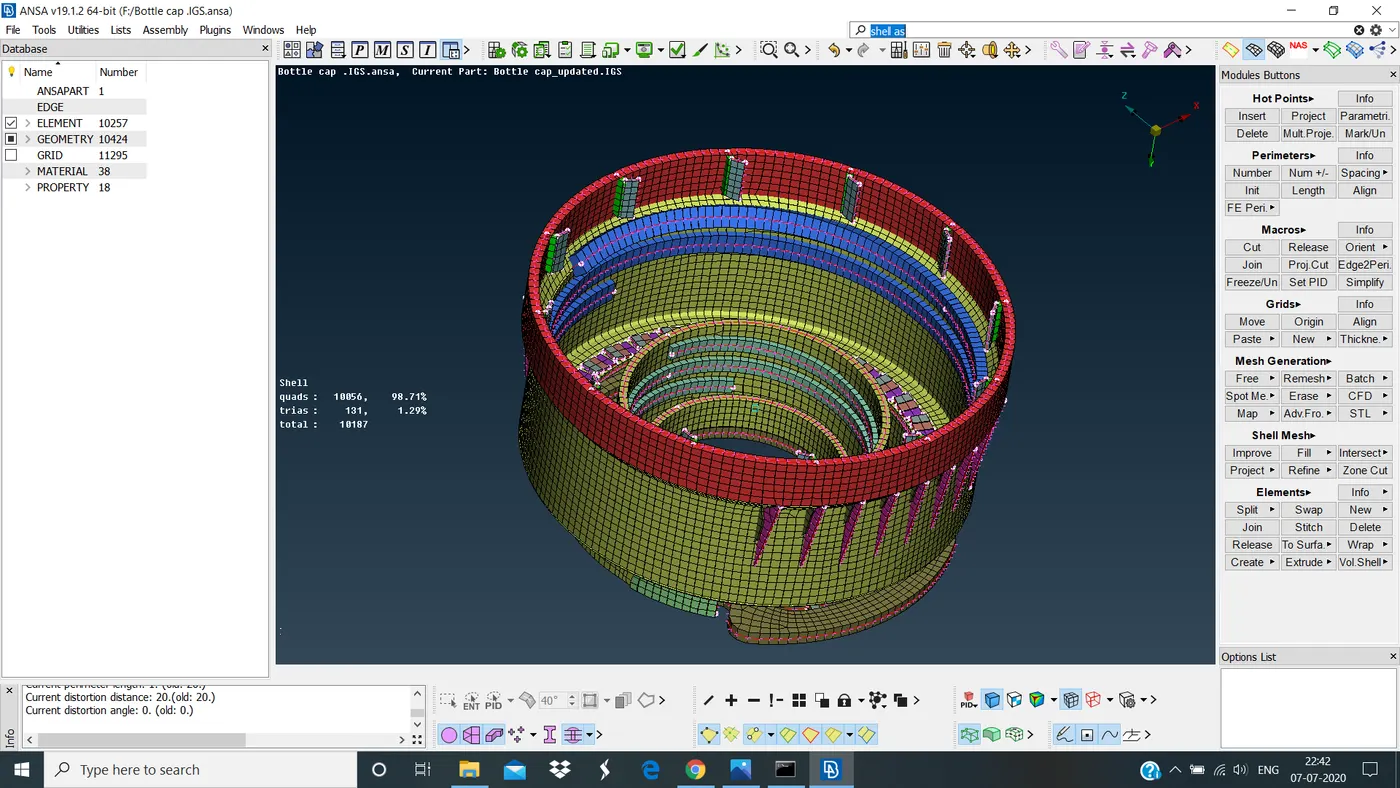
LEARNING OUTCOME's:
- Learned how to create mid surface for complicated area's of bottle cap.
- Learned how to mesh as per given criteria.
- Learned how to split the mesh by using Edge2Perimeter to assign different thickness.
- Learned how to Assing new PID for varying thicknesses.
CONCLUSION:
The 2D Mesh is created for the given bottle cap as per the given criteria using ANSA.