Hood design-Week 2
HOOD DESIGN
AIM:
To design the Hood Outer Panel, Inner Panel and the necessary reinforcements by following the given Master Section and the design parametres.
INTRODUCTION:
The Hood, also known as the bonnet in some regions, is a crucial component of an automotive vehicle. It serves multiple functions and plays a significant role in both the aesthetics and functionality of the vehicle. Here are some key aspects of hood design
1.Functionality:
The primary function of the hood is to cover and protect the engine compartment. It provides access to essential components such as the engine, battery, and other mechanical systems. Additionally, the hood acts as a barrier between the engine and the outside environment, protecting the engine from elements like dust, debris, and water.
2.Aerodynamics:
Hood design can influence the aerodynamic performance of the vehicle. Automotive engineers optimize the shape and contours of the hood to minimize drag and improve airflow around the vehicle. This optimization can enhance fuel efficiency and stability at high speeds.
3.Safety:
In the event of a collision, the hood is designed to absorb and distribute impact forces. Modern hoods often incorporate crumple zones and pedestrian safety features to mitigate injury in accidents.
4.Materials:
Hoods are typically made from lightweight yet strong materials such as steel, aluminum, or composite materials like carbon fiber. The choice of material affects the weight, cost, and performance of the hood.
5.Design and Styling:
Hoods contribute significantly to the overall appearance and styling of a vehicle. Automotive designers carefully consider factors such as contour lines, surface finishes, and grille placement to achieve the desired aesthetic while maintaining functionality and brand identity.
6.Ventilation and Cooling:
Some hood designs incorporate vents or air intakes to improve engine cooling and airflow. These vents may also serve aesthetic purposes and contribute to the sporty or aggressive look of the vehicle.
7.Manufacturing:
Hoods are manufactured using various processes, including stamping, molding, or forming, depending on the chosen material and design requirements. Advanced manufacturing technologies such as hydroforming or laser cutting may be used to achieve complex shapes and precise tolerances.
Overall, hood design in the automotive industry involves a careful balance of functionality, safety, aerodynamics, styling, and manufacturing considerations to create a vehicle that meets the needs and expectations of consumers while adhering to industry regulations and standards.
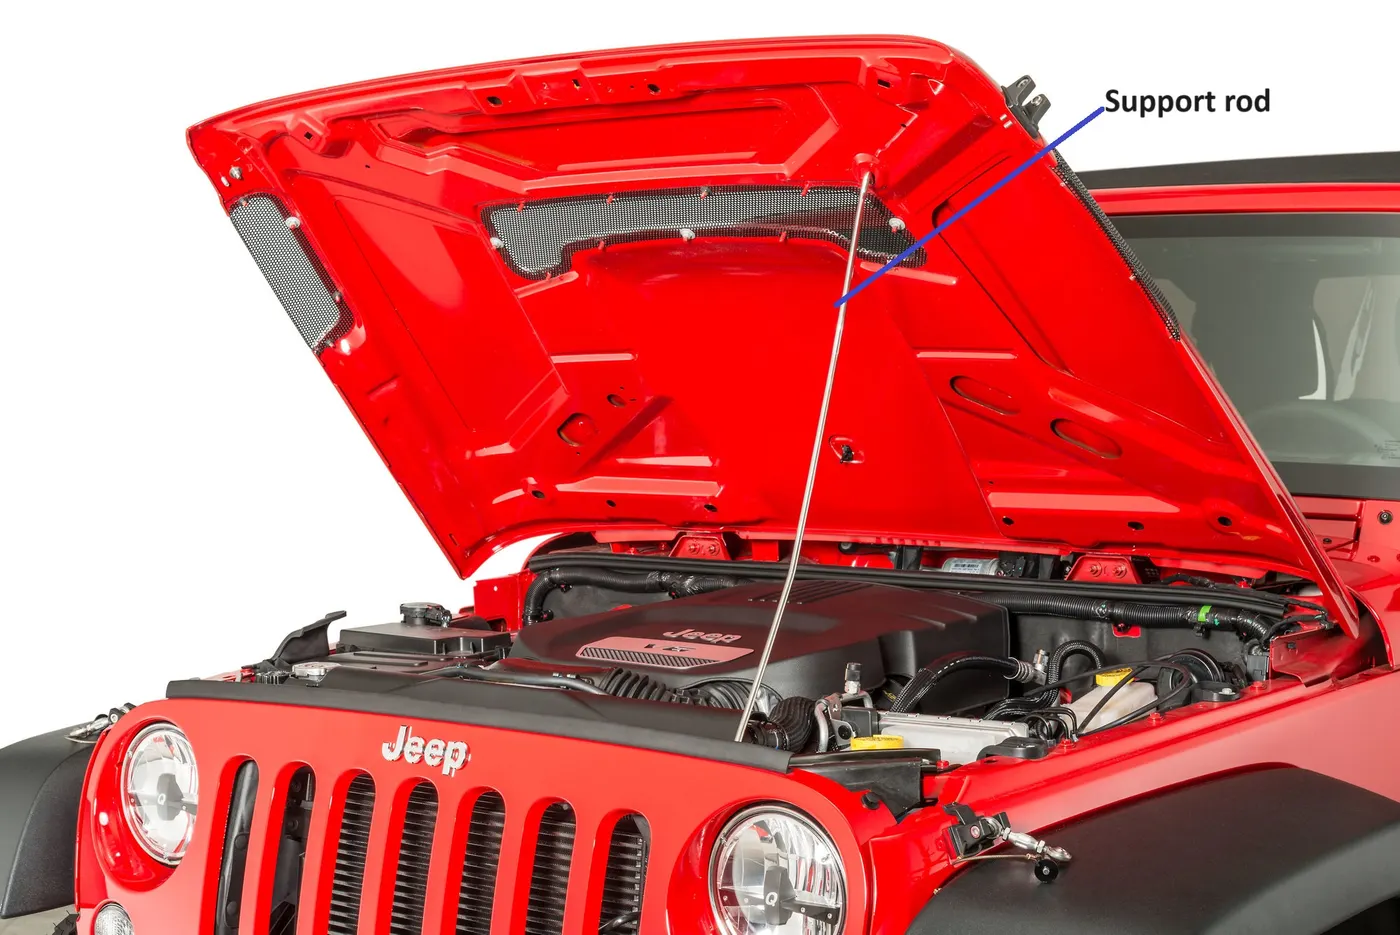
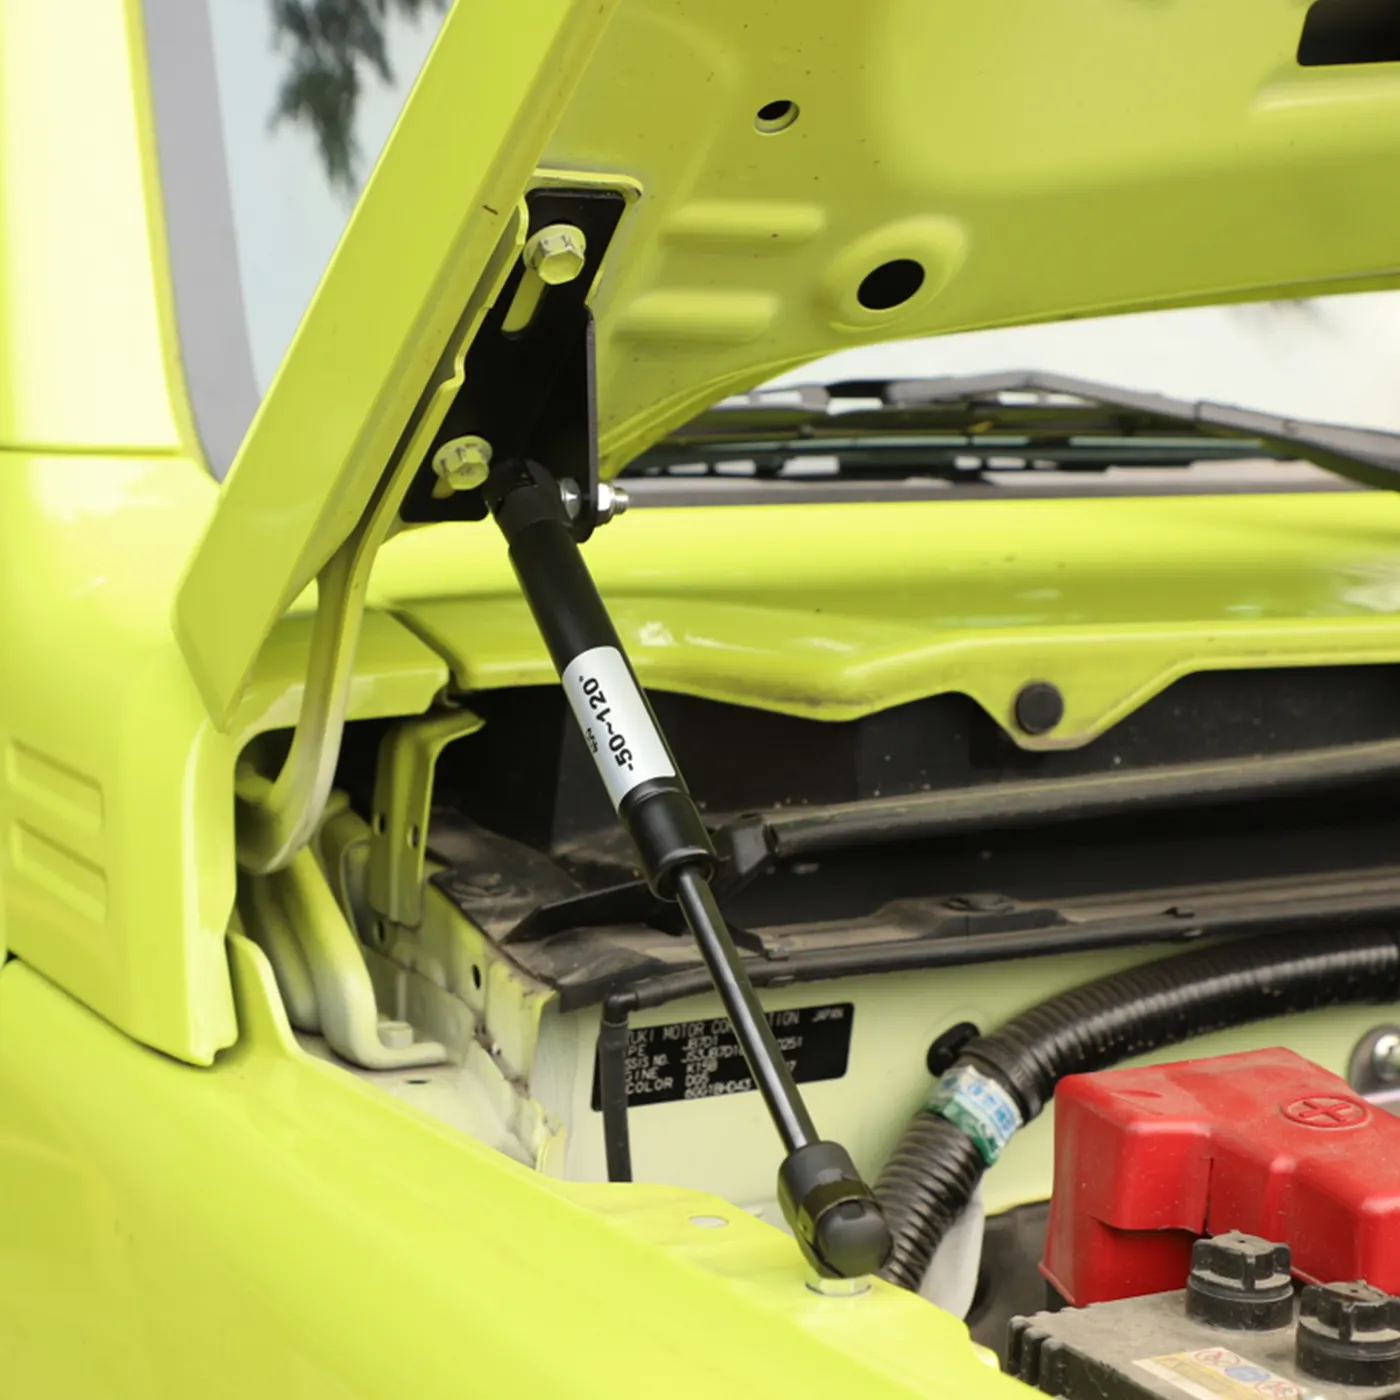
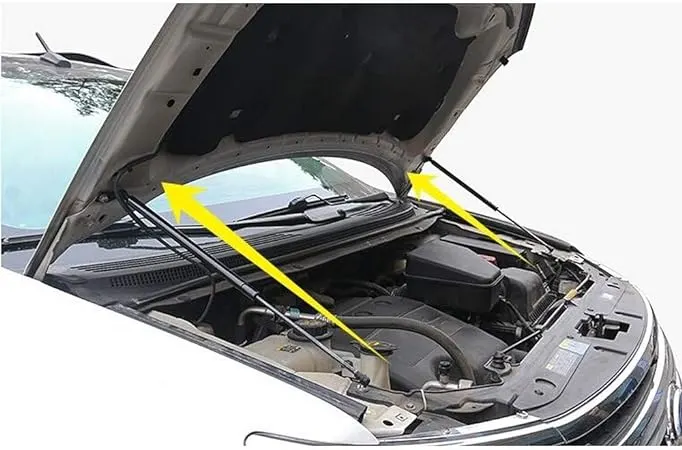
While access for repairs and maintenance Hood can fix by two methods:
1. Support Rod
2. Gas Stay
Example for Support Rod in Hood image mention below
Example for Gas stay in Hood image mention below
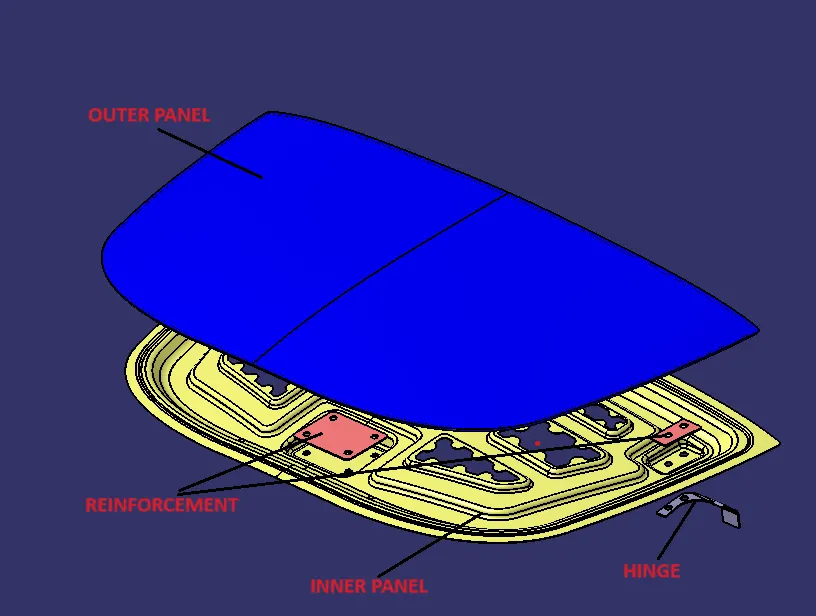
Expolded view of Hood design
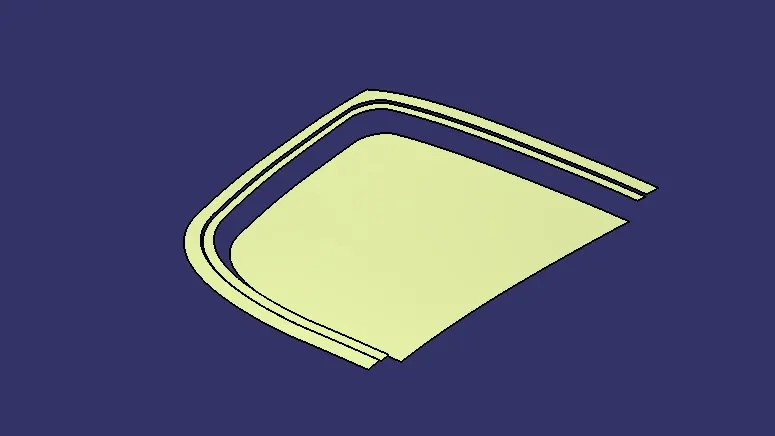
Let's move on to Design the Hood. First and foremost we have to Design the Hood inner panel by taking the input of Class A surface of Hood outer panel and Master section
First we have to split the outer panel class A surface from that we gone a create the inner hood pannel let see, once we split the outer panel and then take offset for outer panel by taking the input from the Master section.Image mention below
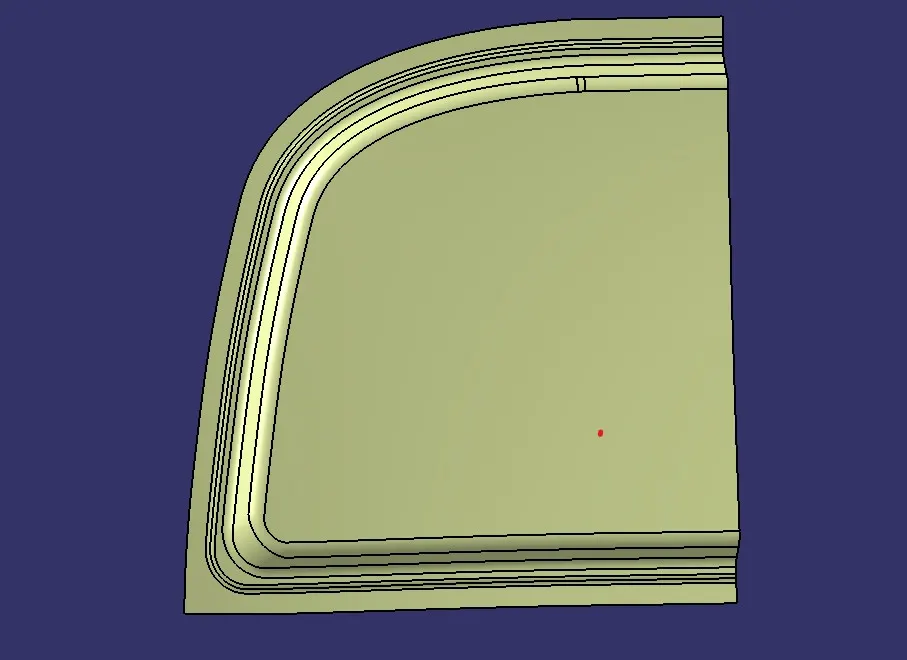
And the join them with Multi section surface command image mention below
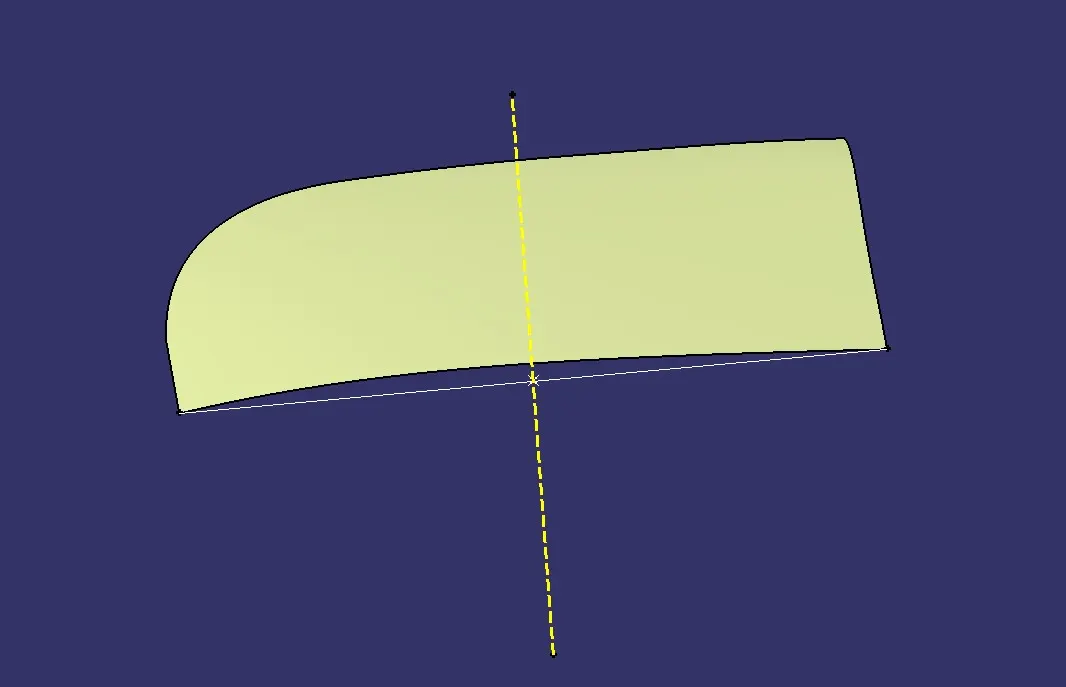
Creation of tooling axis image mention below
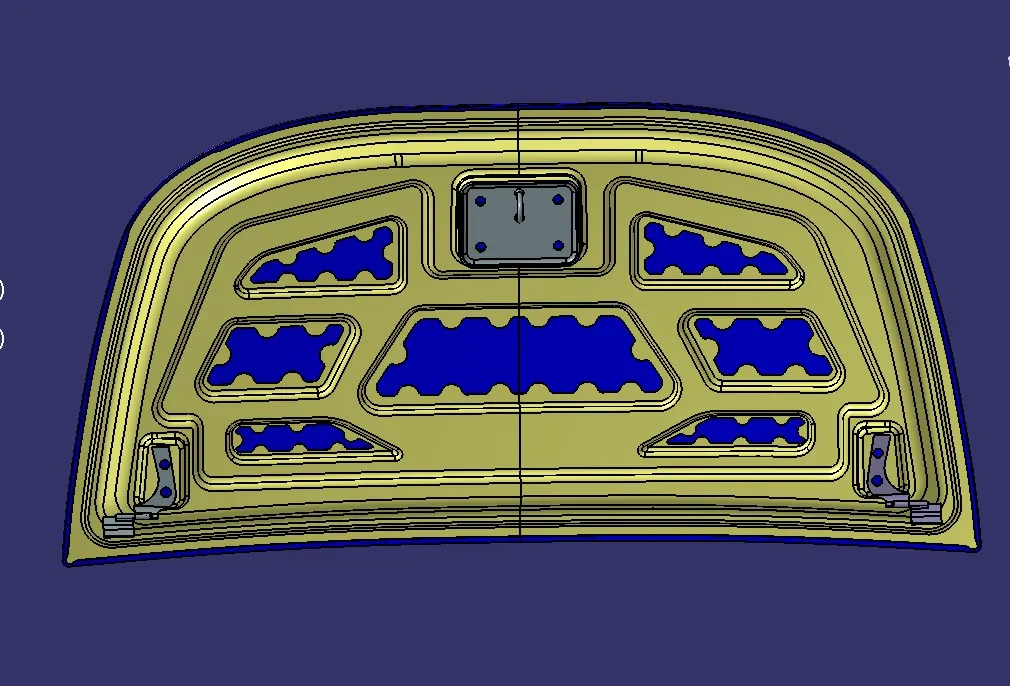
After creating this next we are going create the emboss in that surface image mention below
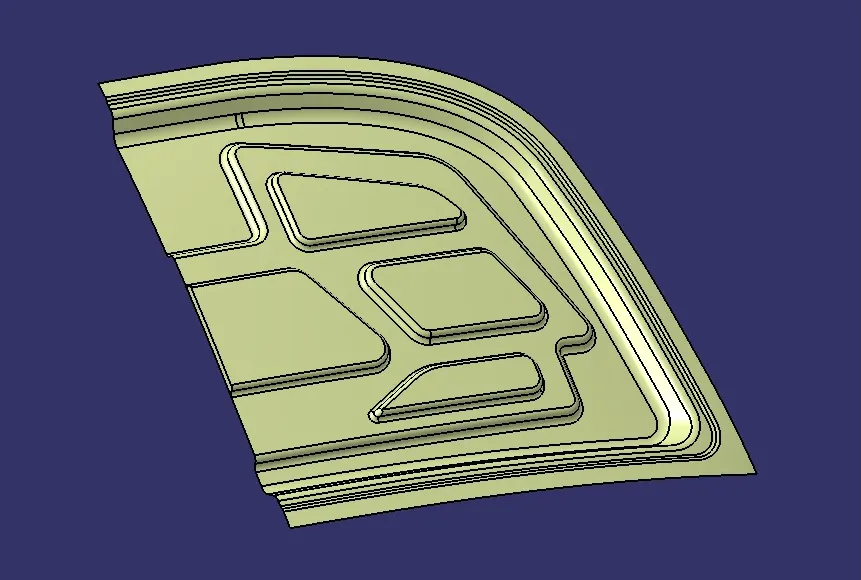
EMBOSS:
Emboss are provided in the inner panel of the hood assembly. This helps in weight reduction of the hood and also to dissipate the force during collision. Example image shown in below
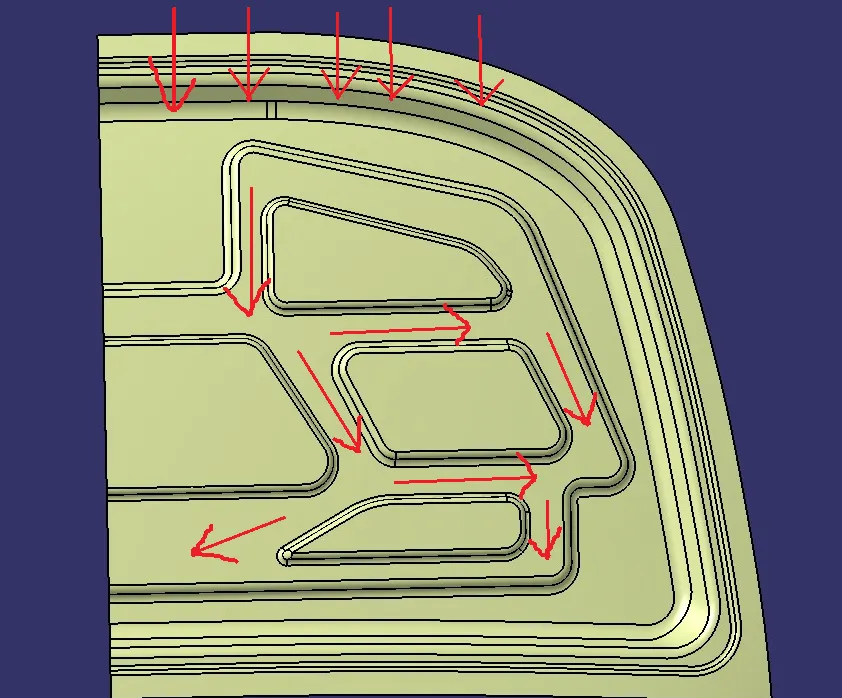
When the car is face the collision it dissipate the force. And reduce damage that why we need the emboss in the inner panel.
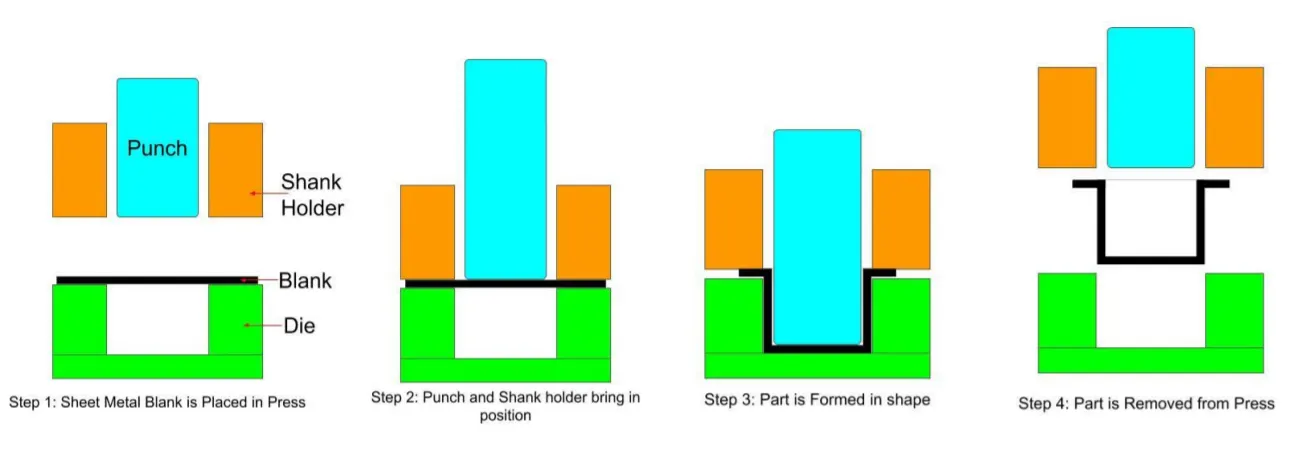
In the manufacturing process they use the Deep Drawing method.To create the shape in sheet metal
DEEP DRAWING:
Deep drawing is a sheet metal forming process in which a sheet metal blank is radially drawn into a forming die by the mechanical action of a punch. It is thus a shape transformation process with material retention. The process is considered "deep" drawing when the depth of the drawn part exceeds its diameter.The process involves the use of metal dies to form blank sheets of metal into a desired shape. The amount of drawing performed on a sheet metal blank can be quantified using the drawing ratio.
A deep drawing of sheet metal is performed with a punch and die. The punch is the desired shape of the base of the part, once drawn. The die cavity matches the punch and is a little wider to allow for its passage, as well as clearance. For many calculations, the sheet metal thickness is assumed to remain constant. There are changes in thickness in certain areas, due to force involved.
Reference image mention below.
Next step give cut out to the emboss image mention below
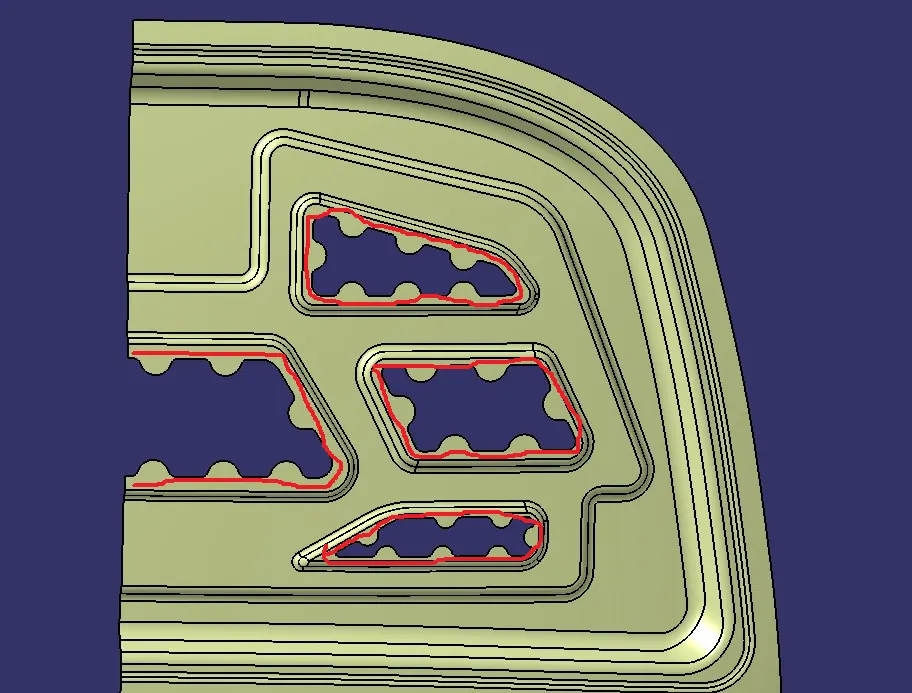
Red color marked part was the mastic seal was placed between inner and outer panel in order to join them.
MASTIC SEALANT:
It is a form of sealant or adhesive used to fill the joints or as a bond for different materials and gaps. It is an elastic and flexible material used to create a durable bond between two different surfaces or to protect a particular surface. Mastic Seals place b/w Inner and outer panel to reduce Noise, vibration, and harshness. Every Mastic will have an effect of 80mm Dia locally.
Image mention below
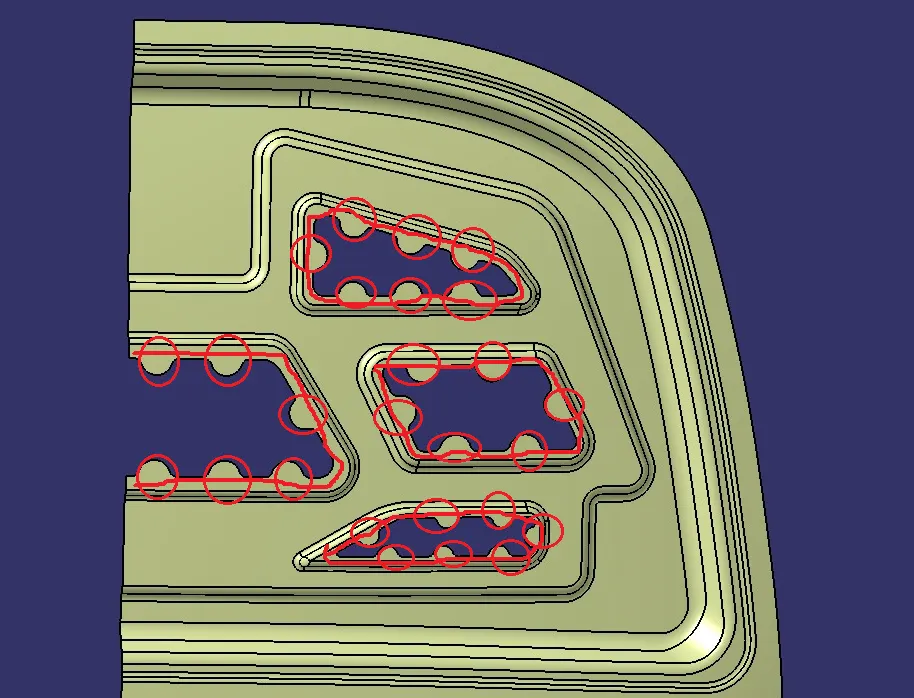
And then create a Hing mounting Emboss at the cornor. image mention below
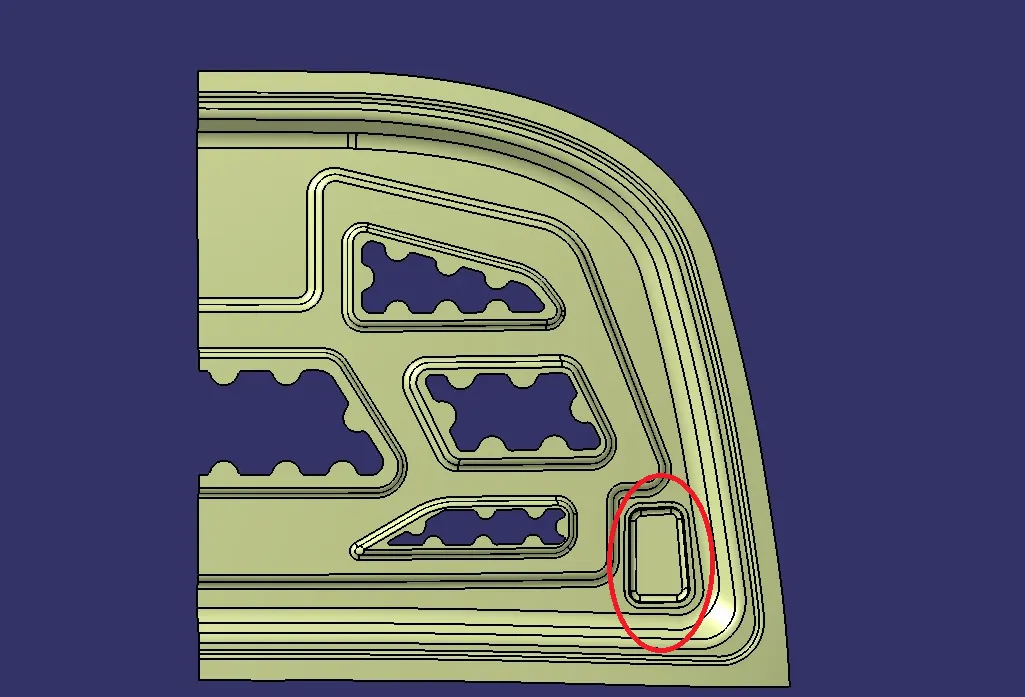
HINGE ASSEMBLY:
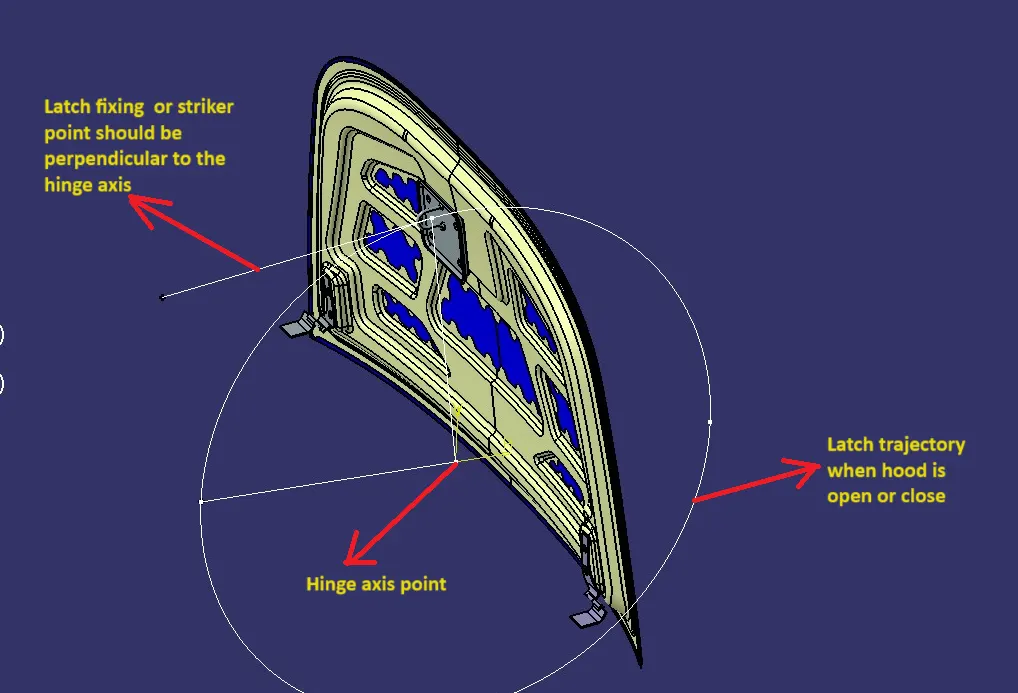
Hinge is a component that fixes the hood to the fenders of the car. The latch must be fixed perpendicular to the hinge axis so that the hood opens or closes properly.
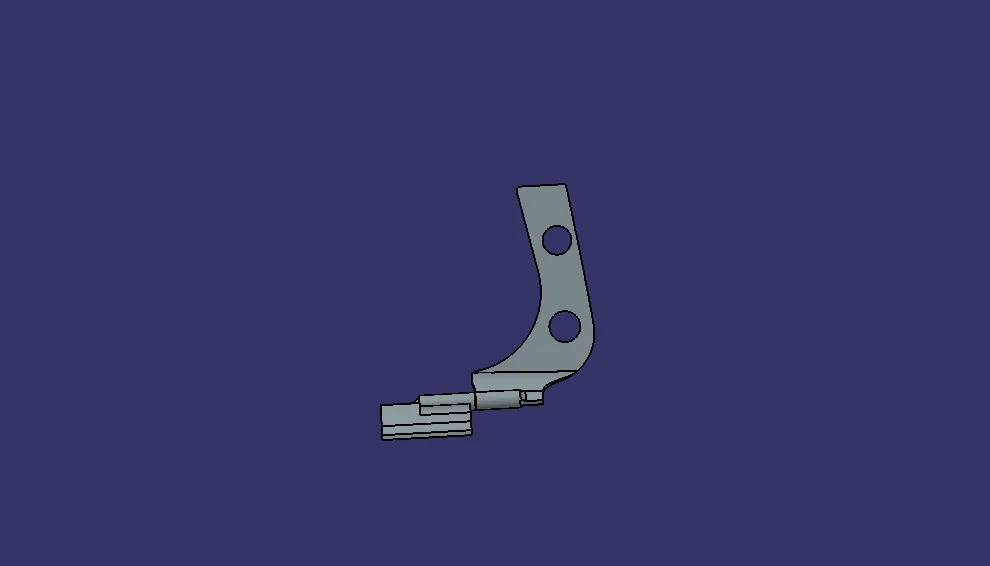
Refer dimension in given hing assembly as input Image mention below
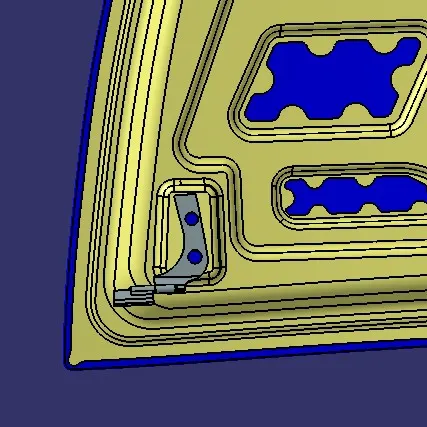
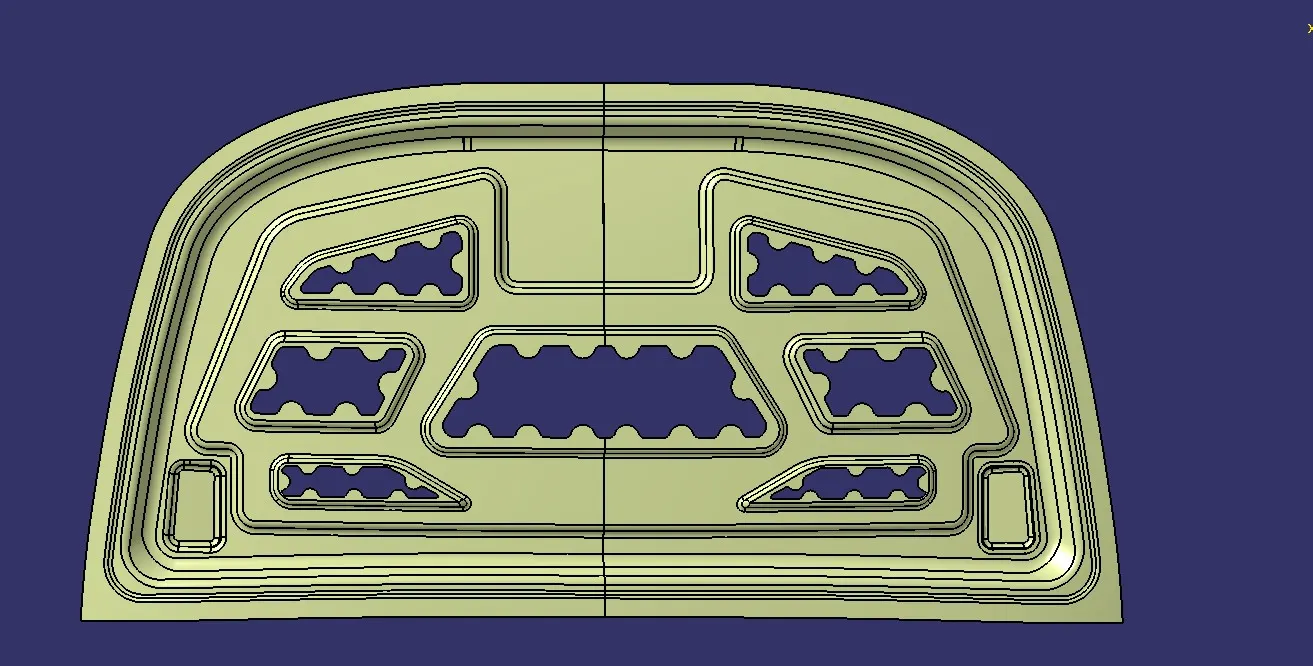
And symmetry the other half and join them both image mention below
Then we have to create the emboss for the Striker for that we going to create the Latch Trajectory for that we take the reference point from the both side of the hinge and then draw a line in the middle of the line we are going take the reference plane in that plane we are going to draw a circle in approximate diameter (trail and error method). And draw a line with a angle some what like around 82 degree. and draw a line tangent to the circle and intersect with the angle line.image shown in below.
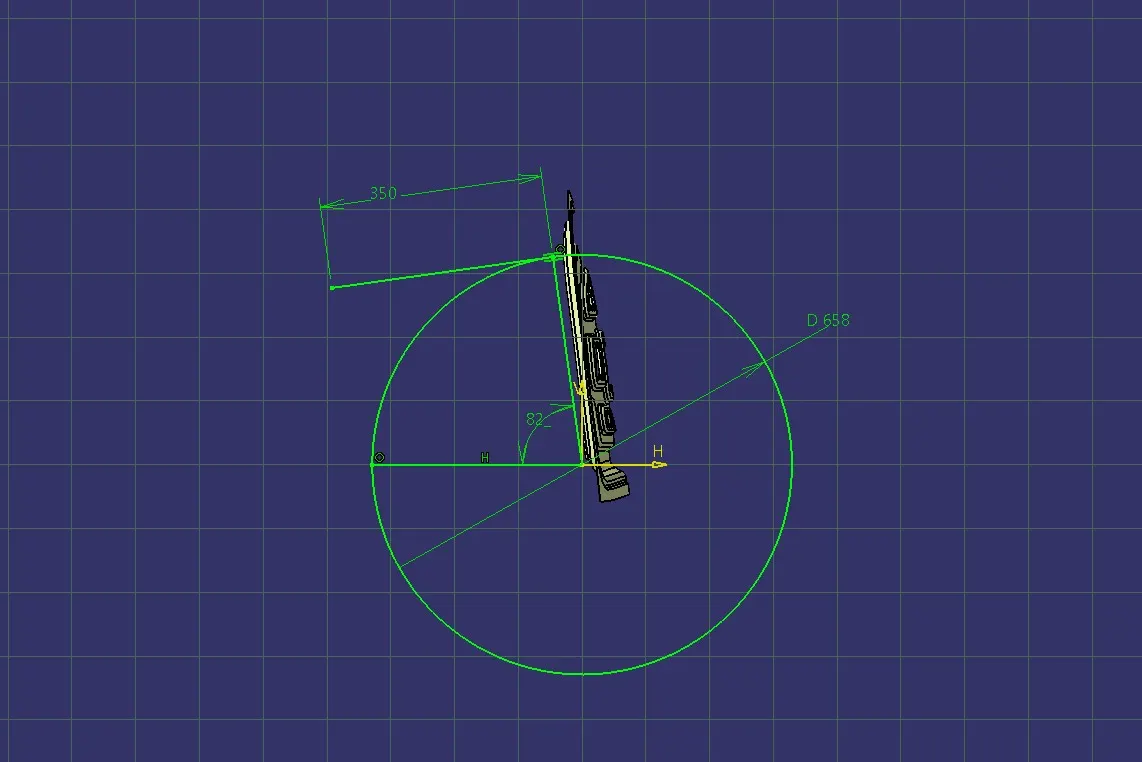
And the we have to create the emboss for the latch and striker.
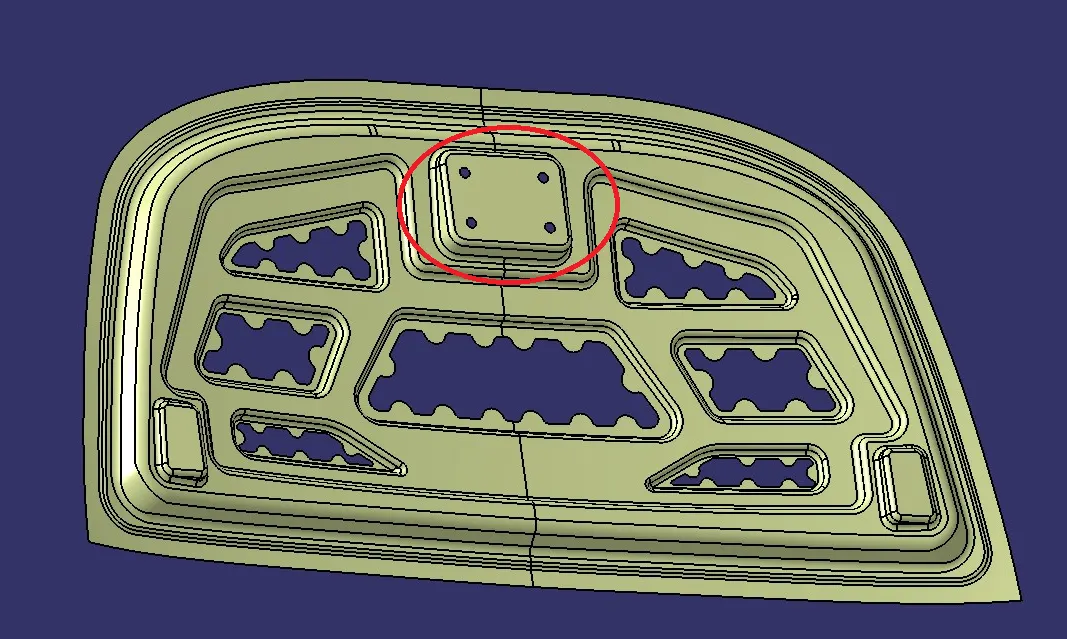
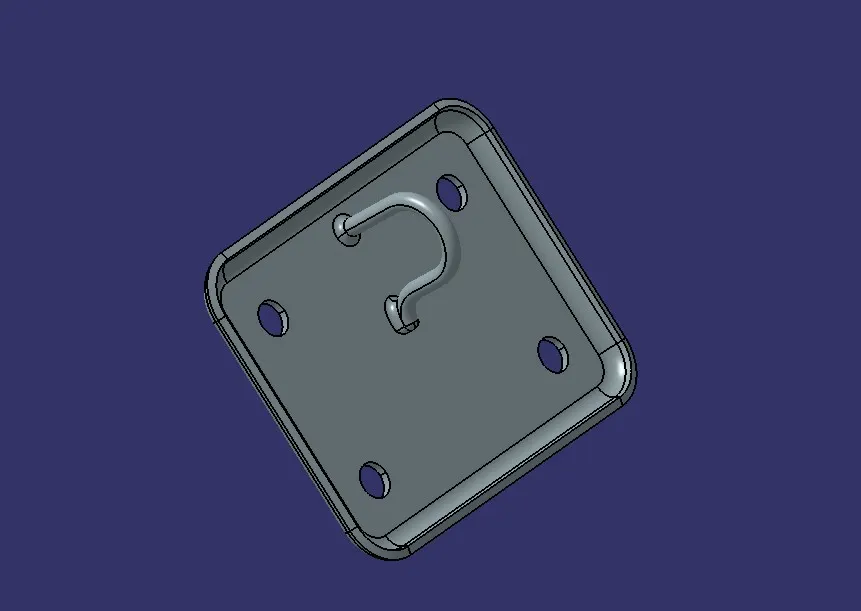
STRICKER ASSEMBLY:
Latch & striker is used for locking the hood with the car. It is usually placed on the space provided on the inner panel.image shown below.
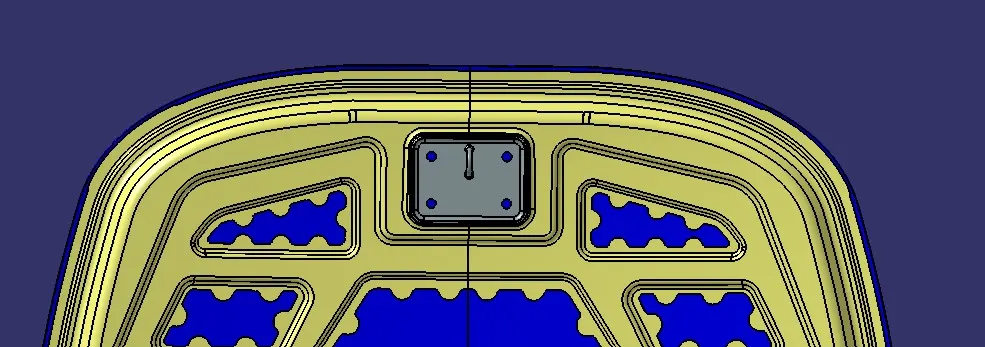
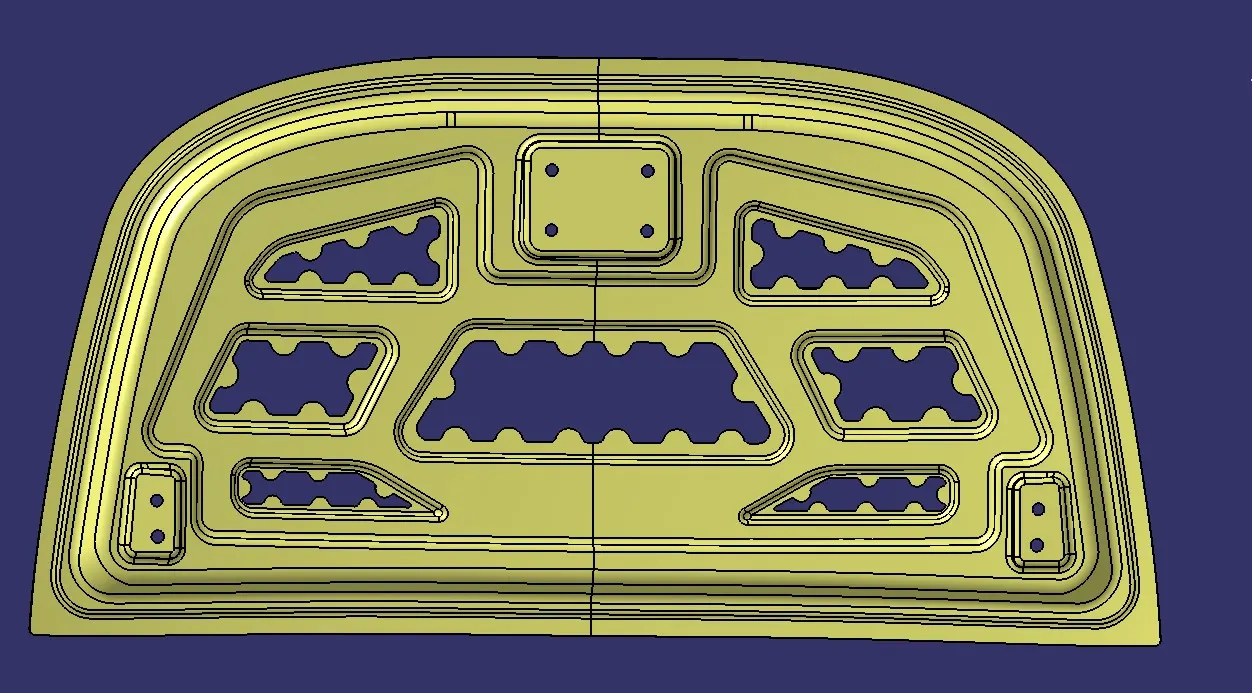
And thicken the panel like about 0.75mm as mention in the input.Final product of the inner panel image shown in below
Let's move on to the outer panel and let see about the hemming process it is very important consideration in the designing the outer panel.
HEMMING:
Hemming is a forming operation in which the edges of the sheet are folded or folded over another part in order to achieve a tight fit. Normally hemming operations are used to connect parts together, to improve the appearance of a part and to reinforce part edges.
Hemming in sheet metal operations refers to the bending of a sheet metal edge onto itself. It is very similar to edge stitching in clothes. Similar to how an edge stitch strengthens the edge and makes it more durable, a hem imparts strength to the metal edge and improves its appearance. The edge of one part may also be folded onto another part to create a joint.
Hemming is a sheet metal forming process in which sheets are joined by bending it usually to 180 degree. Automotive body panels & parts such as deck-lids, trunk-lids, doors, hoods & tailgates are formed by hemming processes.
Roll hemming is carried out incrementally with a hemming roller. An industrial robot guides the hemming roller & forms the flange. Roll hemming operation can also be divided into several pre-hemming & final hemming process steps.
Coventional die hemming is suitable for mass production. In die hemming, the flange is folded over the entire length with a hemming tool. Normally the actual hemming is a result of a forming operation in which the flange is formed with a hemming tool after the drawing & trimming operations have been completed.
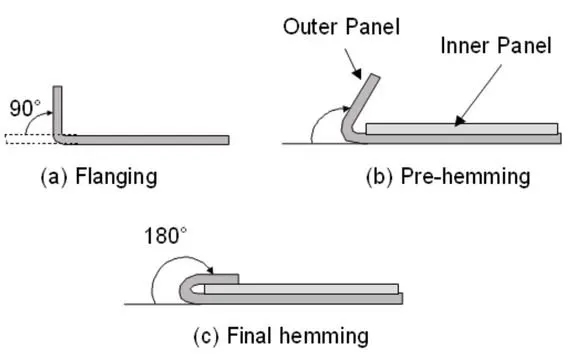
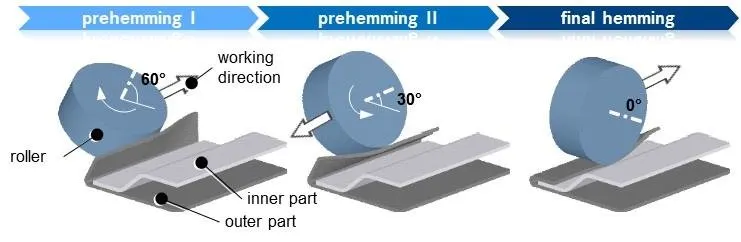
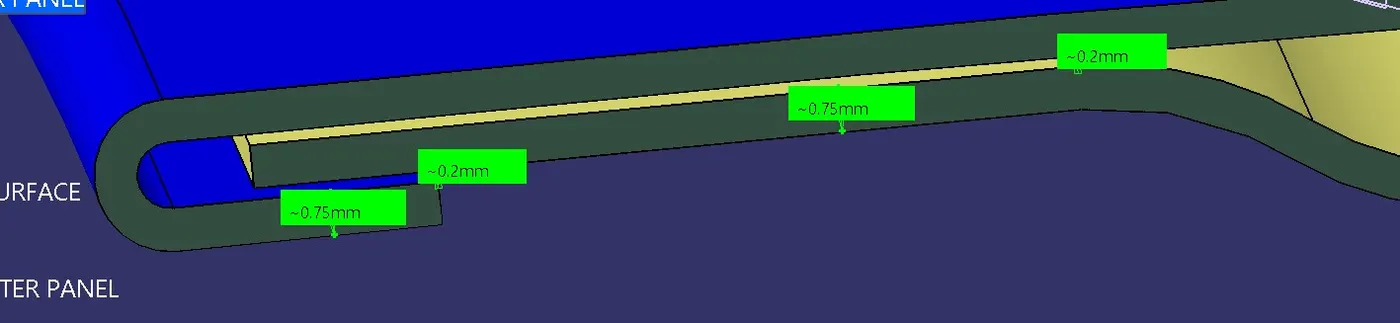
For hemming purpose creating the flange offset the outer panel about 2.65mm and bend them image mention below
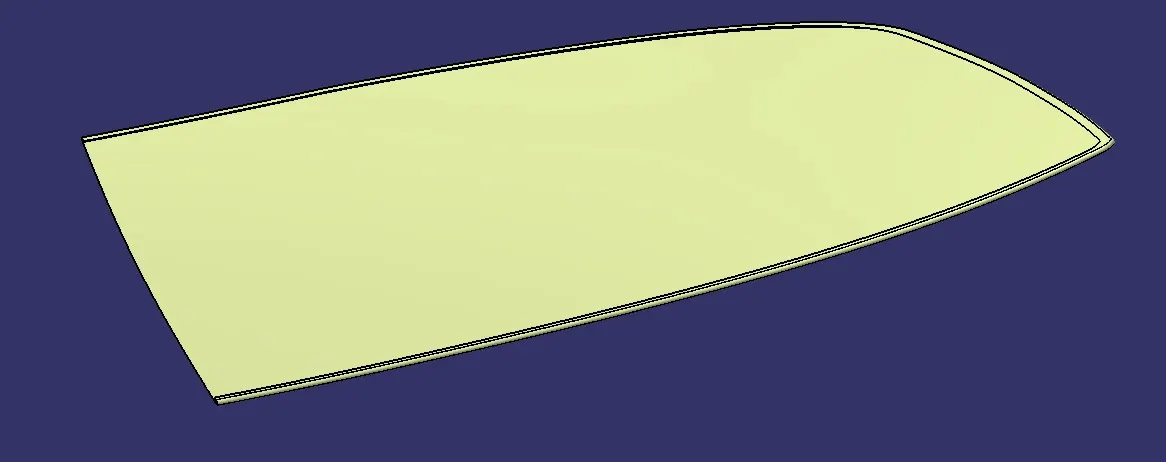
While doing the hemming process a relief angle is formed as a product of hemming when attaining at the corner of the sheet.
In the bending cornor we have give clearance of 3 mm mention image mention below
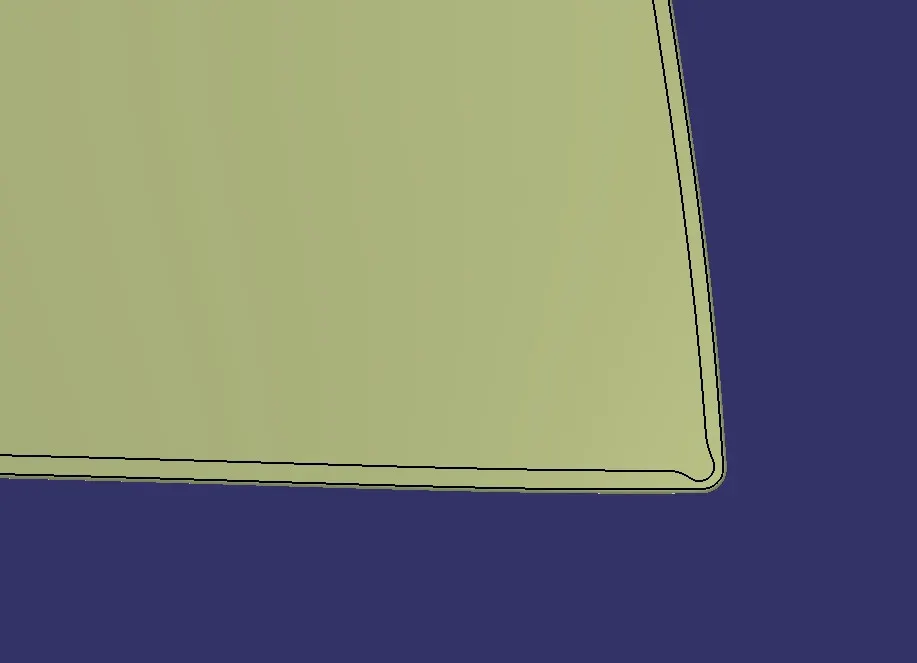
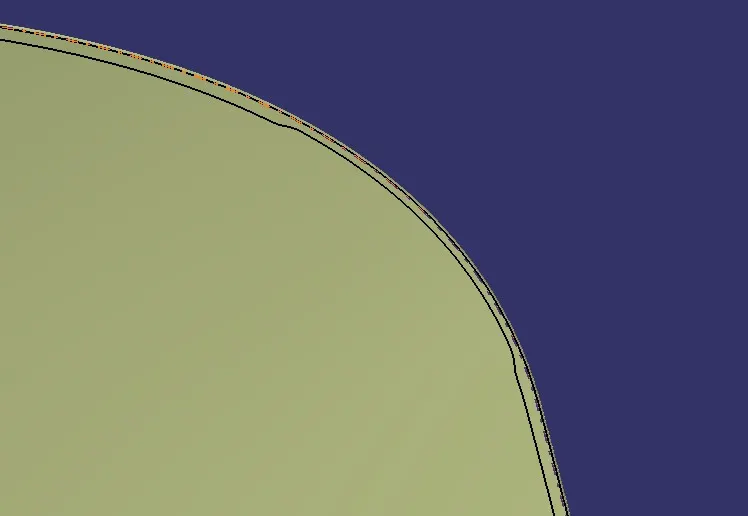
And thicken them about 0.75mm thickness final product of the outer panel image mention below.
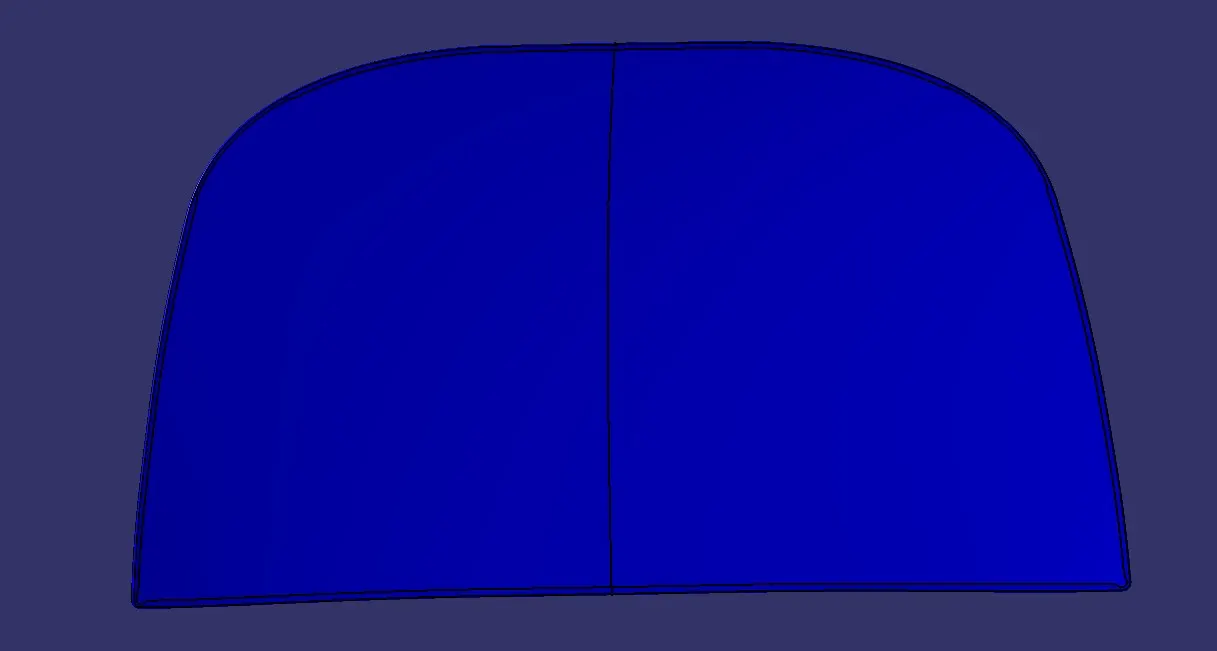
Check the clearance of inner and outer panel image mention below
REINFORCEMENT:
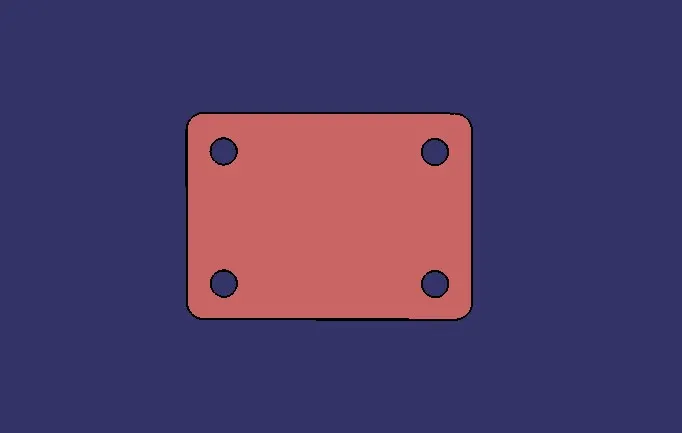
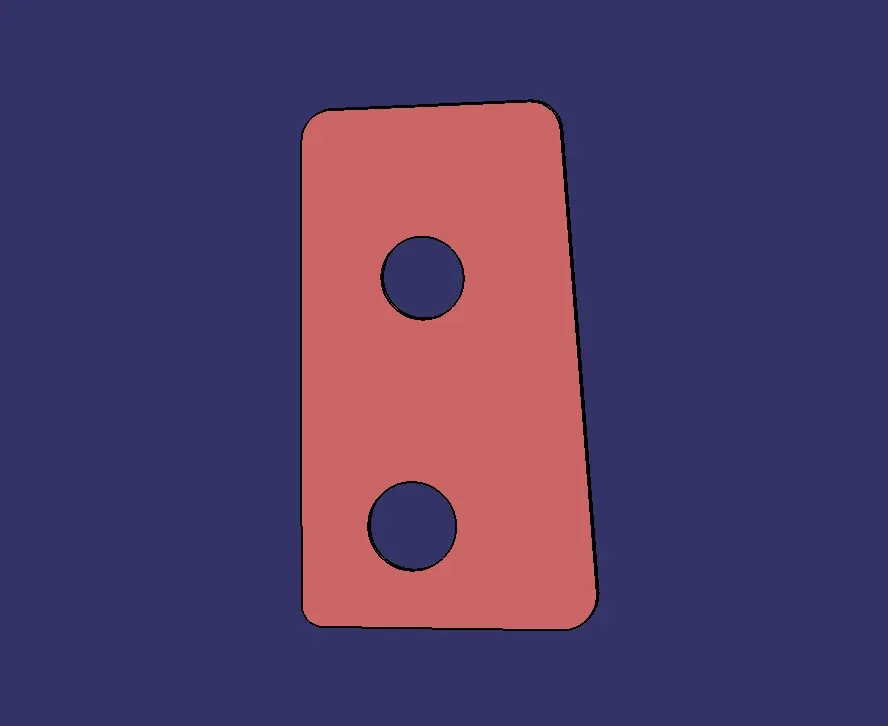
The purpose of the reinforcement is give the strenght to then panel when the stricker and hinges where attached to it.
Stricker reinforcement image mention below
Hinges reinforcement image mention below
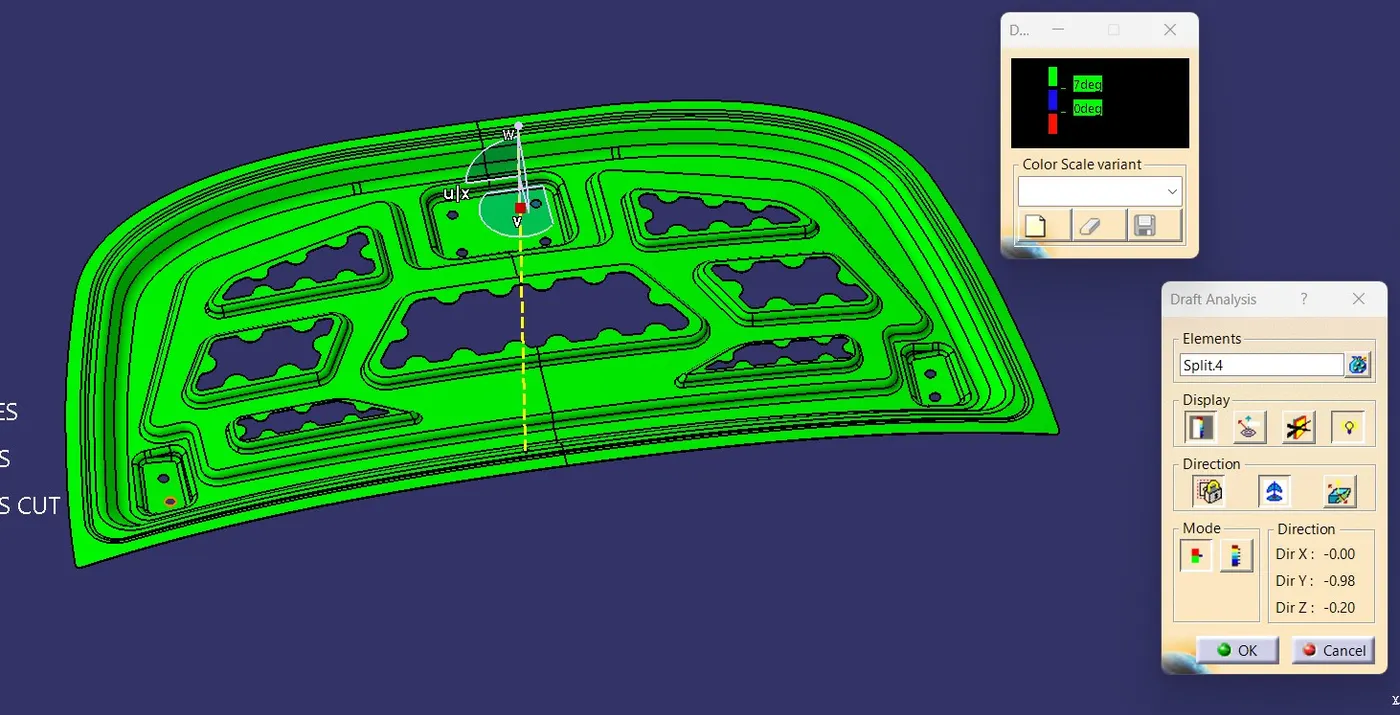
Draft analysis for the hood inner panel.draft angle should be 7 degree. image shown below
Final assembly of the Hood design image mention below
CONCLUSION:
We design the Hood Outer Panel, Inner Panel and the necessary reinforcements by following the given Master Section and the design parametres.