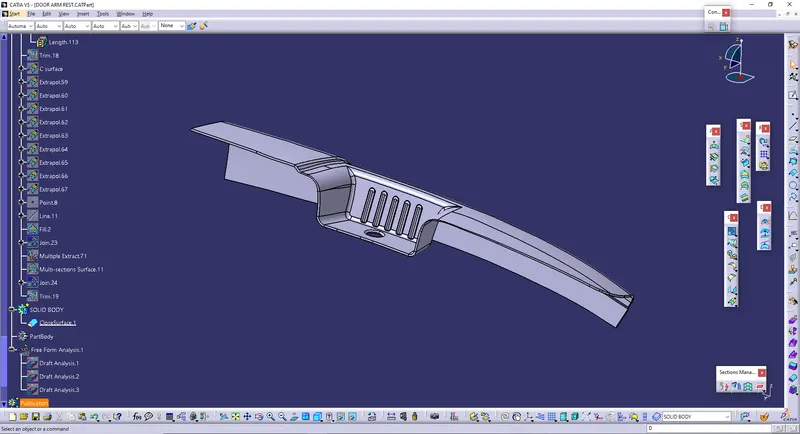
Door Arm Rest Week 8 Challenge
Steps in Door arm rest design: -
1) In this design we need two tooling axis for draft analysis to ensure proper draft angle for core and cavity.
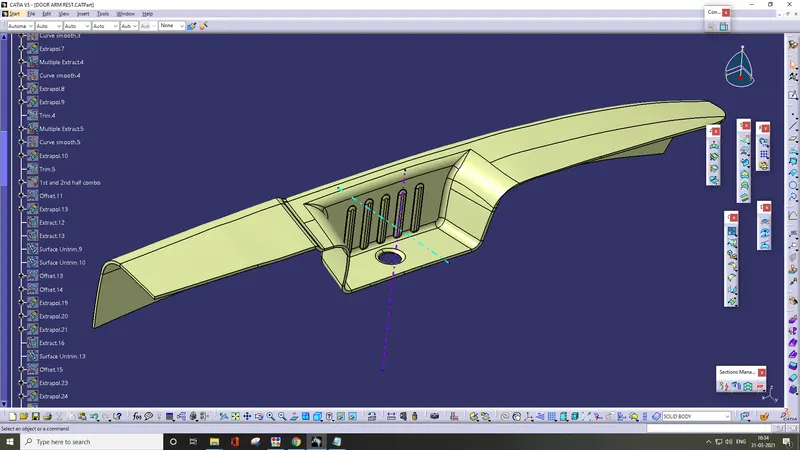
2) Creation of Tooling Axis 1:-
In the whole design the pocket is the main aspect that is needed to consider. So select the the point on the base and insert a "Axis System" on it.
Select "Intersect 3D Element" to get projection of class A surface in the respective plane. Create lines through the points that doesnt look clear for draft.
Draw the line bisecting those two lines. Craete the X and Y direction biseting lines through this method. Now bisect those X and Y direction axis to get first tooling axis.
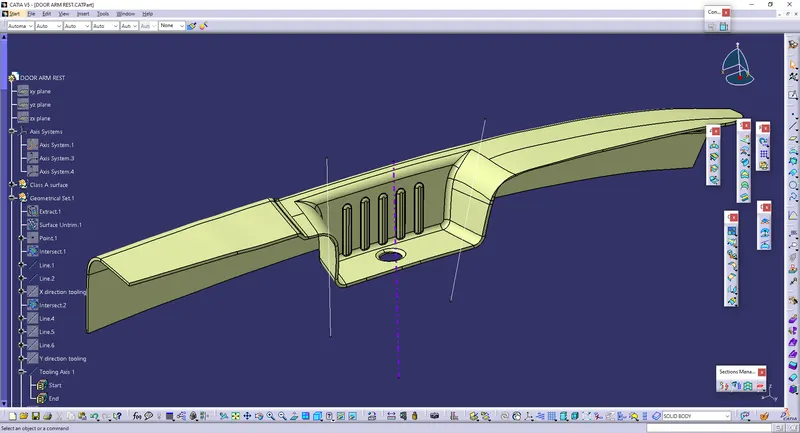
3) Craetion of Tooling Axis 2:-
Select the respective plane and take the projection. Draw one line on the base projection and draw one random line and bisect those lines to get the Tooling Axis 2. Make sure Tooing Axis 1 and 2 intersect each other.
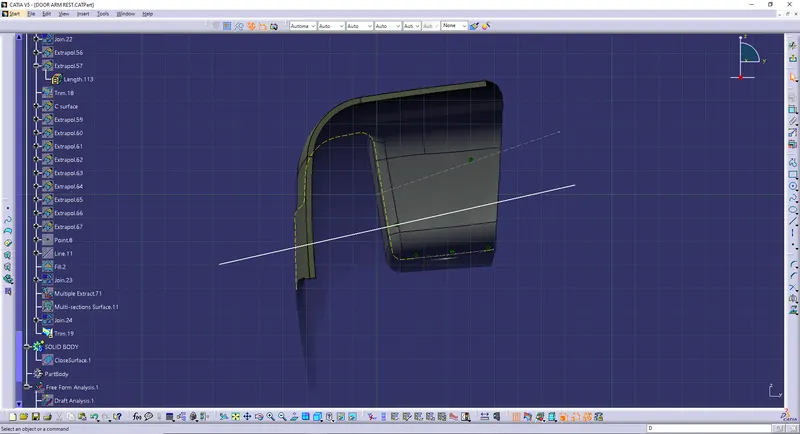
4) Creation of B surface:-
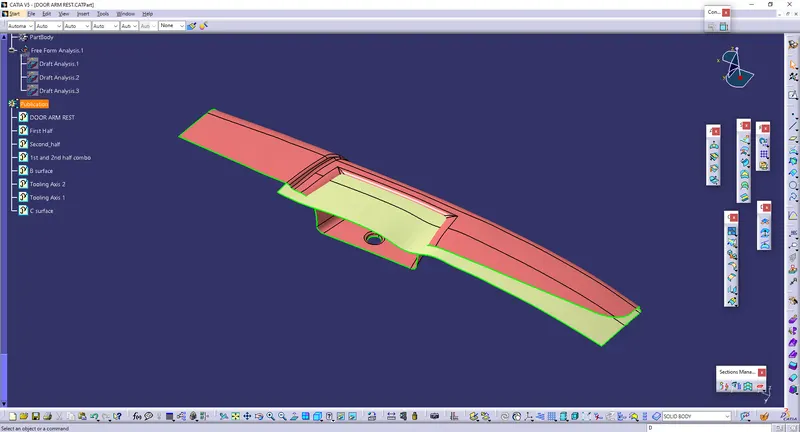
With the help of Class A surface draw the B surface in two halves(First half and Second half). Then join those two parts.
First Hlaf
Second Half
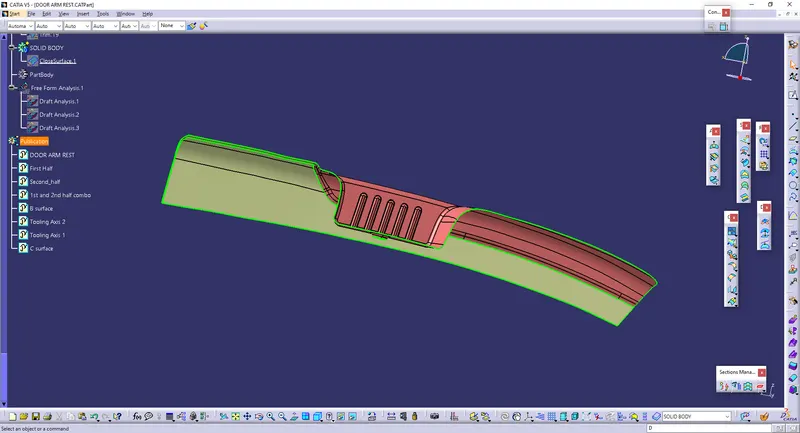
1 & 2 half combine
5) Creation of C surface:-
Perform "Sweep operation" on the Class A surface to get the class C surface. Then join Class A and Class C surface and make sure that there is no gap in between them.
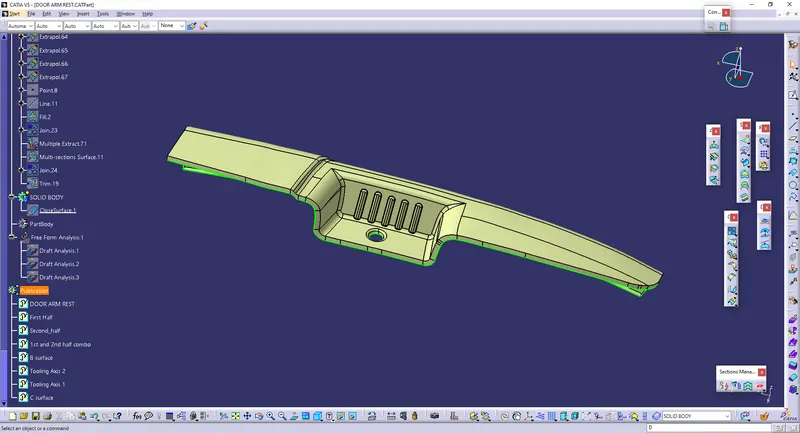
6) Trim this suraface with Class B surface. to get the final mold part.
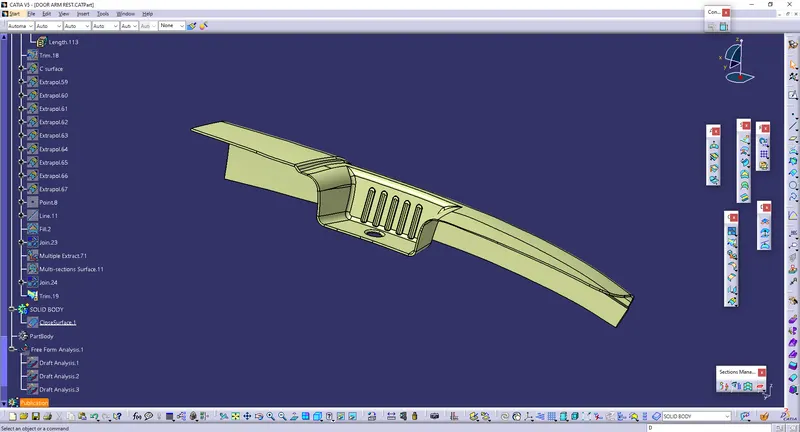
7) Make these body solid in Part design using command "Closed surface".