Week 9 - Project 1 - Door Applique Design with Engineering Features
Door Applique Design with Engineering Features:
Aim: To create a solid body of Door Applique and to create locators and Heat Stakes on it as per Design Standards.
Introduction:
Heat Staking:
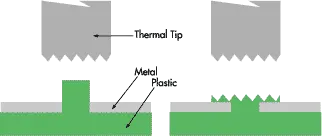
Heat Staking is a pulsed-heat process to join two or more parts out of which one at least is made of plastic. The process is to deform the plastic material using heat and force at a set process time. The bond is made by partially de-forming the plastic part in order to fix the other.
Heat Staking benfits:
- Similar and dissimilar materials may be joined: metal to metal, plastic to plastic, metal to plastic
- Accurate control operating within a small process window
- Local heating resulting in no damage to surrounding materials
- No mechanical vibration
- Many heat-stake shapes possible through custom designed tools
2 Way & 4 Way locators:
During assembly we need to locate the part on fixture or mating part so we nee to fix that part first so that we can conveniently do the assembly of the parts. For that we follow 3-2-1 principal to restrict the degree of freedom of the part.
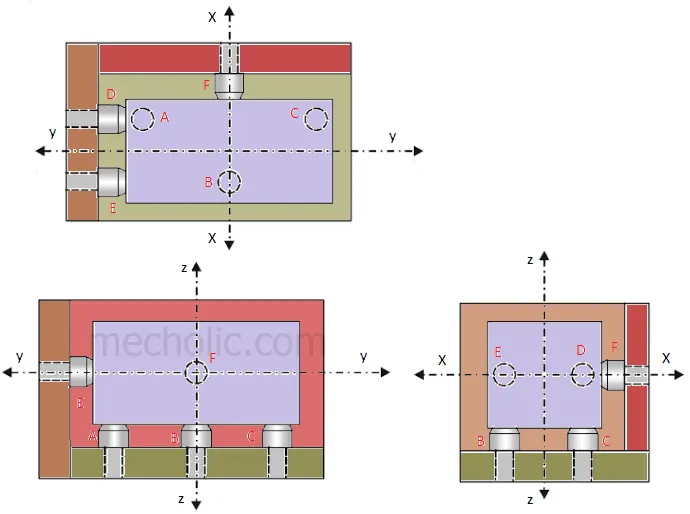
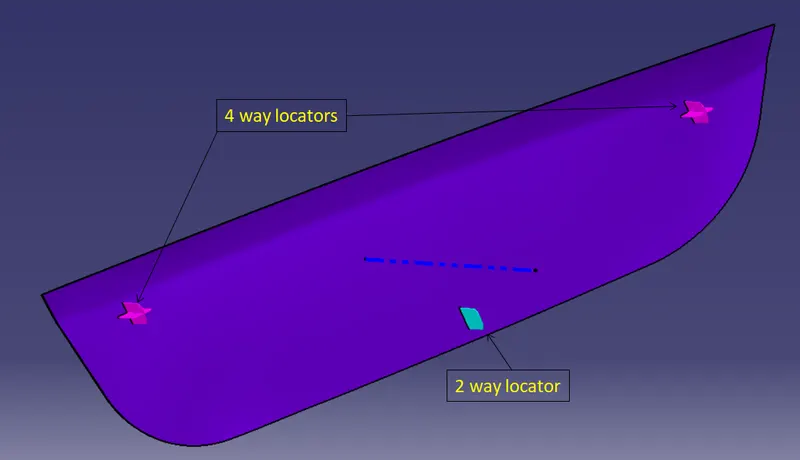
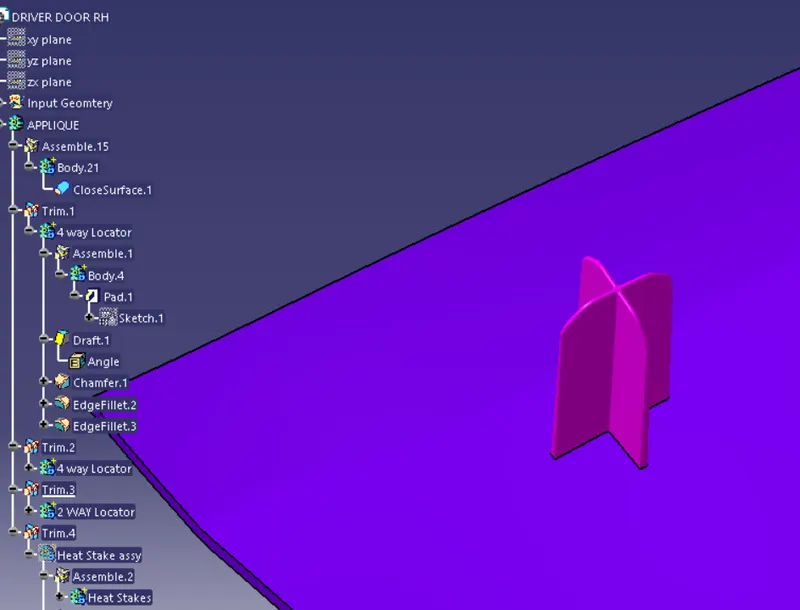
2 way and 4 Way locators are used to restricts the degree of freedom of part
Creation of Applique:
Class A surface check:
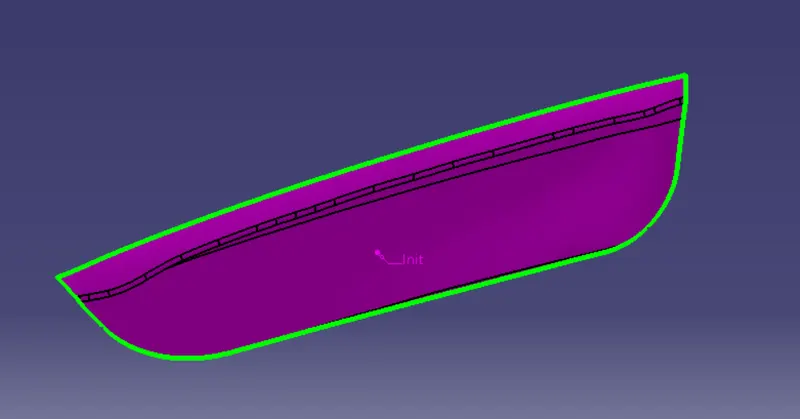
Class A surface is given as input we need to check the merging of the surfaces using join command and make sure there is no gap between the surfaces.
Tooling Axis Creation:
We need to check the surfaces as per the X/Y/Z direction and observe the best direction from which all faces can be cleared so by observing part in all three direction we choose Y direction as our tooling direction reference.
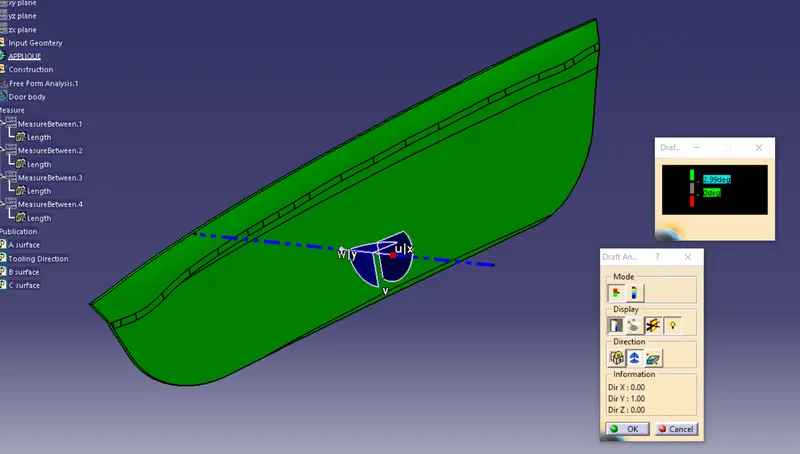
So we create a point at CG of surface and create line in direction of Y. Now we perform draft analysis to check if the assumed direction is valid or not.
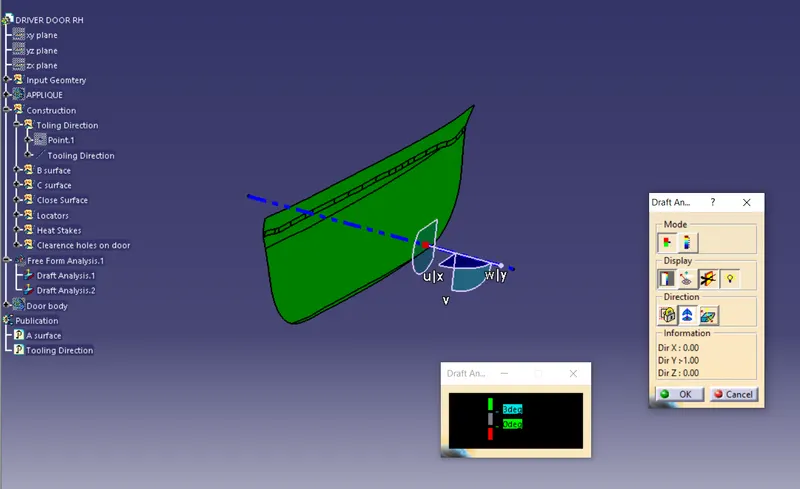
Hence our tooling direction as okay as all surfaces have more than 3 degree draft
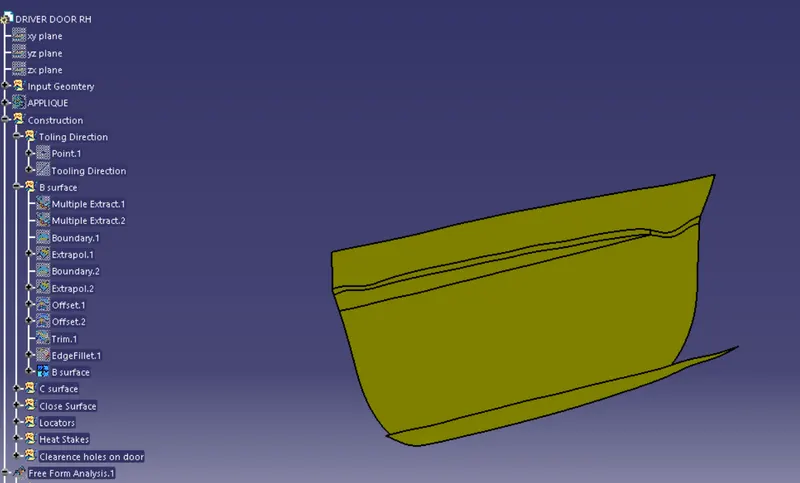
CLASS B Surface Creation: Now we make class B surface using the plane surfaces of Class A.
1. First we use extract command to copy the plane surfaces of Class A and then Untrim those surfaces.
2. Then we get the basic surfaces and extrapolate then so that they are easy to Trim later.
3. After extrapolating the surfaces we trim then together to form sharp model.
4. We take offset of the surfaces as per the required thickness of the model.
5. After offset we trim all base surfaces and form a single sharp model.
6. After trim we apply Edge fillet to sharp edges.
C surface Creation:
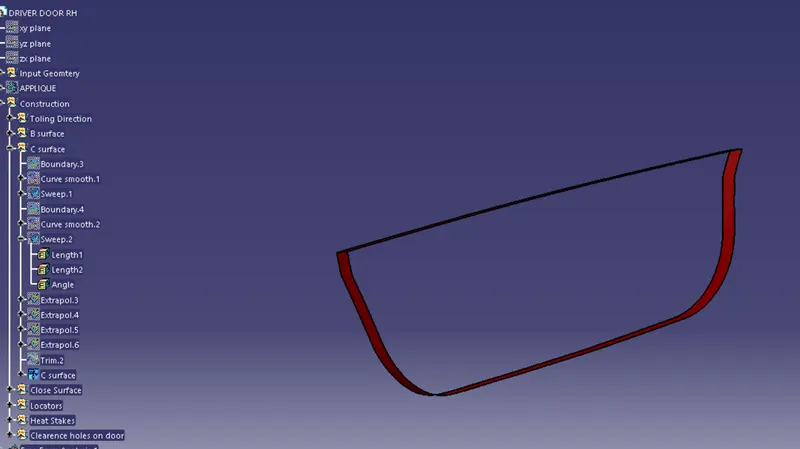
By taking the boundary of Class A Surface we create the C surface. We use sweep with draft direction and give agle of 3 degree to make sure part is cleared during tooling ejection.
Close volume:
Now we trim together A B & C surface together to form close volume.
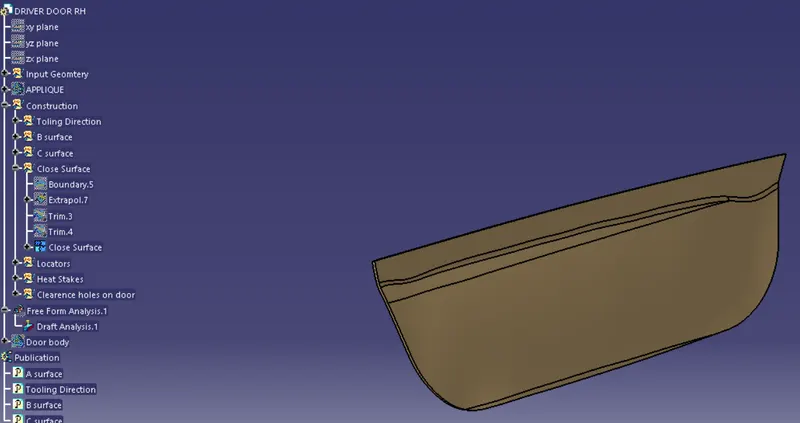
Solid body:
Now we go into part body workbecnh and convert the close volume into solid body.
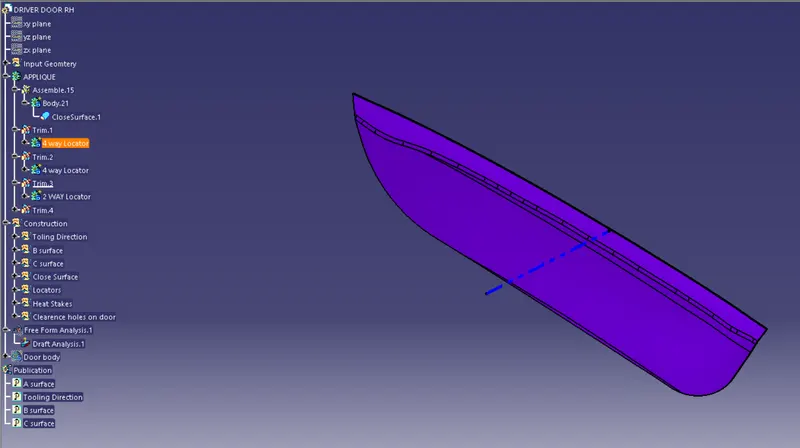
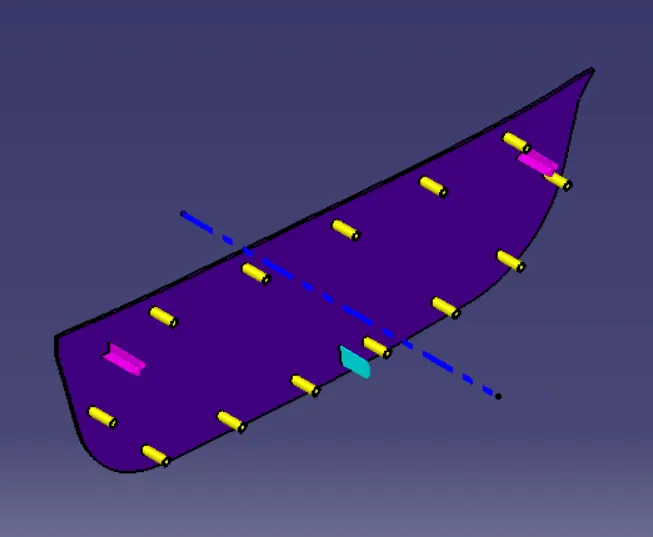
4 way locators construction:
We create sketch first
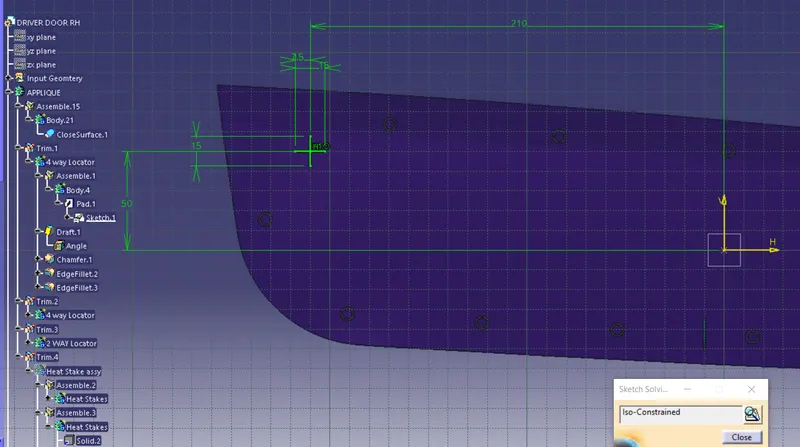
After creating sketch we make pad and give thickness as per the guidelines and draft the surfaces with respect to tooling direction.
2 way locator:
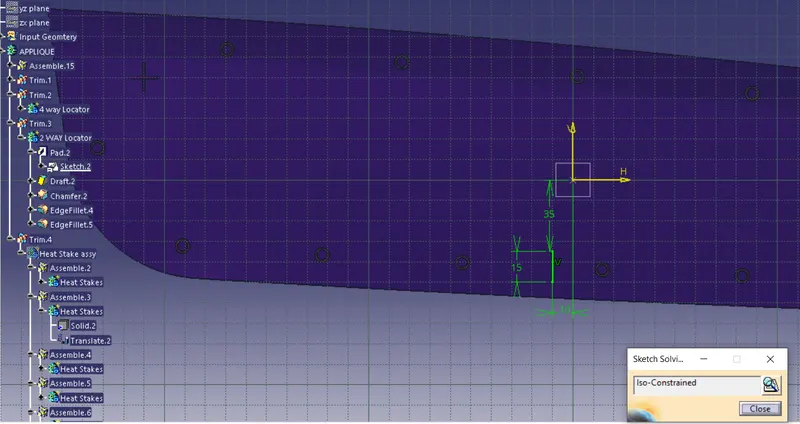
Following same approach we create 2 way locator.
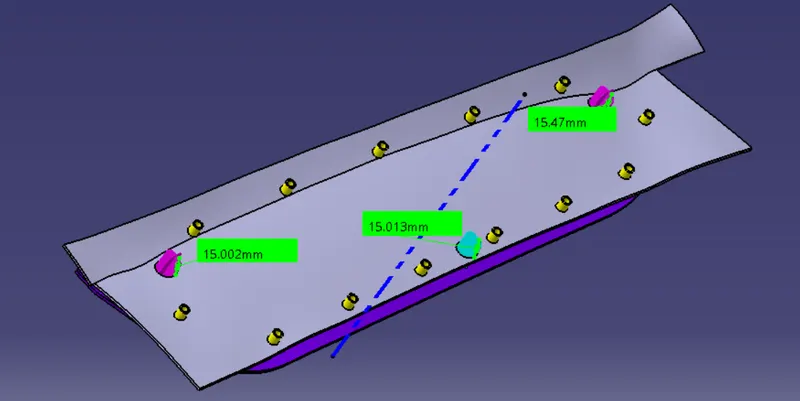
we have to make sure they are at same distance from the mating surface so that during assembly they can be located easily at same time
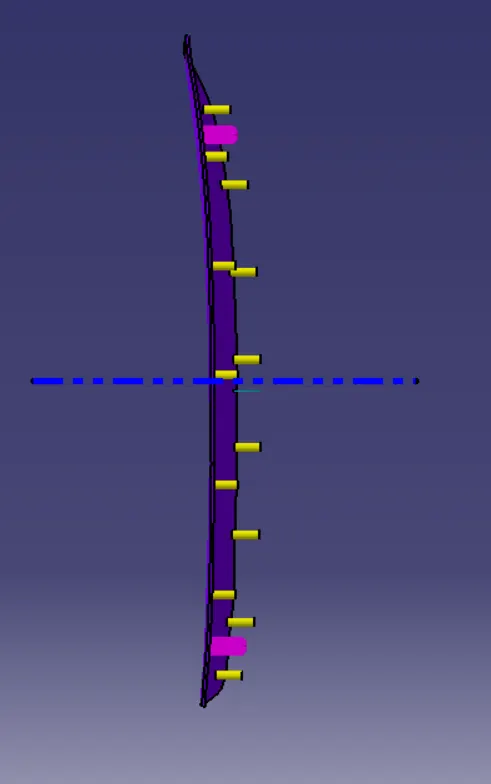
Heat Stakes creation:
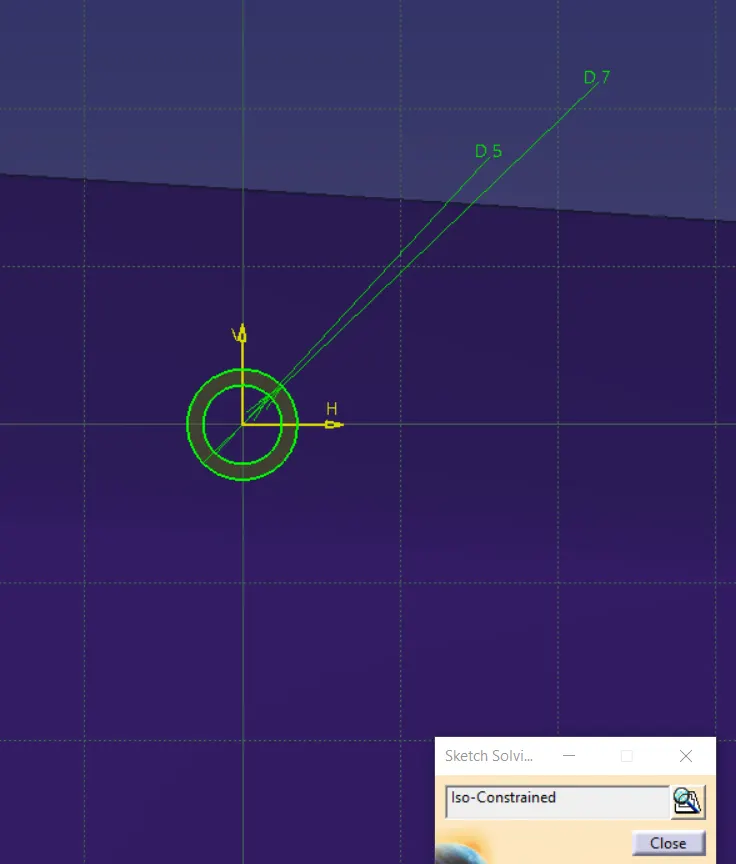
Heat Stakes should be below the locators so that part can be fixed first then we can proceed with heat staking process.
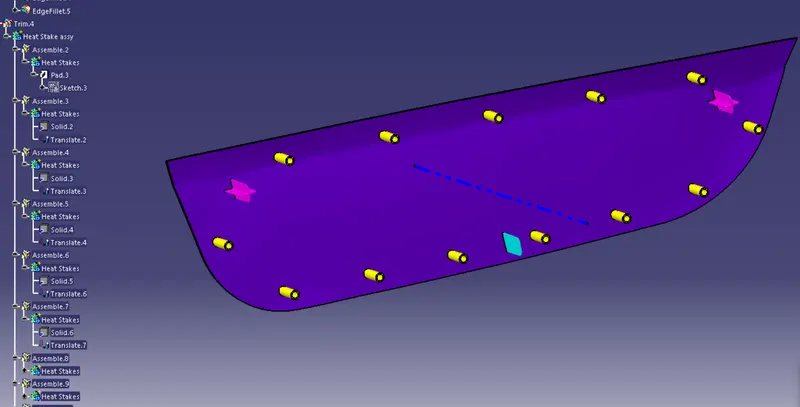
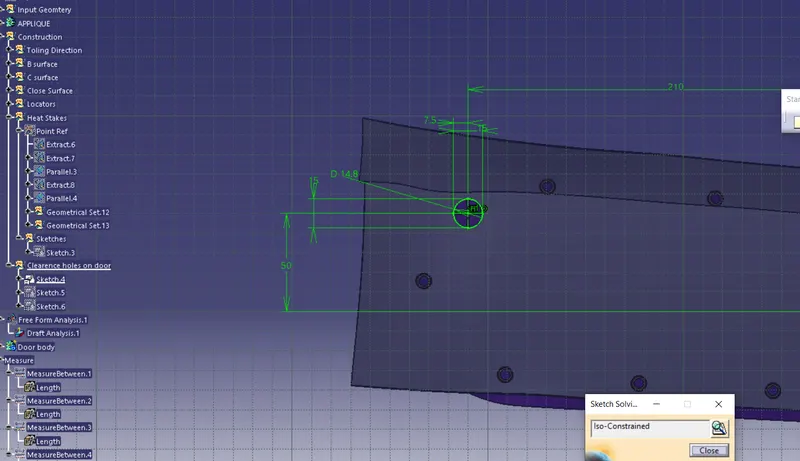
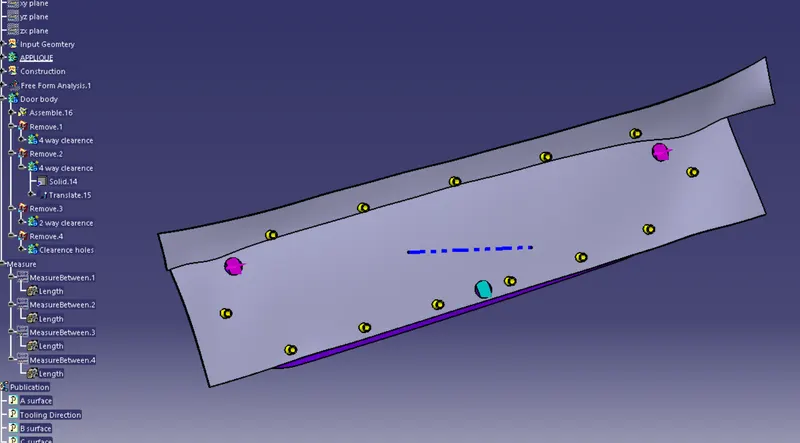
We must provide some clearence to the mating part in order to locator to fit properly inside mating part so we need to provide clearence holes in door body(mating part)
Draft Analysis:
Final Model:
ISO View:
Front View:
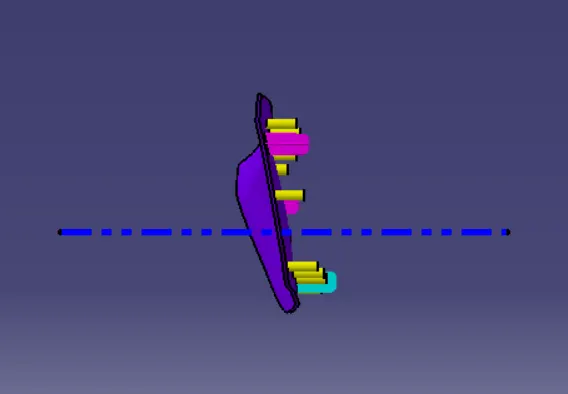
Side View:
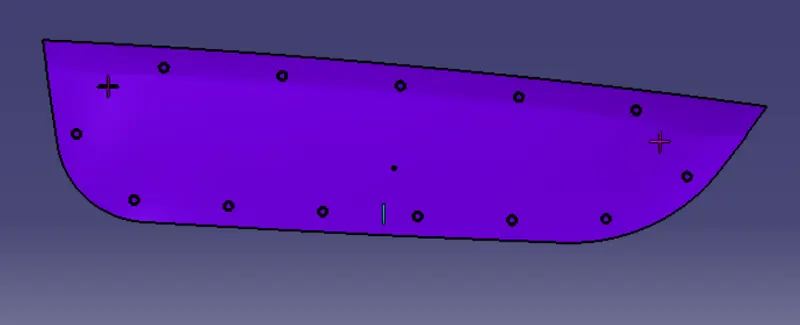
TOP View: