Week 11 - Final project
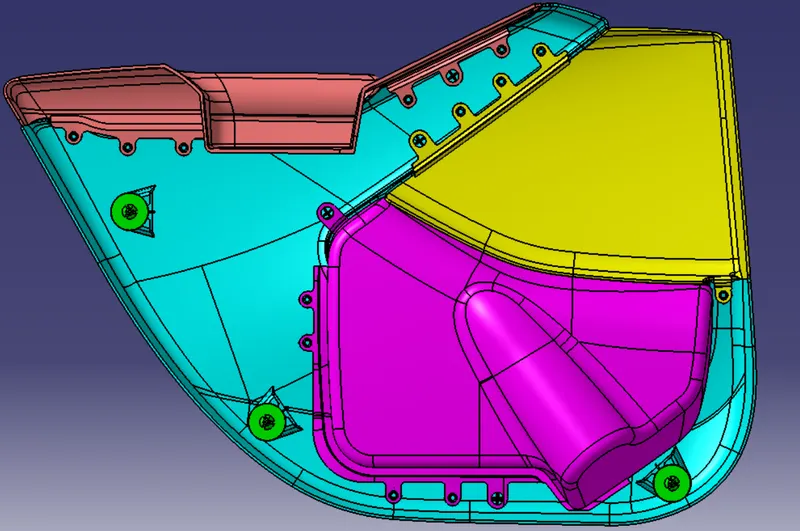
Aim: To design and develop vehicle interior door trim using Catia V5 with given class A surface along with master section.And create attachement features as per defined attachment startegy
Obejctive:
Creation of CAD model considering following inputs as like in OEM and tier1 companies
- To create thickened part using Class A surface given
- To create attachment features as per industry standard and given mastersection
- To perform draft analysis and & Tooling analysis
INPUT GIVEN:
Class A surface and master section:
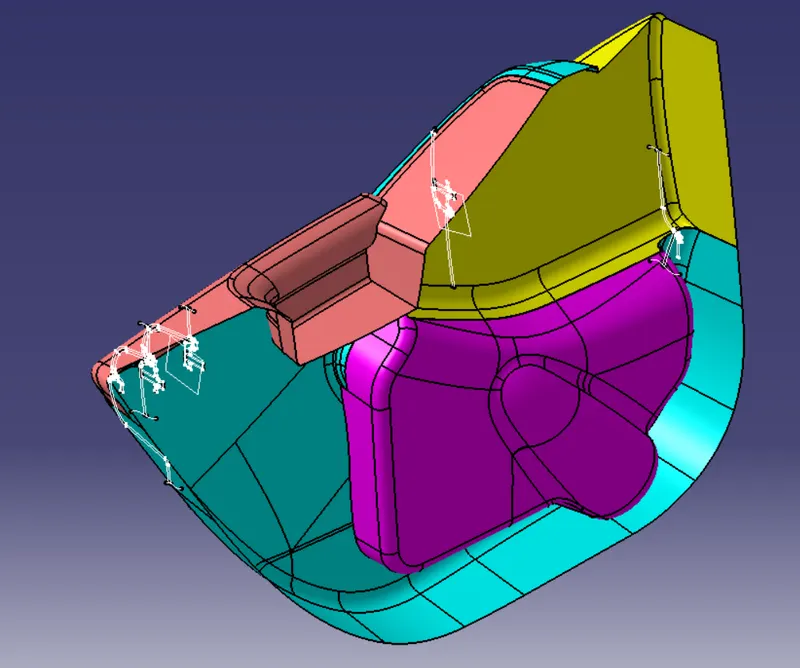
Step 1:
Creating Tooling Axis:
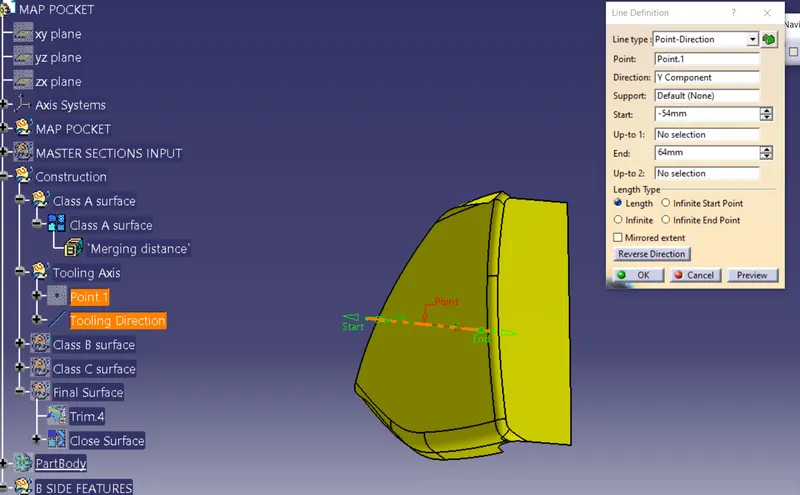
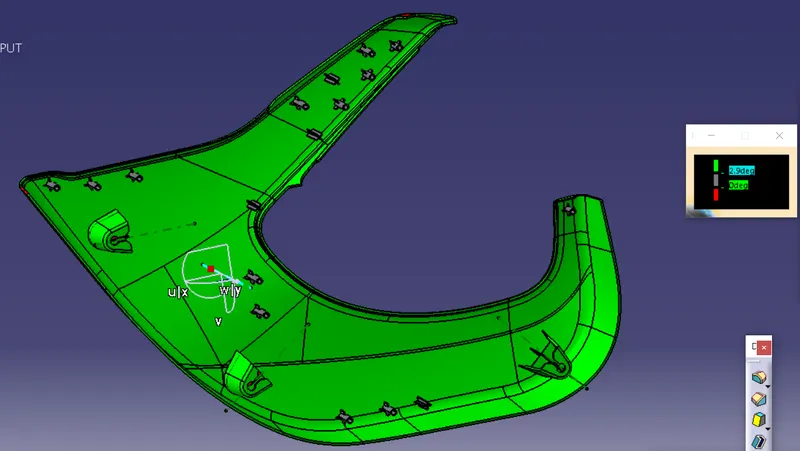
Tooling Axis: It is the line along which part is ejected from core and cavity. We provide draft with respect to tooling direction so that our part does not get damage during the ejection process
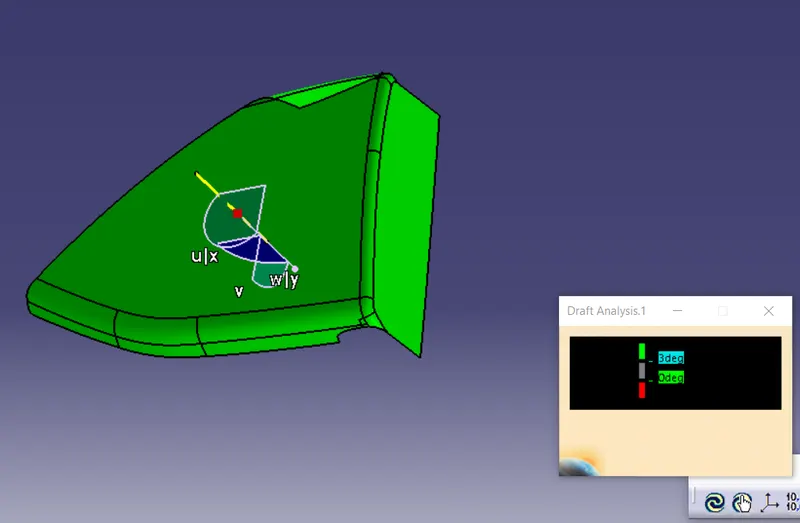
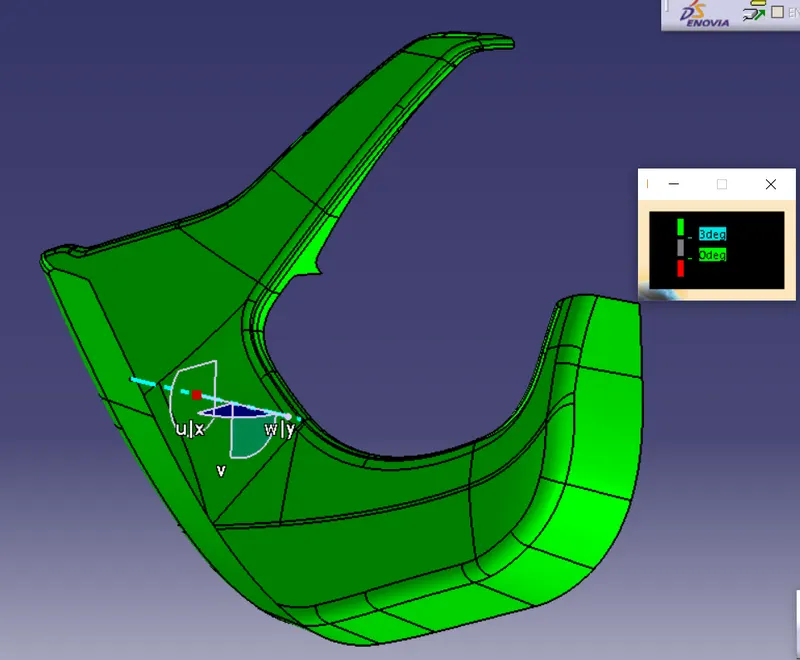
We take point at center of surface and then along the point we create line in direction of Y axis and then do draft analysis to check if the part is getting cleared with 3 deegree nominal draft
By following same approach we made tooling direction for each part.
Draft Analysis:
Map Pocket:
Lower Subtrate:
Class B surface Creation:
To create Class B surface we take offset of class A surface but before that we need to make sure that Class A surface is fully joined model without any gaps and if the surfaces are twisted then we can make the pach ourselves and inform the Class A modeling team about the rror in surfaces
Offest value will be as per the thickness of part here in master section the thickness is 2.5mm for all parts we offset for 2.5mm for all parts.
Bottle holder:
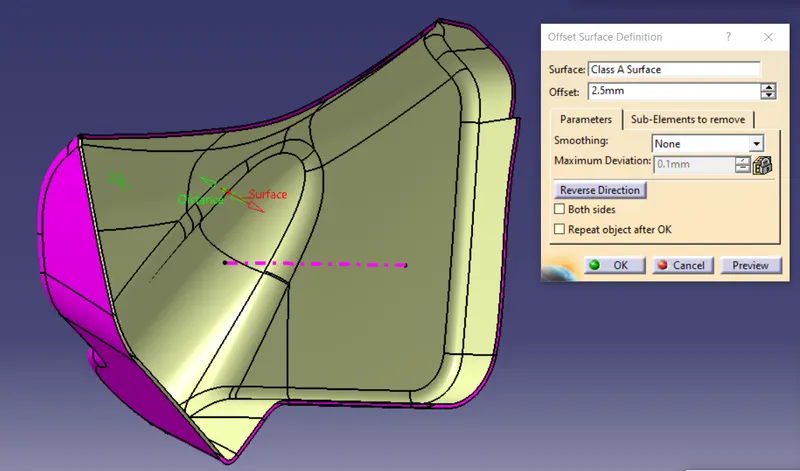
Armrest
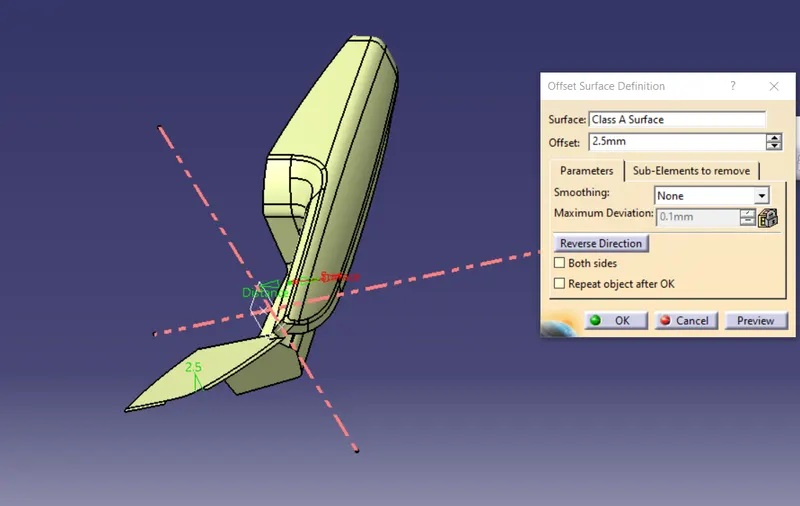
In this case we can see there are some gaps in the surface offseted so we need to imporve Class B surface further
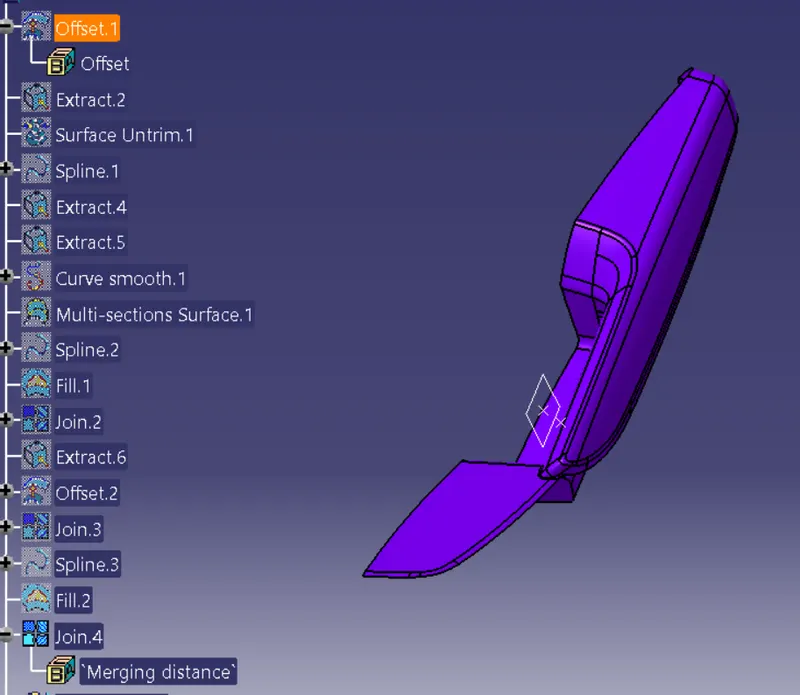
we follow similar approach to other parts and create B surface
Class C surface Creation
We take boundary of Class A surface and sweep it with draft of 3 deegre to generate 3 deegre draft.We need to create 4 wall type stucture first then trim it with Class A & B Surface
Create 4 suraces separetely as in single boundary surfaces will get twisted in corner so we need to creat 4 surfaces and corner separetly then trim together to form wall like surface
Arm Rest:
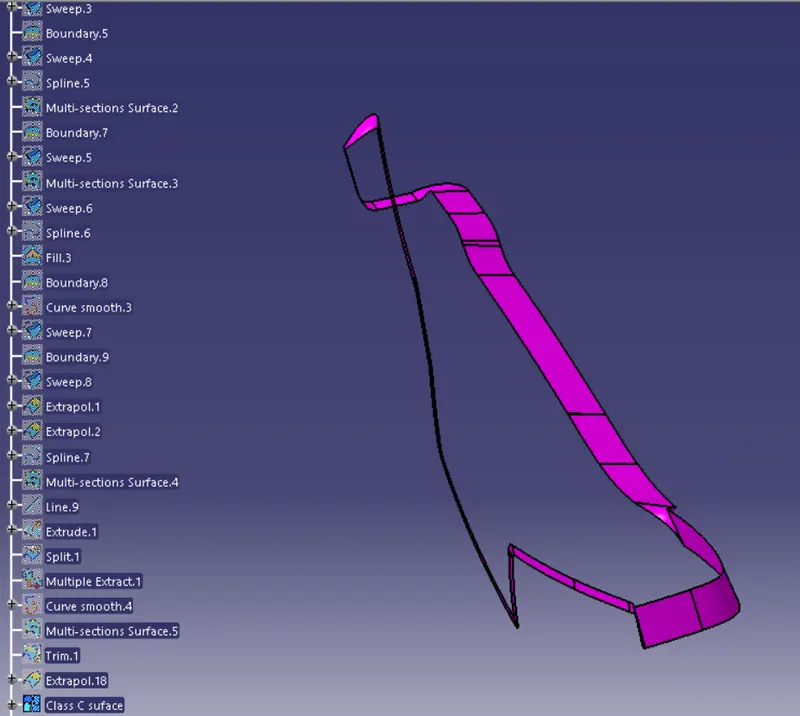
Lower Subtrate
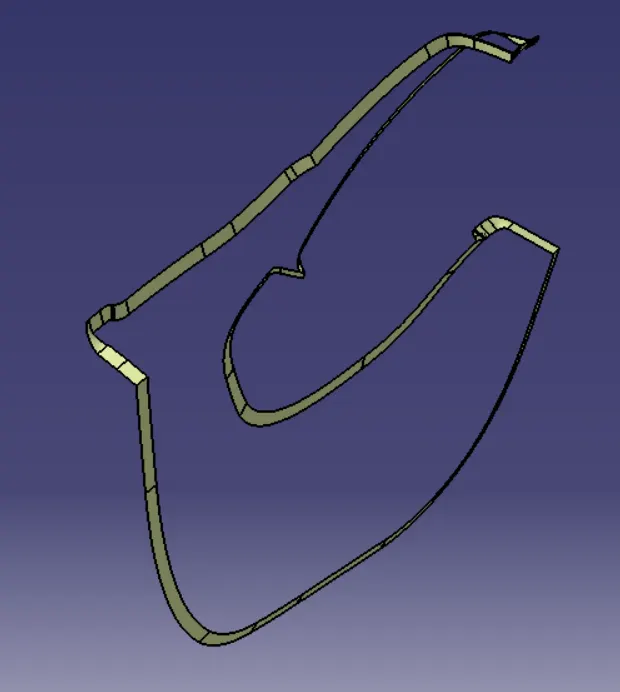
Complete Close Surface
Trim Class A, B & C surface together to from Closer Volume.
Lower Subtrate:
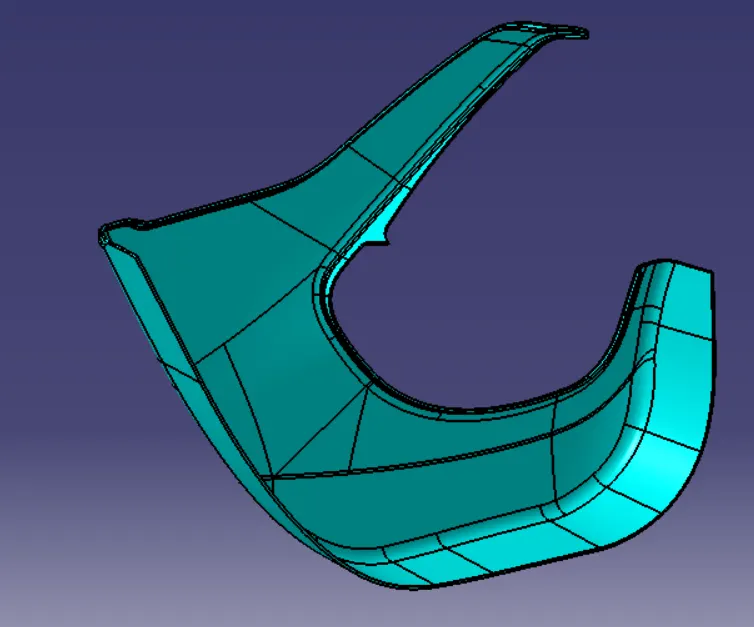
Map Pocket
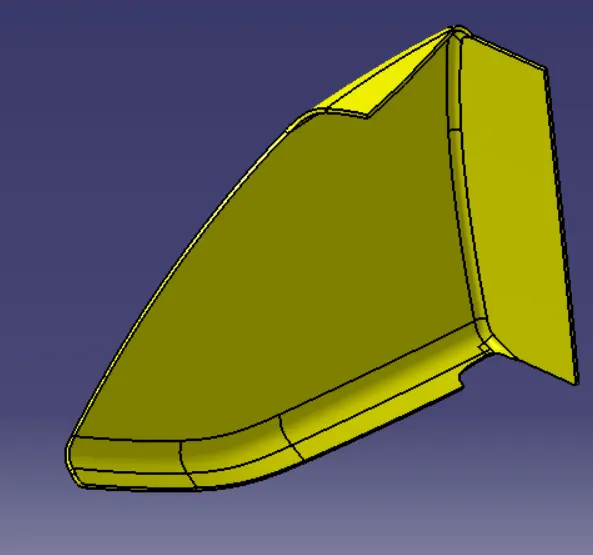
Bottle Holder
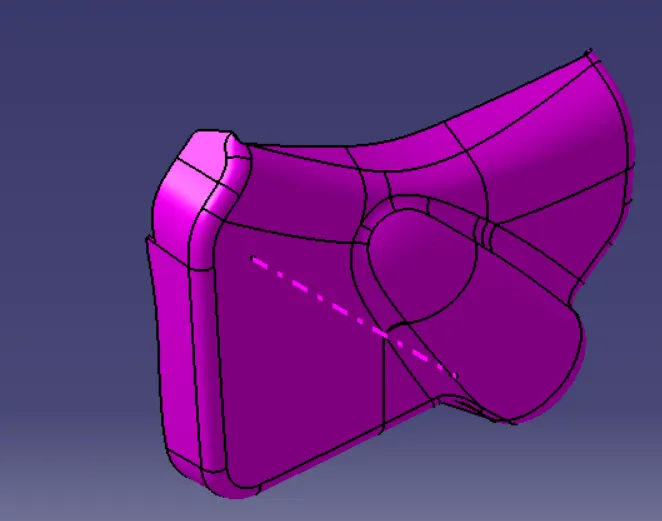
Arm Rest
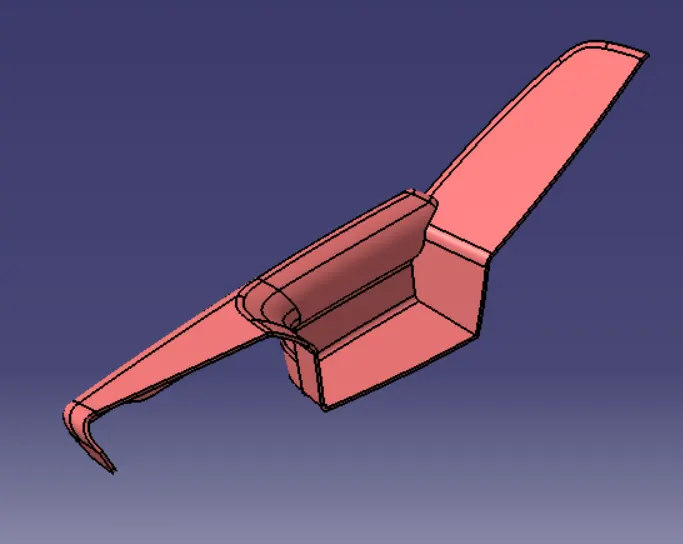
Complete Product:
Close Volume now we can simply convert these into solid body using close volume command in part workbench
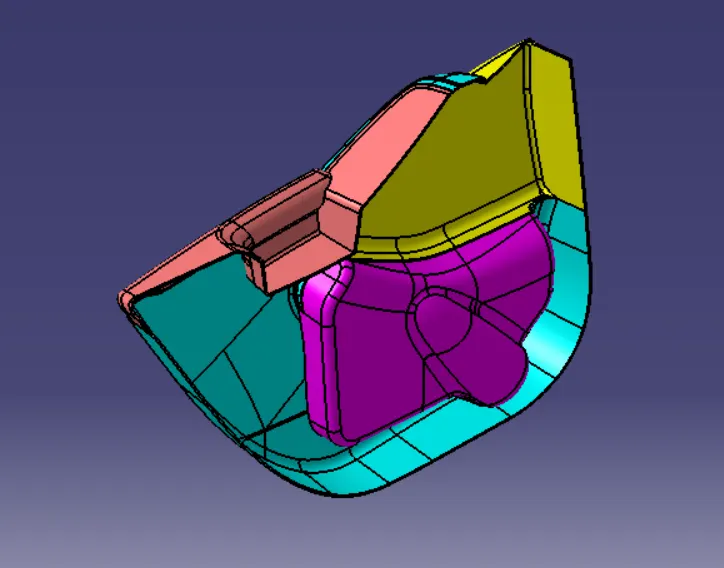
B surface Attachment features
Attachment Strategy
To join plastic parts together we will use Heat Stakes to join them and as per master section we will create flanges first and then on those flanges heat stake will meet and parts will be joined
To join plastic with sheet metal we will be using push clips on doghouse
Heat Stake:
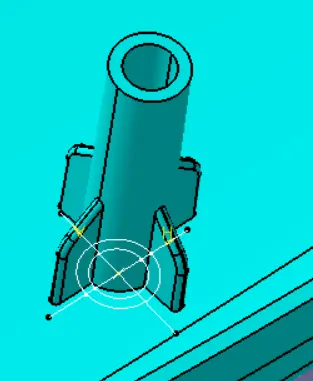
Sketches
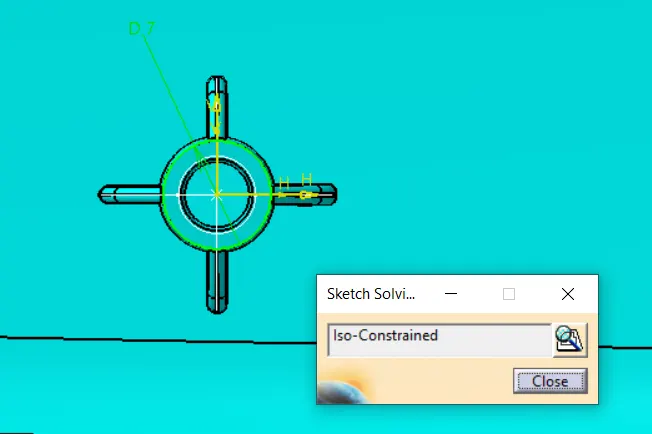
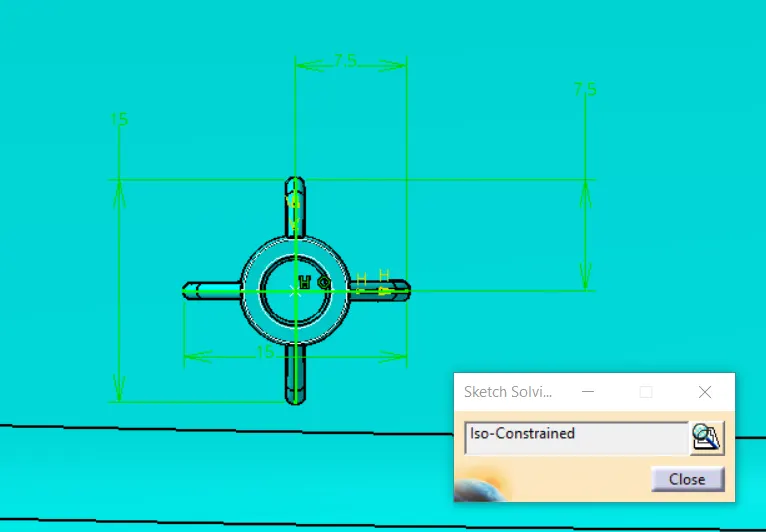
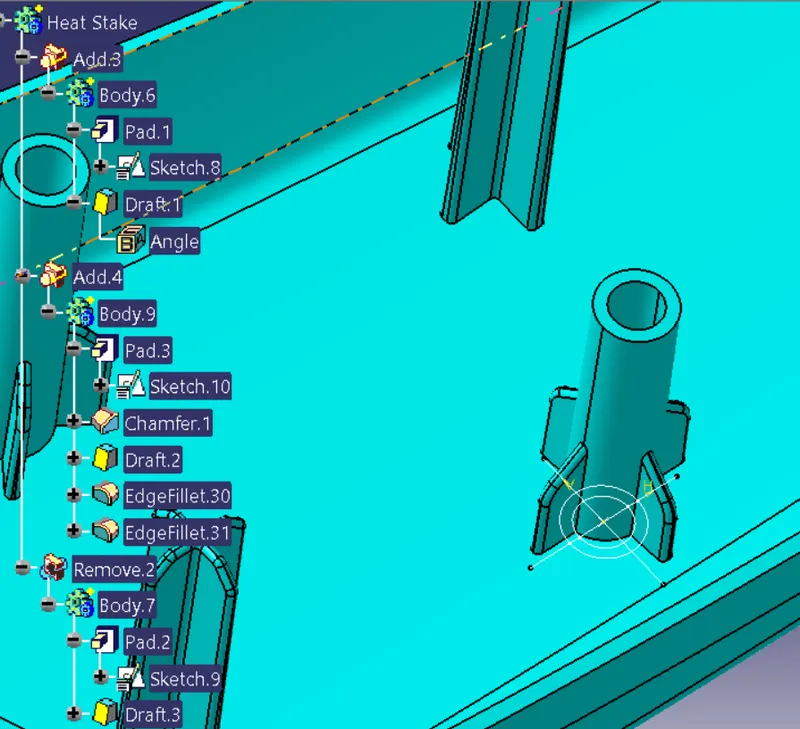
Flange creation for Heat Stake
Flanges are to be made as per master section
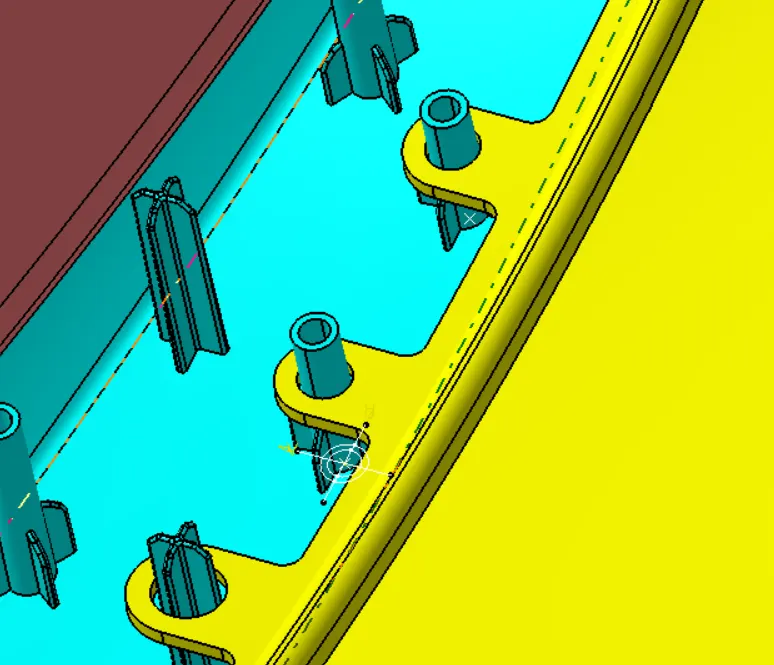
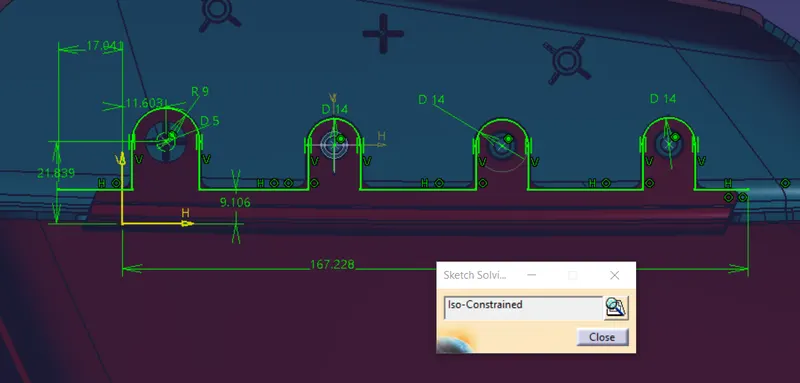
Flange Close volume
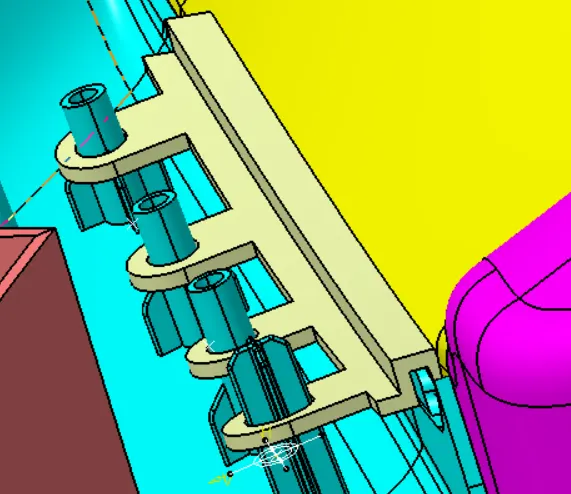
By following this approach we made flanges and heat stakes with all required parts
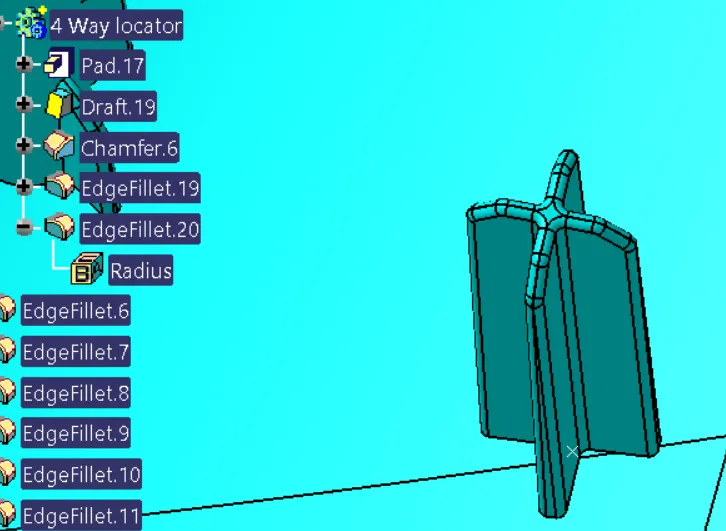
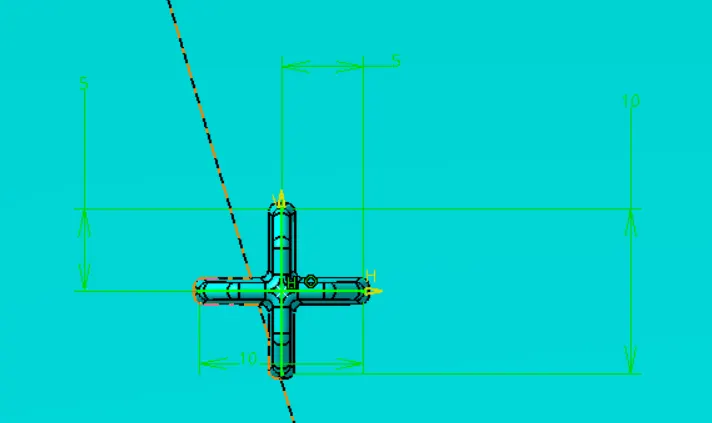
4 way locators
Dog House:
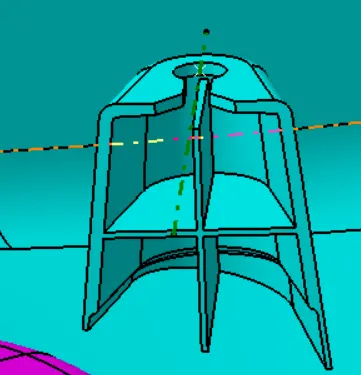
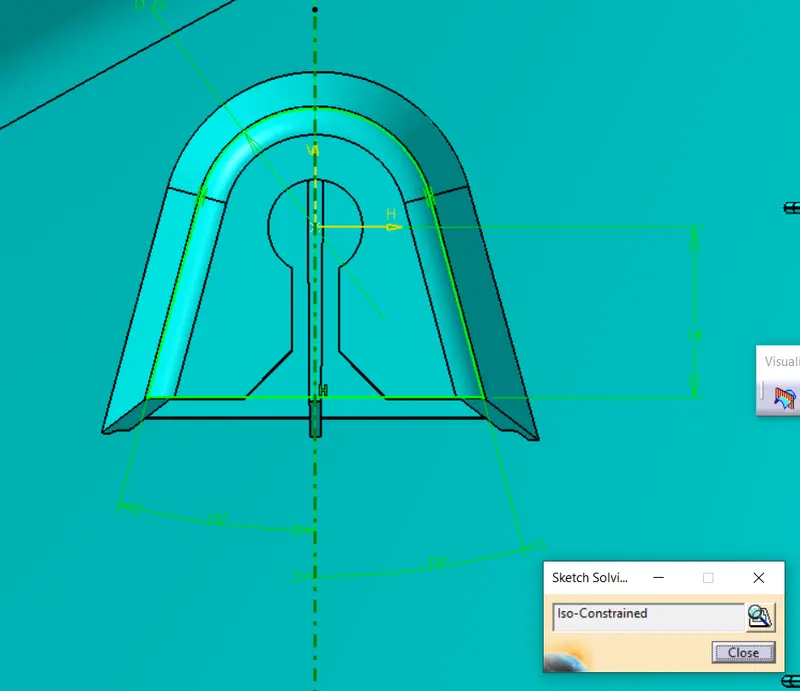
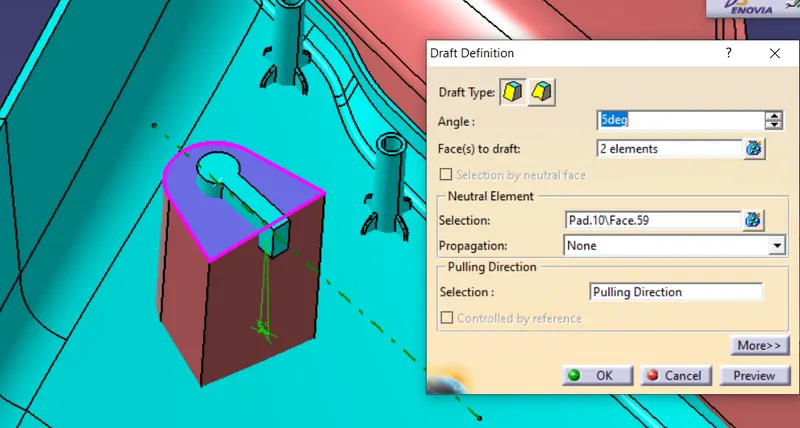
Slot for Clip insertion
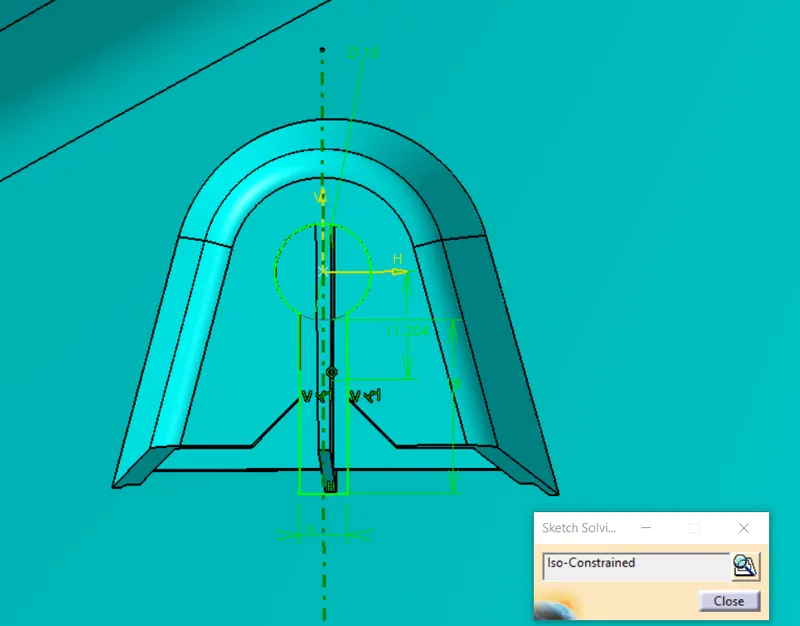
Lower Subtrate with all attachment features
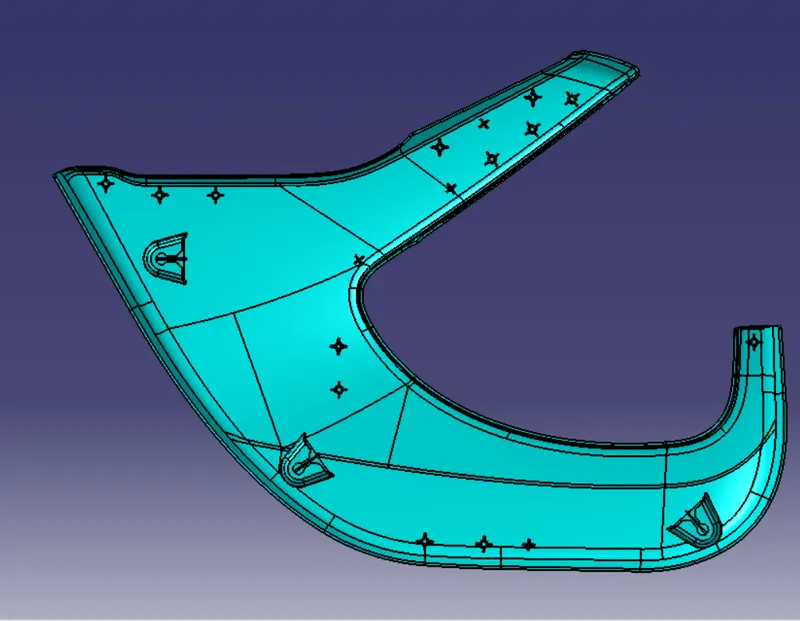
Complete Model with Attachement Features
Draft Analysis
Lower Substrate:
Bottle holder:
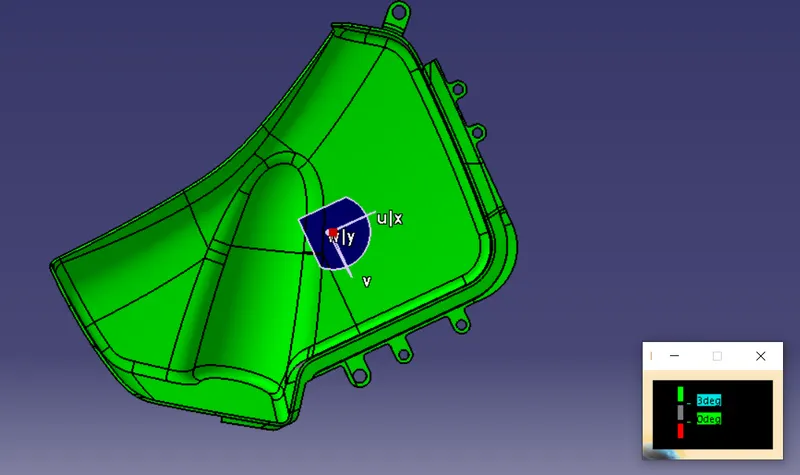
Map Pocket
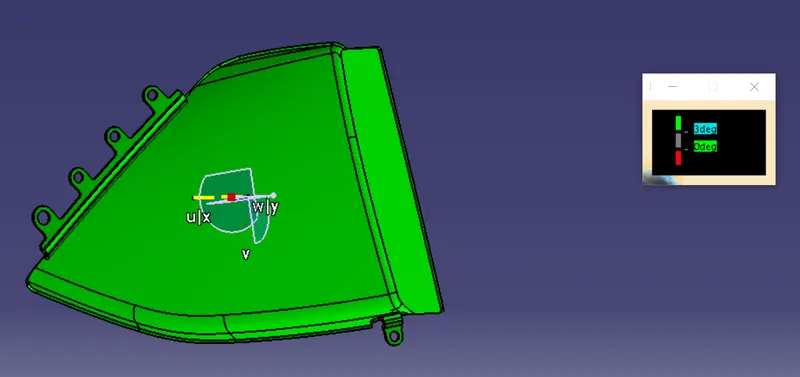
Armrest:
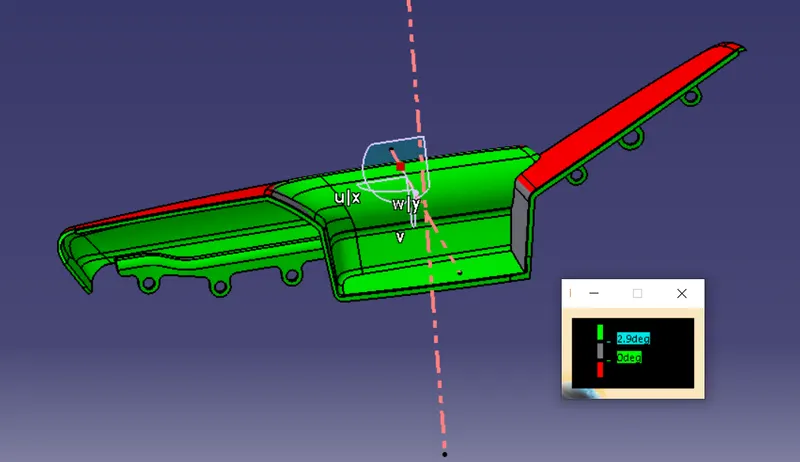
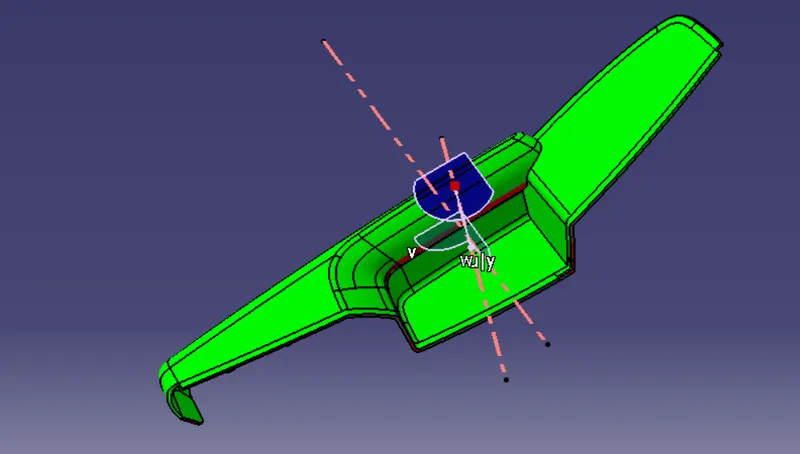
Attachmet features Draft analysis
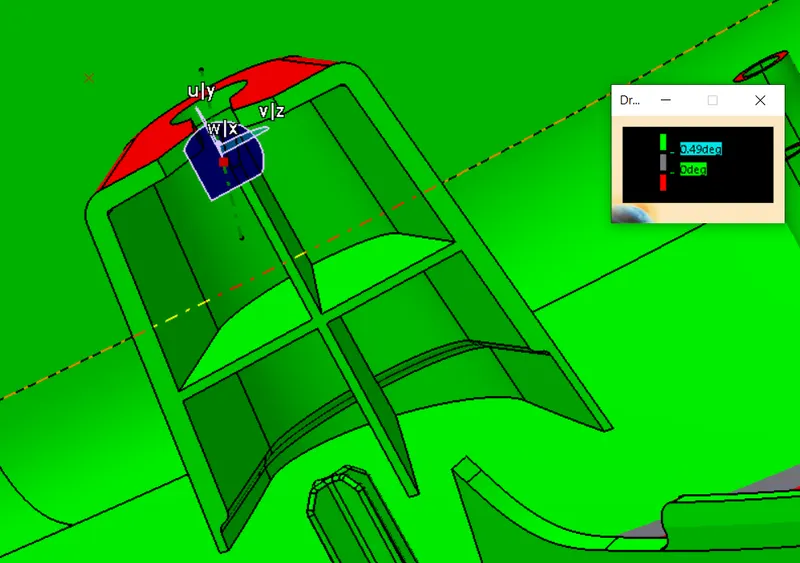
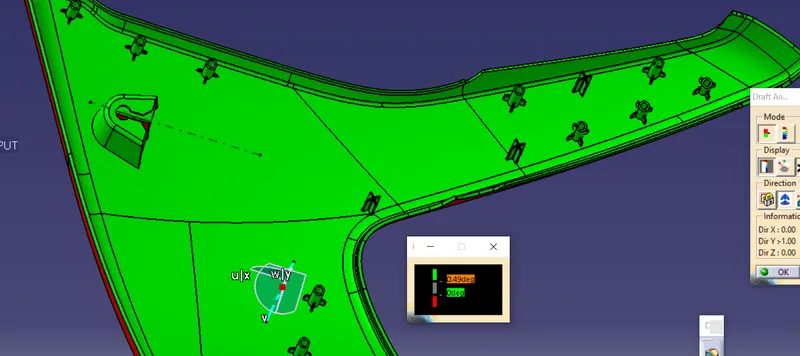
All attachment features getting cleared in our draft analysis
Conclusion:
In this study we learned how to make part bodies by using Class A surfaces and with use of master section we implemented attachment strategy to our parts and made tooling direction so that our parts can be easily ejected out from core and cavity.