Week 8 - Challenge 3 - Coin Holder Design
Aim -
Create the Coin Holder Plastic component through the given Class-A surface. To begin with, the tooling axis for the given Class-A Surface should be created meeting the requirements of the draft angle and at the end perform the Draft analysis on the model.
Design procedure:
- Checking Class A input for imperfections.
The input Class A surface is checked for the discontinuities and joined together to get complete Class A surface as one.
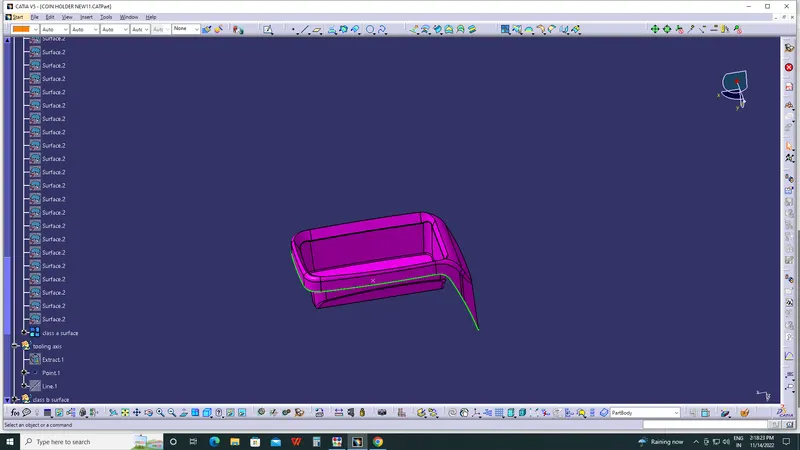
TOOLING AXIS CREATION:
- For this component coin holder i created Tooling axis as Normal to surface, for this i extracted base surface placed a point in a center of base and draw aline normal to surface as shown in figure
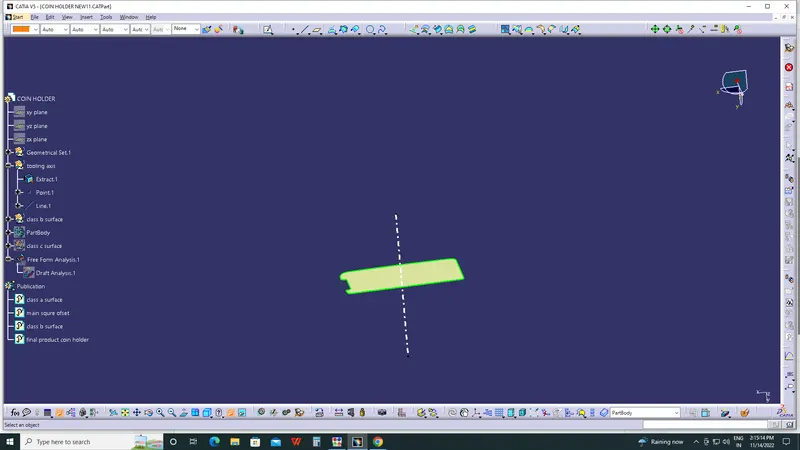
DRAFT ANALYSIS OF CLASS A SURFACE
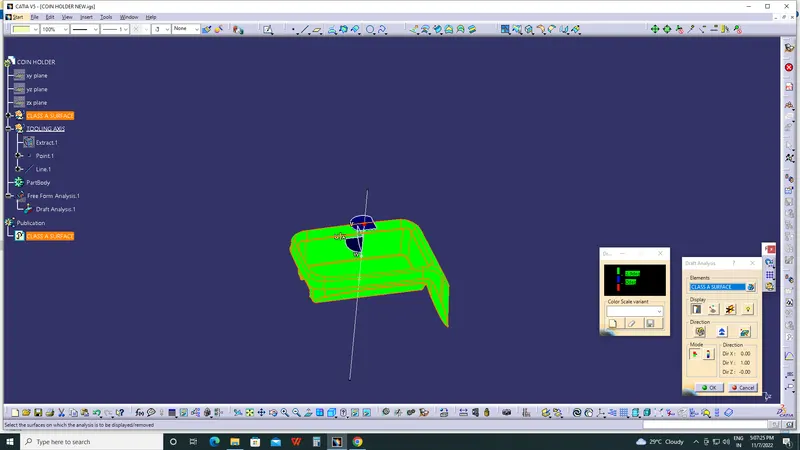
- After creating a tool axis we do the draft analysis. Before drafting we have to make sure that in the view mode it is selected to the materials.
- After selecting the feature draft analysis tool we drag the compass from its position to the tool axis. Then lock the compass. After that select anywhere on the component and it will give you the result.
- We change the minimum draft for the component to 3°.
- We can use the running point option to check the angle of the component.
- We can even modify the colour according to our preference
CREATION OF CLASS B SURFACE
- From the Class A surface , Extracted a set of Surface for to create the Class B surface by Using Extract Command.
- We can use extract command for all surface we needed for to create Class B Surface and then Use the Untrim command to restore the surface up to the limit.
- first i created a box like structure i just extracted 4 side wall surfaces and base triangle aswell as inside portion
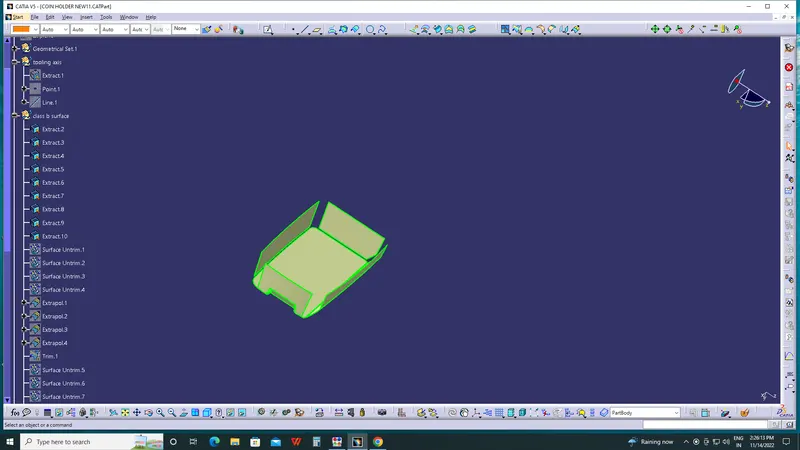
- after extracting i just untrimed , extrapulleted and again trimed it to get shape what i need.
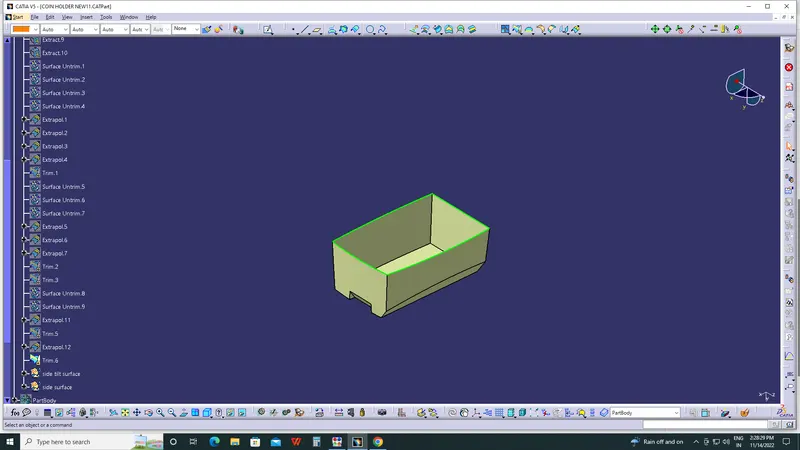
- Then i moved forward to create the side sliding surface to craete that also i done samething i just extracted surfaces , untrimmed them , extrapooleted and then trimmed them off
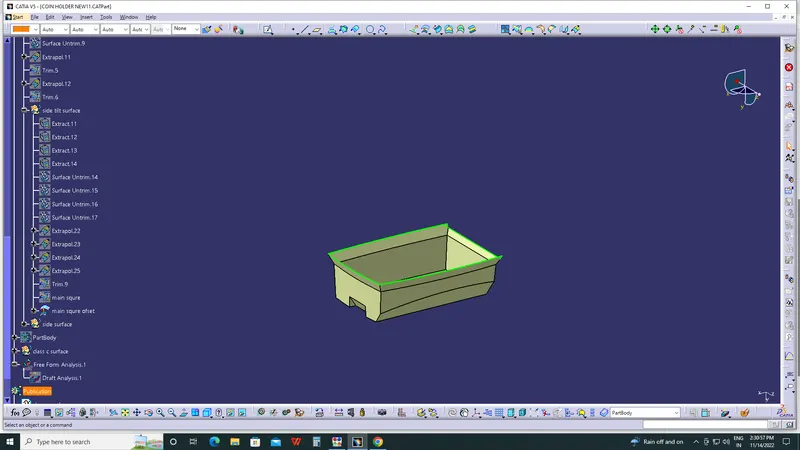
-
Since this is a complex component we separate some surfaces accordingly by giving some colours to the surfaces for our ease and then create the class B surface.
We start creating the class B surface for that we offset all the flat surface to 2.5mm and then we use the untrim tool to untrim the surface and then use the extrapolate tool to extend the surfaces. We do this the for all the separate sections we created and then we trim all the sections together.
Then we use edge fillet to fillet the corners wherever it needs.
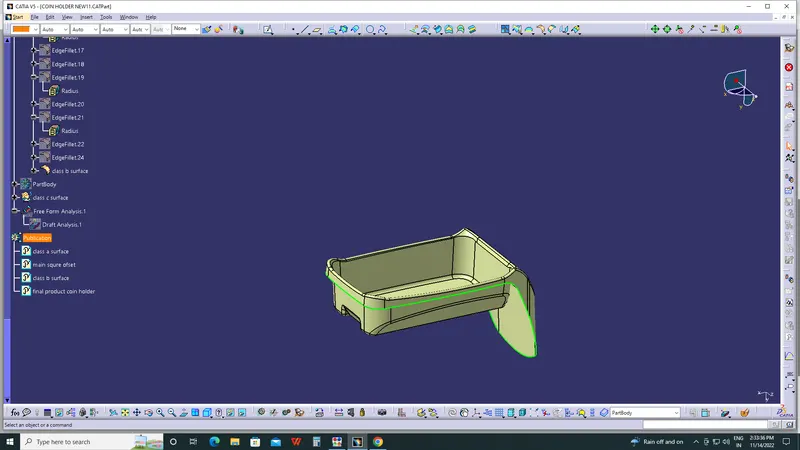
CLASS C -SURFACE
- Class C surface is a connecting surface between Class A and Class B surface.
- Draft angle and Tooling direction are considered while making Class C Surface.
- For this model the class C would be parallel to the horizontal plane because of the design of class A and class B.
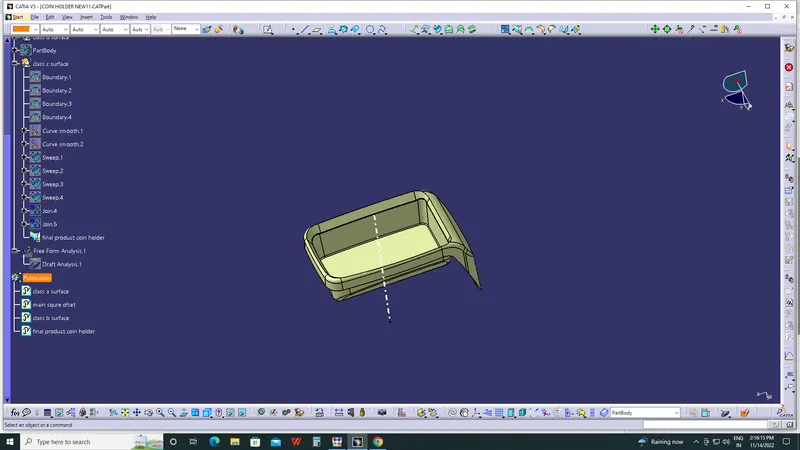
- We first extract the edges from the Class A surface with the help of which we create the path for sweep for class C and the we even extract the adjacent surfaces to use it as a reference plane.
- So we select the sweep tool and in that we select with reference surface option and then we change the angle to 90° for it to be horizontal.
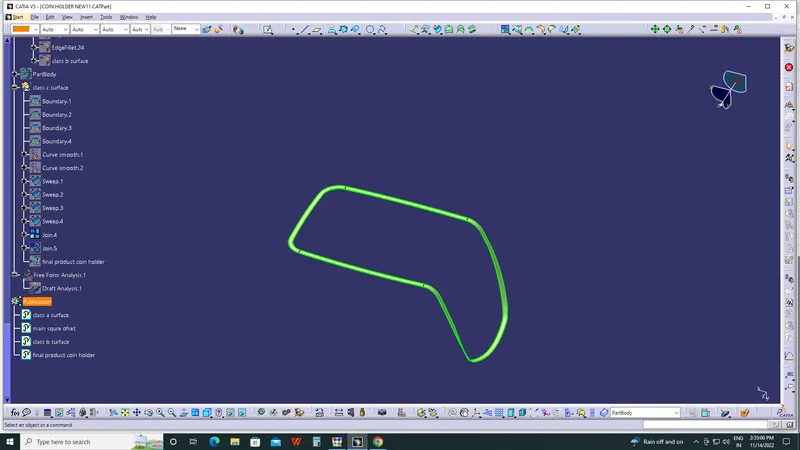
THE FINAL PRODUCT
- After creating
- CLASS A surface
- CLASS B surface
- CLASS C surface
- i just joined CLASS A surface with CLASS C surface
- Then i Trimmed CLASS B surface with CLASS A and C Suraface to get final output
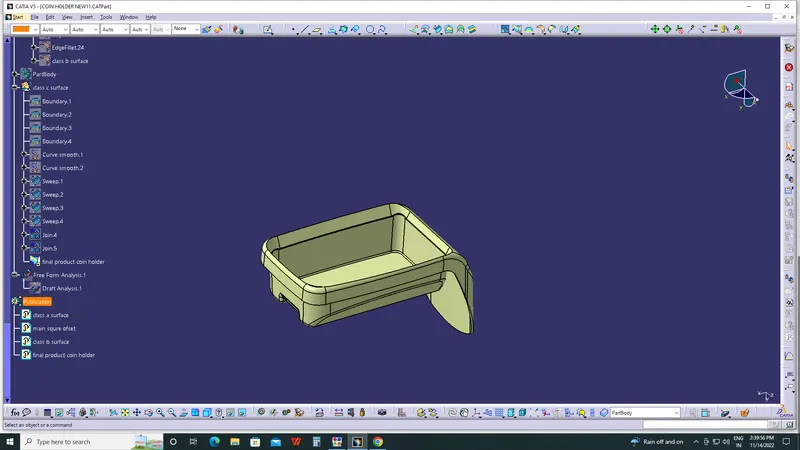
CREATING SOLID BODY OUT OF SURFACE
- For creating solid body out of surface i just shifed to part workbench from Generative shape design worbench
- And used Closed surface command
- to generate solid body
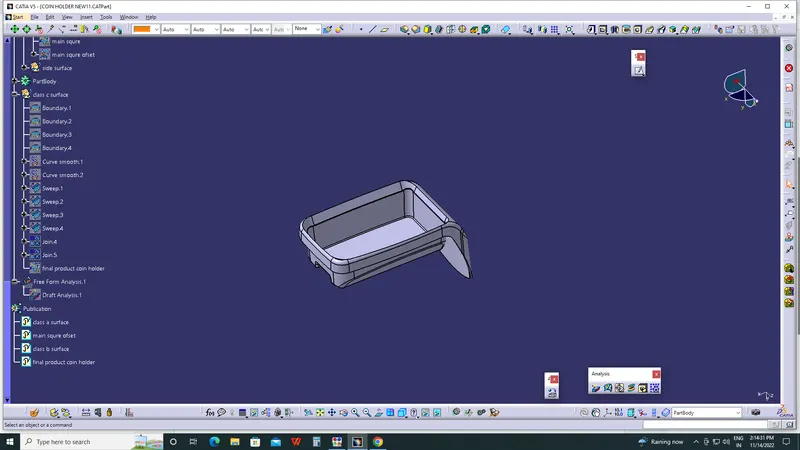
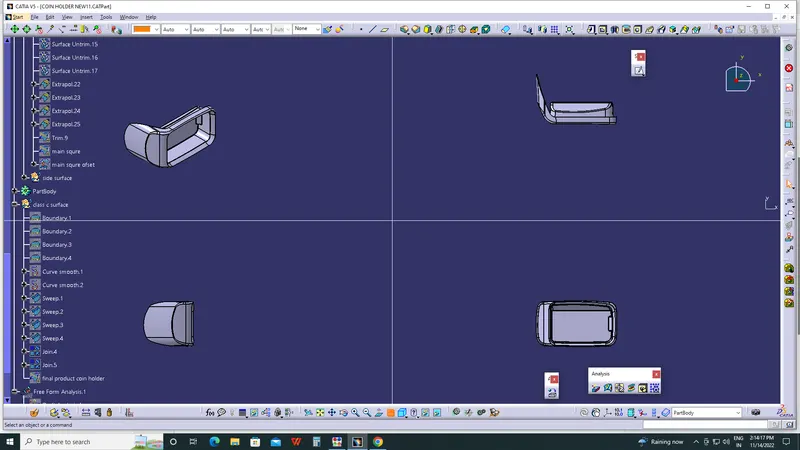
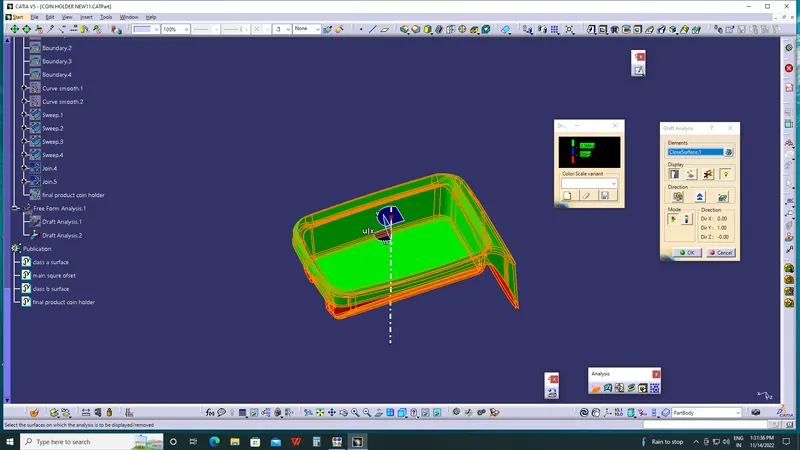
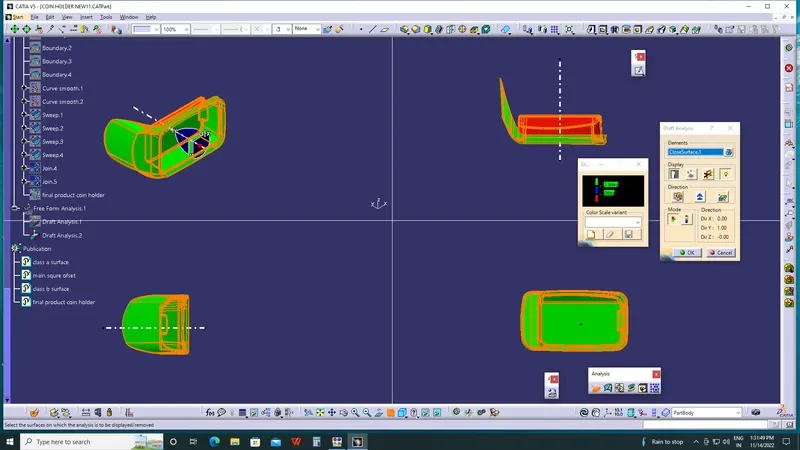
DRAFT ANALYSIS OF FINAL PRODUCT
- Go to the Insert menu and select the Analysis option.
- Select Feature Draft Analysis.
- Select the Material option and select the surface.
- Drag the compass and place on tooling axis.
- Make sure that the top surface is in green colour as draft angle should not exceed 3deg.
- Click on Okay after confirm the model.
- i gave draft angle as 2.9 degree
PLASTIC MATERIAL WHICH I SUGGEST
Polypropylene
Polypropylene is used the most frequently of any plastic in automotive manufacturing. Being a thermoplastic polymer, it can easily be formed into almost any shape. It has excellent chemical and heat resistance and is generally resistant to impact. Given this plastic's resume, you will frequently find it in car bumpers, gas cans and even the carpet fibers of your car's interior flooring. It's also a more economical alternative to expensive plastics of similar strength and durability, which helps drive down the cost of manufacturing.