Week 8 - Challenge 2 - Switch Bezel Design
AIM :
To create a car door switch bezel using CATIA V5 and to perform the draft analysis of the same.
METHOD
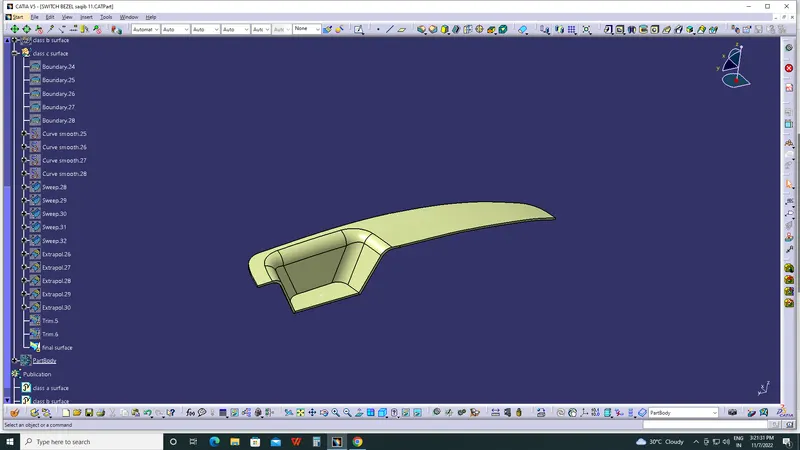
Here the class A surface of the door switch bezel was provided as in OEMs. I created a class B & class C surfaces from the class A. Then I created a solid body of 2.5 mm uniform thickness using Class A, Class B & Class C surfaces. Finally I successfully performed the draft analysis of the component. The steps I followed for the creation of this component are given below.
PROCEDURE
Initially I opened the Class A surface in CATIA V5 surface workbench. I visually inspected the surface and applied different colours for easily classifying the surfaces for extracting and untrimming. Inserted a geometrical set called 'CLASS A SURFACE'.
TOOLING AXIS :
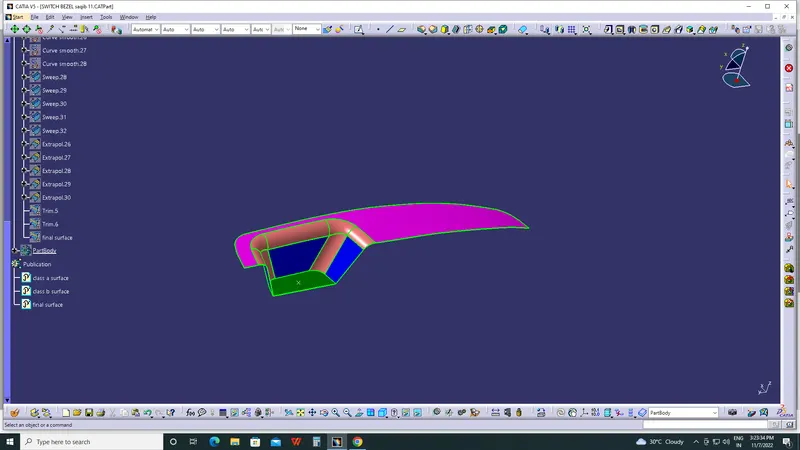
- We can create axis in all possible direction like X, Y & Z & analyse which is best suitable or we can also go for NORMAL TO SURAFCE ,it's depend on componnet we provided.Here I used Normal to Surface. The main purpose of TOOLING AXIS is direction, along which Cavity & Core moves.
- The Tooling Direction is basically the direction that the mold pulls apart. The mold is built in two separate pieces, basically. You have a Cavity side and you have the Core side. The Core pulls apart from the Cavity and that's the Dyeline or the Tooling Direction.
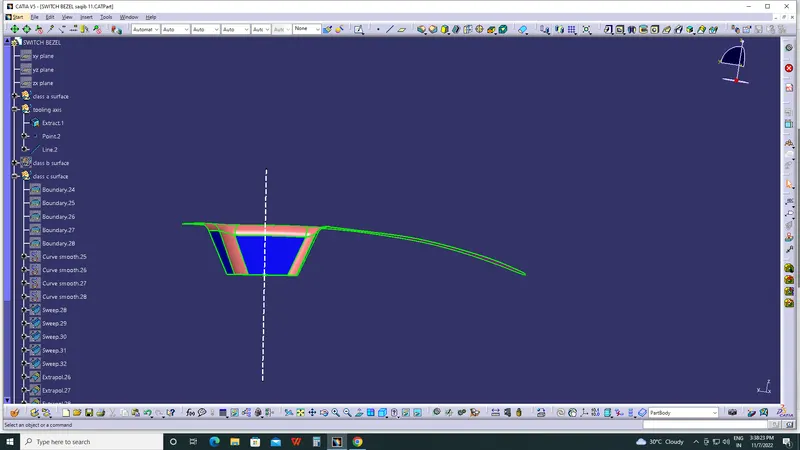
For creating the B surface I extracted, untrimmed, offseted and extrapolated the A surface. Surfaces were offseted at 2.5mm..
DRAFT ANALYSIS FOR CLASS A SURFACE :
- Draft allows for the component to release from the mould, most parts or applications require a minimum of 0.5 to 1 degree draft angle and 3 dgree draft angle is widely used as per the norm.
- Change the material mode to customize mode before moving to the draft analysis.
- Insert –analysis-feature draft analysis
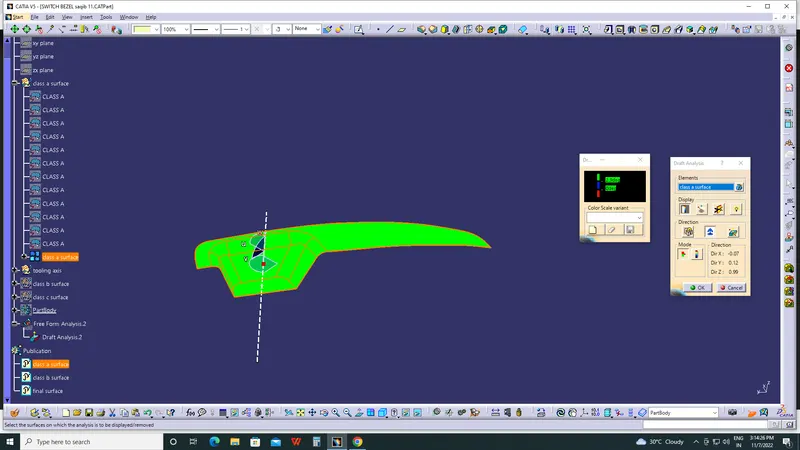
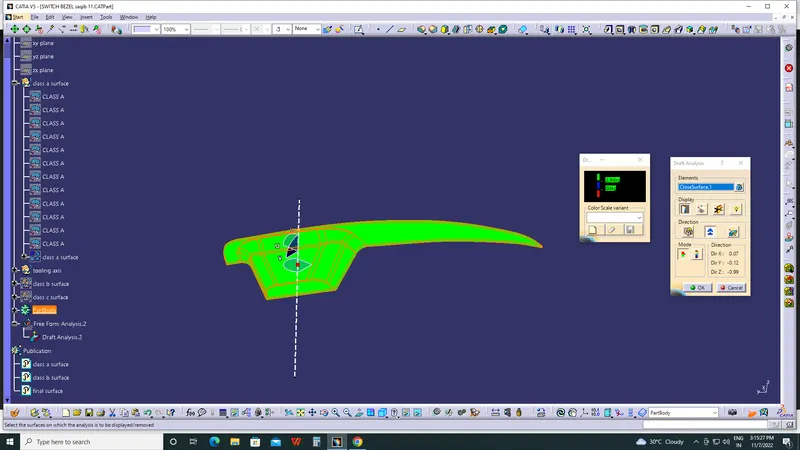
- Defining the draft direction Select draft analysis from the tool bar and click on the compass symbol and pull the compass from the right side top corner of the workbench and place it on the component where want to do the draft analysis. ‘W’ of the compass and tooling axis should be aligned on the same line.
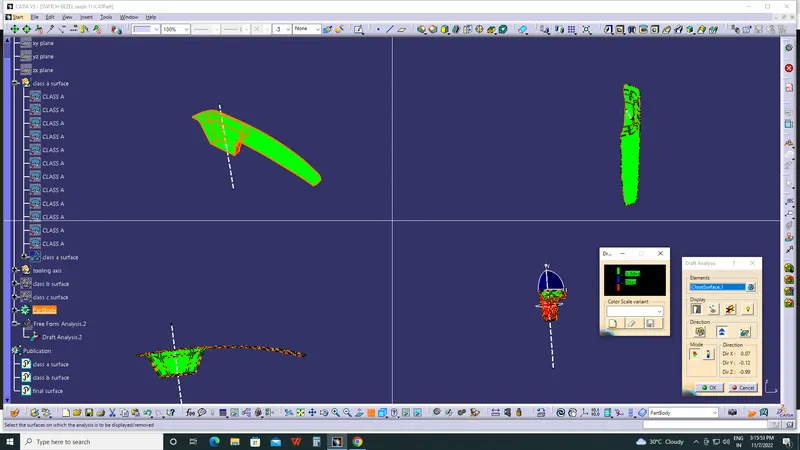
- Once the compass is aligned with the tooling axis click on the lock symbol and drag on the surface we will get a wrong mark then select that point a table will appear it shows the draft value on the table we can adjust the draft value and analysis it for all the edges and surfaces.
- By clicking the on the surface and using the flipping tool we can assign the Flipping direction, the color of the surface change as per the flipping direction .
- Analysis under running point and move the mouse on the surface and it will show the details of the surface deg direct at each and every point of the surface.
CREATION OF CLASS B SURFACE :
- In the case of Class A the surface below is called core and the surface above is called cavity.
- Class A is an aesthetics surface and class B is an engineering surface.
- B surface should be inside the class A surface.
- B surface can be divided into three surfaces the bezel rest surface ,walls and the base surface and later trim them altogether.
- First step is to create the bezel rest surface by extracting the required surface from Class A and untrimmed it thus we will get a single surface which will be extrapolated to get the required size and finally offset it to the inner side of class A as per the thickness of the material.
- The walls can be extracted by selecting the wall surfaces from class A expect the edge surfaces then untrimmed, extrapolated and trimmed it to get the required shape and offset it for the required size of the material.
- Base surface of the component is then extract, untrimmed, extrapolated and offset.
- First bezel rest surface and the walls are trimmed then it is trimmed with the base surface now all the three geometries are trimmed together to get the B surface.
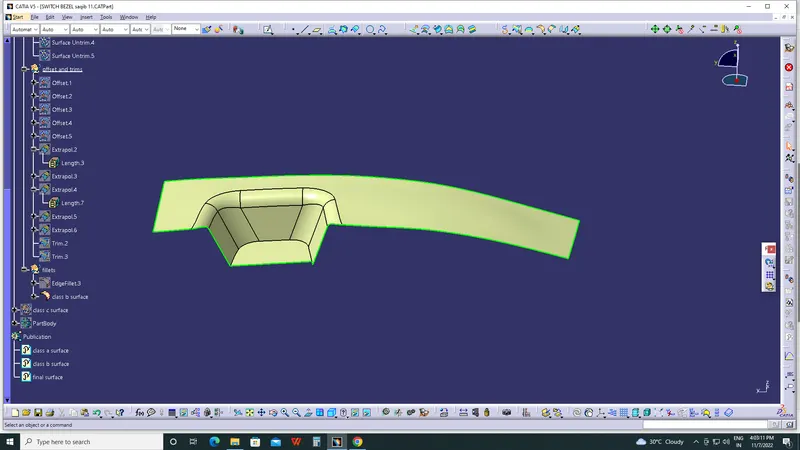
- Fillet is applied to the required surfaces by measuring the fillet value from the class A surface thus we will get the final B surface.
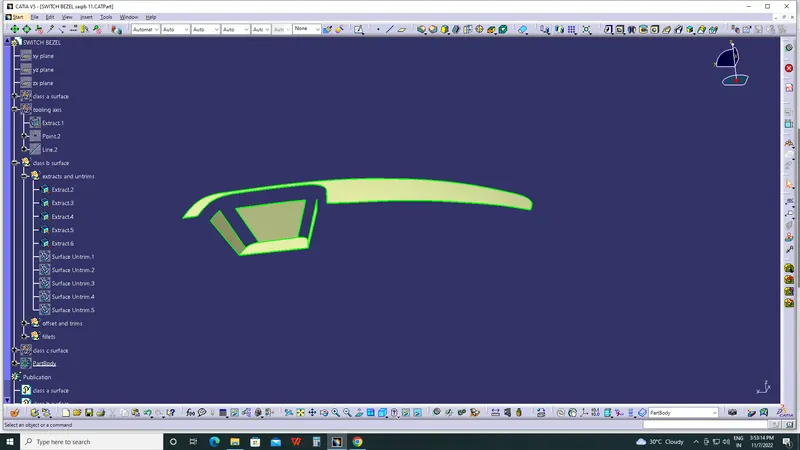
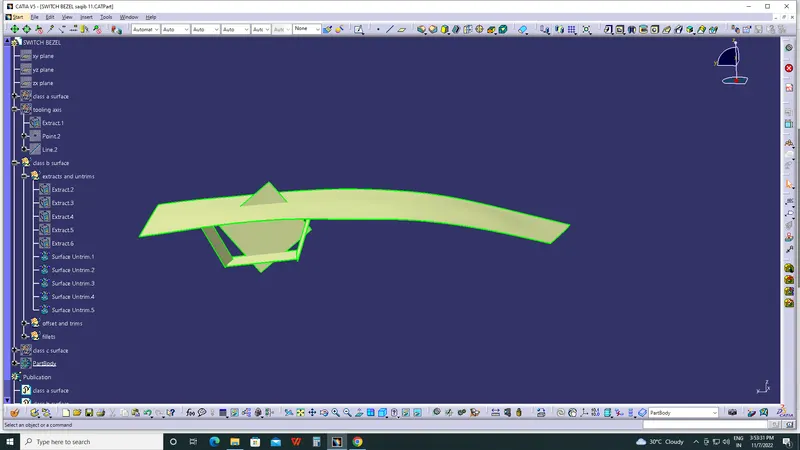
1.EXTRACTS AND UNTRIM :
- in this step i did extracted the class A surface and done untrim
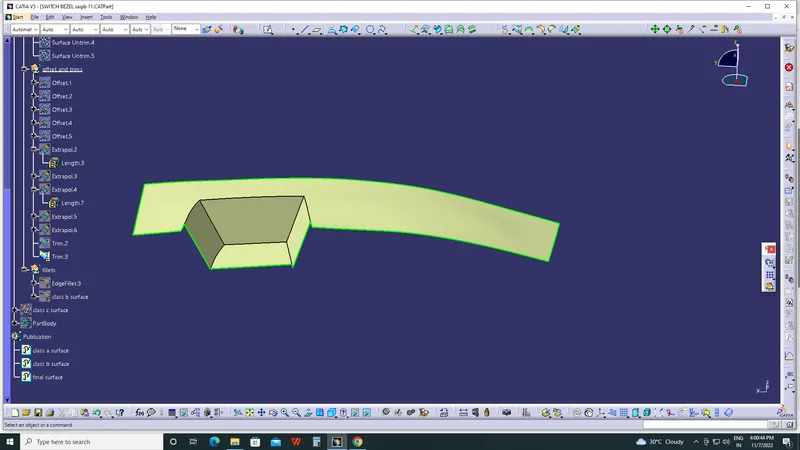
2.OFFSET AND TRIMS :
- in this step i did offset and and extrapulleted the surface so it can be easily trimmed off
3.AT LAST BY APPLYING THE EDGE FILLETS I GOT COMPLETE CALSS B SURFACE :
CREATION OF CLASS C SURFACE :
- C surface has been created from with reference to the boundary lines of class A surface and sweep it with reference to the tooling axis then the holes are created by following the same method.
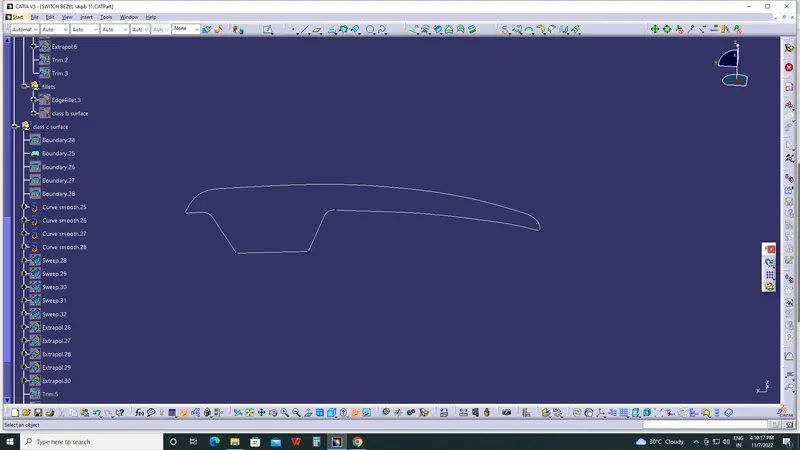
- In order to get the C surface first we have to create a boundary lines of class A surface or by using multiple extrapolated command and check for the continuity of it. If it is not in a proper line then split it into multiple boundaries and smooth curve it with a maximum deviation of 0.001mm by curvature continuity method.
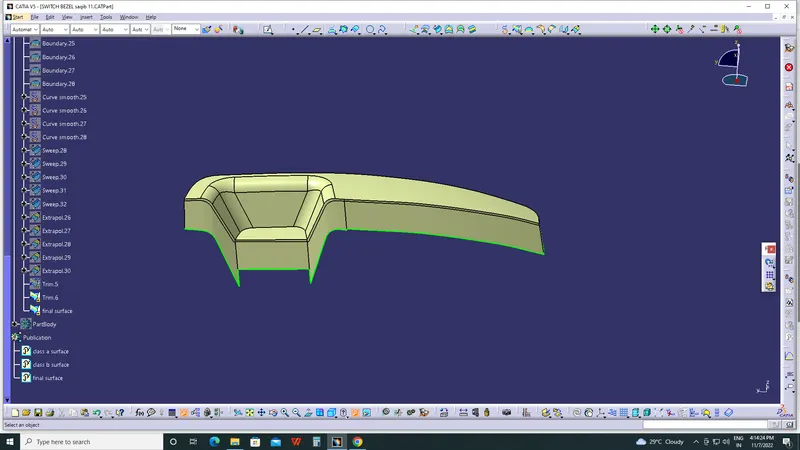
- Create a sweep with reference to the smooth curve and the tooling axis with a nominal three degree draft angle and make it for all the splitted curvature. Check for the continuity of the surfaces if there is any gap go for extrapolated and trim all together now we will get the class C surface.
- Then join the class A surface and C surfaces together by join command then check it for connectivity of the surfaces if it is ok, then finally trimmed it with B surface we will get the final component again check whether the final body is closed by using boundary command.
- Close solid body can be obtain by using the close surface on part workbench by selecting the final Trimmed component.
- In this case we are not getting a completely closed body so to solve this error we are doing the following steps.
- Increase the merging distance up to 0.003mm on join and then check the connectivity of the surfaces. if it fails again we have to modify the class A and C surface.
- Extrapolate the bezel rest surface edges of class A and class with a minimal value.
- Then trim the modified class A with class C surface and check the connectivity of the surfaces thus created a closed body.
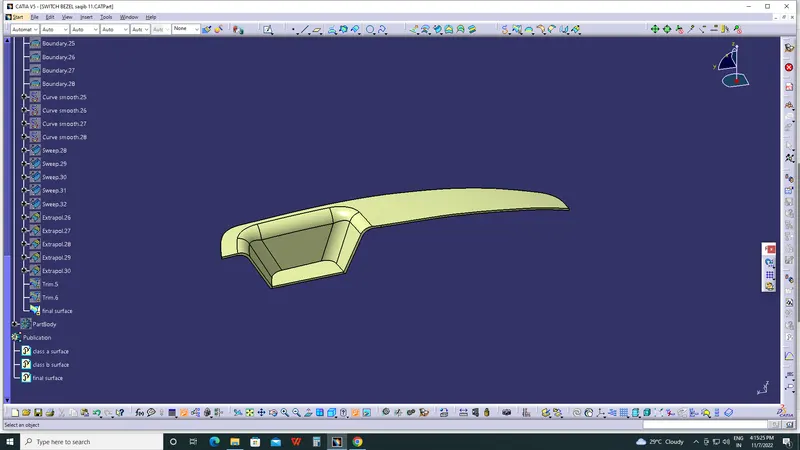
- Closed solid body is created by using the close surface on part workbench by selecting the final Trimmed component and do the draft analysis for the same.
1.BOUNDRY AND SMOOTH CURVE:
using boundry command to select boundry of class A surface to build a class C surface and used smooth curve command to reduce unwanted points on the surface
SWEEP AND EXTRA PULLET :
sweep command is used to generate surface from boundry of class A extra pullet and trim used to get final Class C surface
FINAL PRODUCT :
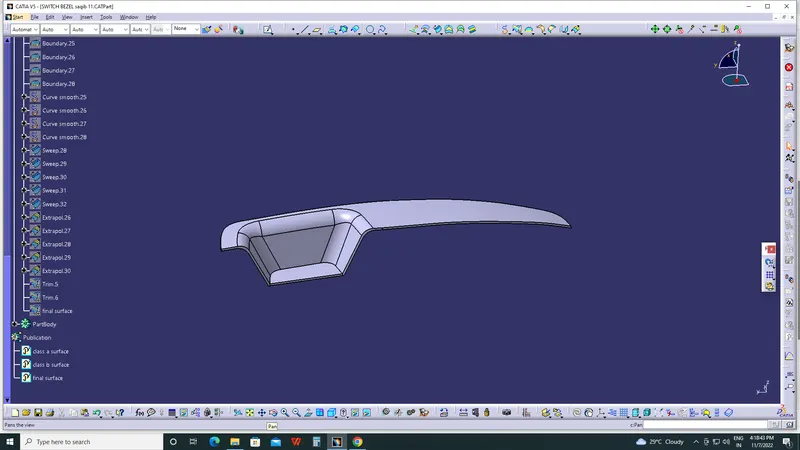
PART MODEL :
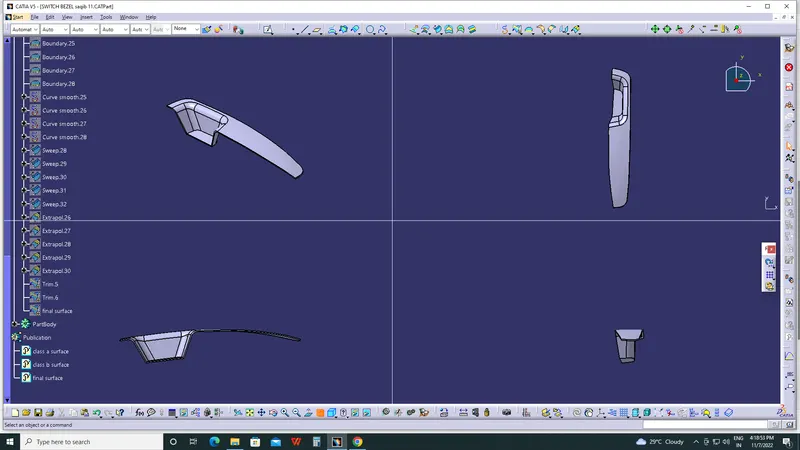
Next, I inserted a part body and named it 'SWITCH BEZEL'. Then a closed body was created using part workbench.
DRAFT ANALYSIS OF FINAL PRODUCT (SWITCH BEZEL) :
Atlast, Draft Analysis was performed. 2.9 degrees of minimum draft angle was successfully obtained.
PLASTIC MATERIAL USED IN SWITCH BEZEL :
- ACRYLONITRILE BUTADIENE STYRENE :
ABS sheet is similar to PVC in that the final product offers a sleek finish. Steering wheel covers and dashboards are often made of ABS plastic. It's also well-suited to heavy-duty applications, so it can be used for automotive body parts, too. Plastic used in cars, like ABS, helps the body absorb and redistribute energy during an impact, keeping passengers safe.
- POLYPROPYLENE :
polypropylene is used the most frequently of any plastic in automotive manufacturing. Being a thermoplastic polymer, it can easily be formed into almost any shape. It has excellent chemical and heat resistance and is generally resistant to impact. Given this plastic's resume, you will frequently find it in car bumpers, gas cans and even the carpet fibers of your car's interior flooring. It's also a more economical alternative to expensive plastics of similar strength and durability, which helps drive down the cost of manufacturin
- POLYCARBONATE :
Like polypropylene, polycarbonate is so resistant to impact that it is often used for car bumpers and headlight lenses. This kind of car plastic is highly resistant to weathering, able to handle conditions from rain and snow to heat and cold. Polycarbonate is also lightweight, so it reduces a car's overall weight, which in turn improves vehicle and fuel efficiency.