Week 7 Challenge
Week 7 Challenge:
- In this challenge we are going work on the given door bezel model.
- We have created the core & cavity surface as well as core & cavity boxes for the given door bezel model.
- In this challenge we are going to create the sliders & the washers with bolts for the car door bezel model.
- In this model we have created the sliders initially.
- We have used the split command to create the material for the undercut.
- Then we have sketch the required geometry & used the extrude as well as extrude cut command for getting the required shape of the sliders.
- After that I have created the slider as the new part in the assembly.
- Then I have created the copies of the sliders & used combine command to get the slider slots in the core & the cavity box.
- Then I have created the collars & other features on the core & remove the extra surfaces from the core & cavity by using the extrude cut command.
- After this I have created the washers & bolt by using the sketch on the core then extruded it for the required length.
- Then I have created the slots in the cavity for the washers & bolts by using the sketch of circle more than the washer dimension & extrude cut it to the surface required.
- I have repeated the same procedure for the second slider.
- In this way I have completed the the sliders modelling with washers & bolts for the given door bezel mold assembly.
- The detail snaps of the given design as follows:
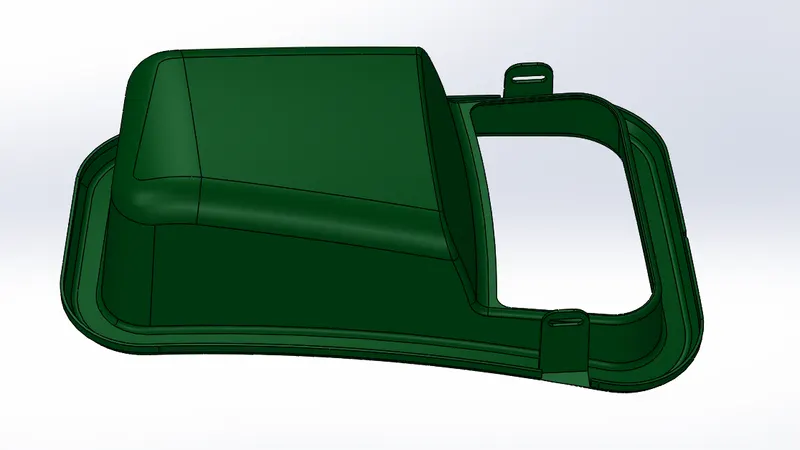
Fig_1: Car Door Bezel part
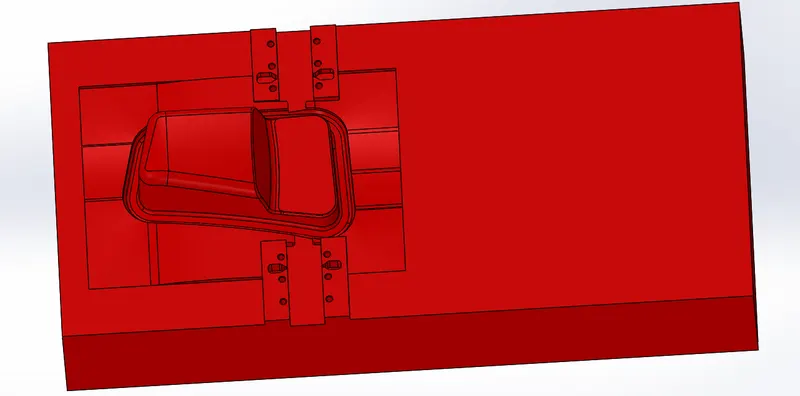
Fig_2: Car Door Bezel Core
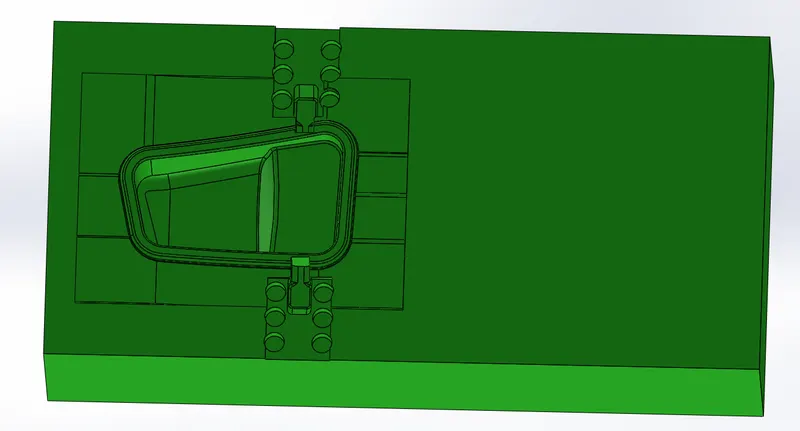
Fig_3: Car Door Bezel Cavity
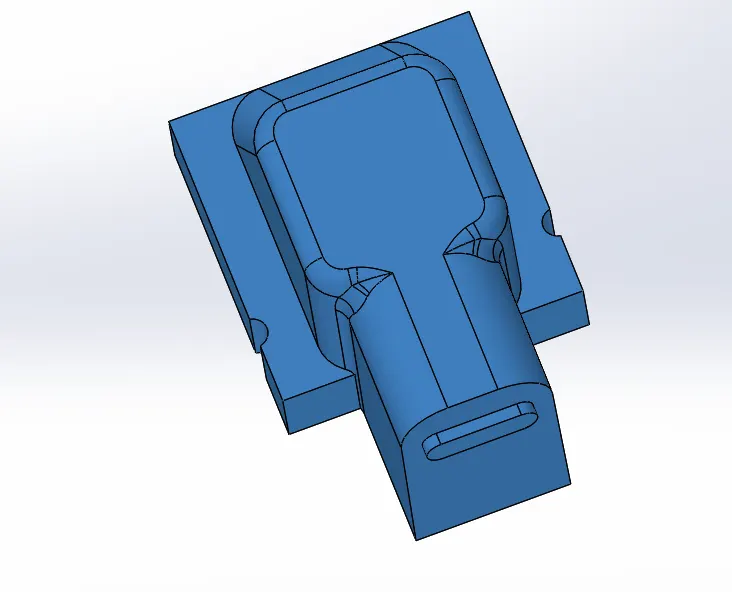
Fig_4: Car Door Bezel Slider_01
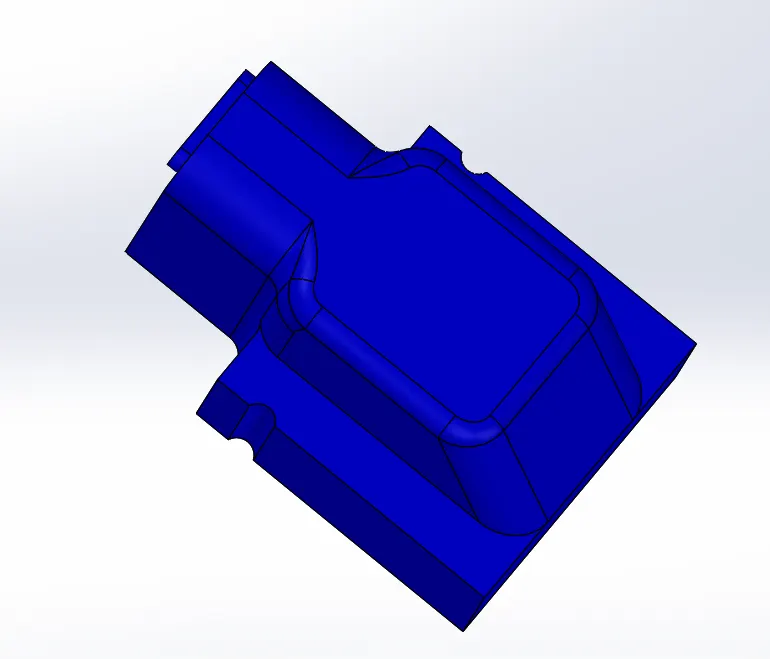
Fig_5: Car Door Bezel Slider_02
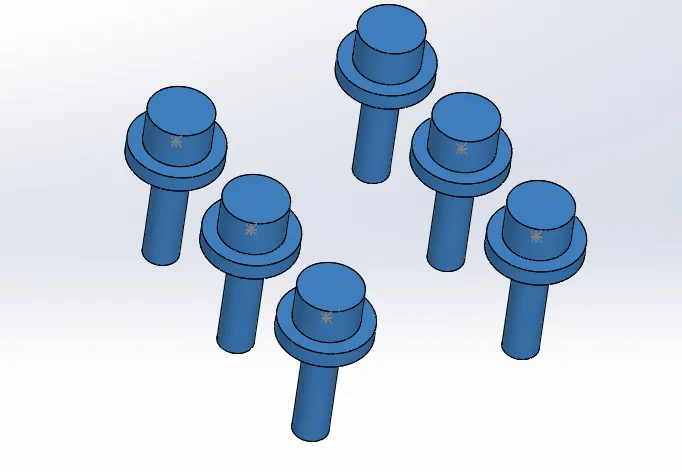
Fig_5: Car Door Bezel washer & bolt
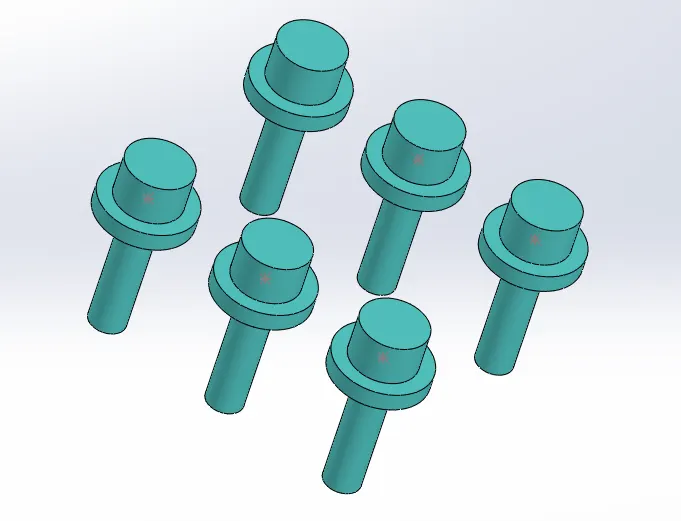
Fig_6: Car Door Bezel washer & bolt_02
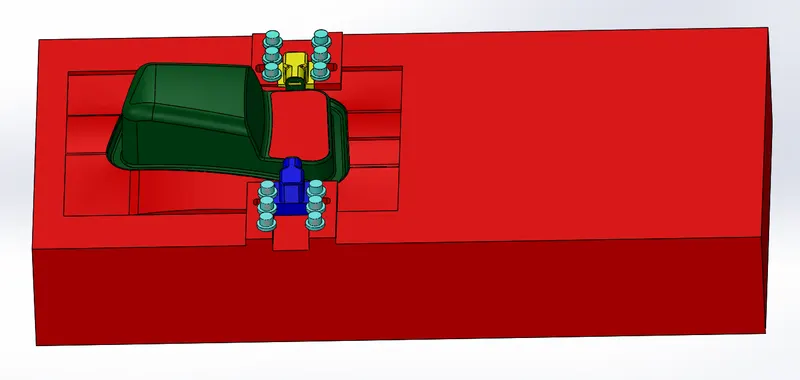
Fig_7: Car Door Bezel assembly of core, model part, washer, bolts, sliders_01_02
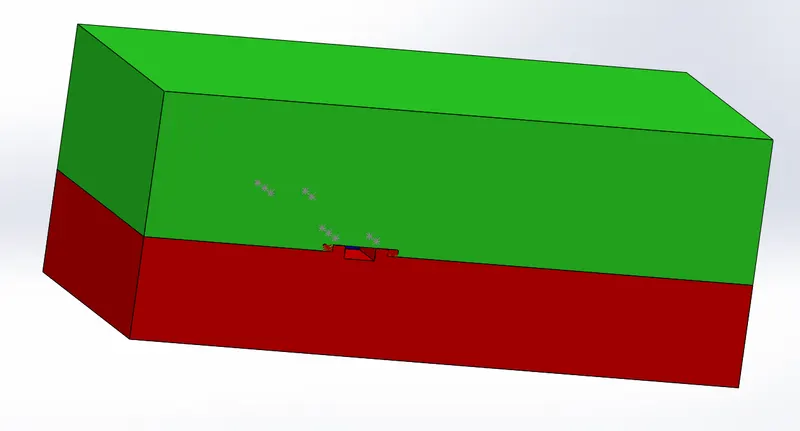
Fig_8: Assembly car door bezel mold
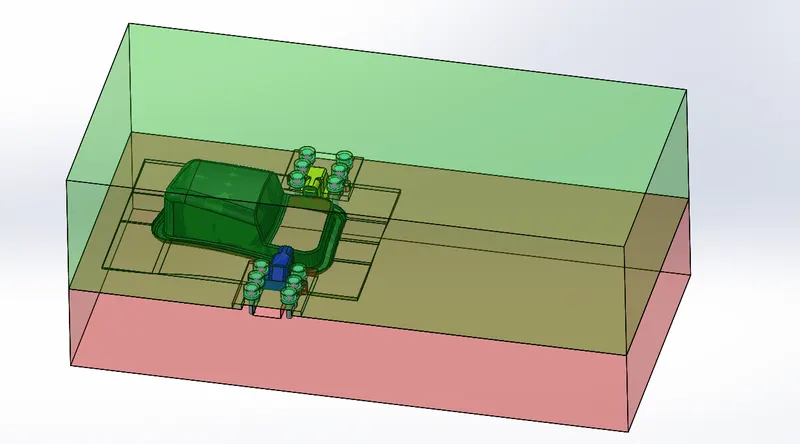
Fig_9: Assembly of transparent door bezel mold.