Project 2
WIRING HARNESS FOR TAILGATE:
Aim: The main objective of the given project is to route the wiring for the tailgate tail lamps & registration plate.
Description:
- In this project we have followed all the best practices to complete the wiring harness.
- I have created the Flattened Model for the tail lamps & registration plate geometrical wiring harness
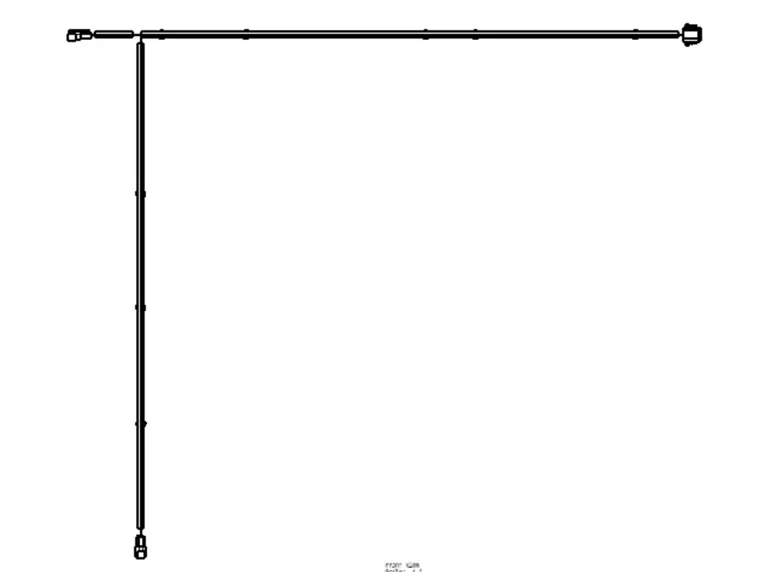
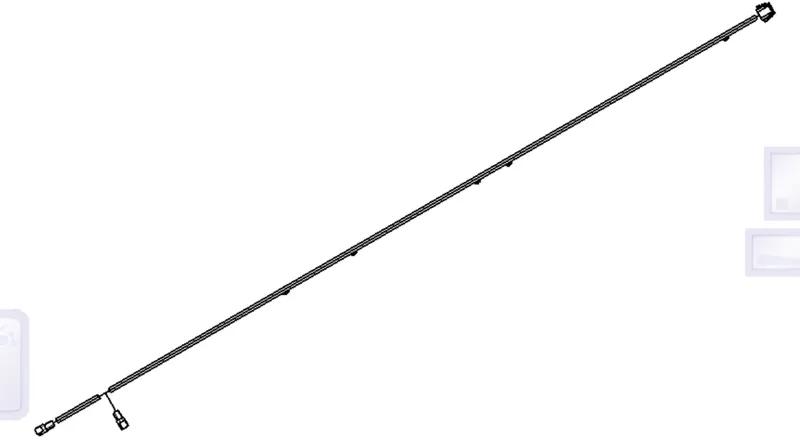
- I have created the drawing for the tail lamps & Registration Plate.
- I have used the furr tree clips for routing the wires without getting strangled as a suppot component
- The connectors are positioned using the compass, manipulation tool, smart move & snap options.
- The COT tubes having dia 10 are used as a protection device for the given wiring harness.
Given : Tailgate Image
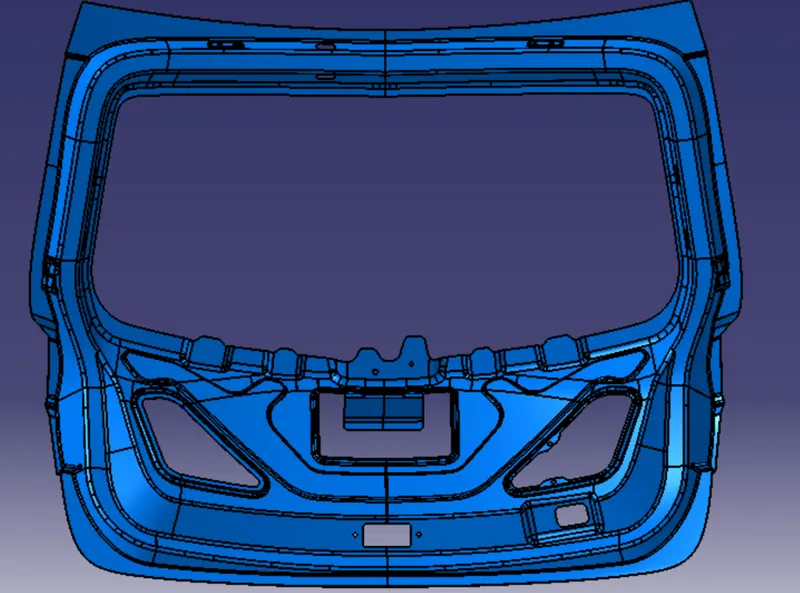
- We have to consider two different bundle for tail lamps & registration plate lights because lights of registration plates & brakes have different working principles.
- consider two inter connectors, two for lamps & two for registration plate lights.
- Minimum distance between two branch points is more than 50 mm.
- Branch legth to be more than 50 mm
- Bend radiud ratio is to be 1.4 to 1.5
- Avoiding Scrapping with sharp corners & edges.
- Provide rquired slack wherever required.
Steps to follow to create Harness Bundle:
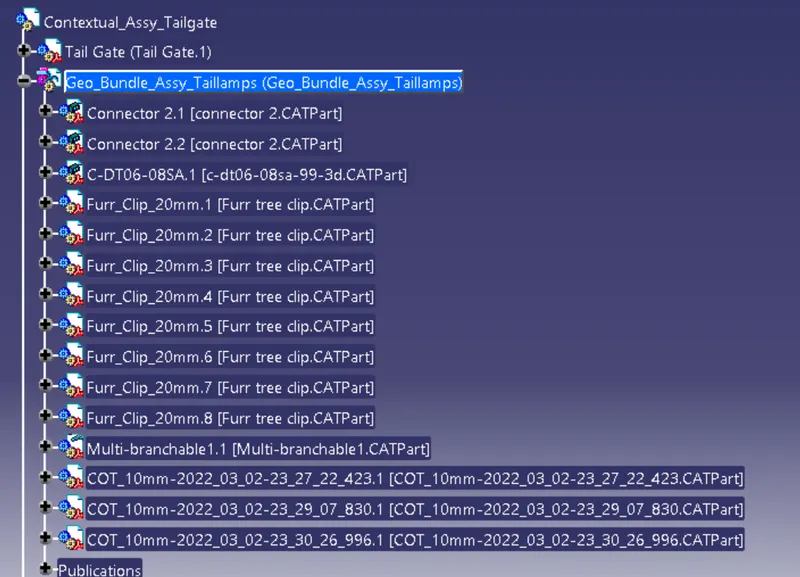
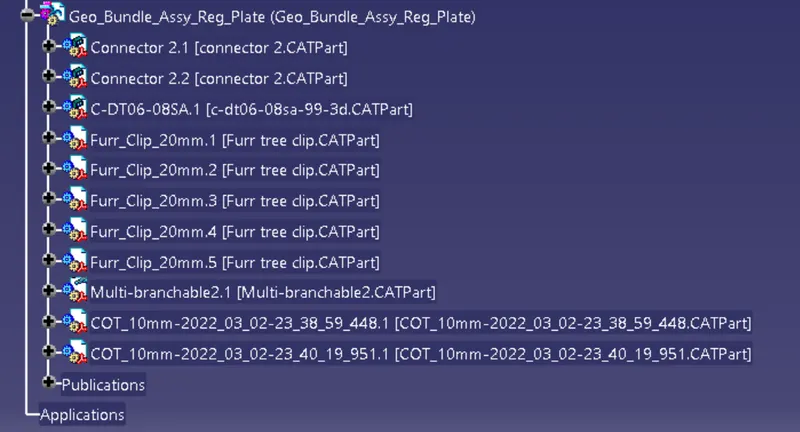
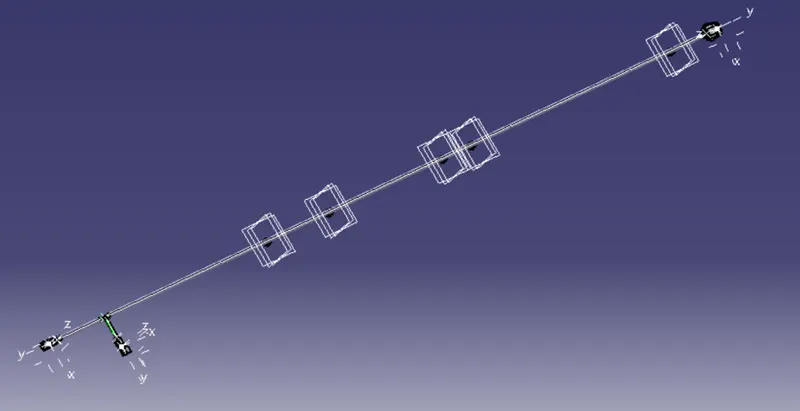
- Create the context assembly consist of tailgate, geometrical bundle for the tail lamps & geometrical bundle for the registration plate lights.
- Define the all the connector & clamps elctrically.
- Define the bundle entry point, connector connection point for connectors.
- define the furr tree clip with the support command from both sides for smooth connections in the geometrical harness assembly using the electrical harness assembly workbench.
- Create branchables having suitable diameter, bent radius & slack wherever required.
- Apply the COT tubes as a protection.
- After the the connectors connections check the geometrical bundles for the connectivity.
- If the all bundles are connected successfully proceed with the bundle flattening.
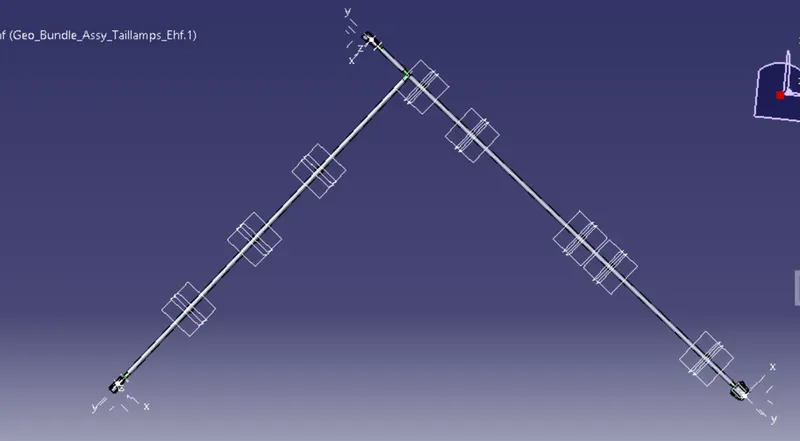
- Create the flattening of the bundles using the Electrical Harness Flattening Workbench.
- Create the Drawing sheet, scale the bundle 1:2, take the front view as required from bundles & create the drawing using the drafting workbench.
Refer below Images explaining the above steps:
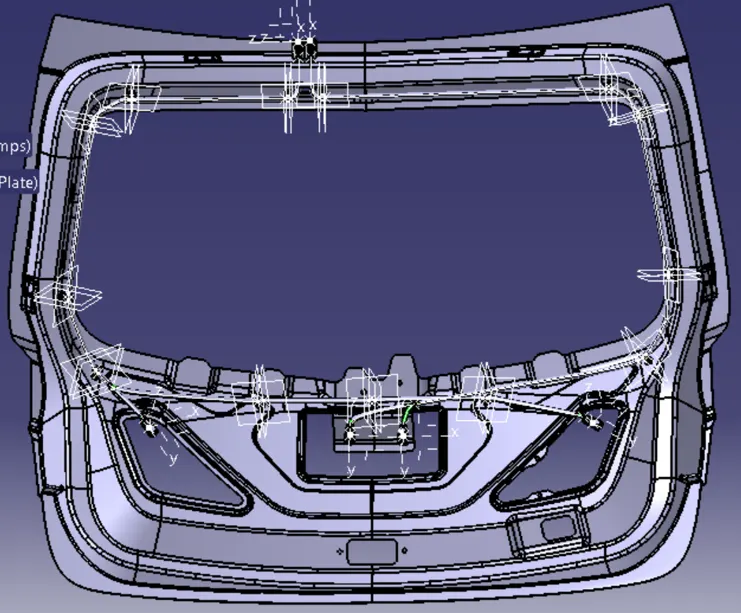
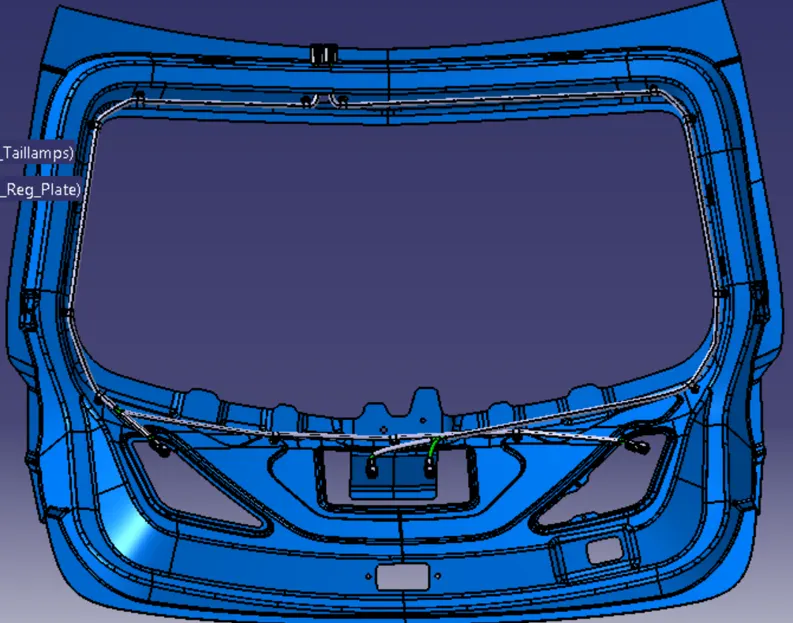
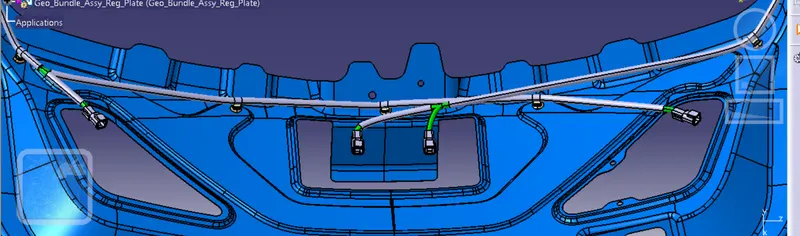
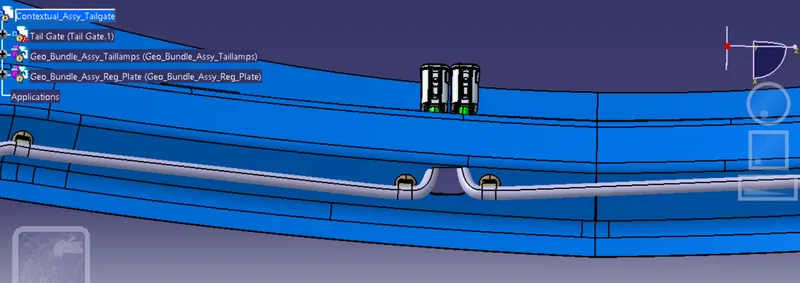
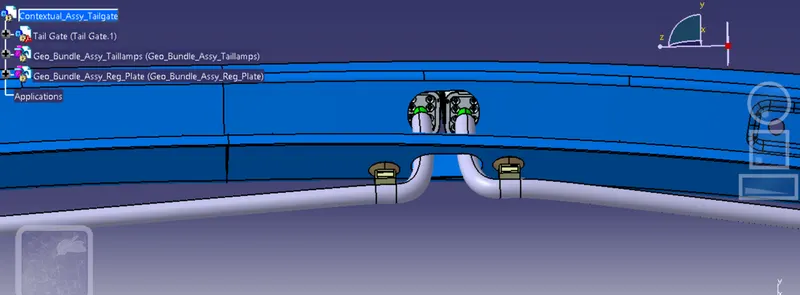
Geometrical Bundle Assembly:
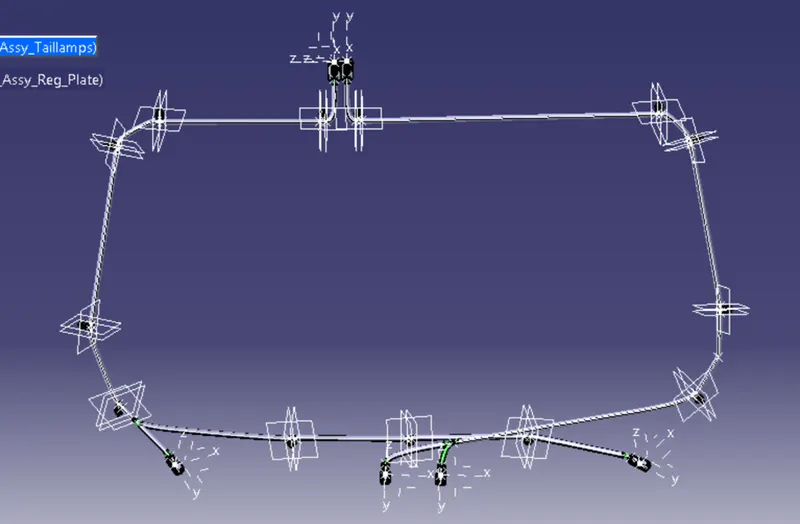
Bundle for Tail Lamps:
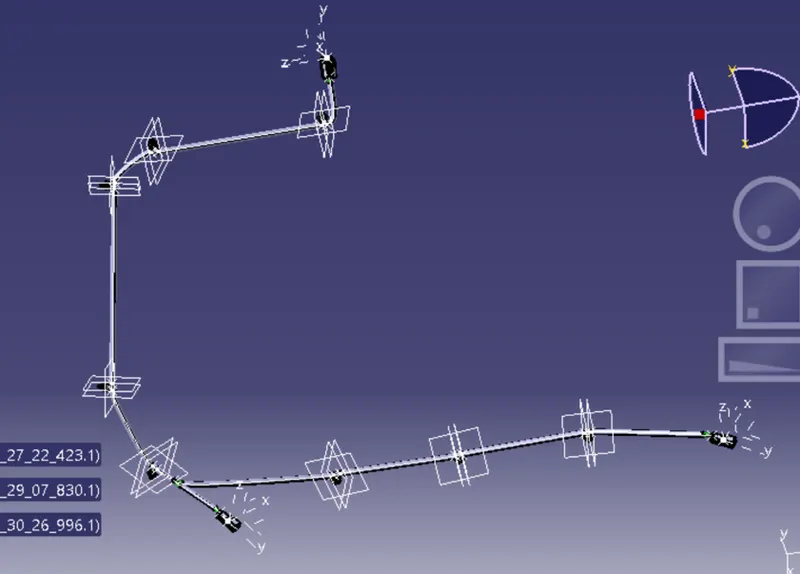
Bundle for Registration Palte:
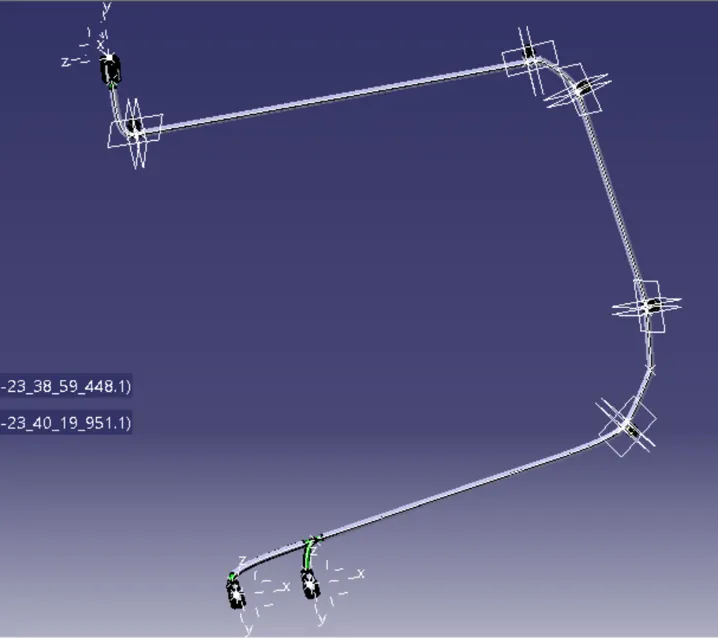
Tree Structure:
Flattened View:
Drafting:
Conclusion:
- I have successfully route the wiring harness for both tail lamps & reg plate lamps.
- I have successfully flattened & created drawing for the given wiring harness taillamp project.