Week 8 - Challenge 2 - Base Bracket Design
Objective:- Objective of this challenge is to do a Draft analysis of a BASE BRACKET using CATIA Software. And also create Class A surface, Class B surface and Class C surface and Solid Pattern for manufacturing.
Draft Analysis:
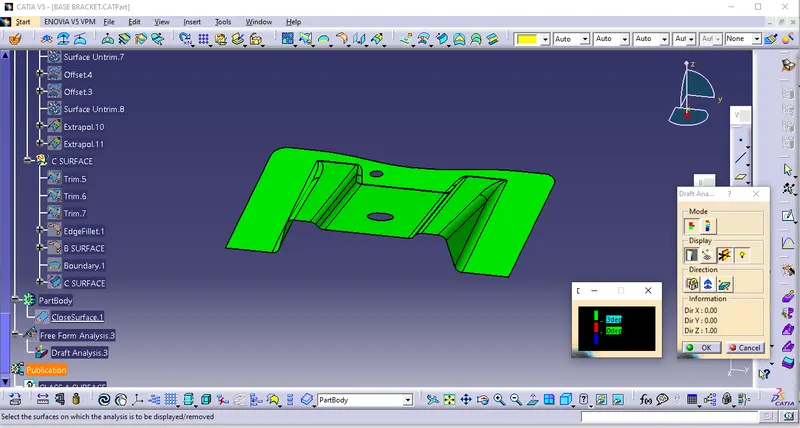
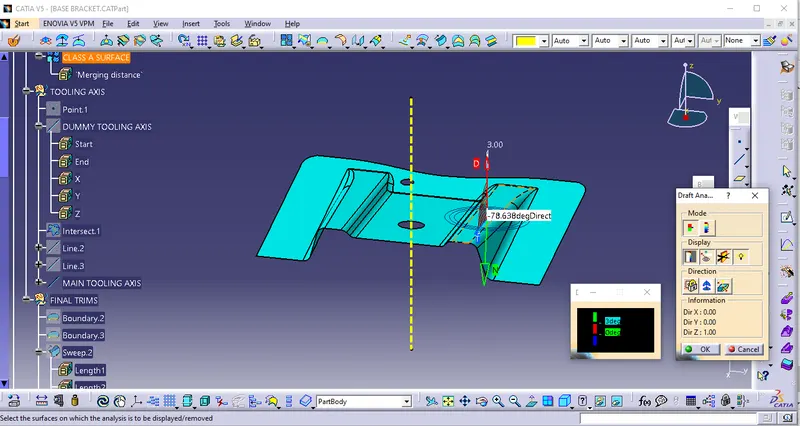
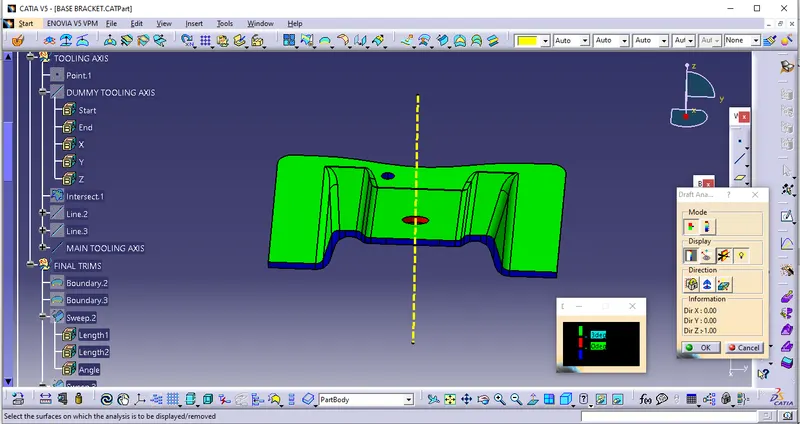
Draft analysis helps to detect if your drafted part is easily removable from the mold (in case of plastic component) or die (in case of sheet metal). All plastic components will have a minimum draft of 0.5 to 3deg. And for automotive sheet metal parts, the draft will be 7deg or more. If a mold wall is perpendicular to the part ejection, there is ample friction or interference between the mold and the part which will not allow one to release from the other. This is why design engineers give a minimum draft to the part. In CATIA V5 the feature draft analysis dialog box looks like this:
Direction:
• The first check box is the locked direction icon which is used to lock the direction of the compass after selecting the specified direction.
• Click on the compass icon to specify the new pulling direction to remove the part.
• Click the Inverse button to automatically reverse the draft direction. When several elements are selected for analysis, the draft direction is inverted for each element when the button is clicked.
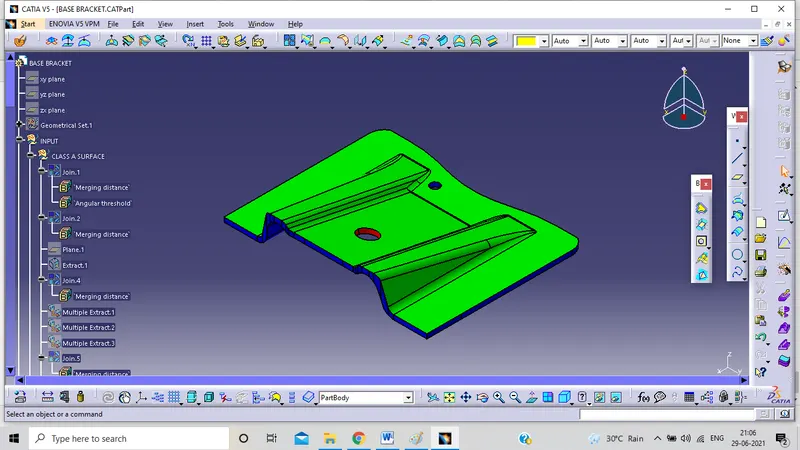
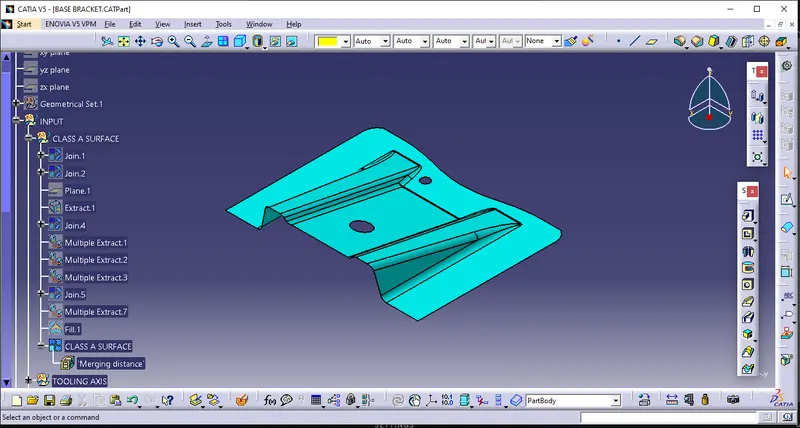
Class A Surface:- It is a surface that we get as input from Alias software.
Class B Surface:- It is a surface that we create at offset thickness from Class A surface.
Class C Surface:- It is a surface that we create to join Surface A and Surface B.
we import Class A surface in Catia. That Class A surface may be in the different part surfaces, so we join them using JOIN Command in CATIA. For confirmation of joining we use BOUNDARY command, If boundary shows no error then we go for phase
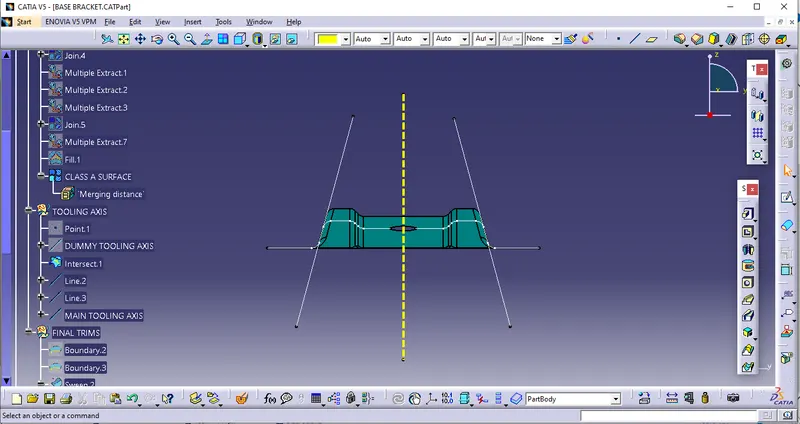
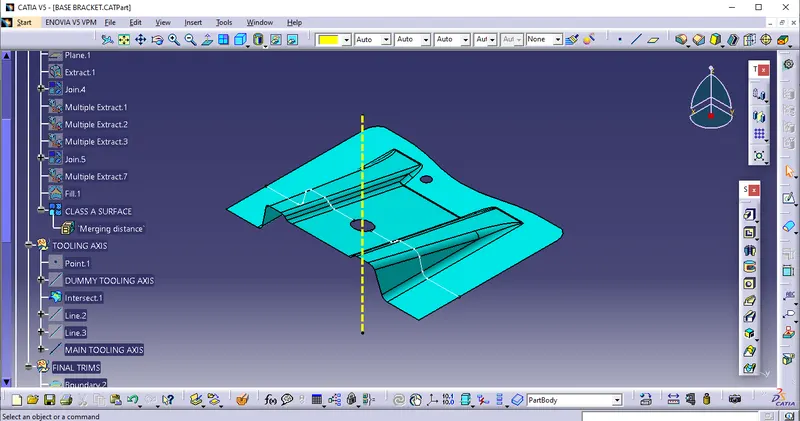
the final step in which we make the Final Pattern.
Then we create Class B surface at an offset distance of 2.5 mm that is the thickness of pattern.
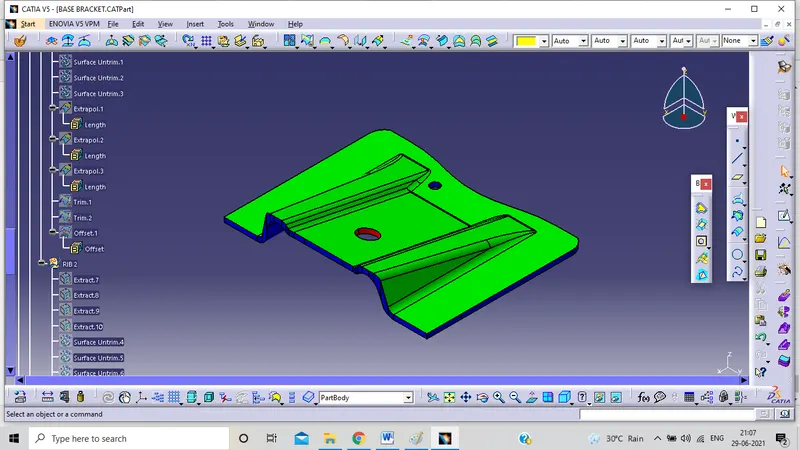
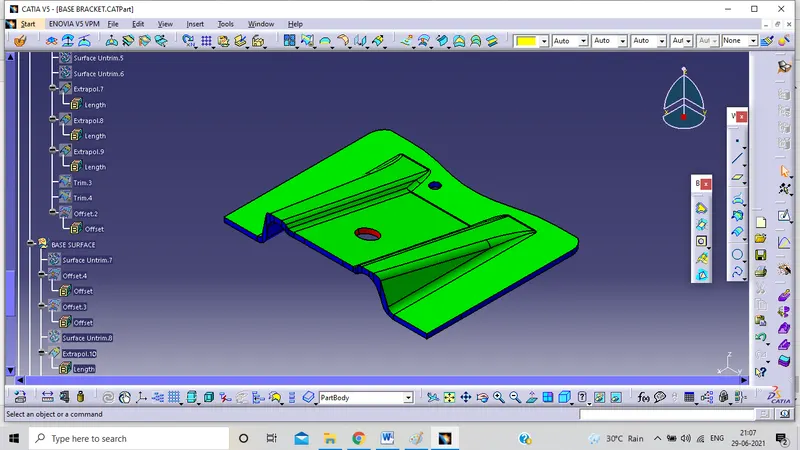
We use Extract, Untrim, Extrapolate, Trim, Fillet, Offset and Join command.
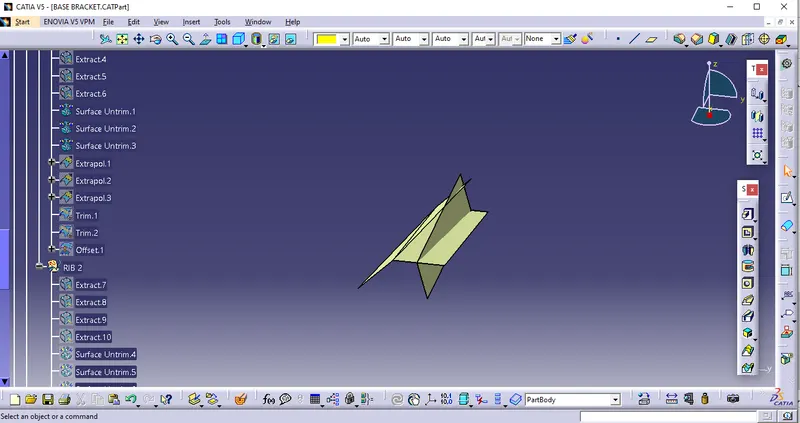
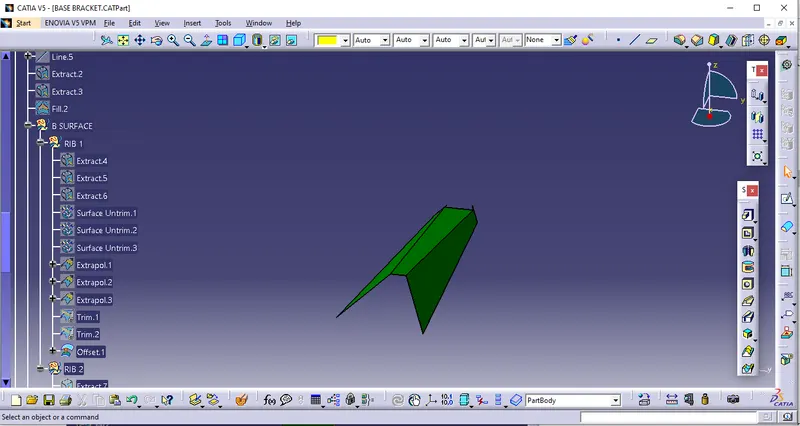
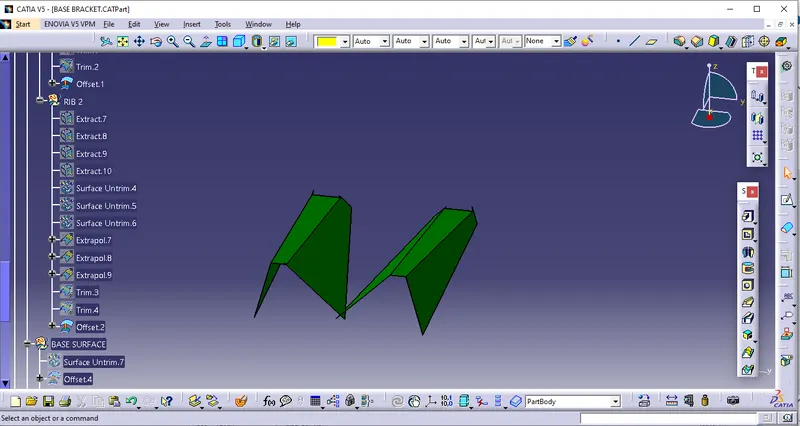
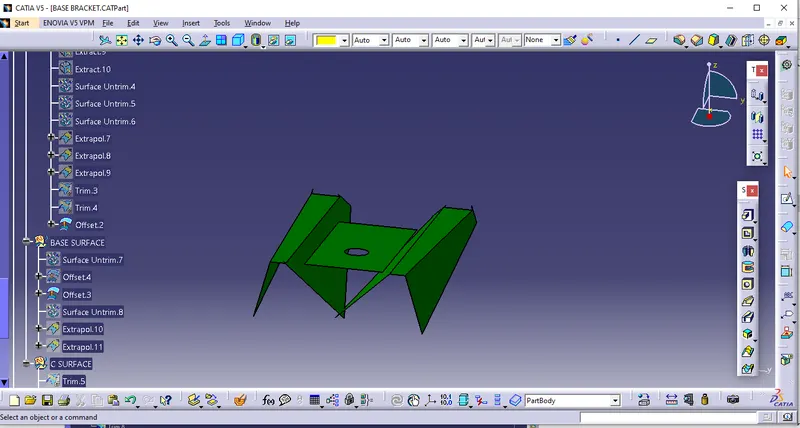
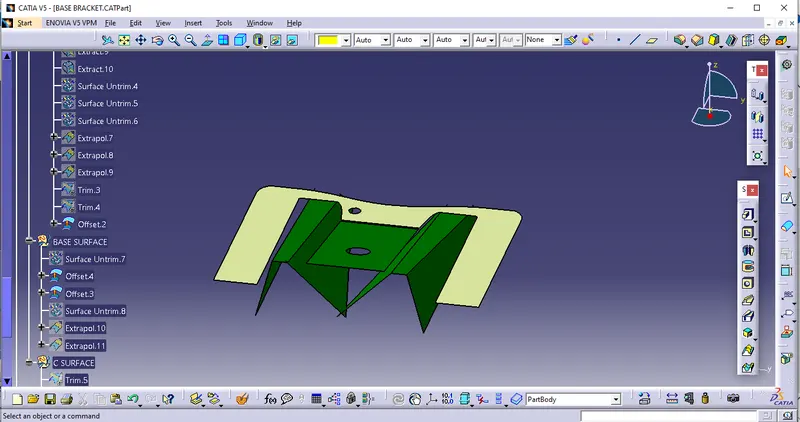
Then the Extrapolated surfaces are trimmed using the trim command
Final Class B Surface.
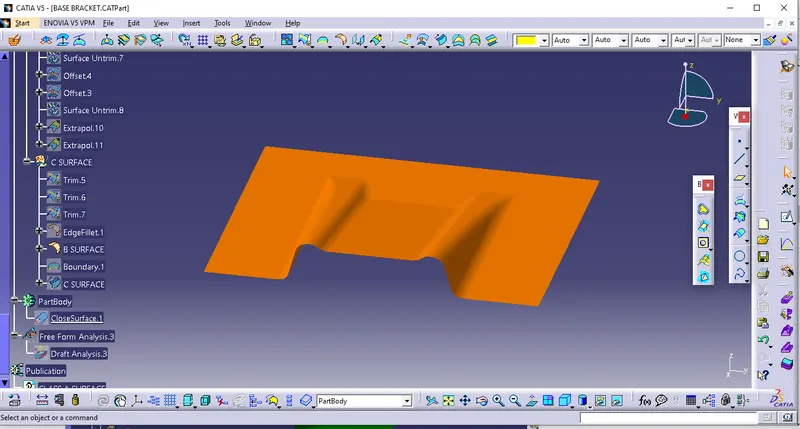
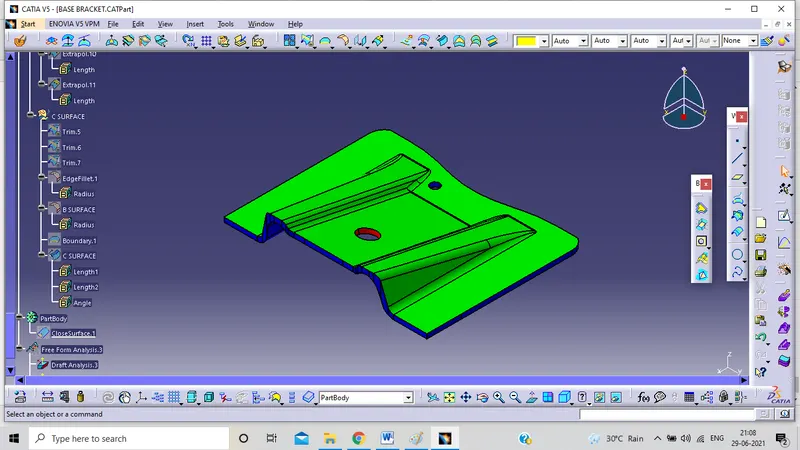
After that we Create Class C surface which joins Class A and Class B Surface.
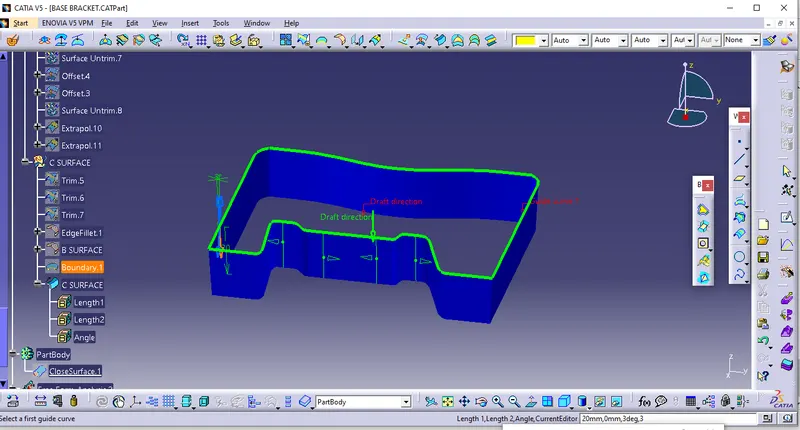
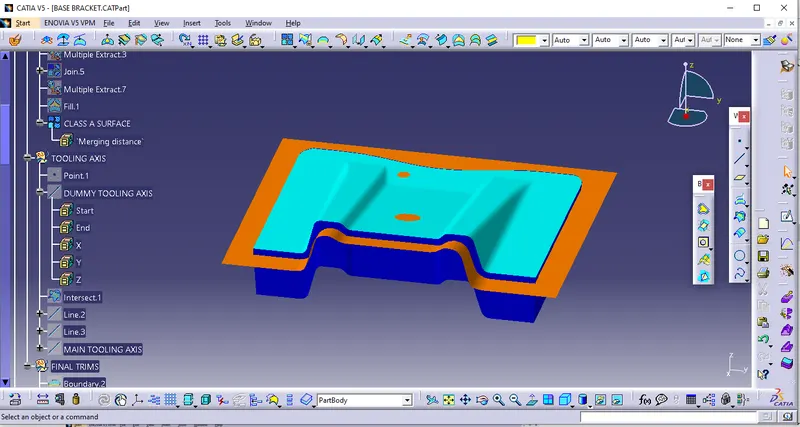
Using the B and C surfaces created a closed surface will be formed by trimming the excess surfaces the surfaces will be converted into a solid model using the Closed surface option.
After doing this i will go to part design and select the close surface feature to create the solid part from the surface I created. 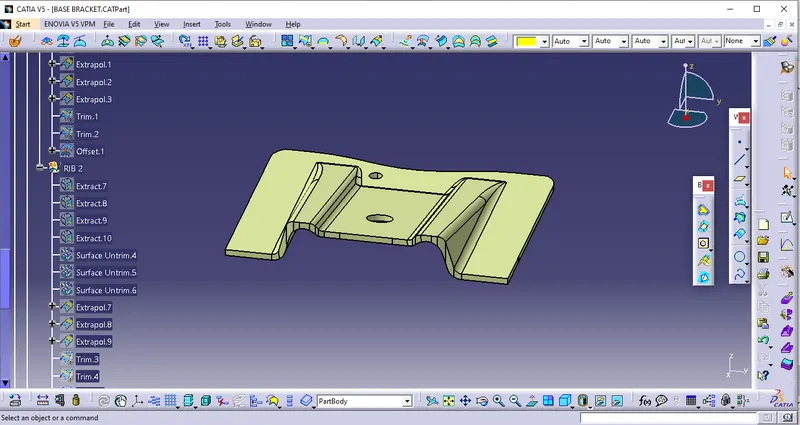
Draft analysis
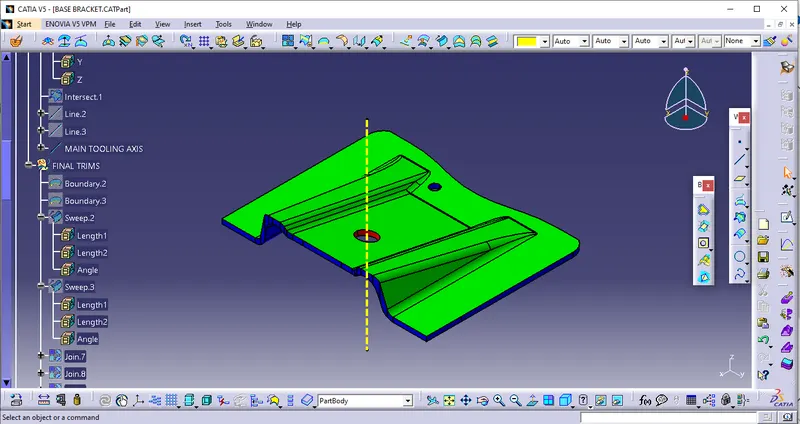
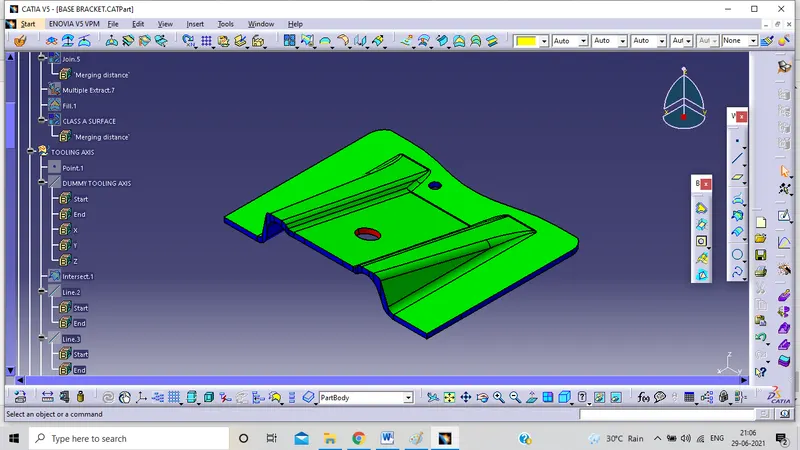
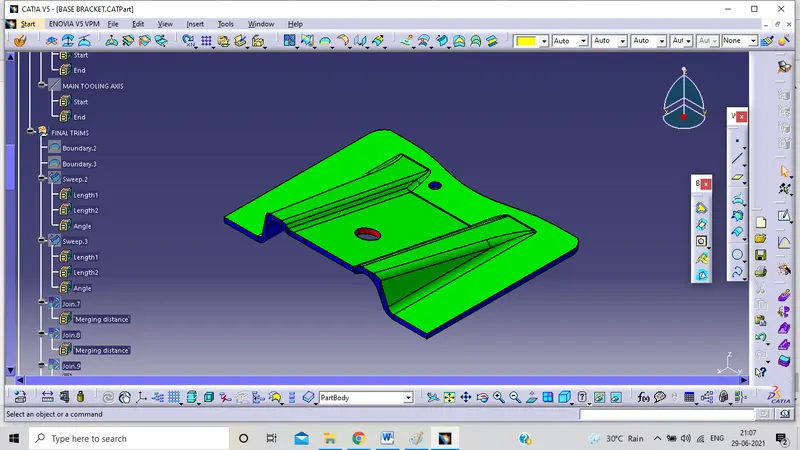
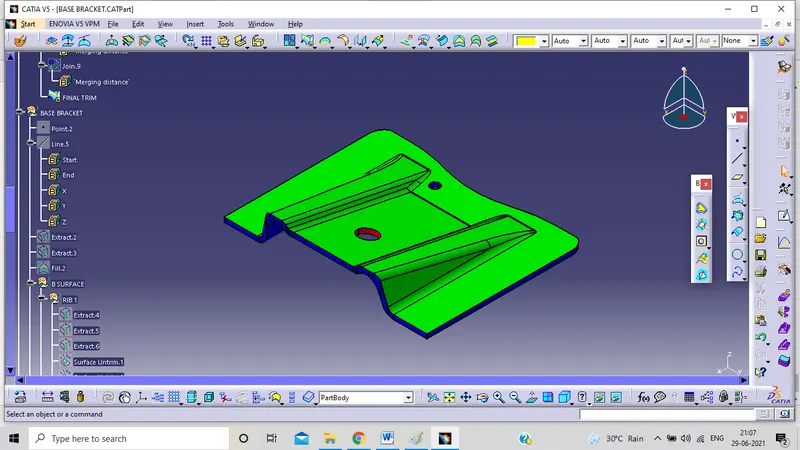
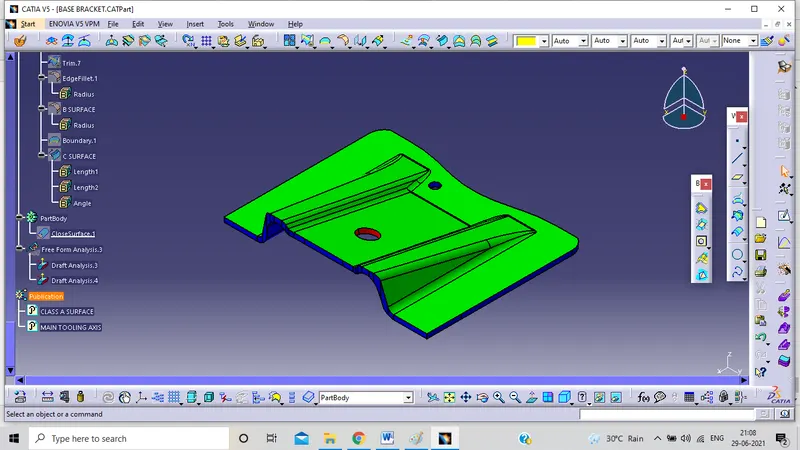
TREE STRUCTURE