Week 11 - Project - A pillar Design with Master Section
AIM:To create the A-Pillar Plastic component from the given Class A Surface and Using the Master Section Create Doghouse following all the design rules.
INTRODUCTION:
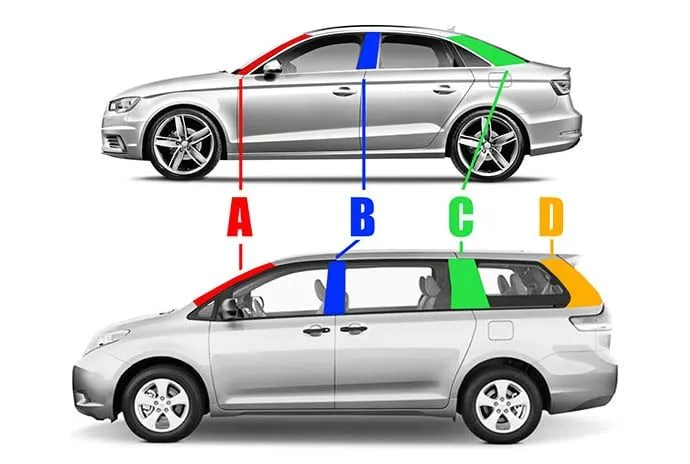
- A-PILLAR
A-Pillers are the structural supports for the car's roof and window areas.A-Pillar is located on either side of your car’s front window (or windshield).They are pretty important as they provide a strong foundation to install the glass of your car. Also, these are strong enough to hold the entire roof.They also hold the hinges of your front doors. A-pillars are normally made of steel alloys.
A-pillars are very crucial as far as safety is concerned. A-pillars usually carry a significant amount of load during a frontal collision or a rollover crash. So the larger the width or cross-section, the greater would be the strength but A-pillars always block the driver’s vision (create blind spots) to some extent that can be realized while driving.Hence, the design of A-pillars must be optimized giving equal importance to both strength and the driver’s vision.
OBJECTIVE:
- To create a Tooling Axis.
- To perform draft analysis for given Class A-Surface .
- To design the B-Surface and C-Surface using the given Class-A surface.
- Take the Thickness of the component to be 2.5 mm as per the master section.
Create the Dog house and suporting Rib considering the Master section.
- CLASS A SURFACE
Given Class A Surface
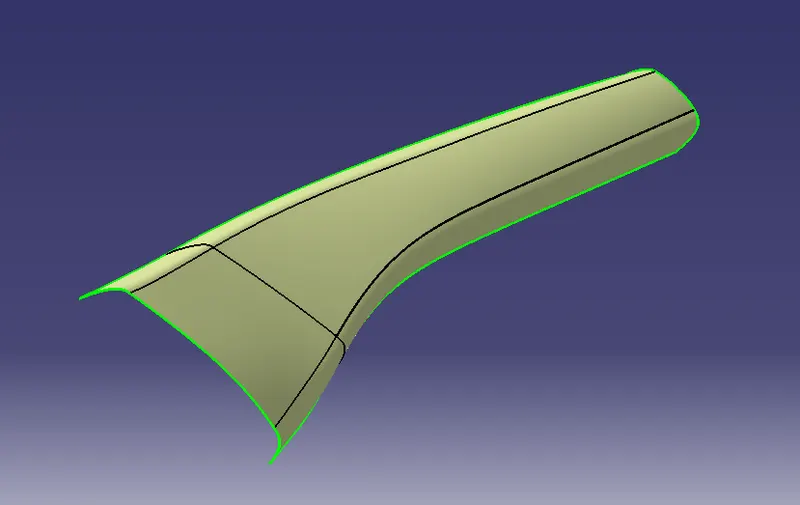
Class A with Master Section,
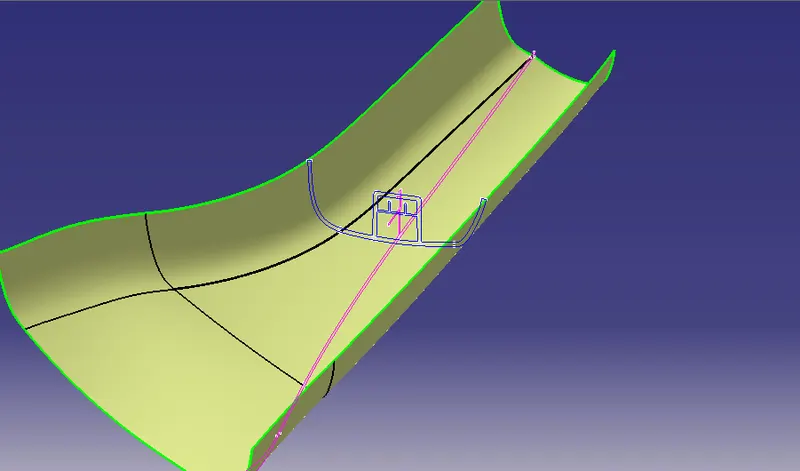
TOOLING AXIS:
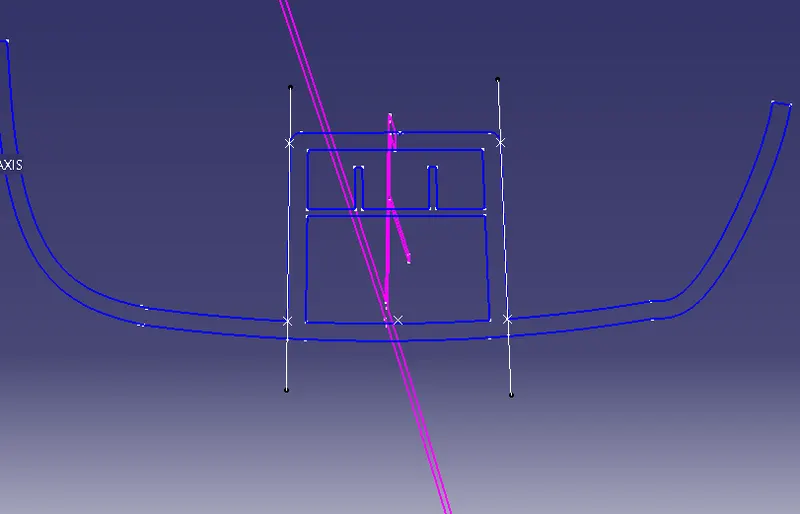
observe the given Master Section and using that create the Tooling Axis.
- Create Four Point on curve in Master section.
- Draw two Point To point line through that 4 point .
- Place a point below Between the Two Point .
- Create a Bisecting line.Hence we created the Dummy Tooling axis.
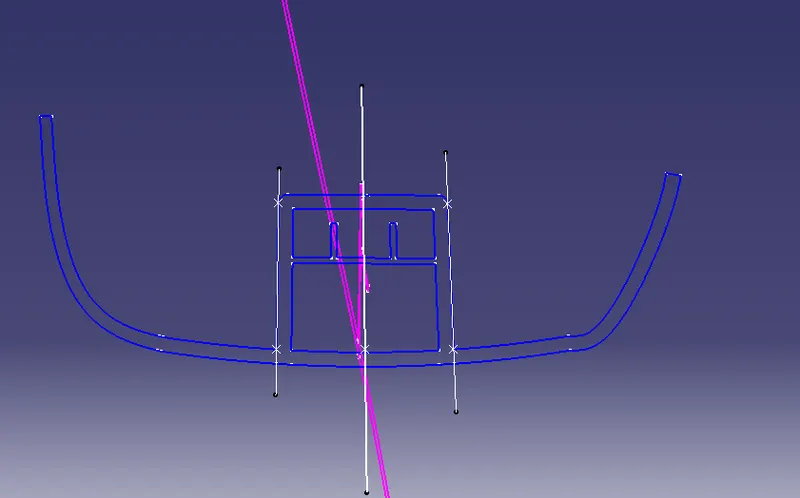
Similarly create points in other section
- Create 4 points
- Draw two point to point line using the points.
- Create a Plane Using 3 point.
- Angle\Normal to curve line drawn using curve ,point and plane.
- Bisecting is drawn between two line.Hence we create 2 nd dummy axis.
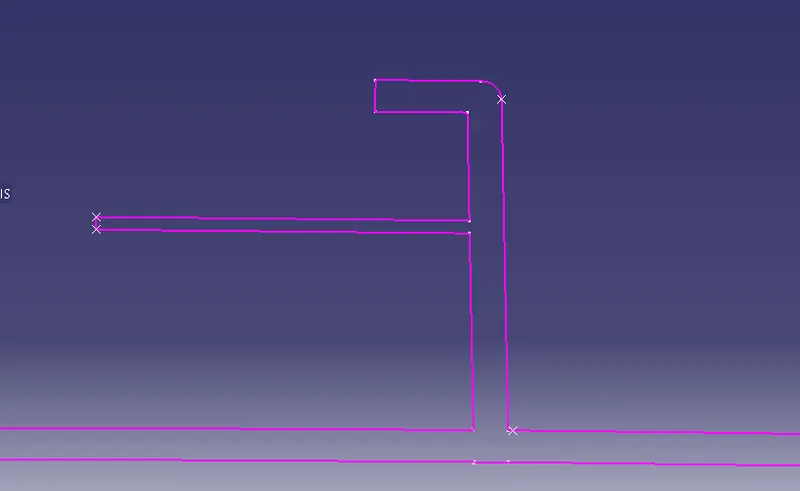
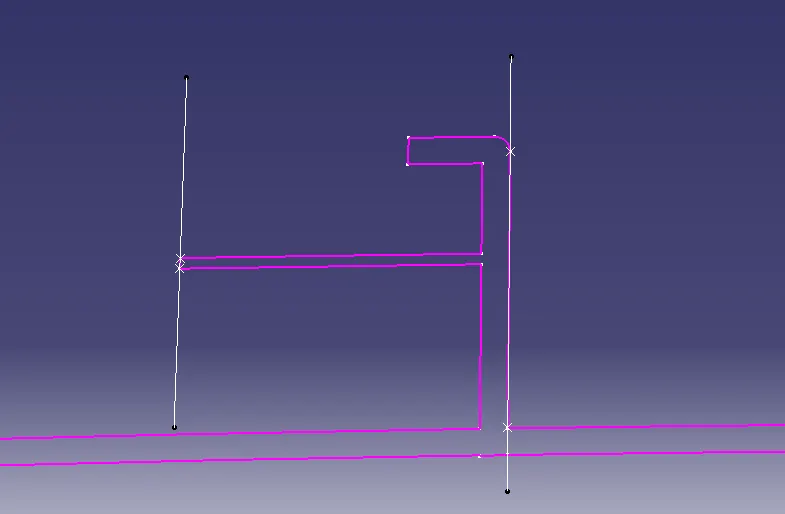
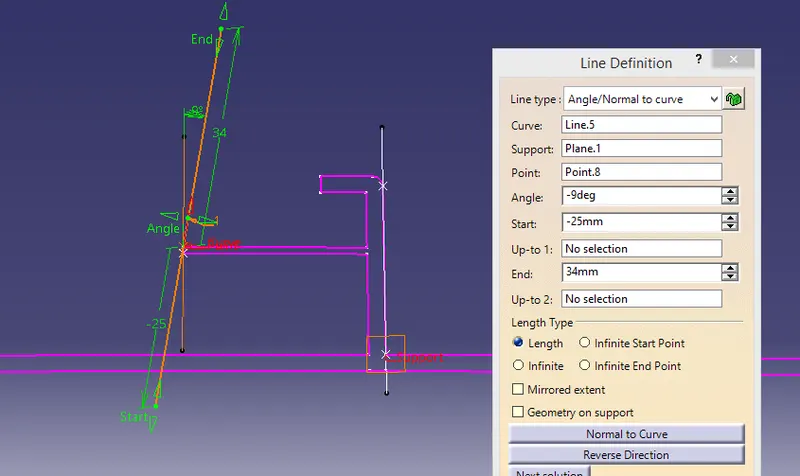
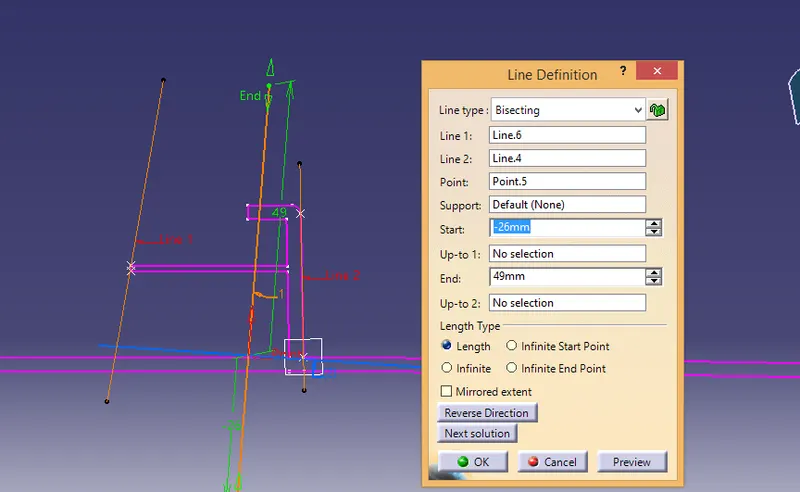
Create a Bisecting line between two Dummy axis to get the TOOLING AXIS
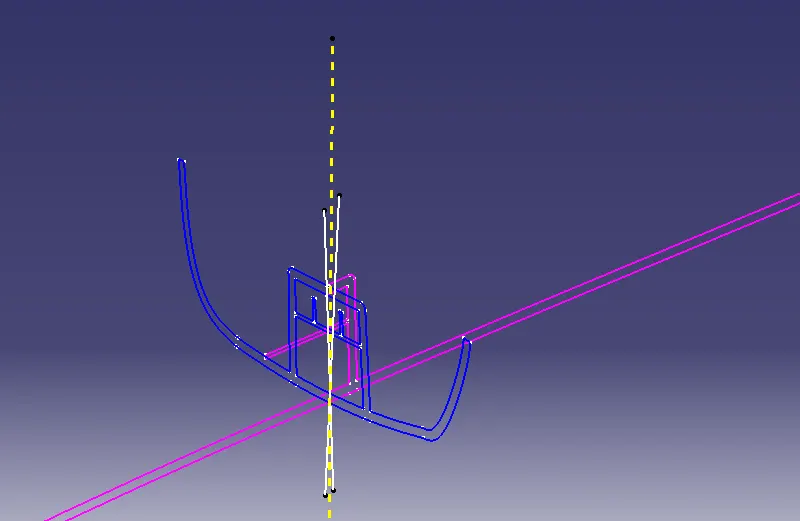
DRAFT ANALYSIS:
Draft analysis for the given CLASS-A surface,
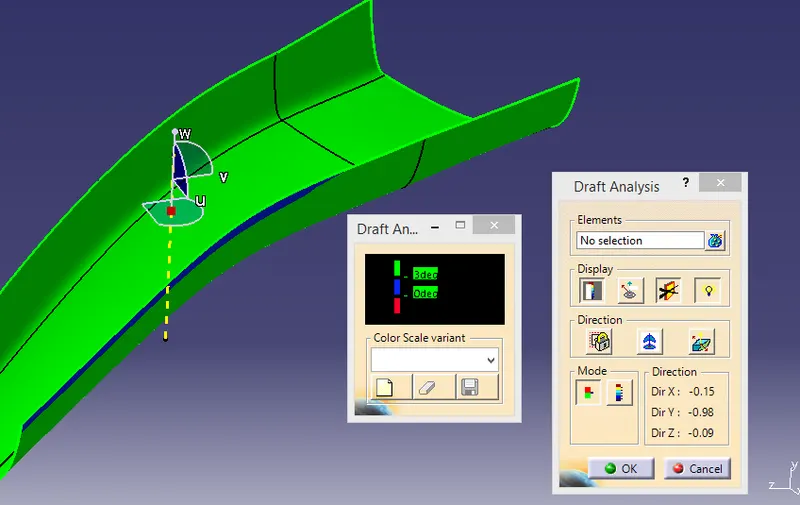
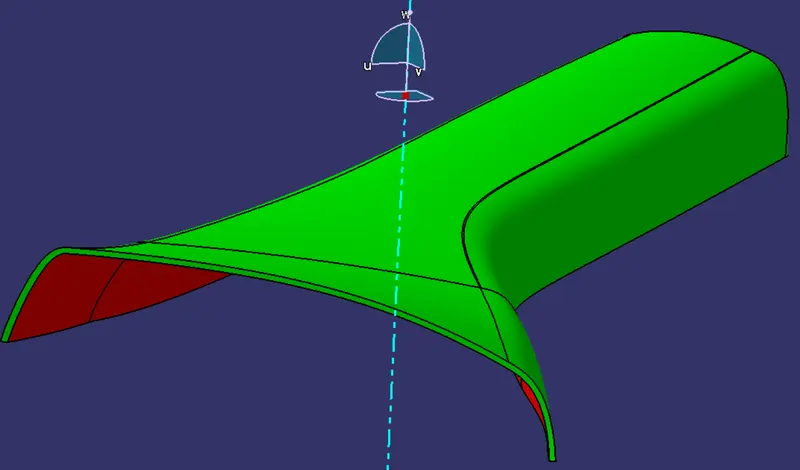
Draft analysis is done after determining the tooling axis, draft analysis is used to check whether the minimum draft (3 degrees) is maintained or not.
- Open the featured draft analysis tool.
- Drag and align the compass on the Tooling axis.
Lock the draft direction and perform draft analysis by clicking on the component
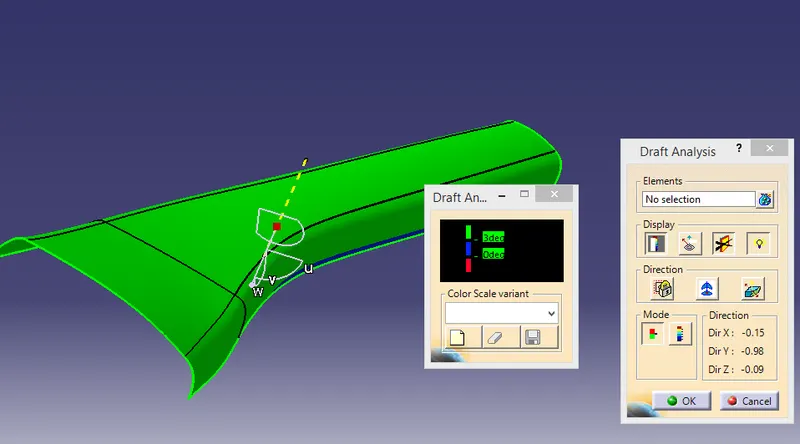
At the region draft angle is lower than 3 degrees but only by a small amount,
- CLASS B SURFACE
Class B Surface is created With the help Class A Surface
- Offset the class-A surface to 2.5mm.
- To recreate that missing patch using Sweep Command.
- Join.
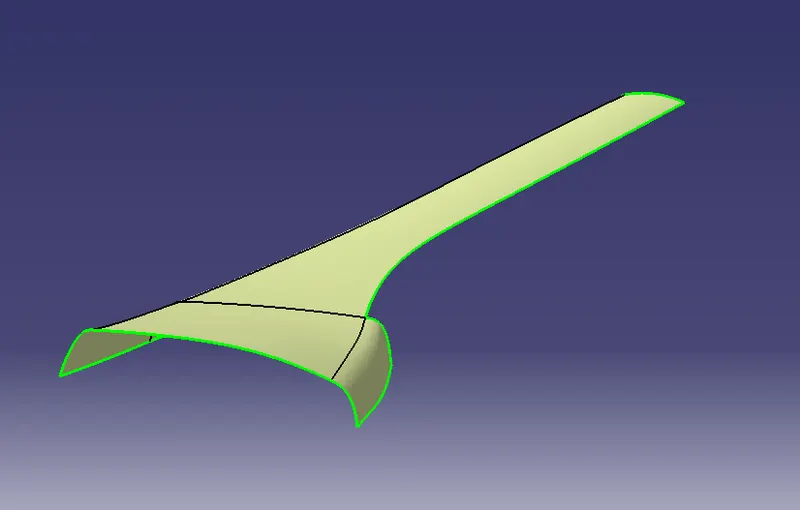
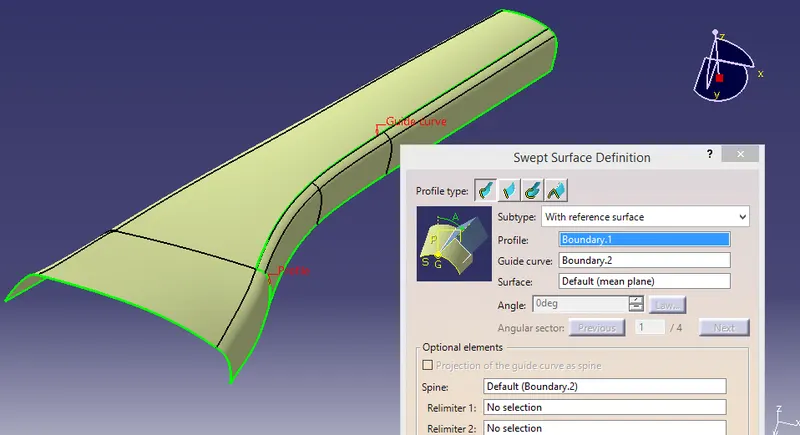
Class B Surface
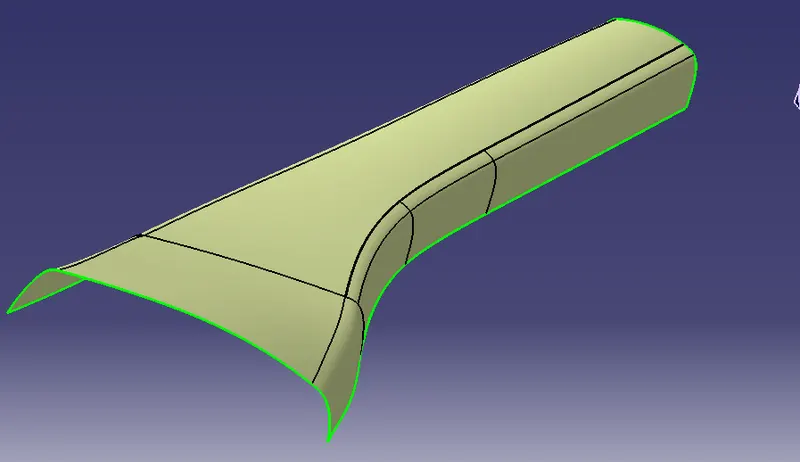
To ensure there is no gap in Class-B surfaces ,check the boundary command to find out the boundary.
- CLASS C SURFACE
Class C is created with help of A-Surface,The Surface that joins class-A and class-B surfaces.
- Create the Boundary
- Smoothen these extracted boundaries using Curve Smooth.
- Sweep command with Reference Surface & With Draft Direction.
Extrapulate Edges & Trim.
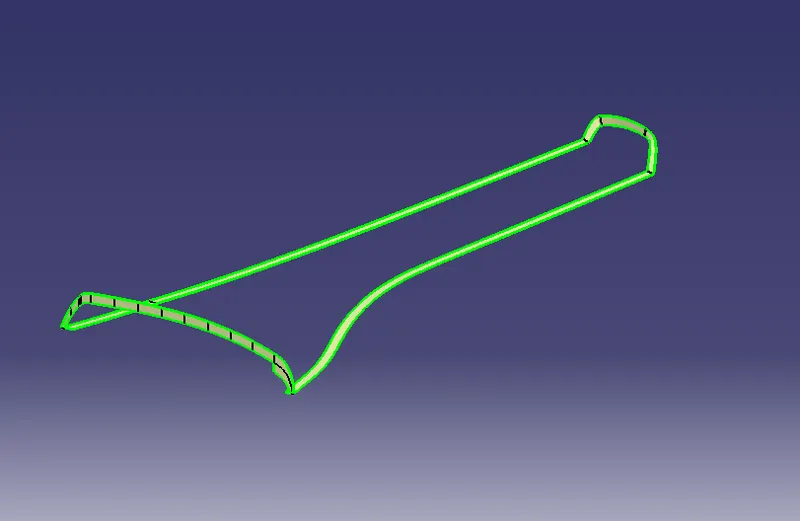
JOIN CLASS C WITH CLASS A
A+C Surface
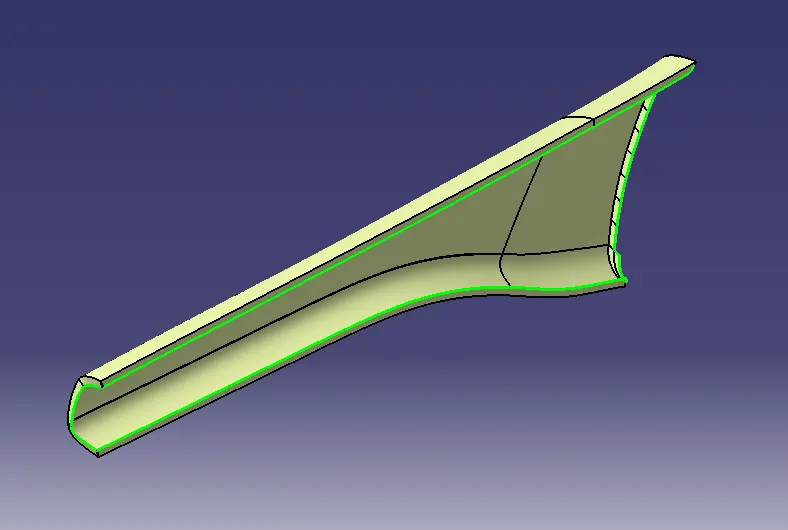
- FINAL TRIM
Trim the Joined surface with CLASS-B surface to achieve the final Out put.
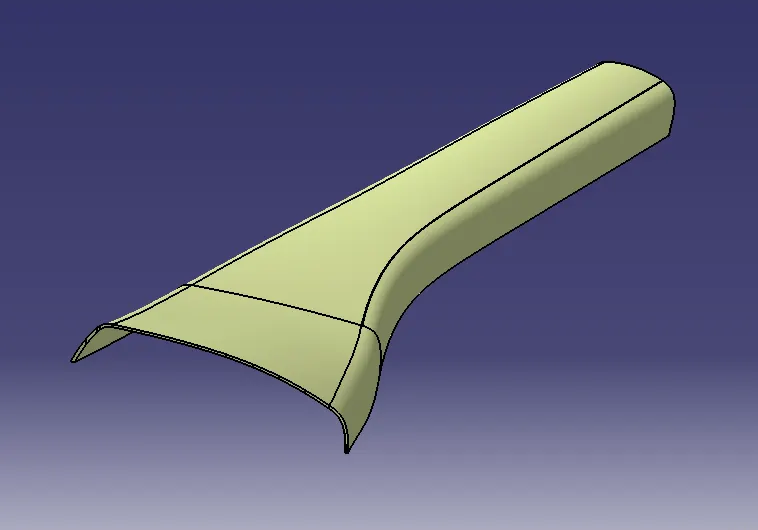
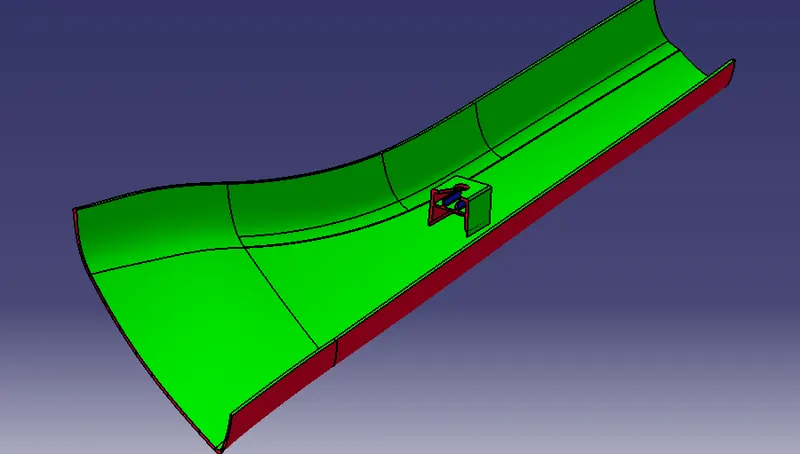
In part design work bench and using the close surface command create the part as solid part body.
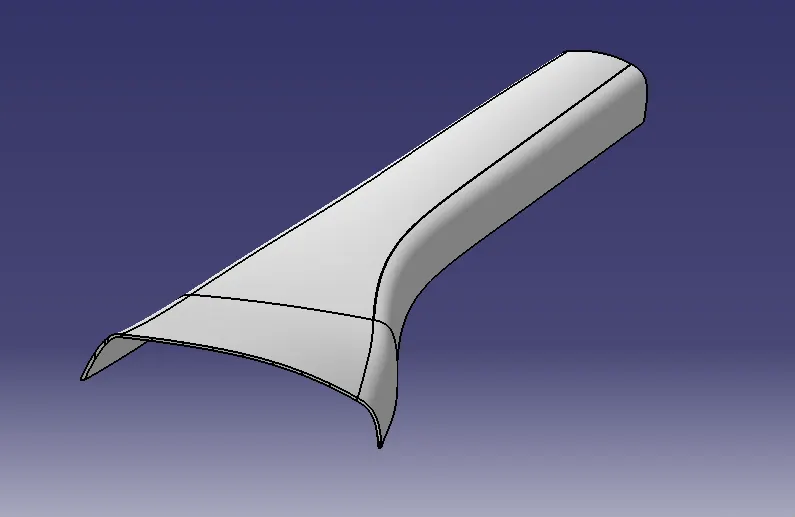
DRAFT ANALYSIS FOR THE CLOSED BODY USING THE MAIN TOOLING AXIS:
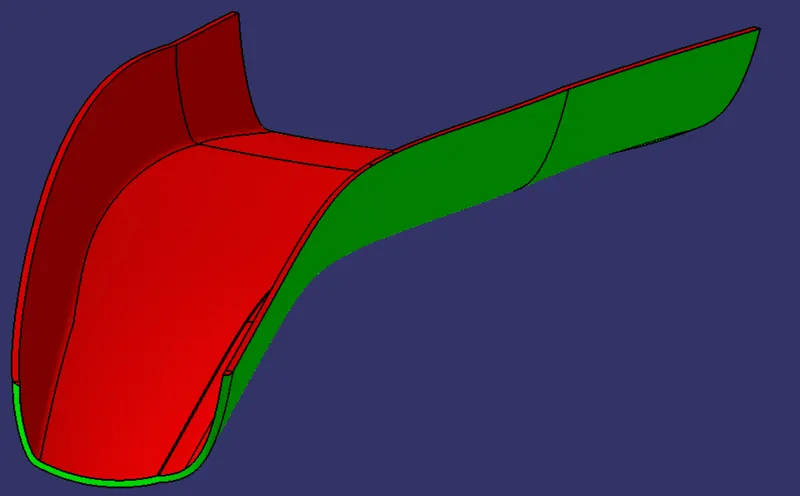
CREATION OF DOGHOUSE USING THE MASTER SECTION:
- Create 3 point on curve in master section.Using 3 point create a plane and position the sketch.
- Extrude the sketch and close by multi-section command.Join them.
- Move on to the Part Workbench to thicken it by 2.5mm.
- Provide the Draft with respect to the Main Tooling axis and Side-Core axis respectively.
- Fillet the Edges.
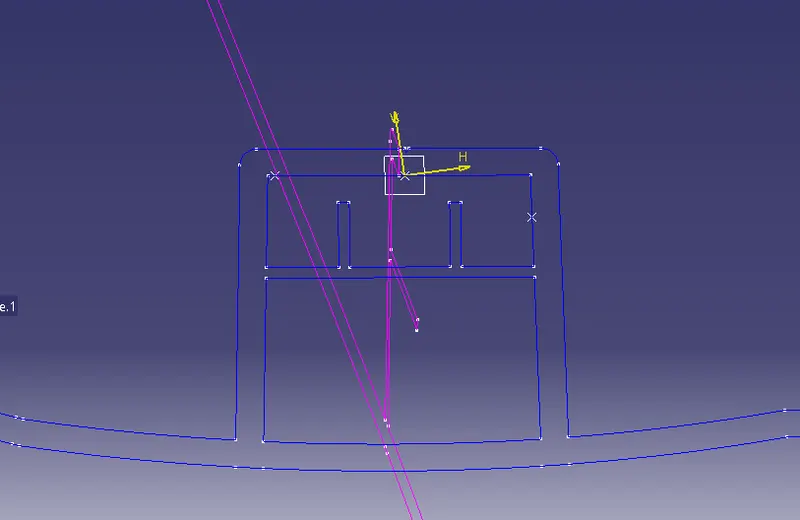
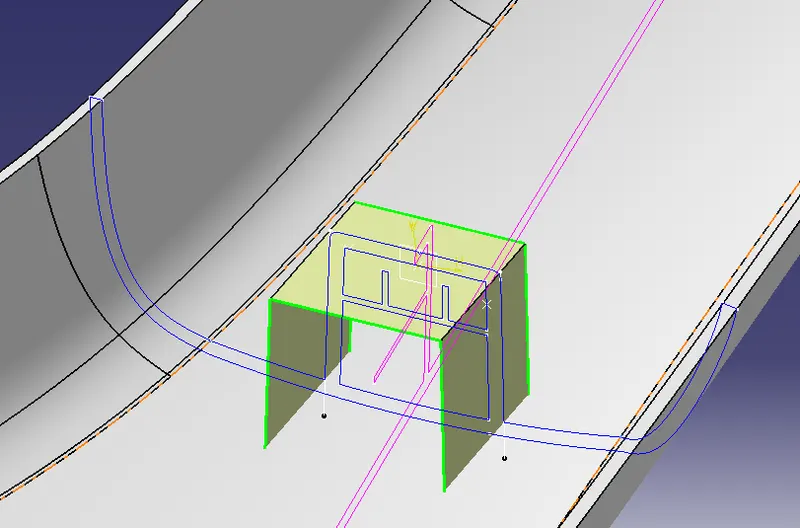
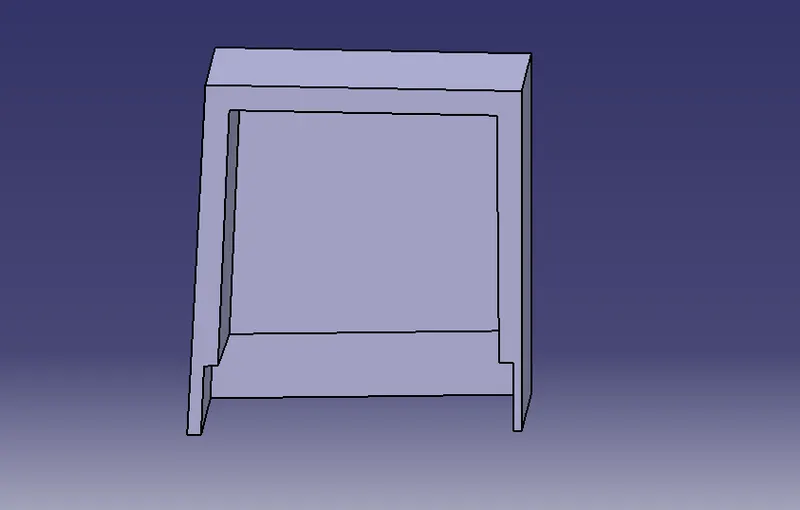
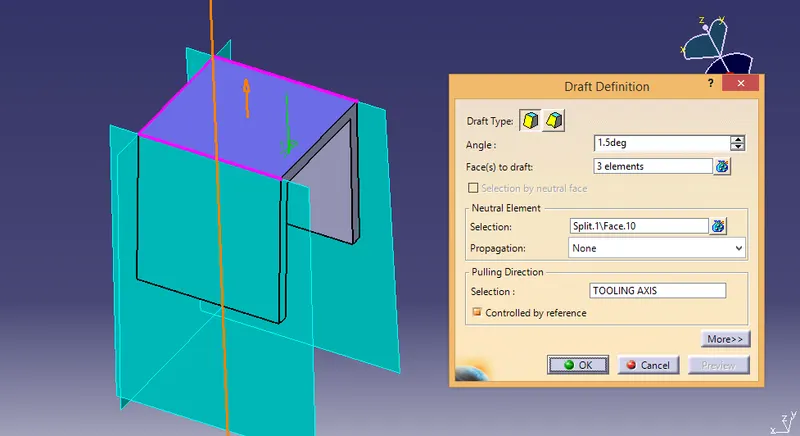
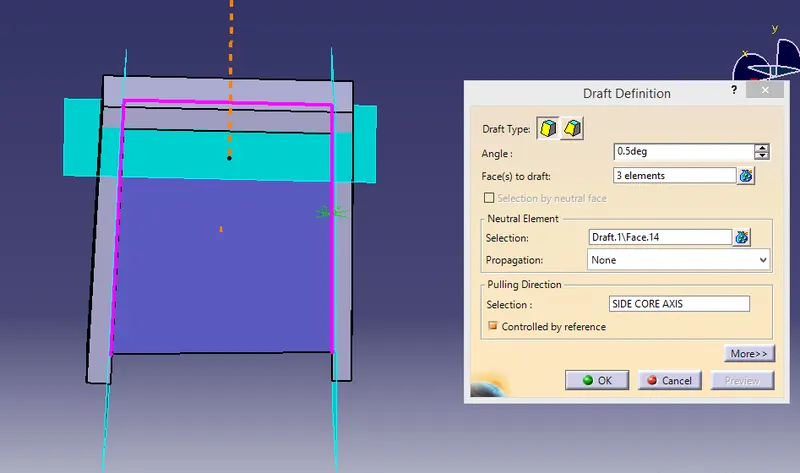
RIBS
- Using the Master Section, we're going to create the inner Rib to the doghouse.
- Assemble into doghouse part body.
- Provide the draft to these walls with respect to the Side-Core.
- provide the Edge-Fillet as found in the Master Section.
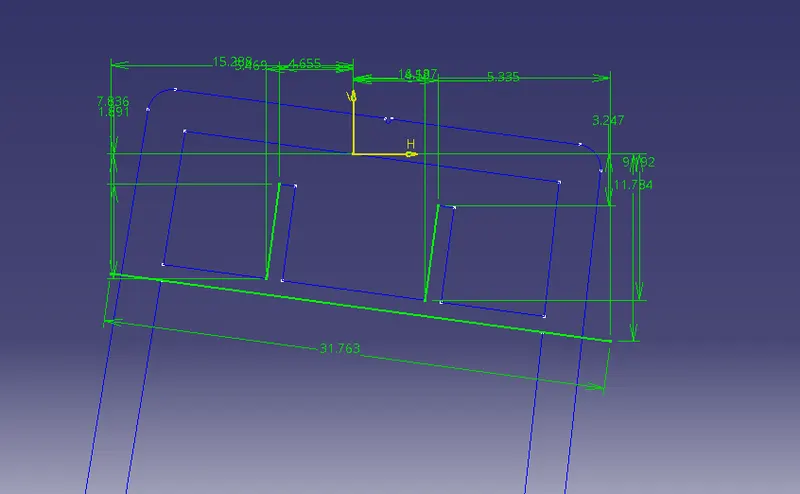
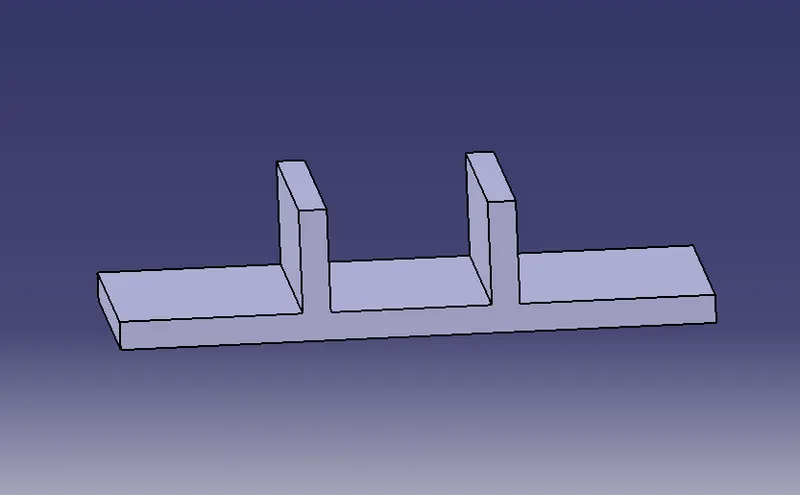
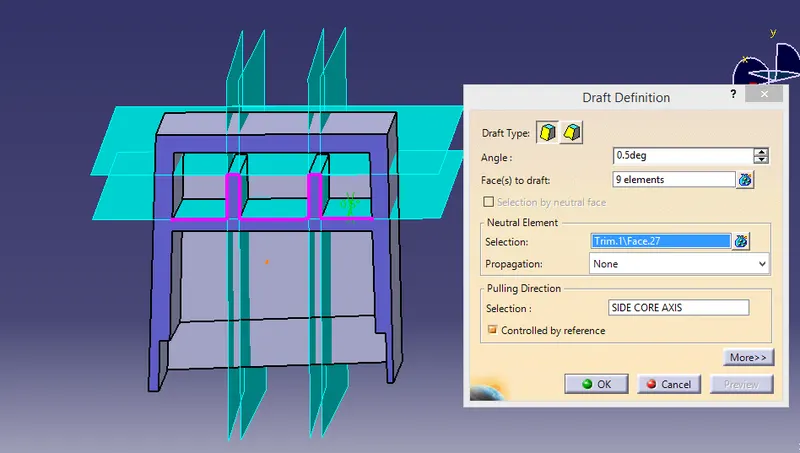
- Create a sketch on the top side of doghouse.pad it and remove
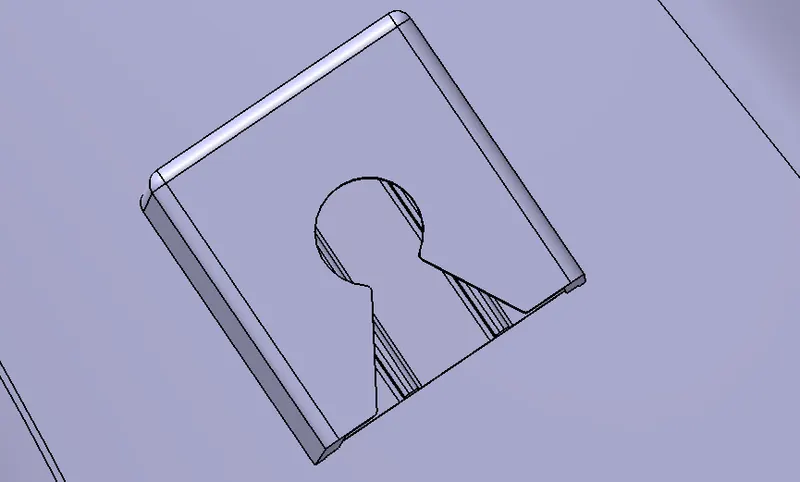
- Unitrim the Doghouse with main part body
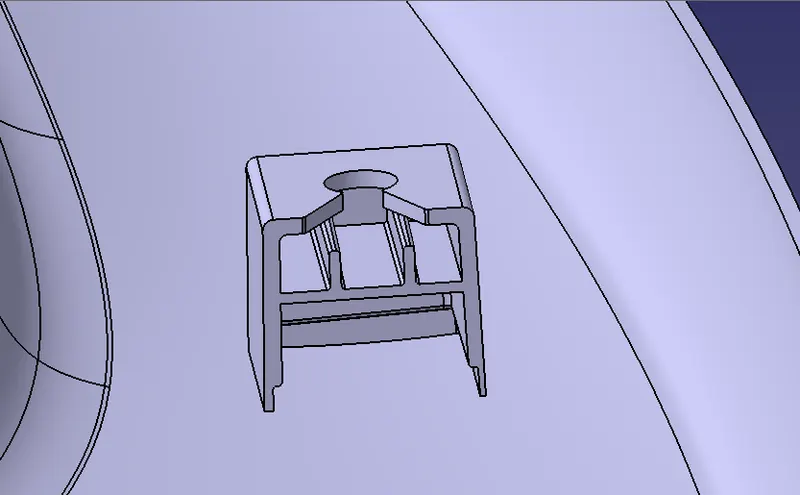
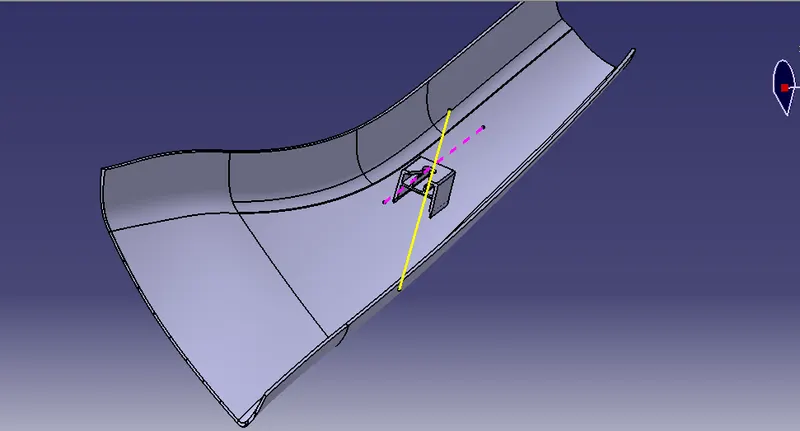
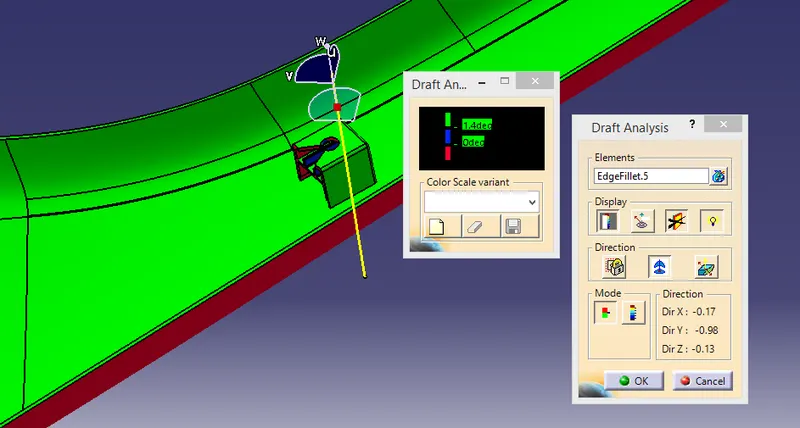
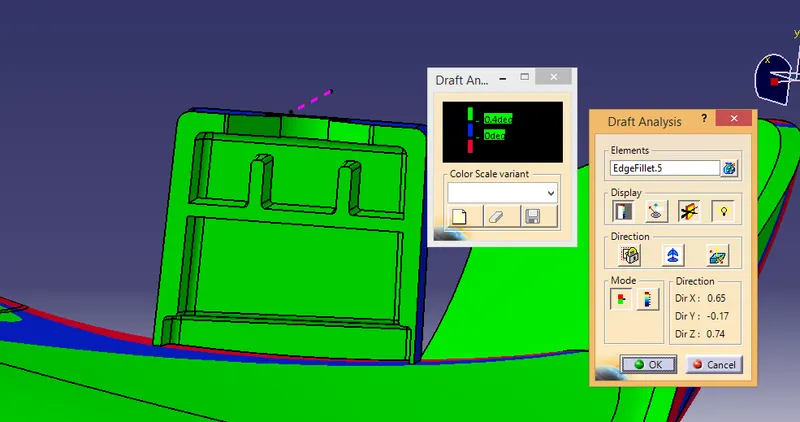
DRAFT ANALYSIS OF PLASTIC COMPONENT:
- Check 1.5 degree with main tooling axis and 0.5 with side core axis
RESULT:Thus the A-Pillar Plastic component is successfully created from the given Class A Surface and Using the Master Section and Create Doghouse following all the design rules.