Week 11 - Final project
Aim: To develop a Door Trim Panel from the Given Class A surface and also to attach all the required B Surface Attachment Features.
Description:
- In this project is a brief explanation of how the Door trim Panel of a car is developed as per industrial standards by following all the design rules for creating the Class B surface and Class C surface and all the attachment features.
- This report explains the creation of the tooling axis and performing the draft analysis.
- All the Dimensional and design considerations for creating the attachment features are mentioned in this report.
Master Sections:
- The Master section is the Guideline for the creation of the Class B surface and also demonstrates the location of the fixation features located on the B side of the plastic component.
Class- A Surface:
- In automotive design, a class A surface is any set of freeform surfaces of high efficiency and quality.
- It is the visible aesthetic surface of any automotive component.
- Class A surface refers to those surfaces which are visible and abide by the physical meaning, of a product.
- This classification is primarily used in the automotive and increasingly in the consumer goods industry.
- It is a requirement where aesthetics has a significant contribution.
- For this reason, the exterior of automobiles is deemed Class-A.
Class- B Surface:
- Class B surfaces are Engineering Surfaces that are invisible to the eyes or often on the back side of the Class A surfaces.
- It is mainly the thickness of the component or Class A.
- These surfaces need to be designed as per the Class A surface i.e., the continuity, thickness of the component, functionality, etc should be maintained.
- These surfaces include the main engineering features such as Screw bosses, Ribs, Snaps, Stiffeners, and fixations.
- B surfaces also do not contain any aesthetic styling content and textures since it is not visible to the eyes.
Class- C Surface:
- Class C surfaces are connectors between Class A and B surfaces.
- This surface connects both A and B surfaces at a certain draft angle to the Tooling Axis.
- It contains the draft as per the design.
- It is basically the thickened surface between both A and B surfaces.
Design of the Door Trim Panel:
- This Door Trim Panel consists of four parts namely
1. Door Armrest
2. Lower Substrate
3. Map Pocket
4. Bottle Holder
- An armrest offers the possibility of comfortably positioning your hand when driving on a motorway or standing in traffic.
Lower Substrate:
- Lower Substrate is the encapsulating aesthetic Part used in the door panel. It may house various features such as Wirings, Speakers, and other sheet metal components behind it.
Map Pocket:
- A map pocket structure for a vehicle is provided to prevent the movement of a water bottle while driving and store a variety size of bottles regardless of the size of the bottles.
Bottle Holder:
- The Bottle holder serves to hold the water bottle or things like that.
Tooling axis:
- The Tooling axis is the direction in which the mold opens or else the core and cavity open. The tooling axis should assist to clear components from the core and cavity, so it plays a very crucial role in plastic design and manufacturing also.
- We can also say that the tooling axis is the way followed by the core and cavity while opening and closing so no surface should be intersecting with the tooling axis.
Draft Angle:
- Draft angle is the degree of taper that is incorporated into the side wall and part, core, and cavity of the die-cast tool to aid in the removal of a part. Primarily, their function is to reduce the friction between the part and the tool as it is ejected. Without draft angles, parts can be stripped, dented, or get stuck in the tool.
- Draft angle also reduces the friction between the part, core, and cavity and also reduces the production time as it is easy to eject the part from the core and cavity.
Steps for the development of the Door trim panel:
- Inspection of the given Class A surface and make sure that there are no gaps between the contact of the surfaces within the part.
- Create the Tooling axis for the given class A surface and perform a Draft analysis for the class A surface if needed make necessary changes
- Then develop the Class B surface by using the offset method or extraction of surfaces method
- Create a class C surface from the given Class A surface and with the reference of the Master section for all four parts separately.
- After preparing the Closed part perform a Draft analysis with respective the Main tooling axis.
- Import all four components into the assembly workbench and verify the master section for the attachment features and develop all the required attachment features as per the Design rules.
- Create the constraints for the parts by using the Assembly workbench.
Steps to Develop the Class A surface to Closed Part for a Component our Parts list:
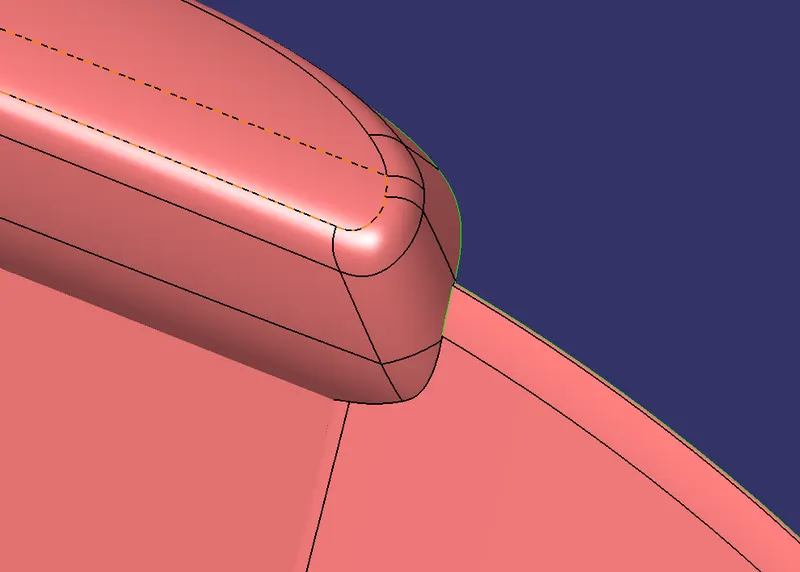
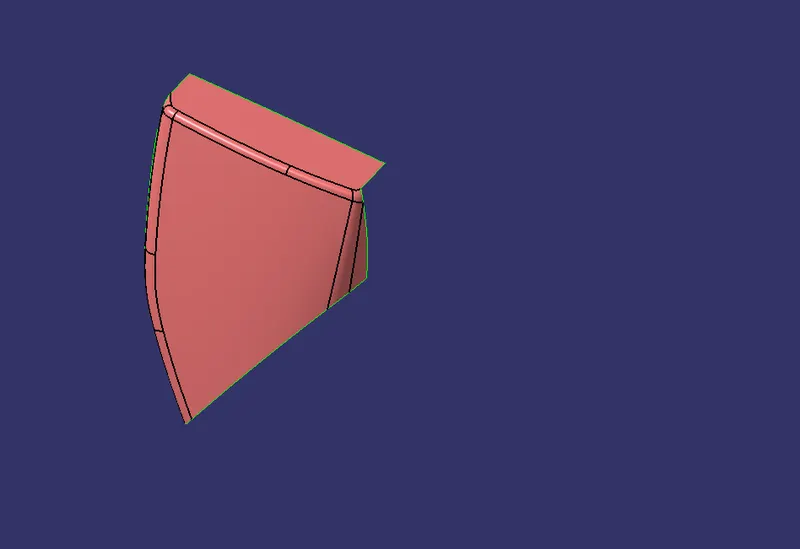
- Always Start with the inspection of the quality of the given class A surface in this inspection we have to make sure that there are no gaps between the contact of the surfaces within the part.
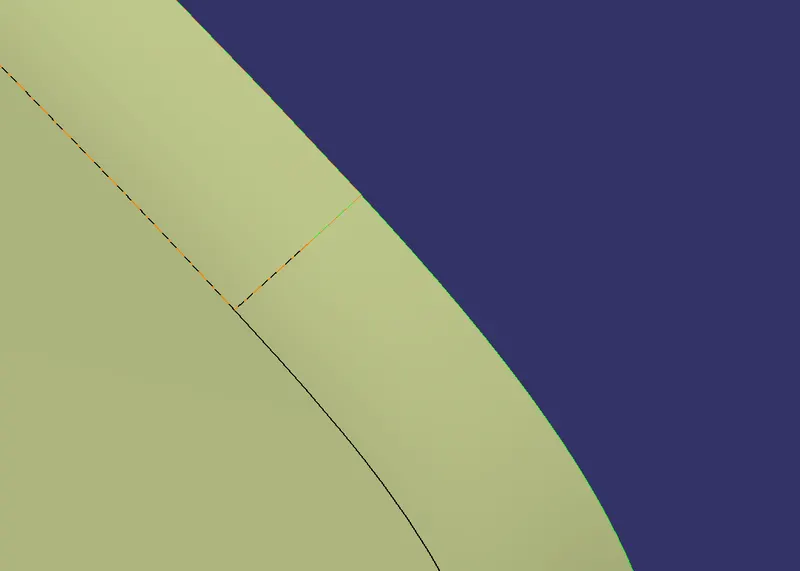
- In the inspection I got some contact gaps between the surfaces and the reference image is shown below.
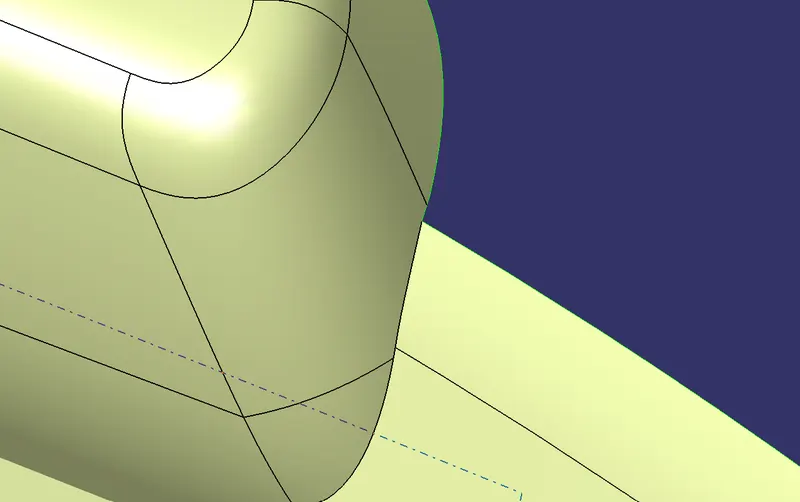
- For that we have to improve the quality of the Class A surface without changing the dimensions and the improved Class A surface is as shown below.
-
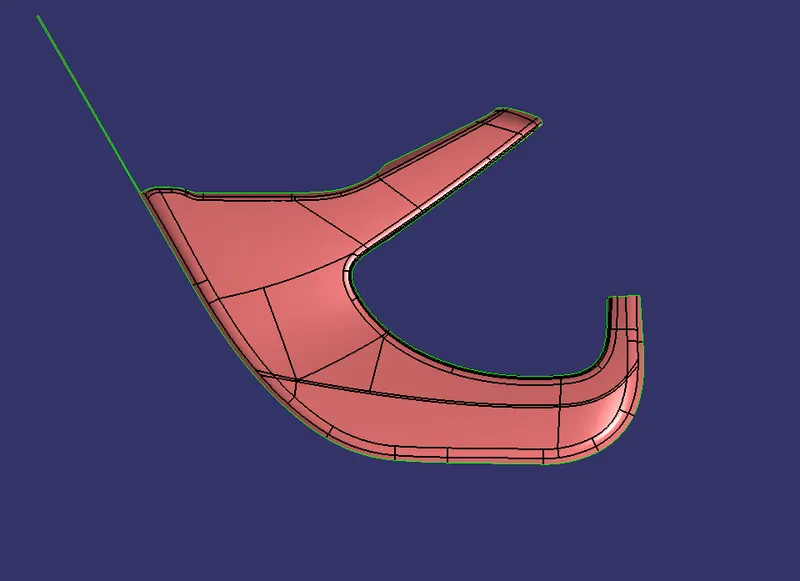
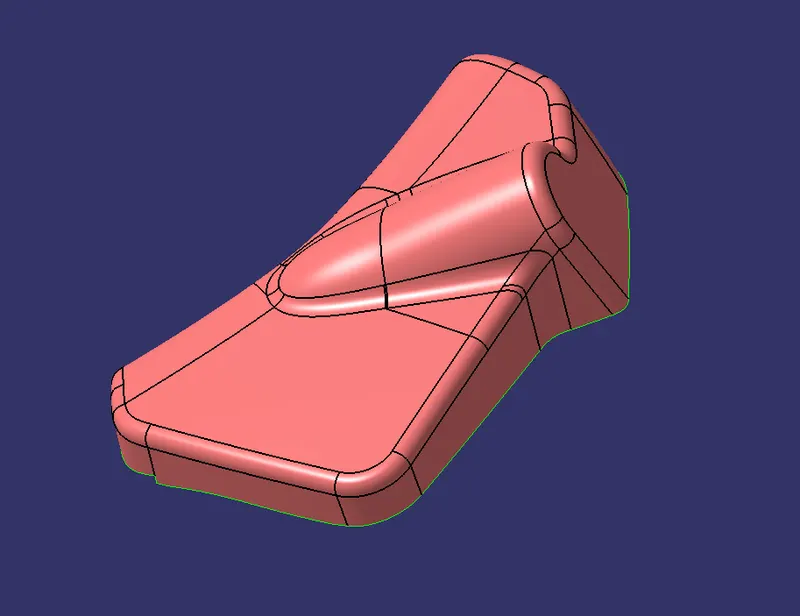
- Rest of the part Class A surfaces which are of good quality while inspection.
Creation of Tooling Axis:
- After the inspection we should come to a conclusion about choosing the direction of the tooling axis
- In general we follow 3 different ways to create a tooling axis they are
1. Bisection Method.
2. Point and Direction.
3. Point to point.
Bisection Method:
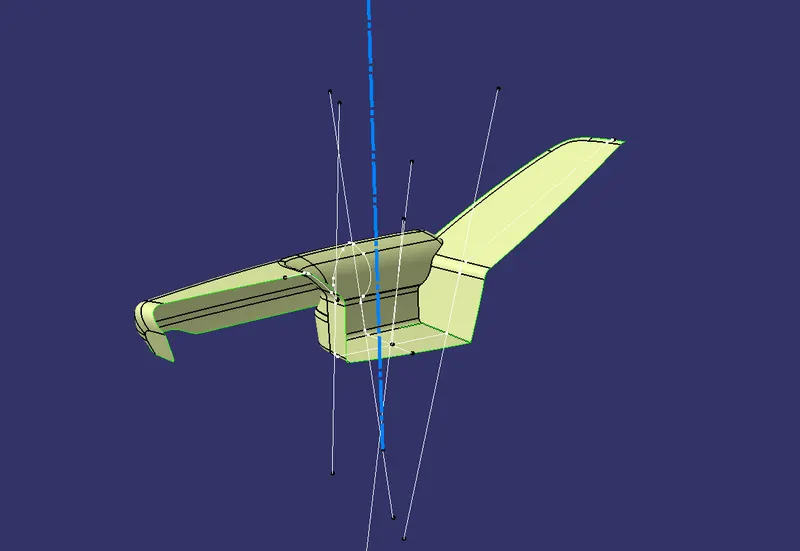
- For the Bisection method, we have to pick the lines to be bisected, and with the reference to the two lines, we have to create a bisecting line.
- For that we have to create a point on a surface nearly perpendicular to the lines we want to bisect.
- Create an axis system and make sure it is not the current axis while creating the axis system and place it on the point.
- With reference to the axis create an intersection along the surface of the part and now extract the line we have to intersect and create lines using the vertices on the line and create a bisecting line by using the line command and bisecting method while doing the bisection the extracted lines have to be selected as line 1 and line 2 now the Vertical bisecting line is selected as the bisecting line.
- If we have surfaces on the other side also we have to create a bisecting line in the same way.
- create a bisecting line for both the above two bisection lines that will be the tooling axis.
Point and Direction:
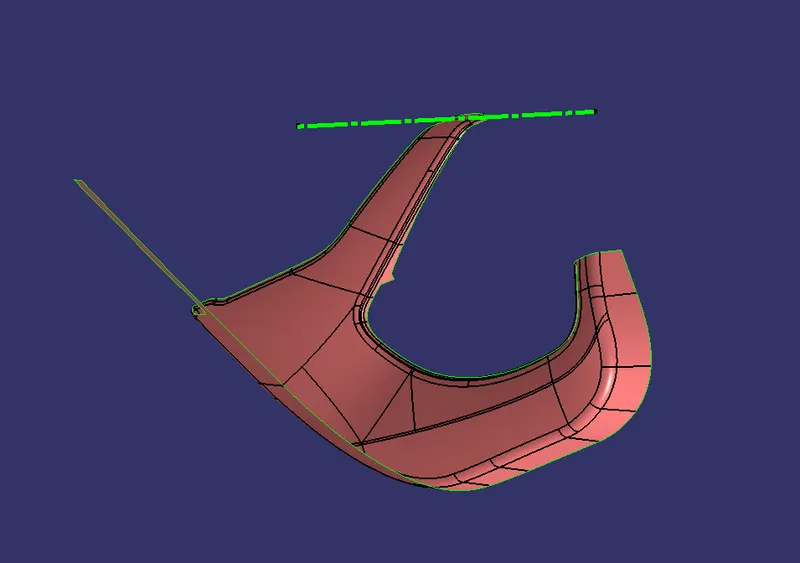
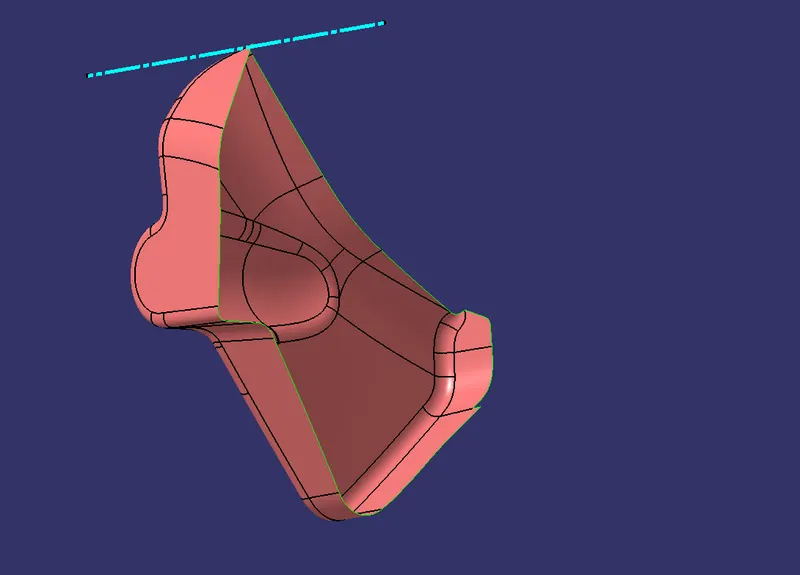
- This method is used when the surfaces are clearly seen from a specific direction like the X-axis, Y-axis, or Z-axis.
- Create a point and line along the axis.
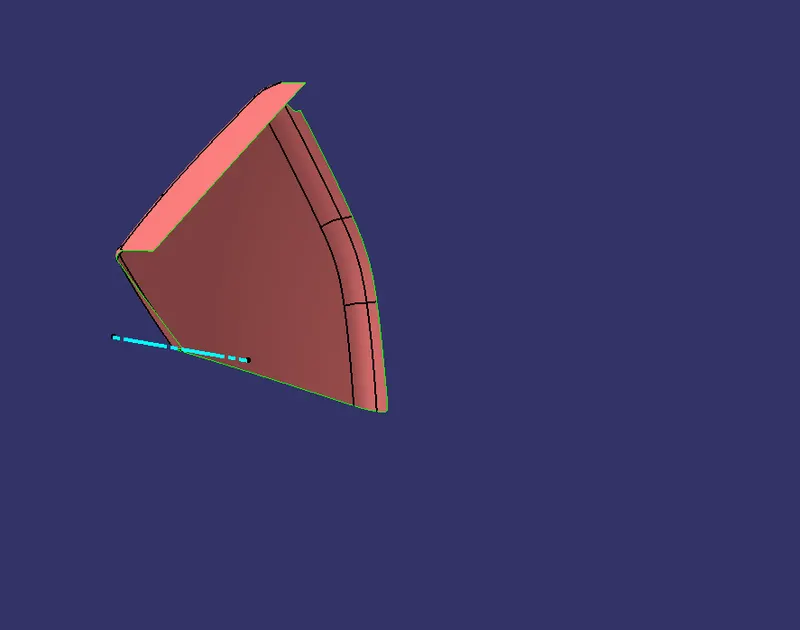
- In our project the parts the clearing in Y axis and below screenshots are for reference.
Preforming Draft Analysis:
- The Draft analysis is conducted for a draft of 3 degrees for the part body and below screenshots are the results of the draft analysis in our project.
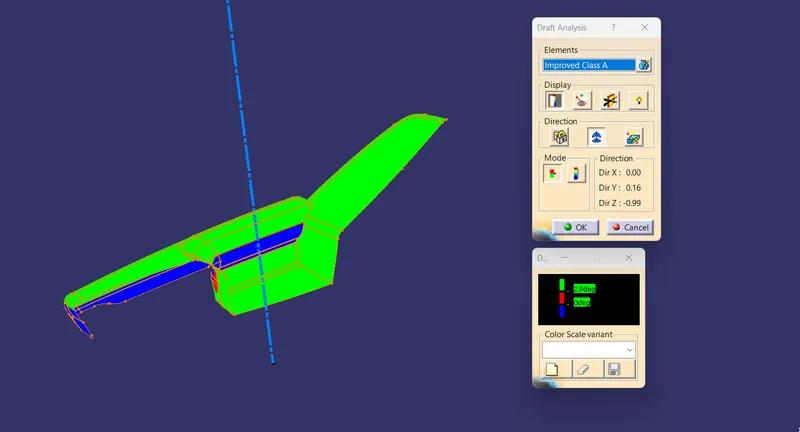
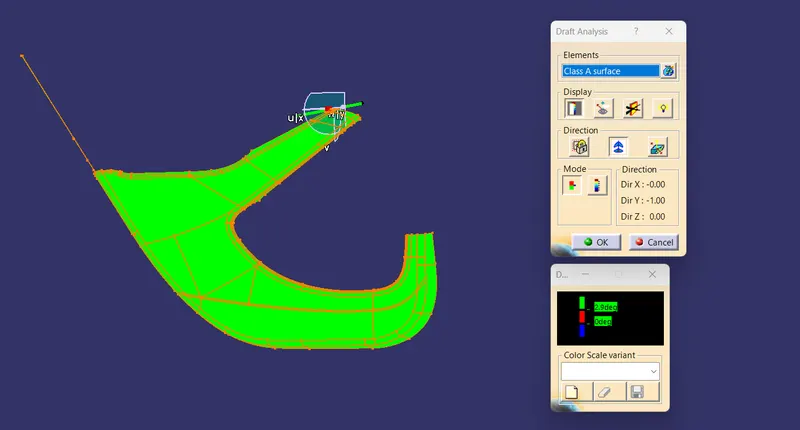
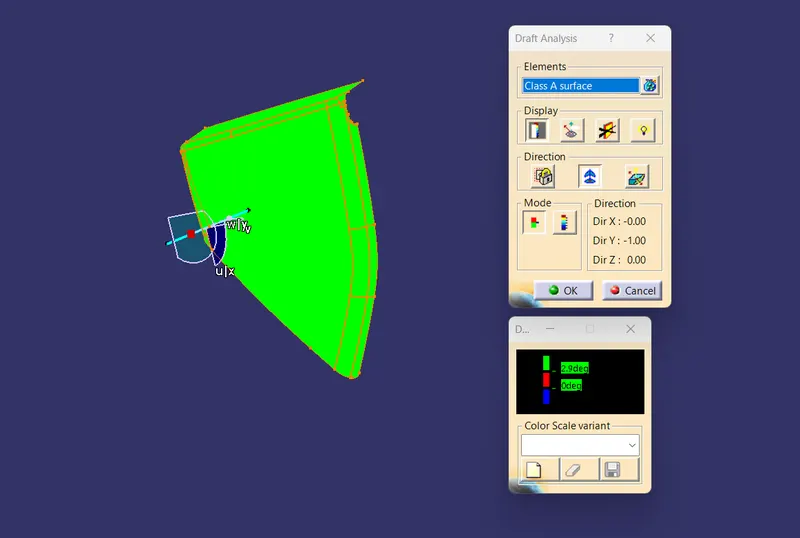
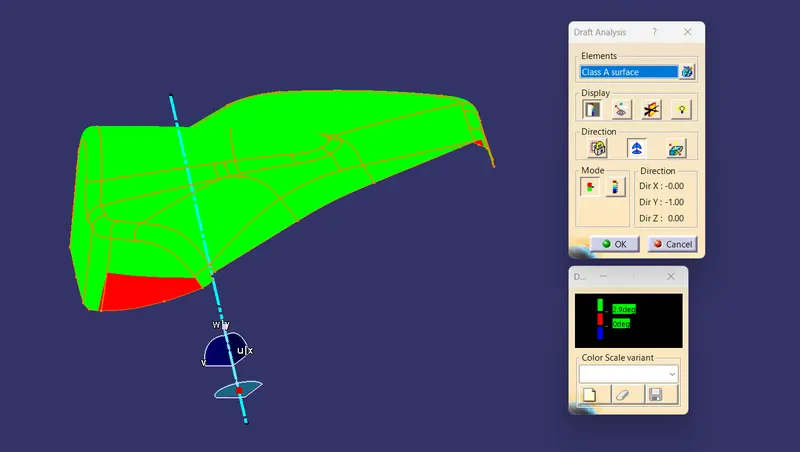
- We can see some red and blue patches which means that the surface is not falling into the 3 deg bracket now we have to inform the issue Class A engineer and recorrect and reconfirm with the concerned person then only we can go ahead.
Development of Class B surface:
- Class B surfaces have to be offset according to the thickness and the direction as per the master section.
- In our project after referring to the master section it seems that the offset is 2.5 mm.
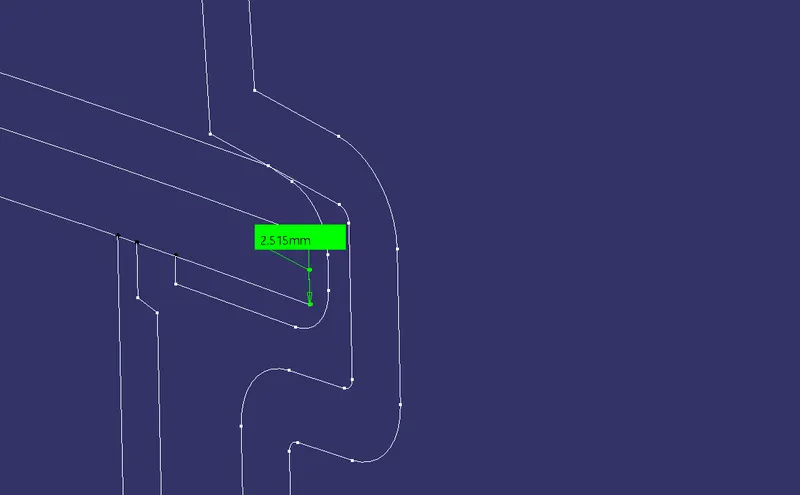
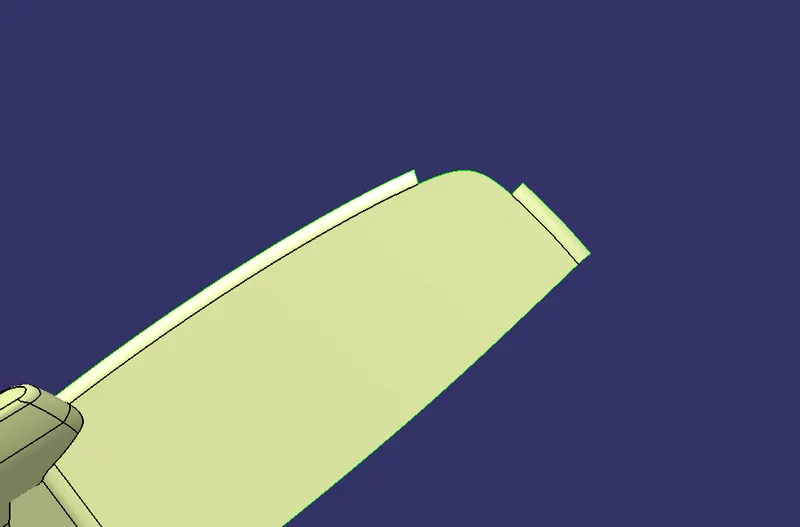
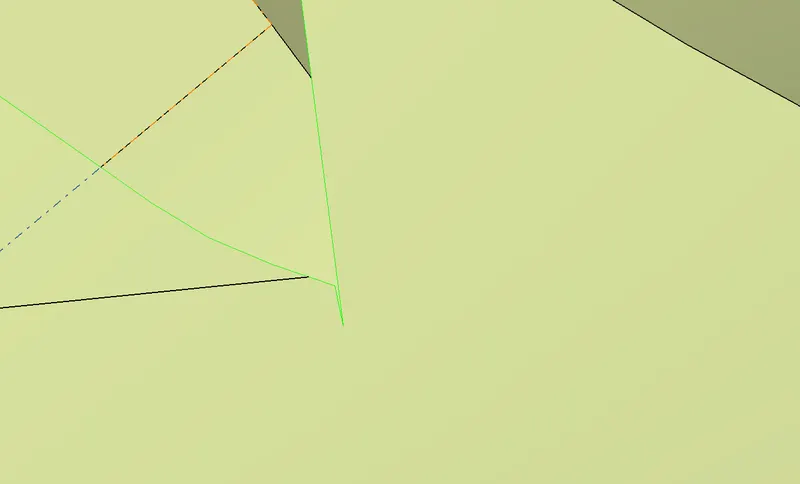
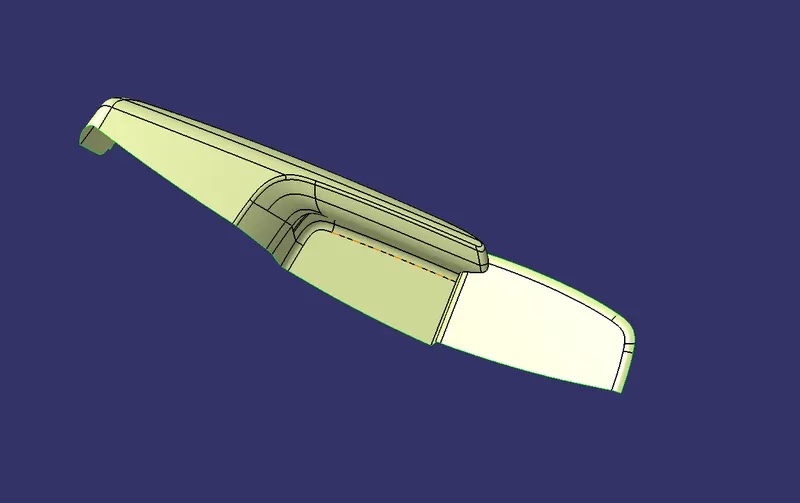
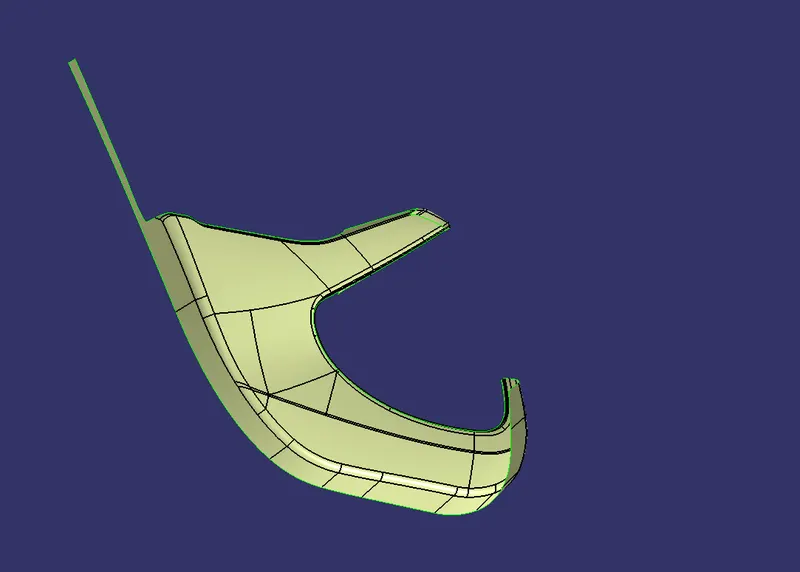
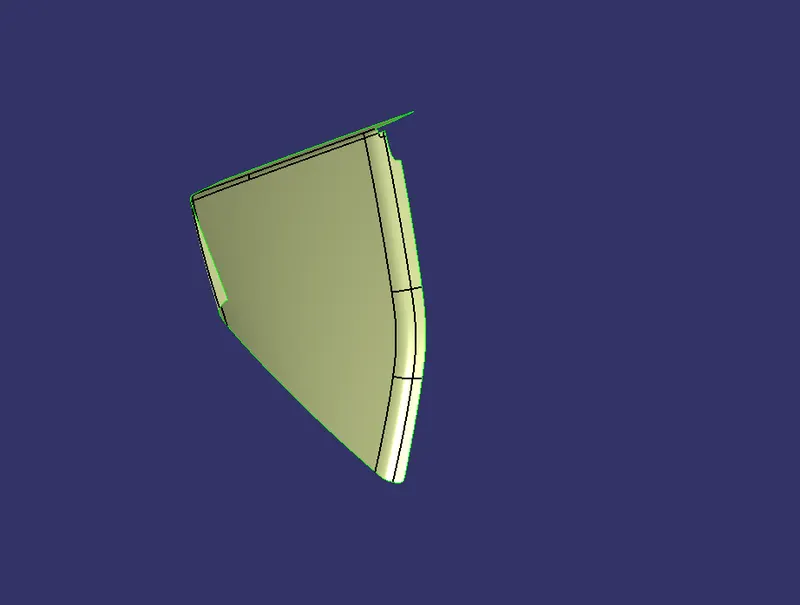
- Now we have to offset the class A surface to 2.5 mm and conduct a detailed and clear inspection around the class B surface because may have gaps between surfaces, may lose some surfaces and mostly fillets, and sometimes there might be some cracks in the surfaces as shown below.
- Offset Class B Surface of Door armrest:
- Offset Class B of Lower Substrate:
- Offset Class B surface of Map Pocket:
- Offset Class B surface of Bottle holder:
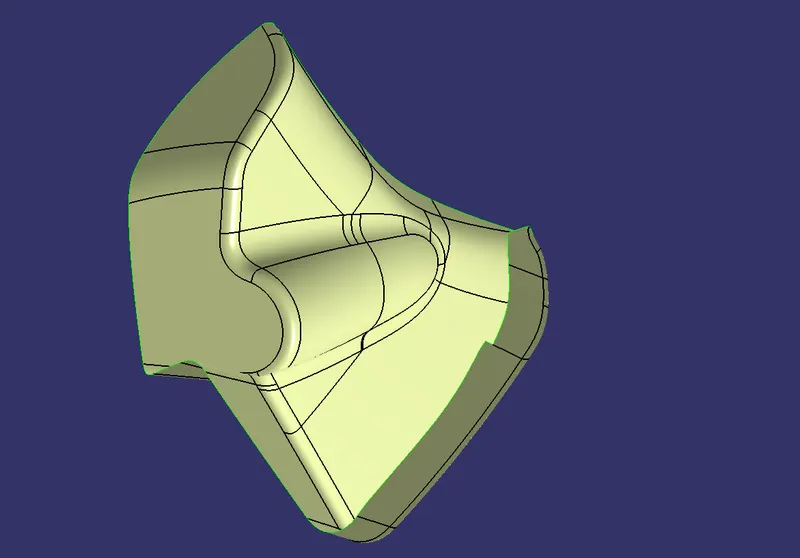
- At times we may not lose any surface or any other defects it all depends on the surface of class A.
Development of Class C surface:
- Development of class C surface is to create a sweep along the boundary of Class A with a angle of 93 deg while doing with reference of the surface and 3 deg while dong with the reference of tooling axis.
- Class C surface of Door armrest:
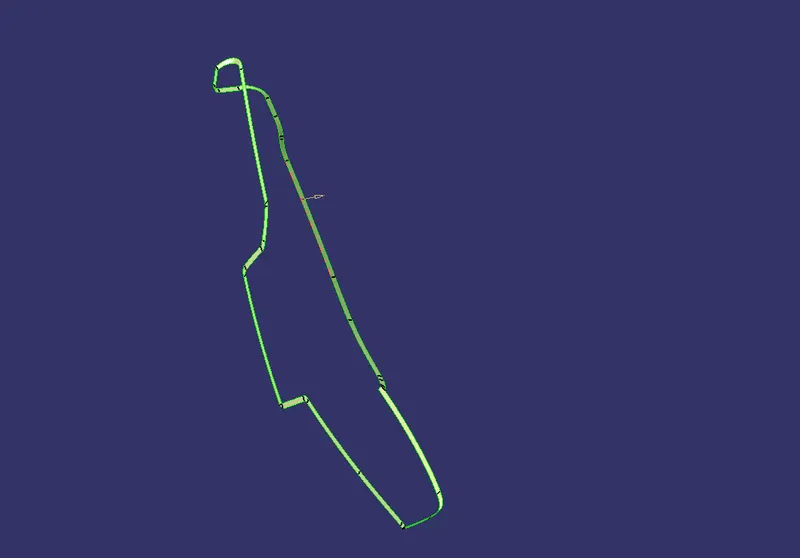
- Class C surface of lower subtract
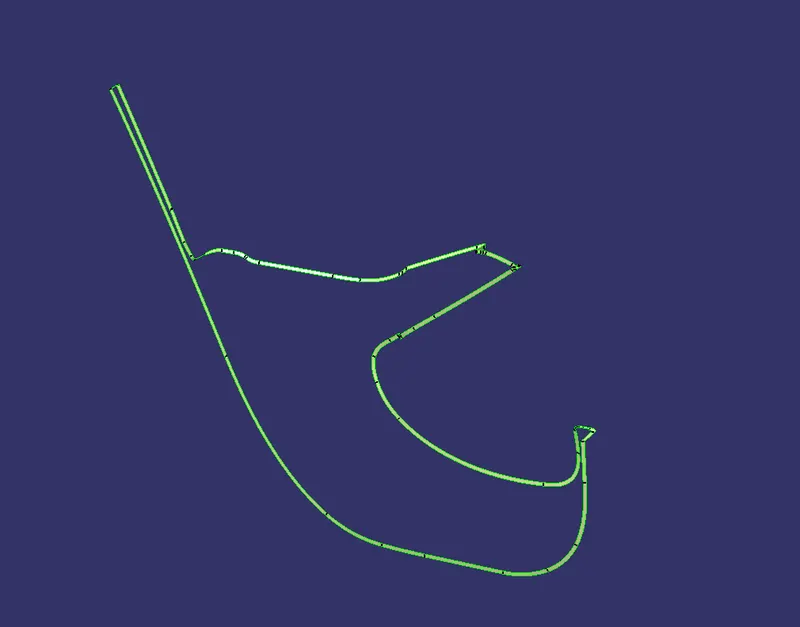 :
: - Class C surface of Map Pocket:
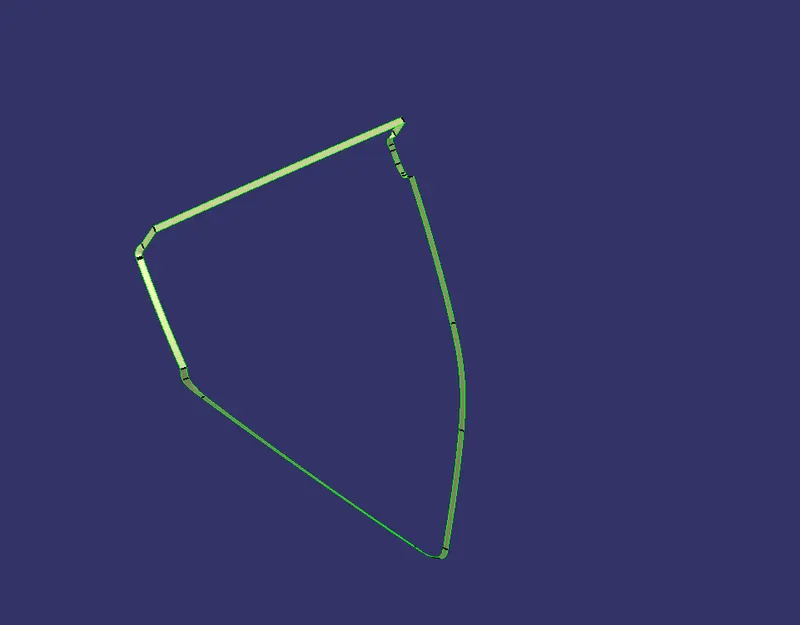
- Class C surface of Bottle Holder:
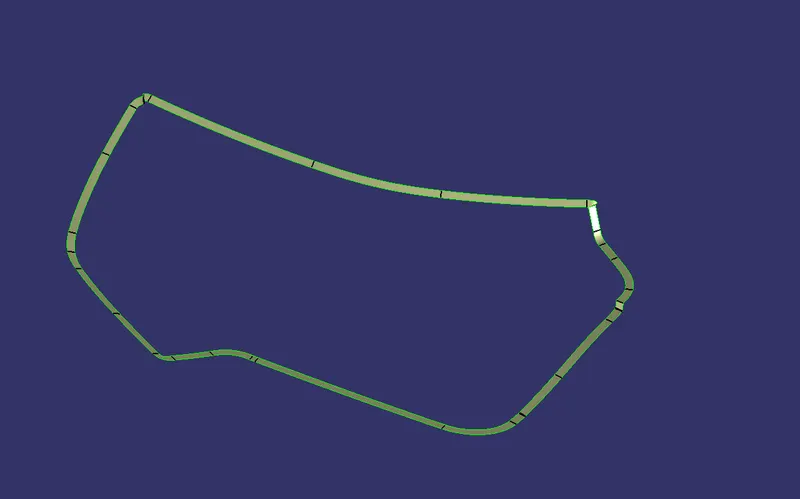
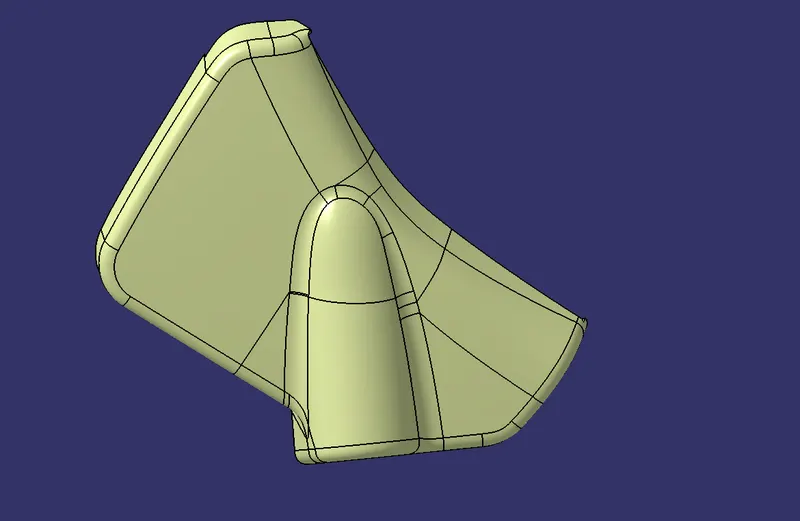
Join the Class A surface and Class C Surface and trim with extrapolated Class B surface which will form a closed surface and switch to the Part workbench and create a closed body.
- Closed surface of Door armrest:
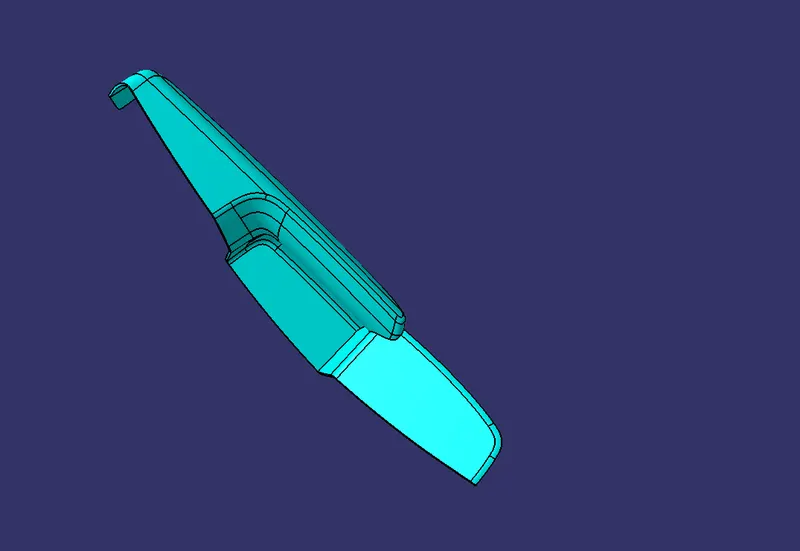
- Closed surface of lower substrate:
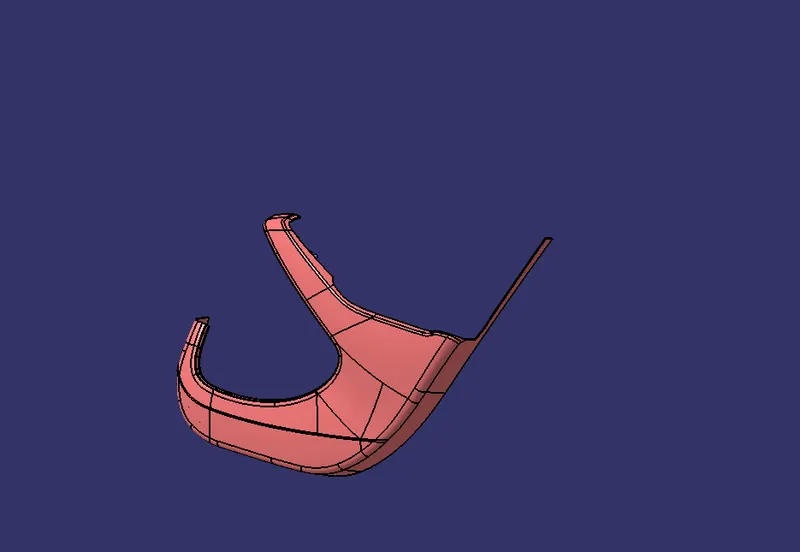
- Closed surface of Map Pocket:
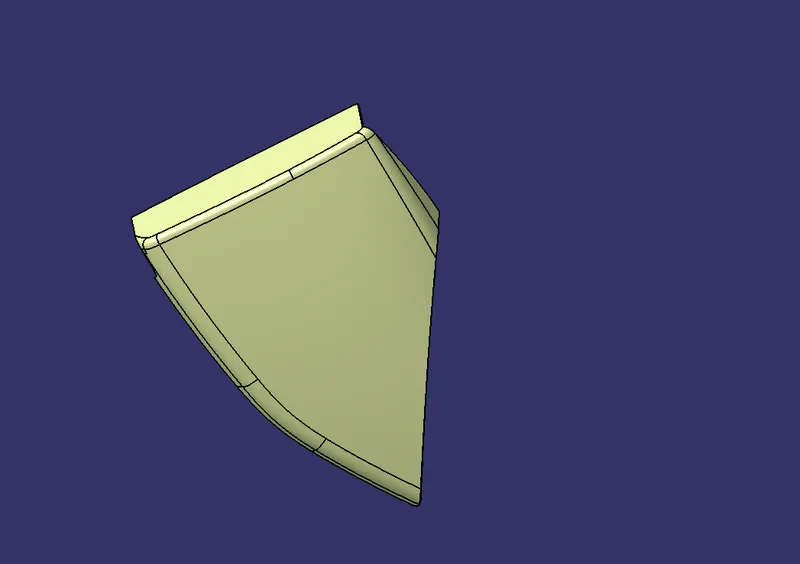
- Closed surface of Bottle Holder:
Conversion of closed surface to Closed Body:
- Switch to the Part workbench and insert a New body now by using the closed-body command we can make the closed body.
Creation of Attachments features:
Dog House:
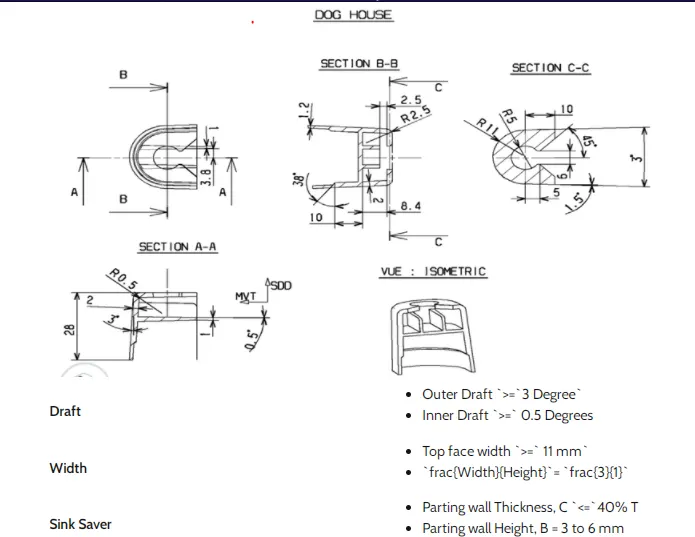
- Dog house is an engineering feature used in the plastic trim design. Dog houses are used as supporting features. Sometimes other engineering features like snaps, locators, etc. are mounded on them to increase their strength. Dog houses are subjected to draft analysis to prevent breakage of the component during ejection from the mold cavity. Dog house and other engineering components are built on B-surface.
1. WALL THICKNESS:
- The Wall thickness of the Dog house at the contact point to the B side has to be reduced to minimize the plastic Defects mainly Sink marks which usually form on thick surfaces.
- So, the thickness at the contact is reduced to 1mm to 1.2mm as per the thickness of the plastic product.
2. Corner Radius:
- Generally corner radius is given to the plastic parts to reduce the plastic defects and it also enhances the overall look of the plastic component.
- Smooth curved corners help plastic flow in the mold by reducing pressure drops in the cavity and minimizing flow-front break-up.
- Internal radii should be at least 0.5 and preferably 0.6 to 0.75 times the wall thickness.
3. DRAFT ANGLE:
- In most cases the Dog house demands a separate tooling axis
- Tooling must be cleared for easy ejection of the component, from the core cavity. In order to clear tooling certain value of draft is given to the component.
- Minimum of 2-3deg is provided on all plastic components.
- All the Dog Houses created should be in the same direction.
-
Locator:
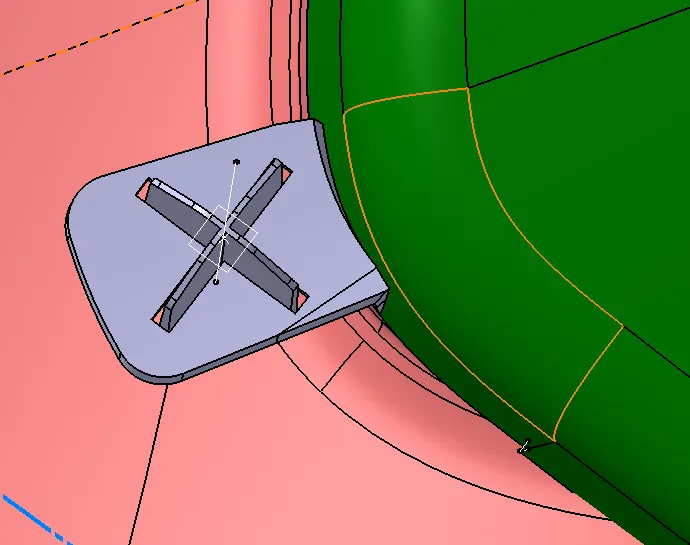
- Locators are used to locating the position of the mating part while assembling.
- The design rule for the locator is mostly the same as the rib but the height of the locator should be more than the heat stakes at a min of 5mm.
- The locator also constrains the movement of the mating part.
- The gap between Flange and the locator should range between 0.5mm and 1 mm.
- There are two types of locators.
1. 2-Way Locator.
2. 4-Way Locator.
Push Pin:
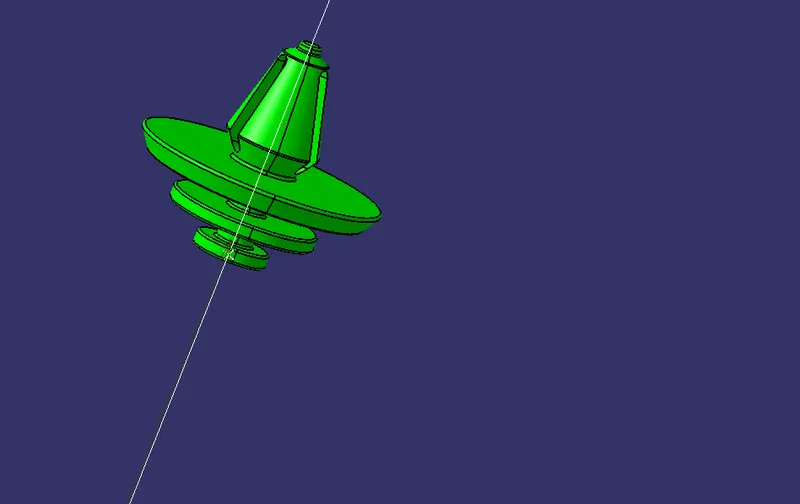
- The push is used as a Fixation Feature which locks with the BIW of the door panel.
- In our project the push pin is placed over the dog house.
Flanges:
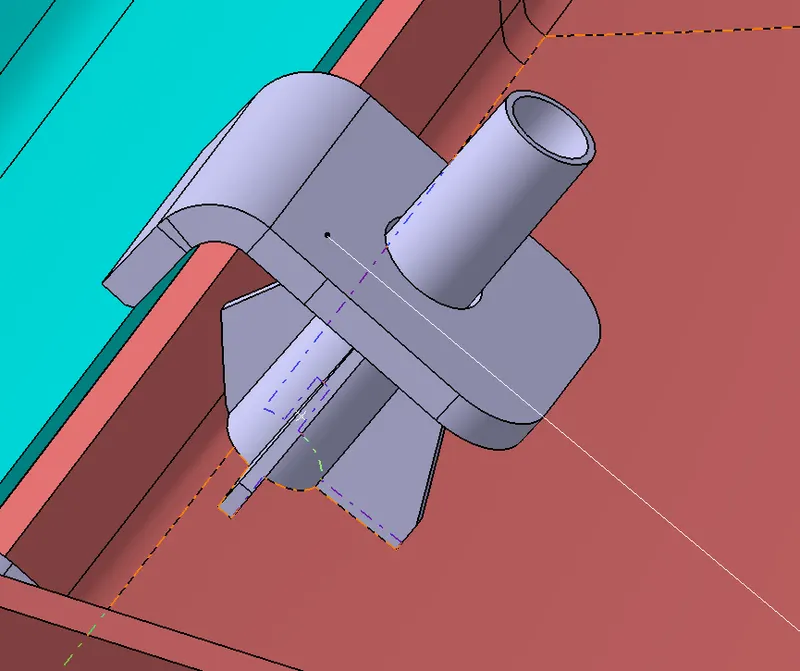
- The flange is a connecting feature that is projected outside the closed part body that is used to connect the heat stakes of the mating part.
Heat Stake:
- Heat staking also known as thermoplastic staking is the process of joining two dissimilar materials together. In heat staking, we use local heating and cooling to raise the temperature of plastic components and allow plastic reforming to be carried out. This reform can be used in a wide variety of applications.
- Heat staking can be performed using a wide range of thermoplastic materials including polypropylene, ABS, polycarbonate, and many others. The integrity of a thermal staked assembly depends greatly upon the geometric relationship between the boss and the thermal tip.
- The above image shows the combination of heat stake and flange.
- As per Skill Lync Standards the below are the design standards likewise every OEM have their own standards
- Outer Diameter=7mm
- Inner Diameter= 5mm
- Draft for heat stake is 1.5deg
- Rib height = 6mm
- Heat Stake height is 6mm rib + thickness of flange of mating part + 12mm
Rib:
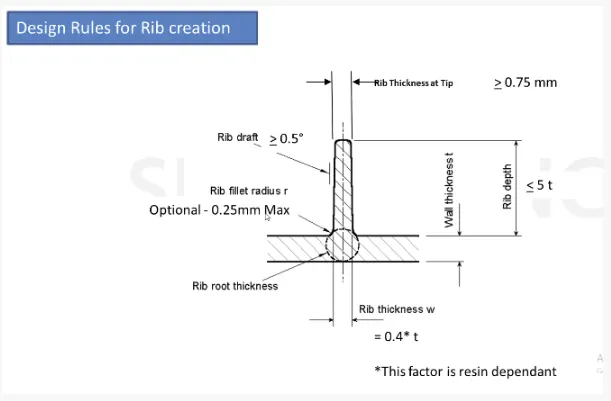
- Ribs are thin, wall-like features typically designed into the geometry of a part to add internal support to walls or other features like bosses. In a similar fashion, gussets are support features that reinforce areas such as walls or bosses to the floor.
- Rib thickness at the base should be between 40% of the nominal wall thickness.
- Rib height should be 5 X the nominal wall thickness.
- Ribs should have 0.5 degrees of the draft (for ejection).
- Rib base radii should be 0.25 – 0.4 X the nominal wall thickness.
Final Closed Parts with all the Attachment Features and their respective Draft Analysis:
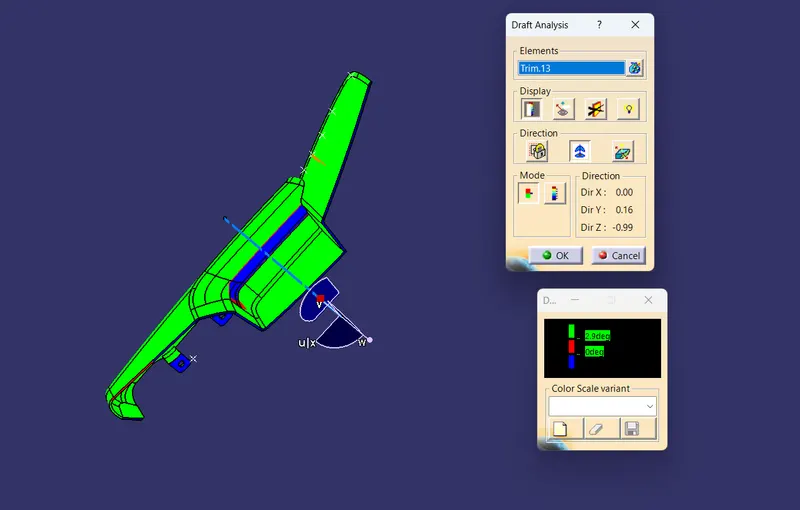
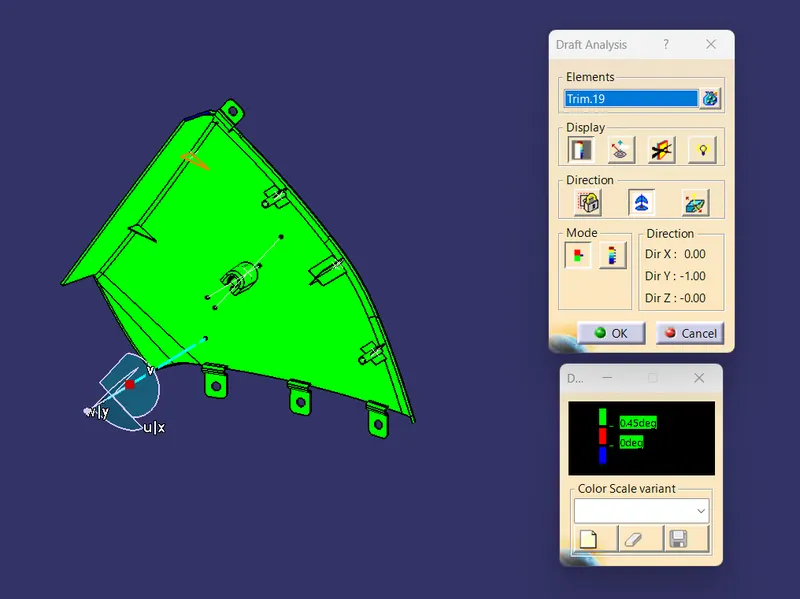
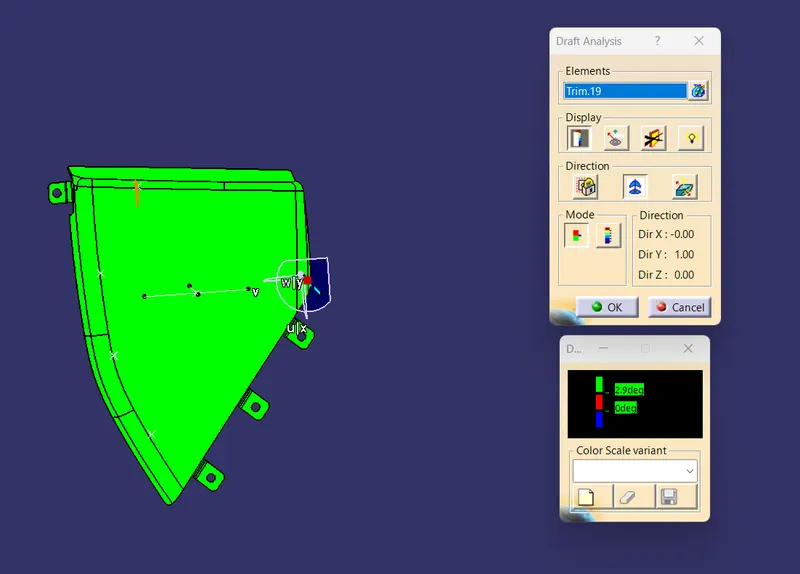
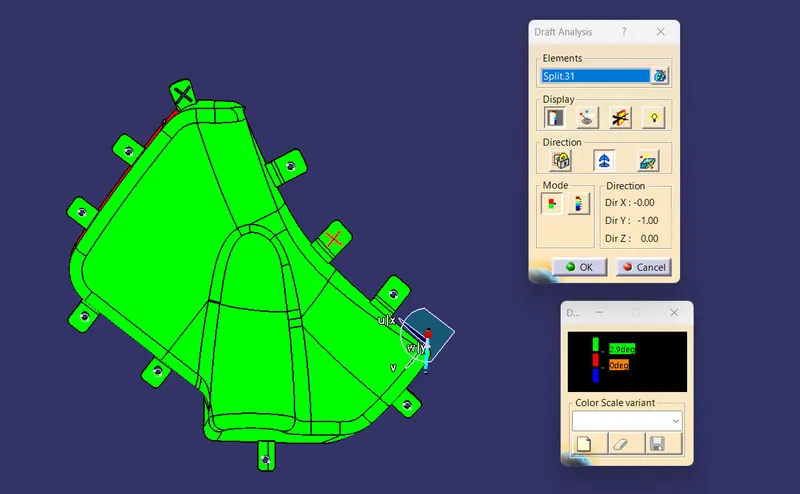
- In the draft analysis, we have to check with 2.9 deg for the main part body and 0.45 deg for attachment features.
- Draft Analysis of the Door Armrest with all the attachment features:
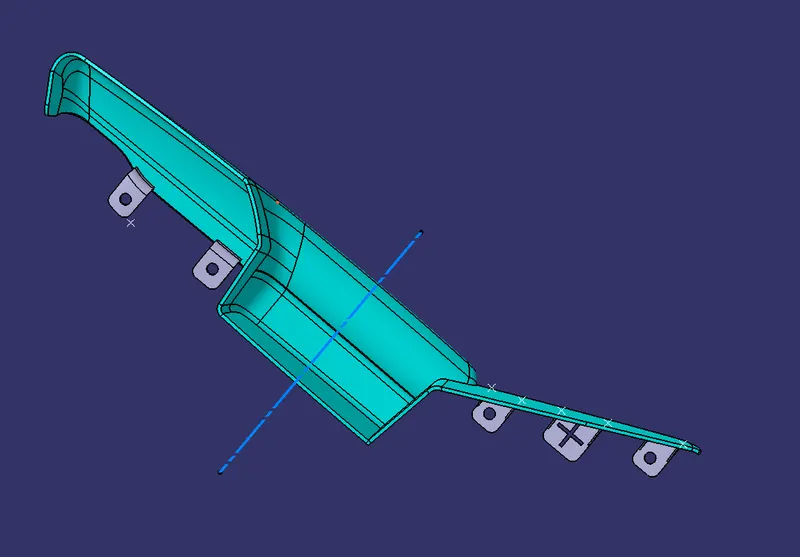
- Closed Body of the Door Armrest with all the attachment features:
- Draft Analysis of the Lower Substrate with all the attachment features:
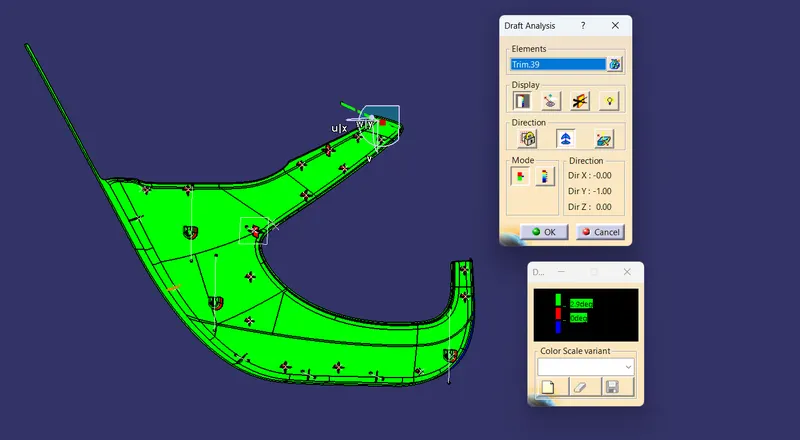
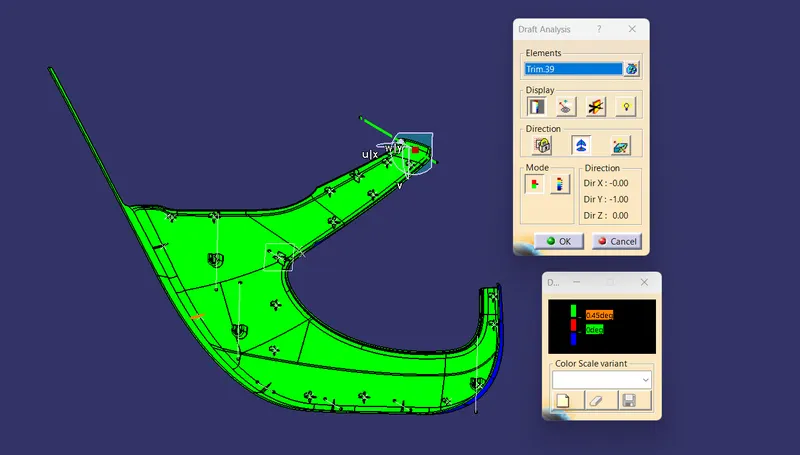
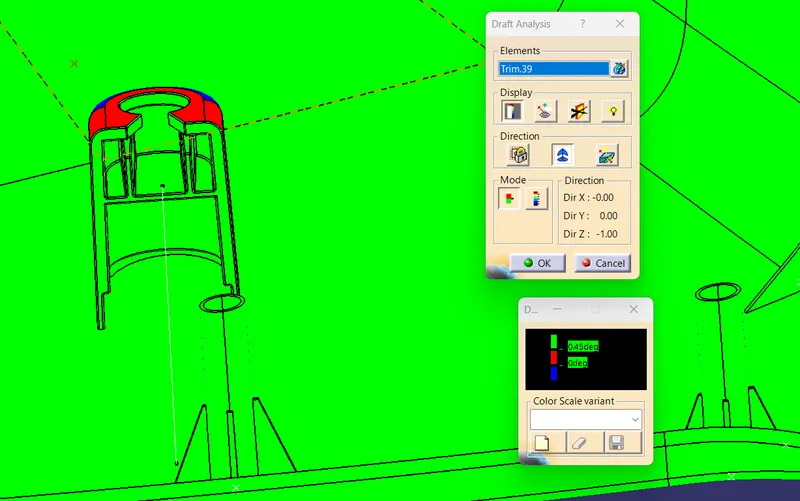
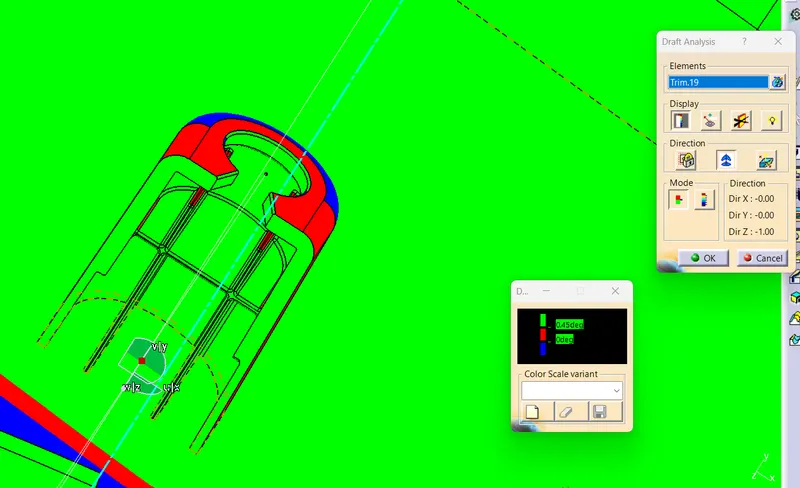
- For Dog House the Draft Analysis is performed separately as it has a separate Tooling Axis for the side core.
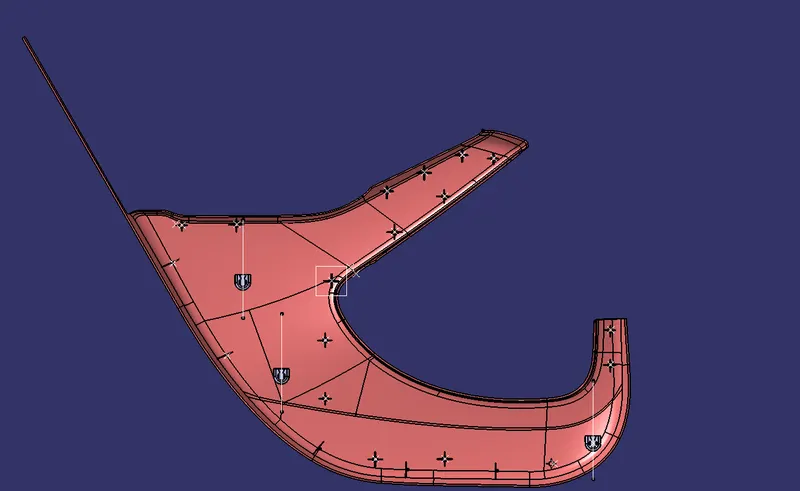
- Closed Part Body of the lower Substrate with all the attachment features:
- Draft Analysis of map pocket with 0.49 as the draft axis for the attachment features:
- Draft Analysis of the Map Pocket with 2.9 Degree draft angle for the part body with reference with the main tooling axis:
- Draft analysis of the dog house in Map Pocket with reference to the dog house tooling axis:
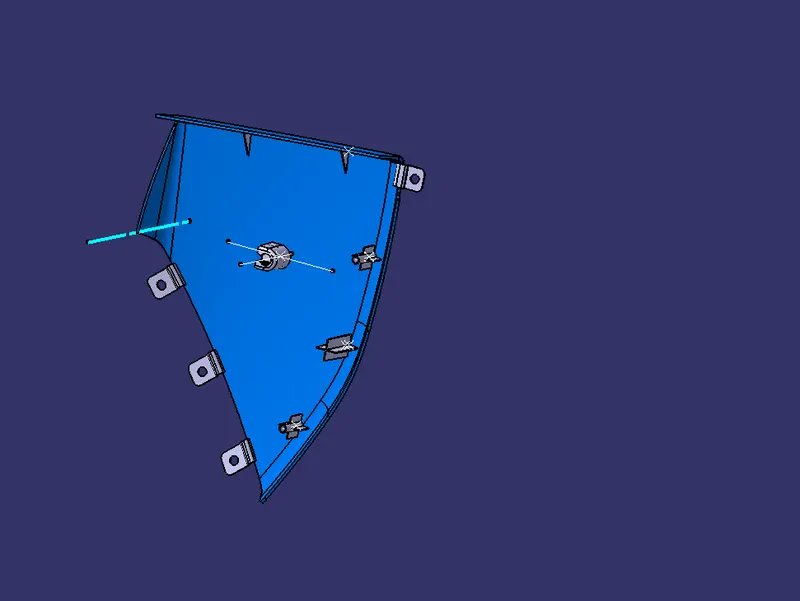
- Closed Part Body of the Map Pocket with all the attachment Features:
- Draft analysis for Bottle Holder with all the attachment features:
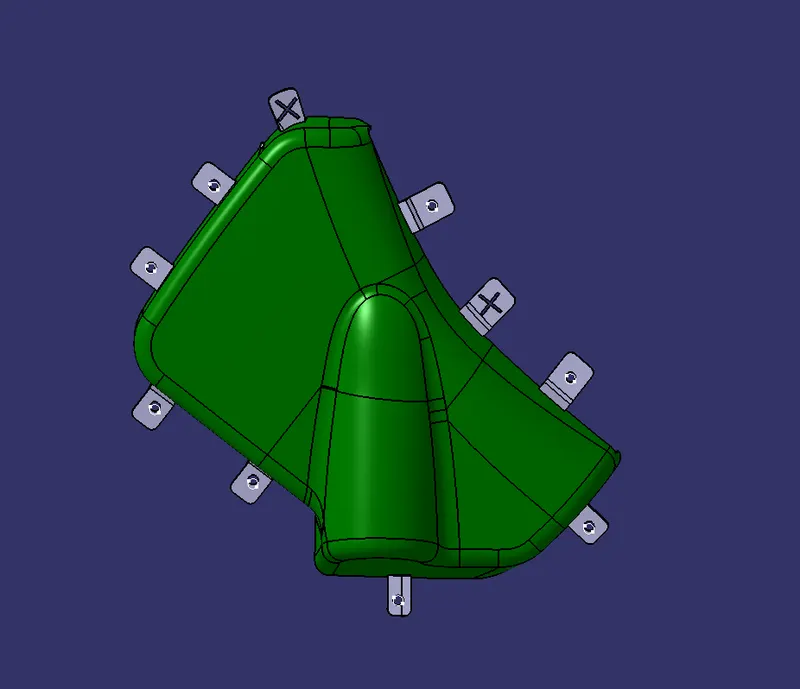
- Closed Body of the Bottle Holder with All the attachment Features:
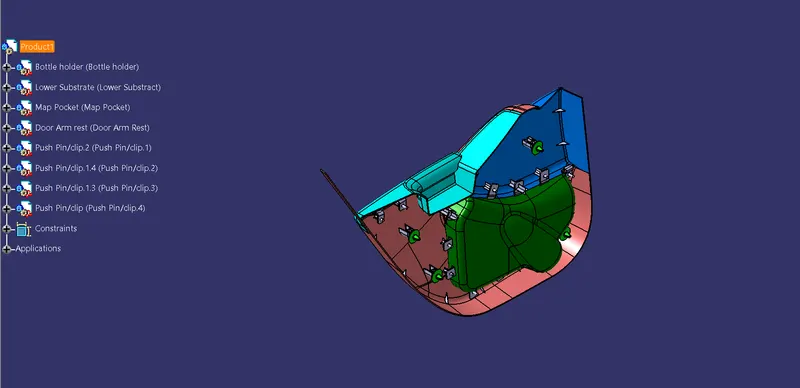
Finally all 4 parts with all the attachment features and the push pin attachment:
- Top View:
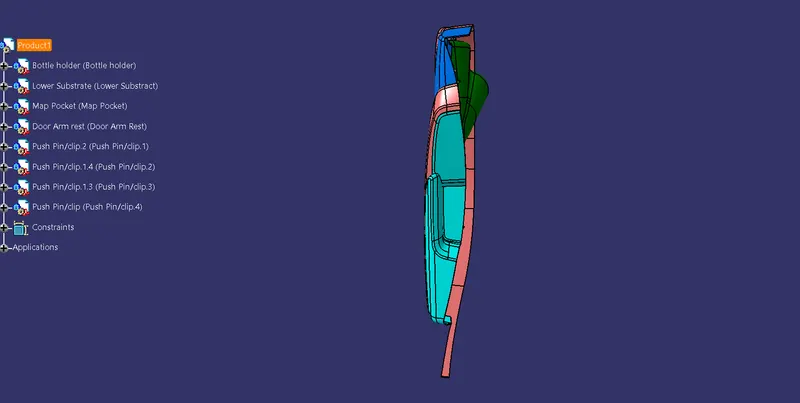
- Front view:
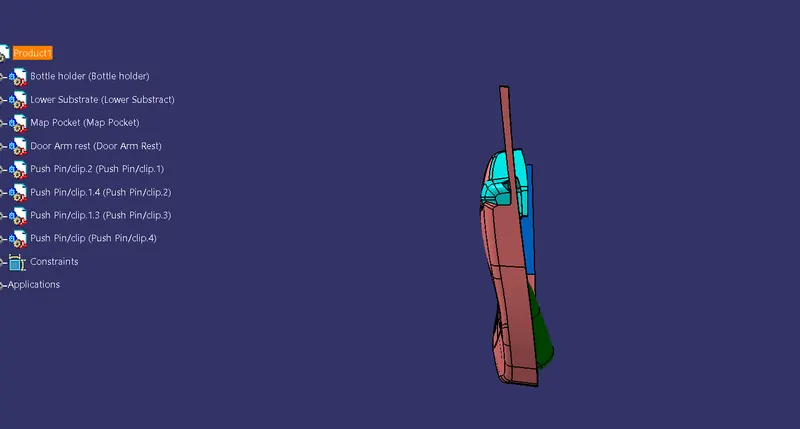
- Side view:
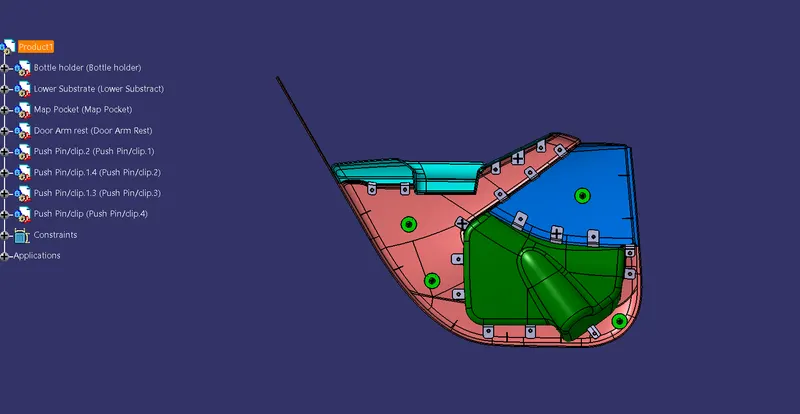
- Isometric View:
Conclusion:
- The Development of The Automotive Door Trim Panel from a Class A surface to a Closed Part Body with all the necessary attachment features by following all the design rules using CATIA V5 is done Successfully and all the required CATPart and CATProduct files are attached.