Project 1 - 2D meshing on the instrumental Panel
Aim-
For the given component, check for the geometrical errors and mesh with the given element Quality criteria. After meshing the component the thickness has to be assigned.
Write a detailed report on your meshing process and also mention which method you used to extract the mid-surface along with the reason.
Procedure-
1.Open the given model in ANSA and check for geometrical errors.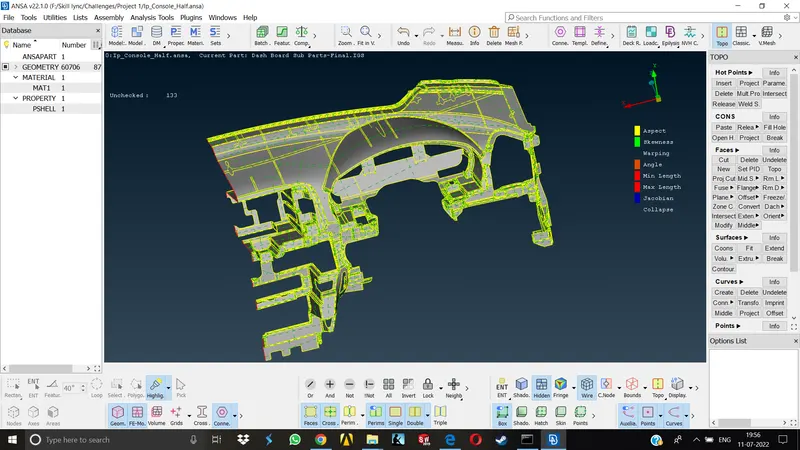
2.As the given model contained half section of the dashboard, it wasnt a closed volume geometry at one end, had to create new faces to make it a closed volume.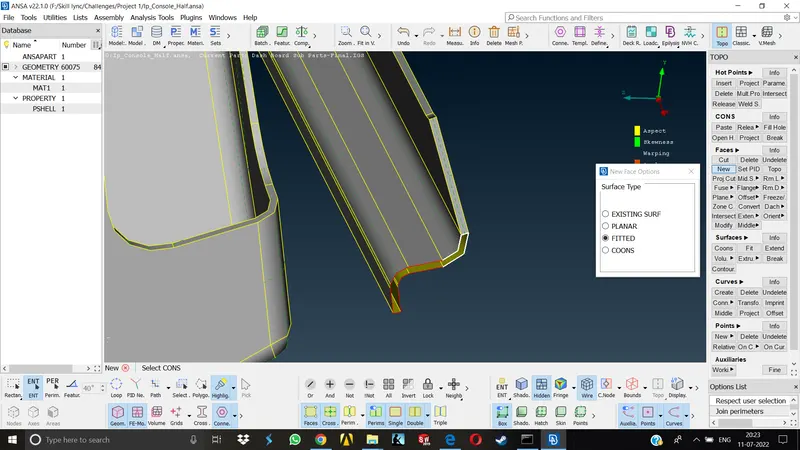
3.There were a lot of geometrical issues in this particular model, lot of duplicate faces, distorted and needle faces can be seen.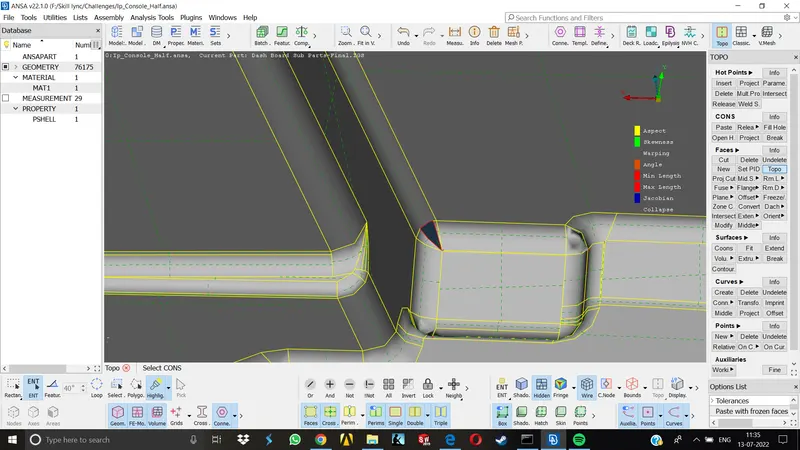
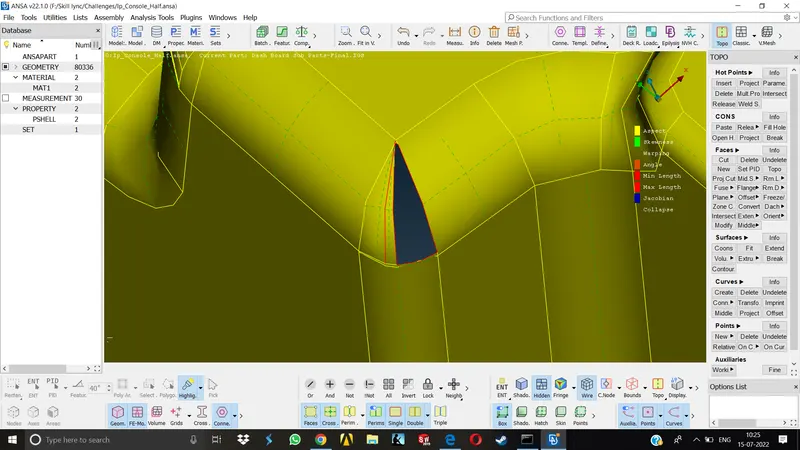
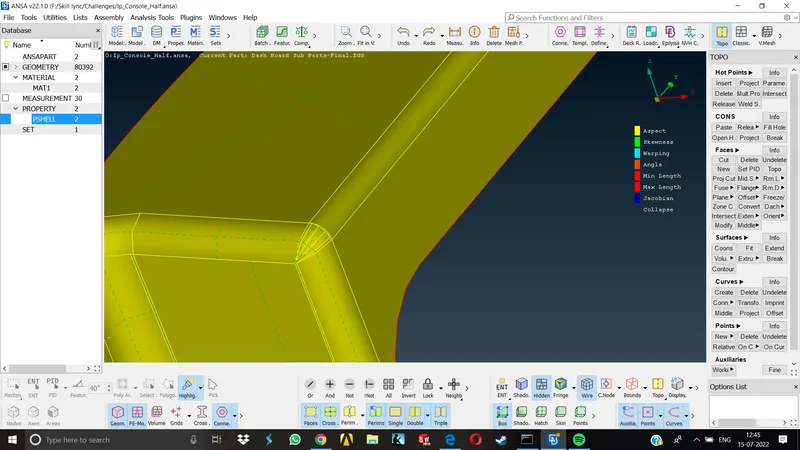
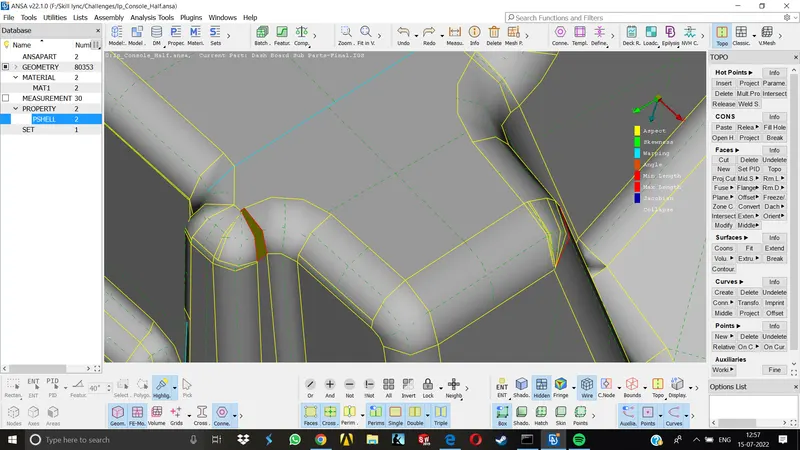
4.Once the geometry is clean we can now proceed for taking the midsurface for the component and meshing.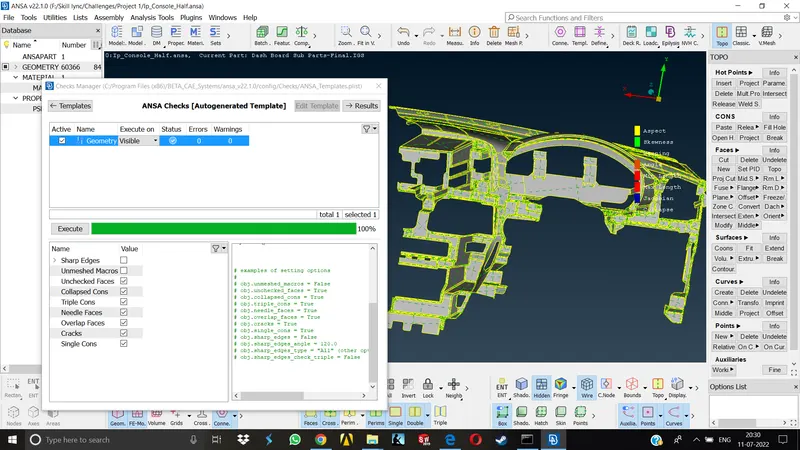
5.Midsurface and meshing it automatically by casting was giving poor results, too much tria and off elements can be seen.Even if we used auto mid & mesh here, the time required to correct all the off elements and acquiring proper mid of the feature areas by align manager would have taken a lot of time so decided to take the mid and meshing manually.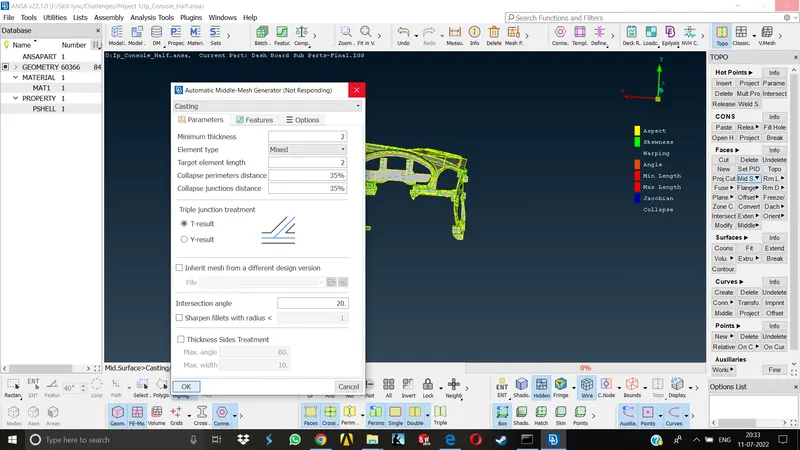
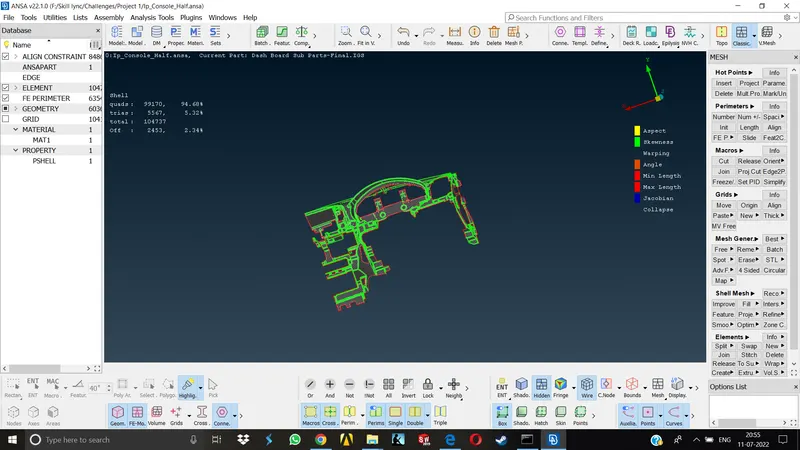
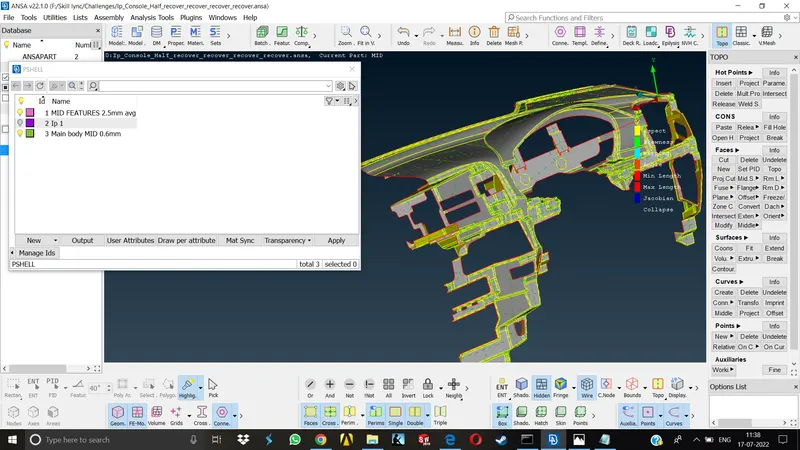
6.The main body of the model here was 0.6mm thick overall, other were varying thickness features.It was relatively easy to capture the mid of base model by using Faces>Offset as the thickness was even.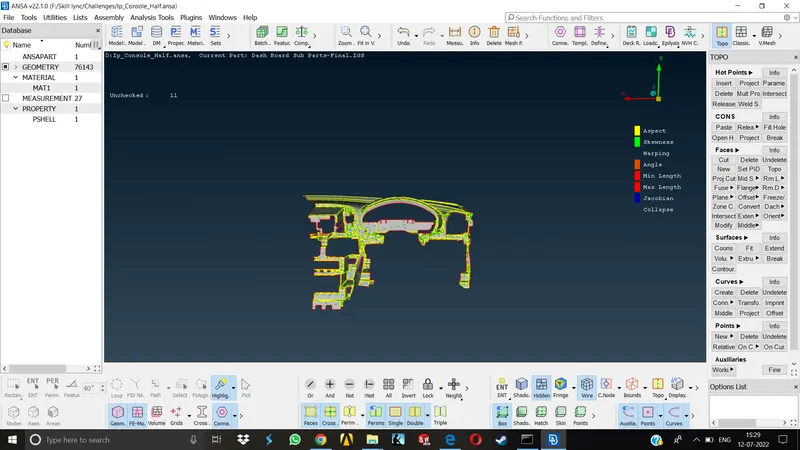
7.Once the mid of main body was acquired, now we can take the mids of complicated features one by one using manual commands like Faces>Middle, Faces>offset.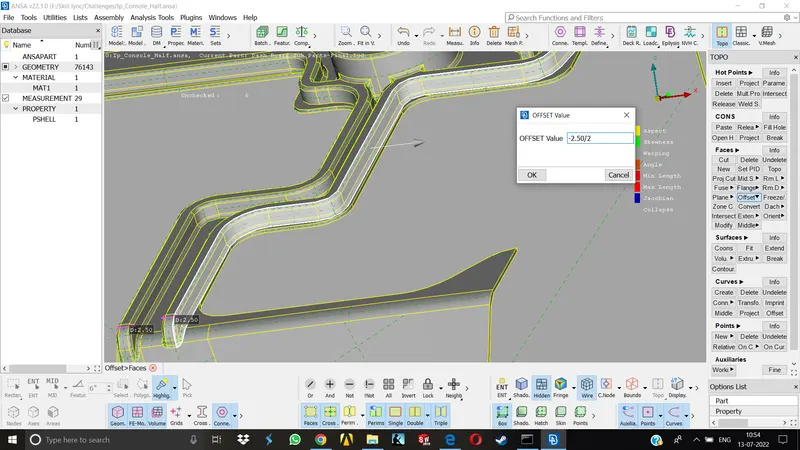
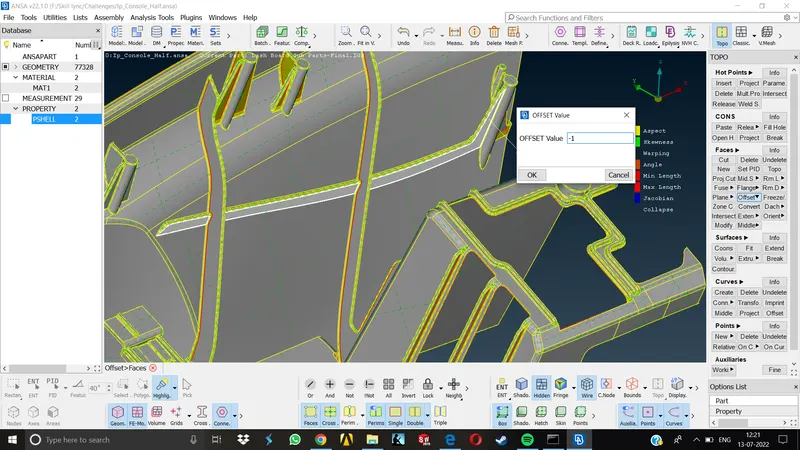
8.After capturing the mid properly, it was time to assign proper thickness.Here, most of the part was having even thickness of 0.6mm. the features were all grouped together and the avg. thickness was then assigned.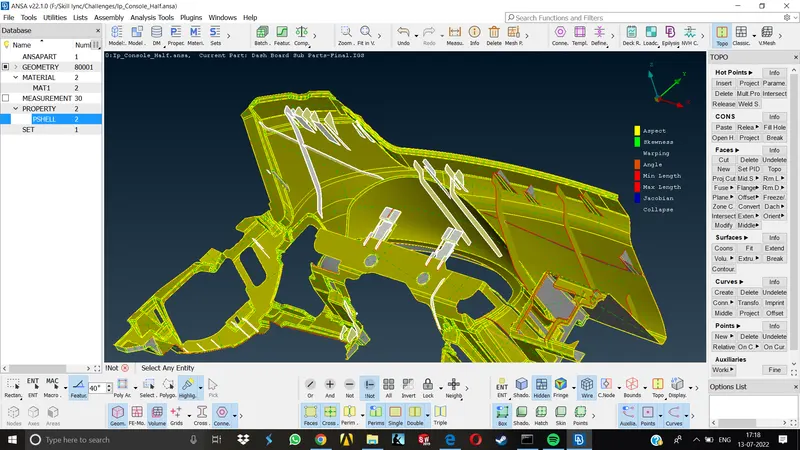
Meshing-
1.This model contained a large no. of complicated feature areas where the target element length was failing.After a lot of trial and error for proper target length, proper length was assigned (2.5mm).
2.As the size of the elements increased within the given range, almost all the features were getting distorted,thats why the above element length was assigned which is within the given range(2mm-6mm).
3.Defeaturing manually would have taken a lot of time here, so Batch Mesh with given criteria was applied one by one for the model after dividing it in no, of small parts.
4.Tried to keep the off elements and tria elements as less as possible.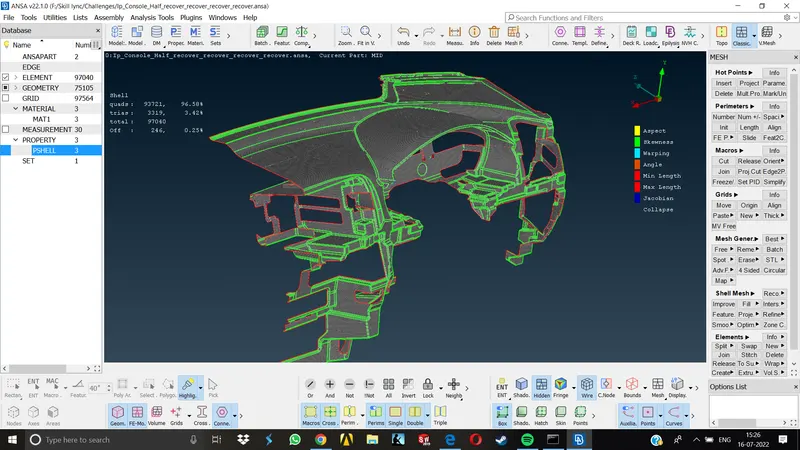
Learning Outcomes-
1.Learnt to evaluate the results obtained from using various approaches and choosing the right way to approach any given model.
2.Picked up speed in performing basic commands.
Conclusion-
Learnt the basic approach to model complicated entities.
NOTE- The link to upload the model was not working, tried several times, attaching the same in google drive link below..
https://drive.google.com/file/d/1kYH7m_AvI-scAZEEGooySknz2ETeM5vB/view?usp=sharing